Radxa 10-inch HD Touch Screen User Guide
You'll need to use a dedicated FPC cable to connect the motherboard and touch screen. After confirming the hardware connection is correct, use the Rsetup tool to enable the 10-inch display.
Hardware Requirements
- FPC cable
- Radxa 10-inch HD touch screen
- Compatible single-board computer
Hardware Connection
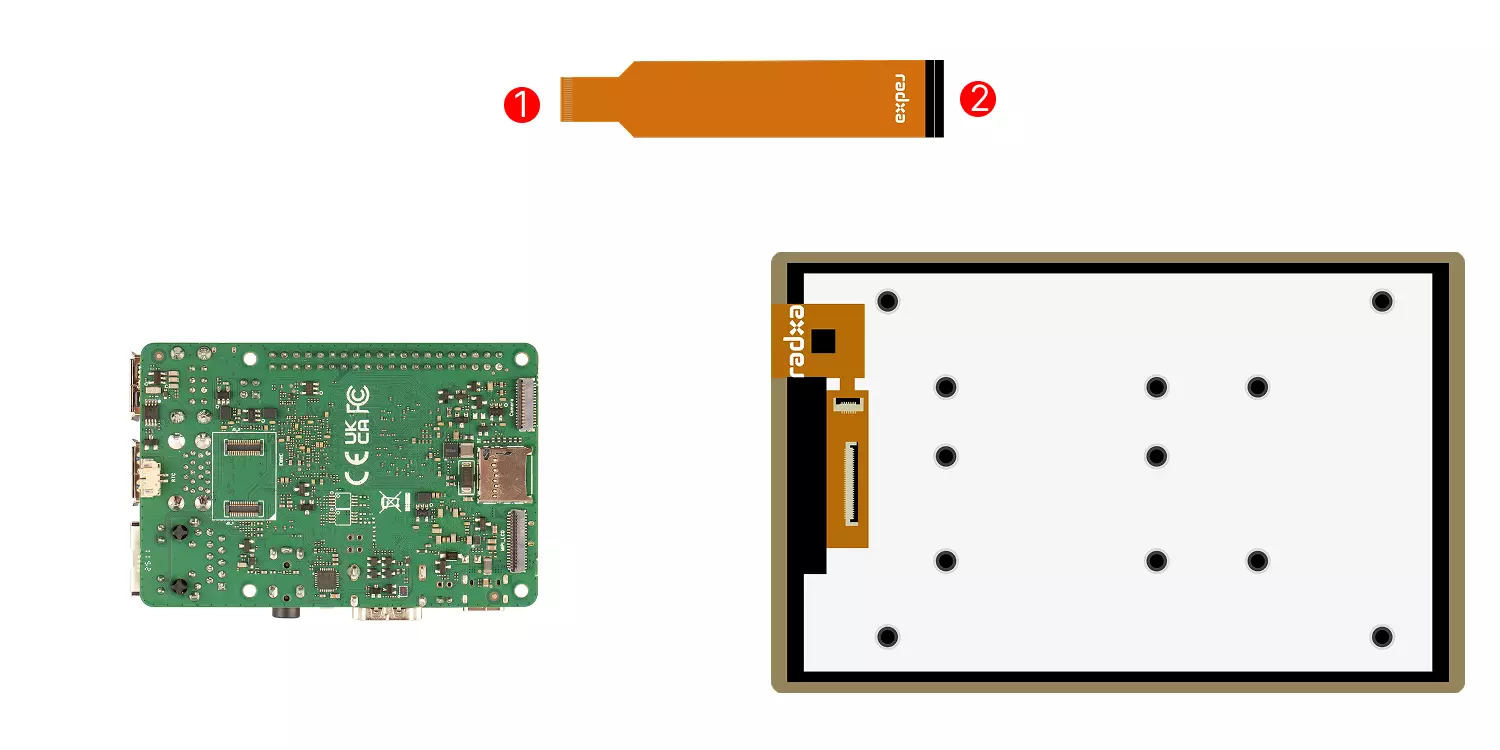
Connect the touch screen using the motherboard's MIPI DSI interface. The connection method is as follows (using ROCK 4D as an example, other motherboards are similar):
①: Connect to the motherboard's MIPI DSI interface with the gold fingers (metal contacts) facing toward the motherboard
②: Connect to the display's interface with the gold fingers (metal contacts) facing toward the display
Software Configuration
Enter the rsetup command in the terminal to configure the display settings using the Rsetup tool.
radxa@device$
rsetup
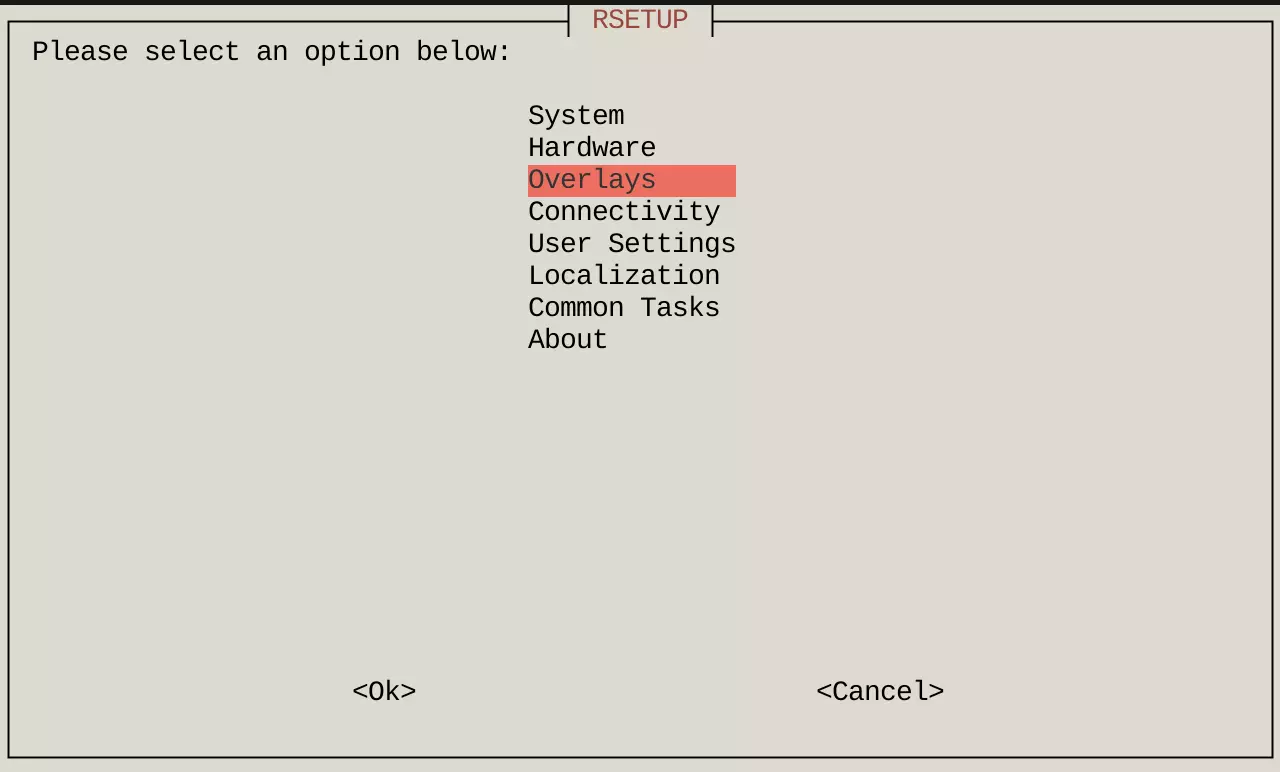
- Use the arrow keys to select the
Overlaysoption, then press Enter to confirm.
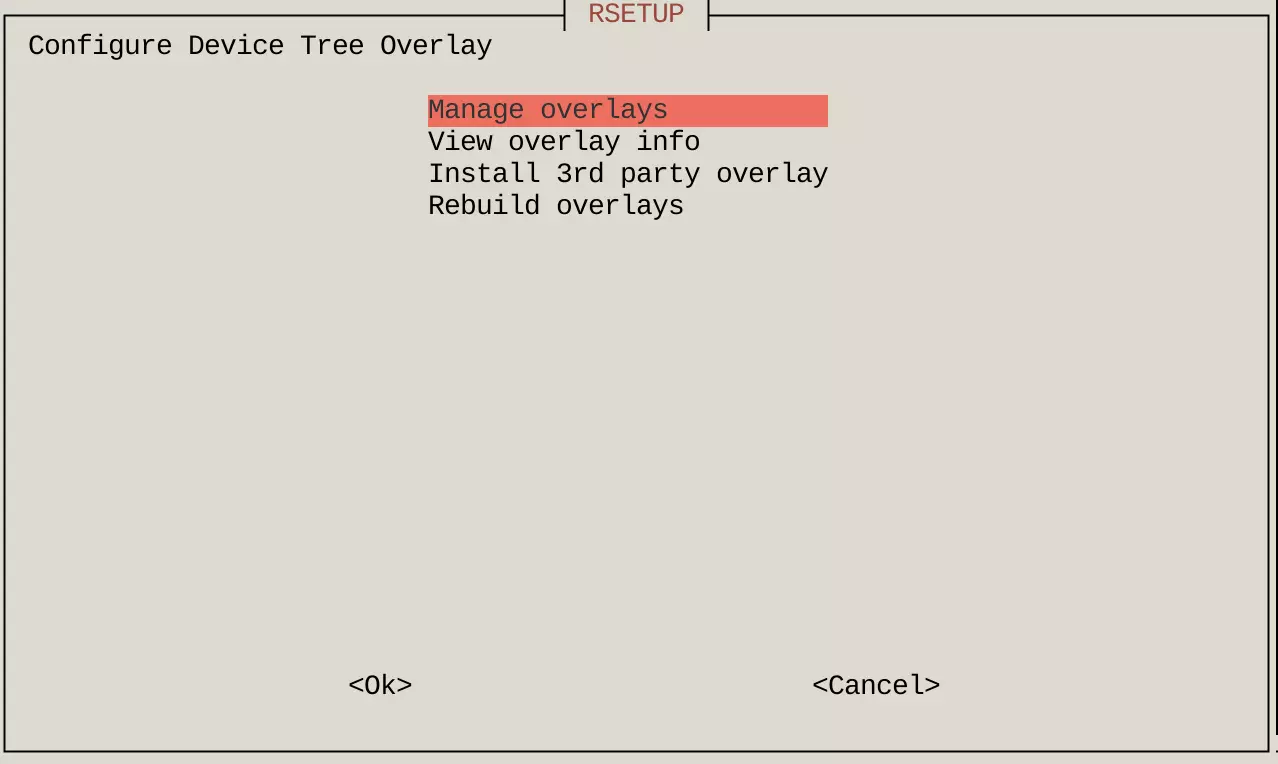
- Use the arrow keys to select the
Manage overlaysoption, then press Enter to confirm.
- Use the arrow keys to select the
Enable Radxa Display 10 HDoption, then press the Spacebar to check theEnable Radxa Display 10HDoption, and finally press Enter to confirm.
tip
A * in the checkbox indicates the option is enabled.
- Reboot the system for the changes to take effect. The display should now work properly.