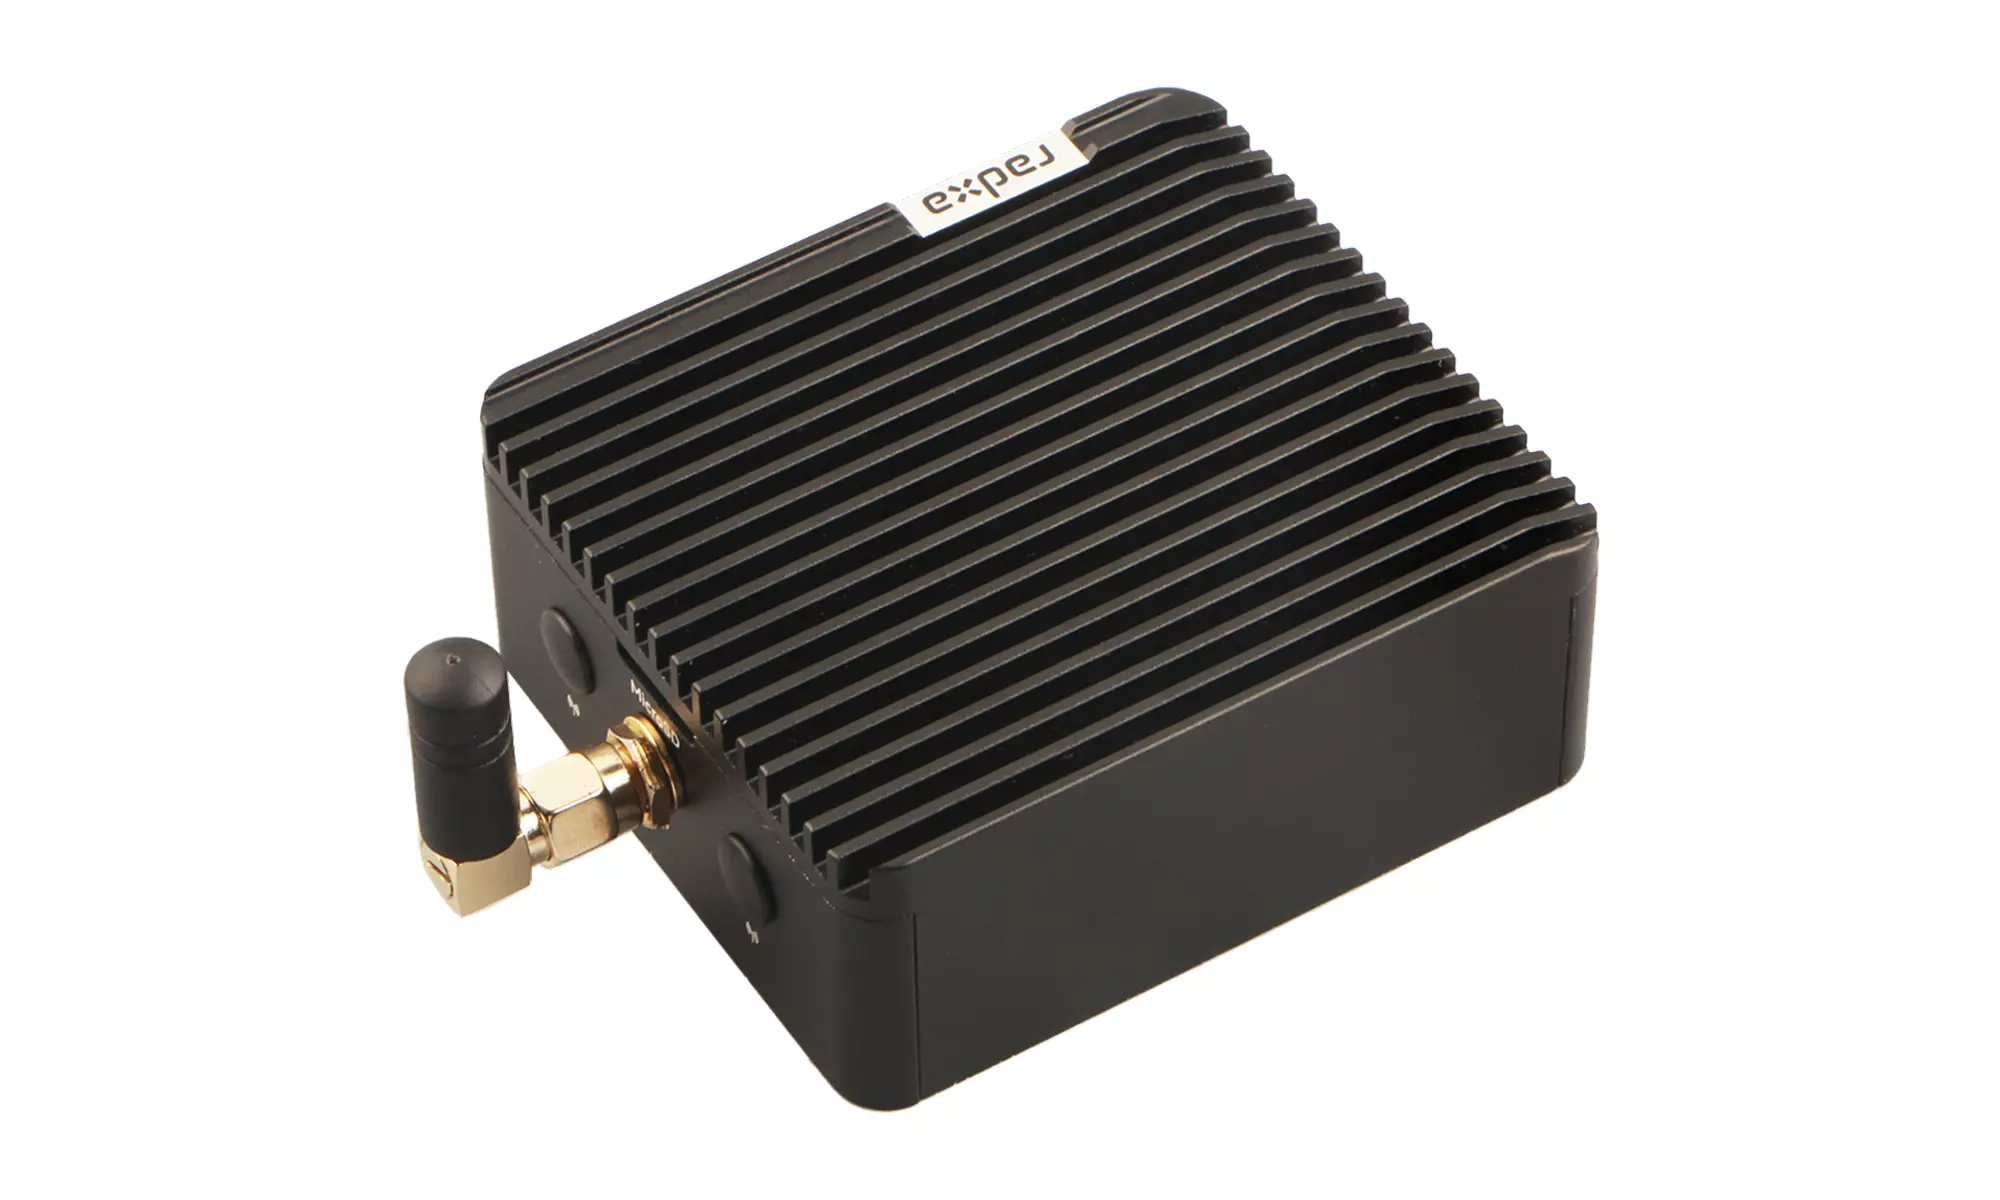
Using with Cubie A5E
This guide explains how to install the Cubie A5E with Radxa Metal Case 7264.
Installation Guide
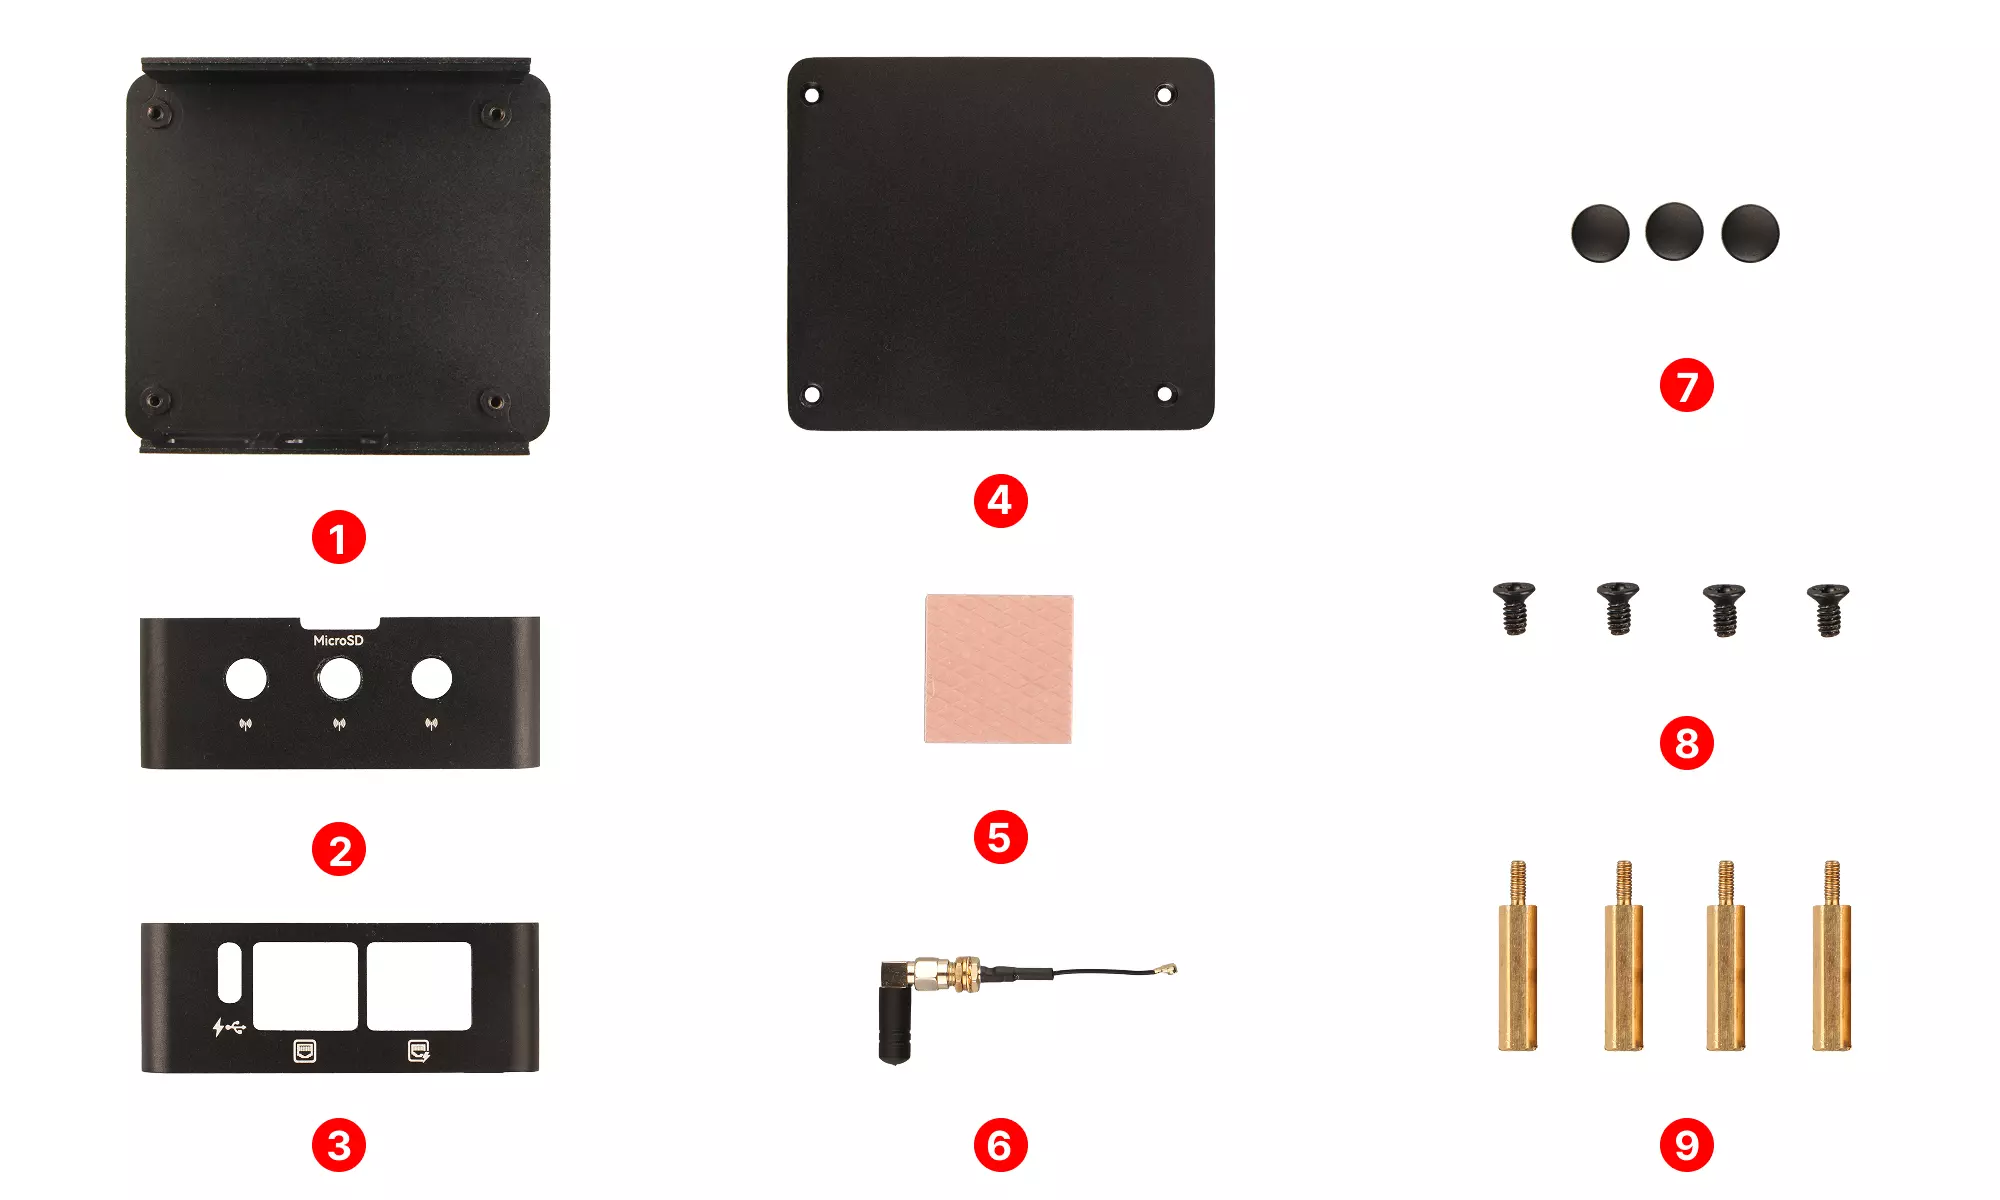
Parts List
- ① : 1x Heatsink
- ② : 1x Right side cover
- ③ : 1x Left side cover
- ④ : 1x Bottom cover
- ⑤ : 1x Thermal pad
- ⑥ : 1x Set of rod antennas
- ⑦ : 3x Antenna hole plugs
- ⑧ : 4x KM243.5 mm screws
- ⑨ : 4x M2*16.6 mm standoffs
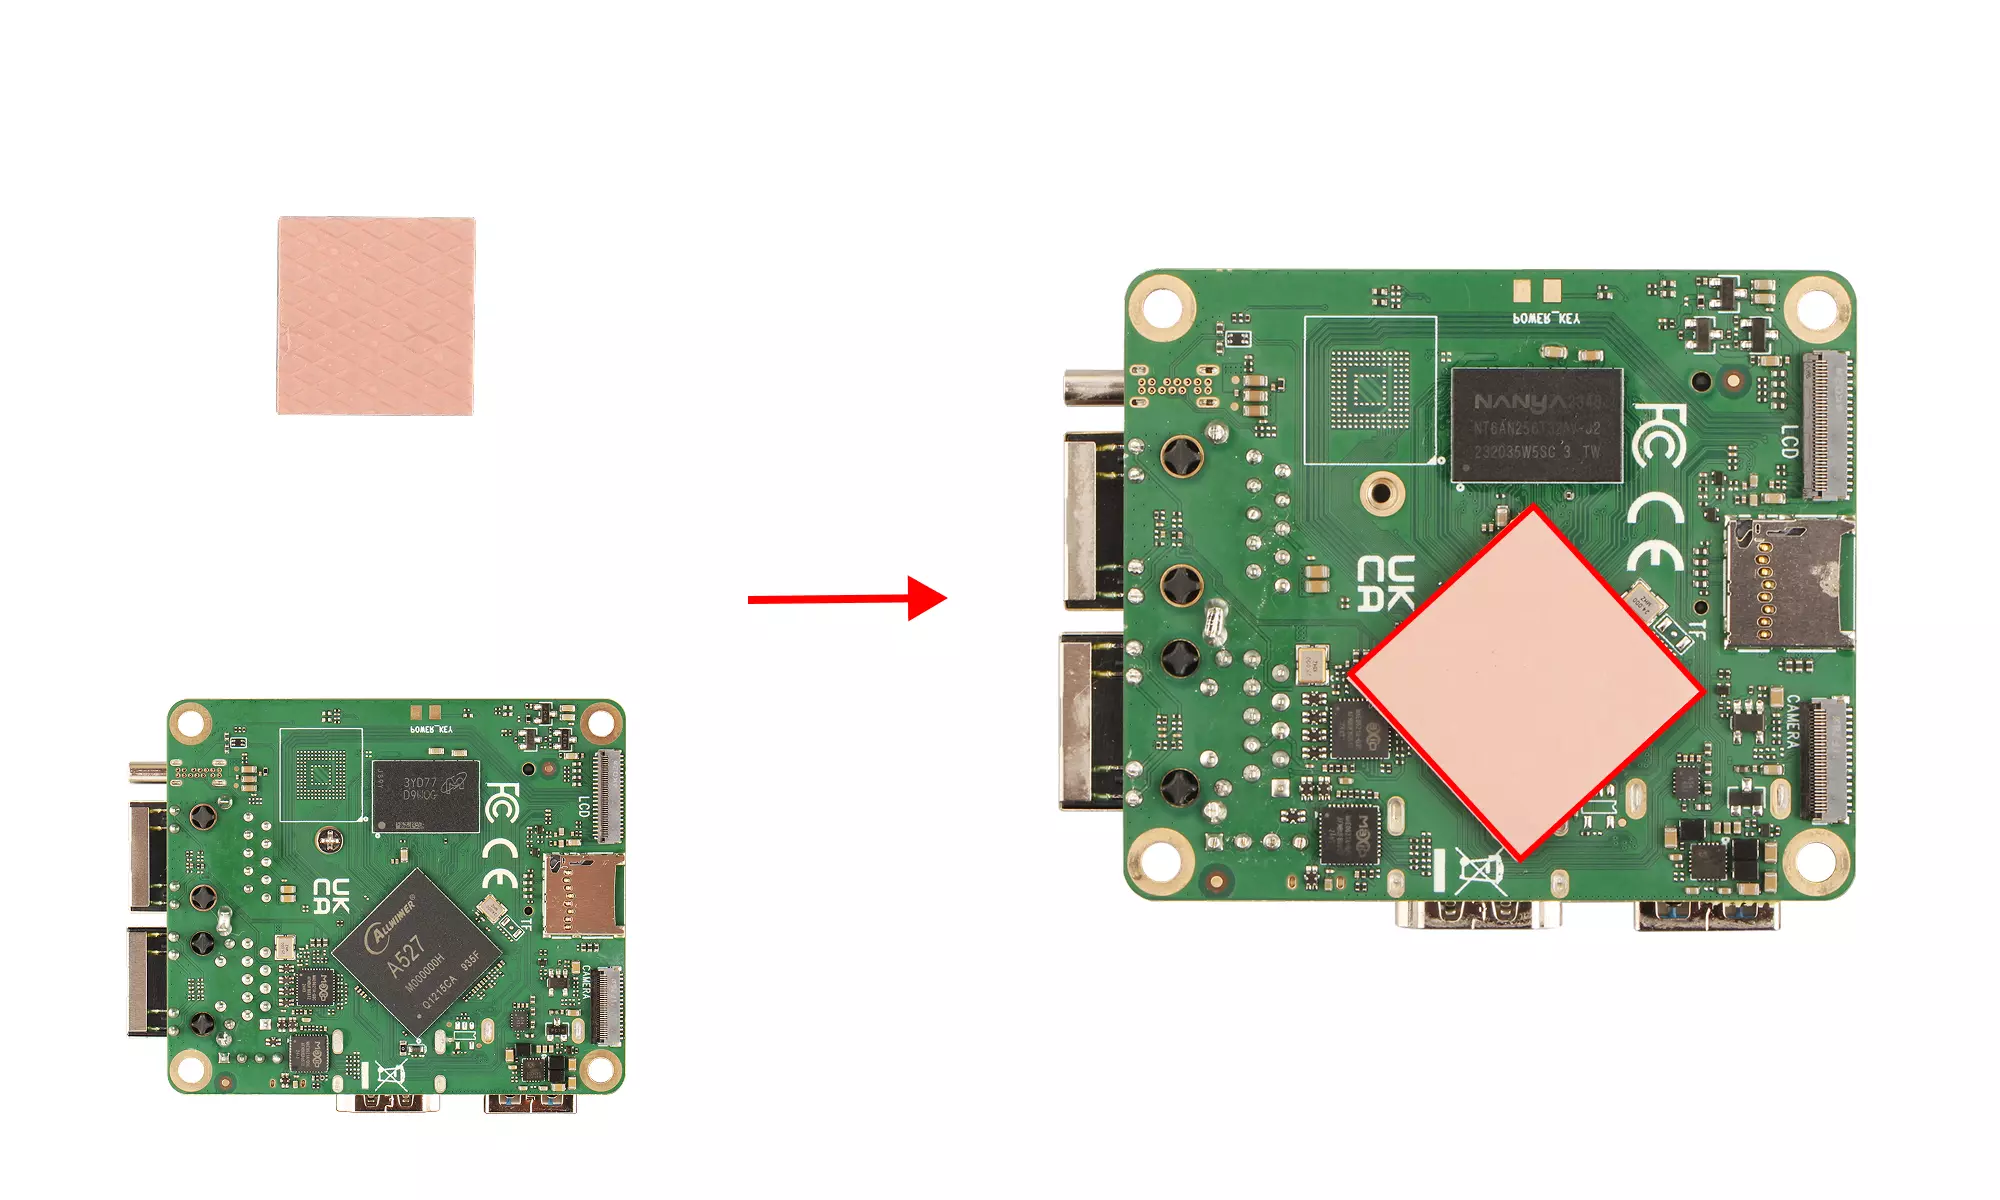
Step 1: Install Thermal Pad
- Apply the thermal pad to the back of the mainboard at the SoC location
Step 2: Place the Mainboard
- Align the heatsink so that its side cutouts match the board's ports (USB, HDMI, etc. should be exposed)
- Gently place the mainboard onto the four raised positioning posts of the heatsink

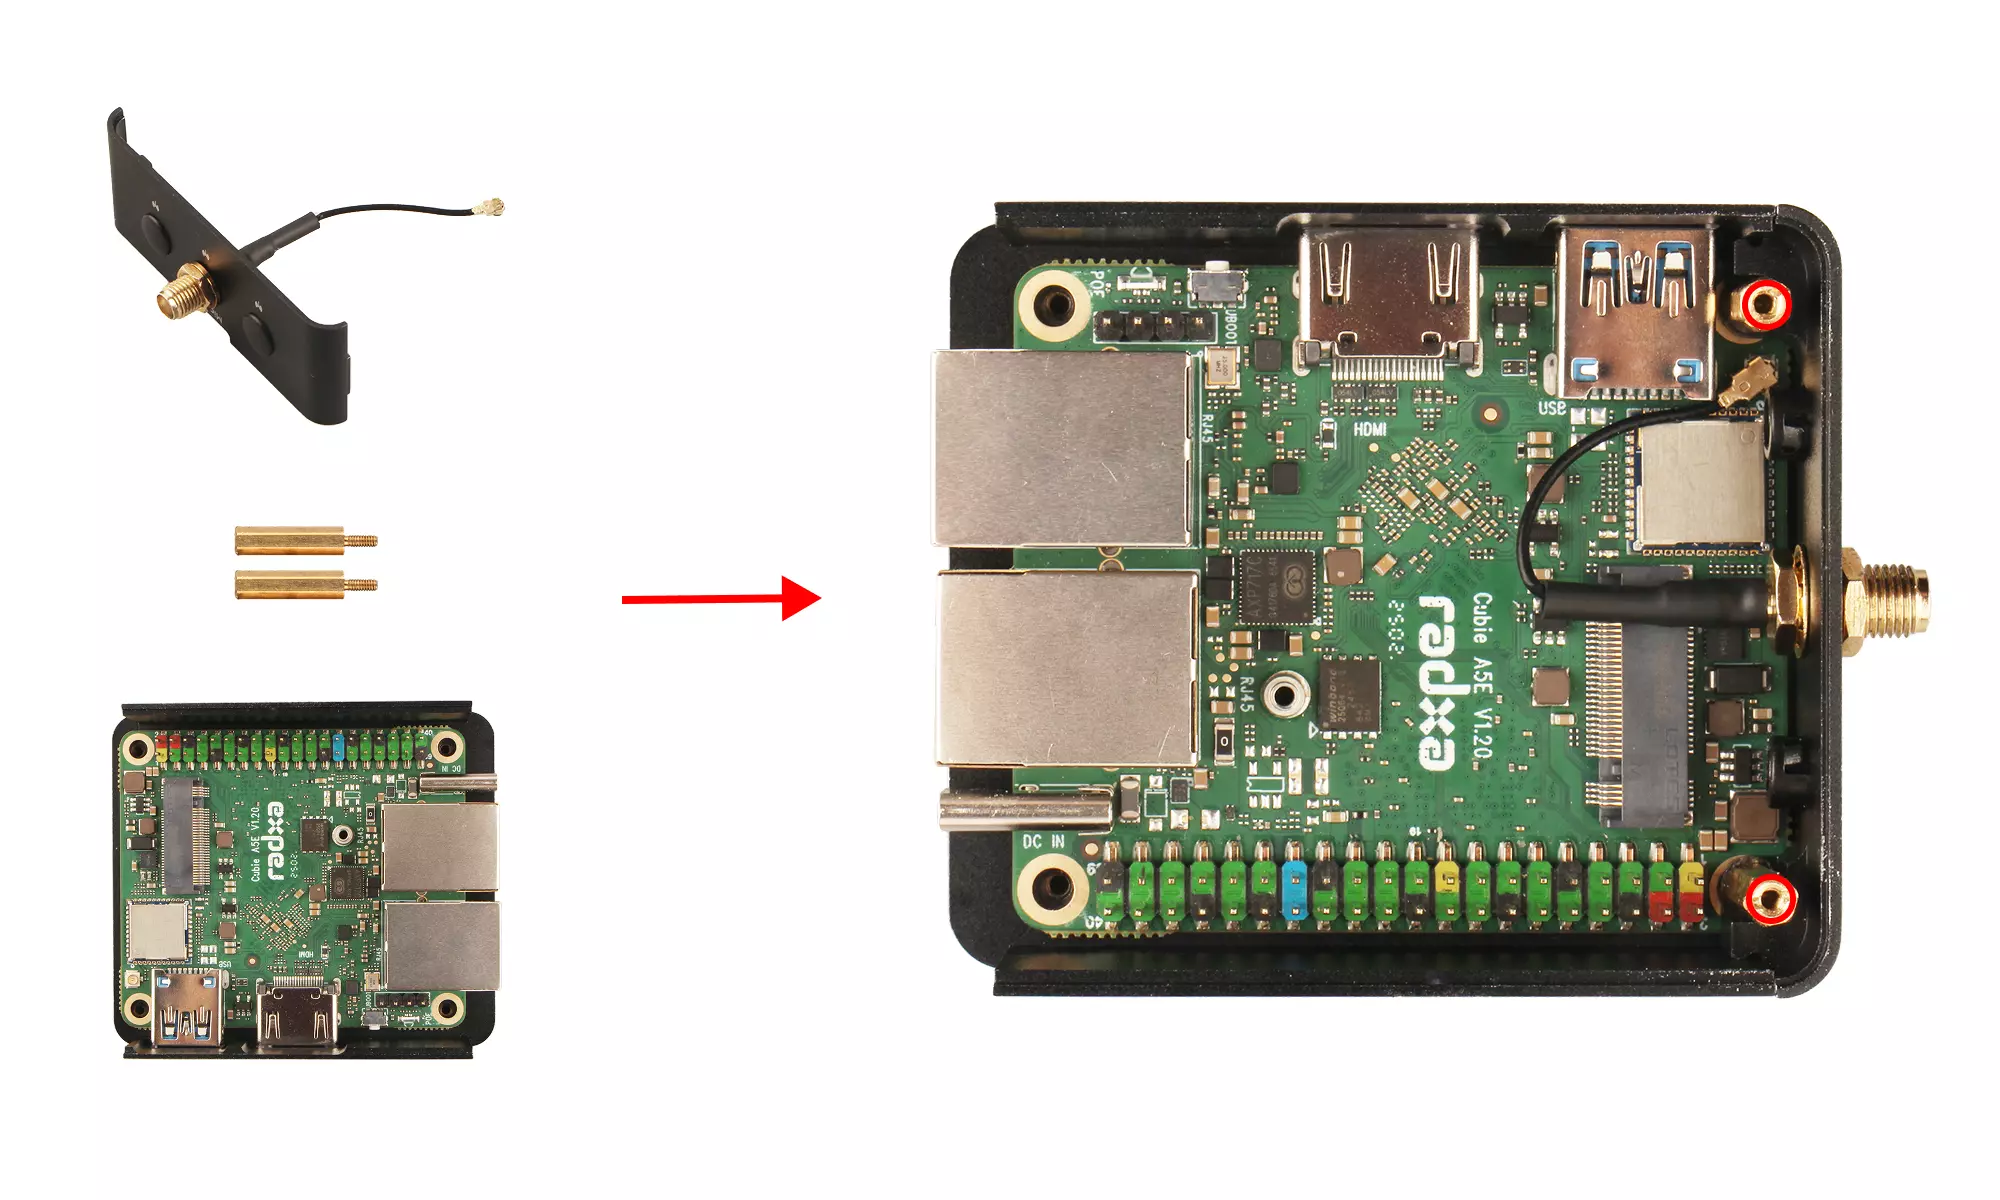
Step 3: Install Antennas
- Attach the antennas to the left side cover (do not install the antenna rods yet)
- Use the antenna hole plugs to cover any unused antenna holes to prevent dust and debris from entering

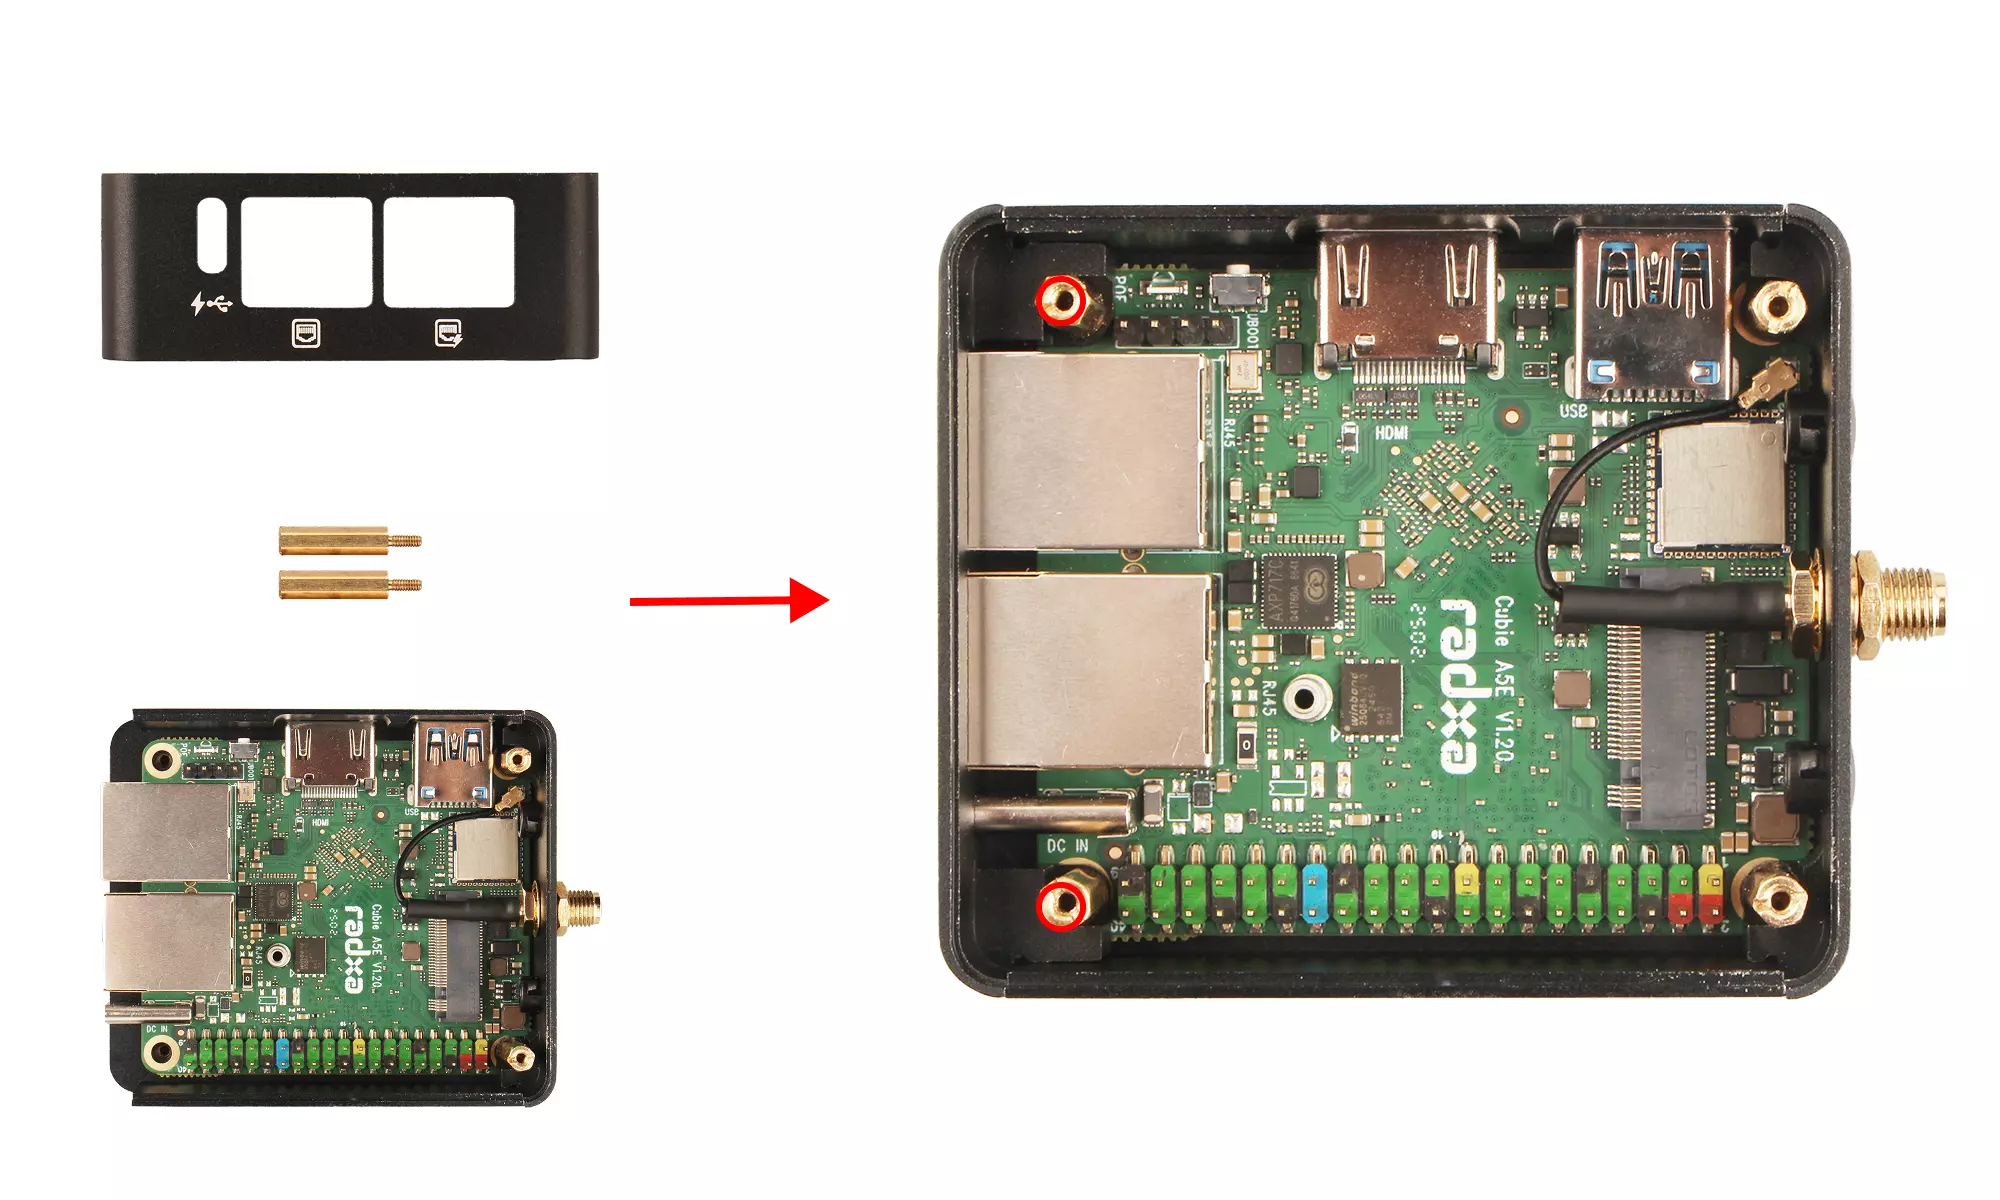
Step 4: Secure the Right Side Cover
- Align the antenna IPEX connectors vertically with the WiFi module interface on the mainboard and press down until you hear a "click"
- Align the holes on the right side cover with the positioning holes on the heatsink
- Use a flathead screwdriver to tighten 2x M2*16.6 mm standoffs to secure the right side cover
Step 5: Secure the Left Side Cover
- Align the holes on the left side cover with the positioning holes on the heatsink
- Use a flathead screwdriver to tighten 2x M2*16.6 mm standoffs to secure the left side cover
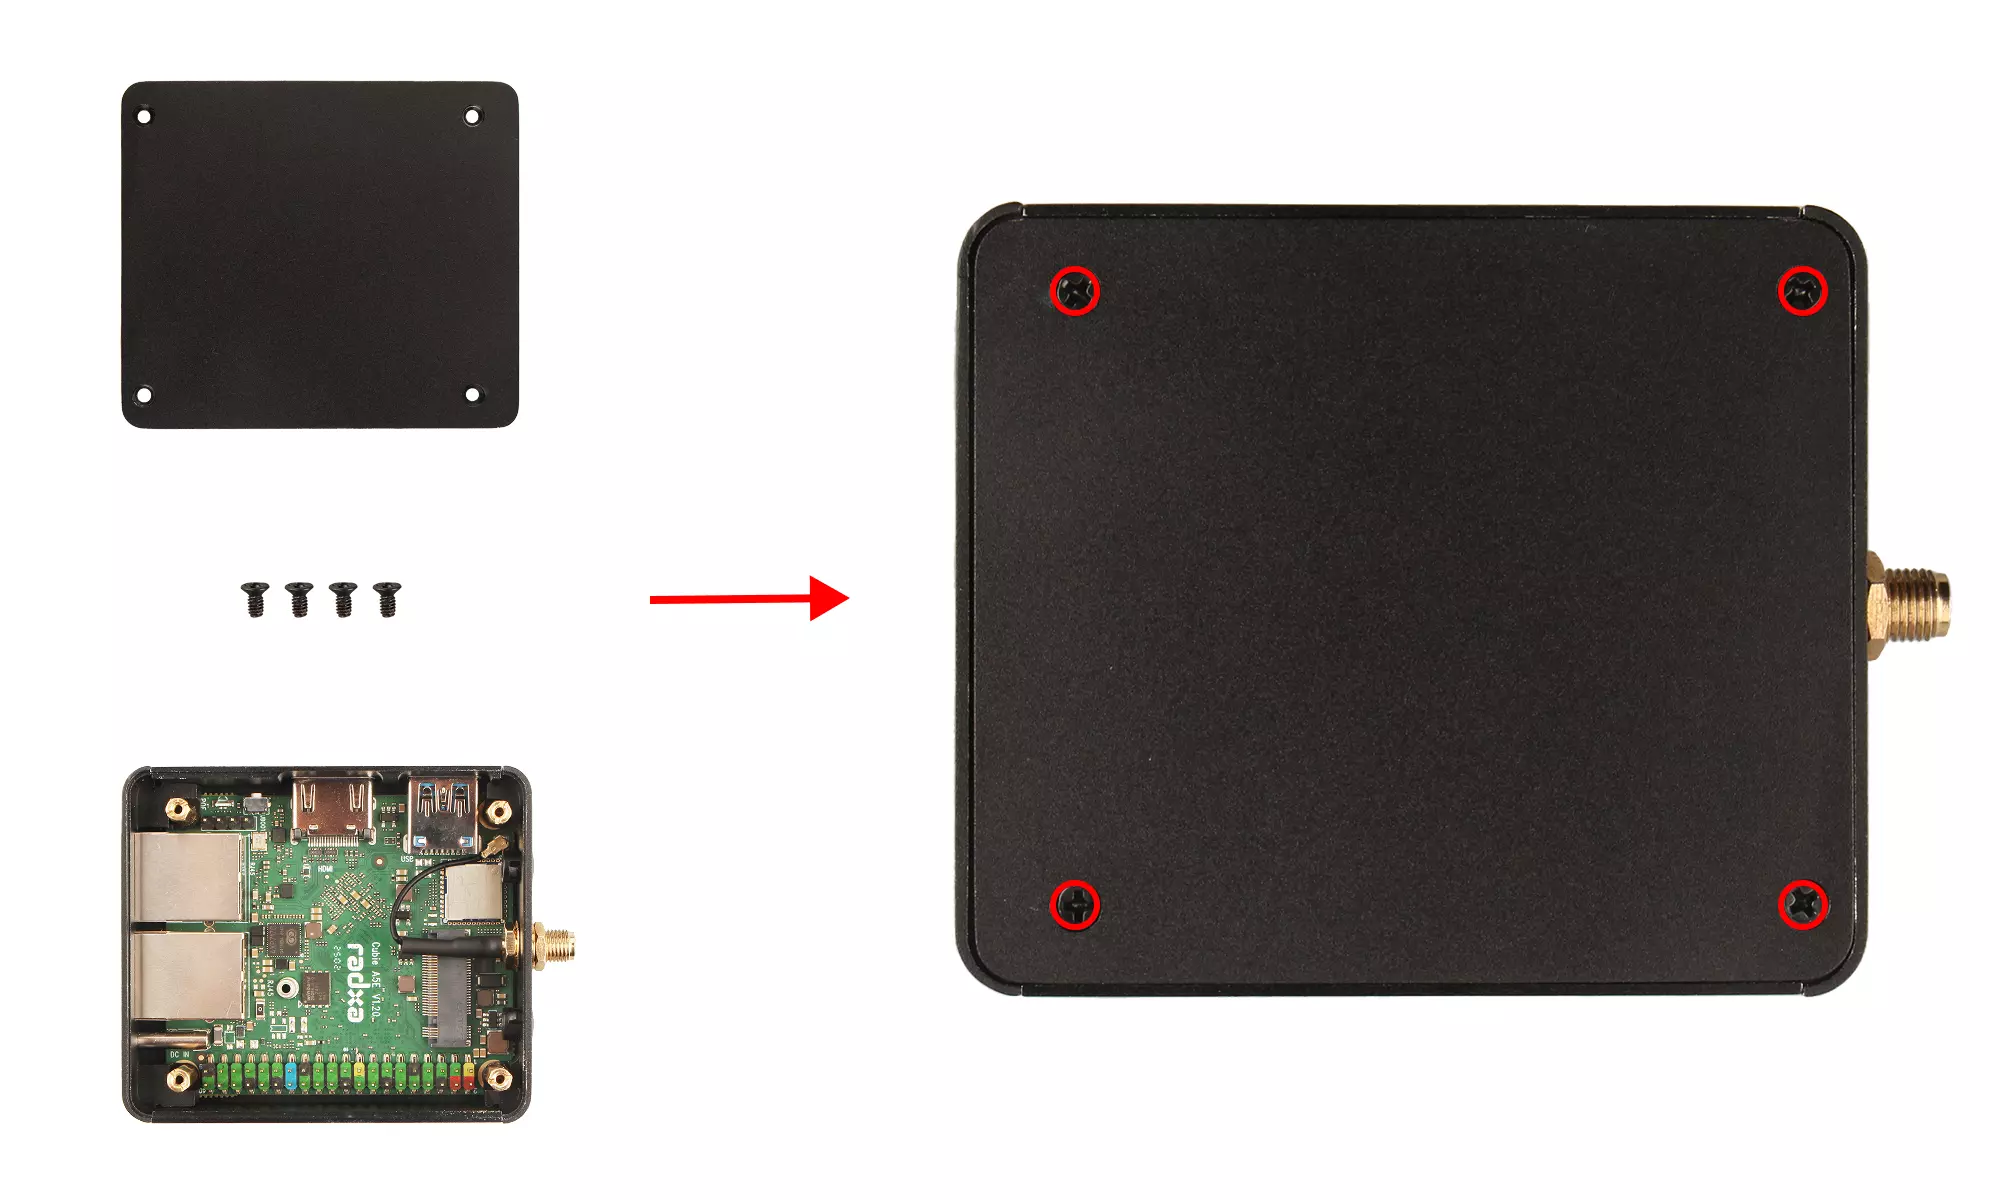
Step 6: Secure the Bottom Cover
- Align the holes on the bottom cover with the standoffs
- Use a cross-head screwdriver to tighten 4x KM243.5 mm screws in a diagonal sequence to secure the bottom cover
Step 7: Install Antenna Rods
- Rotate the antenna rod nuts to secure them in place