Quick Start
This guide helps you quickly get started with the Radxa Taco.
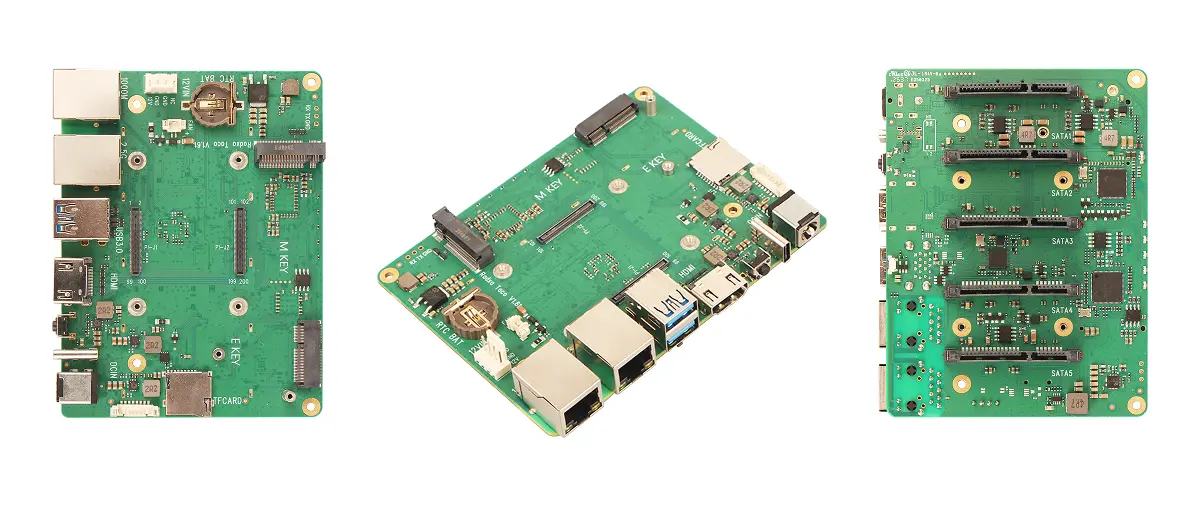
Product Views
| No. | View | No. | View | No. | View |
|---|---|---|---|---|---|
| Left | Taco Front View | Center | Taco Side View | Right | Taco Back View |
Prerequisites
You need to prepare the following hardware in advance:
- Carrier board: Radxa Taco
- Compute module: Raspberry Pi CM5
- Power: 12V DC power adapter
- Display: HDMI cable and monitor
- Input devices: USB keyboard and mouse
Note: If the Raspberry Pi CM5 does not have onboard eMMC, you need an additional microSD card for system installation.
- Radxa DC12V 60W Power Adapter (Recommended)
- Standard 12V DC power adapter, recommended current 3A or above
Install System
Please choose the appropriate installation method based on whether your Raspberry Pi CM5 has onboard eMMC:
- If the Raspberry Pi CM5 has onboard eMMC, refer to Install System to eMMC
- If the Raspberry Pi CM5 does not have onboard eMMC, you need to install the system to a microSD card, refer to Install System to microSD Card
Boot System
- Raspberry Pi CM5 with onboard eMMC
- Raspberry Pi CM5 without onboard eMMC
After completing the system installation, power the Radxa Taco with the 12V DC power adapter. The system will boot from eMMC.
After completing the system installation, install the microSD card into the Radxa Taco's microSD card slot, then power the Radxa Taco with the 12V DC power adapter. The system will boot from the microSD card.
After the system boots normally, the power indicator LED will light up green.
Using the System
Connect the monitor, keyboard, and mouse to the Radxa Taco. Complete the initial setup according to the system prompts and you can start using it.
Note: Since the Radxa Taco combined with Raspberry Pi CM5 generates significant heat during operation, it is recommended to install a heatsink to improve cooling performance.