Enable PCIe Gen3
Enable PCIe
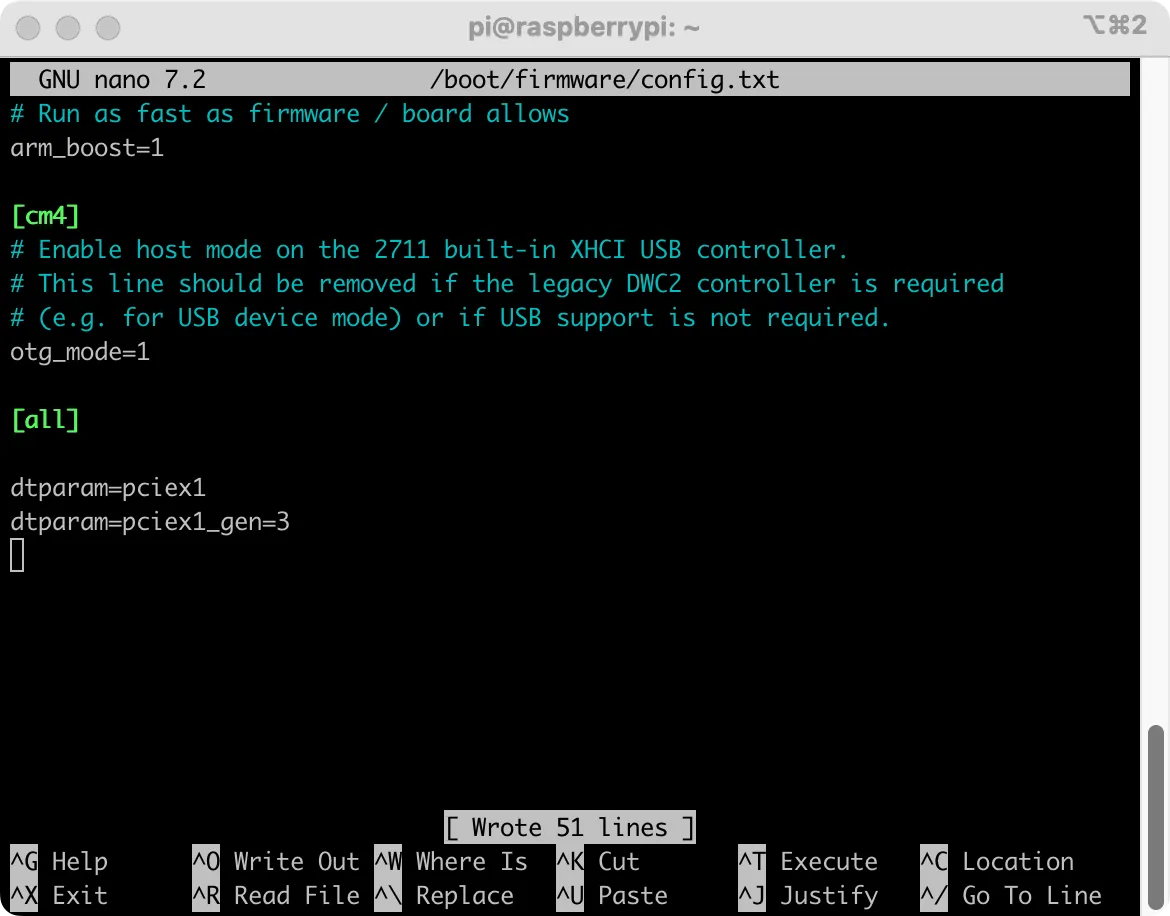
Edit the /boot/firmware/config.txt file.
radxa@radxa-taco$
sudo nano /boot/firmware/config.txt
Add dtparam=pciex1 to the end of the file, then save and reboot.
dtparam=pciex1
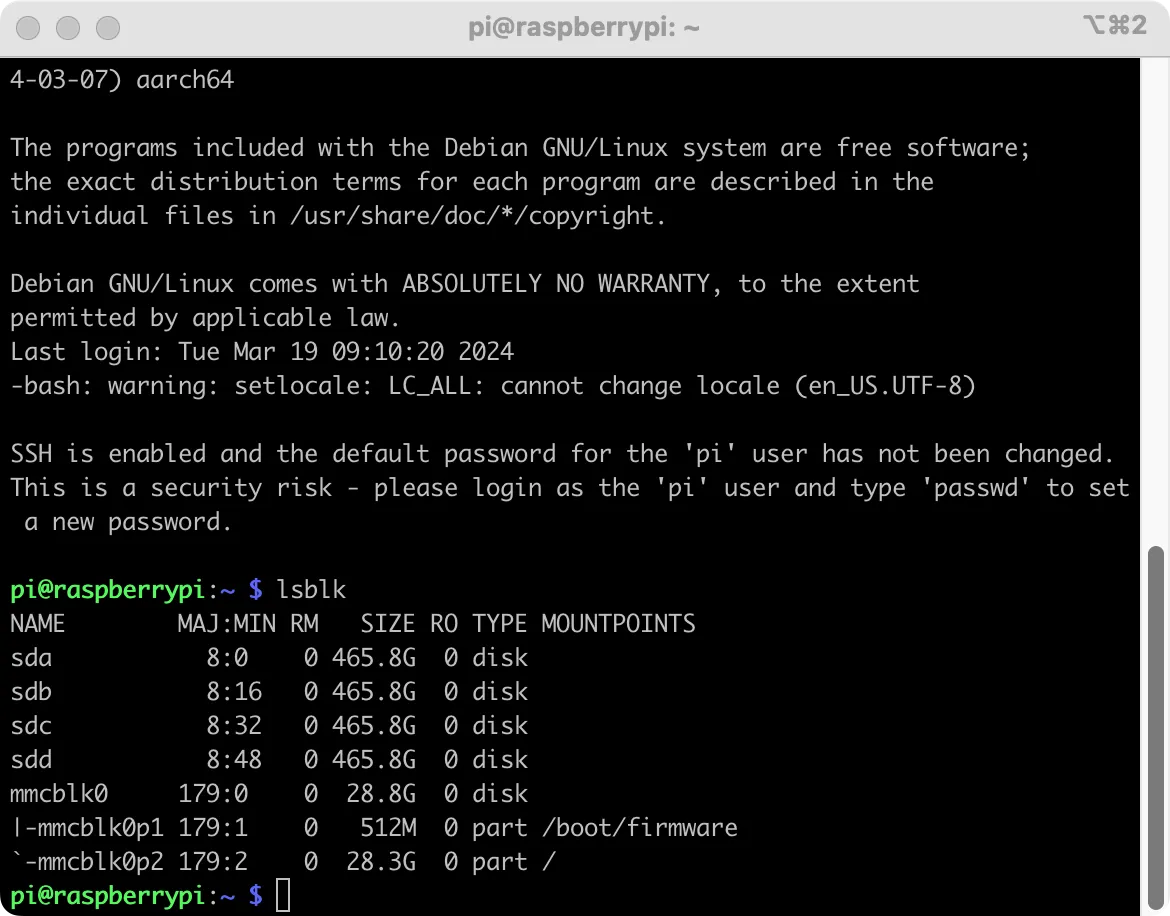
Check Disks
Use the lsblk command to view disk devices.
radxa@radxa-taco$
lsblk
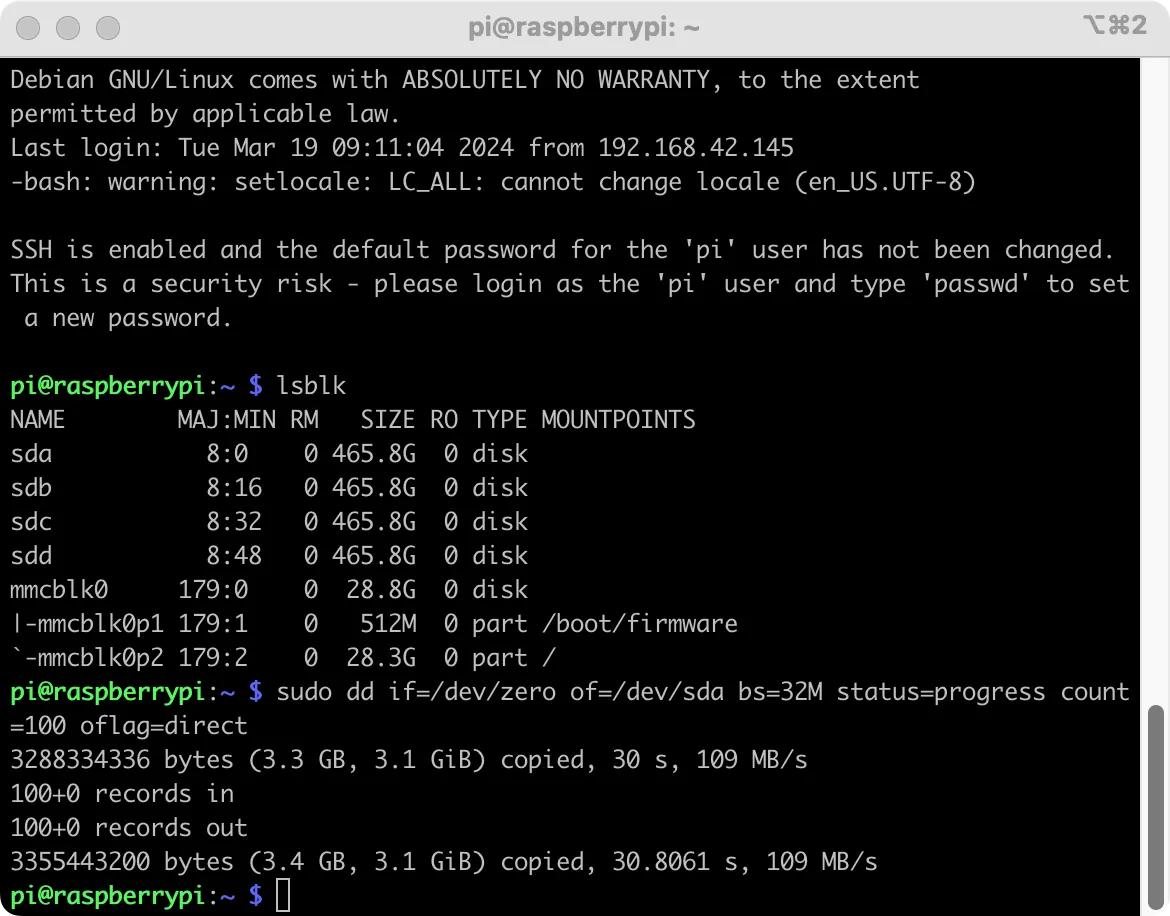
Speed Test
Below is a simple speed test. Since a mechanical hard drive is used, the speed is relatively lower.
radxa@radxa-taco$
sudo dd if=/dev/zero of=/dev/sda bs=32M status=progress count=100 oflag=direct
Force Gen 3
Adding dtparam=pciex1_gen=3 to /boot/firmware/config.txt allows the Raspberry Pi CM5 to force PCIe Gen 3.
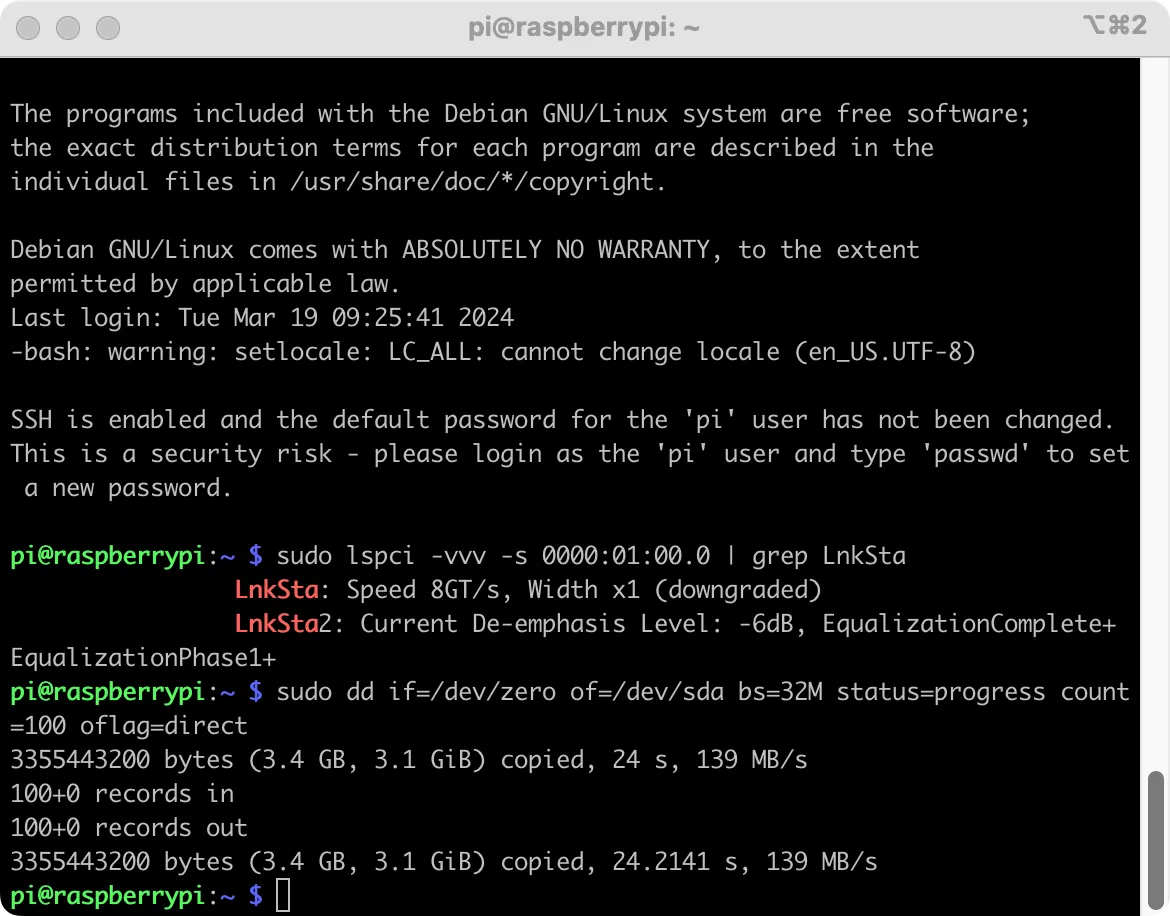
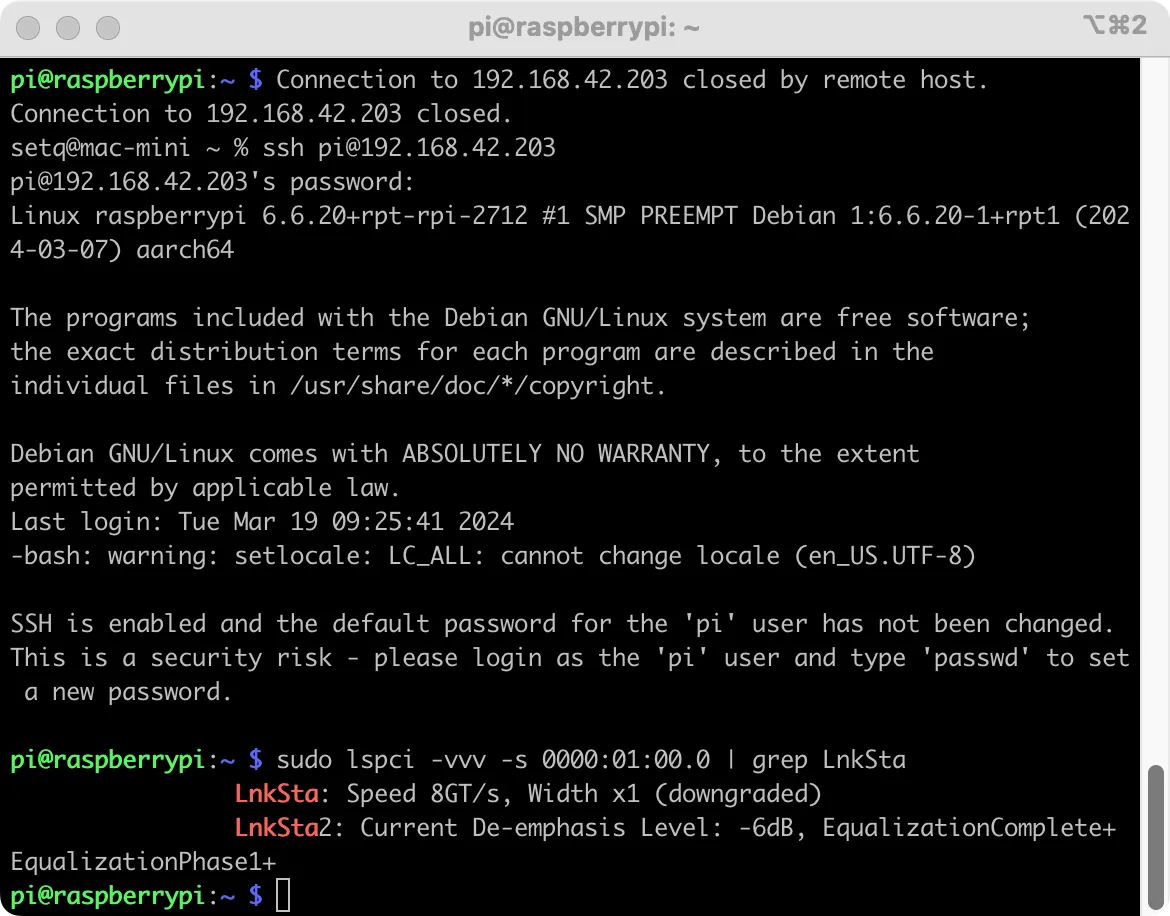
After adding and rebooting, use the following commands to check the Radxa Taco connection status.
radxa@radxa-taco$
sudo lspci
sudo lspci -vvv -s 0000:01:00.1 | grep LnkSta
After seeing Gen3 is used, we can test the write speed again.