Getting started
Using ROCK 5B+ as the primary example, this guide explains how to pair the Radxa AICore AX-M1 with your hardware.
Product overview
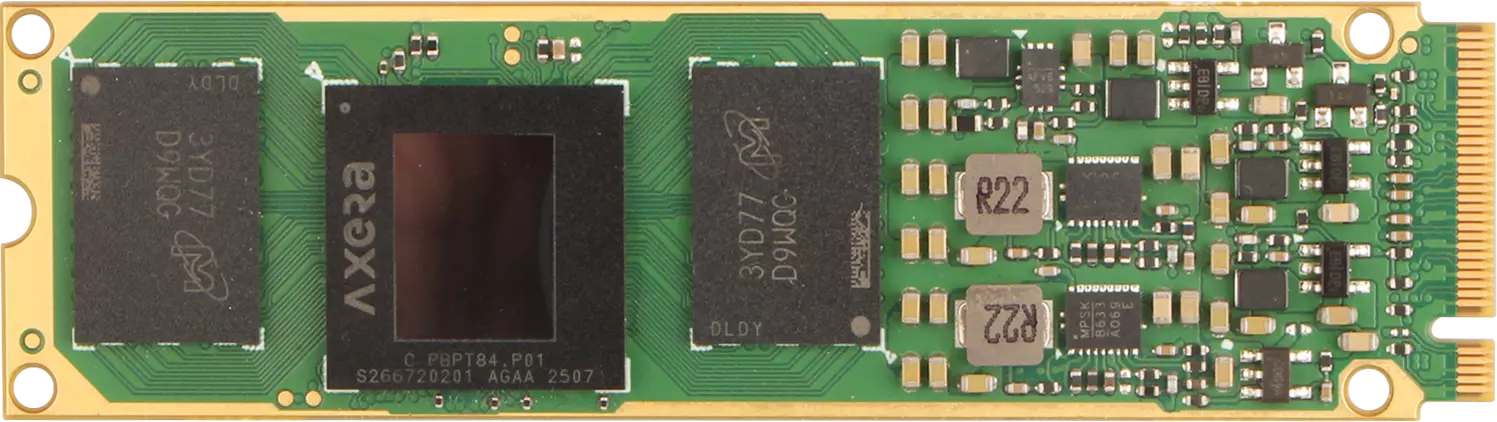
Radxa AICore AX-M1 (front)
Radxa AICore AX-M1 (back)

Requirements
Prepare the following hardware before using the Radxa AICore AX-M1:
- AI compute module: Radxa AICore AX-M1
- BOard kit: compatible Board + power adapter + boot media (e.g., microSD card)
Verified Radxa-compatible boards
- ROCK 2A
- ROCK 2F
- ROCK 3B
- ROCK 3C
- ROCK 4A/4A+/4B/4B+/SE
- ROCK 5A/5B/5B+/5C/5T/5ITX
- Dragon Q6A
- Orion O6
- Orion O6N
- Cubie A5E
- Raspberry Pi 5
Requirements
Your Board must meet all of the following:
- Boot the operating system normally
- Provide an available M.2 M Key slot for installing the Radxa AICore AX-M1
Hardware installation
For ROCK 5B+, follow the hardware installation guide to install the Radxa AICore AX-M1.
Notes
Boards that support M.2 M Key peripherals share similar installation steps. Refer to the same hardware installation guide.
Environment setup
See environment setup to prepare the software environment for the Radxa AICore AX-M1.
Quick validation
Use quick validation to run inference with the Radxa AICore AX-M1.