Hardware installation
Using ROCK 5B+ as the primary example, this guide shows how to install the Radxa AICore AX-M1 onto the board.
Prerequisites
The Radxa AICore AX-M1 uses an M.2 M Key connector and must be installed into an M.2 M Key slot on the Board.
ROCK 5B+ provides two onboard M.2 M Key slots. Use either slot to install the Radxa AICore AX-M1.
Install the hardware
Always power off the system before installing the Radxa AICore AX-M1. Never install the module while the board is powered.
Pre-install the Radxa AICore AX-M1
Insert the M.2 M Key end of the Radxa AICore AX-M1 into the Board slot at a slight angle (about 15 degrees), then gently slide it in.

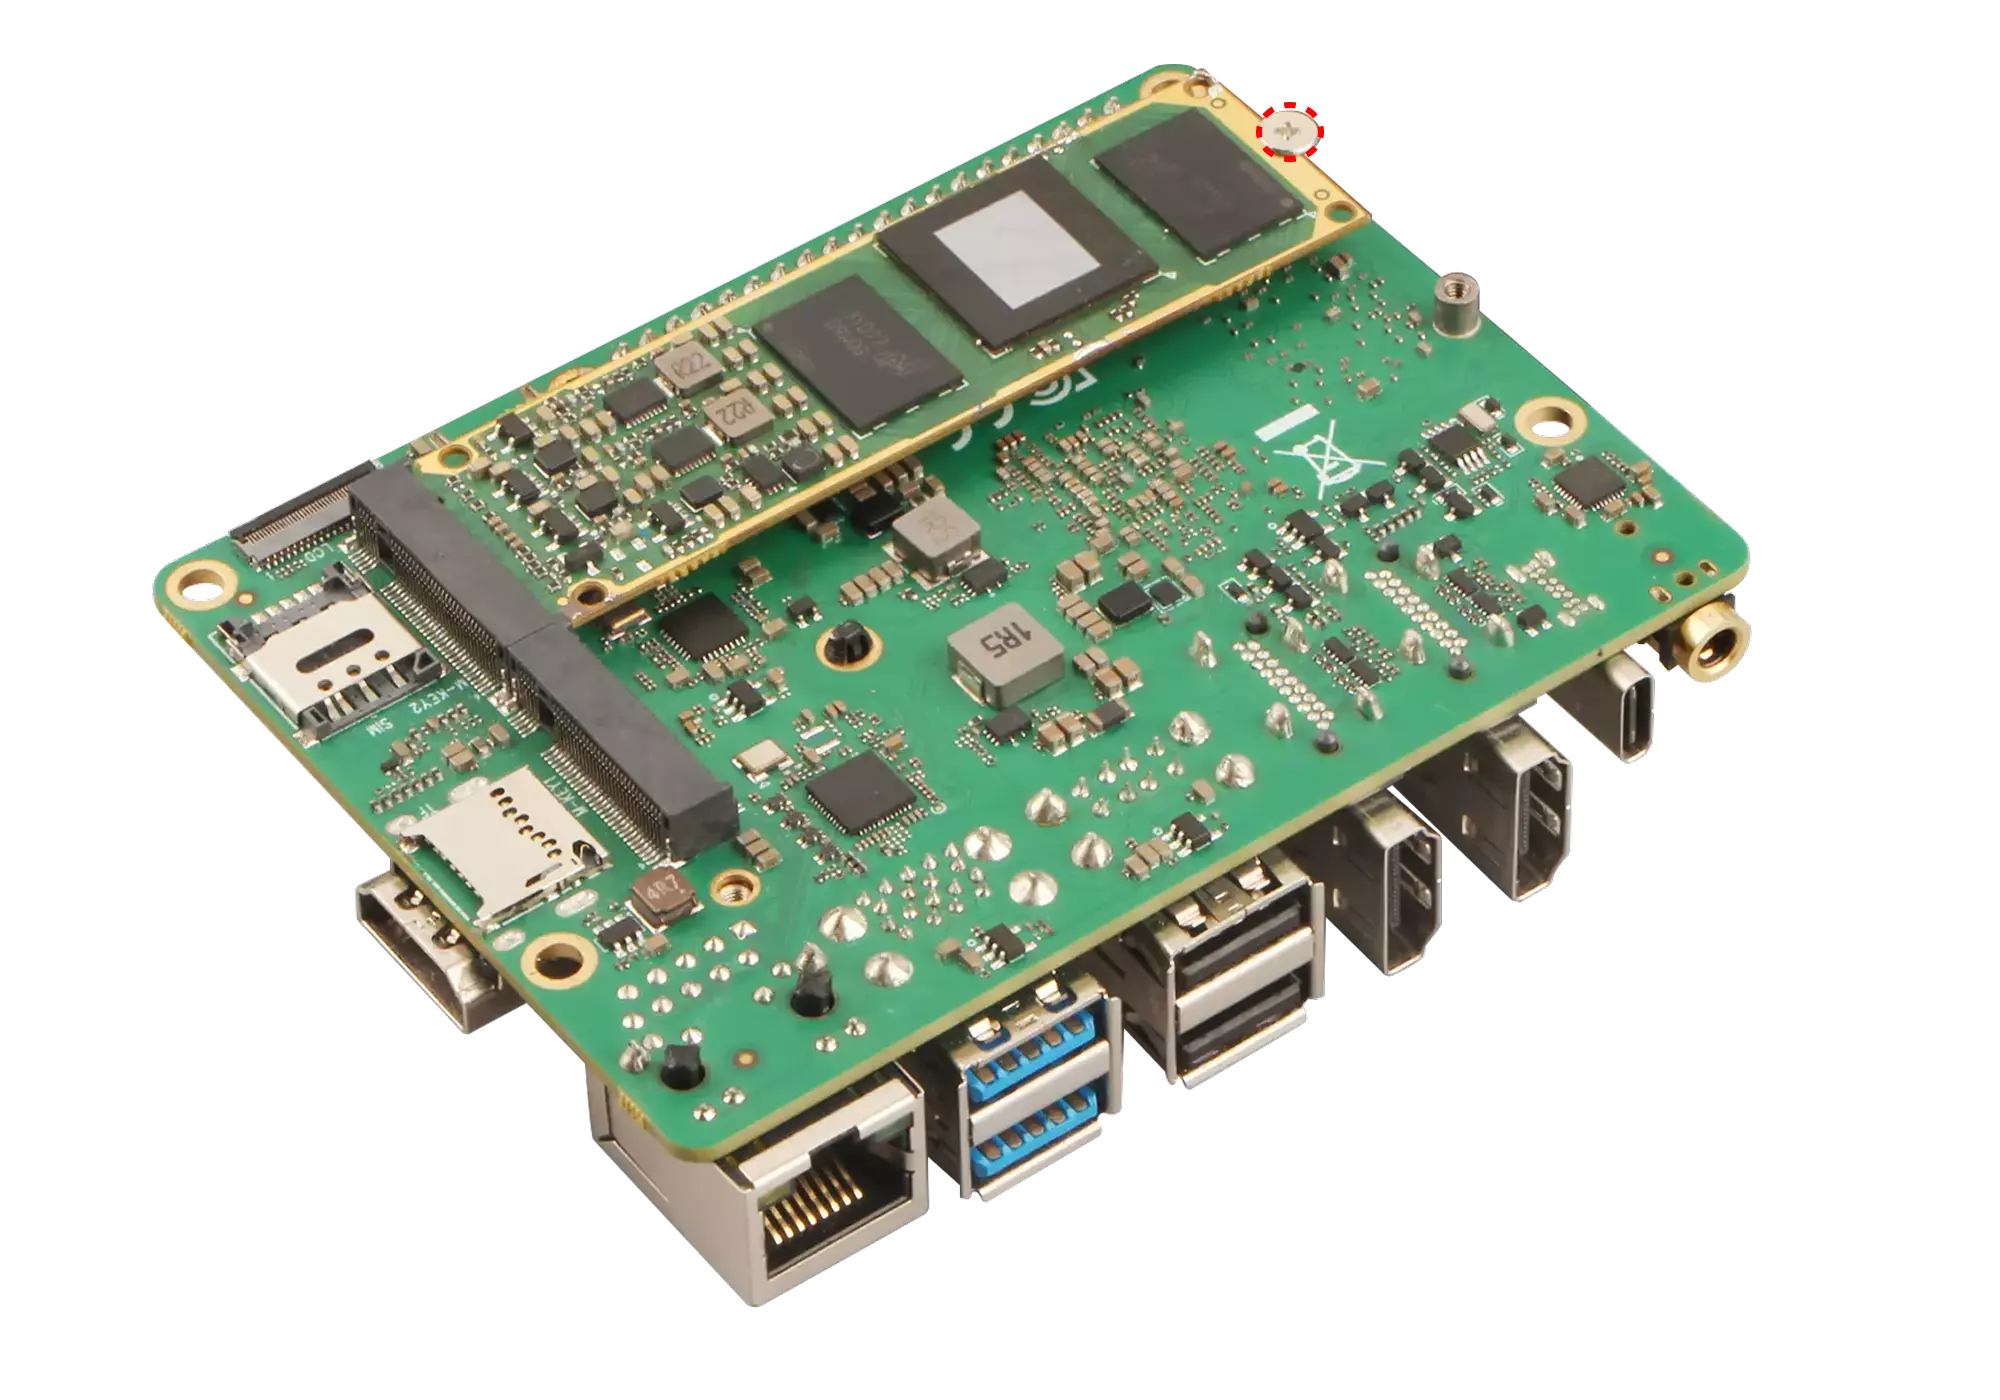
Secure the Radxa AICore AX-M1
Once the Radxa AICore AX-M1 is aligned in the slot, press the free end down and use a screw to secure it to the Board.
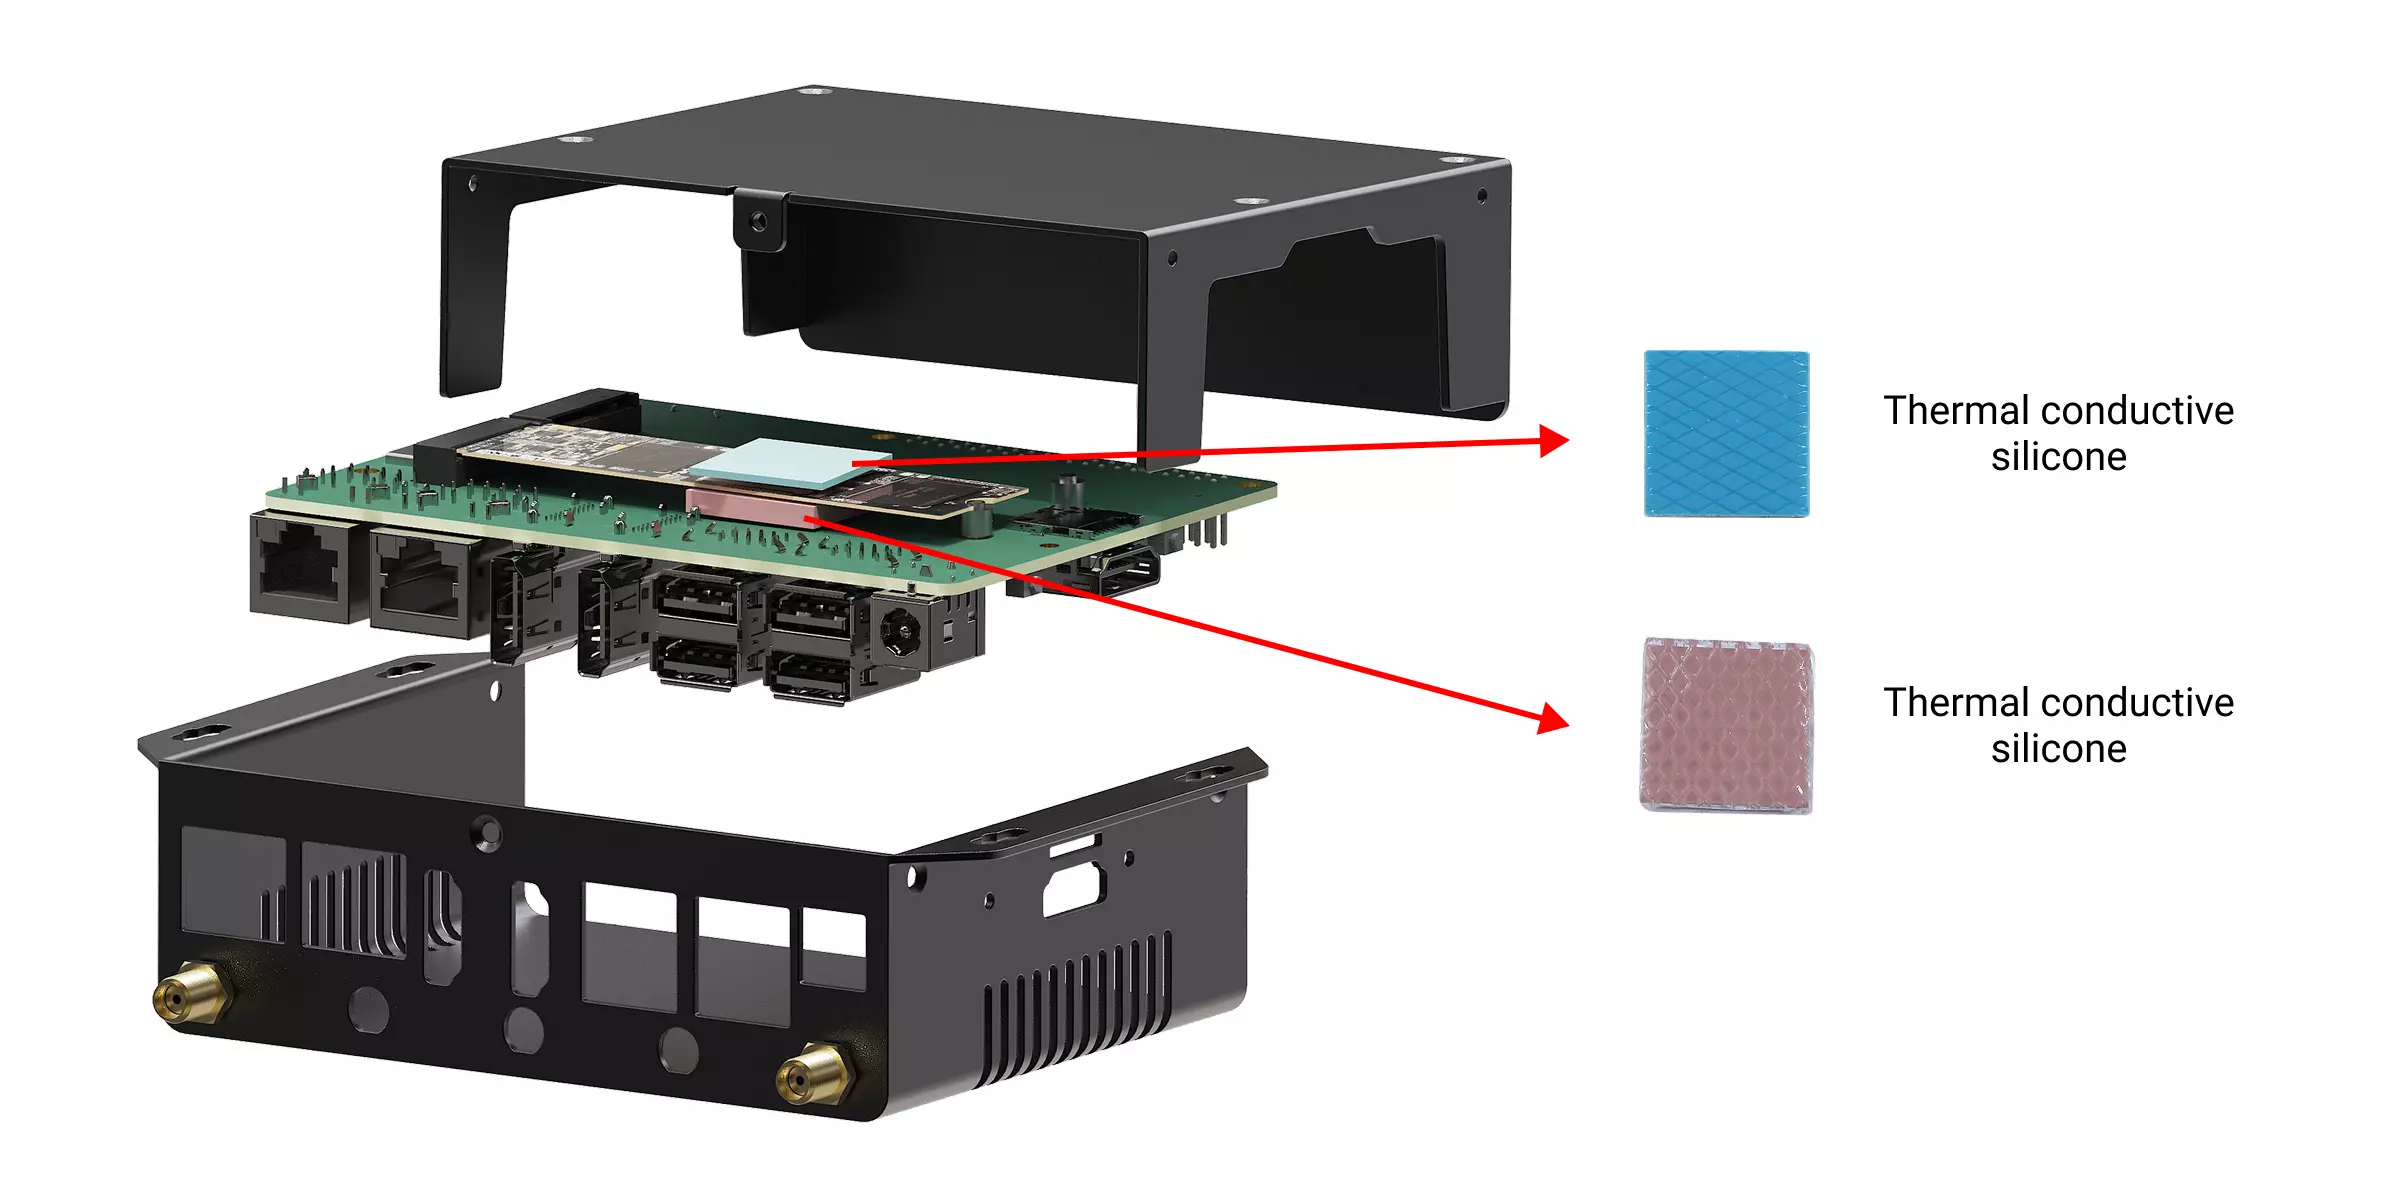
Thermal guidance
The Radxa AICore AX-M1 can generate substantial heat under load. For reliable thermals, we recommend active cooling or a metal enclosure for passive dissipation (see section 3.1).
Installation example
When pairing the Radxa AICore AX-M1 with a metal enclosure, ensure the thermal pads on both sides are aligned symmetrically. This prevents uneven mechanical stress or bending.