Hardware installation
This guide explains how to install AIcore DX-M1 / DX-M1M onto a host board.
AIcore DX-M1 / DX-M1M uses an M.2 M Key connector, and must be installed into the host board's M.2 M Key slot.
Install the module
Install AIcore DX-M1 / DX-M1M with the power disconnected. Do not install AIcore DX-M1 / DX-M1M while the system is powered on.
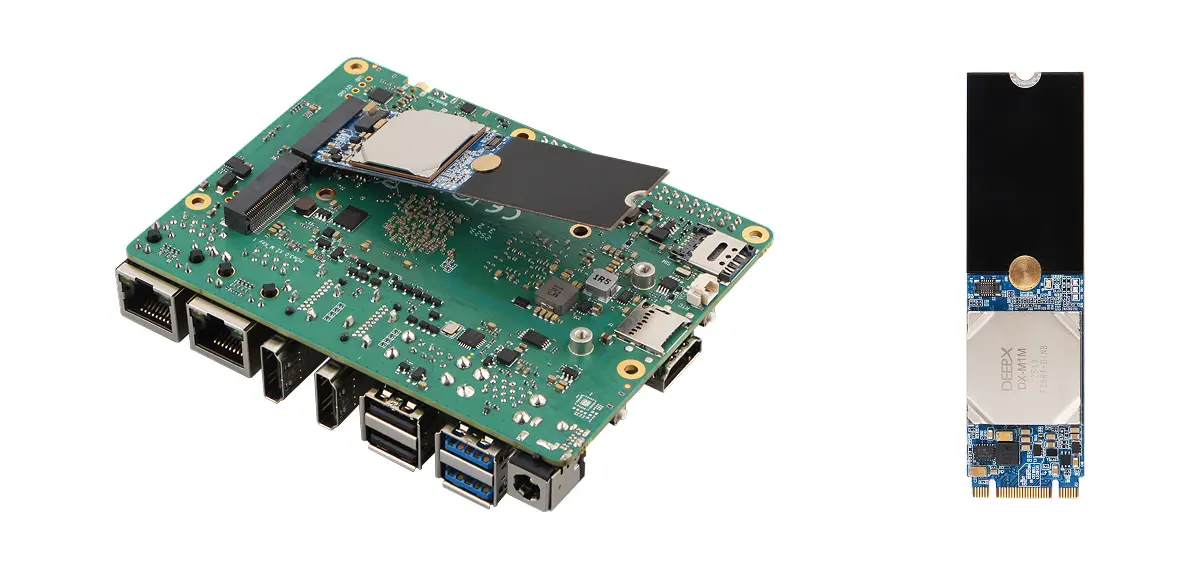
Pre-install AIcore DX-M1 / DX-M1M
- DX-M1
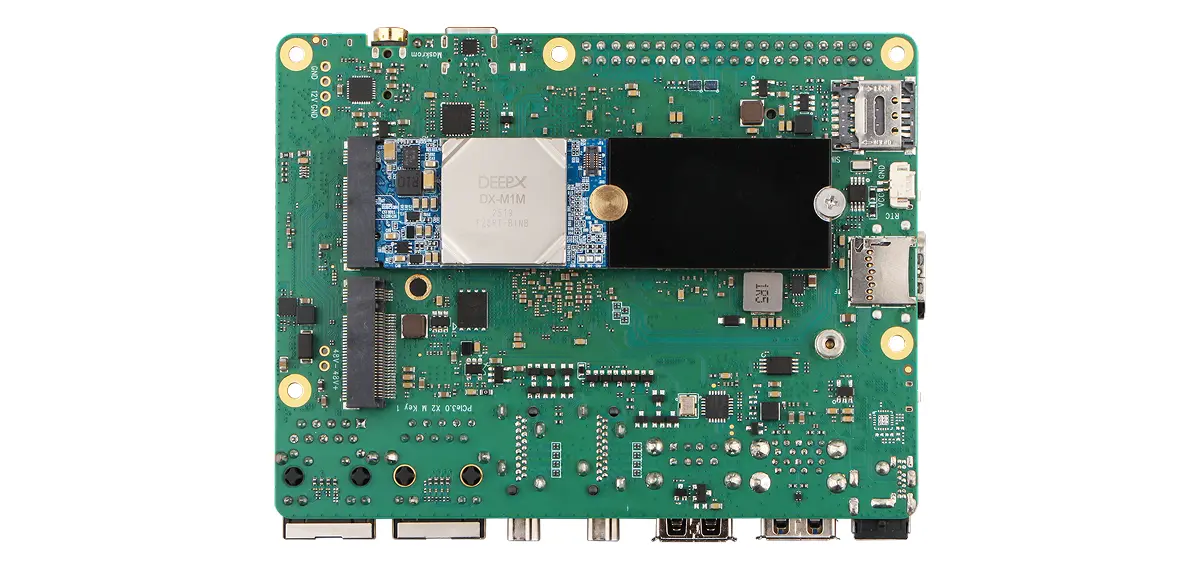
- DX-M1M
Tilt the M.2 M Key edge of AIcore DX-M1 at an angle (about 15 degrees), align it with the host board's M.2 M Key slot, and gently insert it.
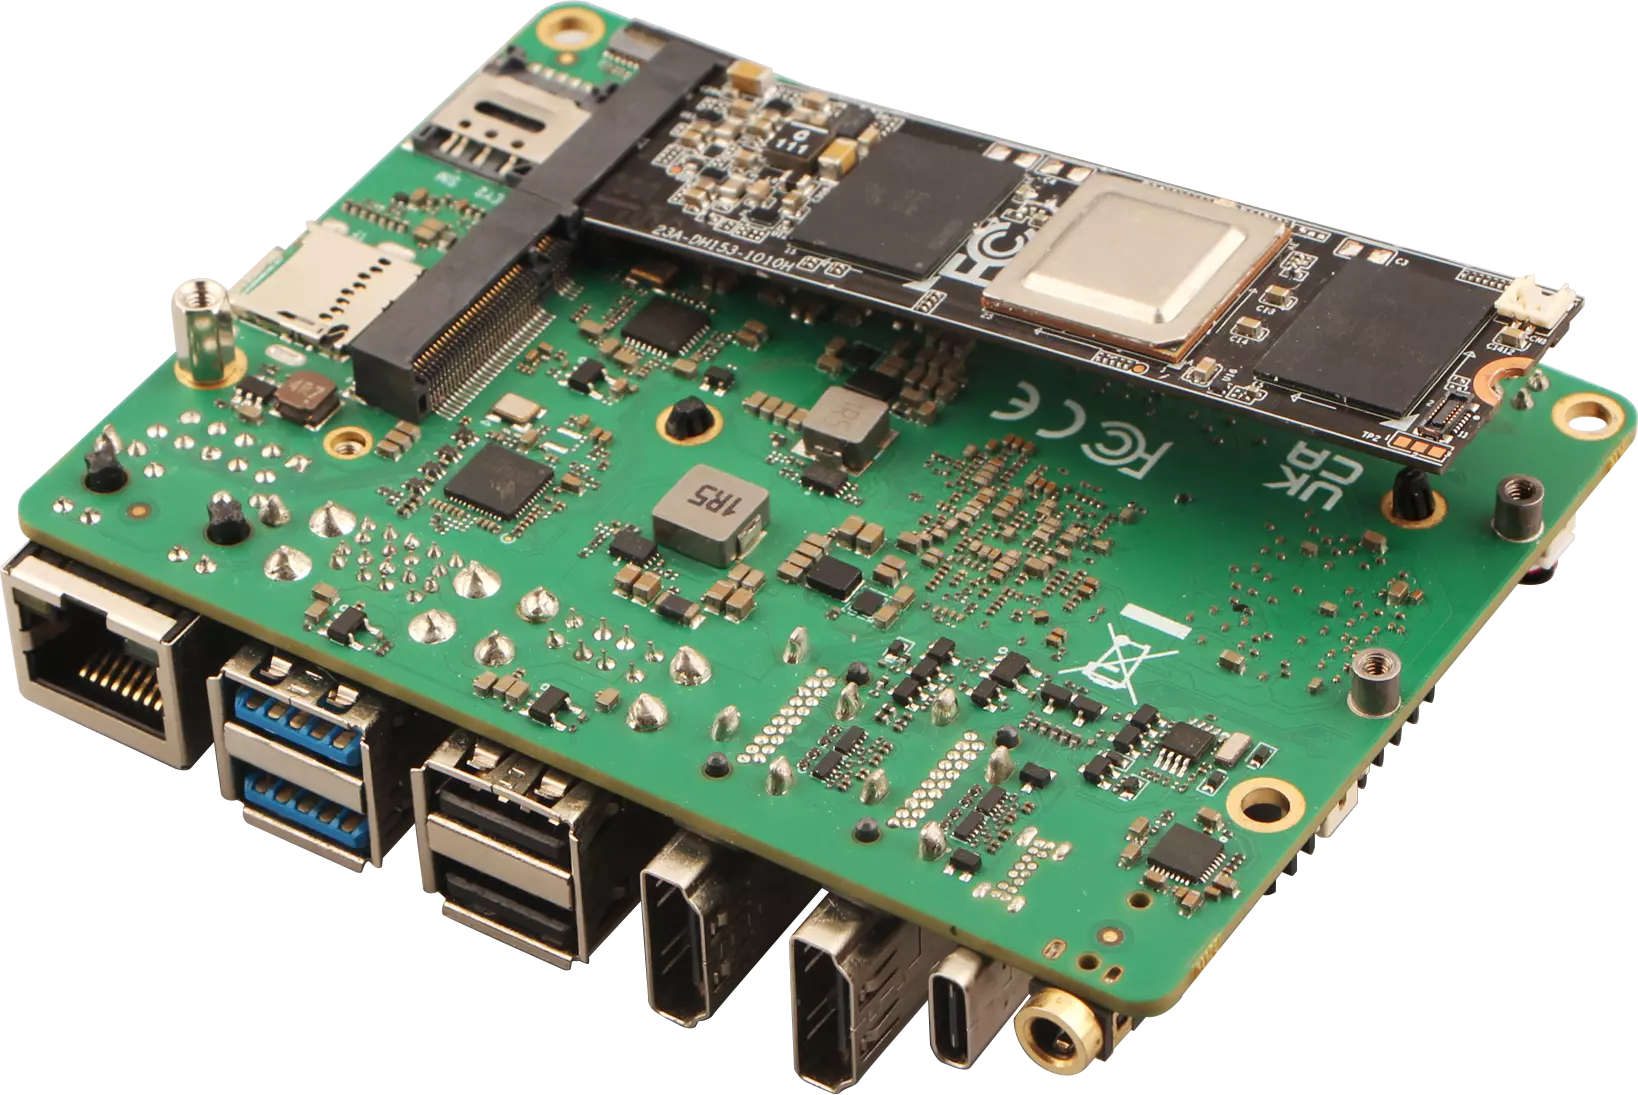
Tilt the M.2 M Key edge of AIcore DX-M1M at an angle (about 15 degrees), align it with the host board's M.2 M Key slot, and gently insert it.
Note: If the host board provides a 2280-length M.2 mounting position, you can use a 2242-to-2280 extension adapter.
Secure the module
- DX-M1
- DX-M1M
After confirming AIcore DX-M1 is properly pre-installed, press the other end down and secure it to the host board using a screw.
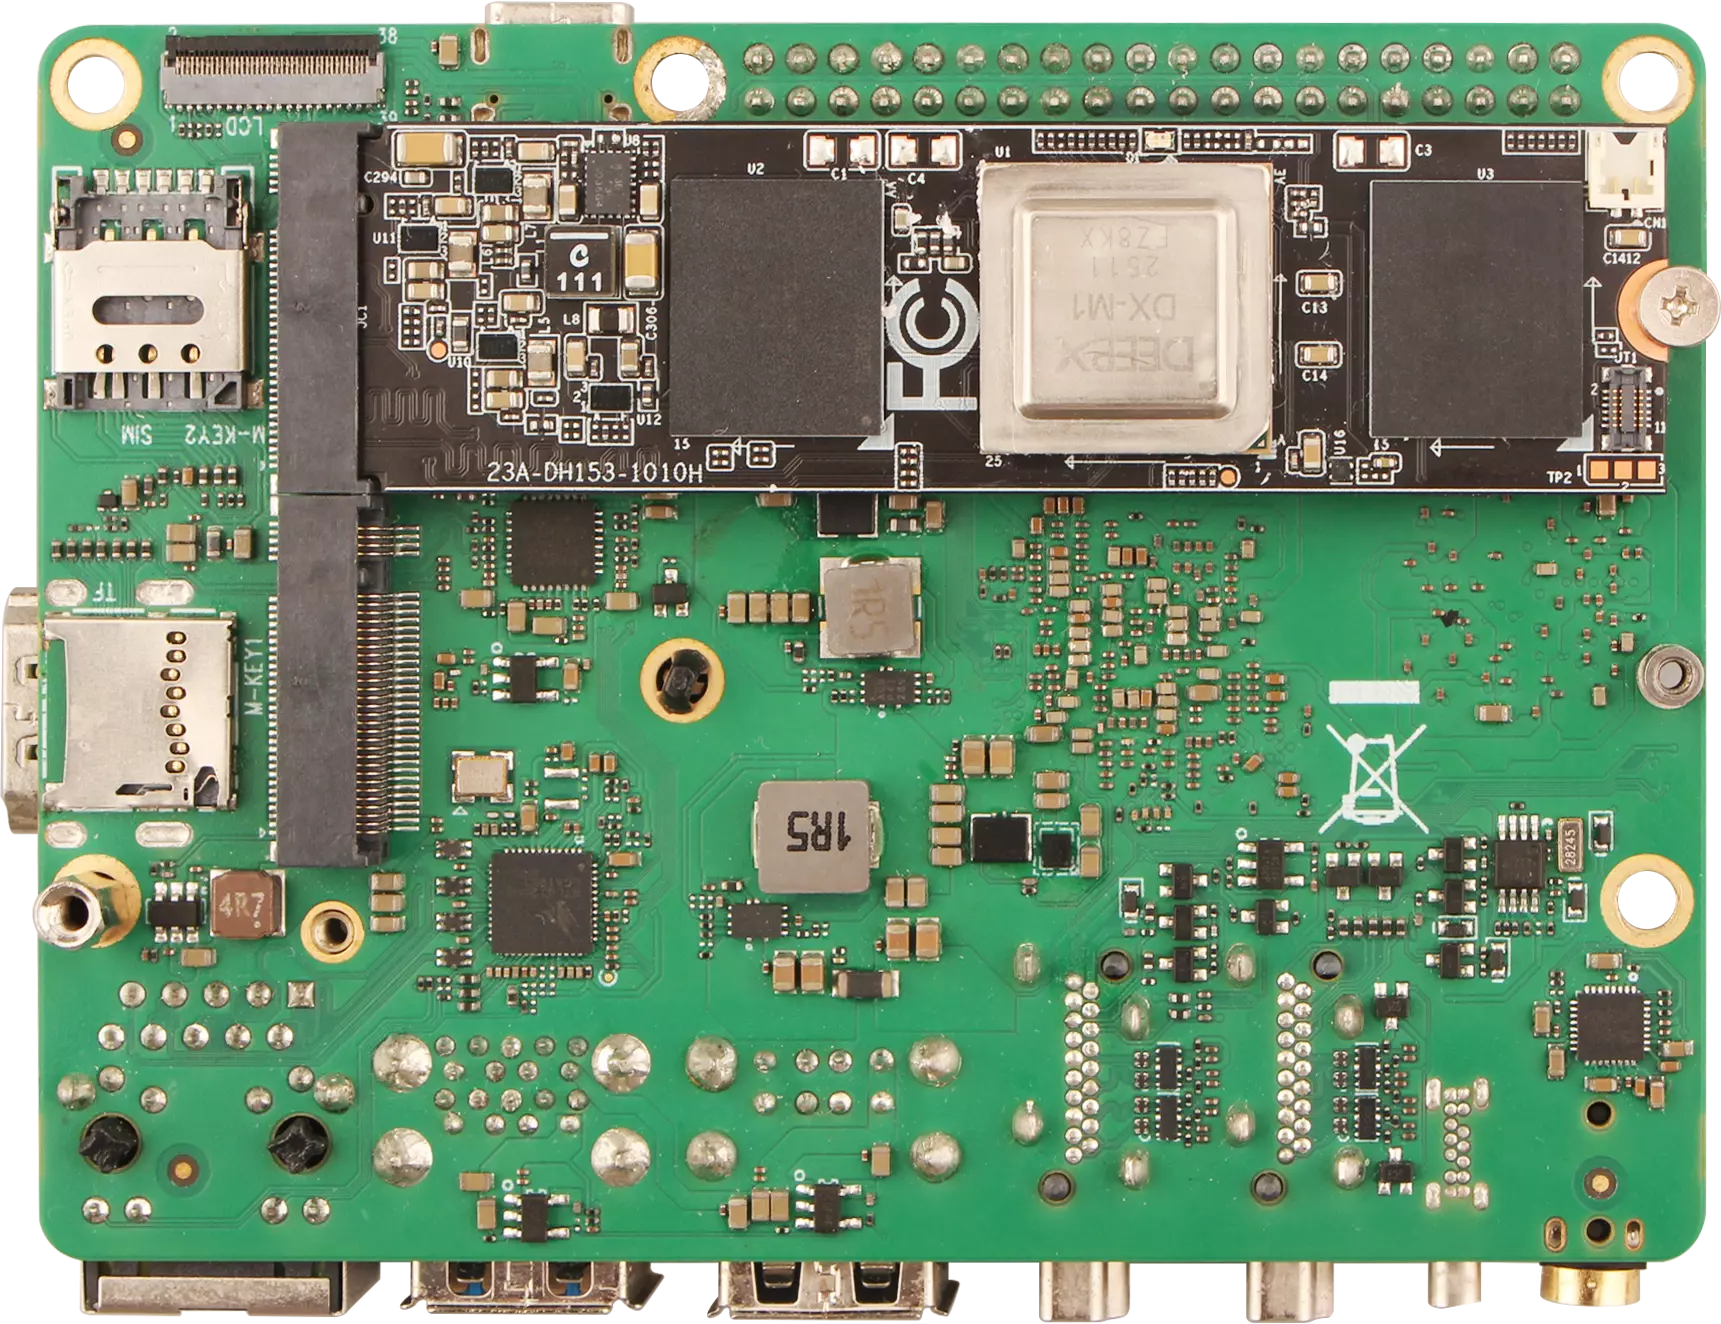
After confirming AIcore DX-M1M is properly pre-installed, press the other end down and secure it to the host board using a screw.
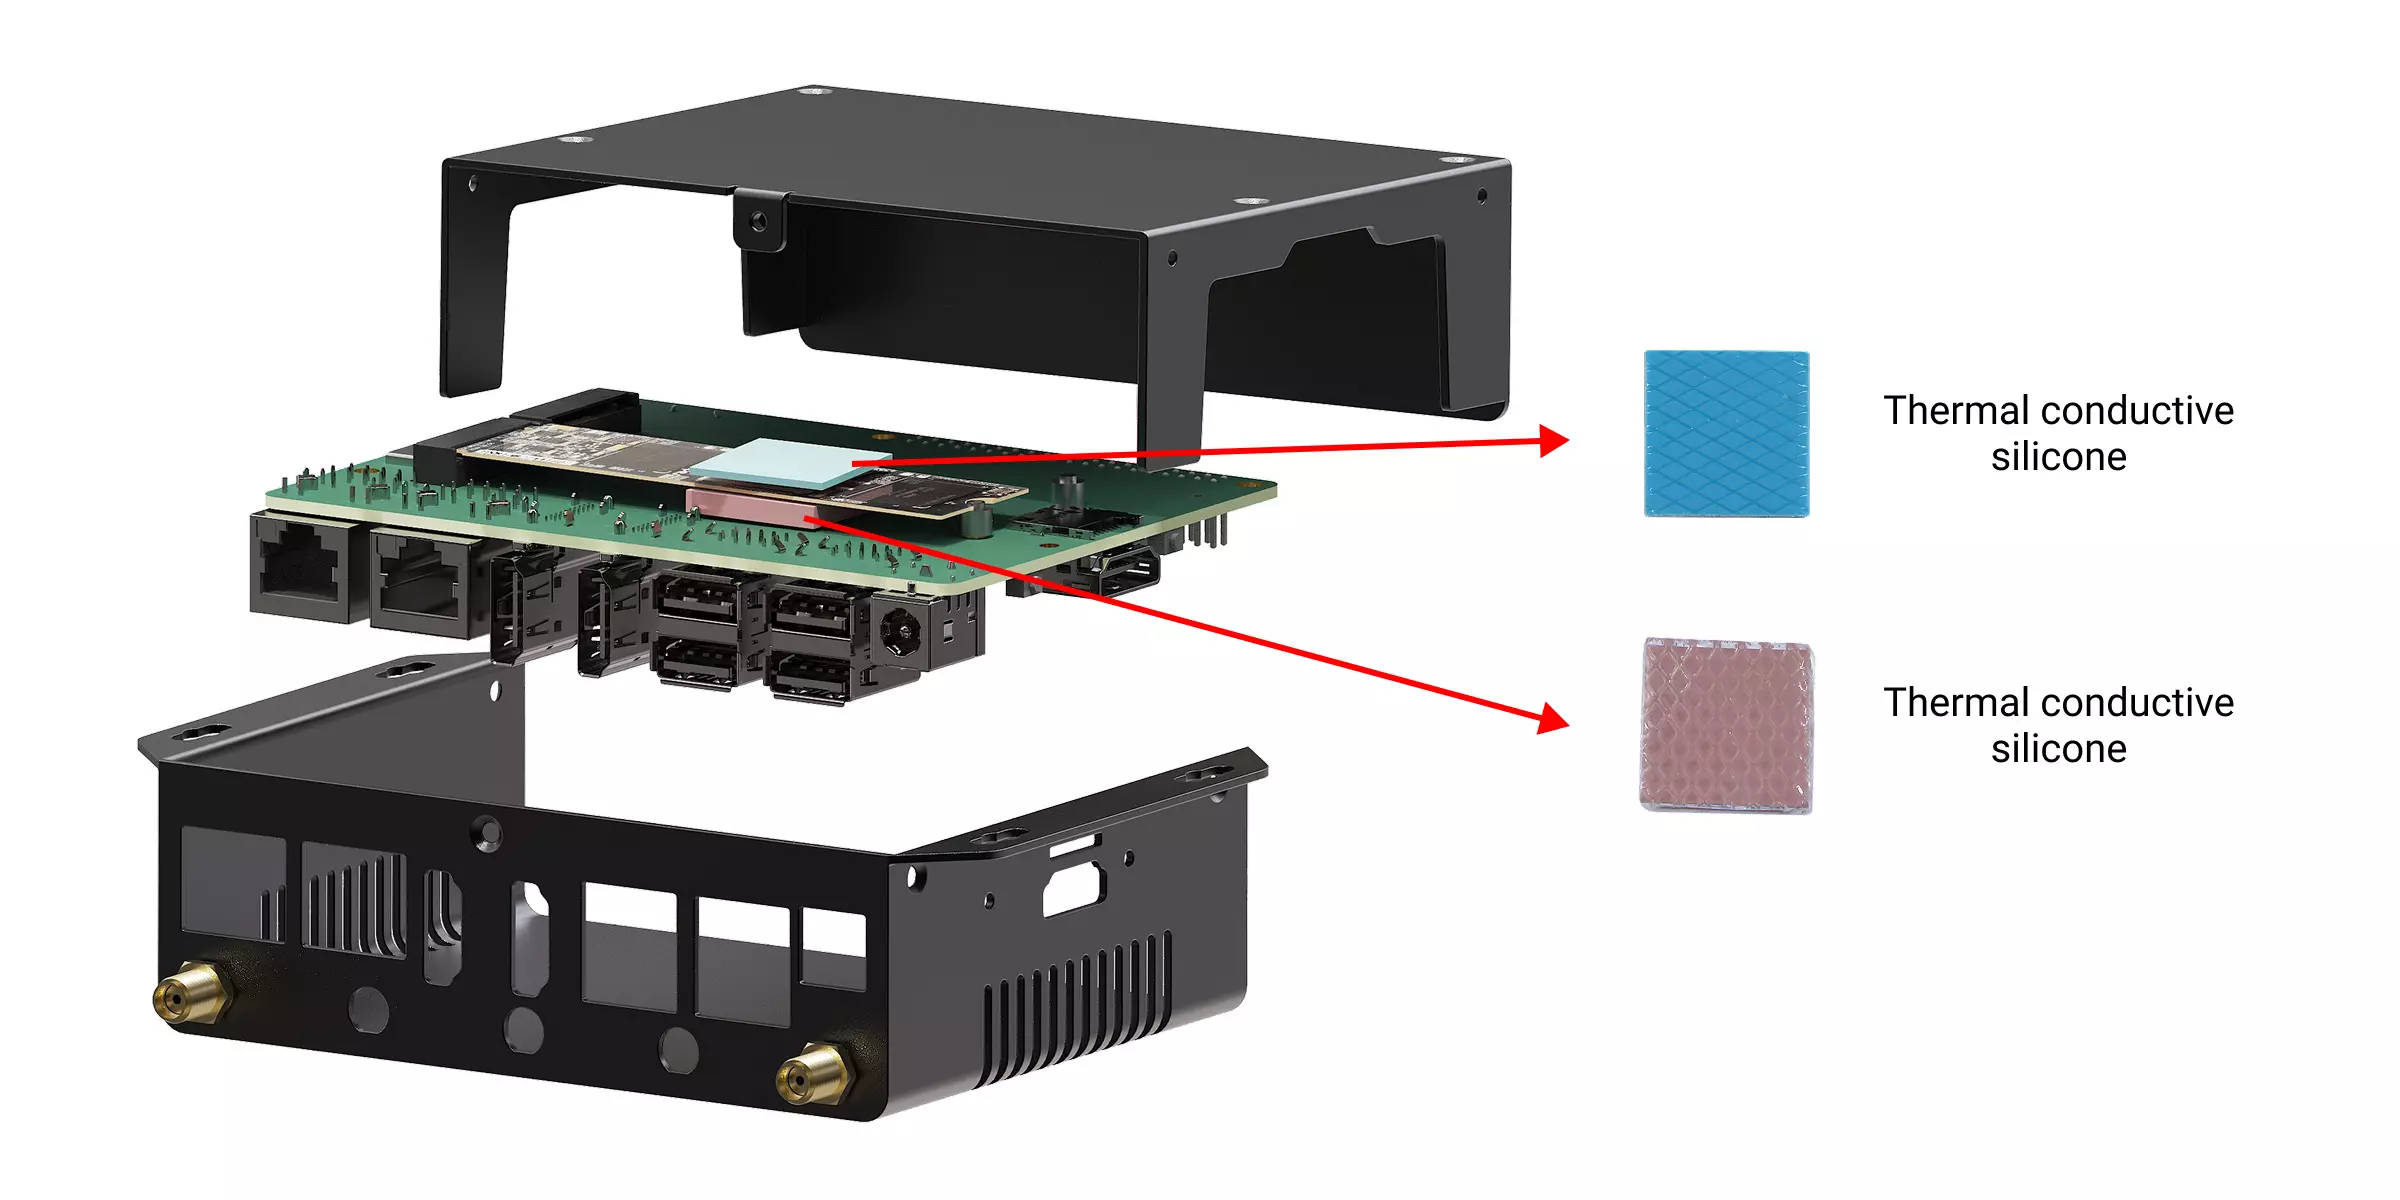
Thermal notes
Radxa AIcore DX-M1 / DX-M1M can generate significant heat under load. To ensure proper cooling, we recommend active cooling or passive cooling using a metal enclosure (see 2.1 for an example active cooler).
Installation example
Radxa AIcore DX-M1 with a metal enclosure: Make sure the thermal pads on both sides are positioned symmetrically to avoid uneven stress that could deform the module.