MIPI DSI
Supported List
| Screen Name |
|---|
| Raspberry Pi 7-inch Touchscreen |
Usage Instructions
The Raspberry Pi Compute Module 4 IO Board has two DSI interfaces: DSIP0 and DSIP1.
tip
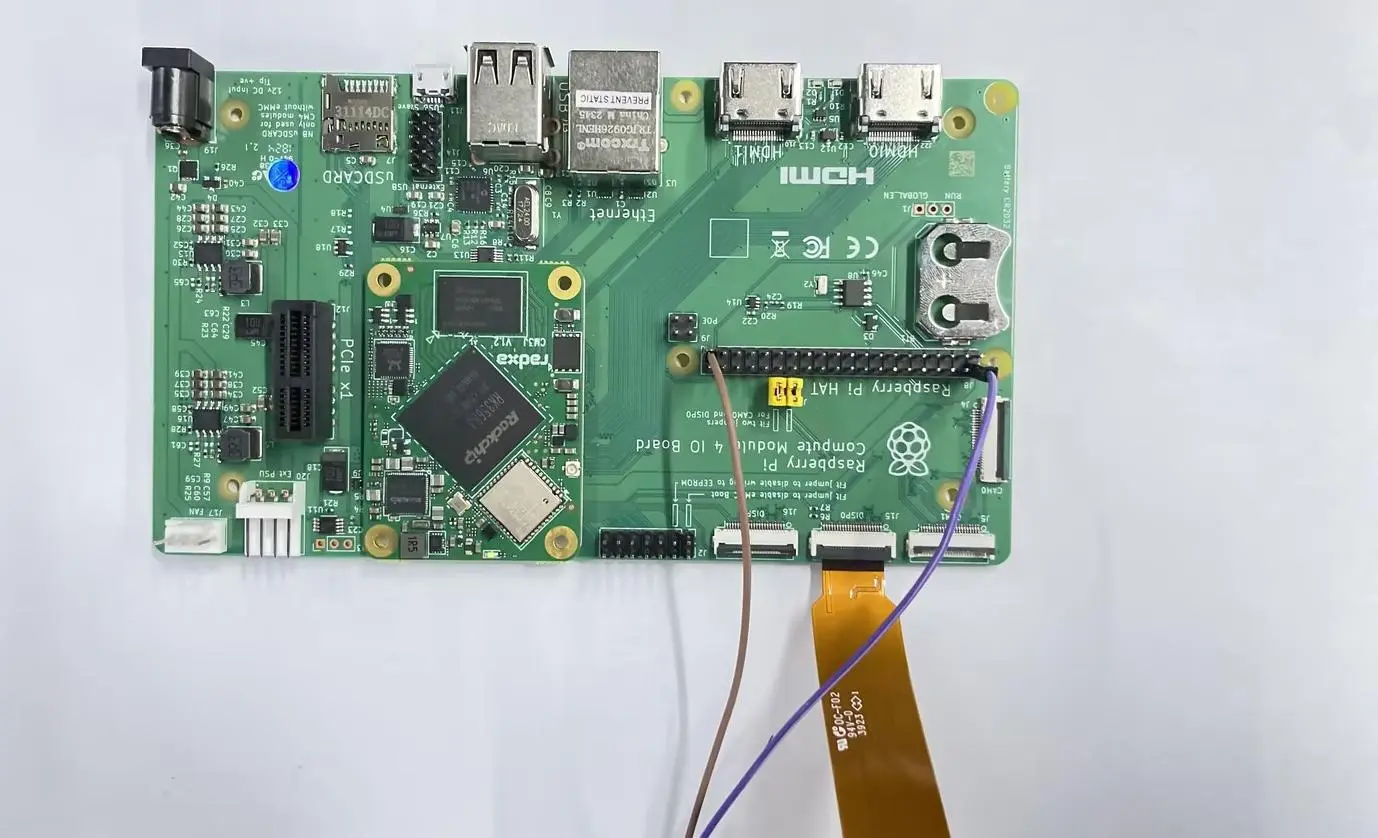
When using CAM0 or DISP0, you need to short-circuit the location on the board as shown in the image below.

Raspberry Pi 7-inch Touchscreen
-
Connect
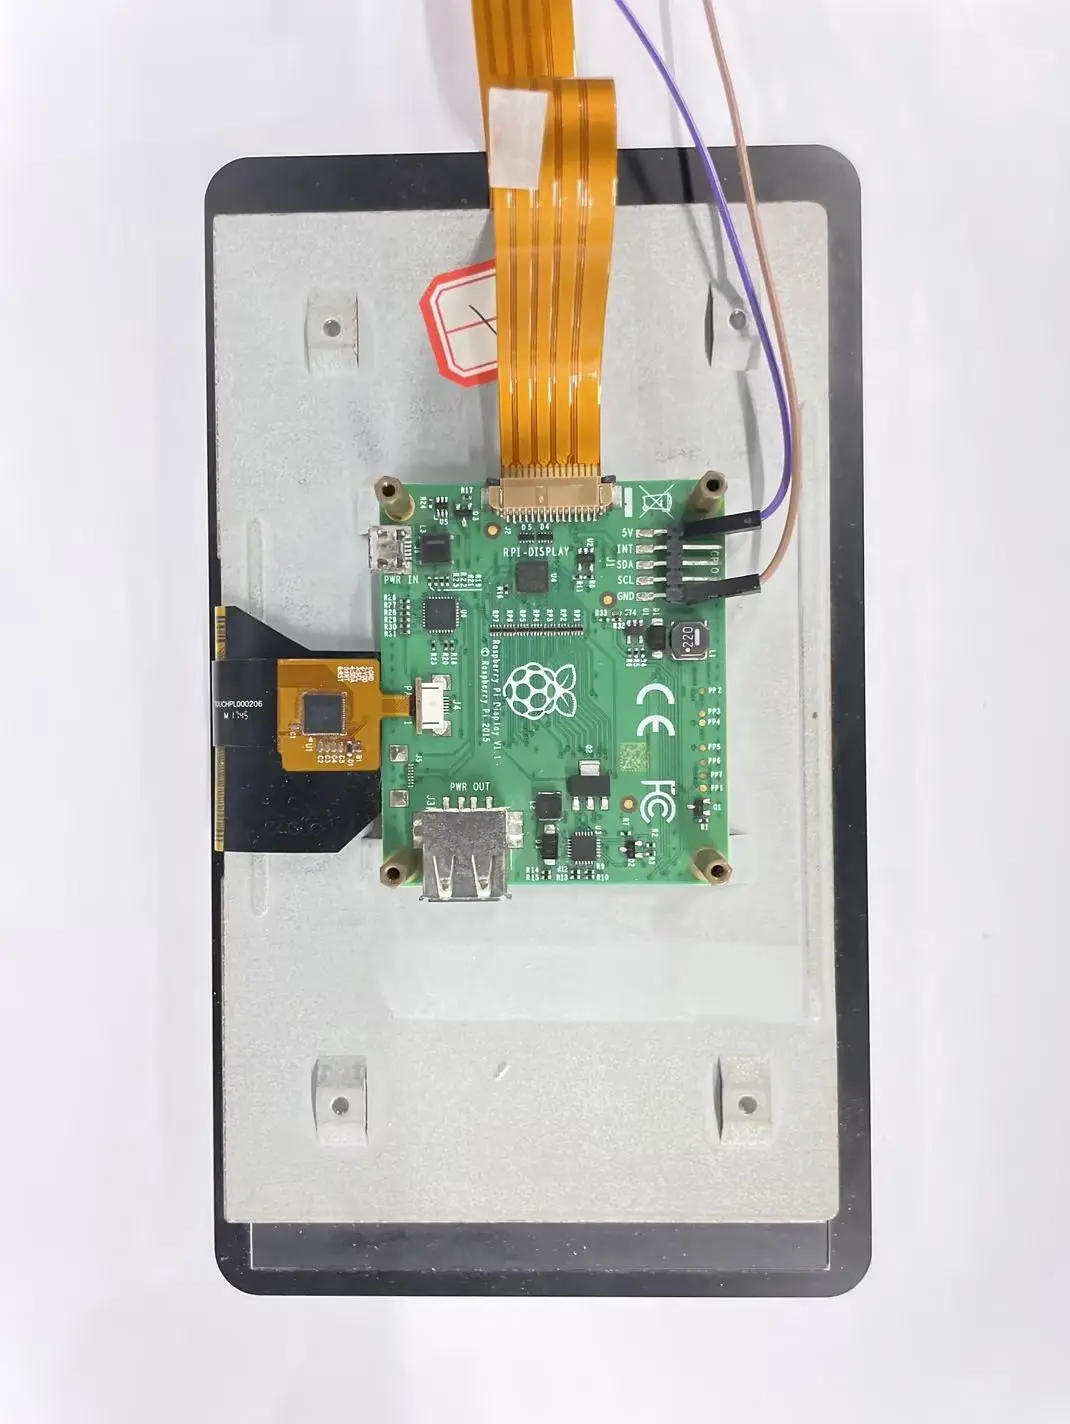
- Connect the Raspberry Pi Compute Module 4 IO Board using an FPC cable, as shown in the image below:
- The 5V and GND pins on the Raspberry Pi 7-inch Touchscreen need to be connected to the corresponding 5V and GND pins on the 40-pin header of the Raspberry Pi Compute Module 4 IO Board.
-
Use
rsetupto open the corresponding overlay-
Use the Ctrl + T shortcut to open the terminal, then run the
rsetupcommand:radxa@radxa-cm3j-rpi-cm4-io:~$ rsetup -
Enable the Raspberry Pi 7-inch Touchscreen Overlay through the overlays device tree configuration.
tipPlease enable the "[] Enable Raspberry Pi 7-inch Touchscreen on disp0/dsip1" overlay.
After successfully enabling "[*] Enable Raspberry Pi 7-inch Touchscreen on disp0/dsip1", exit and reboot to apply the configuration.
-
Test
After rebooting, the system display should be shown, and touch functionality should be supported.