Quick Start
This guide introduces how to quickly get started with the Radxa CM4, including product overview, prerequisites, and system installation.
The Radxa CM4 needs to be used with a compatible IO board or carrier board. This tutorial demonstrates the product features using the Radxa CM4 with the CM4 IO Board.
Product Overview
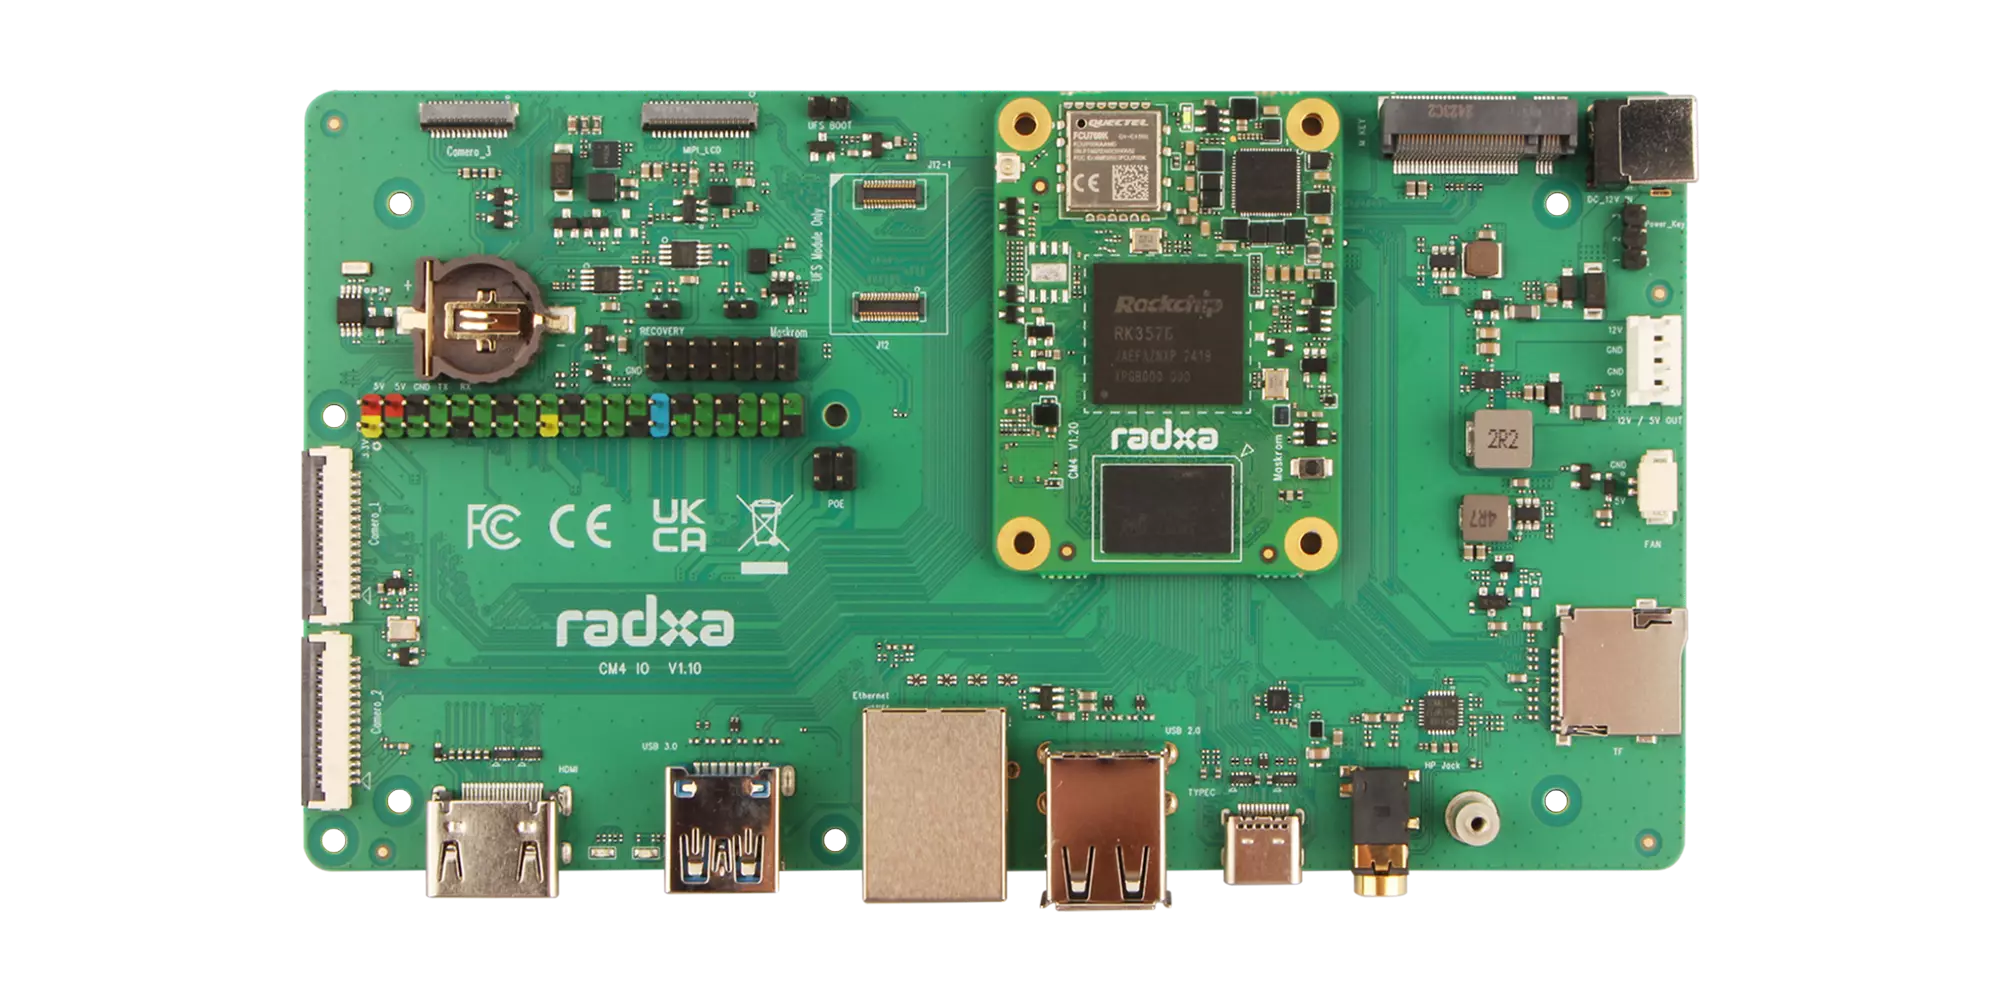
We'll use the CM4 with the CM4 IO Board for this quick start demonstration.
Front View of CM4 with CM4 IO Board
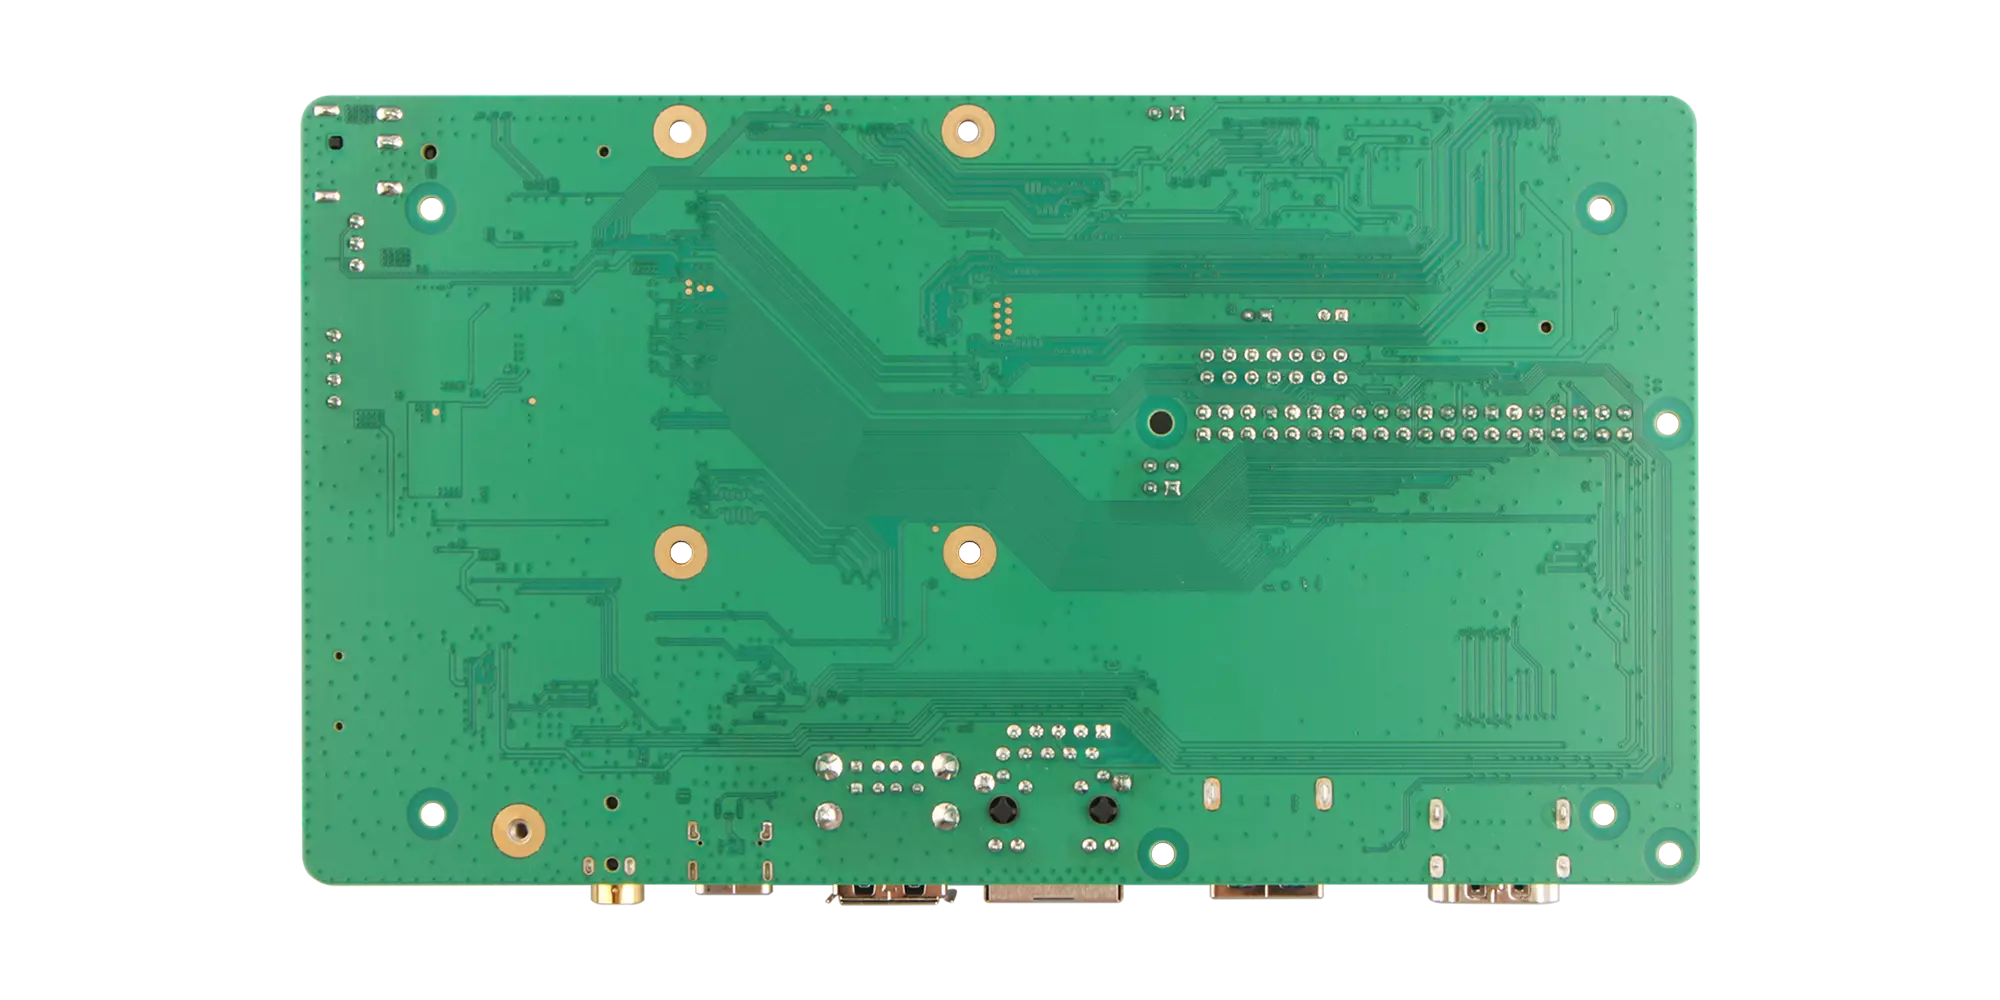
Rear View of CM4 with CM4 IO Board
Prerequisites
Hardware Requirements
You'll need to prepare the following hardware (choose one of the optional items for easier setup):
- Mainboard: Radxa CM4 with CM4 IO Board
- Boot media: MicroSD card
- Power adapter: Standard DC 12V/2A power adapter (DC-5525 interface)
- USB-to-TTL serial cable (optional): For serial debugging and system login
- HDMI cable and monitor (optional): For displaying the system interface and GUI operations
The Radxa CM4 IO Board only supports 12V power input. A minimum of 2A current is recommended to ensure stable operation of all peripherals.
- Radxa DC12 36W Power Adapter (Recommended)
- Radxa DC12 60W Power Adapter
System Installation
You can install the system according to your boot media and hardware by following these tutorials:
- Install System to MicroSD Card (Recommended)
- Install System to Onboard eMMC
- Install System to NVMe SSD
System Information
When using our provided system image for the first time, use the following default credentials to log in:
- Debian Linux
Username: radxa
Password: radxa
Booting the System
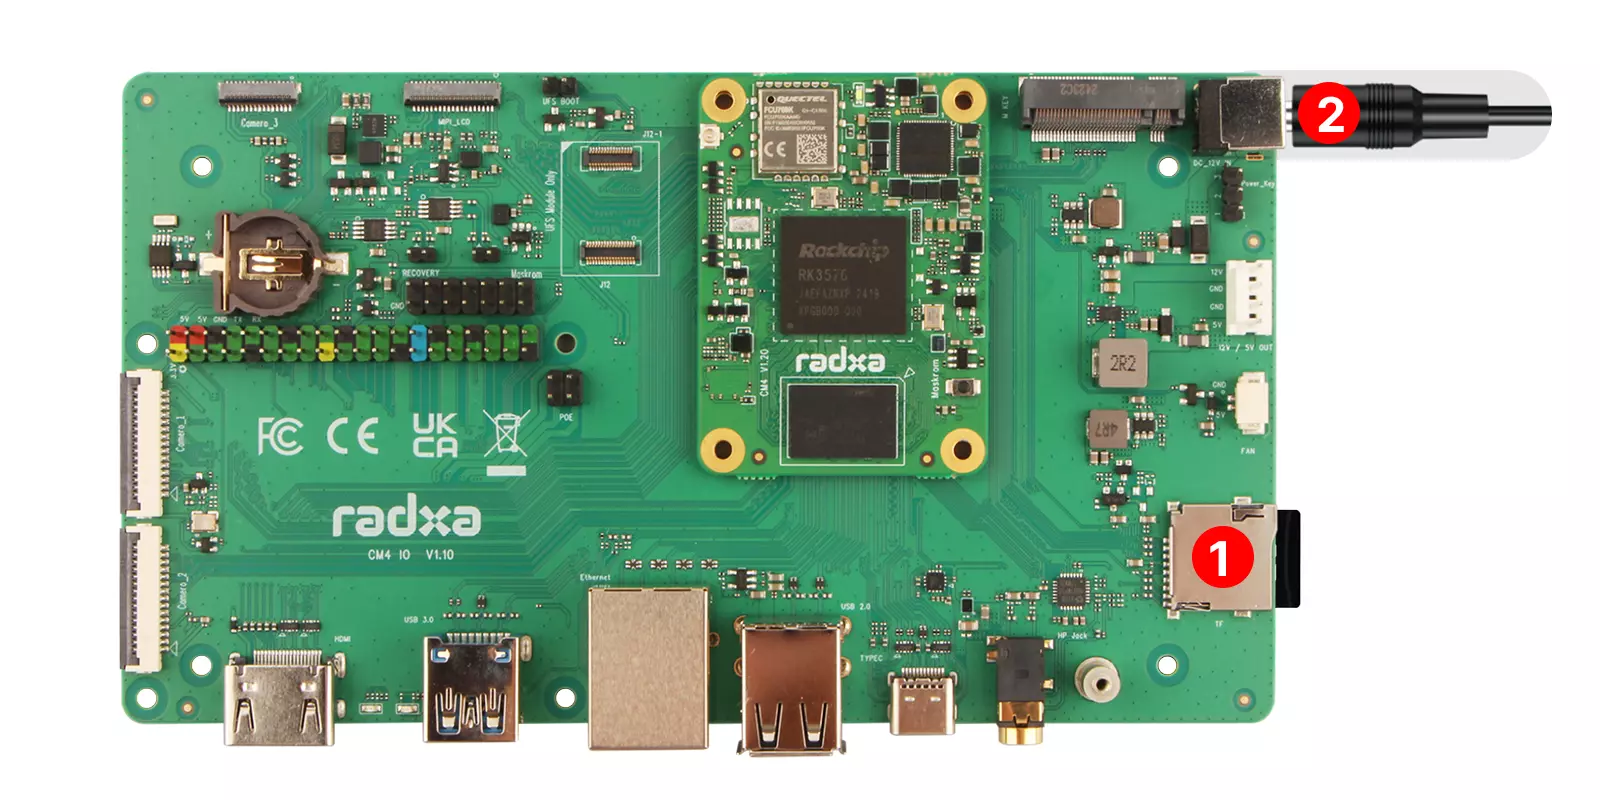
After completing the system installation, insert the MicroSD card into the CM4 IO Board's MicroSD card slot, then connect the power adapter to boot the system.
If you have multiple boot media installed, the system will boot in the following priority order:
MicroSD Card > Onboard eMMC > UFS Module (Not Supported) > NVMe SSD
When the system boots normally, the Radxa CM4's LED will light up green when powered on. After the system is running, it will turn off for a few seconds, then the CM4 IO Board's power indicator (red) will light up, and the user LED (green) along with the CM4's LED (green) will blink together.
Using the System
For both headless and display modes, we recommend the following methods to help you get started with the Radxa CM4.
Headless Mode
Log in via SSH
Connect the board to your router using an Ethernet cable, then obtain the board's IP address from your router's admin interface to log in via SSH.
Note: To use SSH login, ensure both devices are on the same local network.
You can refer to the SSH Remote Access tutorial. The SSH service is enabled by default in the factory system; you only need to follow the login steps.
Log in via Serial Console
Connect the board to your PC using a USB-to-TTL serial cable to log in via the serial console.
You can refer to the Serial Debugging tutorial.
Display Mode
You can directly connect the board to a monitor using an HDMI cable to display the system interface and perform GUI operations.