Quick Start
This tutorial is designed to help you get started quickly with the Android system on the Radxa Cubie A5E.
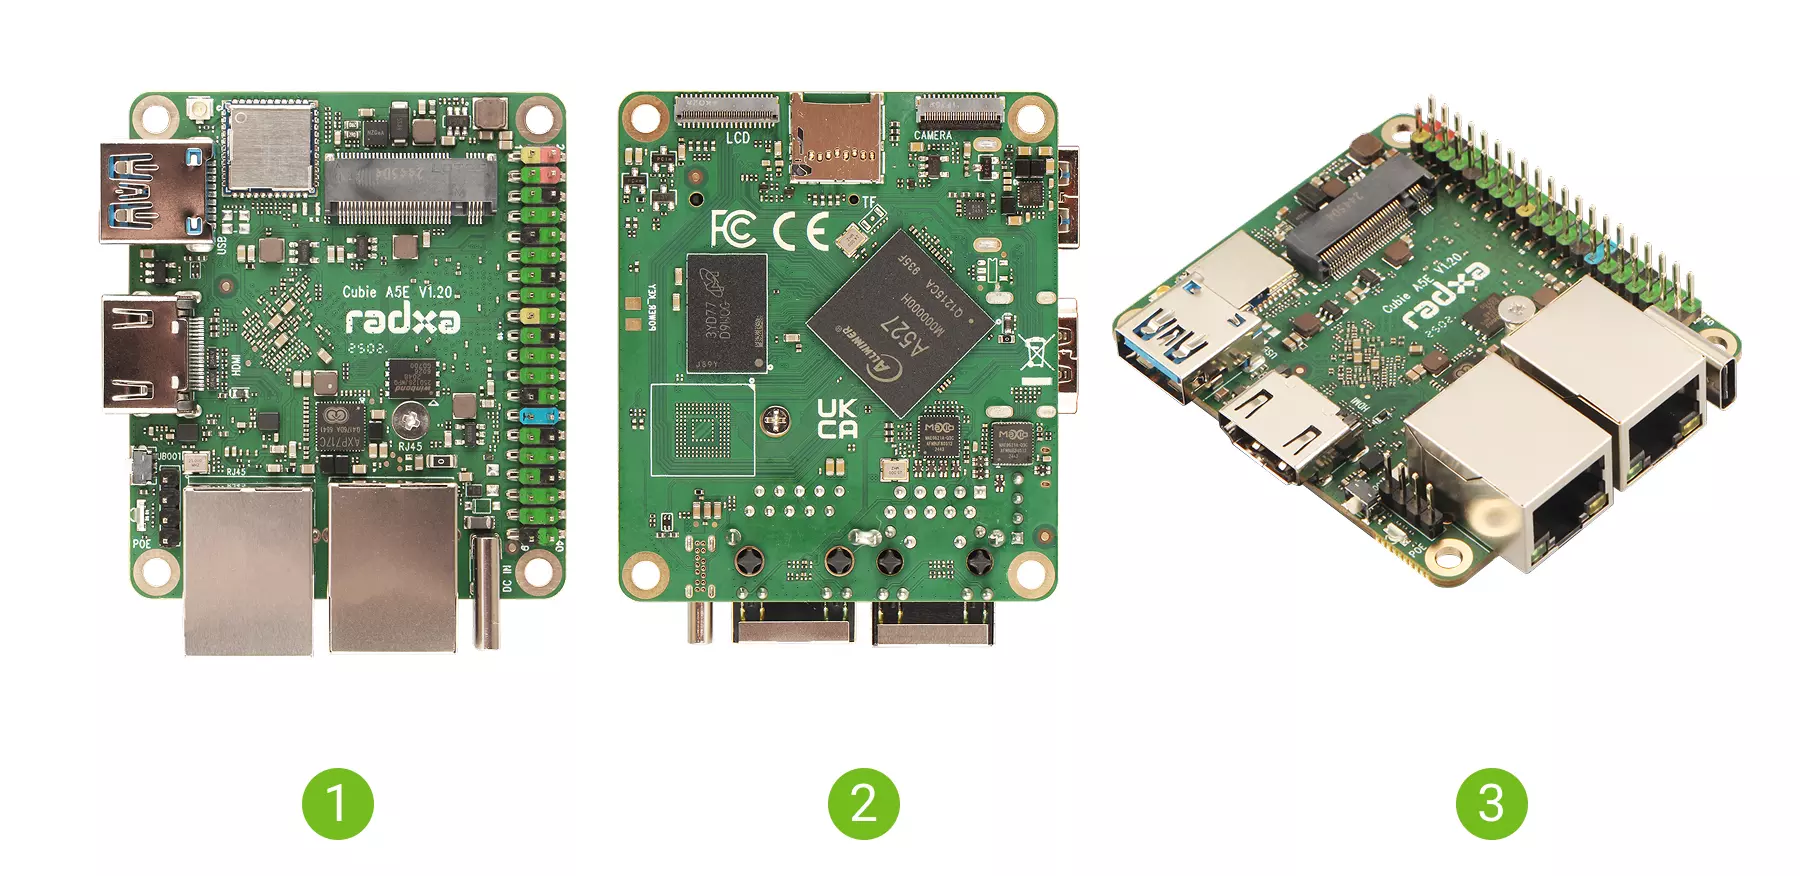
Product Overview
| No. | View | No. | View | No. | View |
|---|---|---|---|---|---|
| ① | Cubie A5E Front View | ② | Cubie A5E Back View | ③ | Cubie A5E Side View |
Install System
Based on your system boot media and available hardware, please refer to the following tutorials for system installation:
- Install System to microSD Card (Recommended for new users)
- Install System to Onboard eMMC
Boot the System
If multiple boot media are installed in Cubie A5E, the boot priority is: microSD Card > NVMe SSD (Not supported yet) > Onboard eMMC
- Insert the corresponding system boot media into the appropriate interface of the Cubie A5E
- Power the Cubie A5E using a 5V Type-C power adapter
If the board is powered on correctly, the power indicator will light up green. If the system boots normally, the status indicator will flash blue.
Login to the System
This section mainly introduces how to log in to the system using a USB-to-serial cable. For detailed instructions, please refer to the Serial Login tutorial.
When using the Cubie A5E with a display, the operation is quite intuitive and straightforward, so it won't be covered in detail here!
Using the System
With Display Mode
With Display Mode refers to using the Cubie A5E with a monitor, where the operation is intuitive and straightforward!
Headless Mode
Headless Mode refers to using the Cubie A5E without a display, where you can log in and operate the system through a serial connection or ADB debugging!