Without Radxa eMMC/UFS Combo Module Reader
This guide explains how to install the system to a UFS module without using the Radxa eMMC/UFS Combo Module Reader.
This method involves booting the Cubie A7A from a MicroSD card and then using the dd command to install the system image to the UFS module.
Installing the system will format the UFS module. Please back up any important data before proceeding!
Hardware Requirements
Prepare the following hardware in advance:
- Single Board Computer: Radxa Cubie A7A
- Boot media: MicroSD card
- Installation target: UFS module
- Power adapter: 5V Type-C power adapter
The Cubie A7A supports 5V power input with PD protocol. A power adapter with 3A or higher current is recommended to ensure stable operation of all peripherals.
Hardware Connection
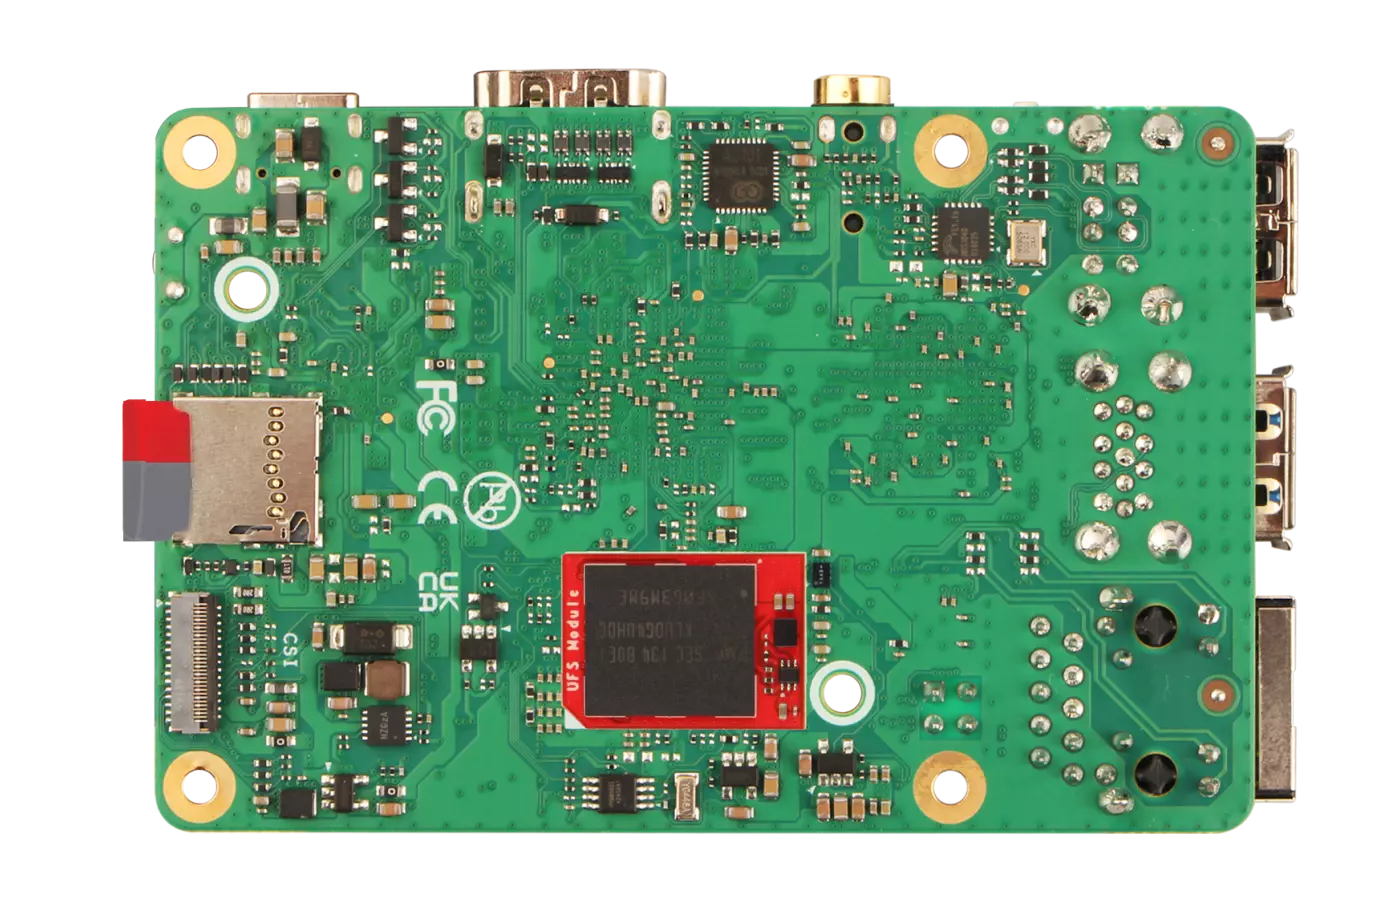
After confirming that the Cubie A7A has successfully booted from the MicroSD card, install the UFS module into the eMMC/UFS combo module interface of the Cubie A7A.
UFS Module Installation Steps:
- Ensure the notch on the UFS module aligns with the notch on the Cubie A7A's eMMC/UFS combo module interface
- Align the bottom edge connector of the UFS module with the eMMC/UFS combo module interface on the Cubie A7A
- Gently press down on one end of the UFS module until you hear a "click" sound, then repeat the process for the other end to ensure the module is properly seated.

System Installation
Use the dd command to install the system image to the UFS module.
Download System Image
Go to the Downloads page to download and extract the system image file to your Cubie A7A.
Recommended methods to download the system image to your Cubie A7A:
-
Browser Download Access the Downloads page through the web browser on your Cubie A7A to download the system image.
-
Using
wgetCopy the download URL from the Downloads page and use thewgetcommand on your Cubie A7A to download the system image.
sudo apt install wget
wget [url]
Replace [url] with the actual download URL.
- Alternative Methods Download the system image on your PC, then transfer it to the Cubie A7A using a USB drive, FTP, SCP, or other methods.
Install System Image
Use the dd command to install the extracted system image to the UFS module.
Write System Image
When using the dd command, make absolutely sure you've selected the correct device file. Using the wrong device can result in data loss!
sudo dd if=[image_path] of=/dev/sda bs=4M status=progress
Parameter explanation:
if: Input file - replace[image_path]with the path to your extracted system imageof: Output file - replace/dev/sdawith the correct device file for your UFS module (modify according to your actual device)bs: Block size - 4M is recommendedstatus: Shows progress during the operation
Verify the Write Operation
Use the fdisk command to check the partition information of the UFS module.
sudo fdisk -l /dev/sda
After a successful write, the terminal will display partition information similar to:
Disk /dev/sda: 119.15 GiB, 127934660608 bytes, 31234048 sectors
Disk model: KLUDG4UHDC-B0E1
Units: sectors of 1 * 4096 = 4096 bytes
Sector size (logical/physical): 4096 bytes / 4096 bytes
I/O size (minimum/optimal): 524288 bytes / 524288 bytes
Disklabel type: gpt
Disk identifier: 33349998-C3CC-40F0-B818-DDDD8383A64D

Device Start End Sectors Size Type
/dev/sda1 32768 65535 32768 128M Linux filesystem
/dev/sda2 65536 679935 614400 2.3G EFI System
/dev/sda3 679936 31234014 30554079 116.6G EFI System
System Information
When using our provided system image for the first time, you'll need to log in with the following default credentials:
- Username: radxa
- Password: radxa