eMMC / UFS Module Interface
The Radxa Cubie A7A features an onboard eMMC/UFS combo module interface that supports installing either eMMC or UFS modules, which can be used as a system boot drive or for expanded storage.
Do not use untested third-party UFS or eMMC modules. Some third-party modules may short the SBC and cause permanent hardware damage, and such damage is not covered by warranty.
User Guide
eMMC modules are suitable for smaller capacity storage (8-128GB), while UFS modules are ideal for larger capacity storage (64GB-1TB).
- Expanding Storage
You can directly install an eMMC or UFS module into the eMMC/UFS combo module interface, then boot the system and use the lsblk command to verify if the module is recognized.
- As a System Boot Drive
To use an eMMC module as a system boot drive: Refer to the Installing System to eMMC Module guide.
To use a UFS module as a system boot drive: Refer to the Installing System to UFS Module guide.
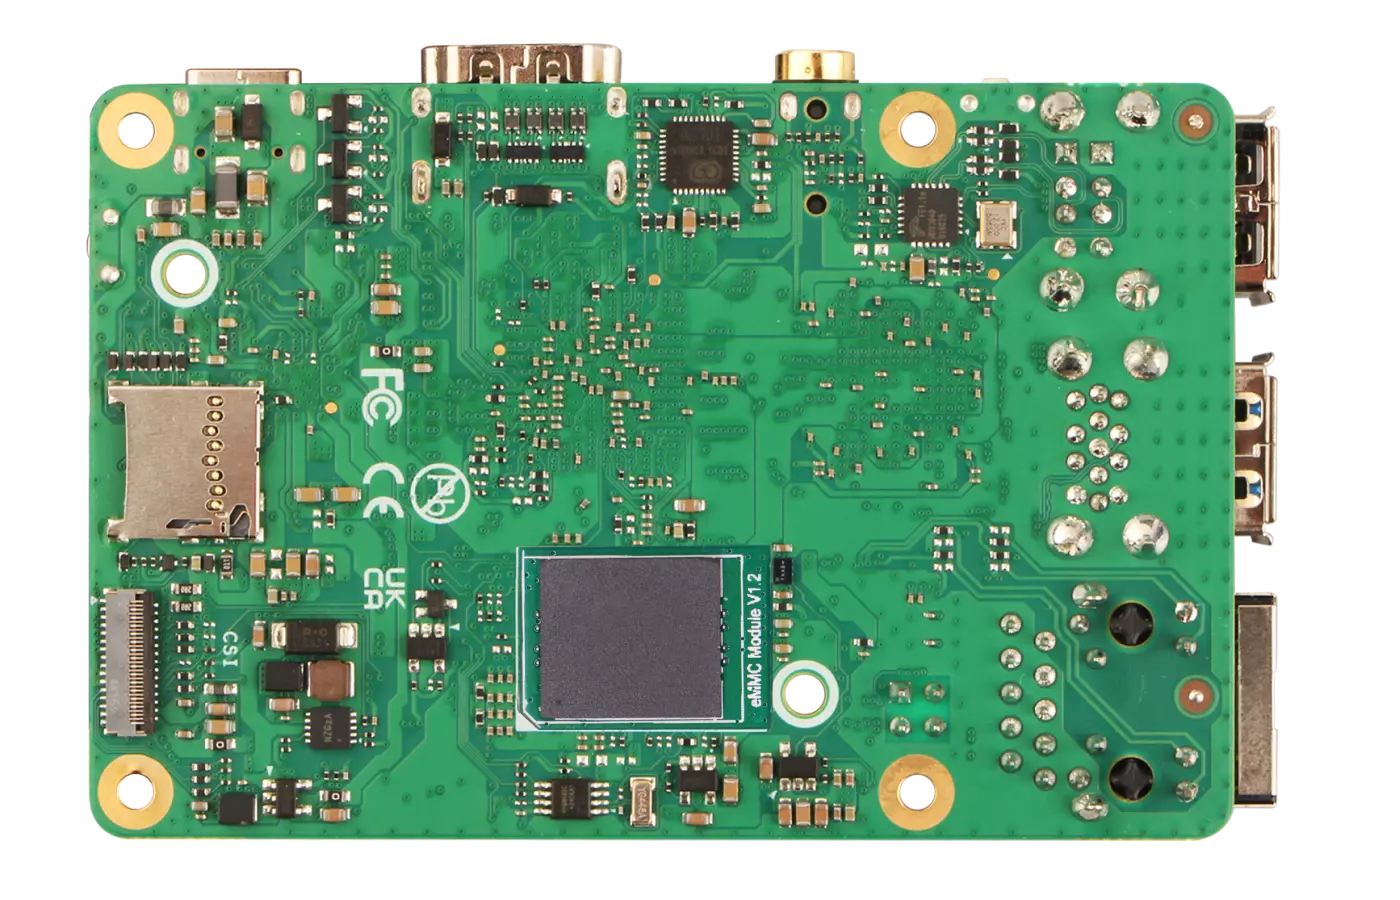
- eMMC Module
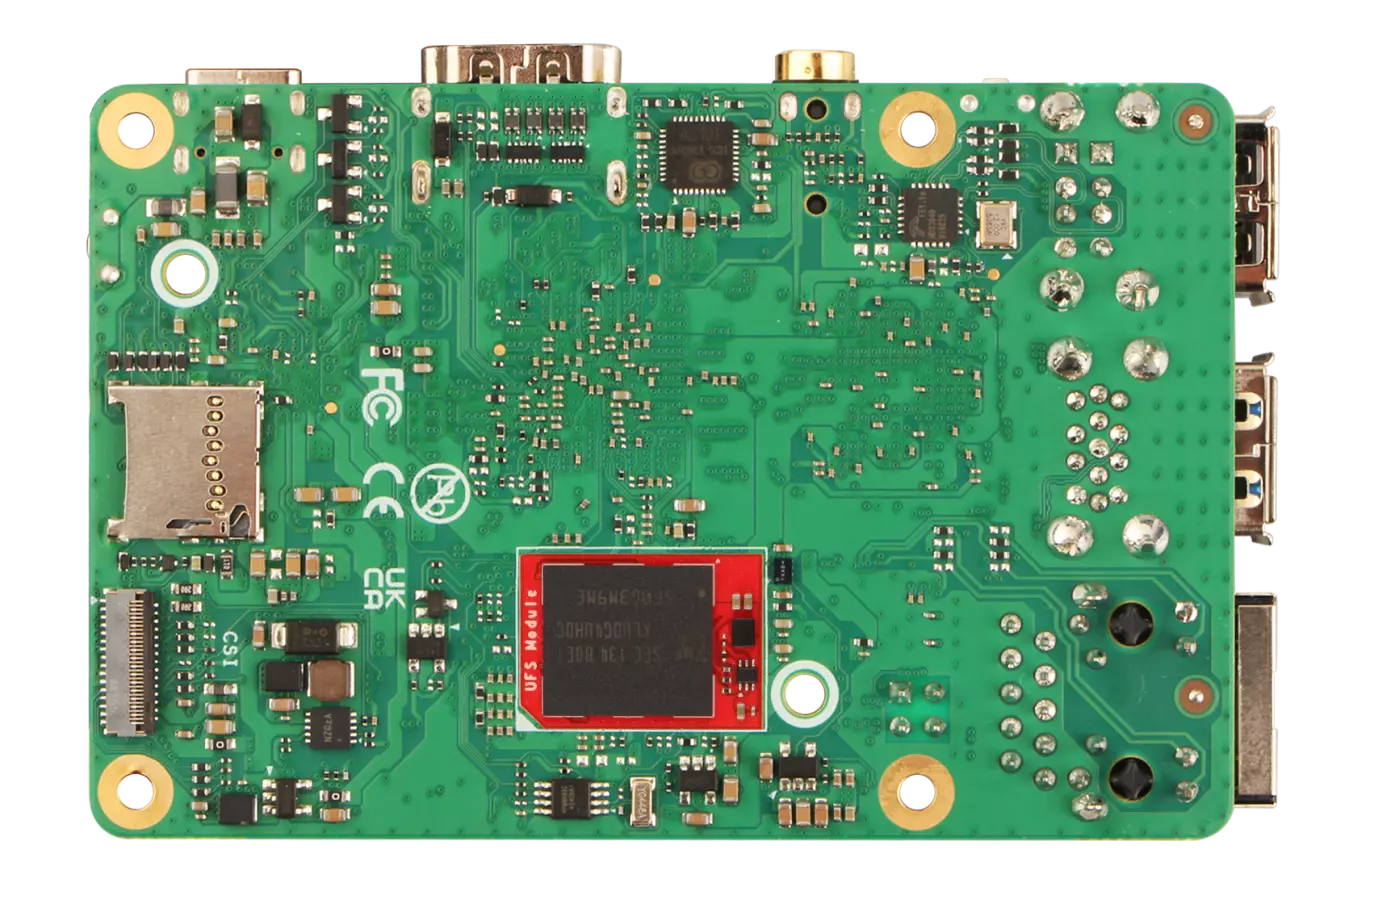
- UFS Module
Insert the eMMC module into the eMMC/UFS combo module interface of the Cubie A7A.
Insert the UFS module into the eMMC/UFS combo module interface of the Cubie A7A.
eMMC/UFS Module Installation Steps:
- Ensure the notch on the eMMC/UFS module aligns with the orientation of the Cubie A7A's eMMC/UFS module interface
- Make sure the bottom edge connector of the eMMC/UFS module is properly aligned with the Cubie A7A's eMMC/UFS module interface
- Gently press down on one end of the module until you hear a "click" sound, then repeat for the other end to ensure the module is securely installed.
Interface Specifications
For complete technical specifications and pin definitions, please refer to the Hardware Design: Schematics document in the download section.