Quick start
This guide helps you quickly get started with the Cubie A7S.
Product views
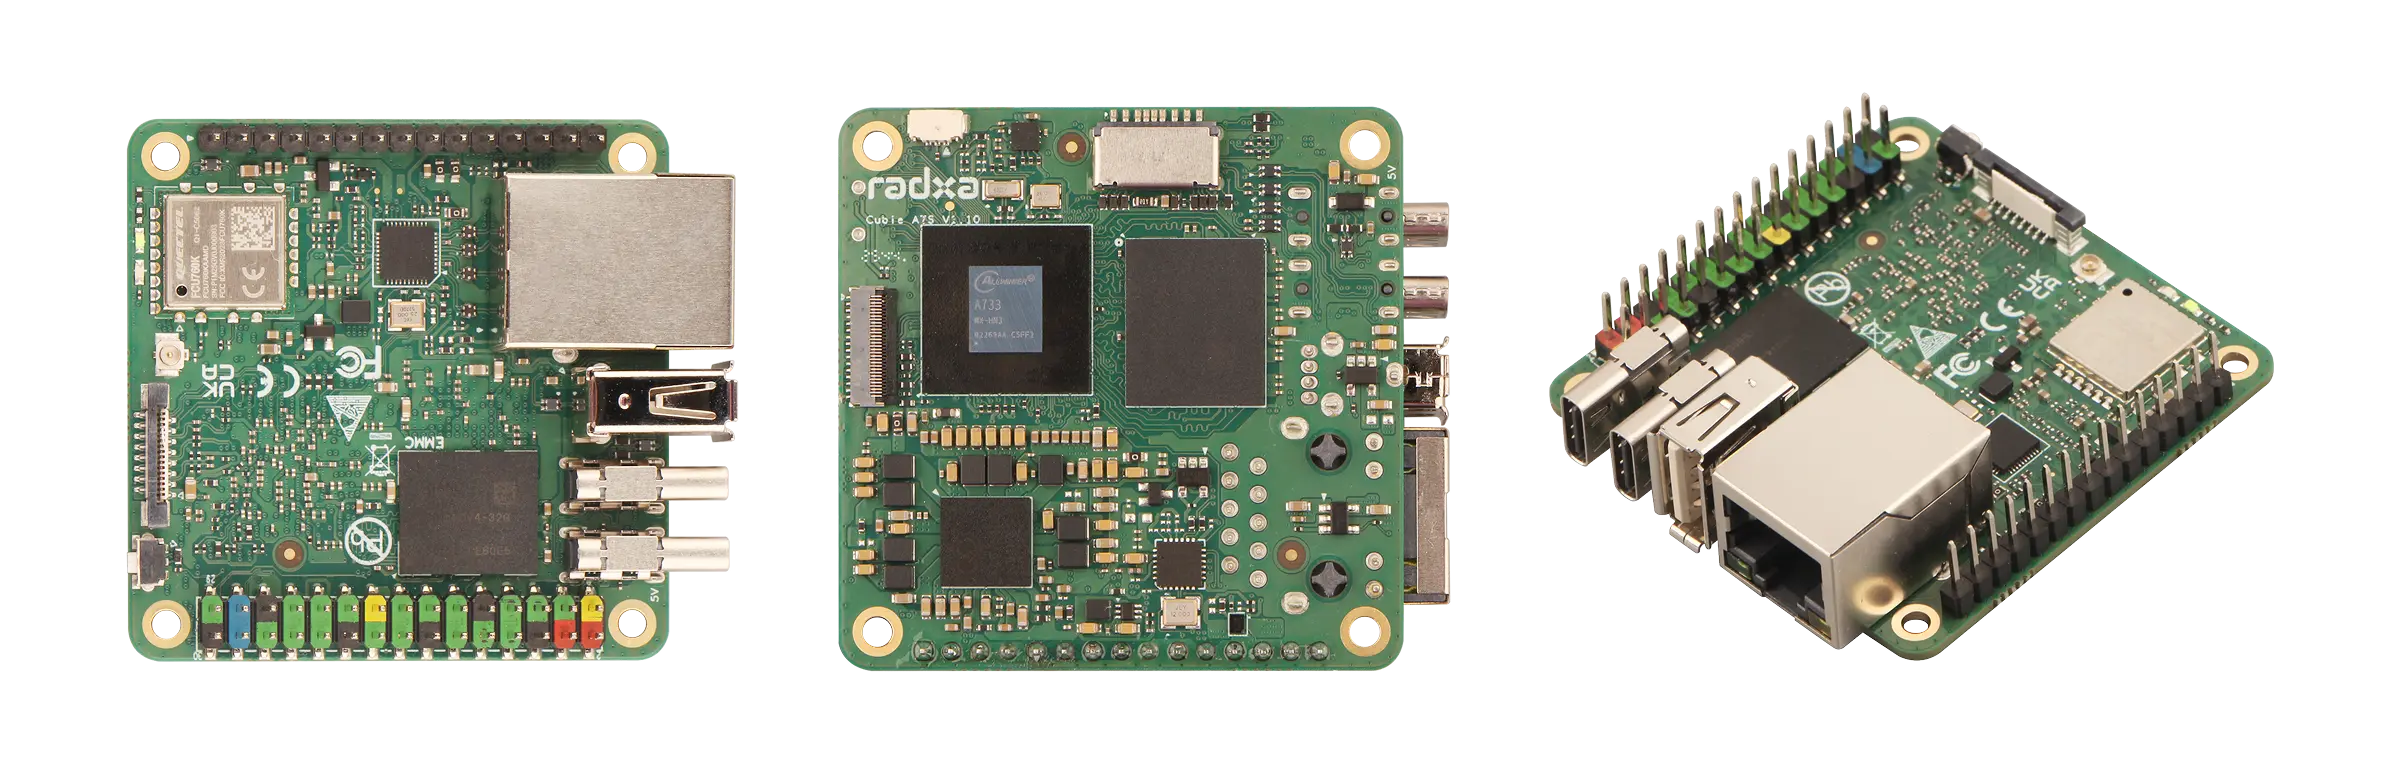
| Position | View | Position | View | Position | View |
|---|---|---|---|---|---|
| Left | Cubie A7S front view | Center | Cubie A7S back view | Right | Cubie A7S side view |
Prerequisites
Hardware
Prepare the following hardware:
- Board: Radxa Cubie A7S
- Power: 5V USB‑C power adapter
- Boot media: microSD card (for OS installation and boot)
- Display: USB‑C to HDMI/DP cable and a monitor (for GUI)
- Input: keyboard and mouse (for GUI)
- Optional debug tools: USB‑to‑UART cable (for serial login) and a USB‑A hub (for extra USB peripherals)
Using a monitor, keyboard, and mouse is recommended.
Cubie A7S supports 5V USB‑C power input with PD. A power adapter capable of at least 3A is recommended to keep all peripherals stable.
Install the OS
This section describes how to install the OS to a microSD card.
Flashing an OS image will completely format your microSD card and permanently erase all data on it.
Before you start:
- Back up any important data on the microSD card
- Double-check you selected the correct target device (to avoid wiping other disks)
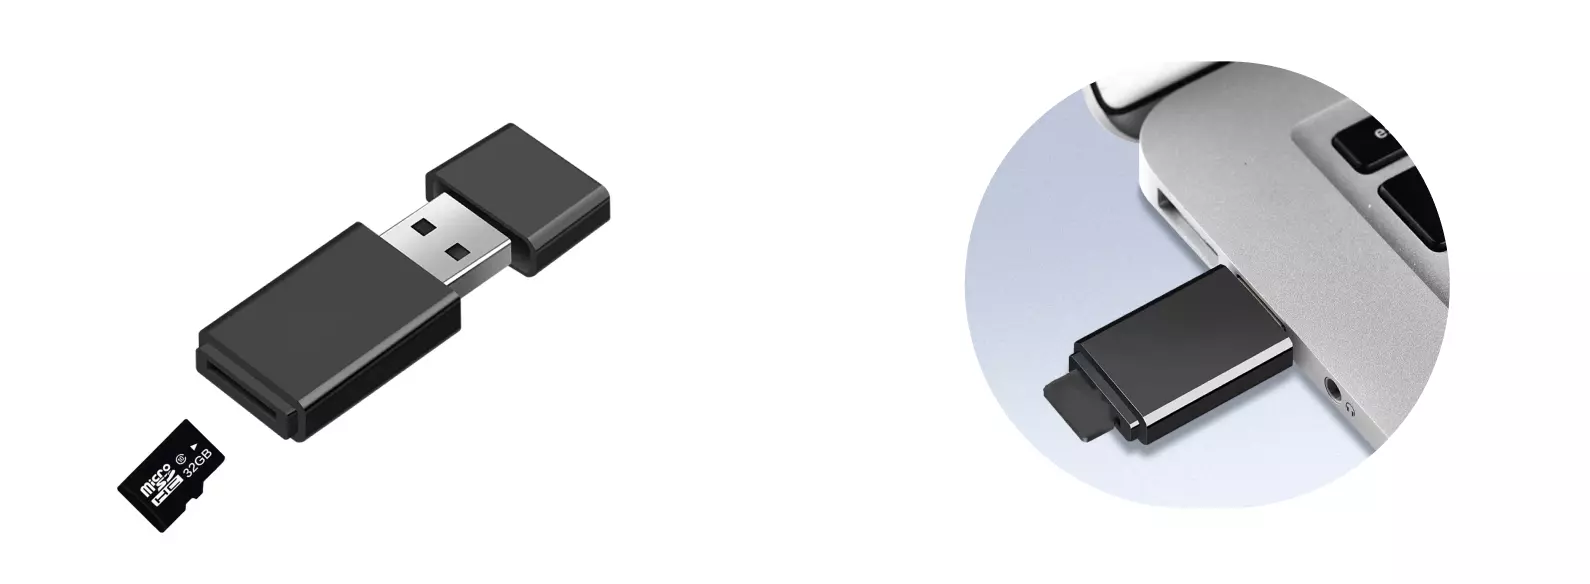
Connect the hardware
Insert the microSD card into a card reader, then plug the reader into your computer.
Download the OS image
Go to Downloads and resources and download the recommended GPT-format Radxa OS official image. The download is a compressed .img.xz file. Decompress it to get the .img file before flashing.
The downloaded OS image is compressed. Decompress it before use.
Flash the image
You can flash the OS image to the microSD card using Balena Etcher.
For how to install and use Balena Etcher, see Using Etcher.
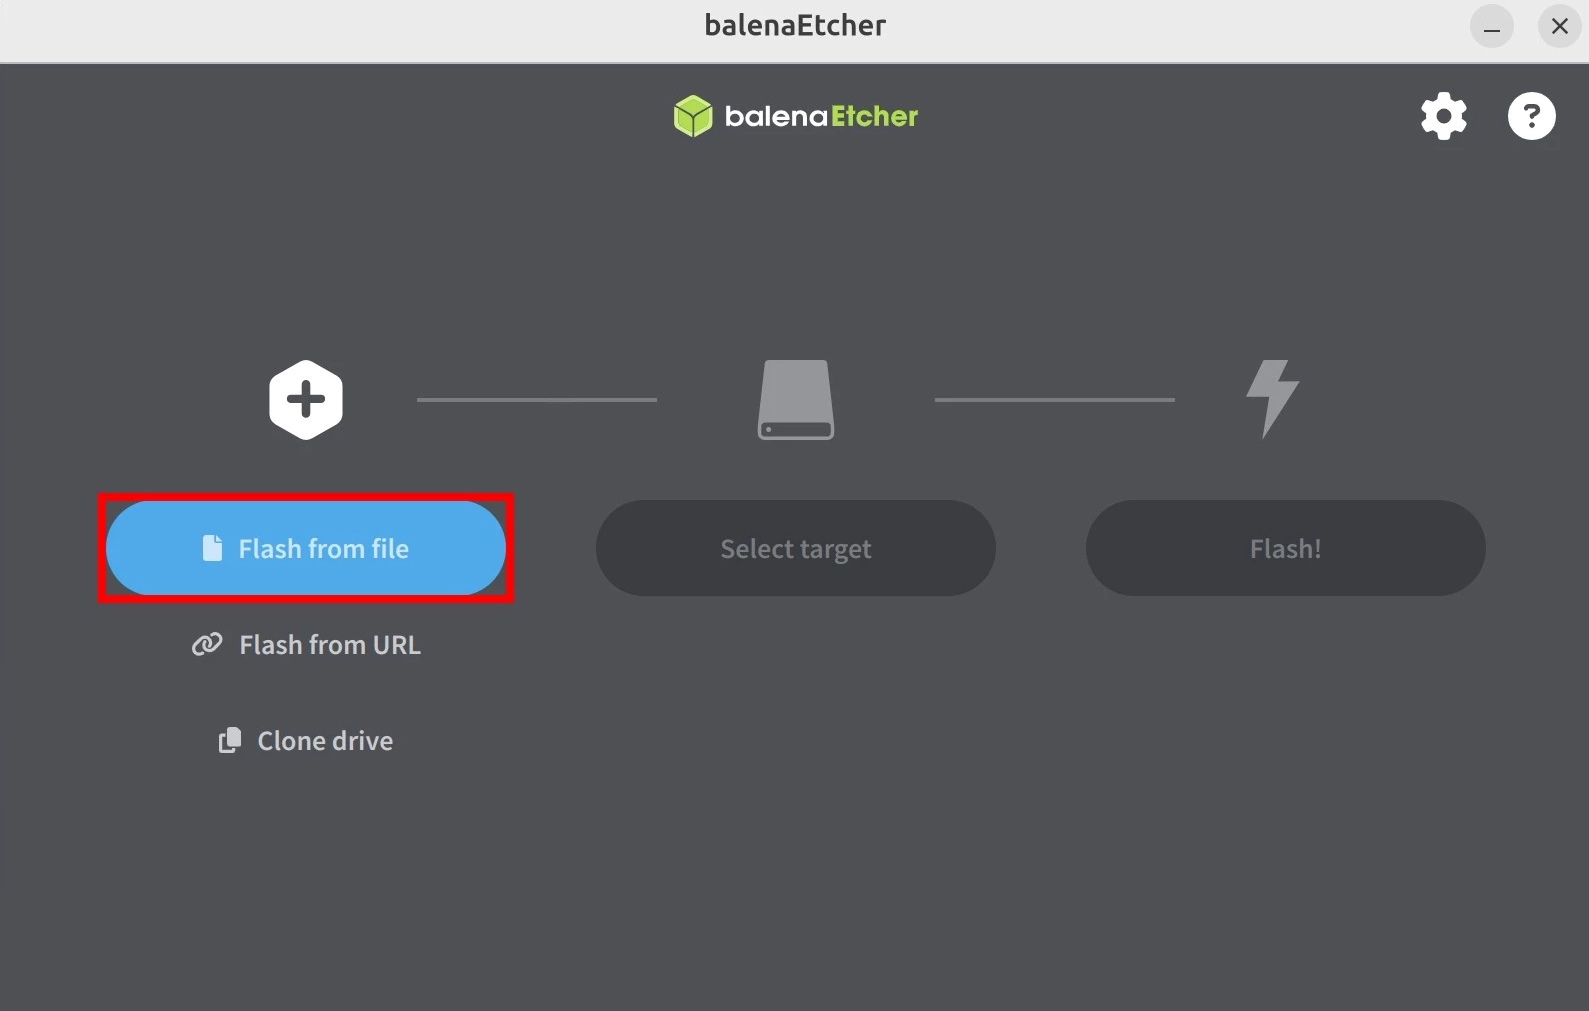
Select the image
Click Flash from file and select the OS image you downloaded and decompressed.
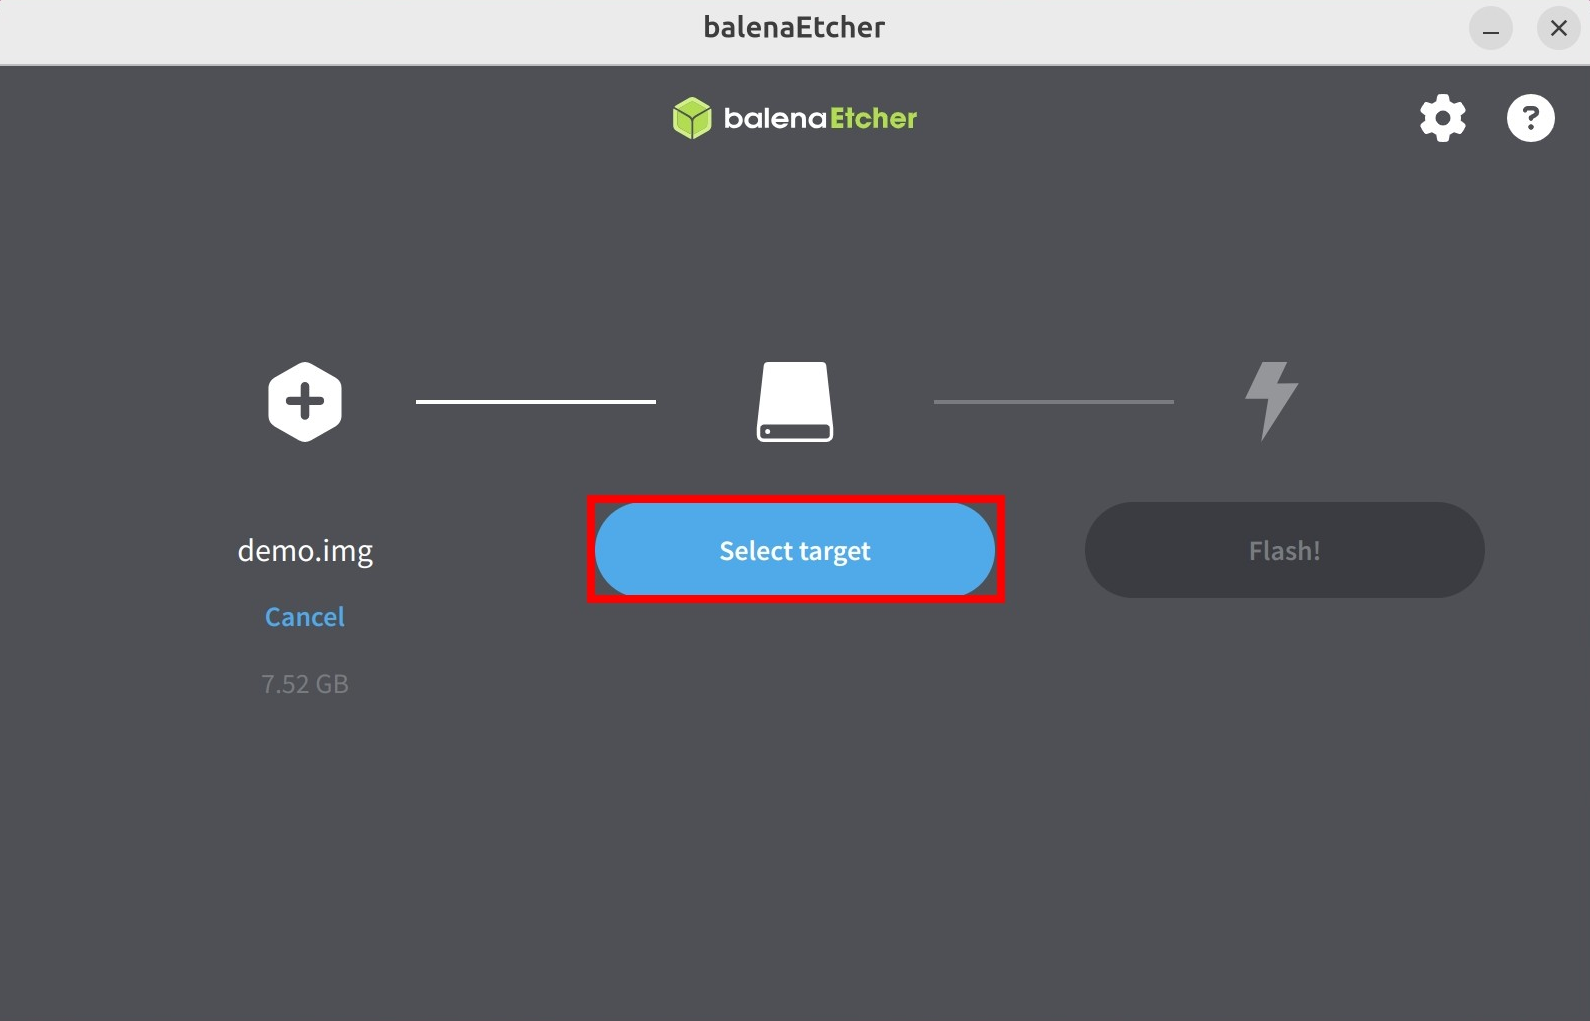
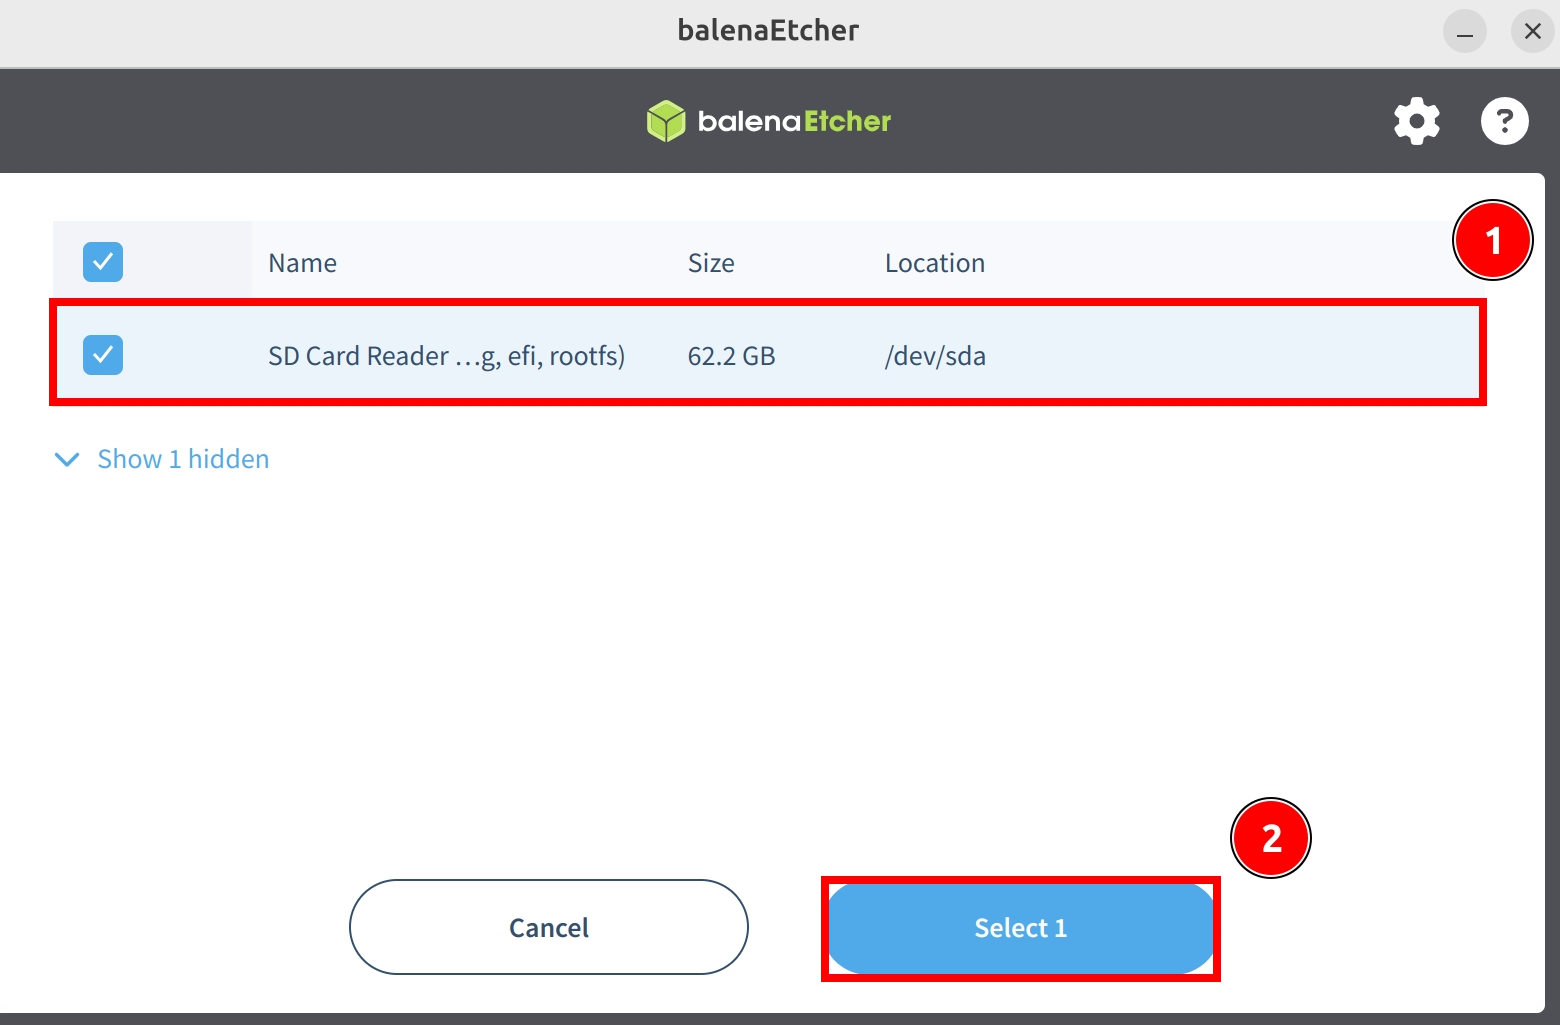
Select the target device
Click Select target and choose the microSD card device.
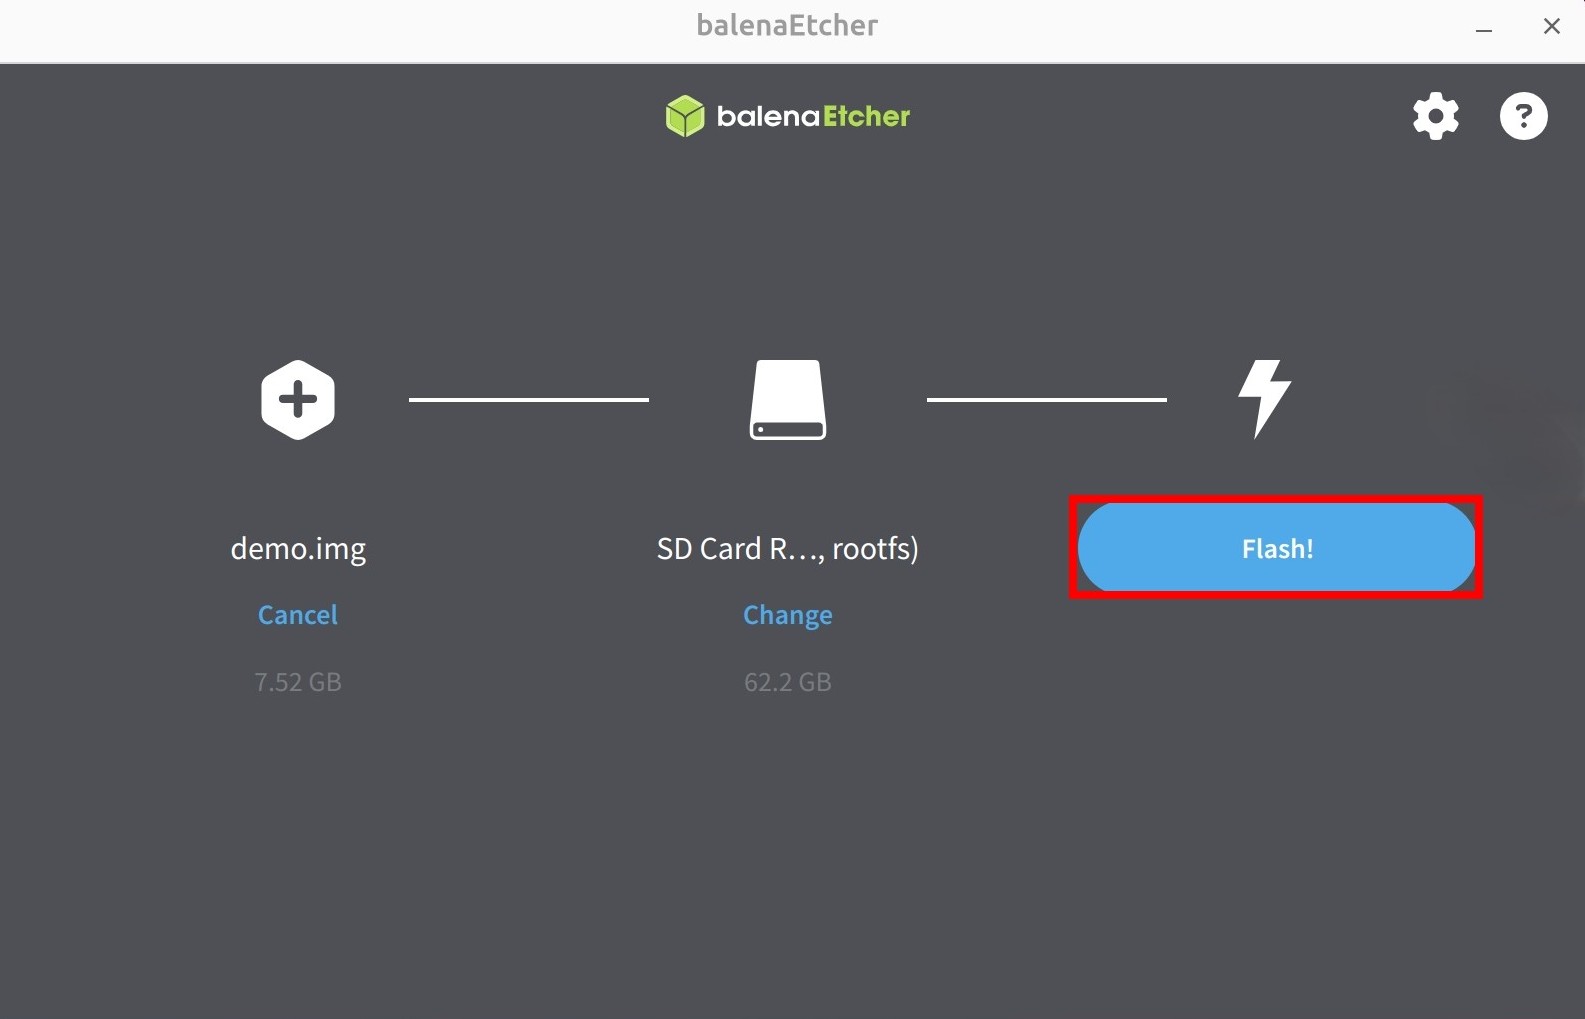
Flash
Click Flash! to start flashing the OS image to the microSD card.
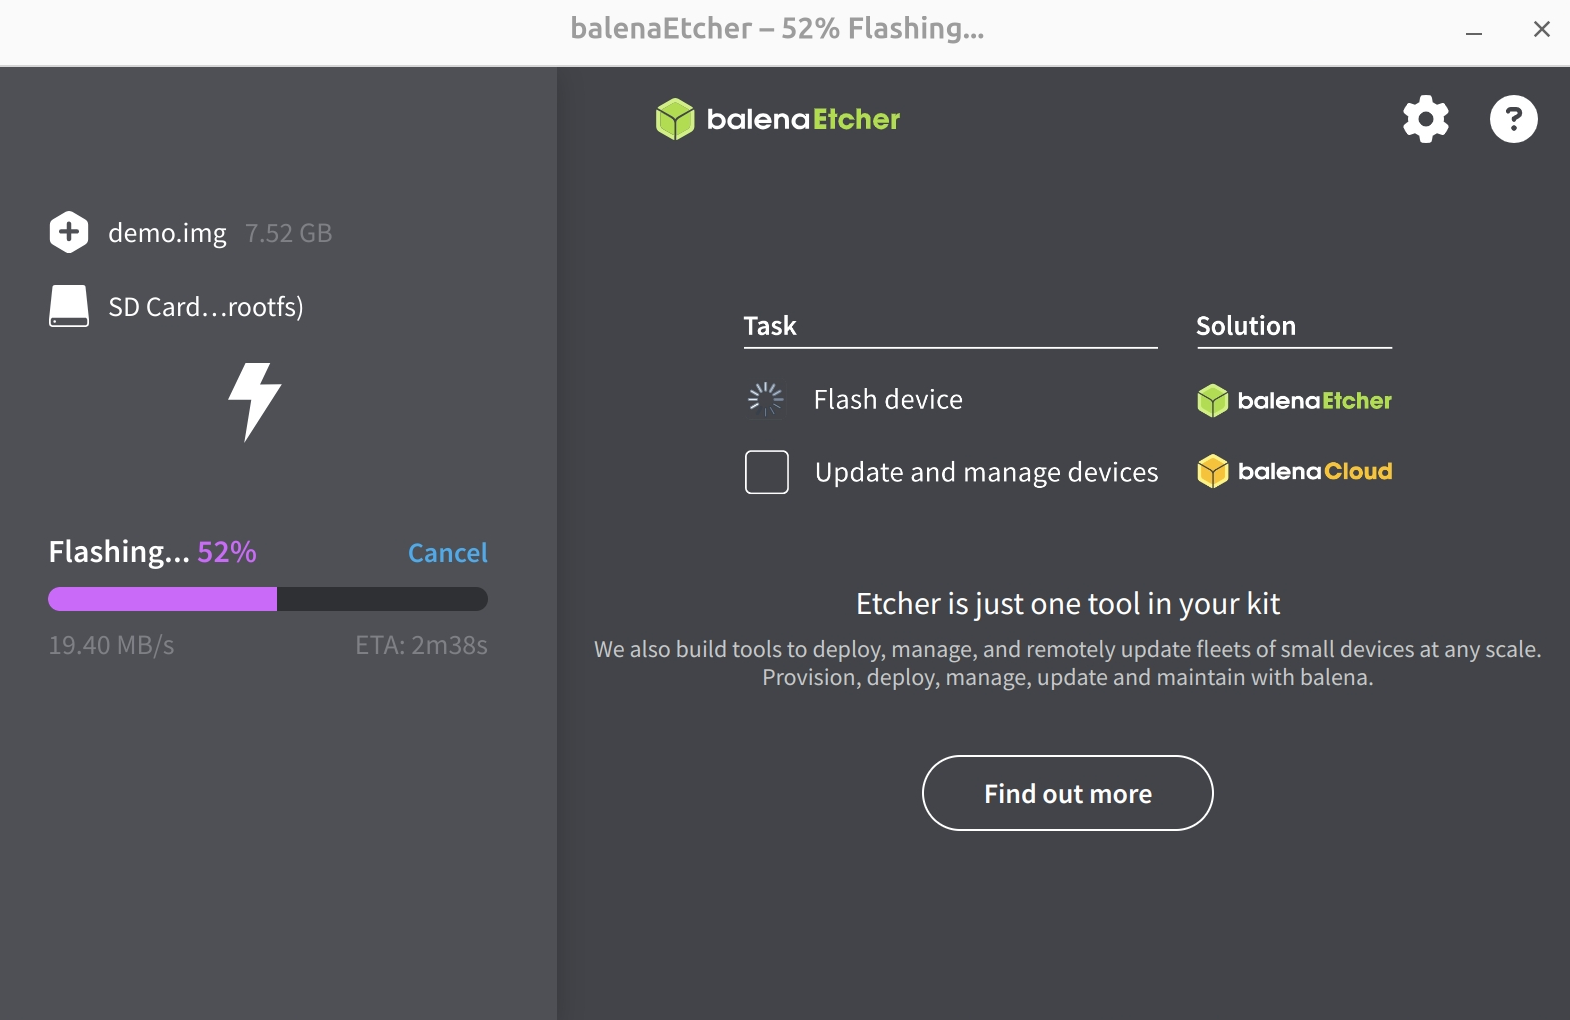
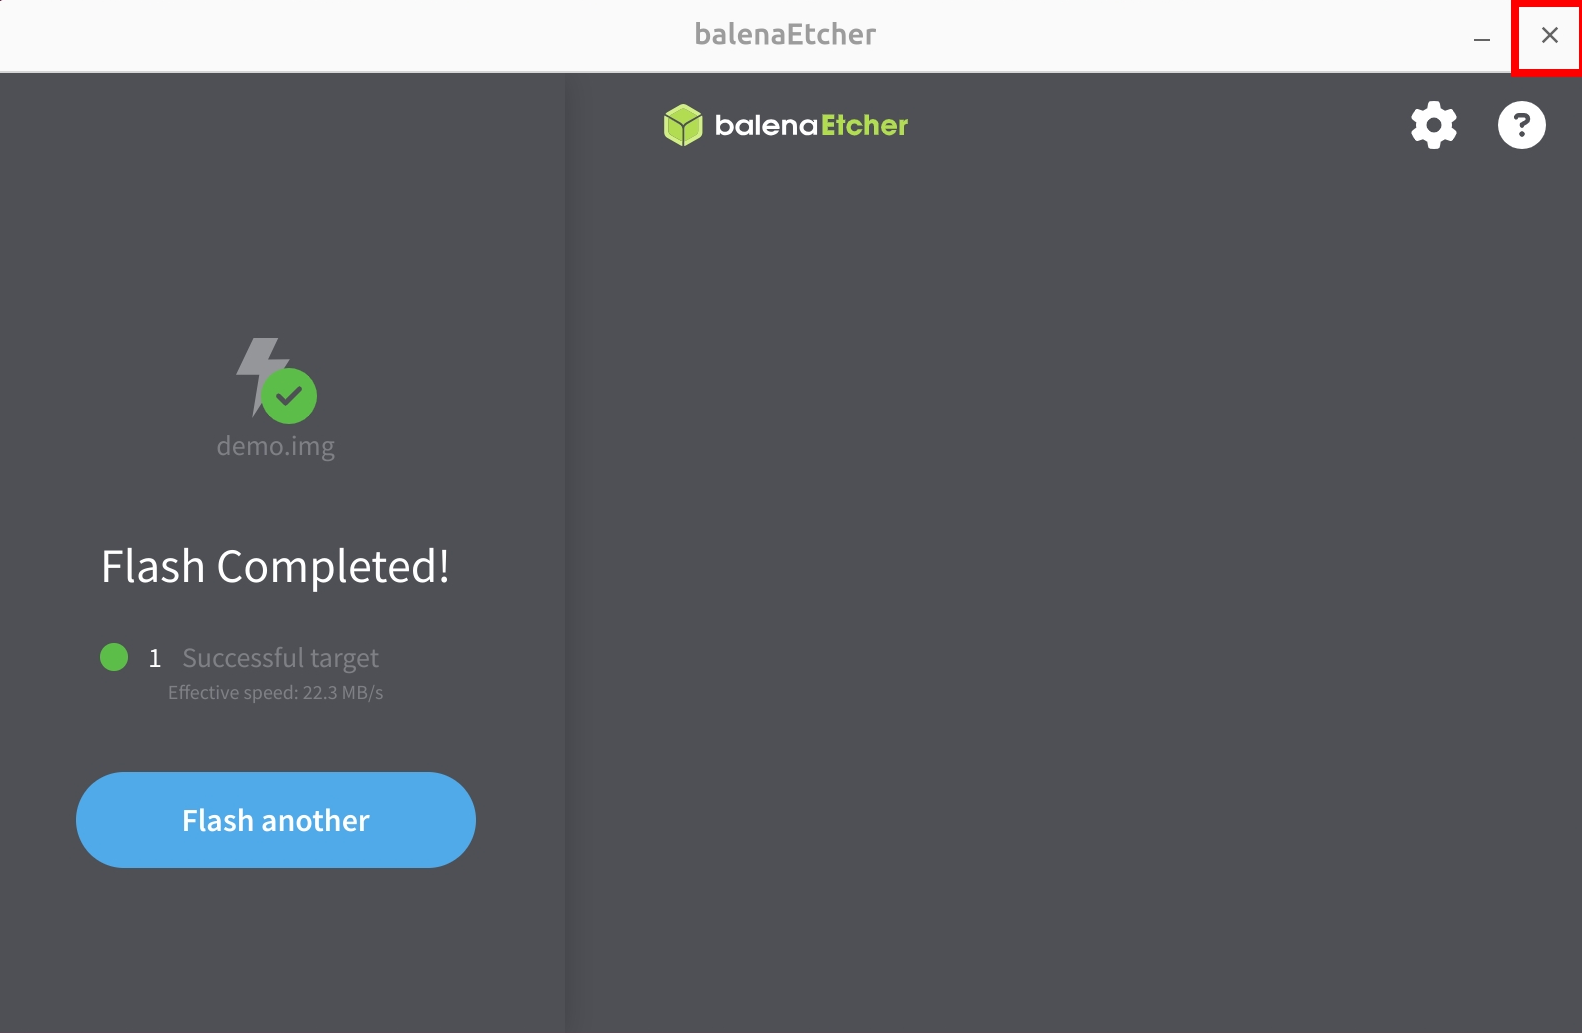
Wait for flashing to complete
Wait for verification to complete
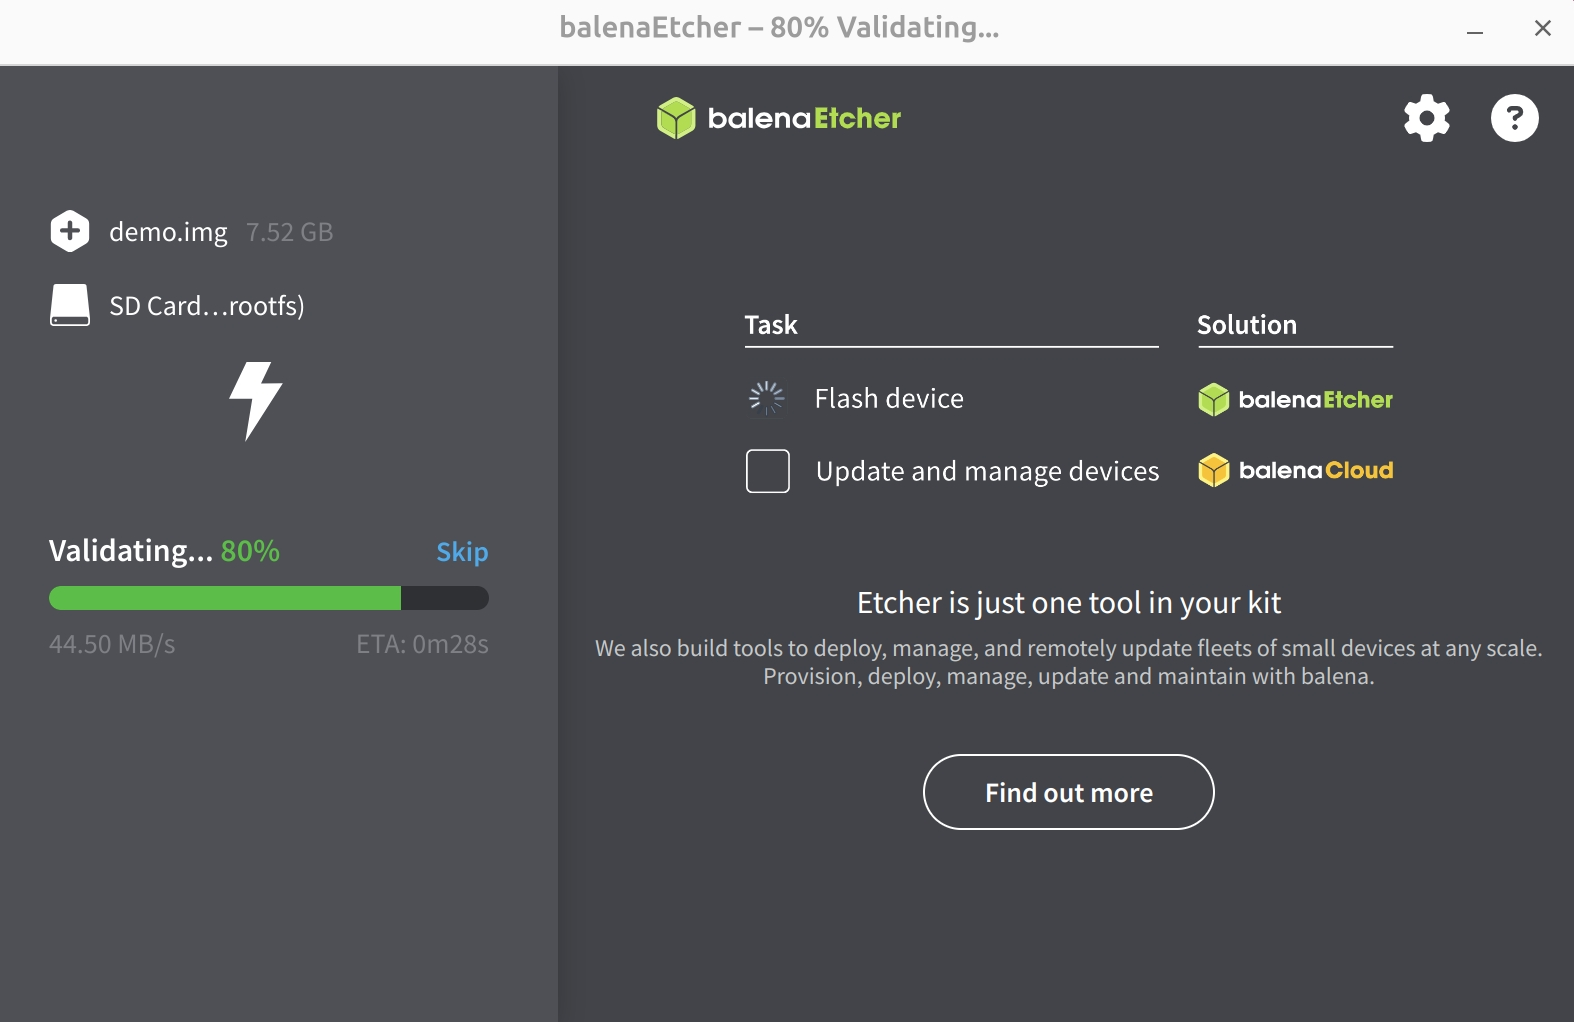
When finished, close Etcher.
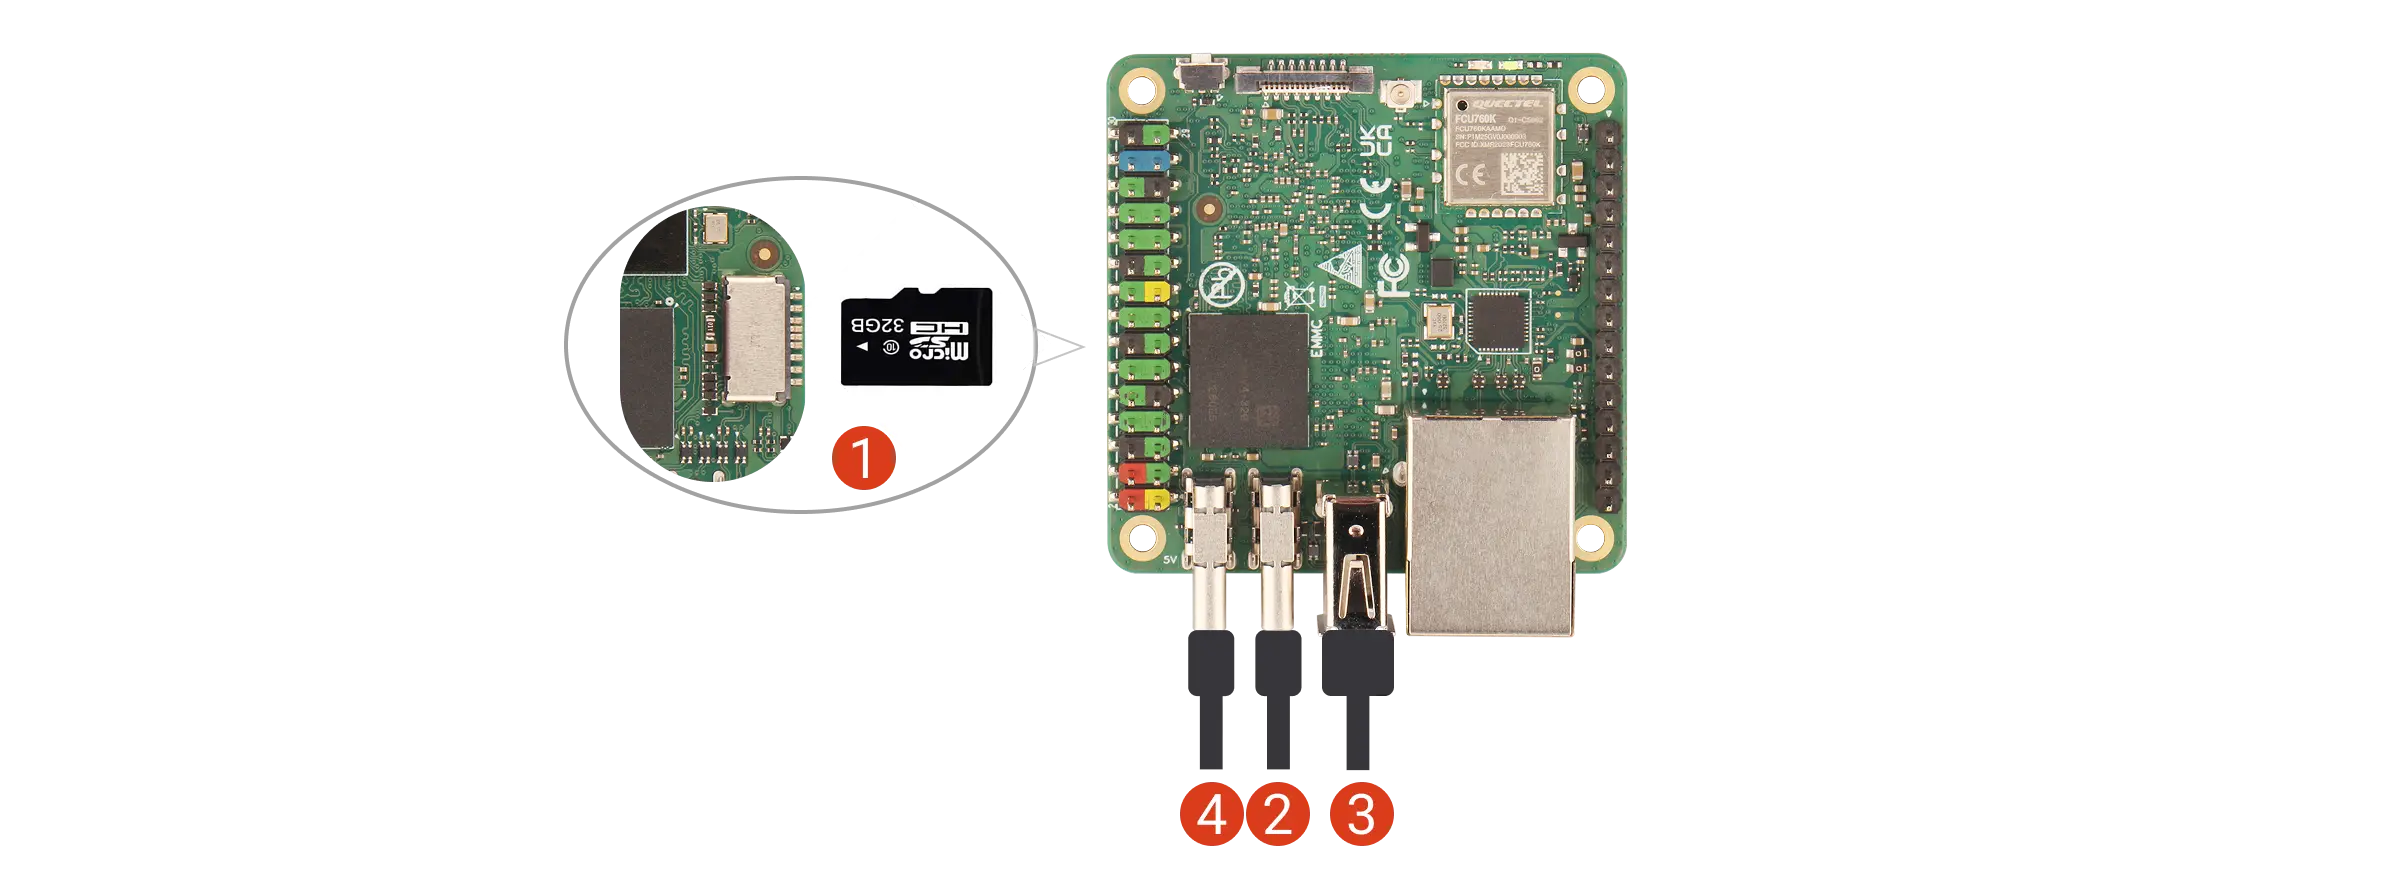
Boot the system
① Insert the microSD card into the microSD slot
② Connect a monitor using a USB‑C to HDMI/DP cable
③ Connect keyboard/mouse via USB‑A (use a USB hub if needed)
④ Power the board with a 5V USB‑C power adapter
If power is OK, the power LED turns green. If the system boots, the status LED blinks blue.
After booting successfully, you should see the desktop on the monitor.
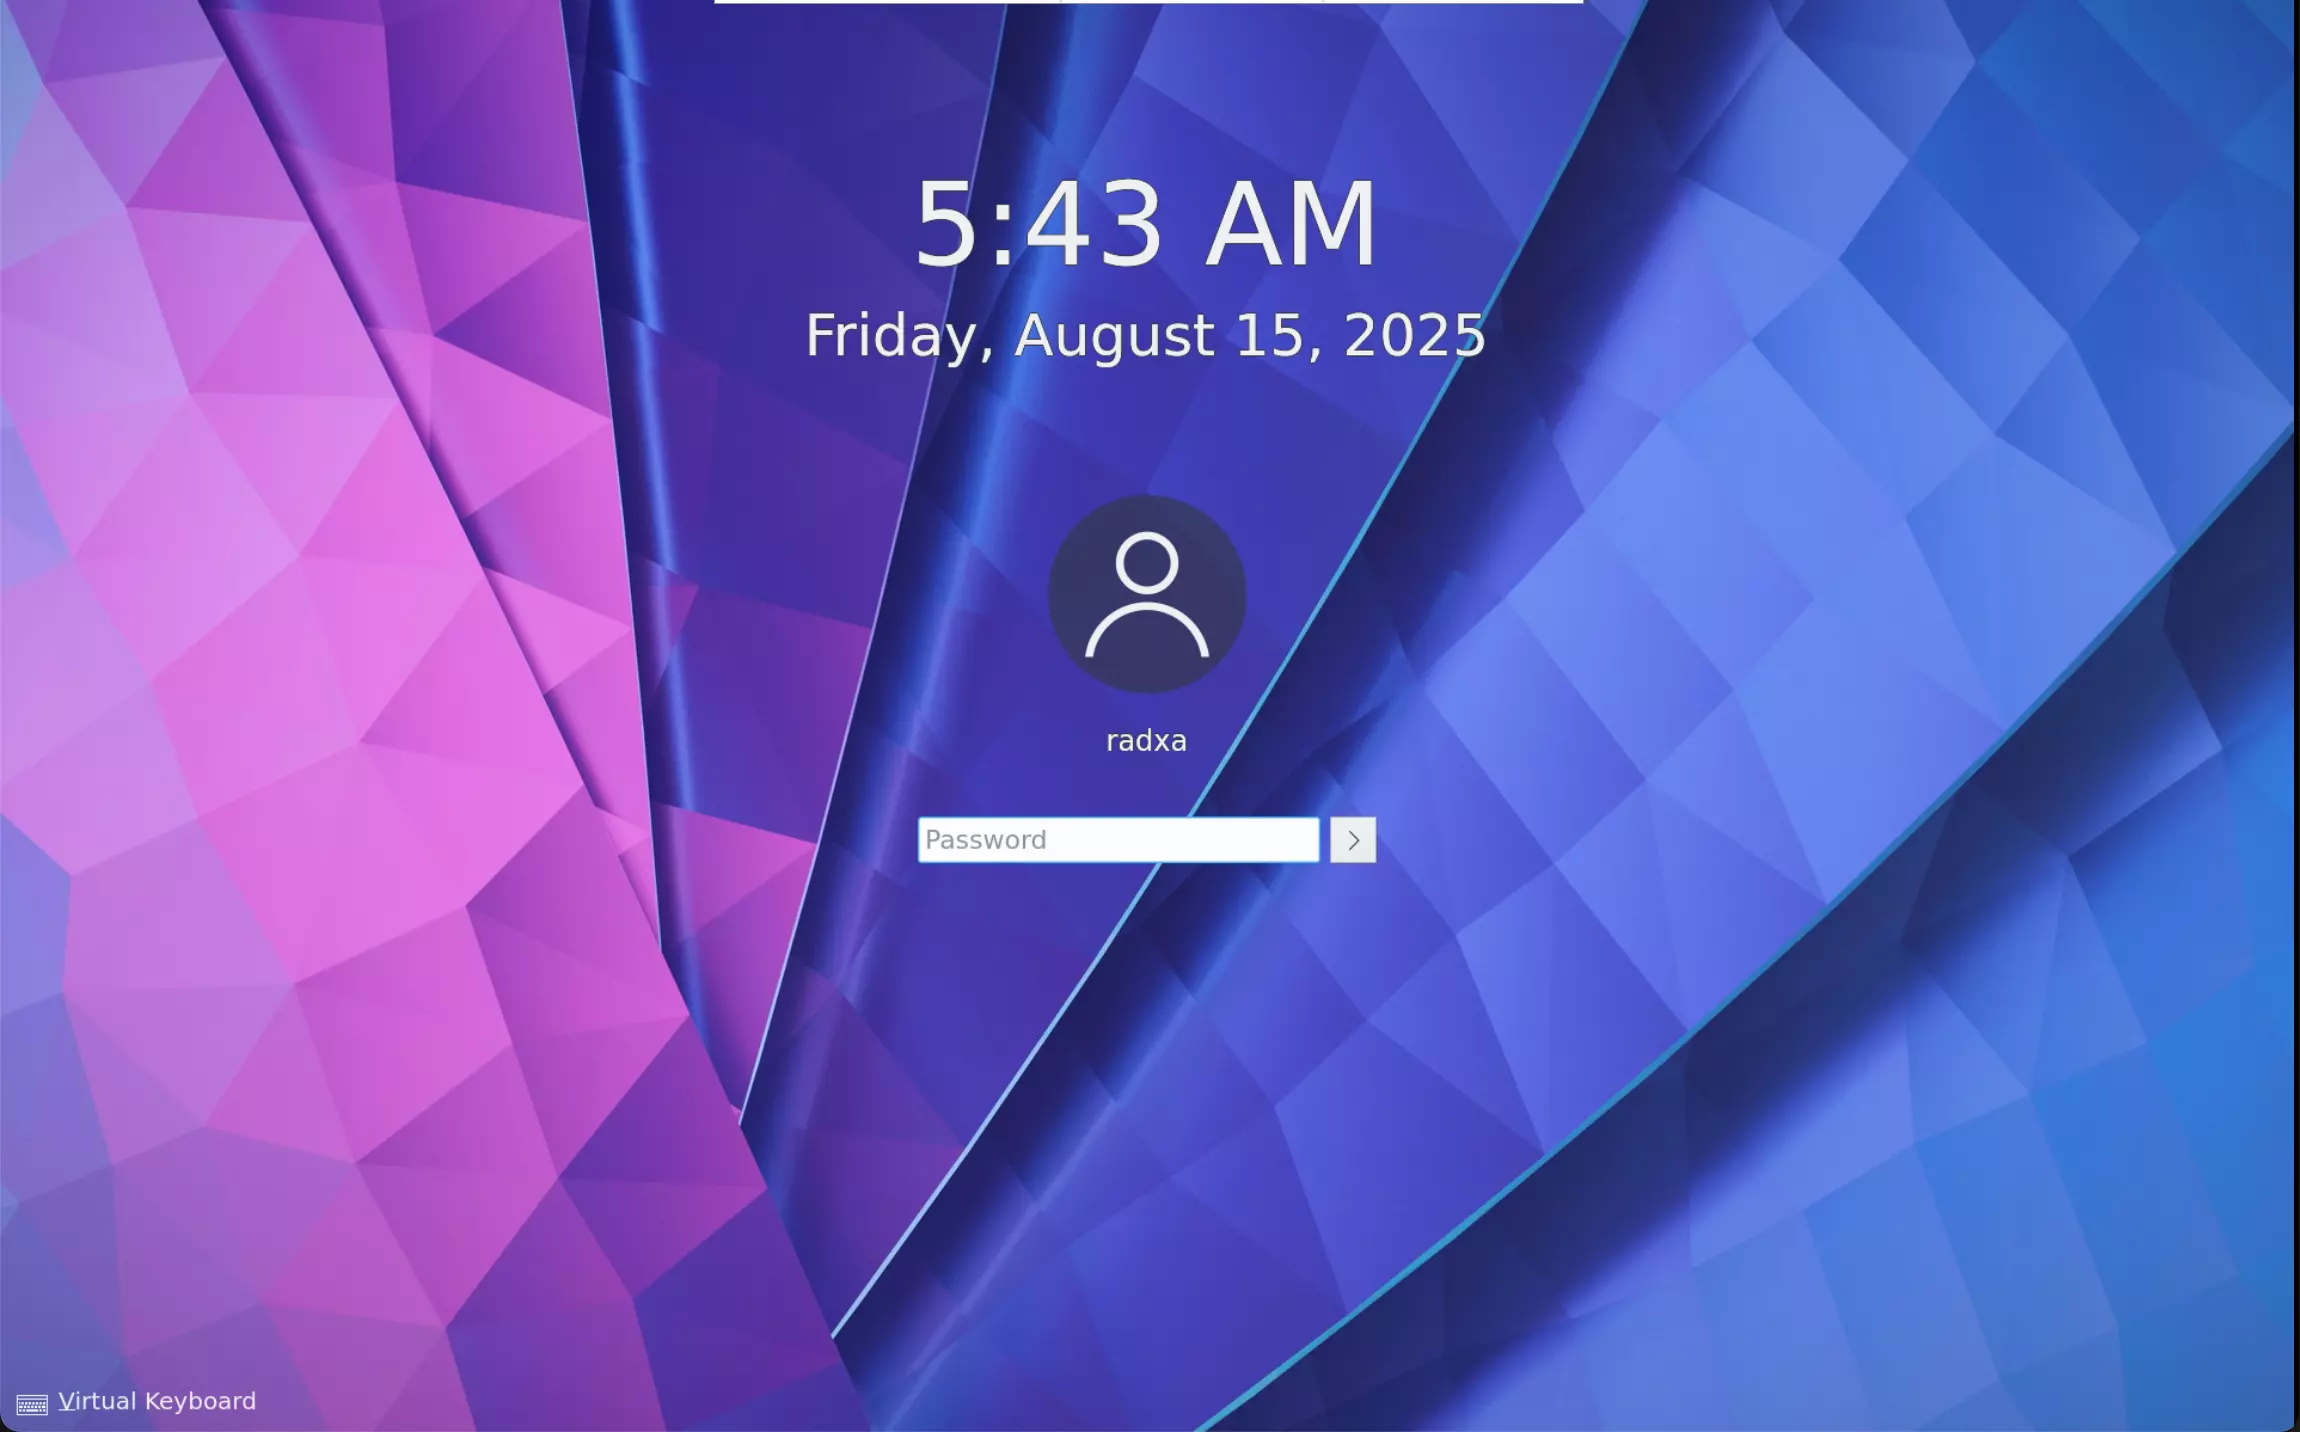
First login
On the first boot, log in with the default username and password. Radxa OS defaults:
| Item | Value |
|---|---|
| Username | radxa |
| Password | radxa |
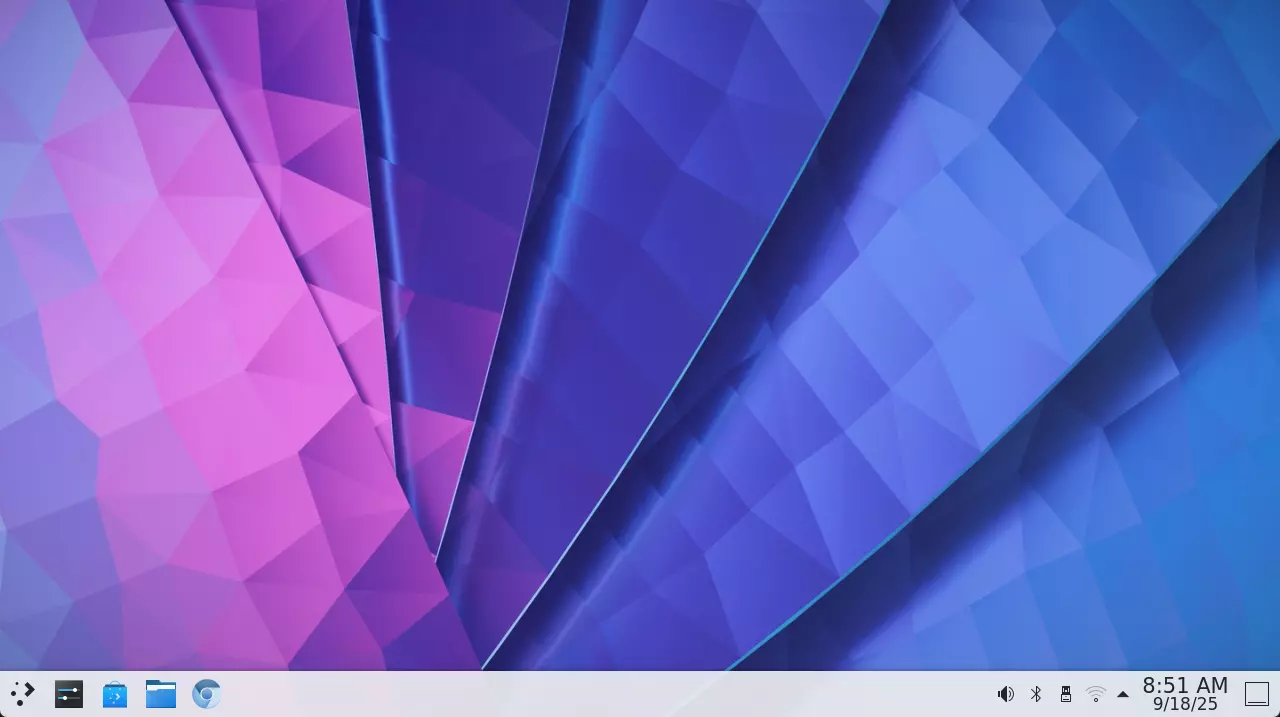
Use the system
After booting successfully, you can start using Radxa OS on Cubie A7S. See System configuration for basic usage.
If you want to boot from other media (for example, onboard eMMC), follow the guide below: