SSH login
Prerequisites
For SSH login, both devices must be on the same local network, and the target device must have the SSH service enabled.
Radxa OS first boot detects whether a display is connected. If a display is connected, SSH service will not be enabled; if no display is connected, SSH service will be enabled automatically.
Install OpenSSH
SSH remote control requires OpenSSH to be installed. Run the following command in the board's terminal to install it:
sudo apt update && sudo apt install openssh-server -y
Start SSH Service
Run the following command in the board's terminal to start the SSH service:
sudo systemctl start ssh
Enable SSH Service on Boot
Run the following command in the board's terminal to enable SSH service on boot:
sudo systemctl enable ssh
Check SSH Service Status
Run the following command in the board's terminal to check the SSH service status:
sudo systemctl status ssh
The terminal will display information indicating whether the SSH service is enabled on boot and its current status.
● ssh.service - OpenBSD Secure Shell server
Loaded: loaded (/lib/systemd/system/ssh.service; enabled; vendor preset: enabled)
Active: active (running) since Sat 2000-01-01 00:14:50 UTC; 25 years 5 months ago
Docs: man:sshd(8)
man:sshd_config(5)
Main PID: 518 (sshd)
CPU: 284ms
CGroup: /system.slice/ssh.service
└─518 sshd: /usr/sbin/sshd -D [listener] 0 of 10-100 startups
SSH Remote Control
You can use either the terminal command line or the Tabby software for SSH remote login.
- Terminal Command Line
- Using Tabby Software
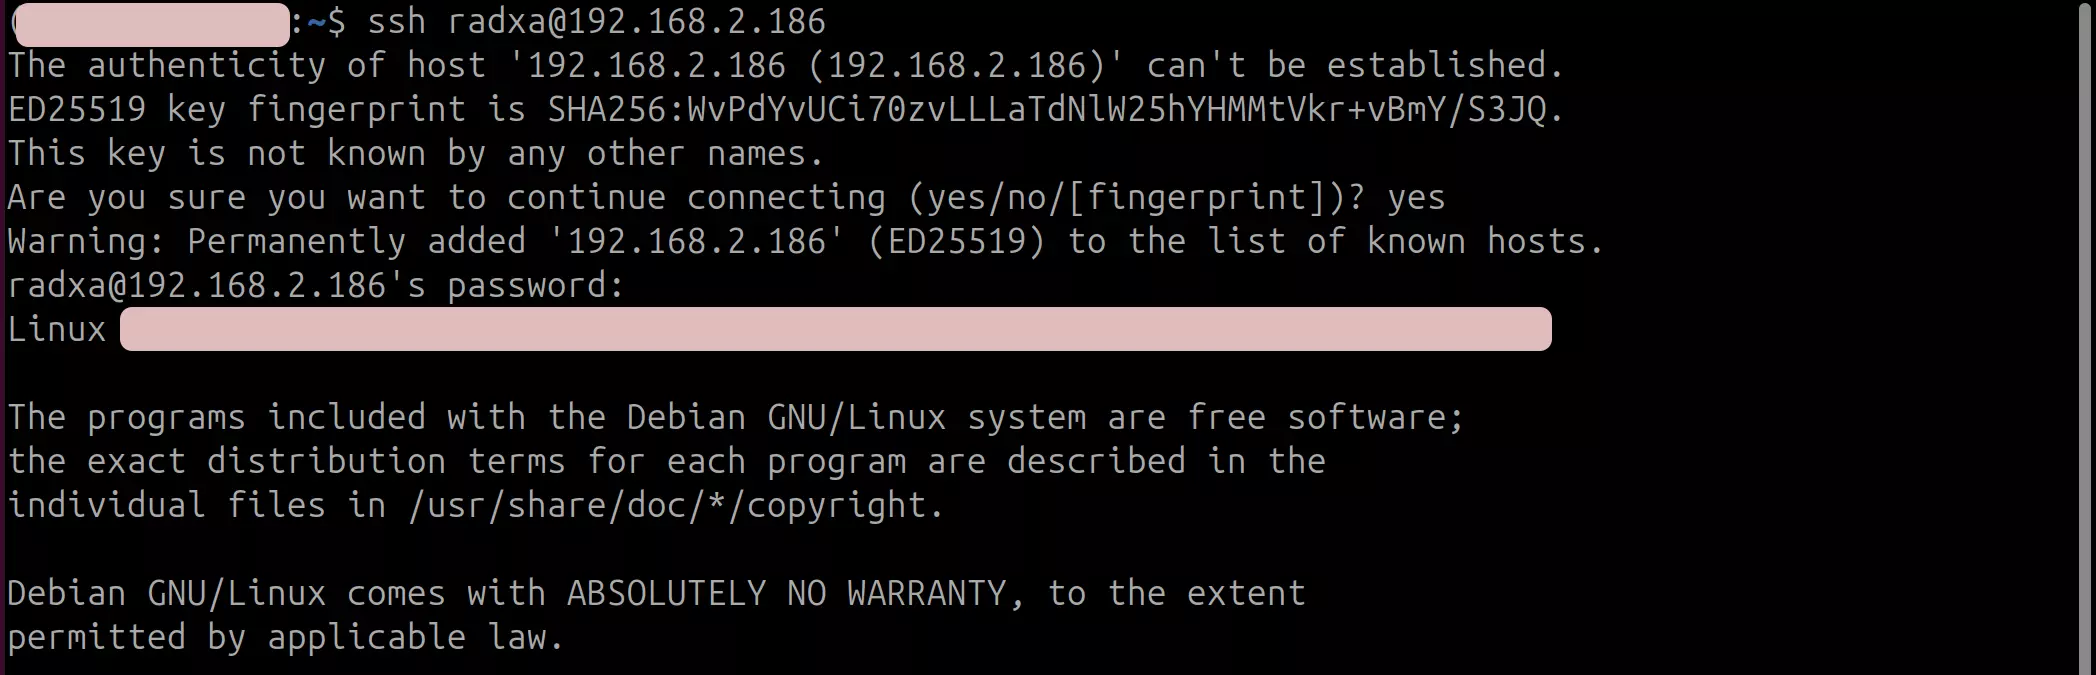
Open a terminal on another device and enter the following command to log in remotely:
ssh <user-name>@<ip-address>
# Example

ssh [email protected]
Where <user-name> and <ip-address> are the actual username and IP address of the target device, respectively.
You'll need to confirm the connection by typing yes during the connection process.
Tabby is a powerful cross-platform serial debugging tool that supports multiple protocols including serial port and SSH. We recommend using Tabby for SSH remote login.
Download Tabby
Visit the Tabby official website to download and install the Tabby software.
Install Tabby
Select the appropriate installation package for your operating system and hardware architecture (Windows: tabby-<version>.exe, Linux: tabby-<version>.deb, macOS: tabby-<version>.dmg) to install the Tabby software.
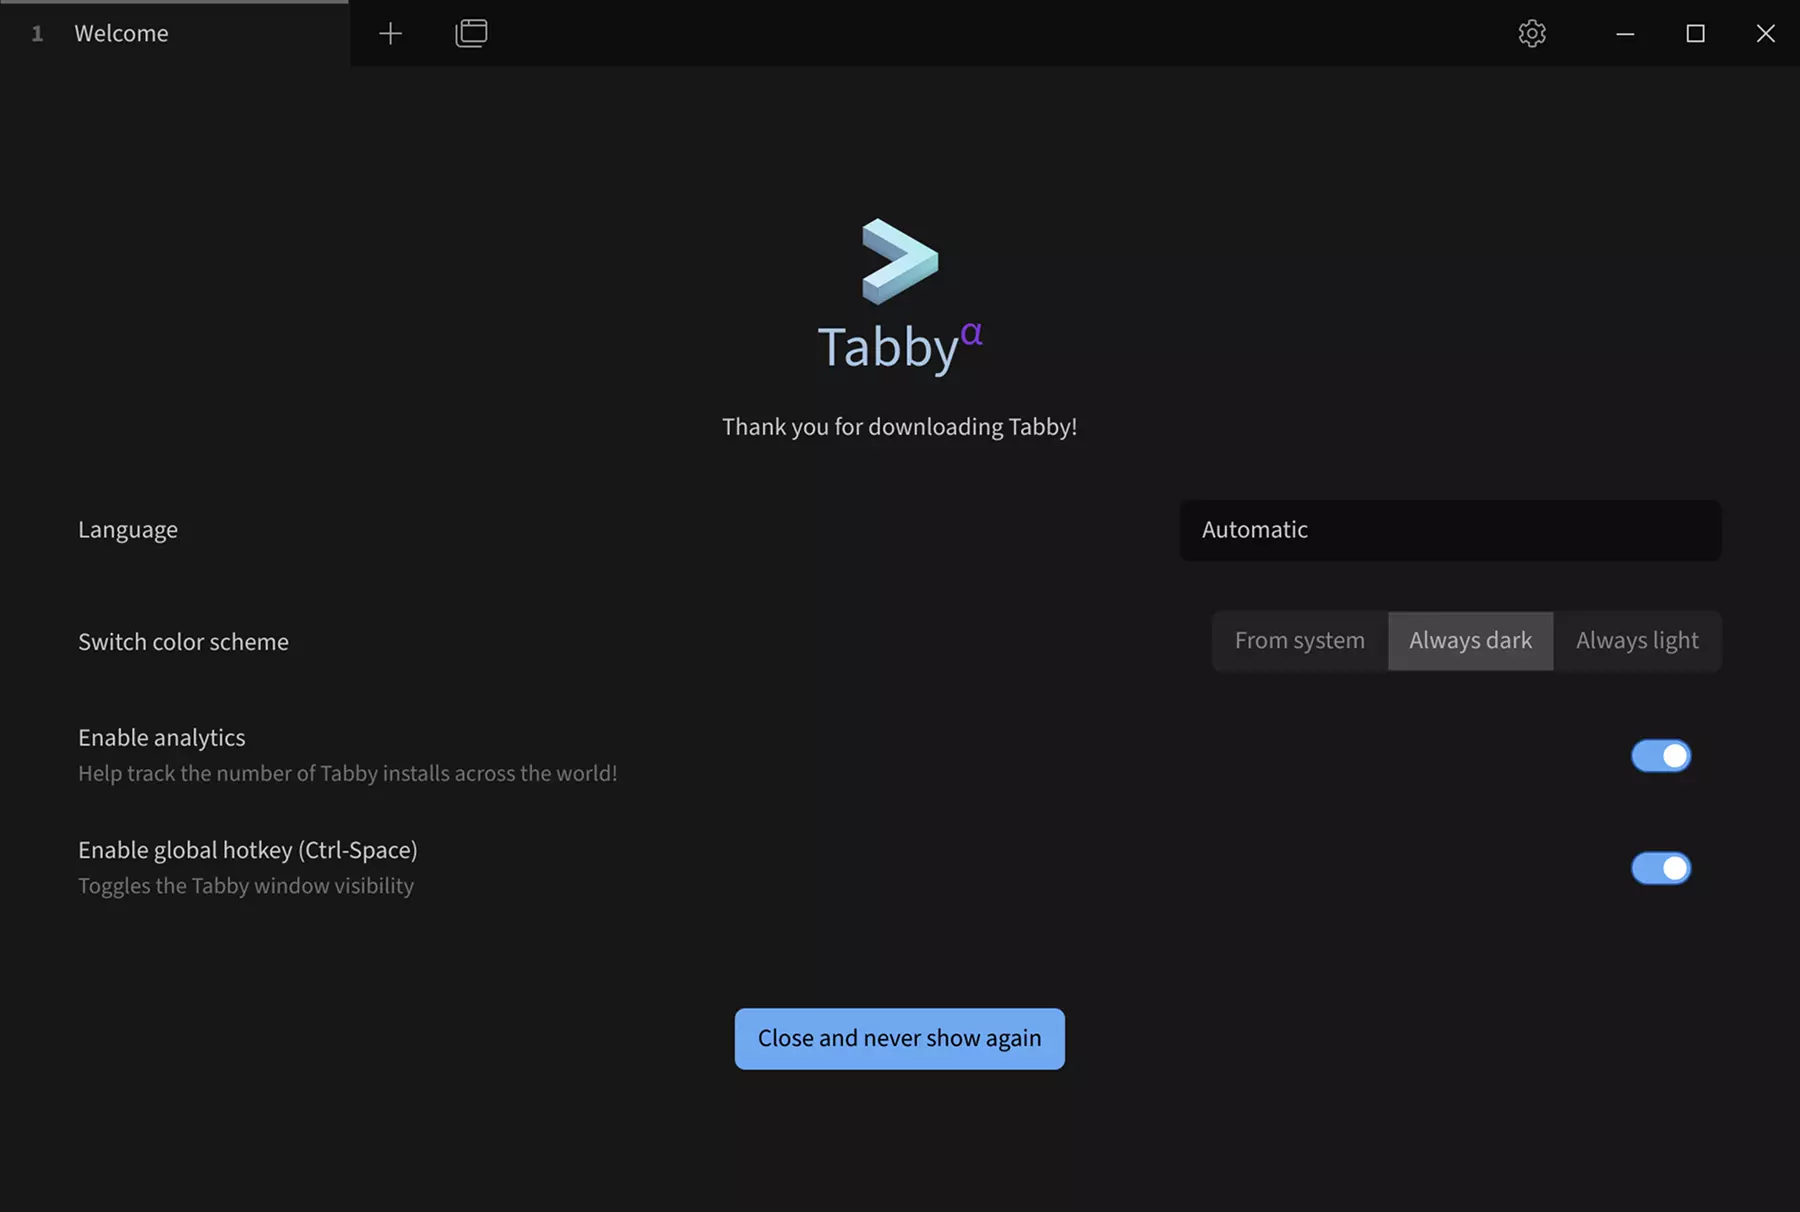
Using Tabby
Double-click the Tabby icon to launch the application.
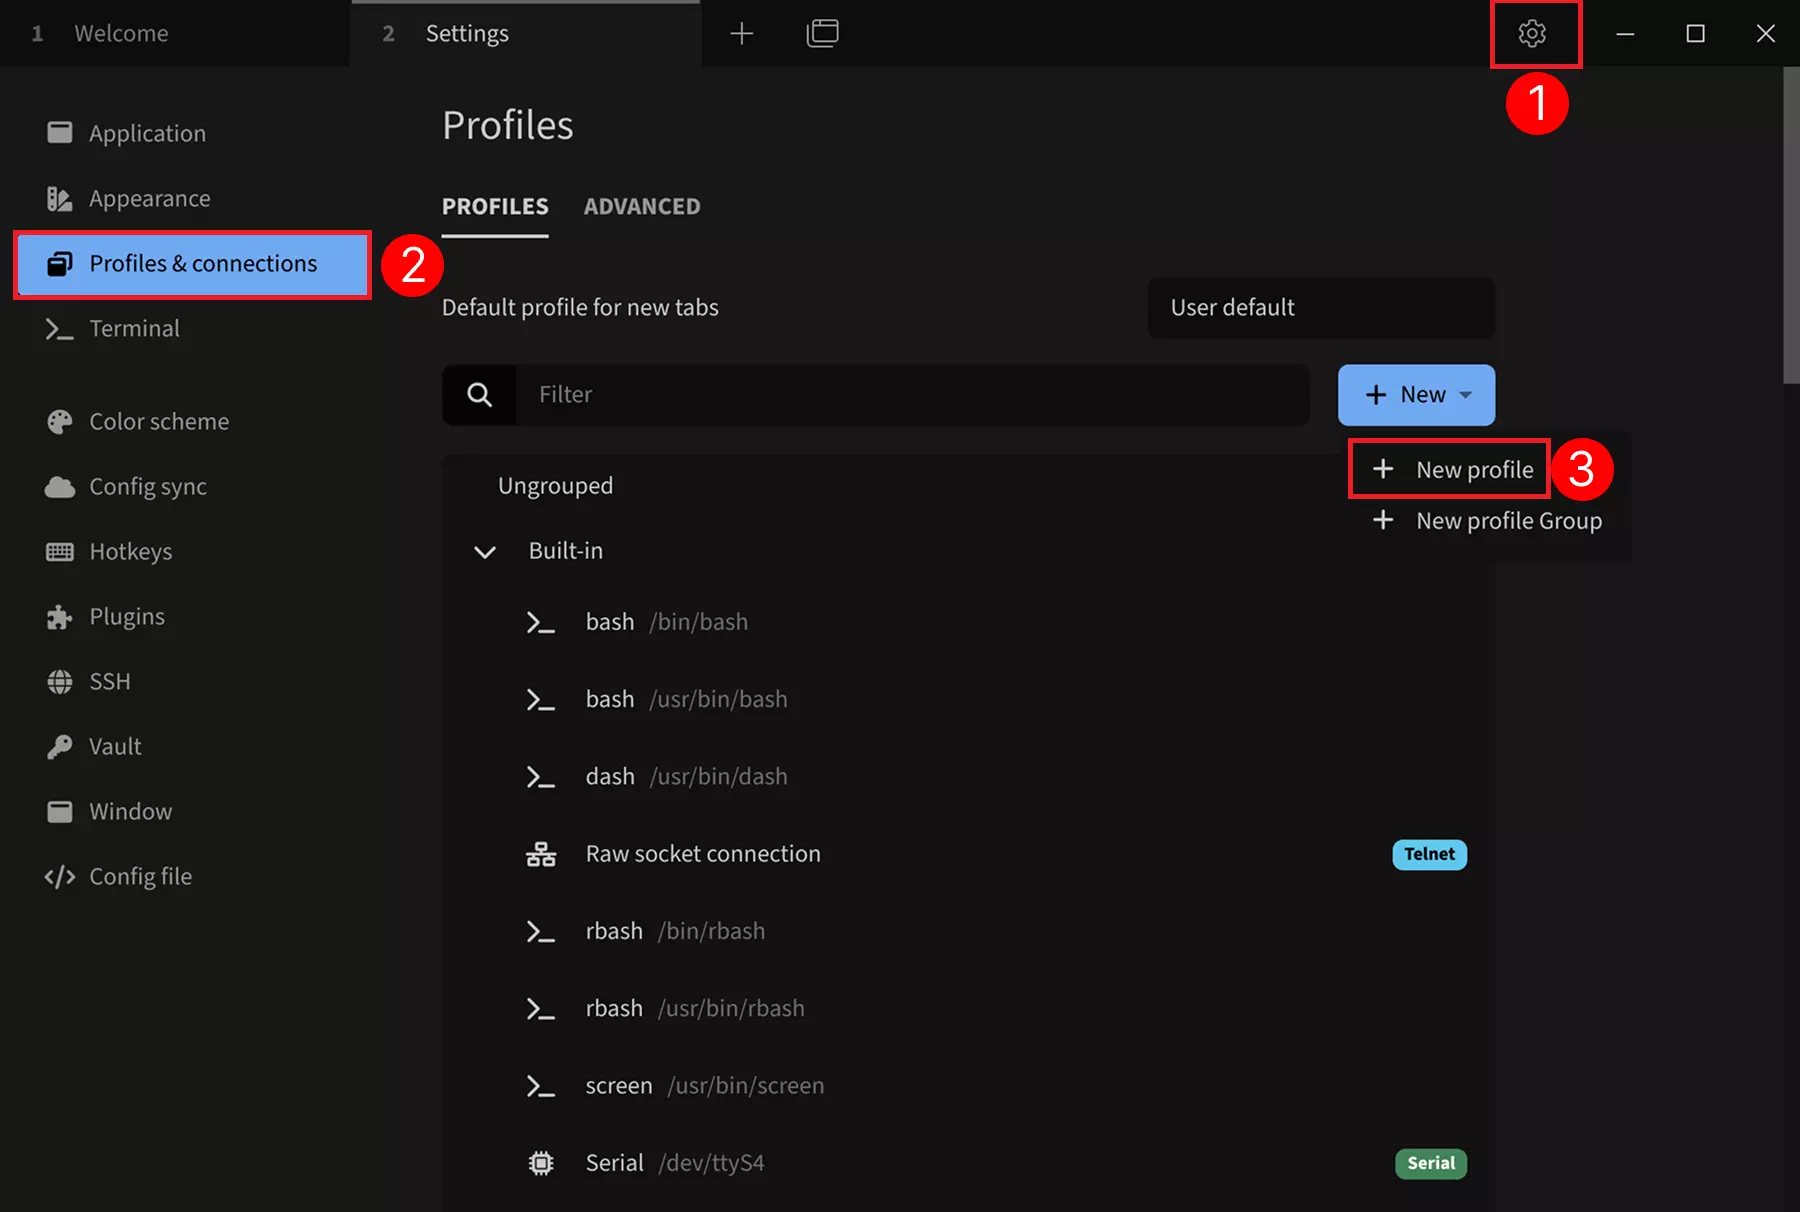
SSH Configuration
① --> Settings: Click to open settings
② --> Profiles & connections: Click to configure connection options
③ --> New profile: Click to add a new configuration
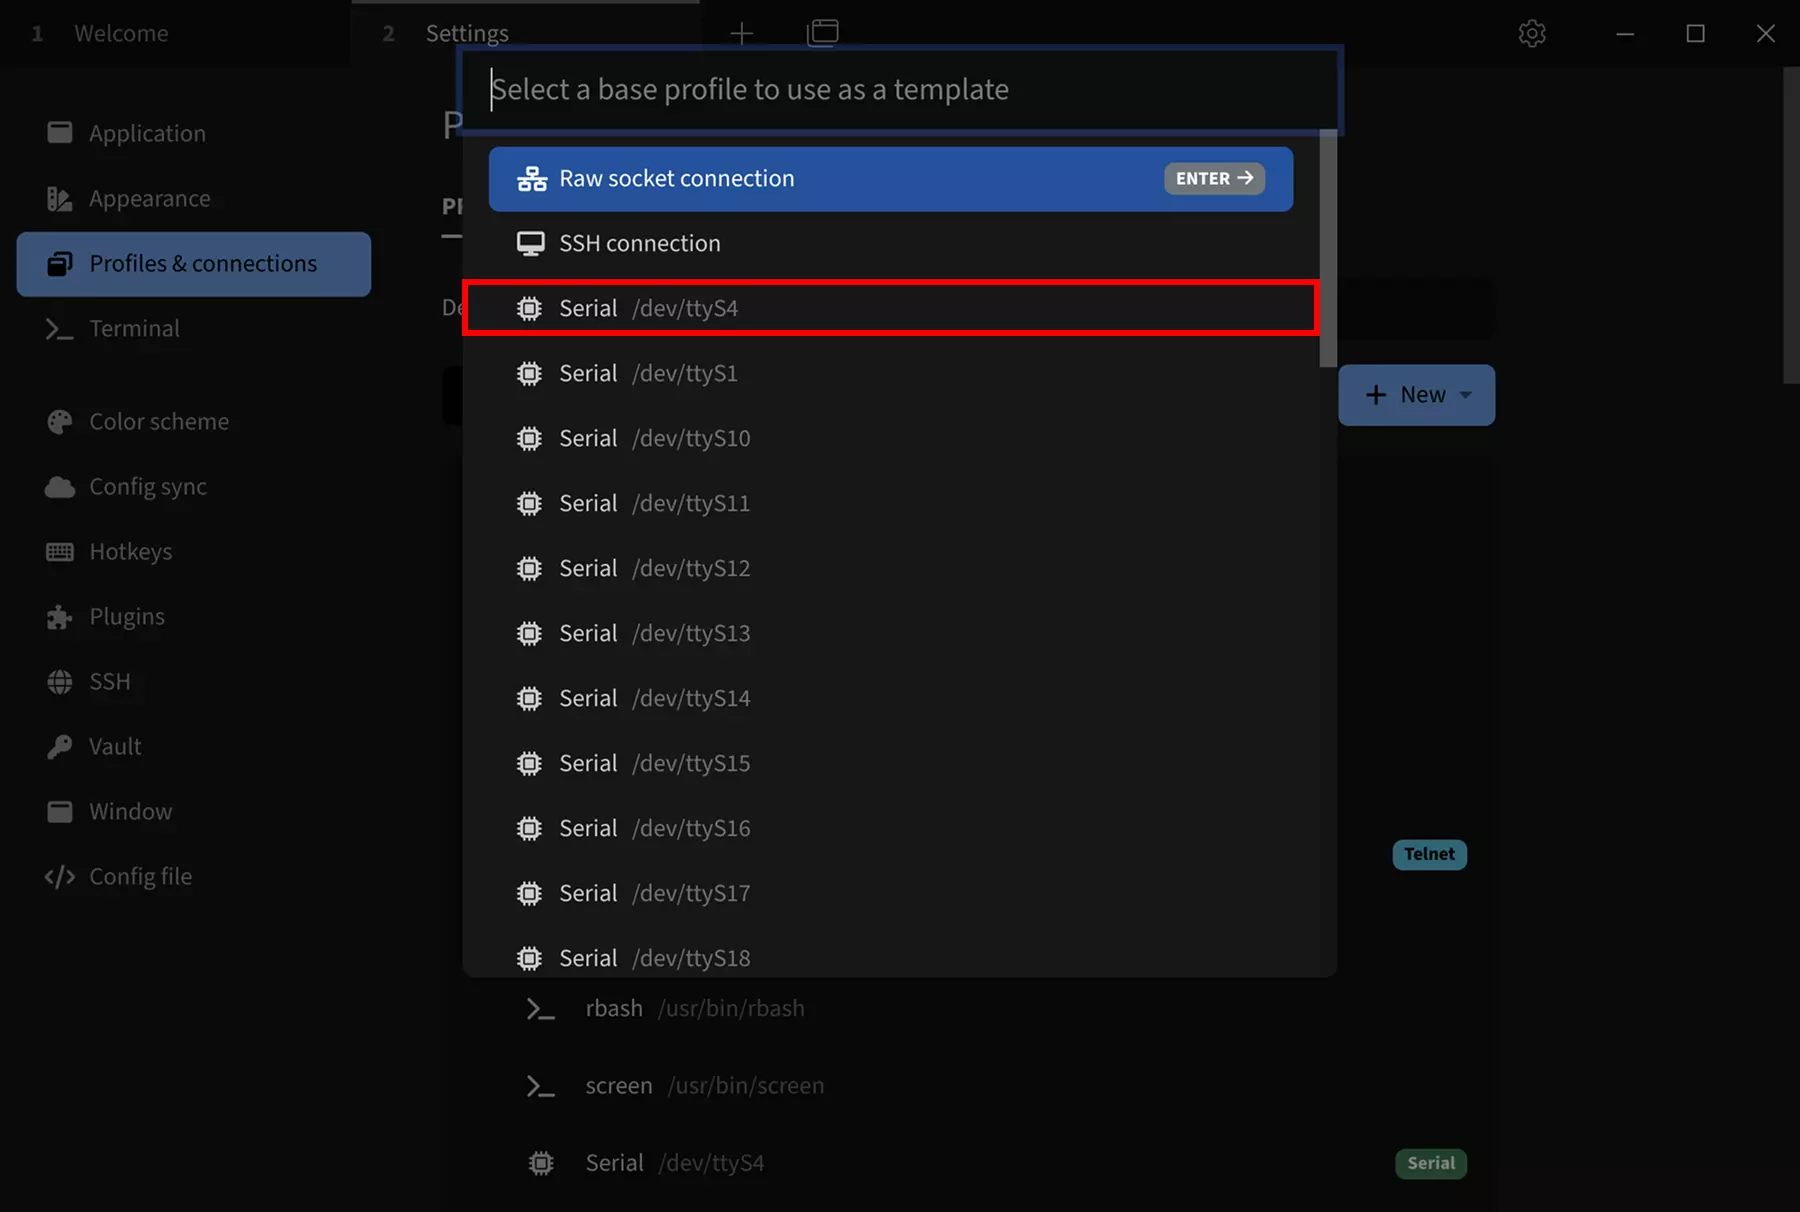
Select SSH Template
Choose a base configuration as a template: Select the SSH connection template. You can modify parameters such as device name, IP address, and port in the subsequent configuration interface.
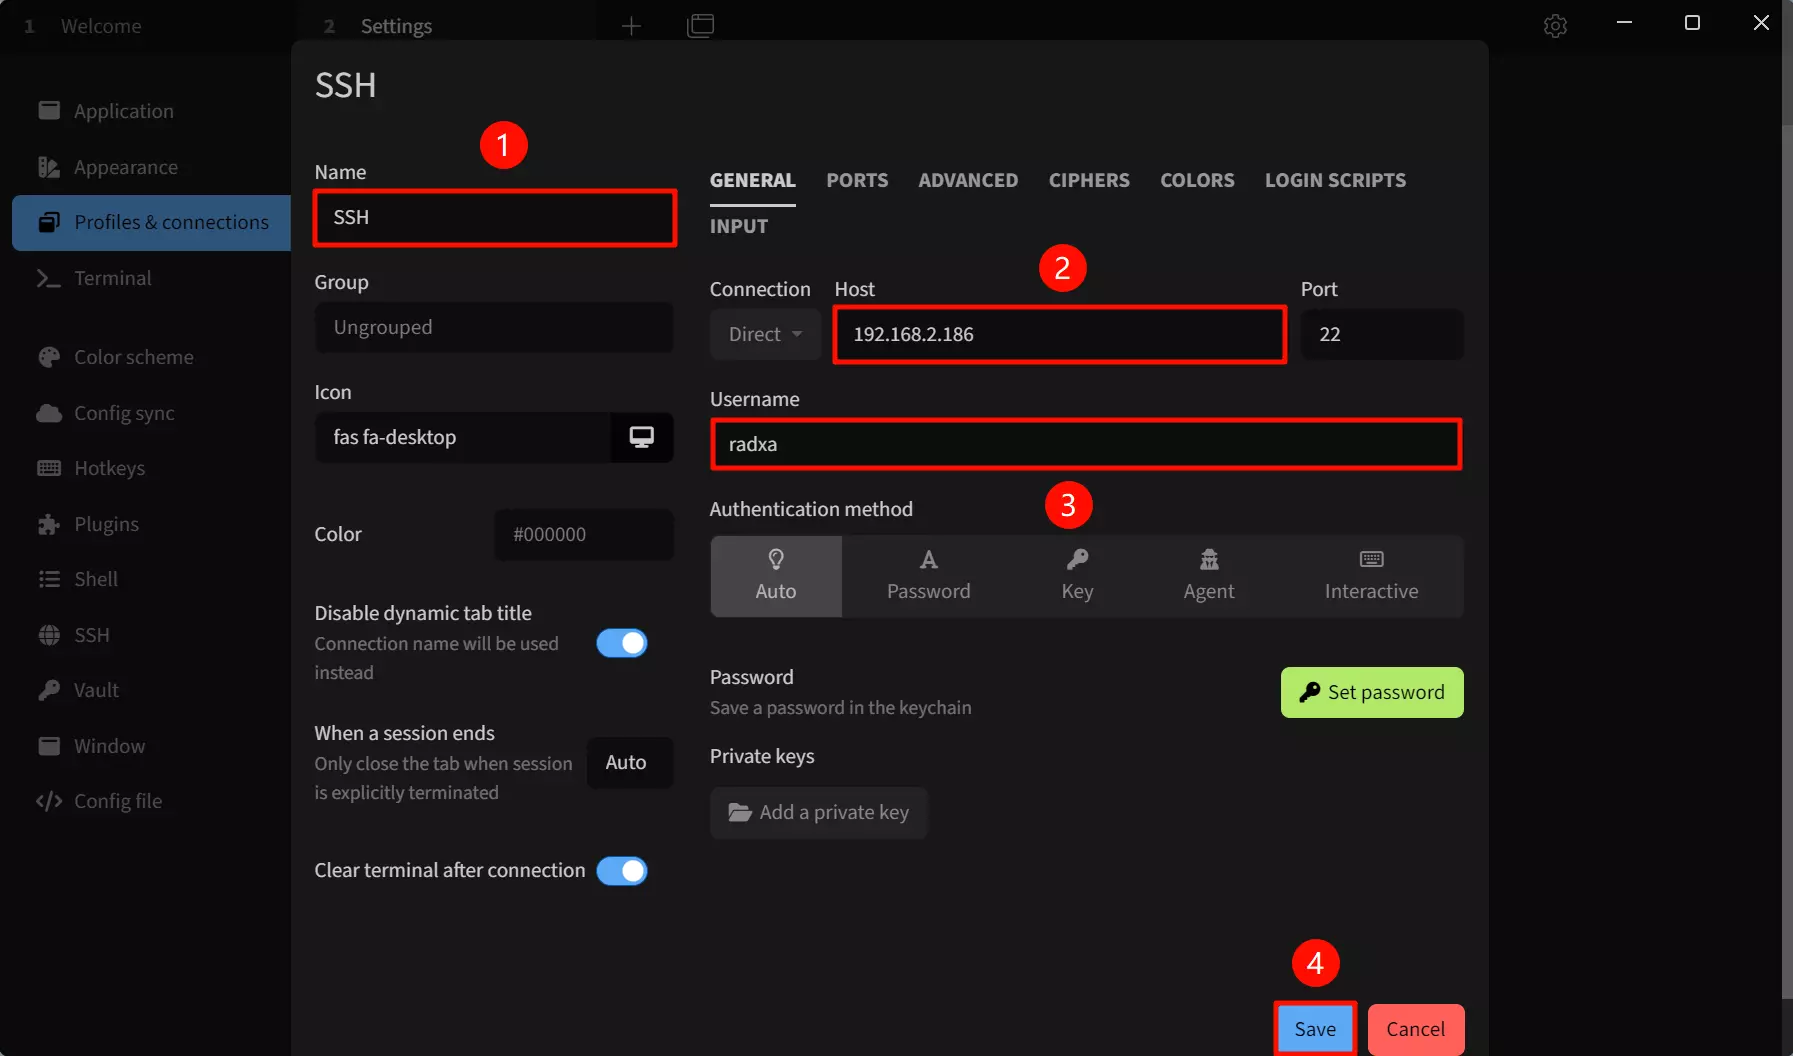
After selecting the SSH connection template, modify the following parameters:
① --> Name: Set the connection name
② --> Host: Enter the IP address of the target device
③ --> User: Set the username (default is radxa)
④ --> Save: Save the configuration
The default port is 22, which doesn't need to be changed.
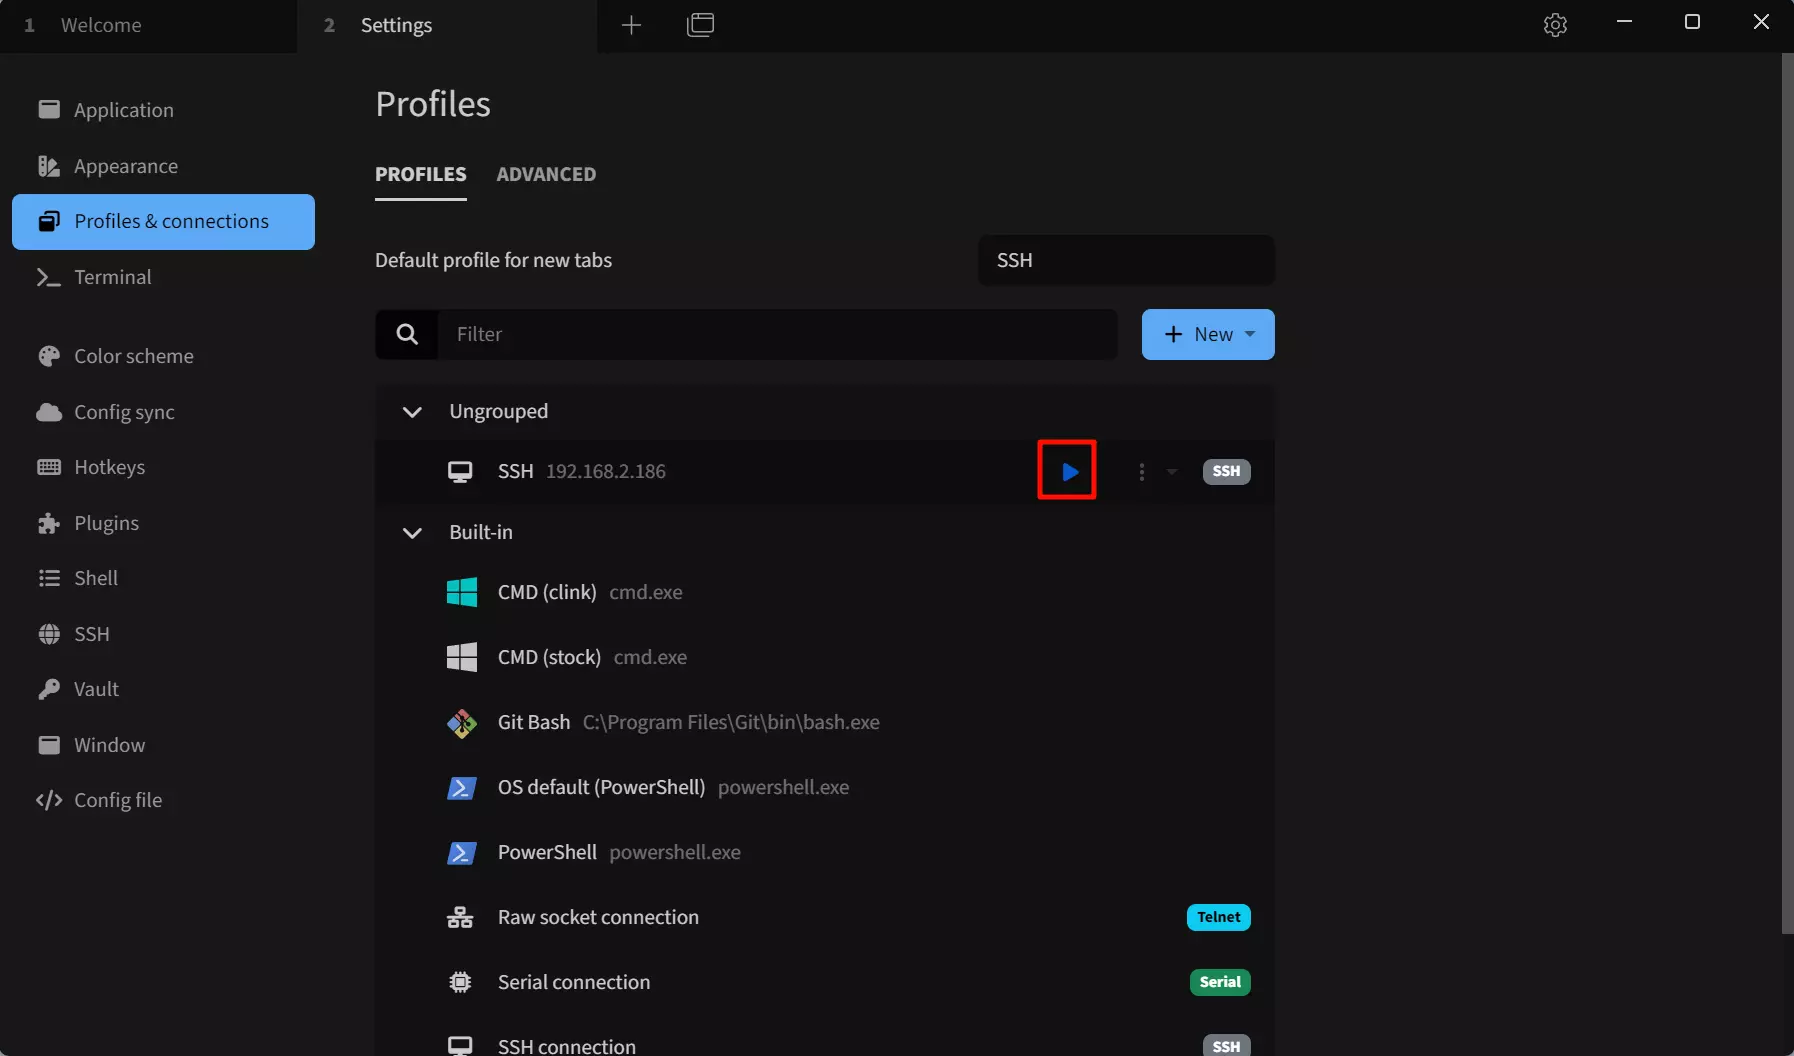
Run SSH Connection
Click the run button to connect to the SSH device remotely.
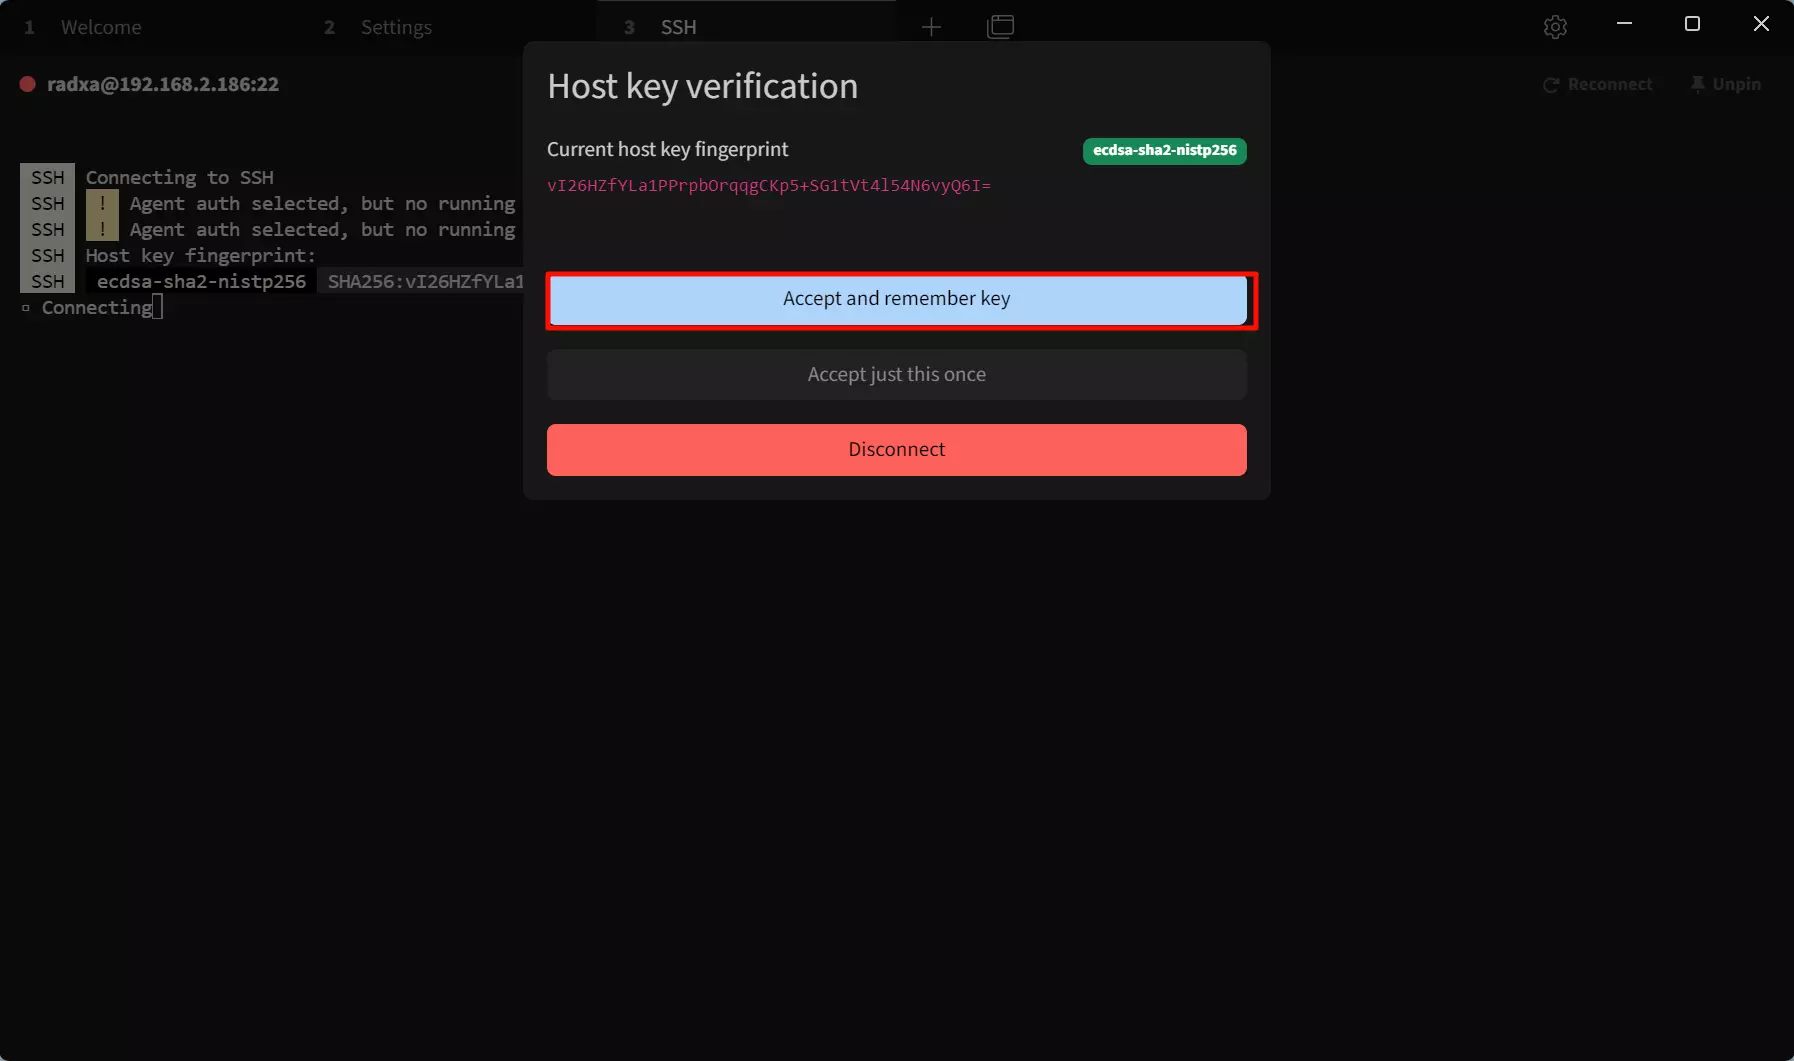
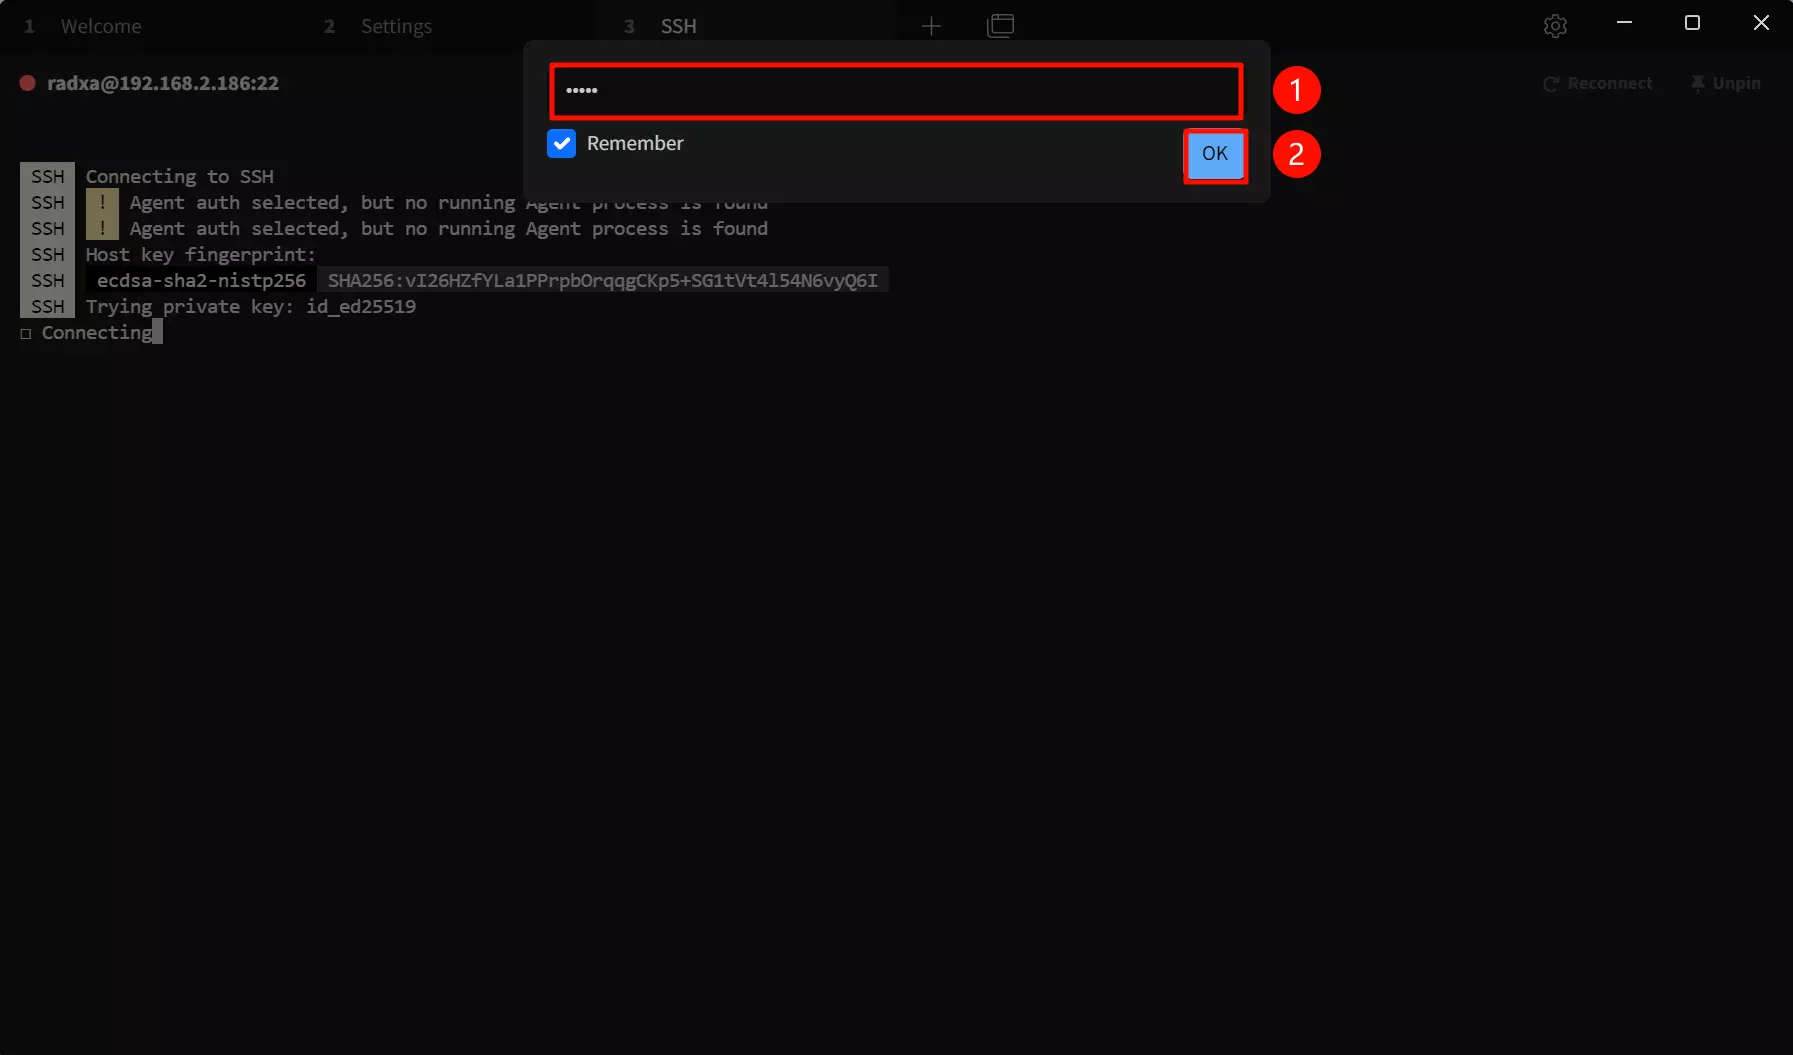
After clicking the run button, Tabby will display a key verification and password input interface.
① --> password: Enter the password for the target device
② --> OK: Confirm the connection
It's recommended to check the Remember option so you won't need to enter the password again for future connections.
After a successful connection, the remote interface will appear.
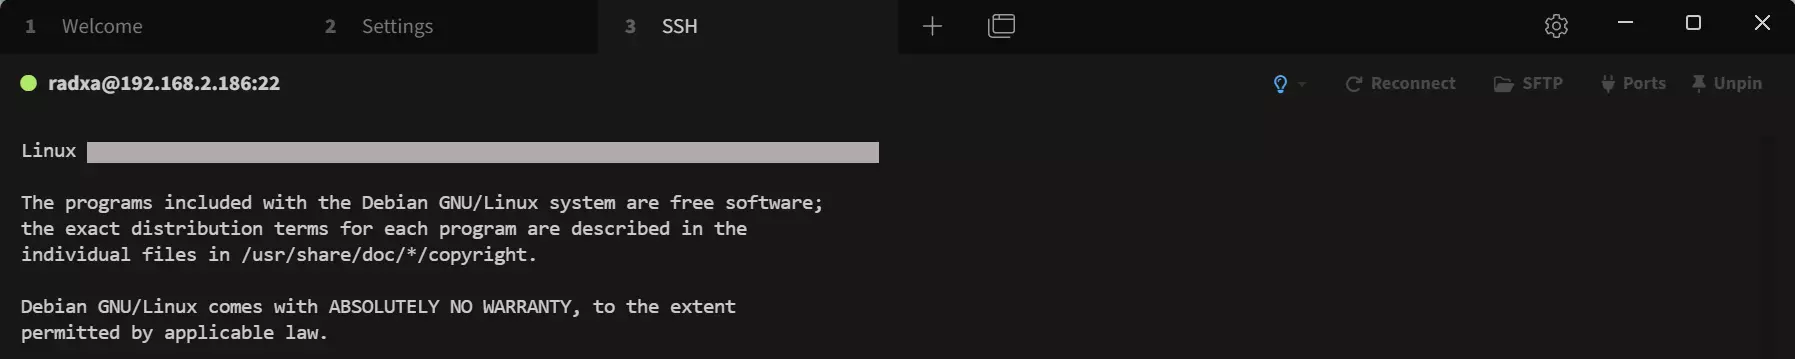
After successfully logging in via SSH, you can run commands to control the system through the SSH connection.
Troubleshooting
If SSH connection fails, follow these steps to diagnose the issue.
1. Verify SSH Service is Running
On the device, run:
sudo systemctl status ssh
If the service is not running:
sudo systemctl start ssh
sudo systemctl enable ssh
On Debian/Ubuntu, ssh is an alias for sshd. If ssh does not work, try sshd.
2. Verify Network Connectivity
From your PC, ping the device IP to confirm it is reachable:
ping 192.168.x.x
If ping fails, check:
- The device and PC are on the same LAN
- The IP address is correct (avoid using
127.0.0.1)
3. Check Firewall
Radxa OS uses nftables by default. Run the following to confirm port 22 is not blocked:
sudo iptables -L -n | grep -E "22|ssh"
sudo nft list ruleset 2>/dev/null | grep -E "22|ssh"
To temporarily clear firewall rules for testing:
sudo iptables -F
4. Check Password Authentication Configuration
Confirm SSH service allows password authentication:
sudo grep -v "^#" /etc/ssh/sshd_config | grep PasswordAuthentication
Expected output is PasswordAuthentication yes. If not, edit the configuration:
sudo nano /etc/ssh/sshd_config
Ensure the following line exists and is uncommented:
PasswordAuthentication yes
Then restart the SSH service:
sudo systemctl restart ssh
5. Confirm Username and Password
Radxa OS default username is radxa, password is radxa. If the password is incorrect, reset it via serial connection or display:
sudo passwd radxa
6. Check SSH Logs
View SSH service logs for detailed error information:
sudo journalctl -u ssh -b --no-pager | tail -30
Common errors and their meanings:
| Error Message | Possible Cause |
|---|---|
Connection refused | SSH service not running or port 22 blocked |
Permission denied | Wrong password or public key authentication failed |
Connection timeout | Network unreachable or incorrect IP address |
No route to host | Network layer routing unreachable |
7. Windows SSH Client Issues
If using a Windows SSH client and encountering problems:
- Try Tabby, PuTTY, or MobaXterm as alternatives
- Check Windows Firewall is not blocking SSH connections
- Confirm password authentication is enabled (not public-key-only)
8. Public Key Authentication Fails
If you configured SSH public key login but it fails, check server-side permissions:
# .ssh directory permissions should be 700
chmod 700 ~/.ssh

# authorized_keys file permissions should be 600
chmod 600 ~/.ssh/authorized_keys
9. Reset SSH Configuration
The following operations will interrupt your current SSH connection. If you are accessing remotely, ensure you have an alternative access method (such as serial connection) before proceeding.
# Backup current configuration
sudo cp /etc/ssh/sshd_config /etc/ssh/sshd_config.backup

# Restore default configuration
sudo dpkg-reconfigure openssh-server

# Restart service
sudo systemctl restart ssh
Get Help
If the issue persists, please submit a GitHub Issue with the following information:
- Output of
sudo systemctl status ssh - Output of
sudo grep -v "^#" /etc/ssh/sshd_config | grep PasswordAuthentication - SSH logs:
sudo journalctl -u ssh -b --no-pager | tail -30 - Complete error message when attempting to connect