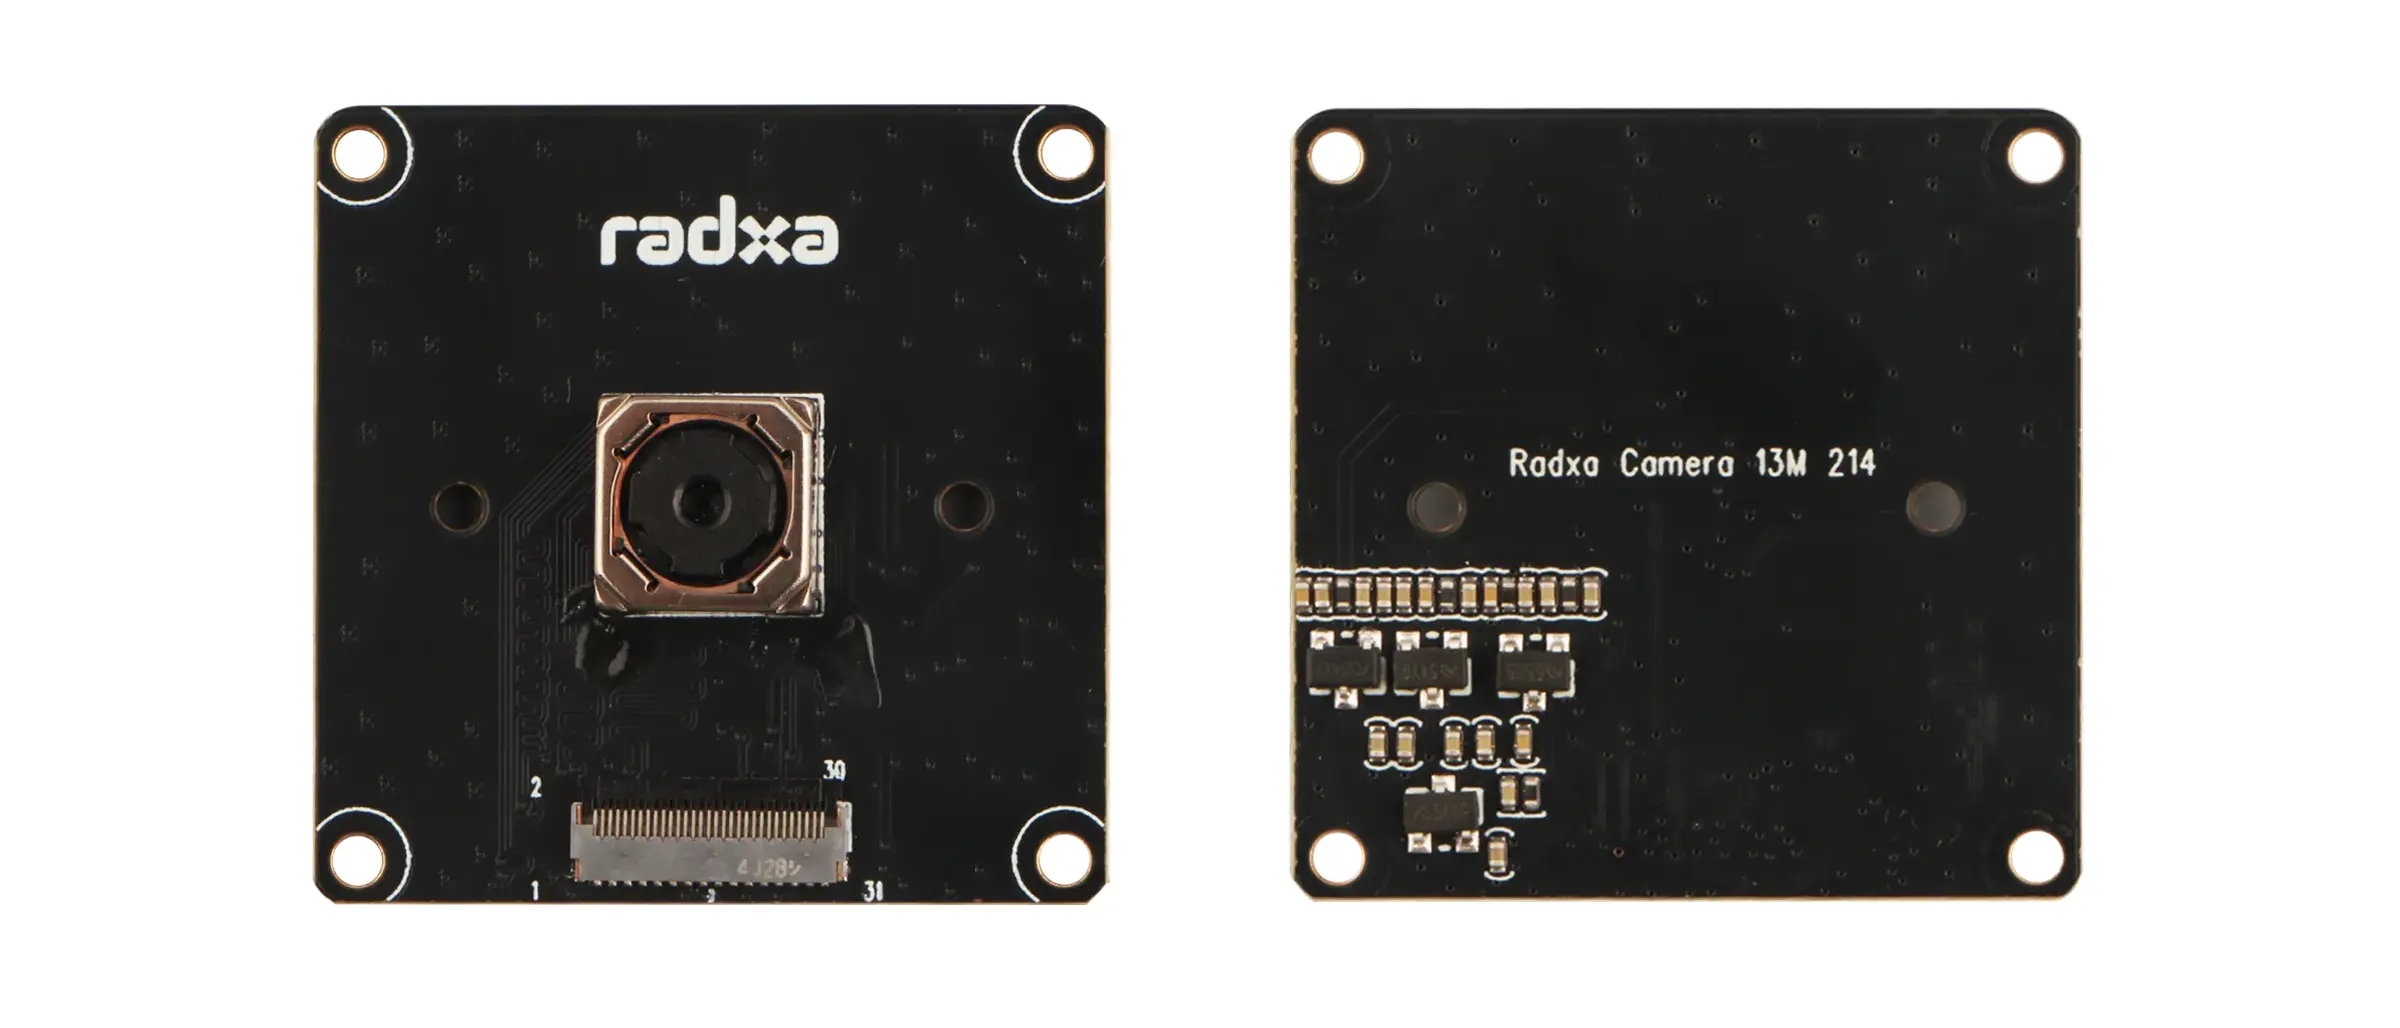
Radxa Camera 13M 214
Radxa Cubie A7Z's onboard MIPI CSI interface can be used to connect the Radxa Camera 13M 214 for image capture.
Interface specifications
Camera interface
The Radxa Camera 13M 214 interface has the following specifications:
- Connector type: 31-pin 0.3 mm pitch SMD Horizontal FPC connector
- Connection type: Flip type, bottom contact
Board MIPI CSI interface
The Radxa Cubie A7Z MIPI CSI interface has the following specifications:
- Connector type: 31-Pin 0.3 mm pitch SMD horizontal FPC connector
- Connection type: Flip type, bottom contact
Camera FPC cable
Use a 31-Pin 0.3 mm pitch to 31-Pin 0.3mm pitch opposite side FPC cable.
Hardware connection
Insert the 31-pin metal contacts of the FPC cable into the camera connector, and insert the 31-Pin metal contacts of the FPC cable into the board MIPI CSI connector.
- Make sure the edges of the FPC cable are aligned with the edges of the connector, with no skew and no exposed contacts.
- Ensure the cable has no creases, is not loose, and the connector latch is fully closed.

Software enablement
Use the Rsetup tool provided by the Radxa system to enable the Radxa Camera 13M 214.
- Select option: the corresponding option will be highlighted.
- Confirm selection: press
Enter. - Cancel selection: press
ESC. - Navigate options: use
Up,Down,Left, andRightkeys. - Multi-select screen: press
Spaceto toggle options, thenEnterto confirm. When a feature is enabled, a*appears in the corresponding option box.
Run the rsetup command in the terminal to start the Rsetup tool:
rsetup
In Rsetup, go to Overlays -> Manage overlays.
- Use the arrow keys to find the [ ] Enable Radxa Camera 13M 214 option.
- Press
Spaceso it changes to [*] Enable Radxa Camera 13M 214, indicating that the feature is enabled. - Press
Enterto confirm and save the settings to enable the camera. - Reboot the system to make the configuration take effect.
If the board has multiple MIPI CSI interfaces, Rsetup may show options such as [ ] Enable Radxa Camera 13M 214 on CAM *. Select the option corresponding to the MIPI CSI interface you are using.
Install GStreamer
sudo apt-get update
sudo apt-get install -y gstreamer1.0-tools gstreamer1.0-plugins-base-apps
Preview the camera
Use GStreamer to preview the camera image.
DISPLAY=:0 gst-launch-1.0 v4l2src device=/dev/video0 en-awisp=1 en-largemode=0 ! video/x-raw,format=NV12,width=1920,height=1080,framerate=30/1 ! xvimagesink
DISPLAY=:0 gst-launch-1.0 v4l2src device=/dev/video1 en-awisp=1 en-largemode=1 ! video/x-raw,format=NV12,width=3840,height=2160,framerate=30/1 ! xvimagesink
DISPLAY=:0 gst-launch-1.0 v4l2src device=/dev/video1 en-awisp=1 en-largemode=1 ! video/x-raw,format=NV12,width=4208,height=3120,framerate=30/1 ! xvimagesink
Verified setup and common pipelines
The notes below summarize the Cubie A7Z results confirmed in issue #1360 and are intended as a quick validation baseline.
- Verified image:
radxa-a733_bullseye_kde_r2.output_512.img.xz - Full-resolution preview: use
/dev/video1at4208x3120withen-largemode=1 - 1080p preview: use
/dev/video0at1920x1080withen-largemode=0 - Lower resolutions were not fully validated in that software flow; switching directly to smaller resolutions may still produce abnormal output
DISPLAY=:0 gst-launch-1.0 v4l2src device=/dev/video0 en-awisp=1 en-largemode=0 ! video/x-raw,format=NV12,width=1920,height=1080,framerate=30/1 ! xvimagesink
Troubleshooting
- If no
/dev/video*nodes appear, first confirm that you are using a recent official image, then reseat the FPC cable and verify its orientation and latch state - To quickly confirm whether the camera has been detected by the kernel, run
v4l2-ctl --list-devices - To reproduce the validated behavior documented here, start with the two verified pipelines above before trying unvalidated lower-resolution settings