Quick Start
This tutorial is designed to help you get started quickly with the Cubie A7Z motherboard.
Product Overview
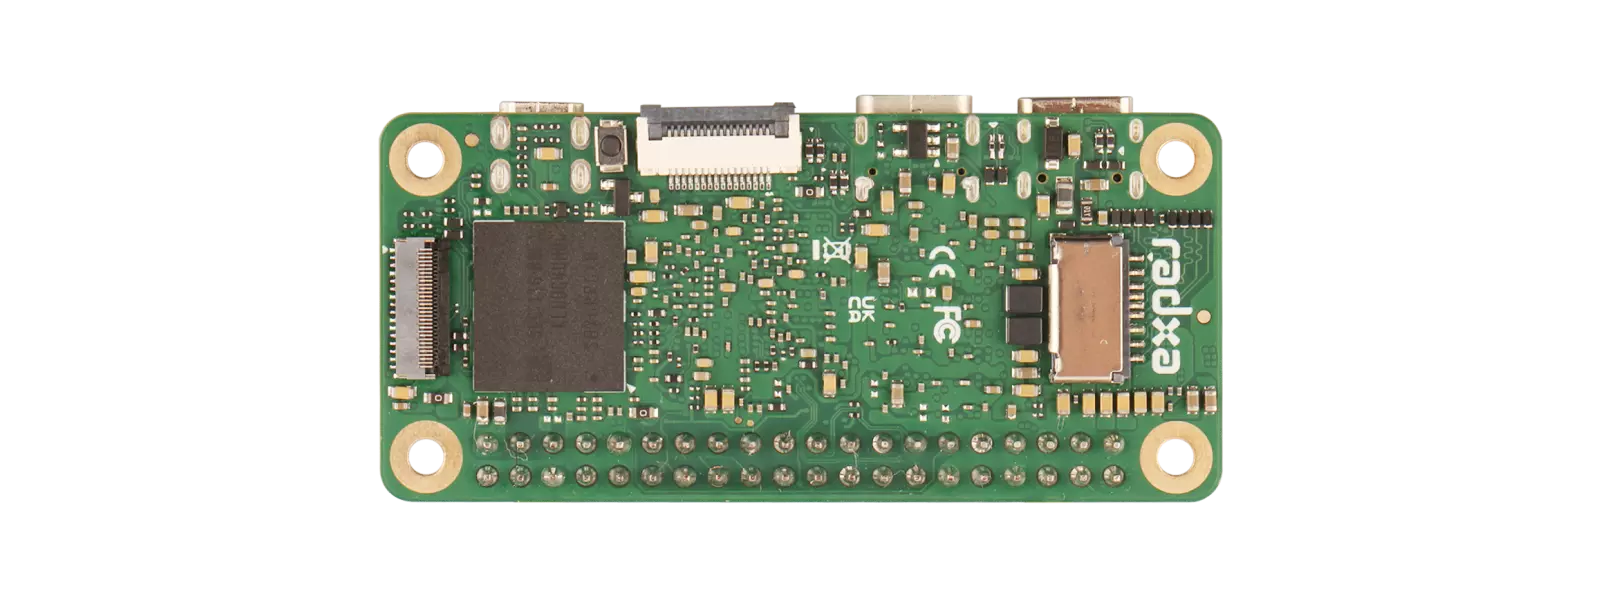
Cubie A7Z Front View

Cubie A7Z Rear View

Prerequisites
You will need to prepare the following hardware:
- Motherboard: Radxa Cubie A7Z
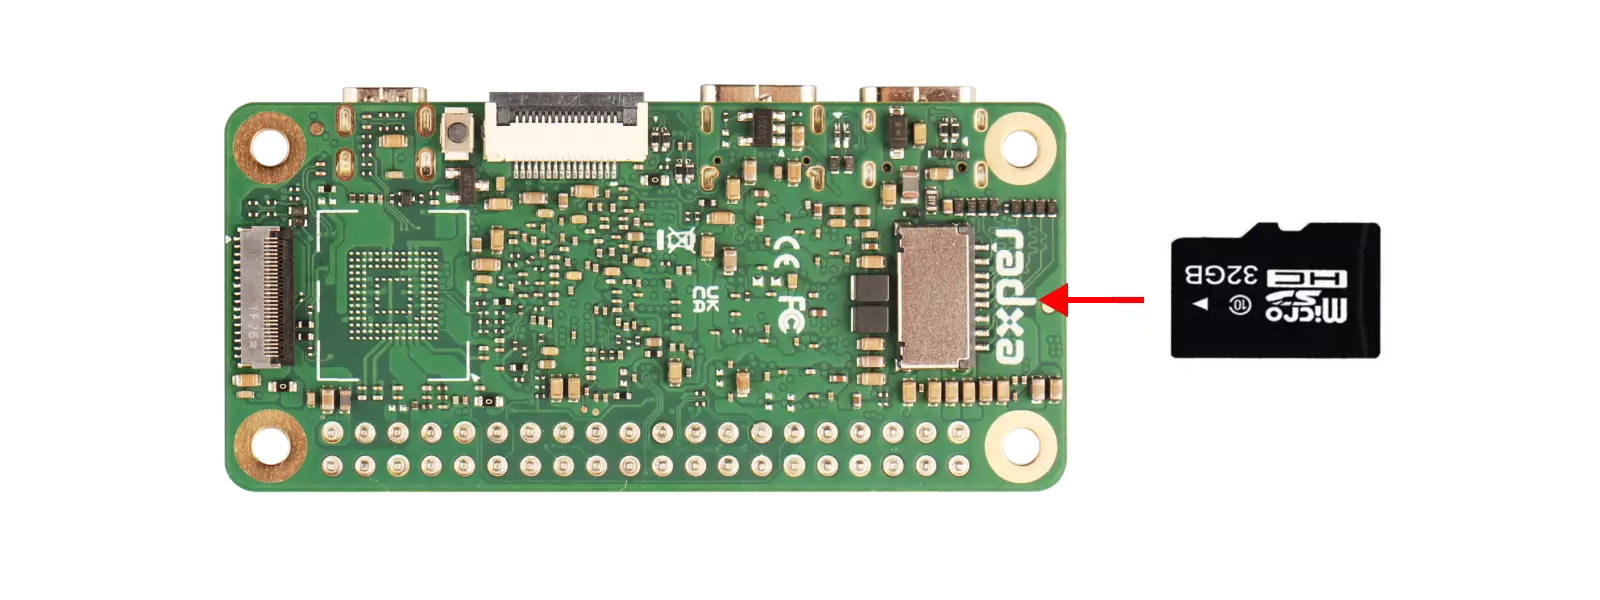
- System Boot Media: MicroSD Card (Recommended)
- Power Adapter: 5V USB-C Power Adapter
Installing the System
Based on your system boot media and available hardware, please refer to the following tutorials for system installation:
Booting the System
After completing the system installation, you need to install the corresponding system boot media on the Cubie A7Z.
- MicroSD Card
- Onboard UFS
Insert the MicroSD card into the Cubie A7Z's MicroSD card slot, then connect the Cubie A7Z to a 5V USB-C power adapter to boot the system.
If your motherboard has onboard UFS, simply connect it to a 5V USB-C power adapter to boot the system without any additional installation.
System Information
When using our provided system image, you'll need to log in with the following default credentials:
- Radxa OS
Username: radxa
Password: radxa
Using the System
With Display
For users with a monitor, you can connect to the display using a USB-C to HDMI/DP cable and operate the system with a mouse and keyboard.
Without Display
For users without a monitor, you can access the system in the following ways:
-
Connect to your computer using a USB-to-serial cable to view system logs and log in through the serial console.
-
Modify the system configuration file to automatically connect to a wireless network, then check the IP address in your router's admin interface and log in via SSH.