Quick Start
This tutorial helps you get up and running with the Cubie A7Z Android system as quickly as possible.
Hardware Overview
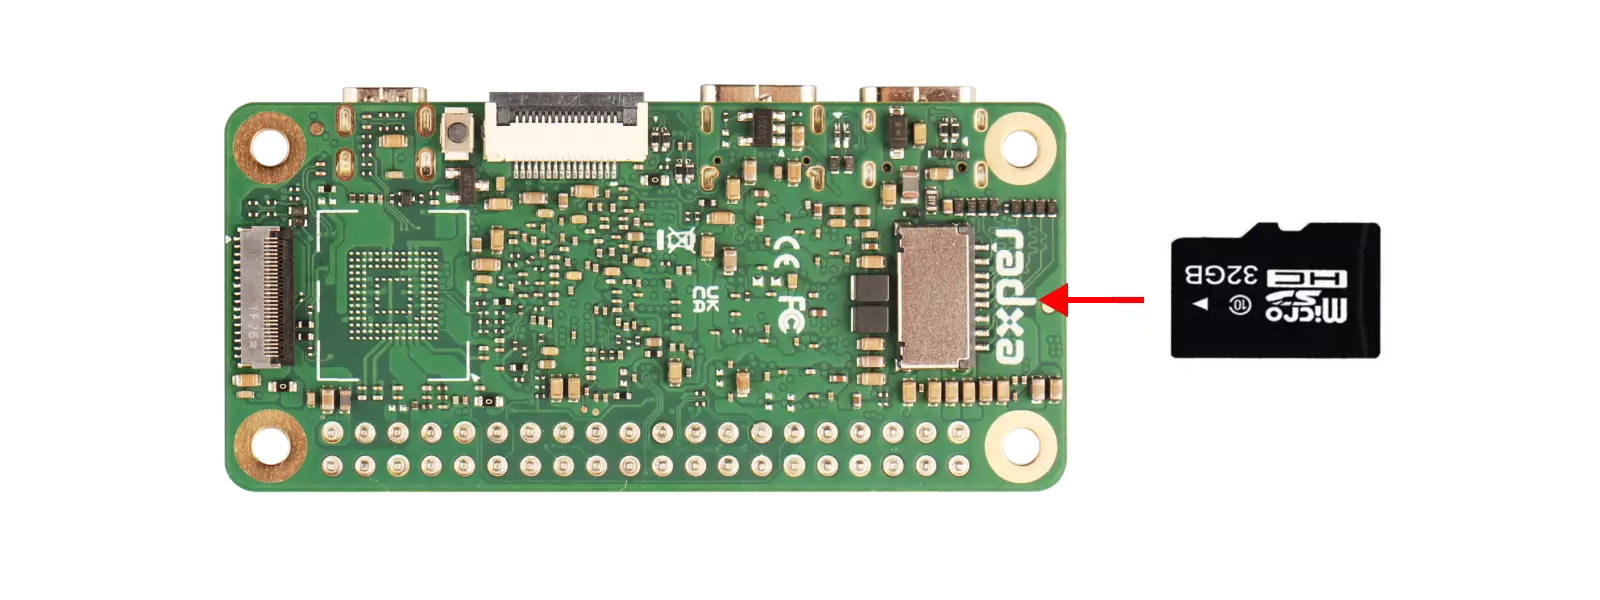
Cubie A7Z front

Cubie A7Z back

Requirements
Prepare the following hardware:
- Board: Radxa Cubie A7Z
- Boot media: microSD card
- Card reader: microSD card reader
- Power adapter: 5 V Type‑C adapter
Hardware Setup
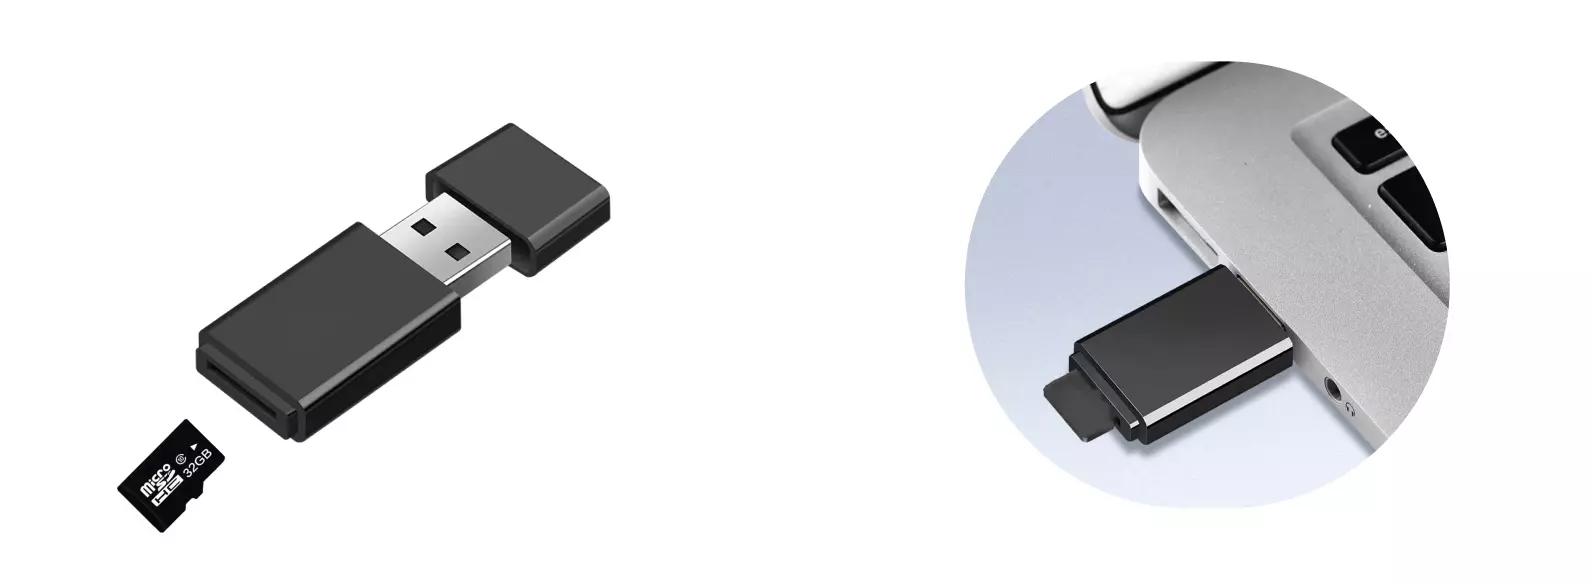
Insert the microSD card into the reader, then plug the reader into the PC’s USB port.
Software Preparation
Use Allwinner’s Phoenix tool to flash the Android image to the microSD card. Download it from the Resources download page.
PhoenixCard: Windows utility for creating bootable microSD cards.
Install the System
Unzip PhoenixCard, open the directory, and run PhoenixCard.exe as Administrator.
-
Click Image and select the extracted firmware file.
-
Choose Start up to build a bootable card.
-
Select the drive letter of the microSD card.
-
Click Burn to write the image.
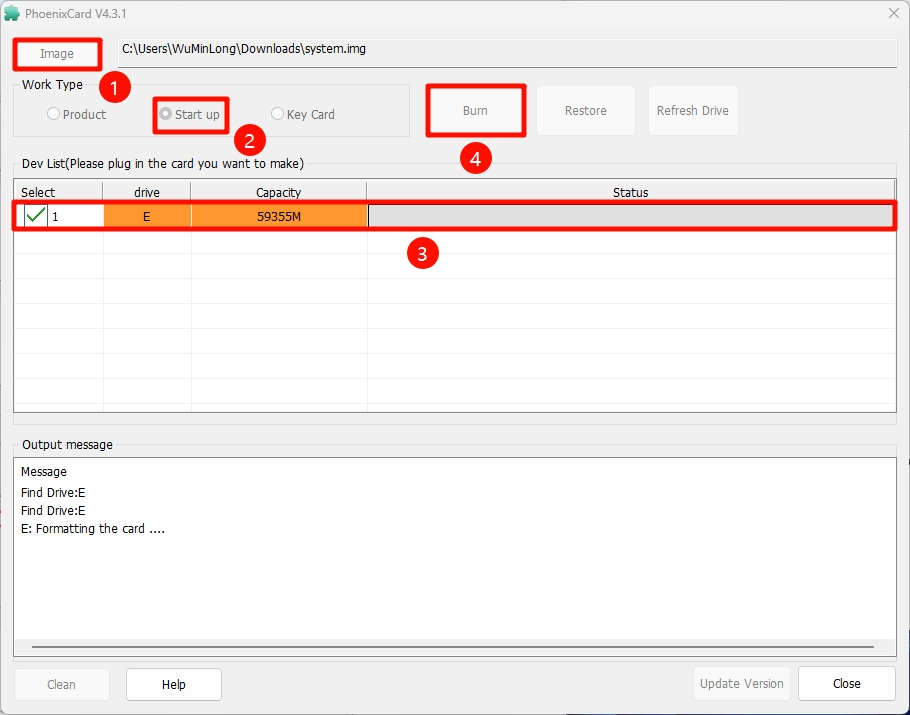
After the burn completes, close PhoenixCard and insert the microSD card into the Cubie A7Z to boot Android.
Boot the System
After flashing, insert the microSD card into the Cubie A7Z slot and connect a 5 V USB‑C power adapter to boot Android.