Install System Using a Card Reader
This guide explains how to use the Radxa eMMC/UFS module reader with a UFS module to install the system onto the UFS module.
Installing the system will format the UFS module. Please back up any important data in advance!
Prerequisites
Hardware Requirements
You need to prepare the following hardware devices in advance:
- UFS module
- Radxa eMMC/UFS module reader
Hardware Connection
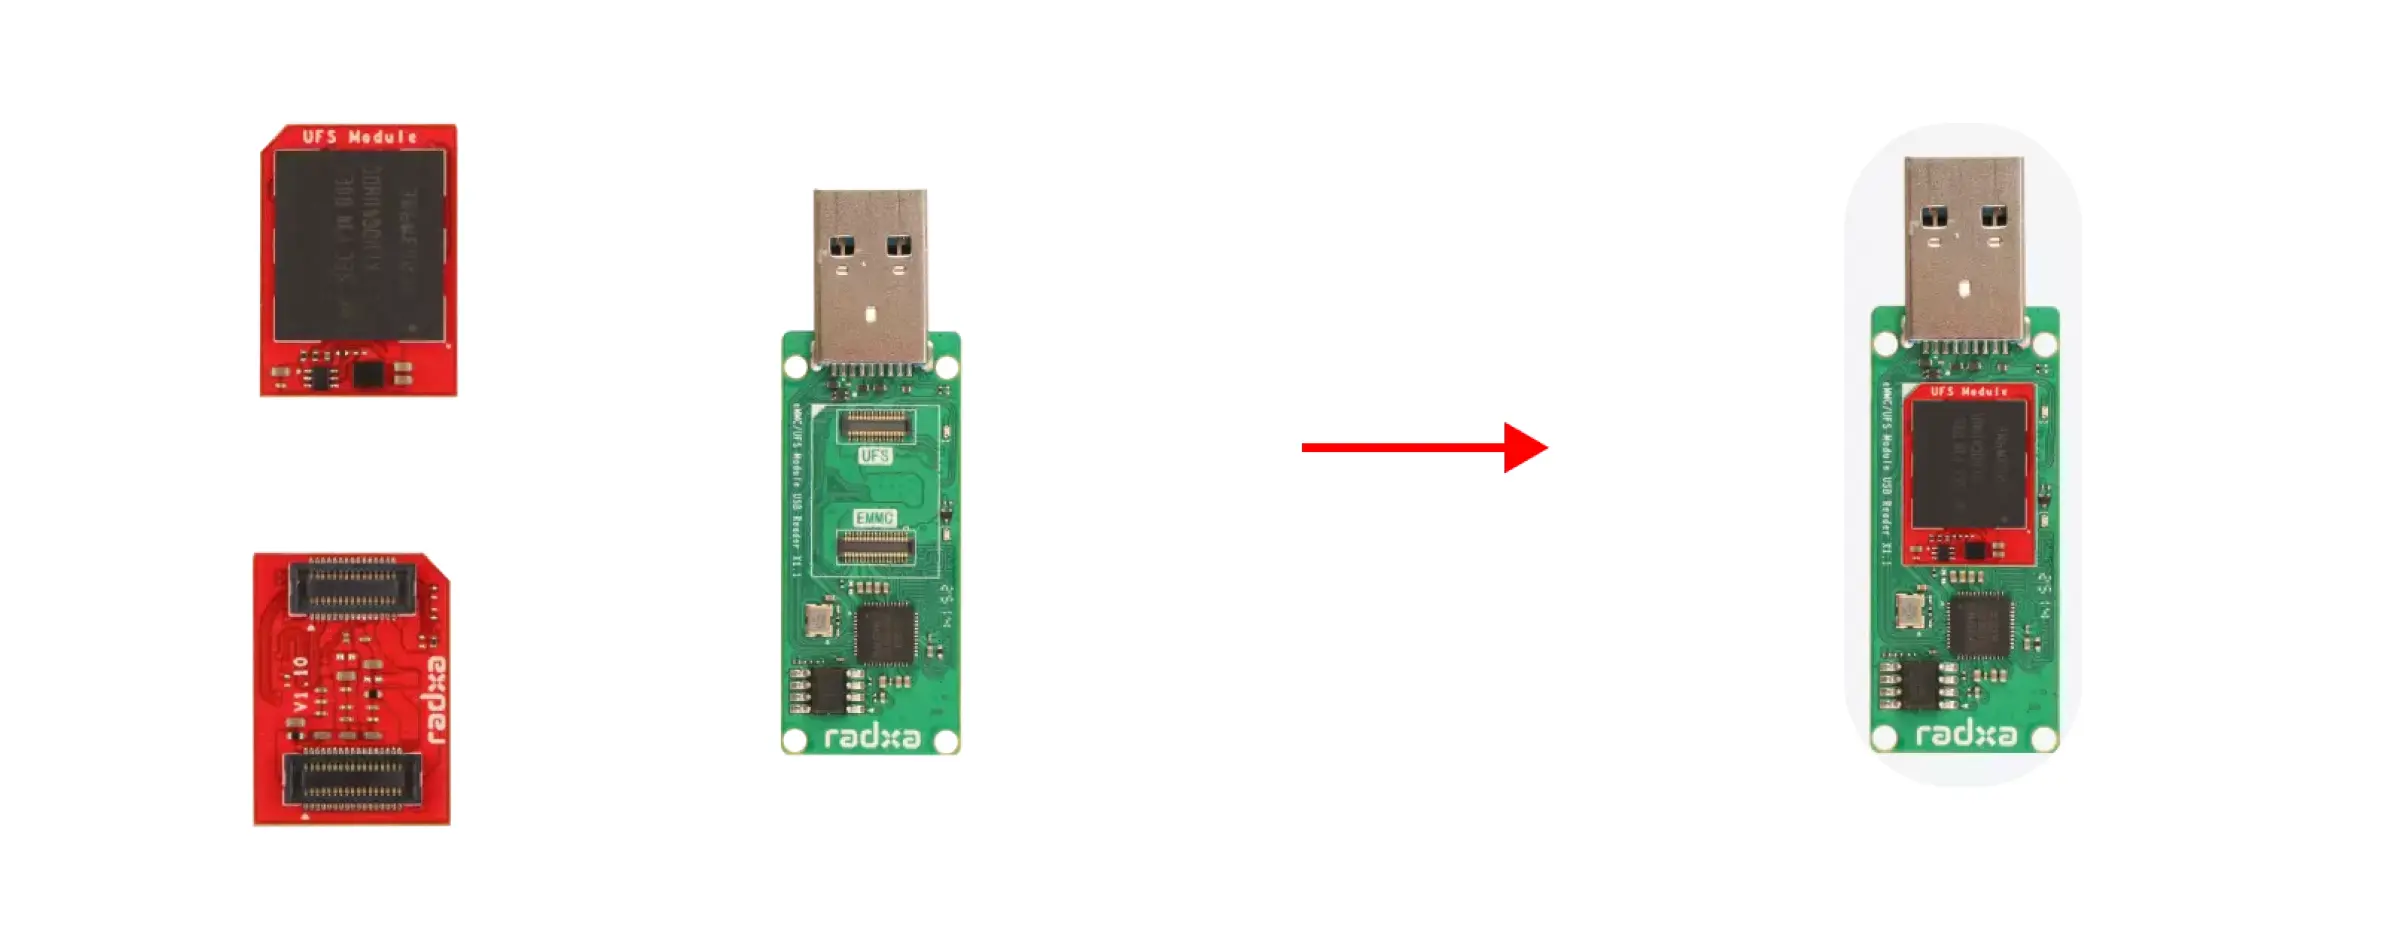
Insert the UFS module into the Radxa eMMC/UFS module reader, then connect the module reader to your computer.
UFS Module Installation Steps:
- Ensure the notch on the UFS module aligns with the connector on the module reader
- Make sure the slot interface at the bottom of the UFS module aligns with the connector on the module reader
- Gently press down on one end of the UFS module until you hear a "click" sound, then repeat for the other end to ensure the UFS module is properly installed.
System Installation
Download System Image
Use a PC to access the Downloads page and download the system image file to your local machine.
The downloaded system image is a compressed file that needs to be extracted before use!
Install System Image
Use Balena Etcher software to install the system image to the UFS module.
For installation and usage of Balena Etcher, please refer to the Etcher Guide tutorial.
Select System Image
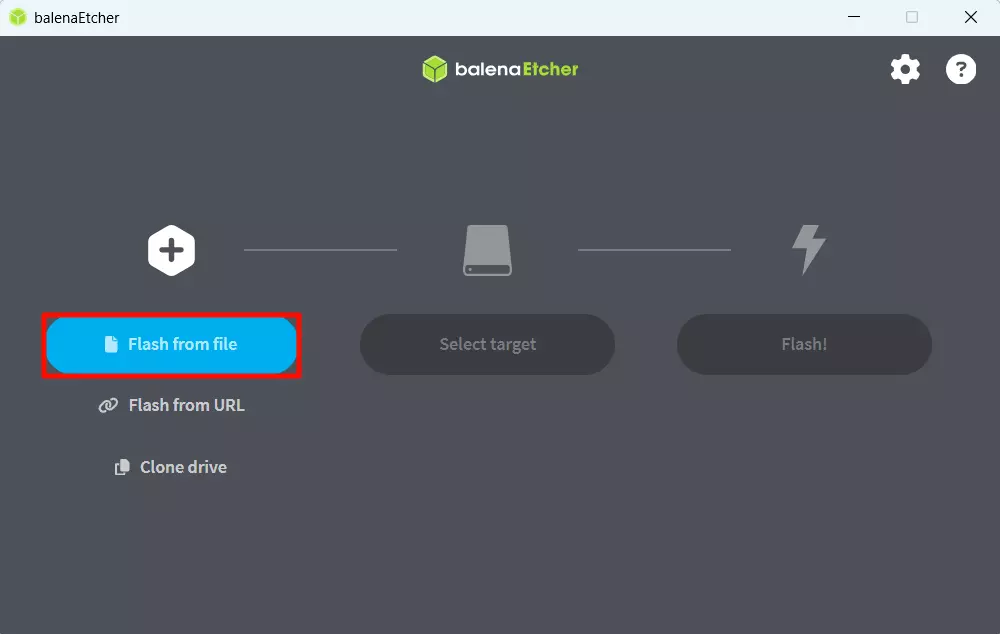
Click the Flash from file option and select the system image file you downloaded and extracted earlier.
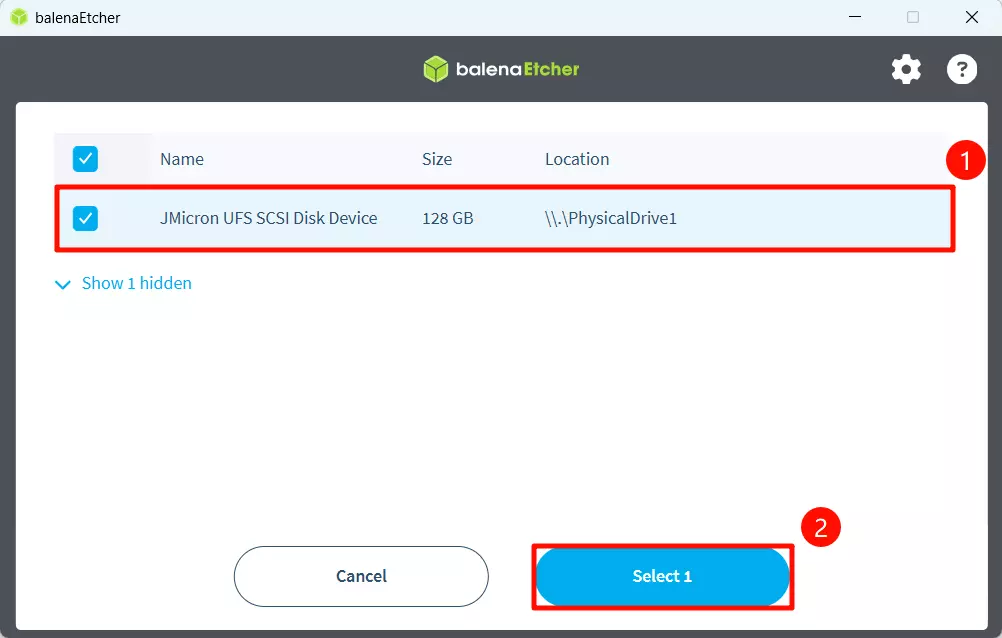
Select Storage Device
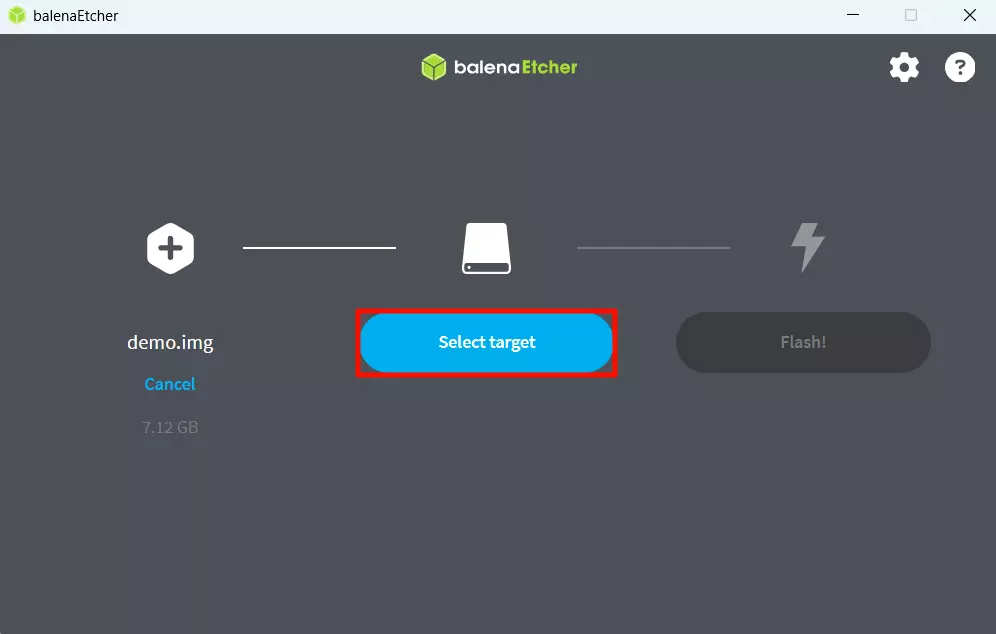
Click the Select target option and choose the UFS module device.
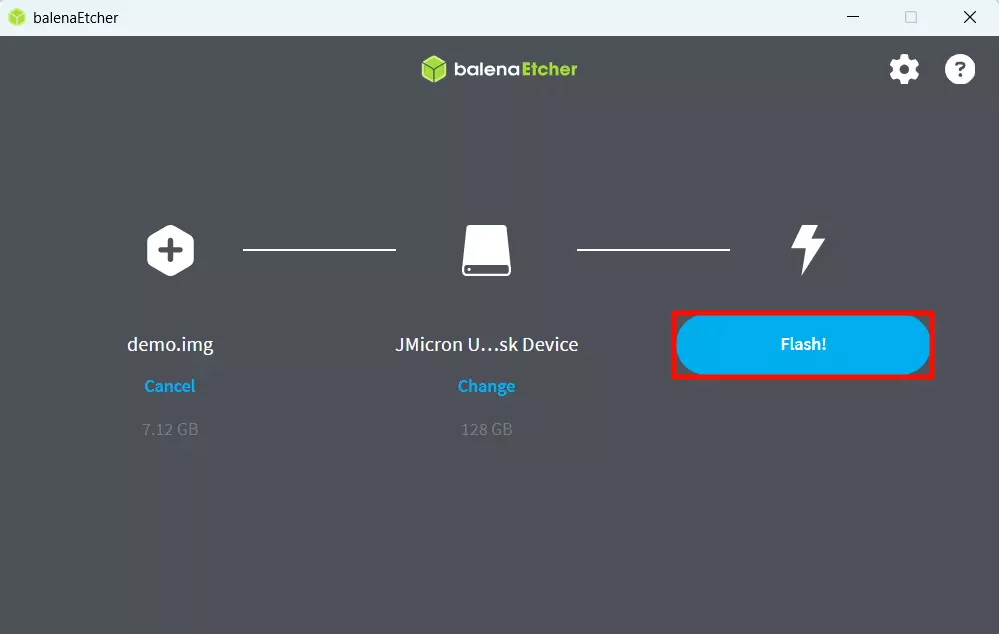
Start Flashing
Click the Flash! option to start flashing the system image to the UFS module.
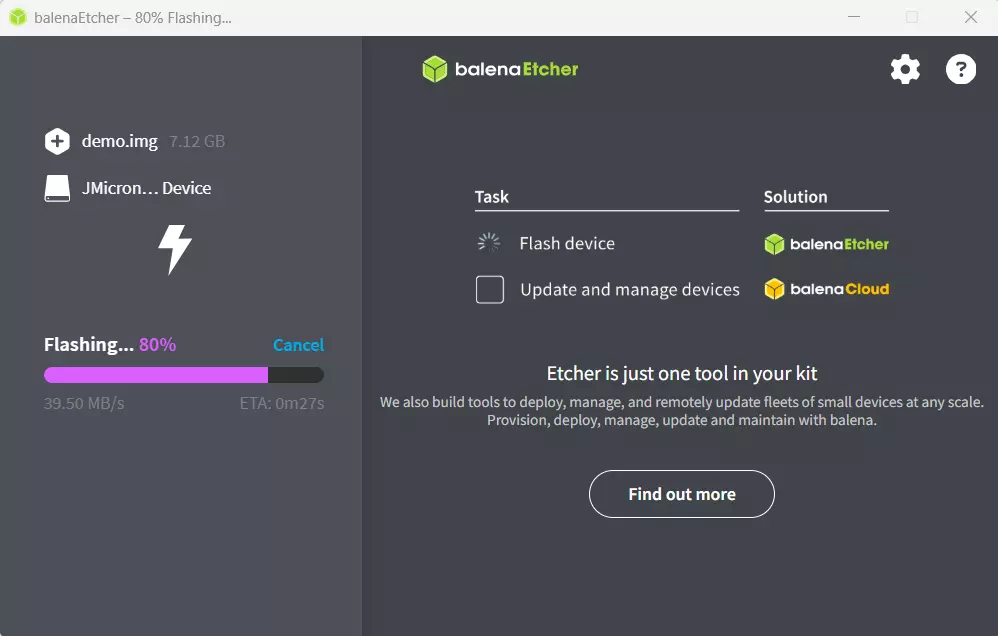
Waiting for system installation to complete
Waiting for system verification to complete
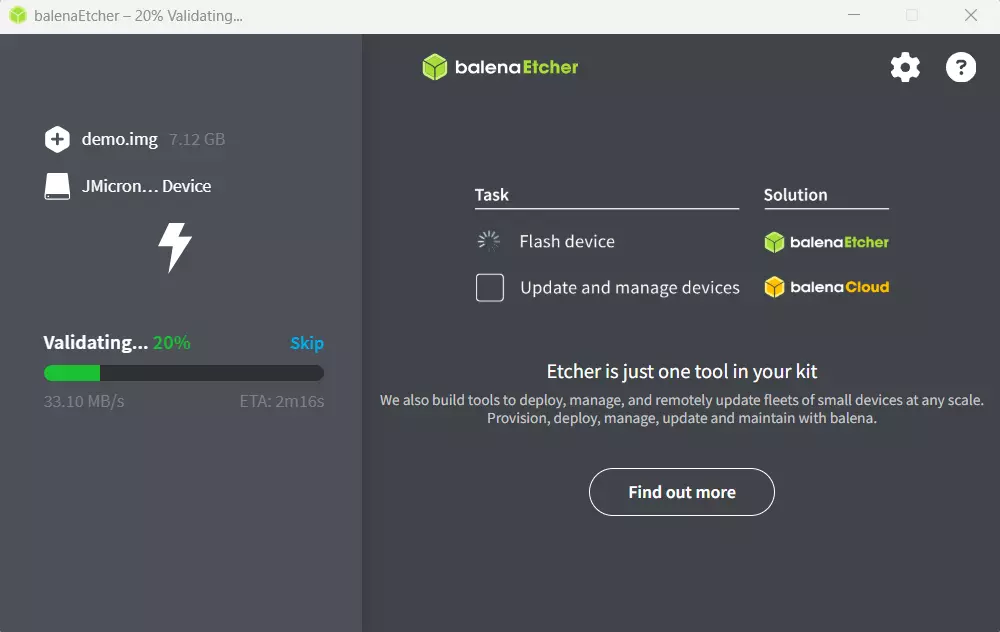
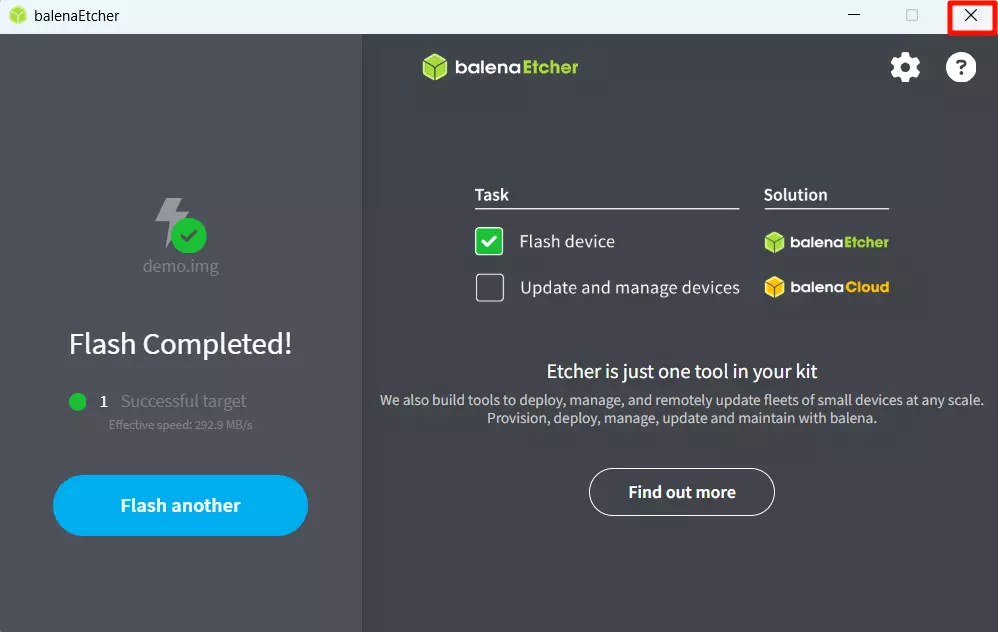
After successfully installing the system image, close the Etcher software!
Booting the System
After completing the system installation, install the UFS module into the UFS module interface of the Dragon Q6A, then power on the Dragon Q6A using the 12V Type-C power adapter to boot the system.
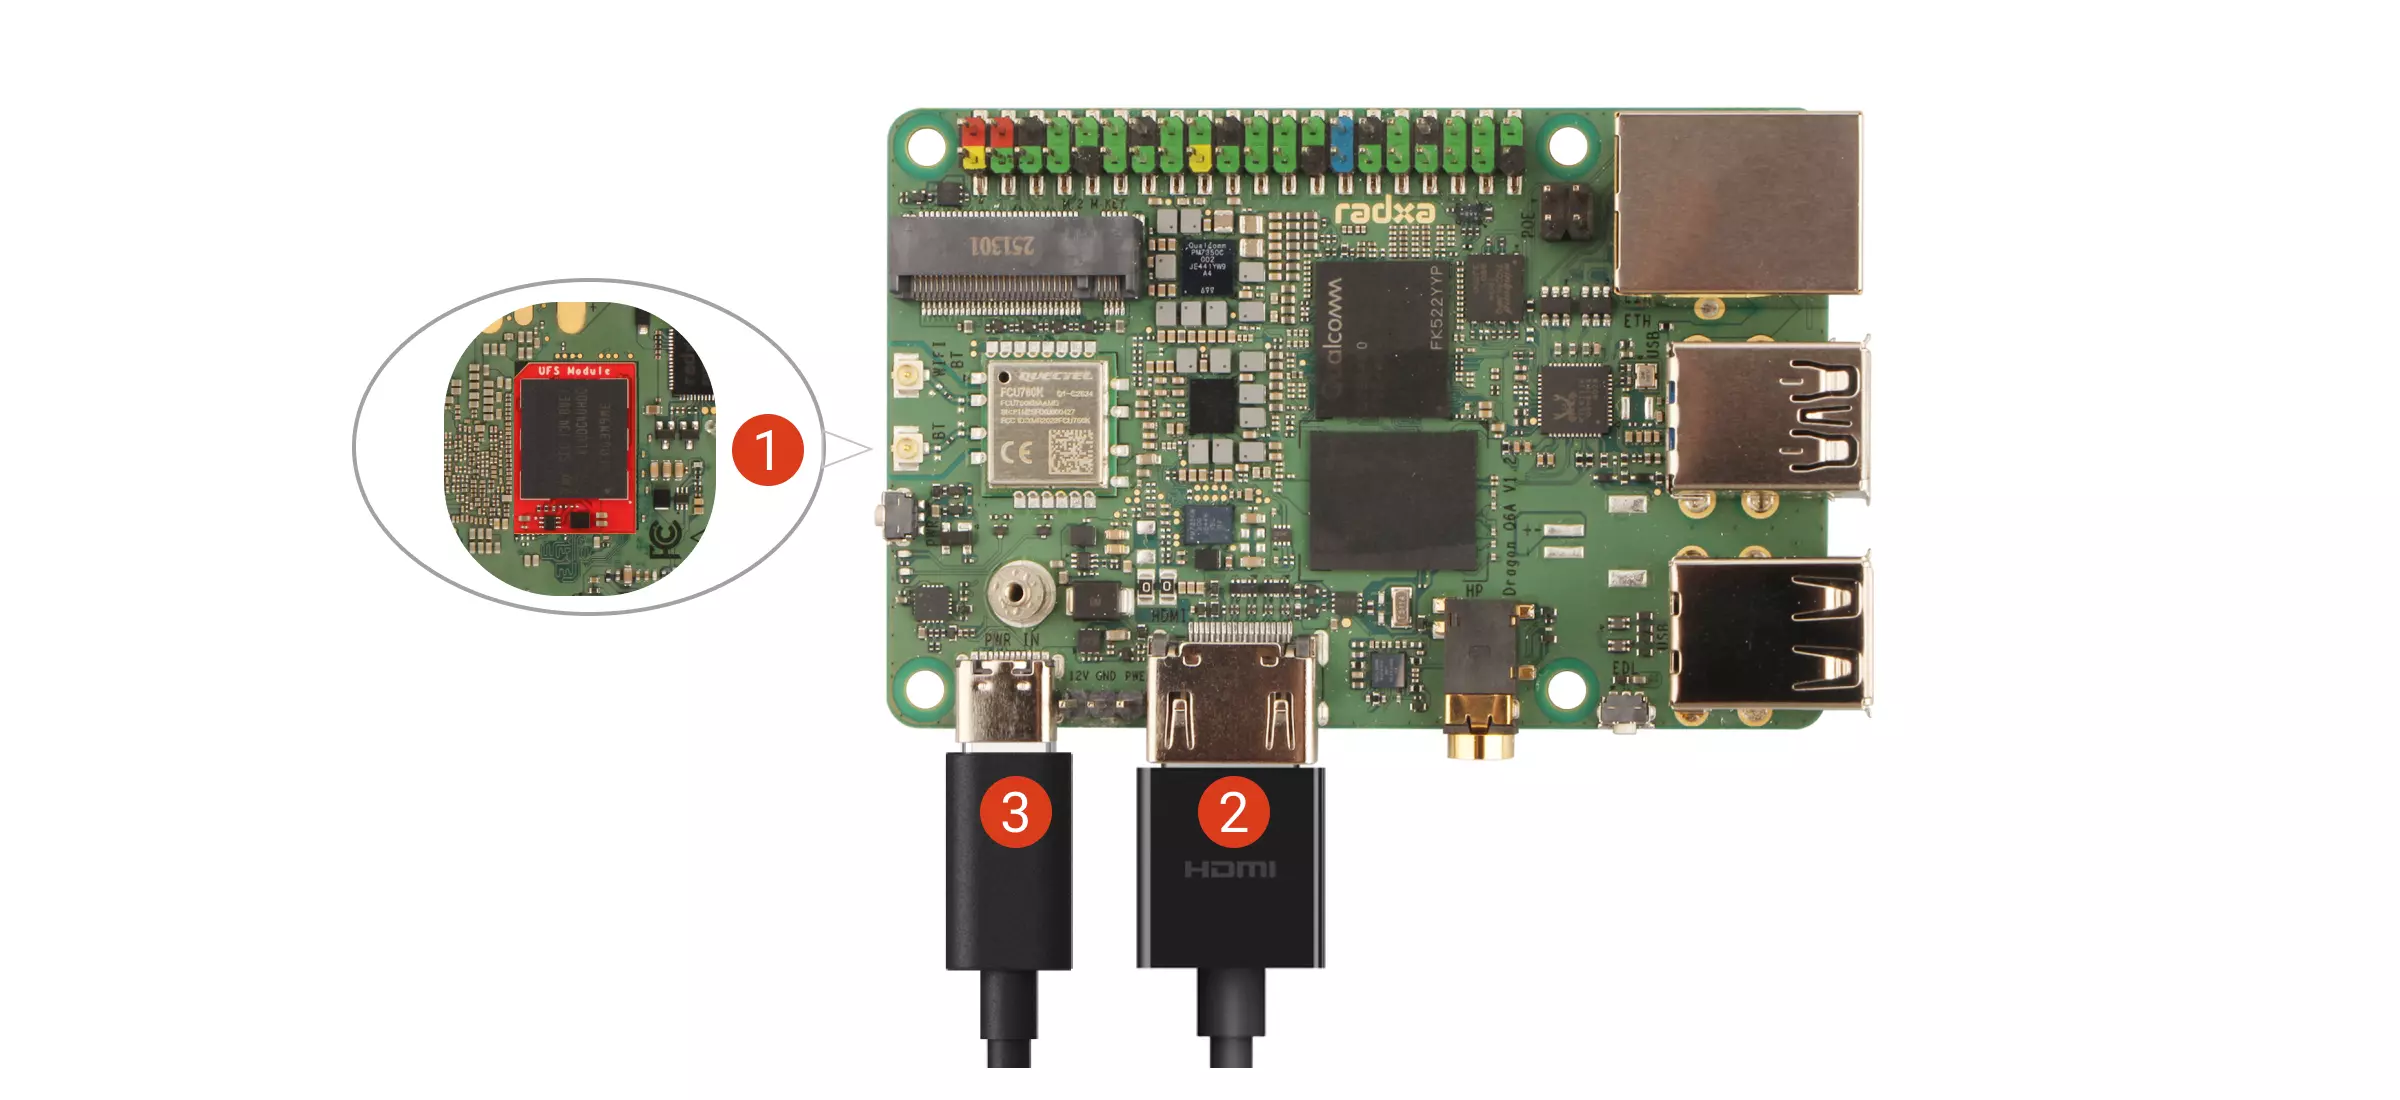
① : Install the UFS module
② : Connect the monitor to the board using an HDMI cable
③ : Power on the Dragon Q6A using the 12V Type-C power adapter
When the system boots normally, the power indicator will light up green and the status LED will blink blue.
System Login
When you first start the system, you'll need to log in using the default username and password.
The default credentials for Radxa OS are as follows:
| Item | Value |
|---|---|
| Username | radxa |
| Password | radxa |
Using the System
After successfully booting the system, you can start using the Radxa system on your Dragon Q6A. For basic usage instructions, please refer to the Using the System guide.