Quick Start
This guide will help you get started with the Radxa Dragon Q6A board.
Product Overview

| No. | View | No. | Side View | No. | Back View |
|---|---|---|---|---|---|
| ① | Dragon Q6A Front | ② | Dragon Q6A Side | ③ | Dragon Q6A Back |
Prerequisites
Before you begin, please prepare the following hardware:
- Board: Radxa Dragon Q6A
- Power Supply: 12V Type-C Power Adapter (PD compatible)
- Boot Media: microSD Card (for system installation and booting)
- Display: HDMI cable and monitor
- Input Devices: Keyboard and mouse (for GUI operation)
- Debug Tool (Optional): USB to UART cable (for serial console access)
- Radxa PD 30W Power Adapter (Recommended)
- Standard 12V Type-C power adapter, 2A or higher recommended
System Installation
This section explains how to install the system on a microSD card.
Installing the system will completely format your microSD card, and all data will be permanently deleted!
Before proceeding, please confirm:
- There is no important data on the microSD card, or you have backed up all important data
- You have selected the correct storage device to avoid formatting other disks
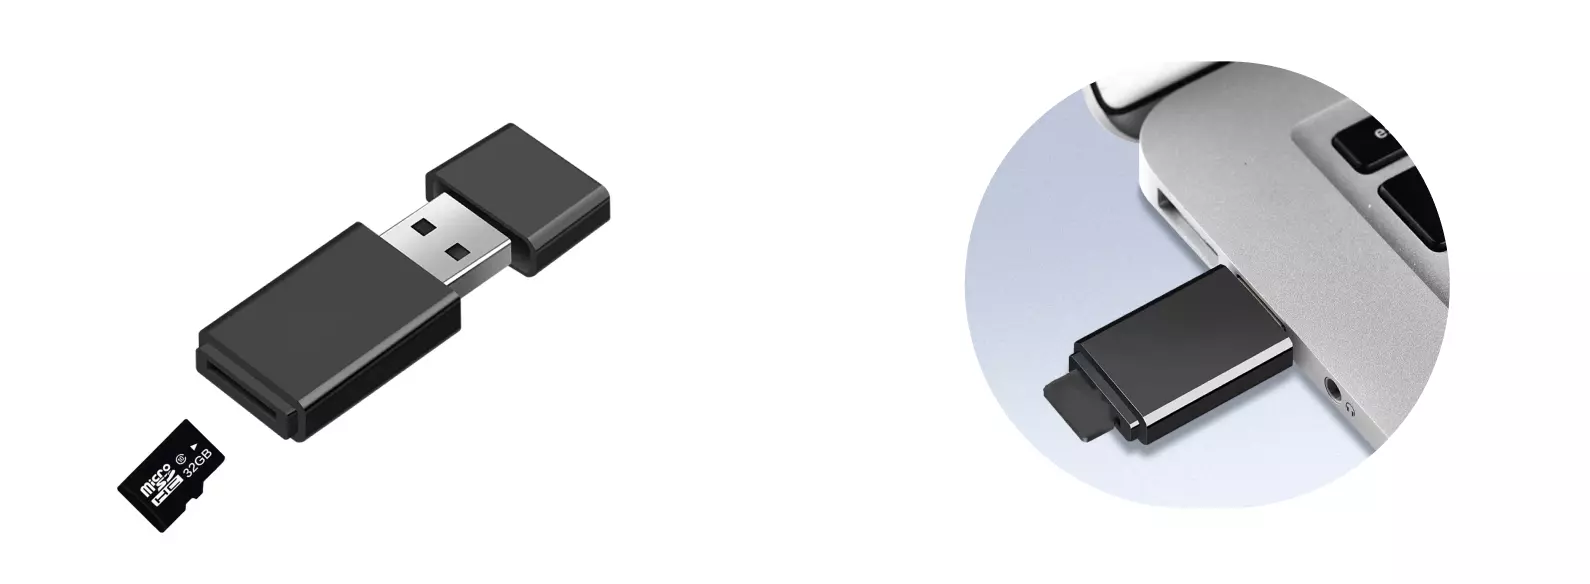
Hardware Connection
Insert the microSD card into a card reader, then connect the card reader to your computer.
Download System Image
Visit the Resource Downloads page to download the system image.
The downloaded file is in .img.xz compressed format. You need to extract it to get the .img file before use.
Install System Image
Use Balena Etcher software to write the system image to the microSD card.
For Balena Etcher installation and usage instructions, please refer to the Etcher Guide.
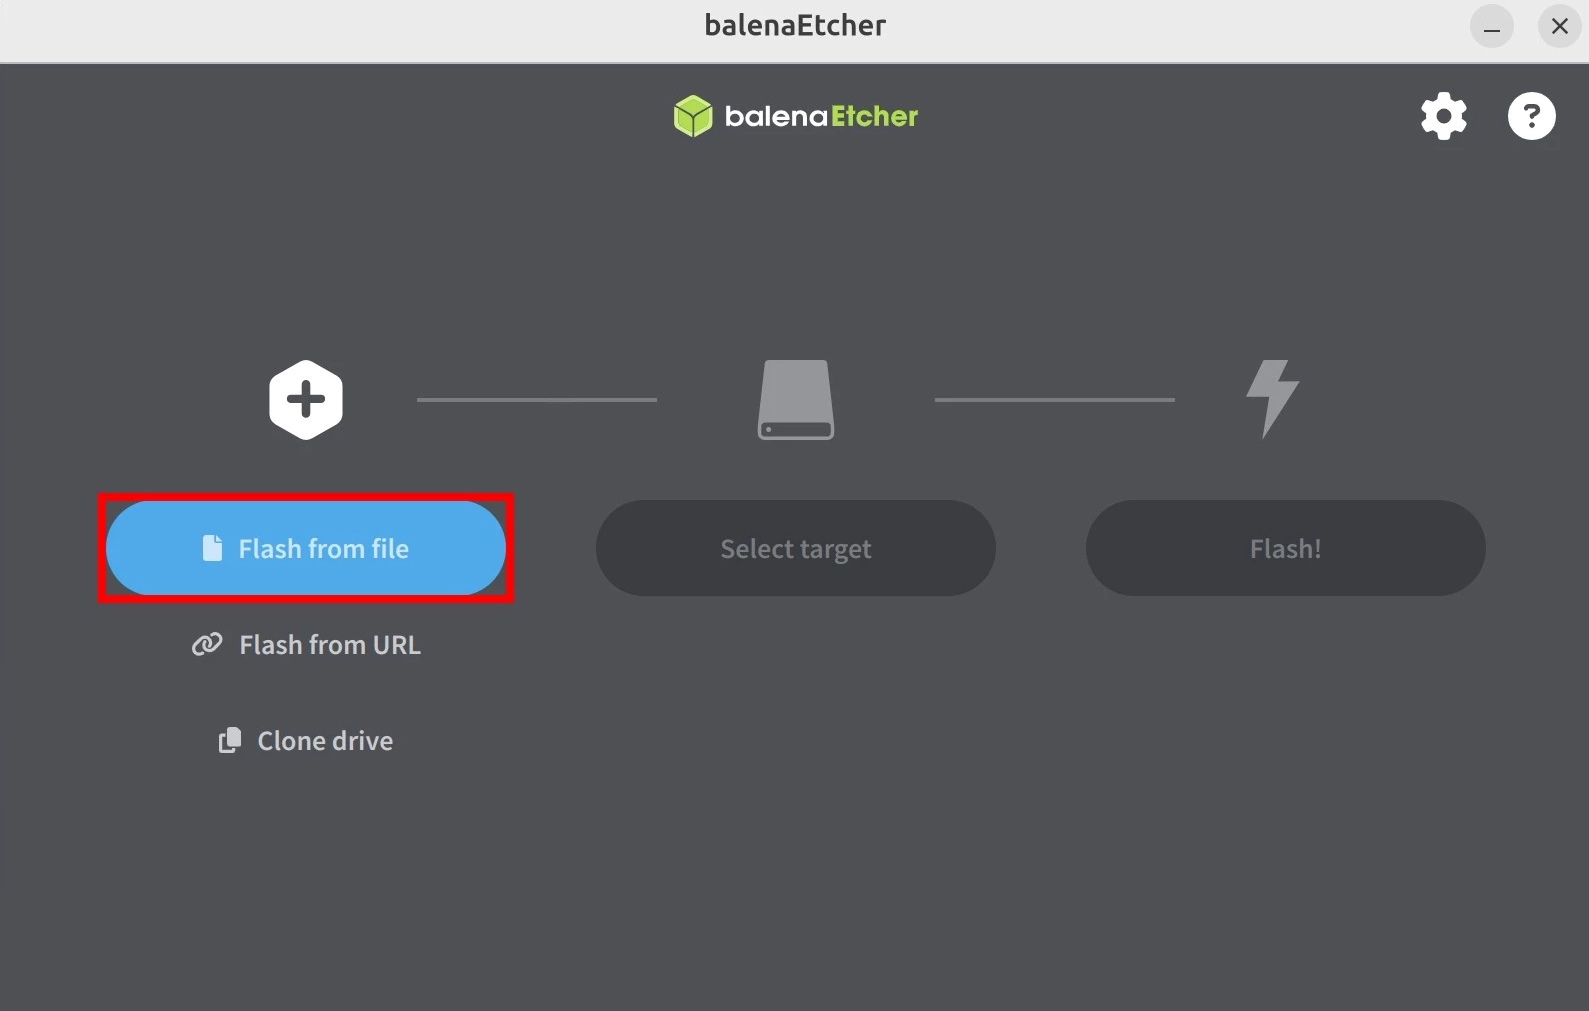
Select System Image
Click the Flash from file button and select the extracted system image file.
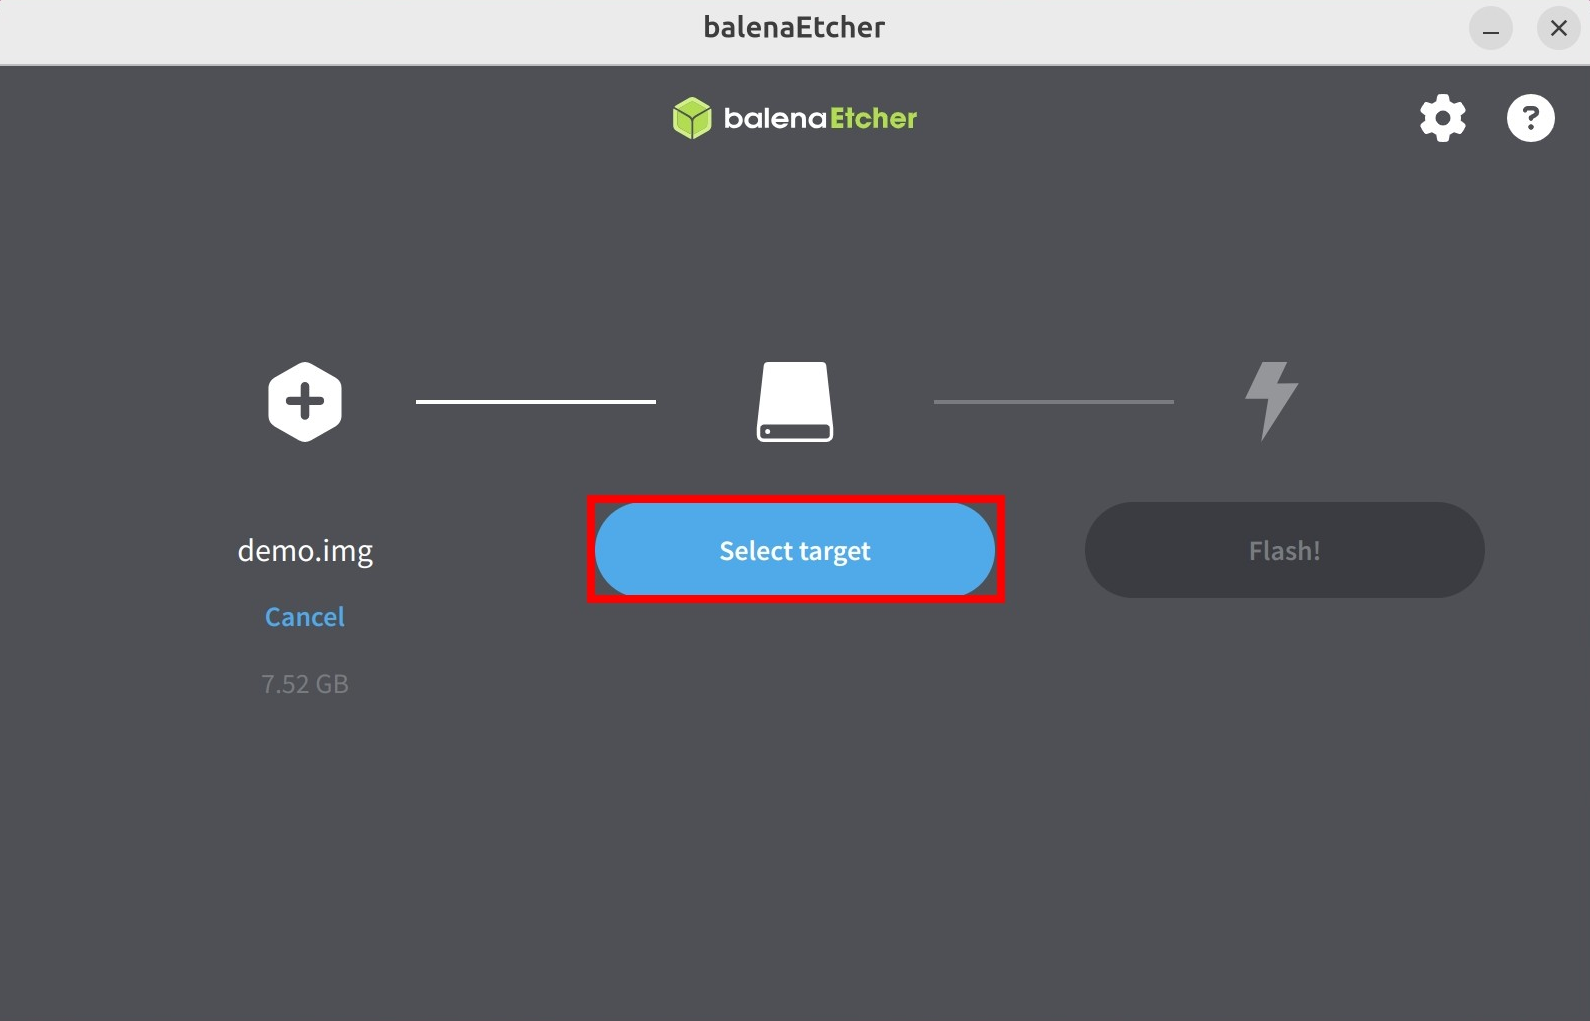
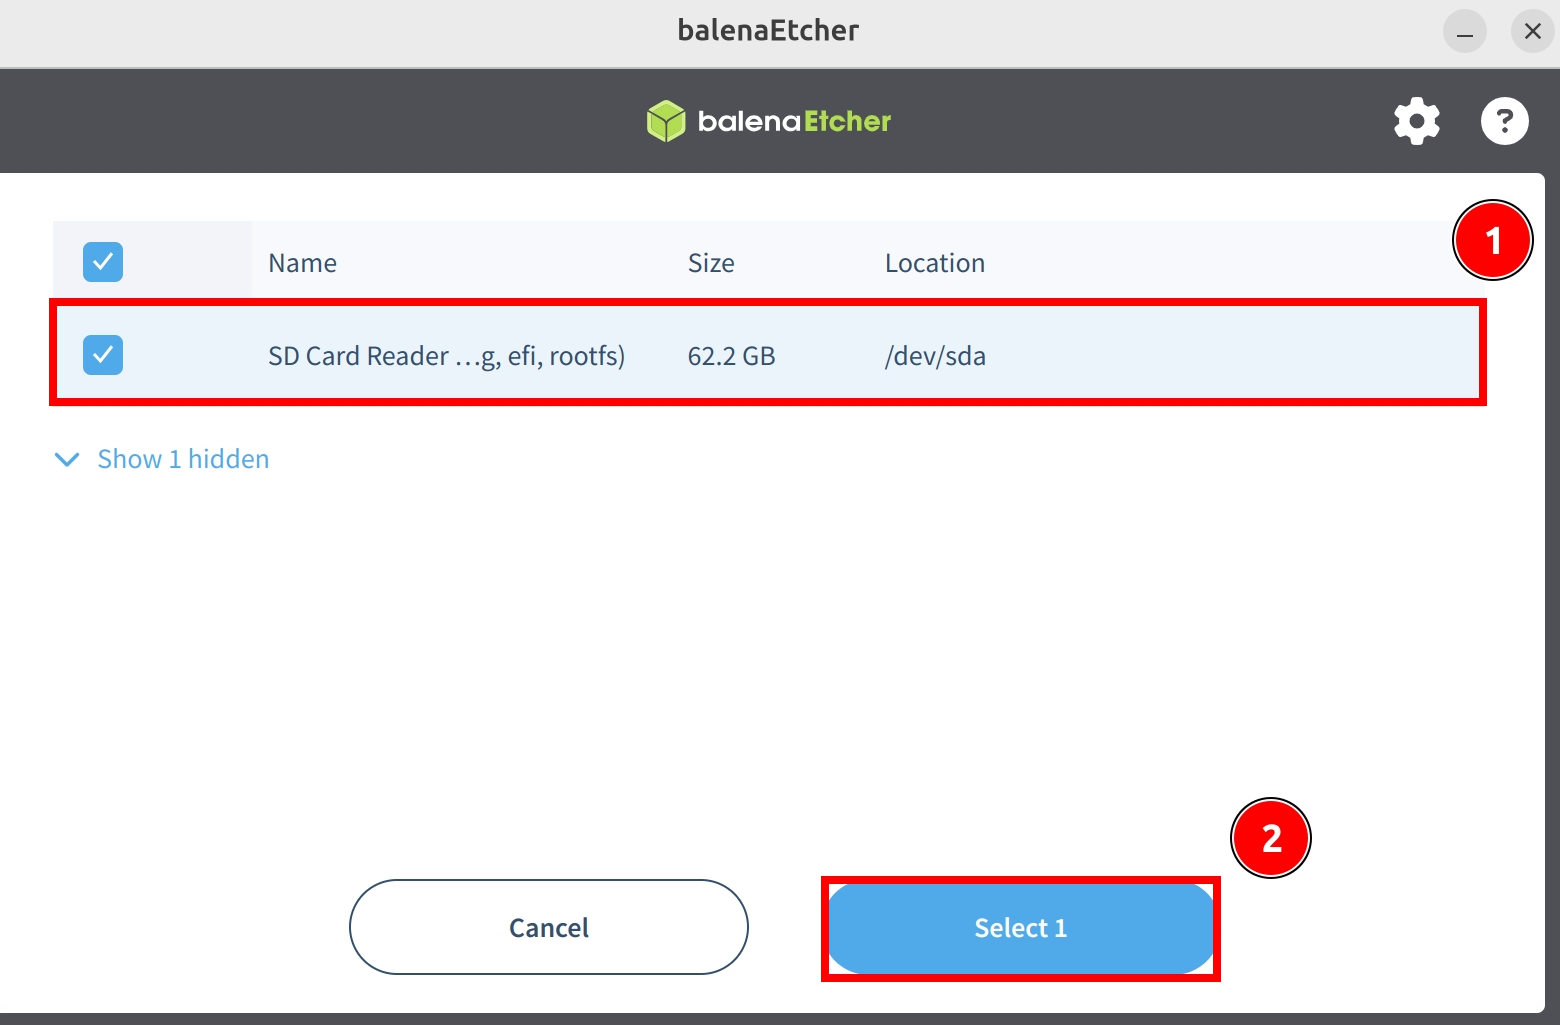
Select Storage Device
Click the Select target button and choose your microSD card device.
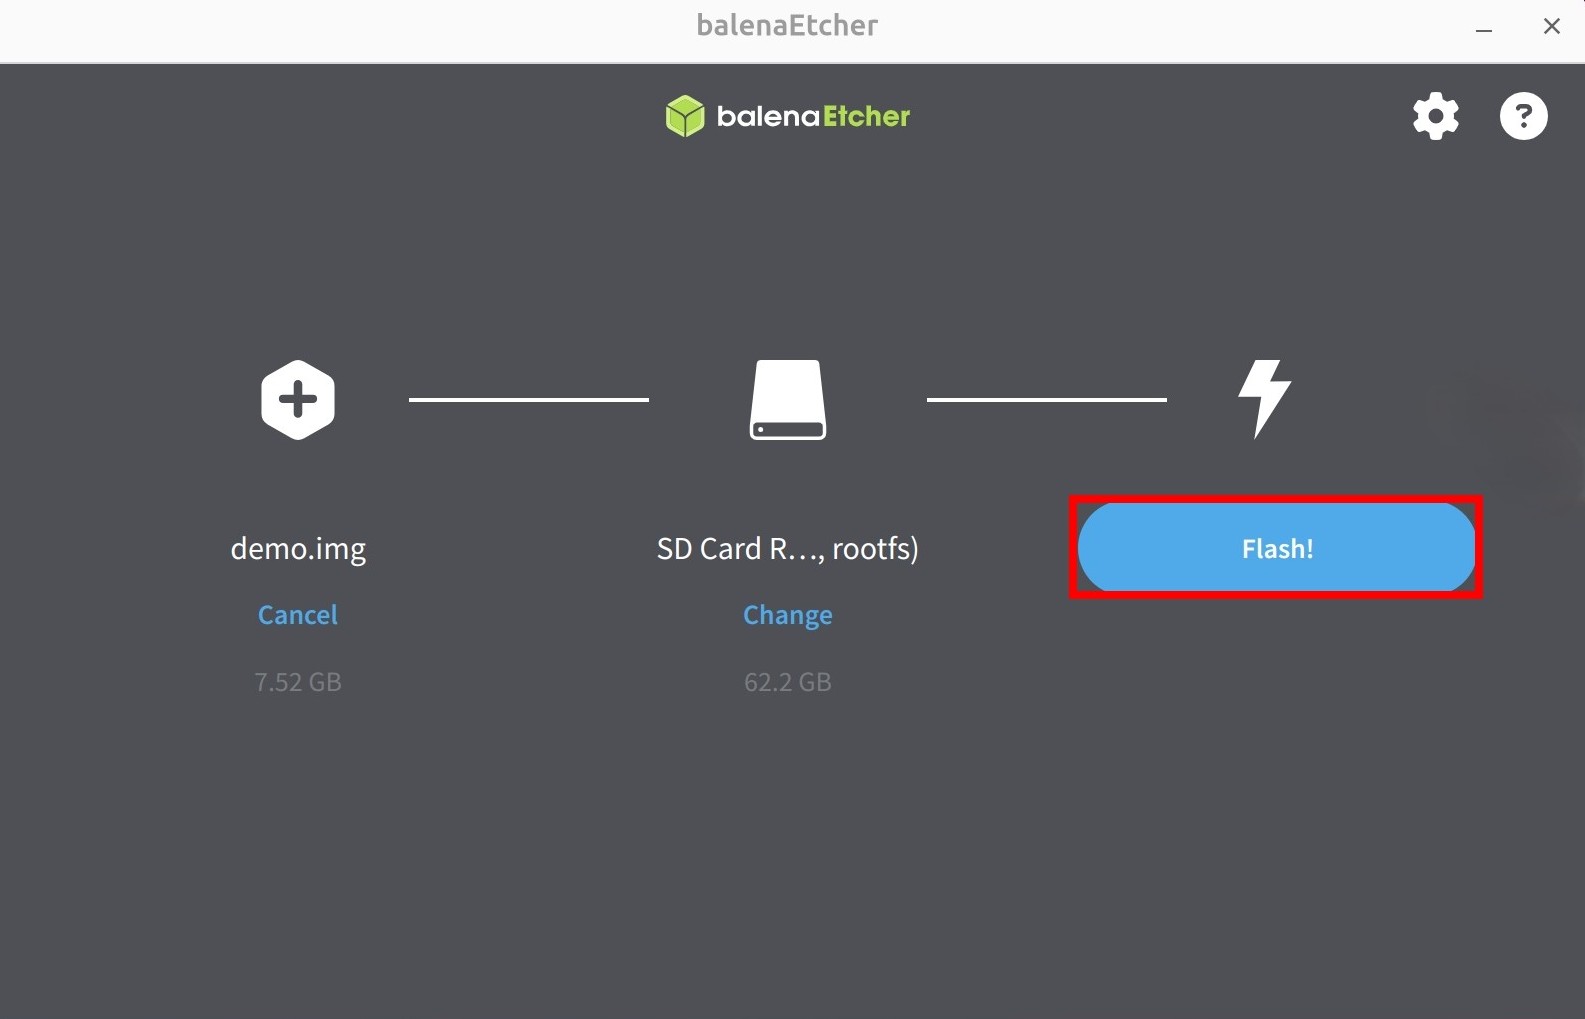
Start Flashing
Click the Flash! button to begin writing the system image to the microSD card.
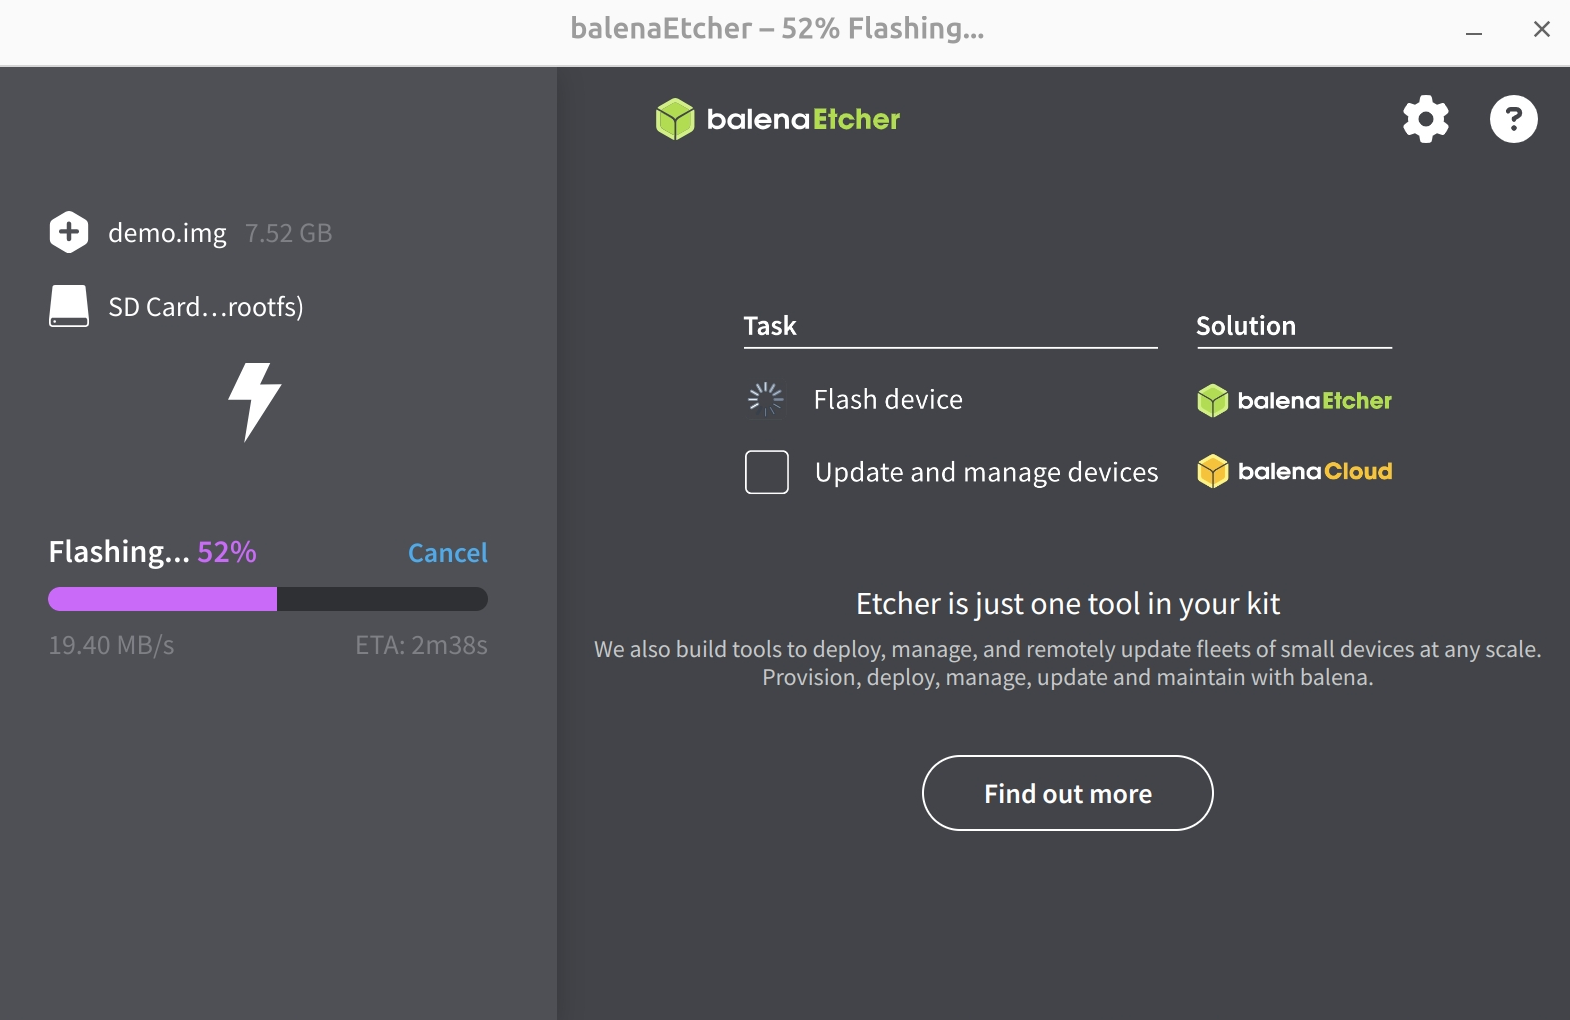
Waiting for system installation to complete
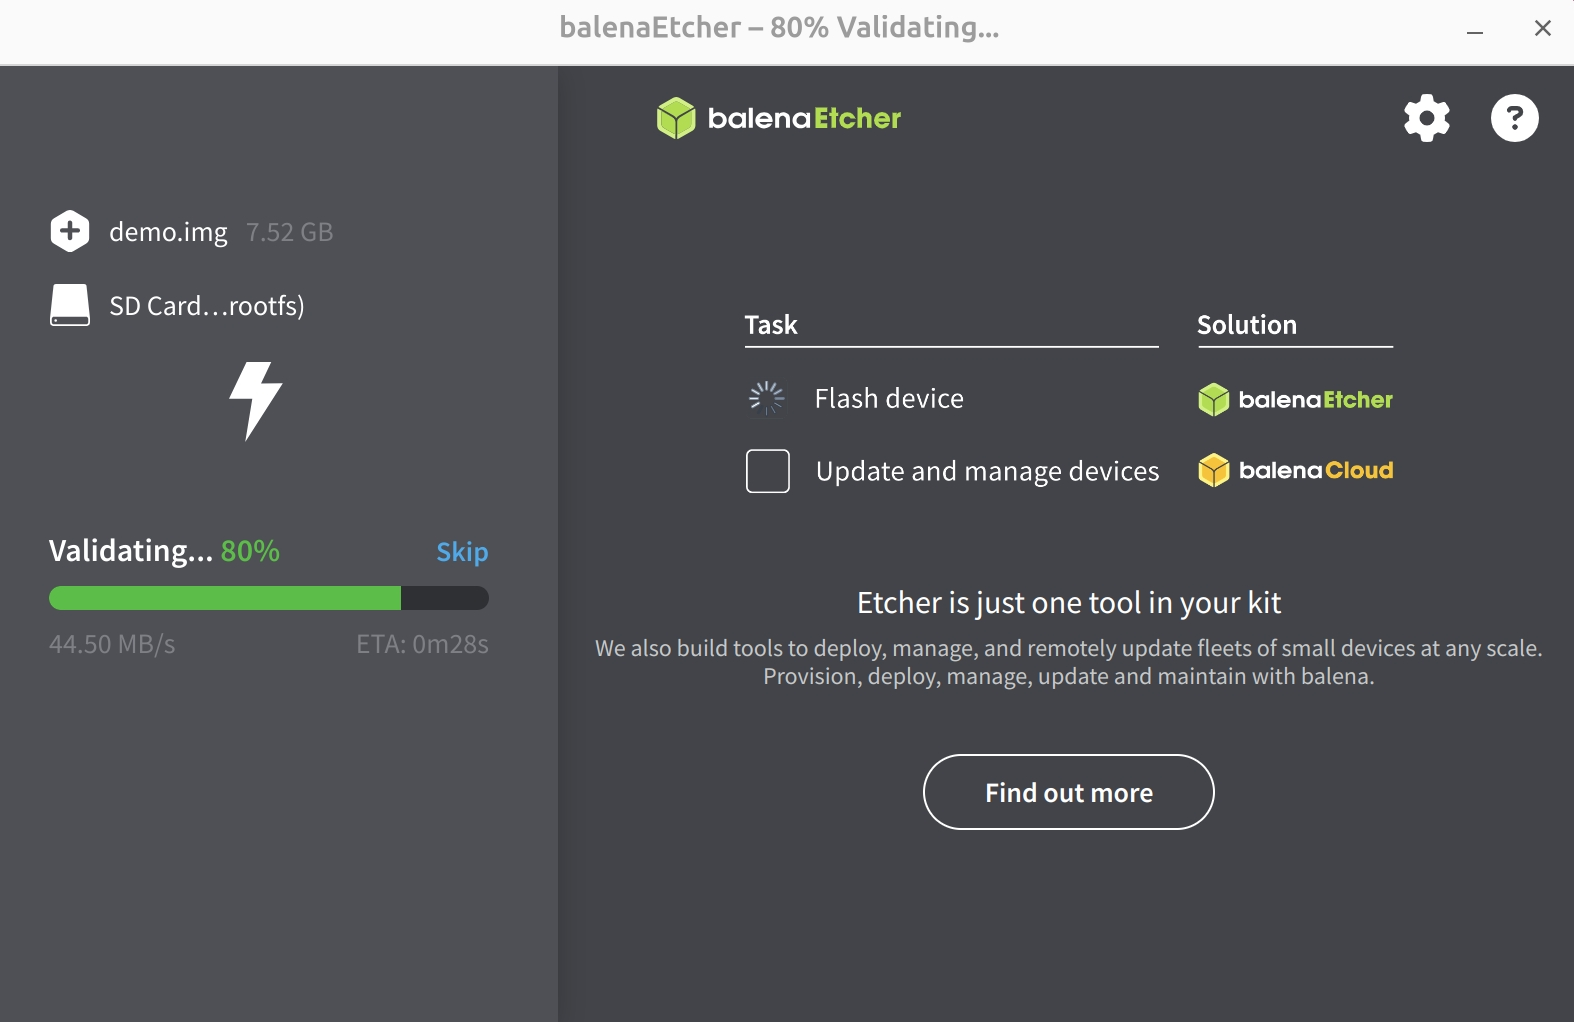
Waiting for system verification
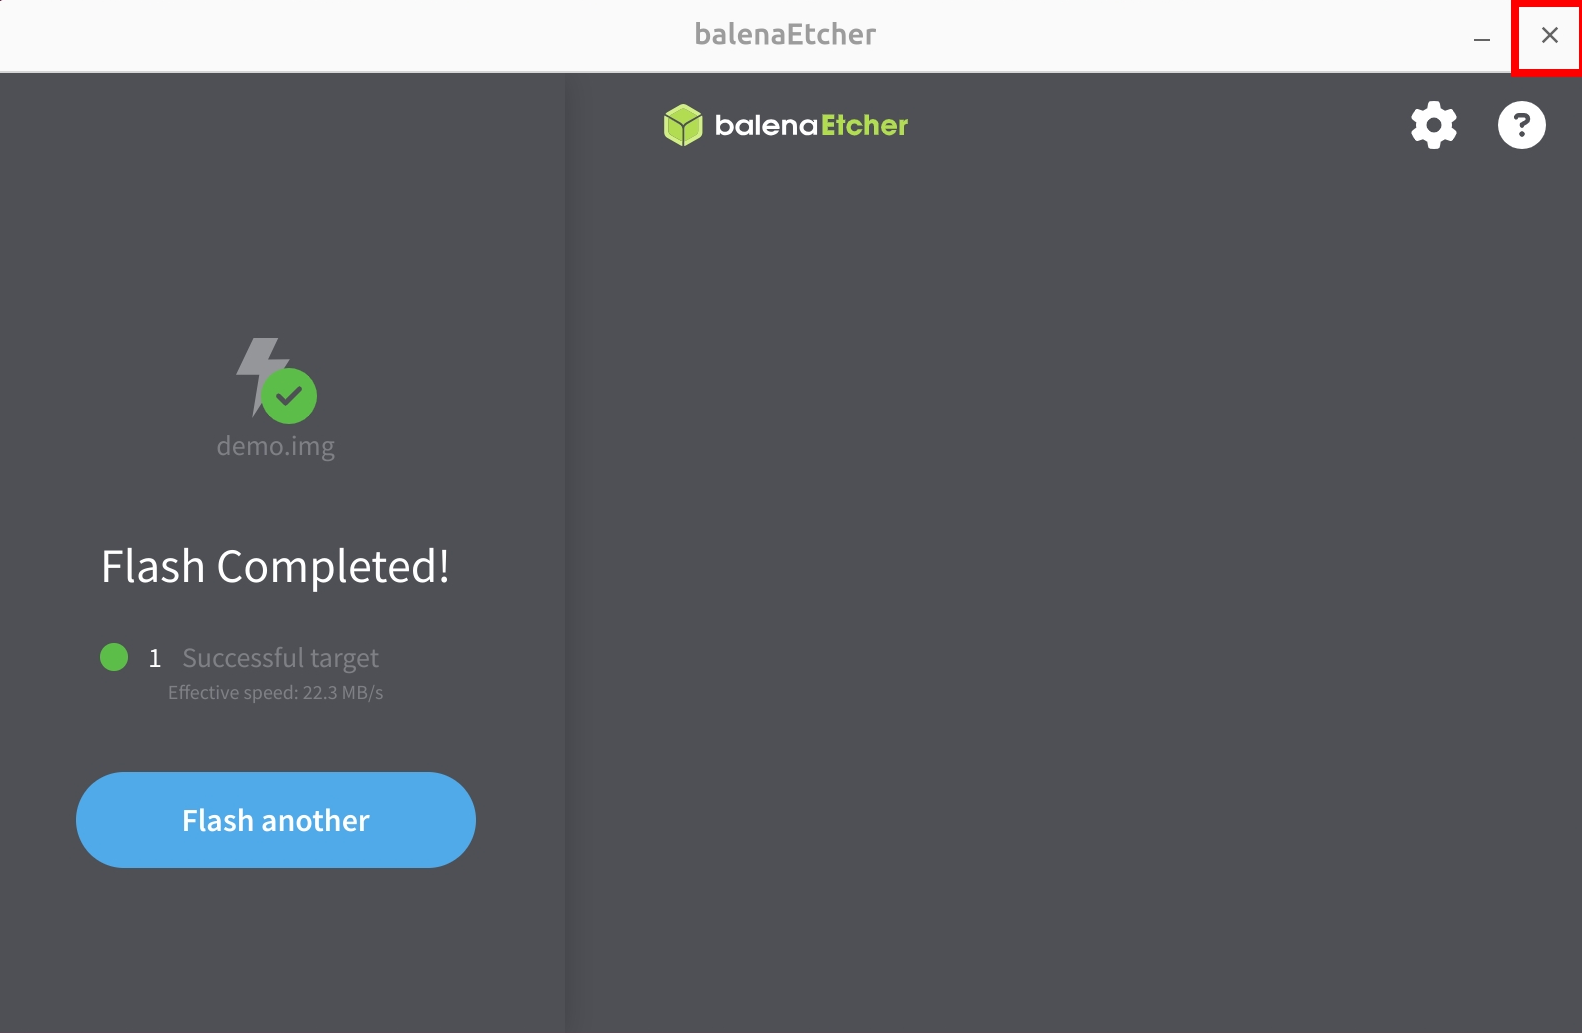
After successfully installing the system image, close the Etcher software!
Booting the System
After completing the system installation, insert the microSD card into the Dragon Q6A's microSD card slot, then power on the Dragon Q6A using the 12V Type-C power adapter to boot the system.
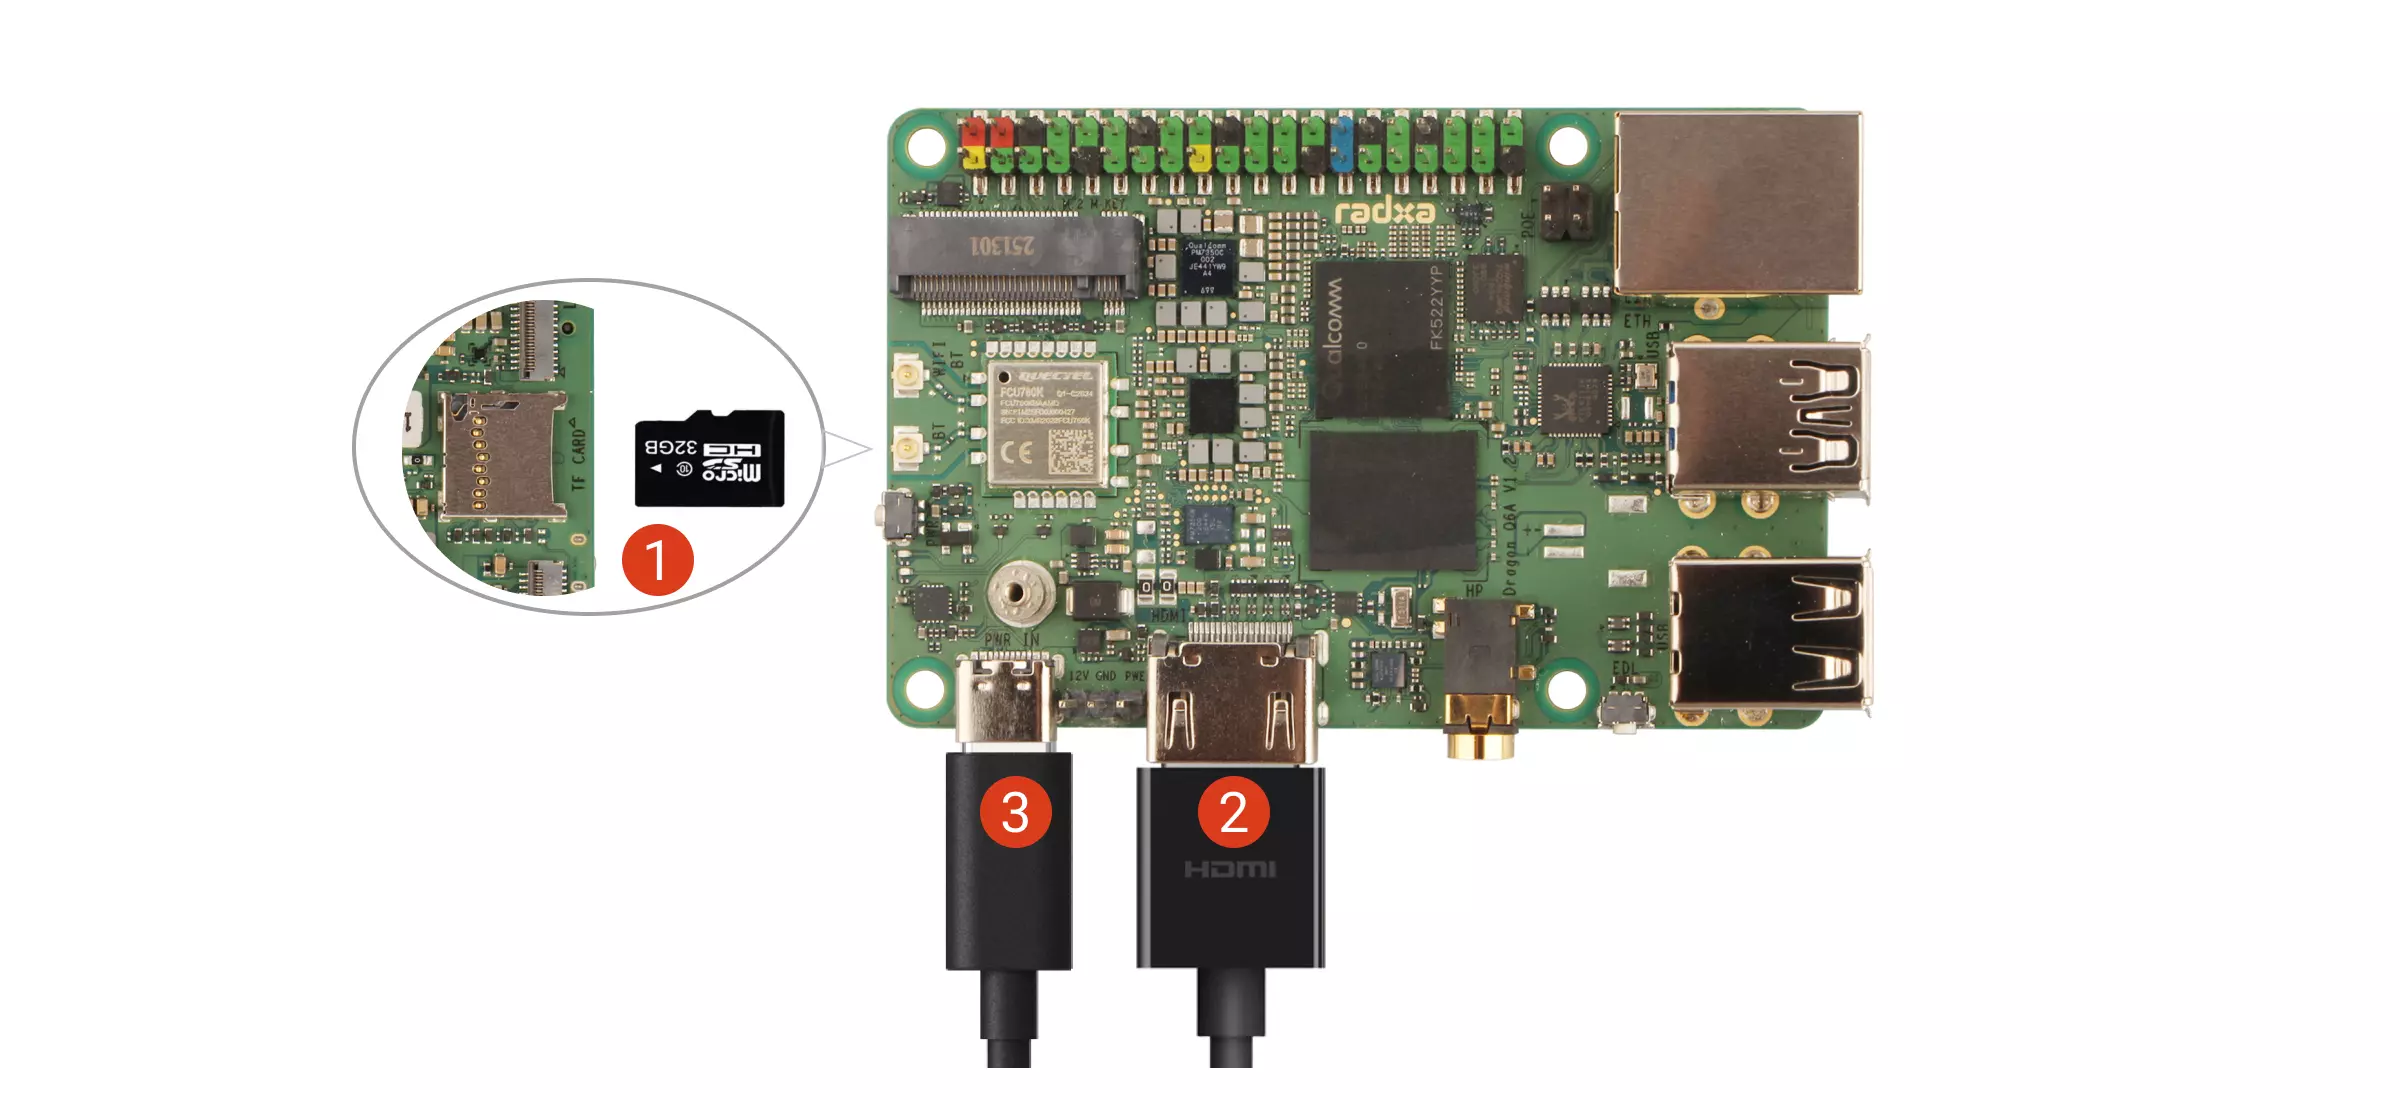
① : Insert the microSD card
② : Connect the monitor to the board using an HDMI cable
③ : Power on the Dragon Q6A using the 12V Type-C power adapter
When the system boots normally, the power indicator will light up green and the status LED will blink blue.
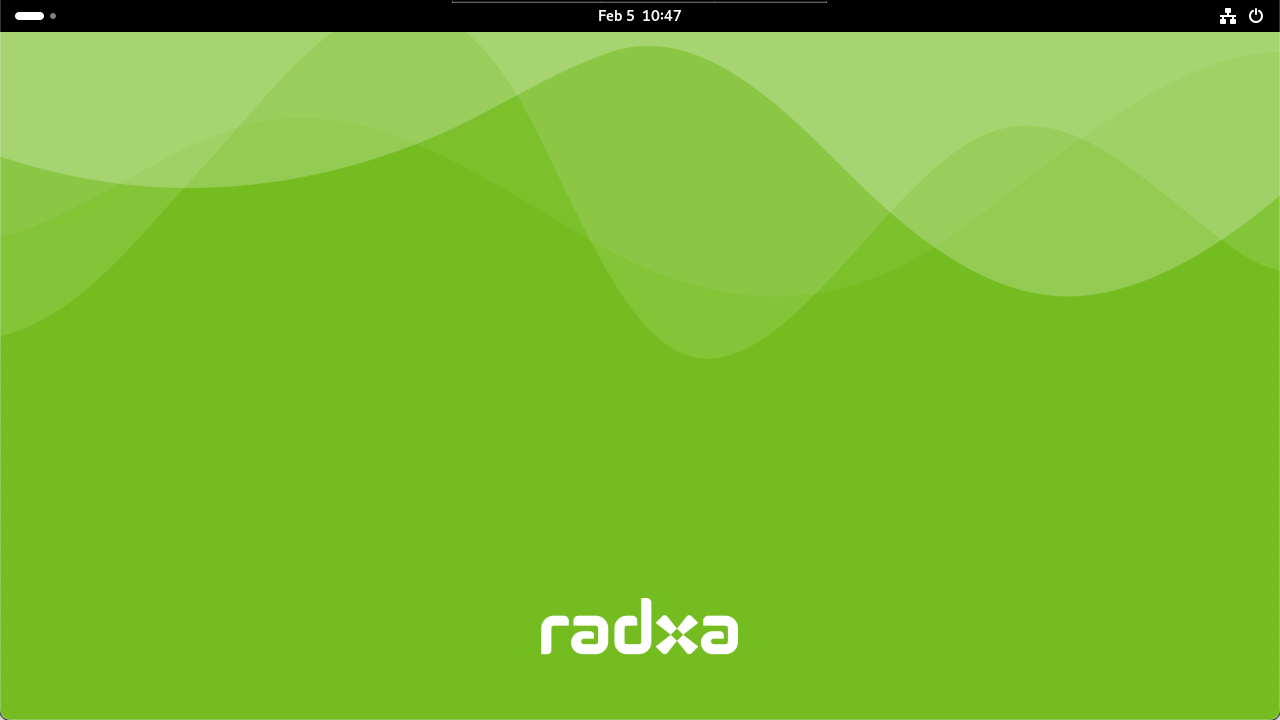
System Login
When you first start the system, you'll need to log in using the default credentials.
The default credentials for Radxa OS are as follows:
| Item | Value |
|---|---|
| Username | radxa |
| Password | radxa |
Using the System
After successfully booting the system, you can start using the Radxa system on your Dragon Q6A. For basic usage instructions, please refer to the Using the System guide.
For users who want to boot the system using other methods (such as eMMC, UFS, or NVMe SSD), please refer to the following guides for installing the system on different boot media:
- Install System to microSD Card
- Install System to USB Drive
- Install System to UFS
- Install System to eMMC
- Install System to NVMe SSD
Boot priority: USB > microSD > NVMe SSD > eMMC Module > UFS Module
Update the System
We recommend using the Rsetup tool to update your system.
Using Rsetup is a safer way to update the system.
Upgrading with sudo apt update && sudo apt upgrade may result in incomplete updates or unexpected system issues.
For more details about Rsetup, see:
Rsetup Tool
Open a terminal and run sudo rsetup to launch the Rsetup tool:
sudo rsetup
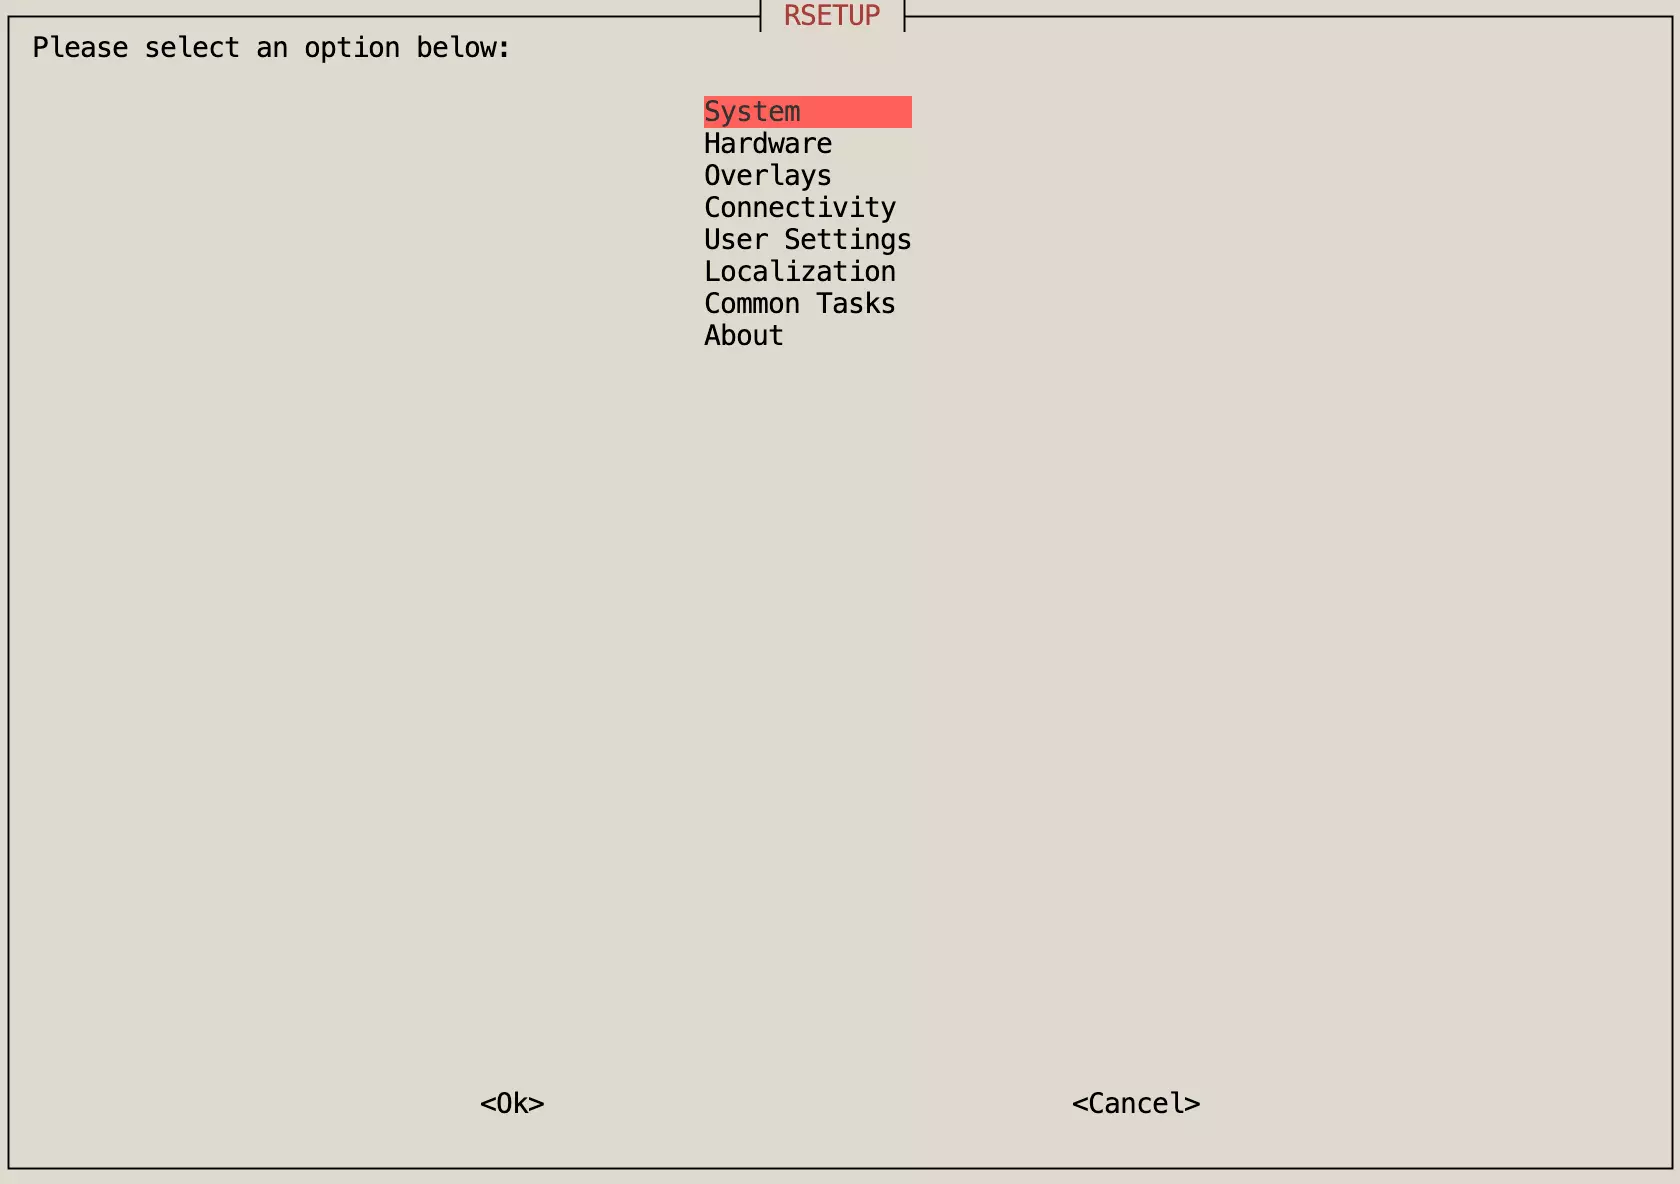
Update the System
In Rsetup, select System -> System Update, then follow the on-screen prompts to complete the update.
