Quick Start
This guide helps you quickly get started with the Radxa Dragon Q8B.
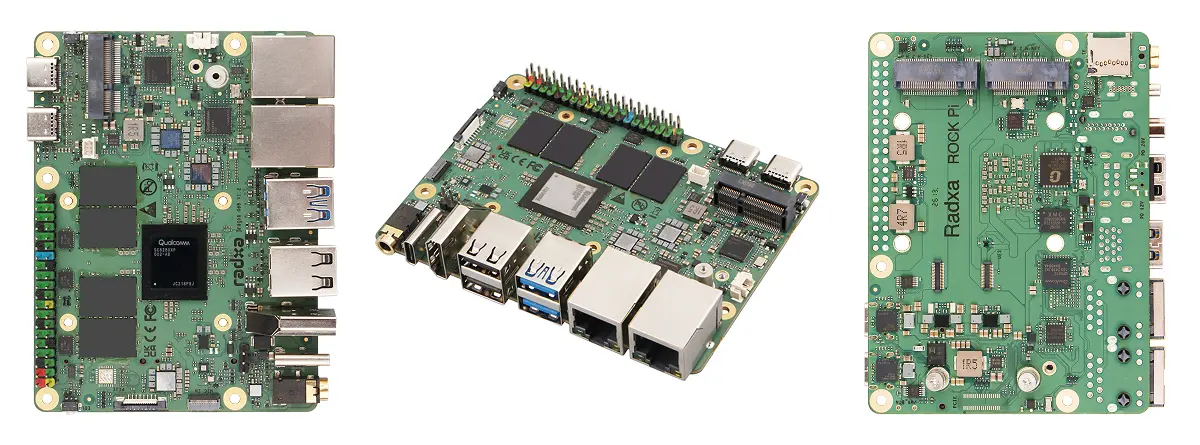
Product Overview
| No. | View | No. | View | No. | View |
|---|---|---|---|---|---|
| ① | Dragon Q8B Front | ② | Dragon Q8B Side | ③ | Dragon Q8B Rear |
Prerequisites
Prepare the following hardware before use:
- Board: Radxa Dragon Q8B
- Power: 20V Type-C power adapter (PD compatible)
- System boot media: microSD card (for installing and booting the system)
- Display device: HDMI or dual-ended USB-C cable and monitor
- Input devices: keyboard and mouse (for GUI operation)
- Debug tool (optional): USB-to-serial cable (for serial login)
- Radxa PD 65W Power Adapter (recommended)
- Standard 20V Type-C power adapter; 3A or higher is recommended
System Installation
This section mainly introduces how to install the system to a microSD card.
Installing the system completely formats the microSD card, and all data will be permanently deleted!
Before proceeding, confirm that:
- There is no important data on the microSD card, or the data has been backed up
- The correct storage device is selected to avoid formatting another disk
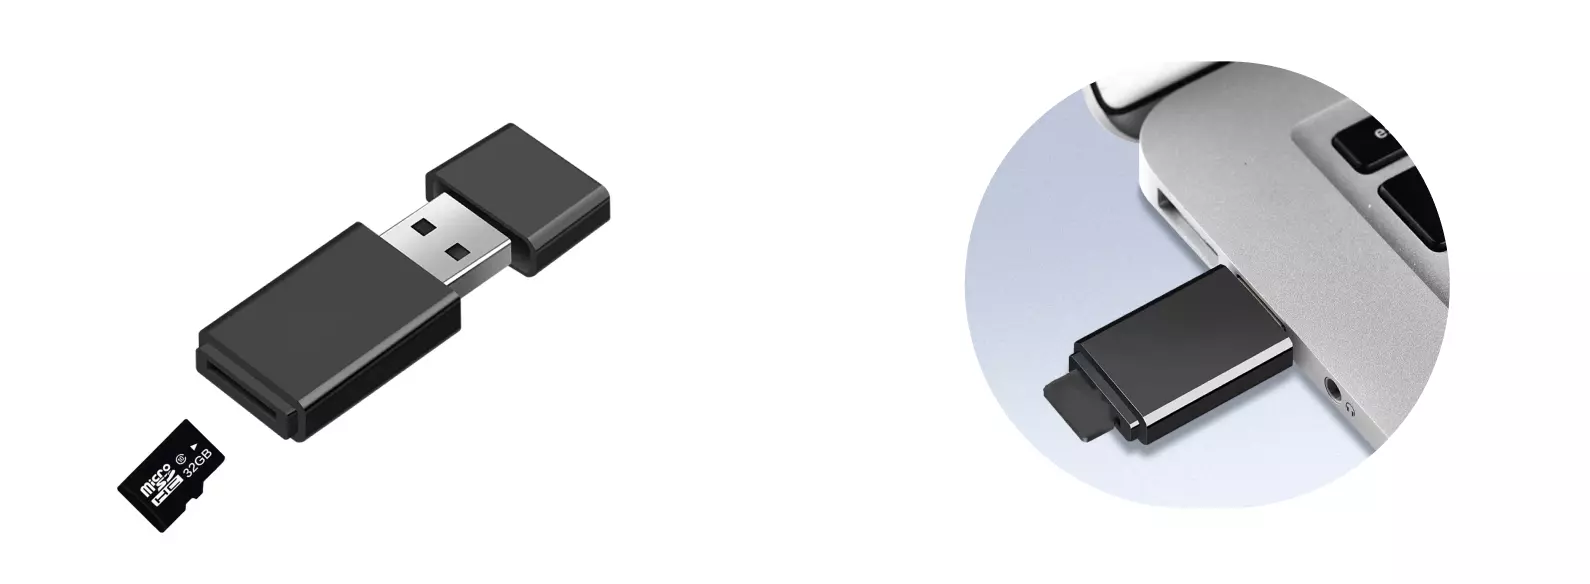
Hardware Connection
Insert the microSD card into a microSD card reader, then connect the card reader to your computer.
Download System Image
Visit the Resource Downloads page and download a system image.
The image file is a compressed .img.xz archive. After downloading it, extract it first to obtain a .img image file.
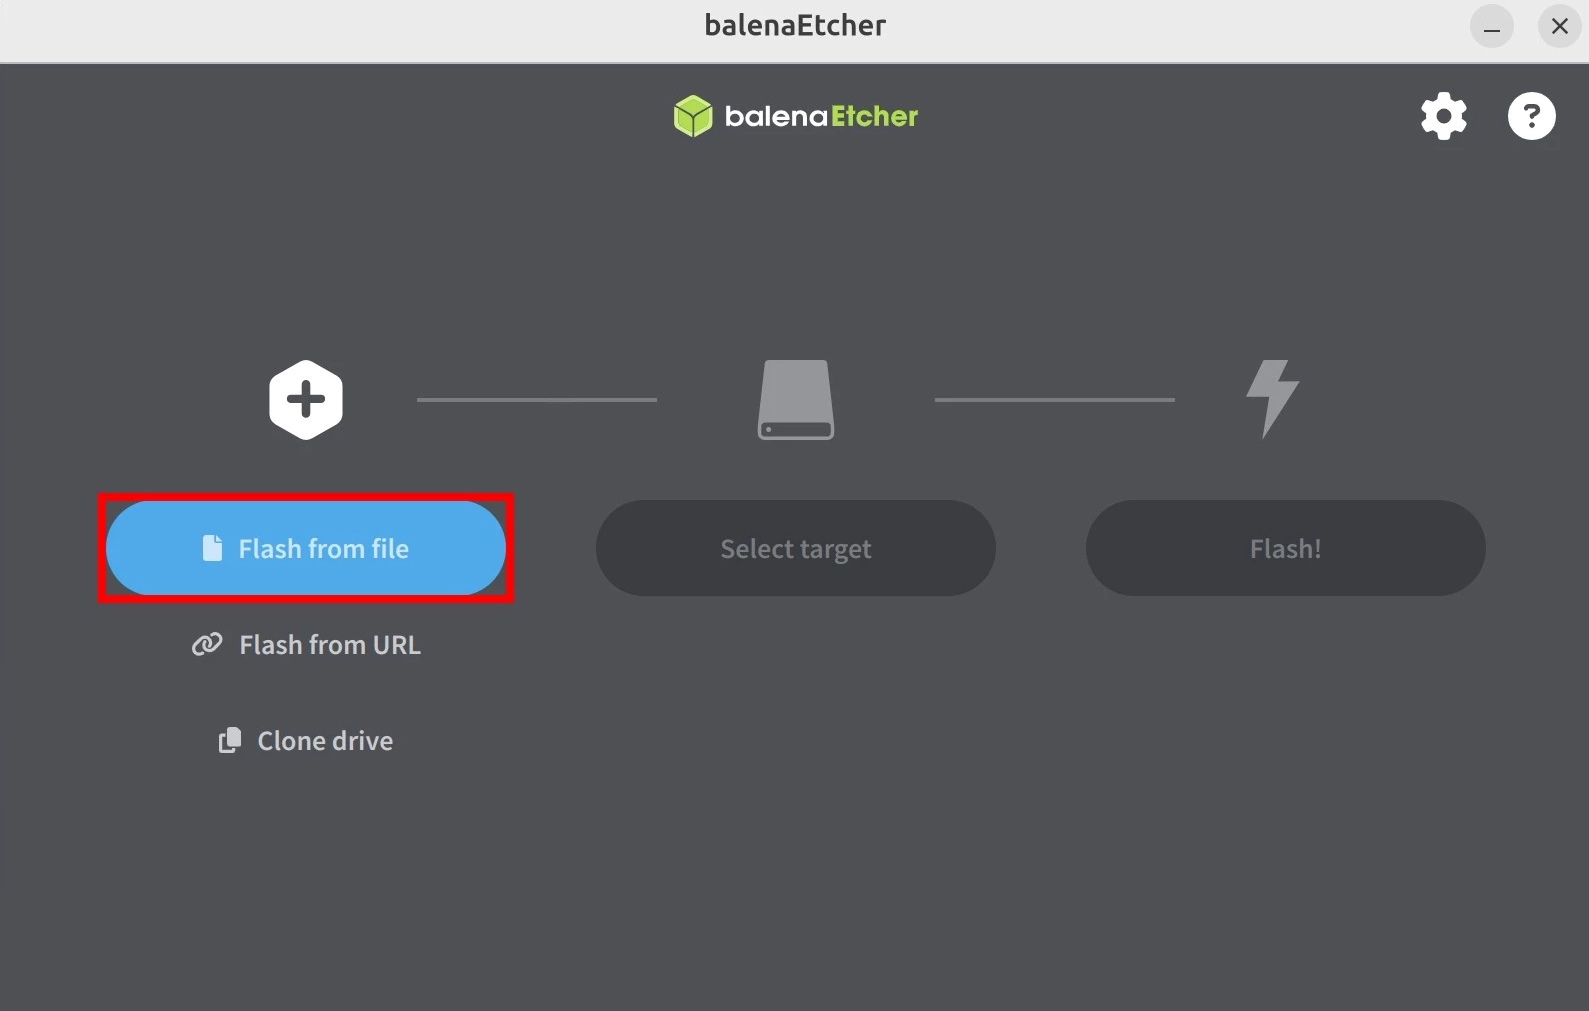
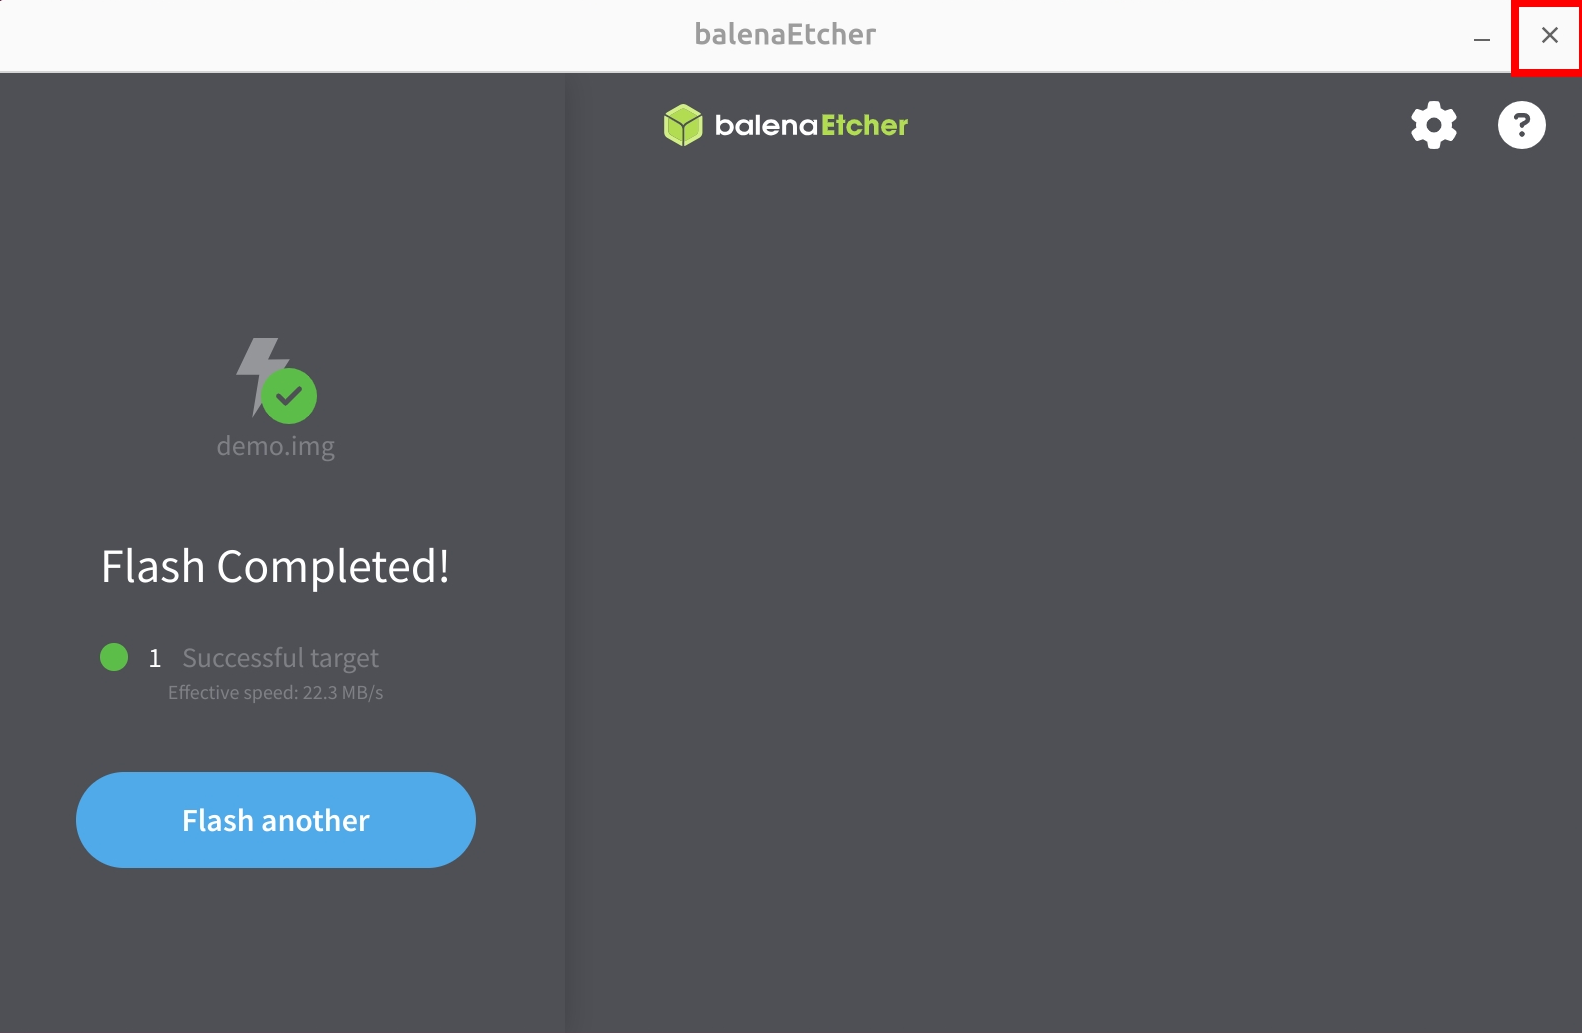
Install System Image
Use Balena Etcher to install the system image to the microSD card.
For Balena Etcher installation and usage, refer to Etcher Usage guide.
Select the System Image
Click Flash from file and select the system image file that you downloaded and extracted.
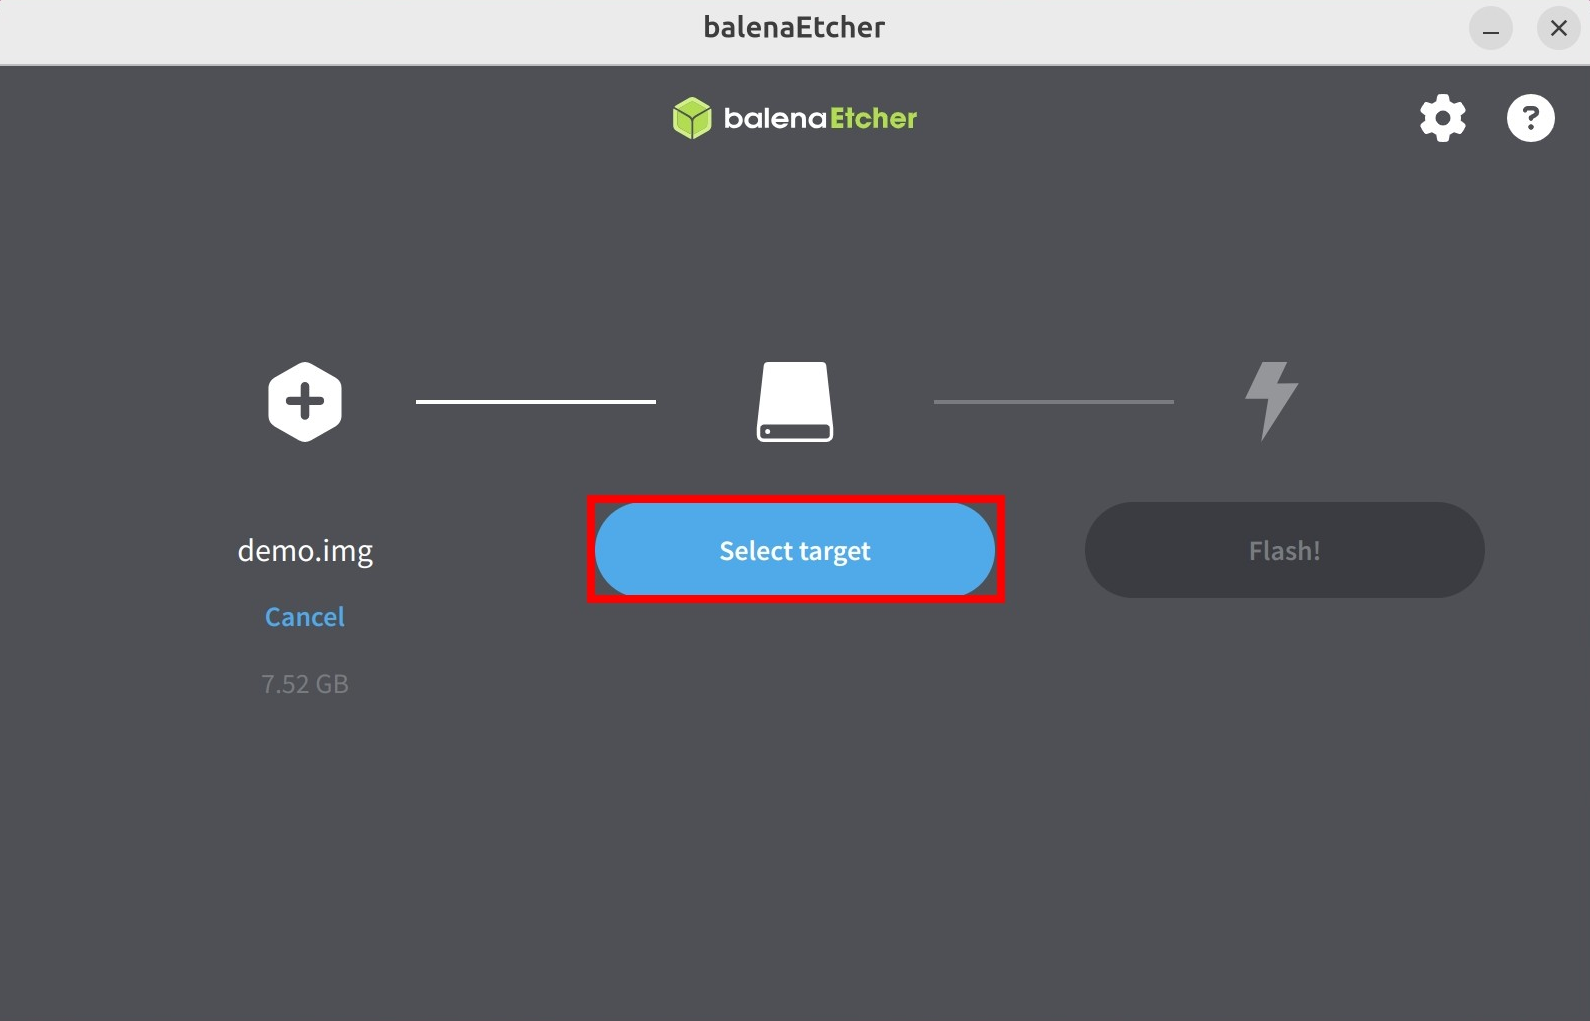
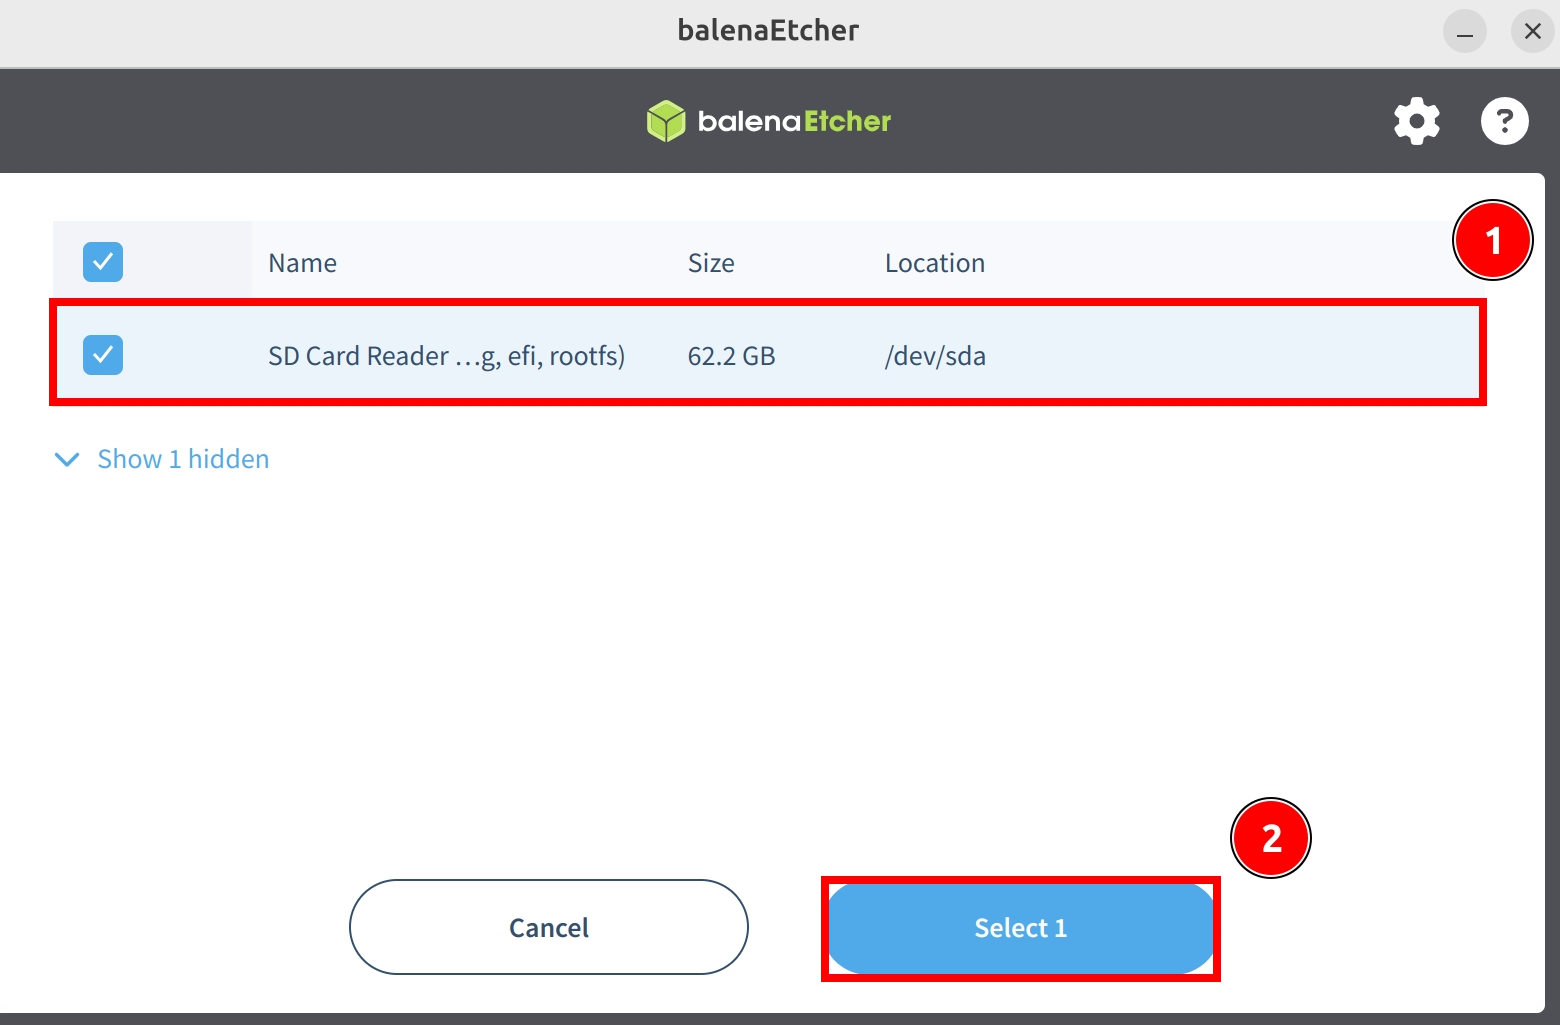
Select the Storage Device
Click Select target and select the microSD card device.
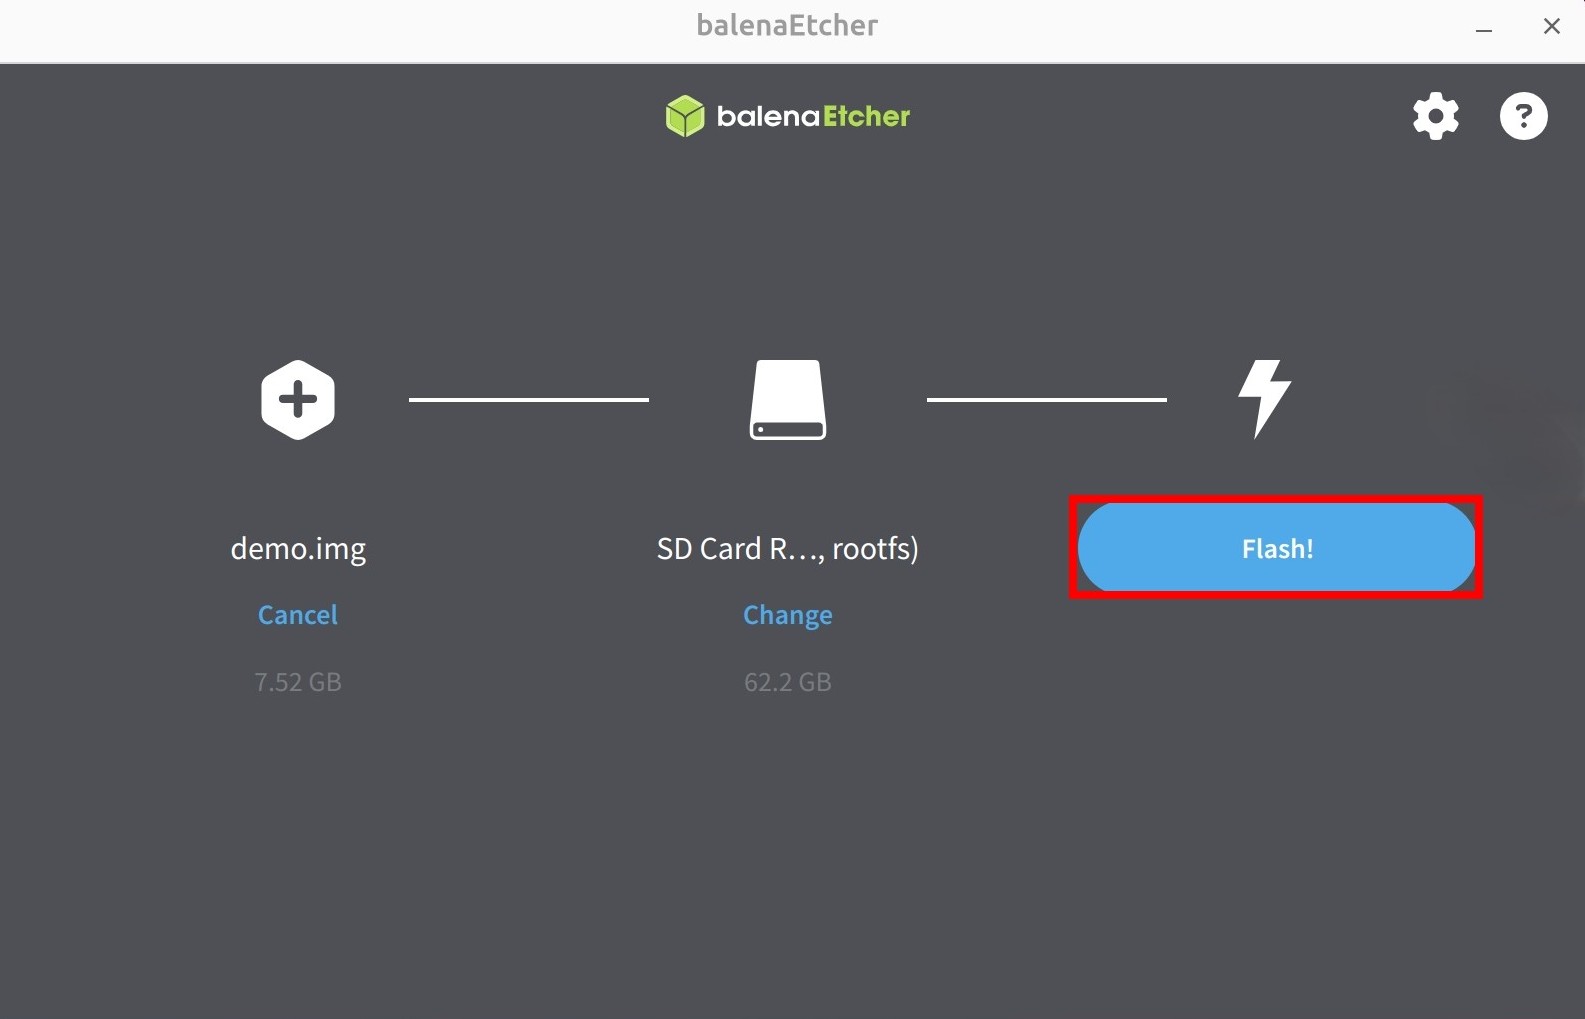
Start Flashing
Click Flash! to start flashing the system image to the microSD card.
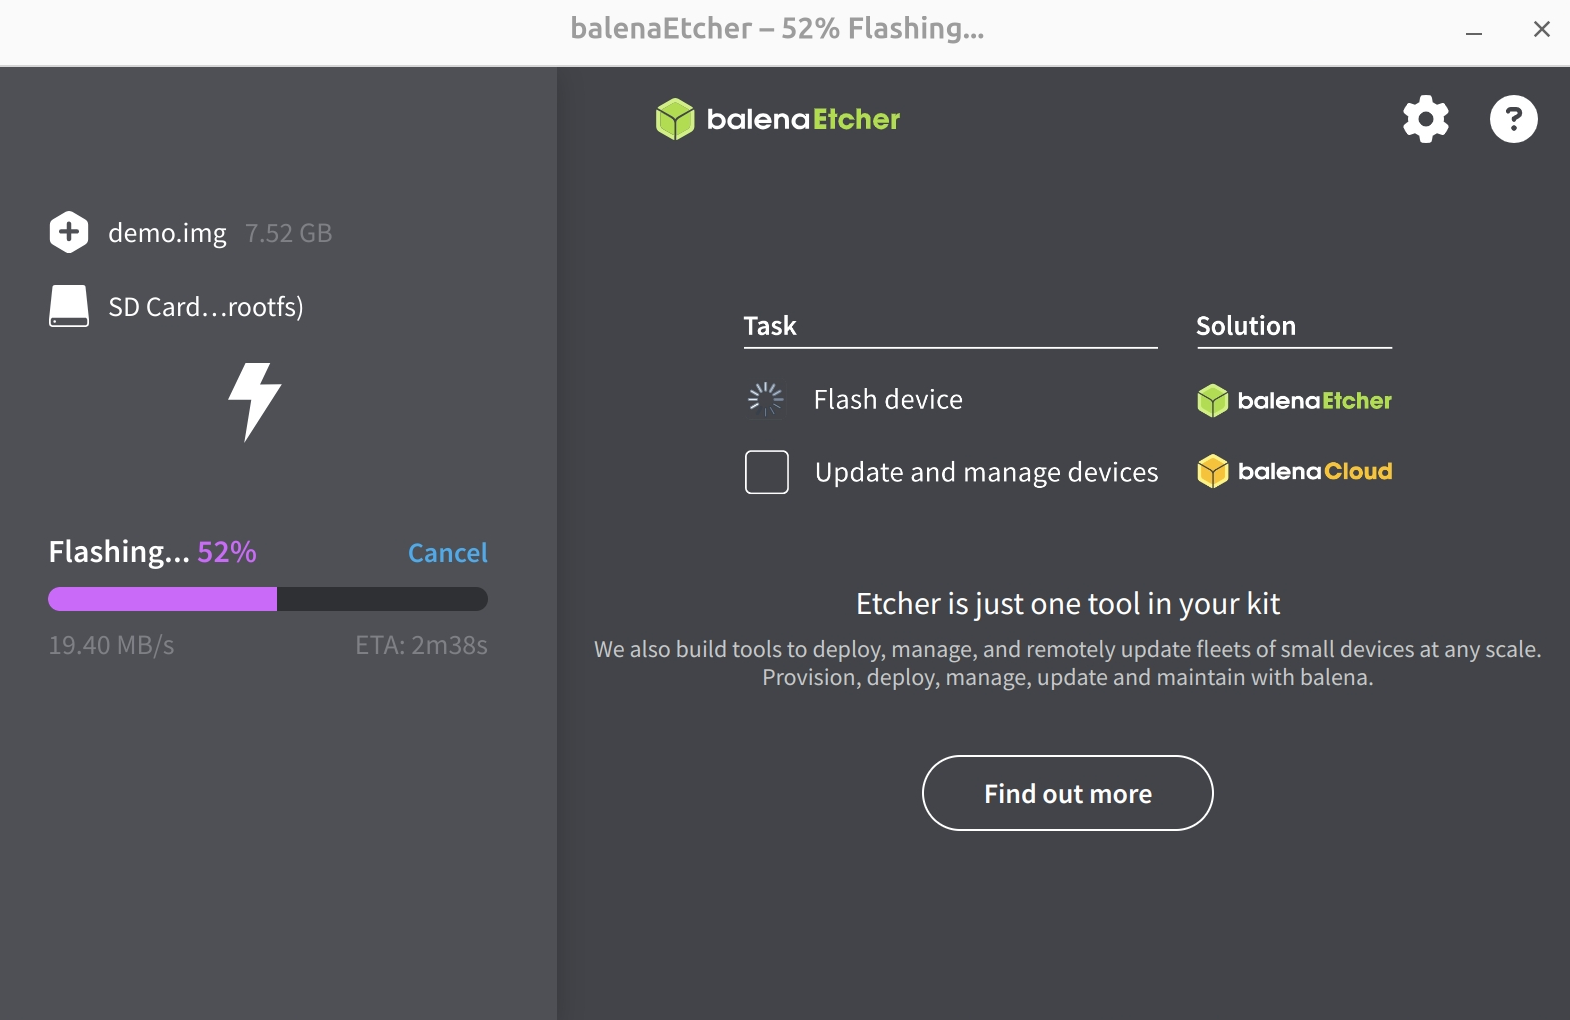
Wait for the system installation to complete
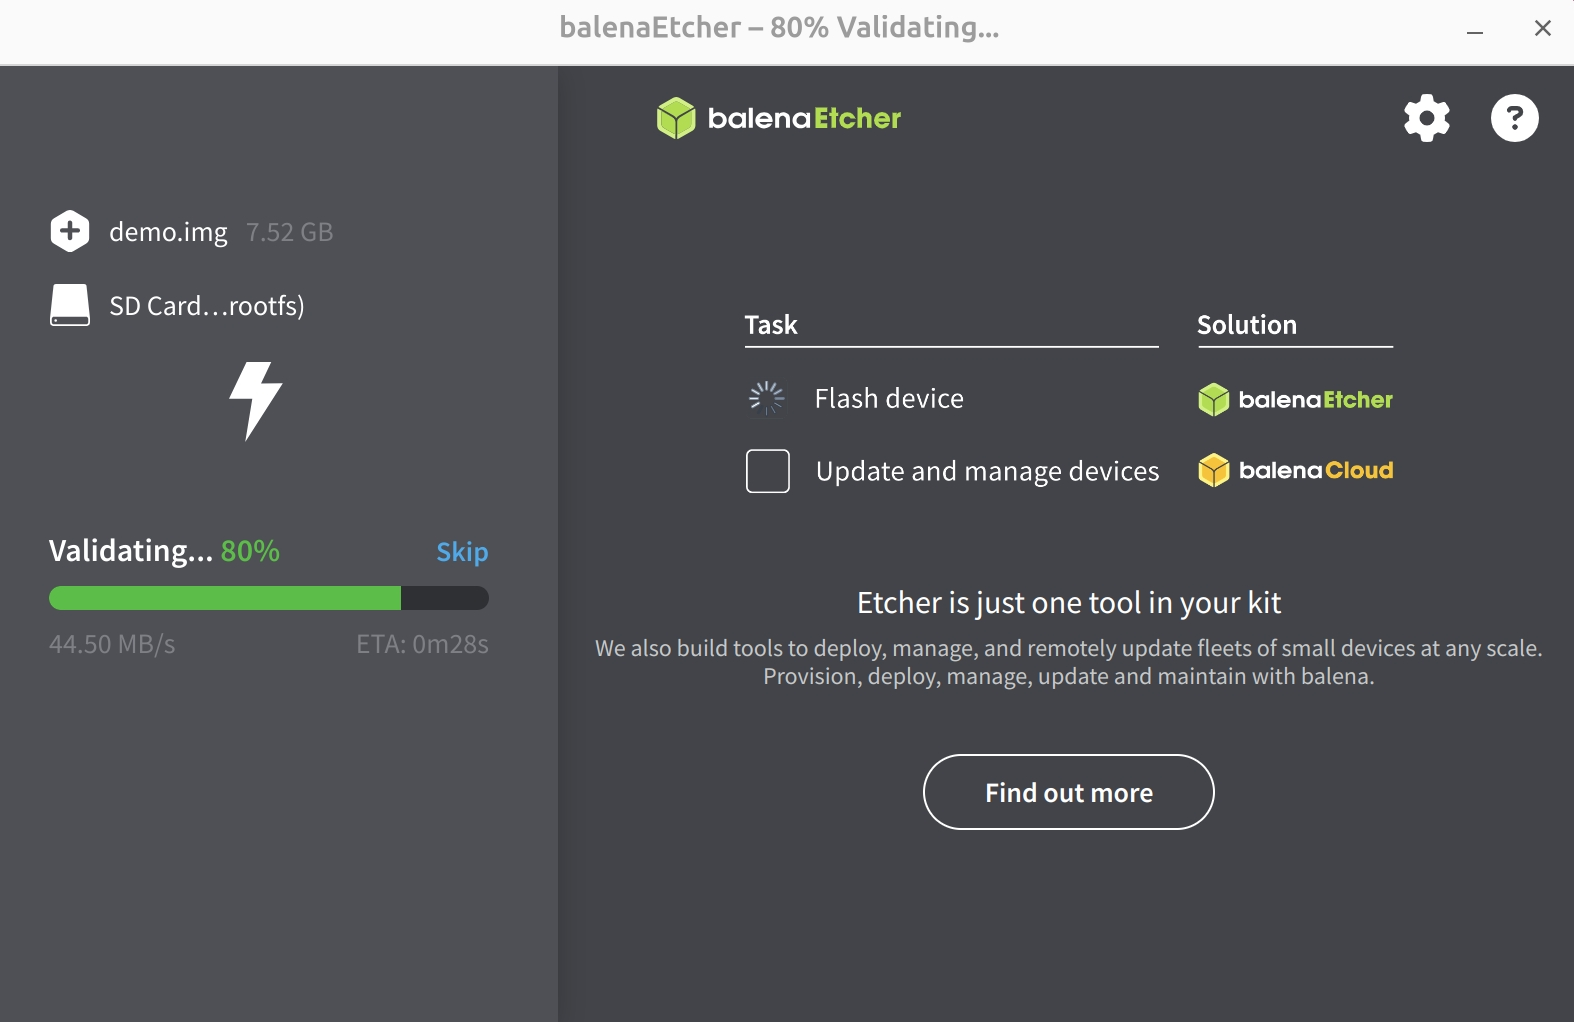
Wait for system verification to complete
After the system image is installed successfully, close Etcher!
Booting the System
After installing the system, insert the microSD card into the Dragon Q8B microSD card slot, then power the Dragon Q8B with a 20V Type-C power adapter to boot the system.
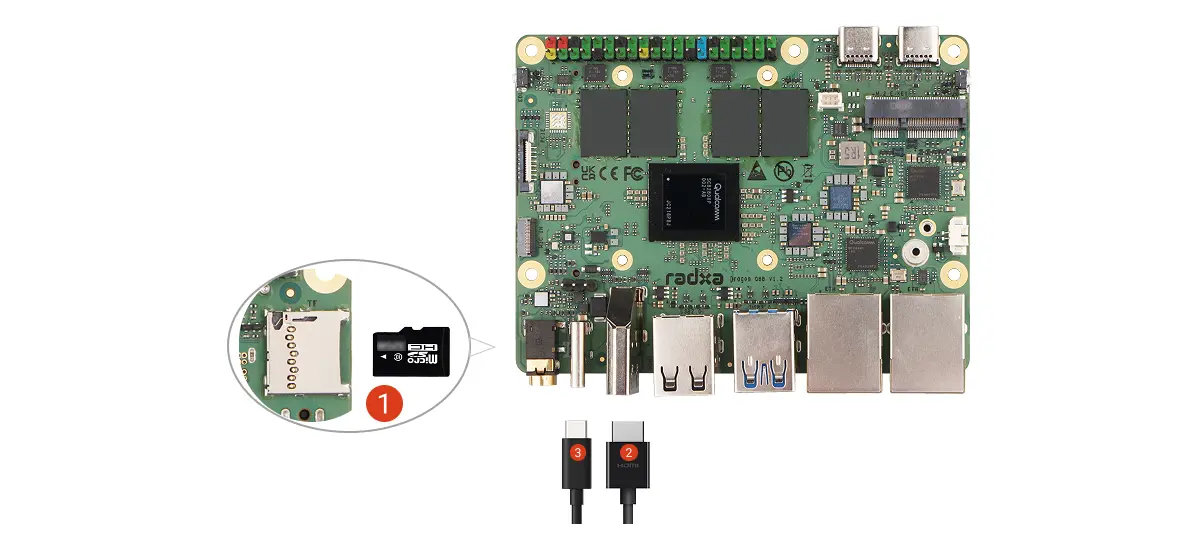
-
Install the microSD card
-
Connect the monitor and board using HDMI or a dual-ended USB-C cable
-
Power the Dragon Q8B with a 20V Type-C power adapter
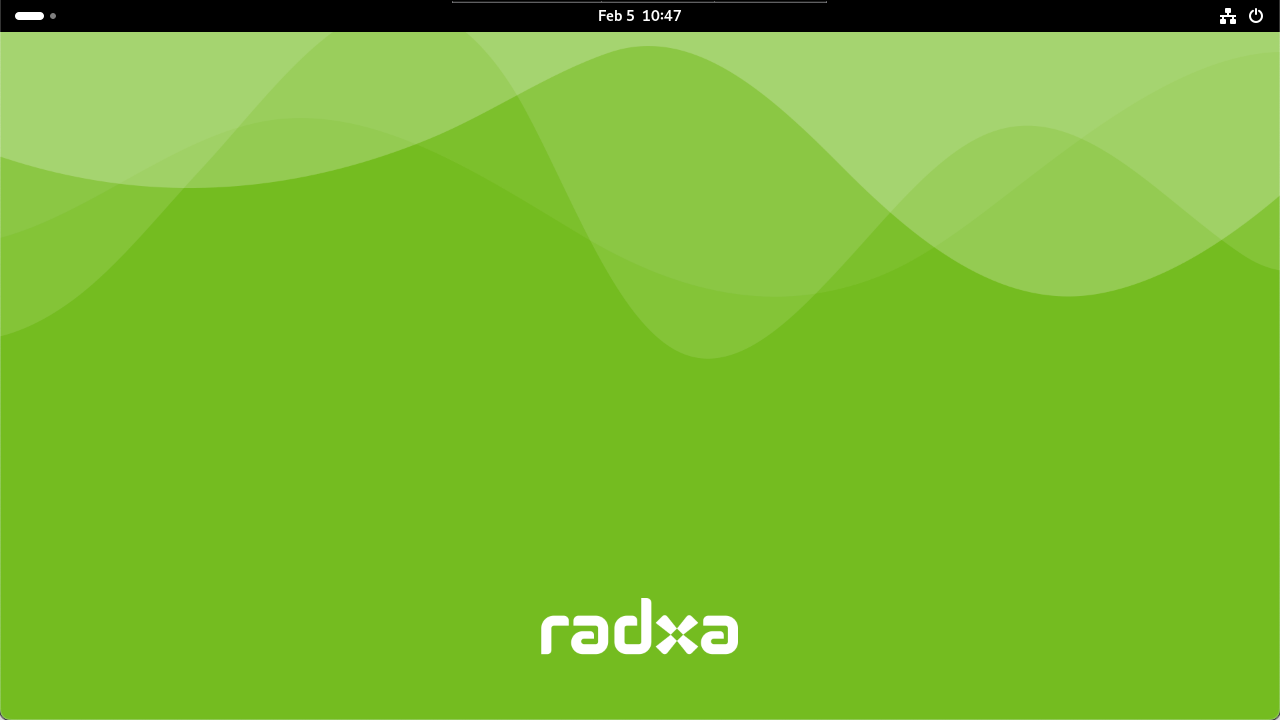
After the system boots normally, the power LED turns green and the status LED blinks blue.
System Login
When you boot the system for the first time, log in with the default username and password.
The default credentials for Radxa OS are:
| Item | Value |
|---|---|
| Username | radxa |
| Password | radxa |
Using the System
After the system boots successfully, you can start using Radxa OS on the Dragon Q8B. For basic Radxa OS usage, refer to Using the System guide.
For users who want to boot the system from other media, such as eMMC, UFS, or NVMe SSD, refer to the guides below to install the system to the corresponding boot media:
System boot priority: USB > microSD > NVMe SSD > UFS module
Update the System
We recommend using the Rsetup tool to update the system.
Using the Rsetup tool is a safer way to update the system.
Using sudo apt update && sudo apt upgrade to upgrade the system may result in incomplete updates or system issues.
For Rsetup usage, refer to:
Rsetup Tool
Open a terminal and run sudo rsetup to open the Rsetup tool:
sudo rsetup
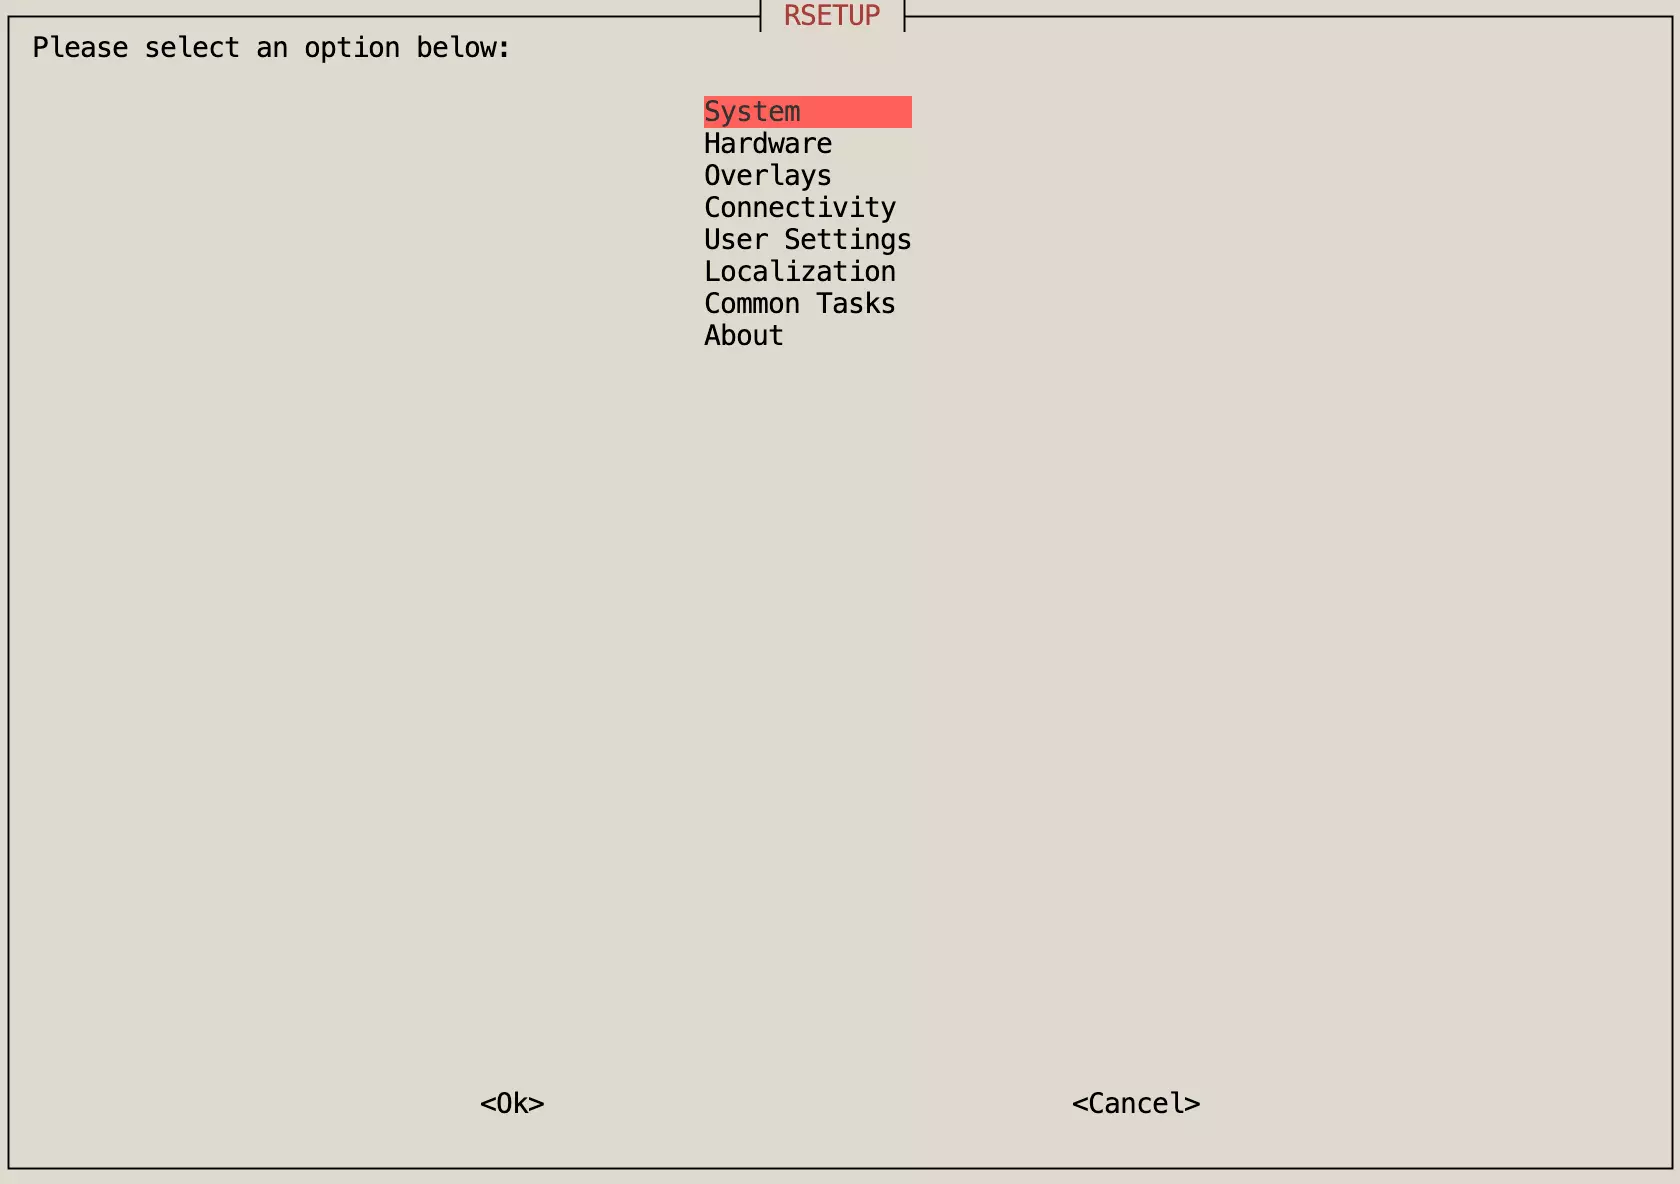
Update the System
After entering the Rsetup tool, select System -> System Update, then follow the prompts to complete the system update.
