Install Armbian 26
Armbian Imager is the official image download and flashing utility from Armbian. It can download official images online or write a local image file. The utility automatically downloads, decompresses, writes, and verifies the image.
Flashing erases all data on the target storage device. Back up important files and carefully confirm the target device before continuing.
Connect the Target Device
Connect the storage device that you want to flash to your computer.
Armbian Imager can flash a system directly to a UFS module. Install the UFS module on the board, put the board into EDL mode, connect the board to your computer with a USB cable, and then select the corresponding UFS system image.
Download Armbian Imager
Visit the Armbian Imager website, download the version that matches your operating system and processor architecture, and install it.
Use Armbian Imager
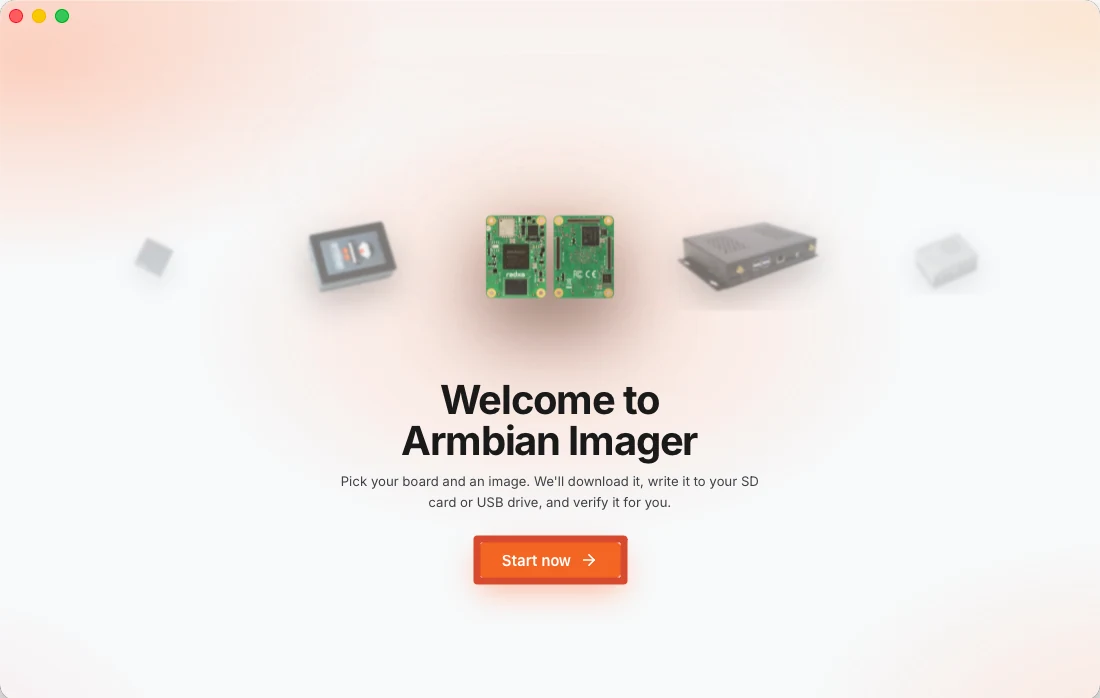
Open Armbian Imager and click Start now to open the board and image selection screen.
Select the Manufacturer
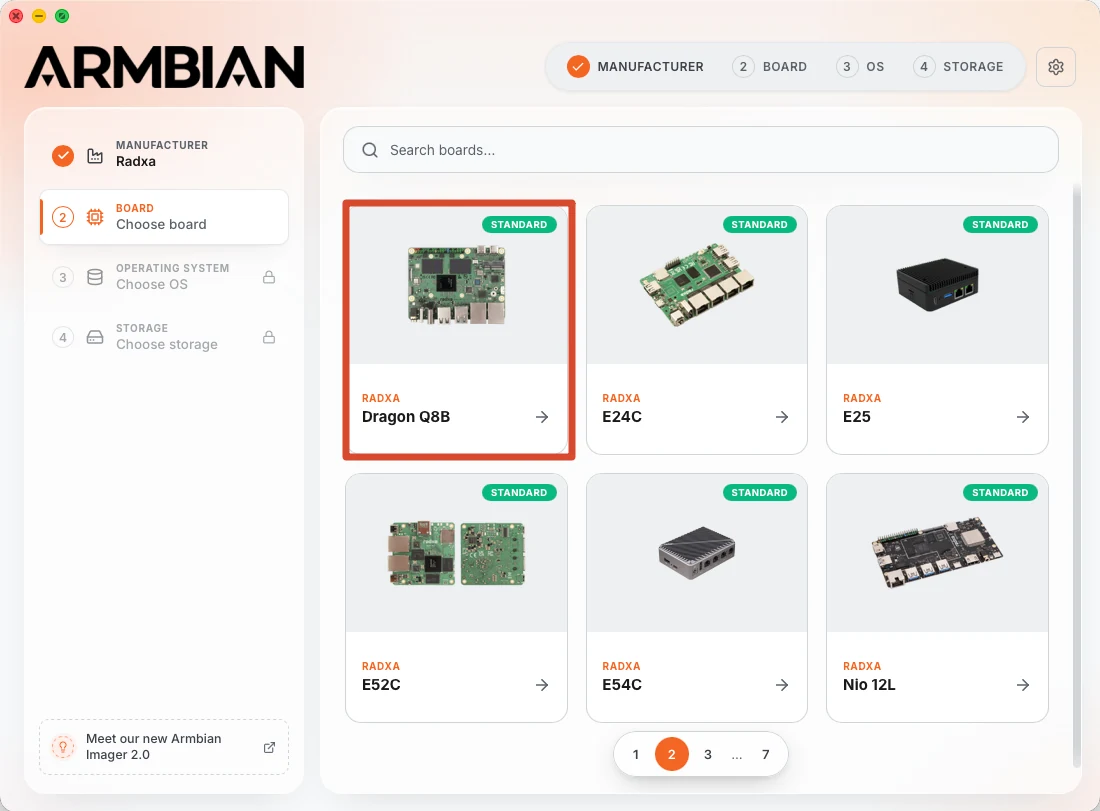
Select Radxa from the manufacturer list.

Select the Board
Select the product on which you want to install the system. This guide uses Dragon Q8B as an example.
Select the model that matches your actual hardware to ensure that the image and boot configuration are correct.
Select the Image
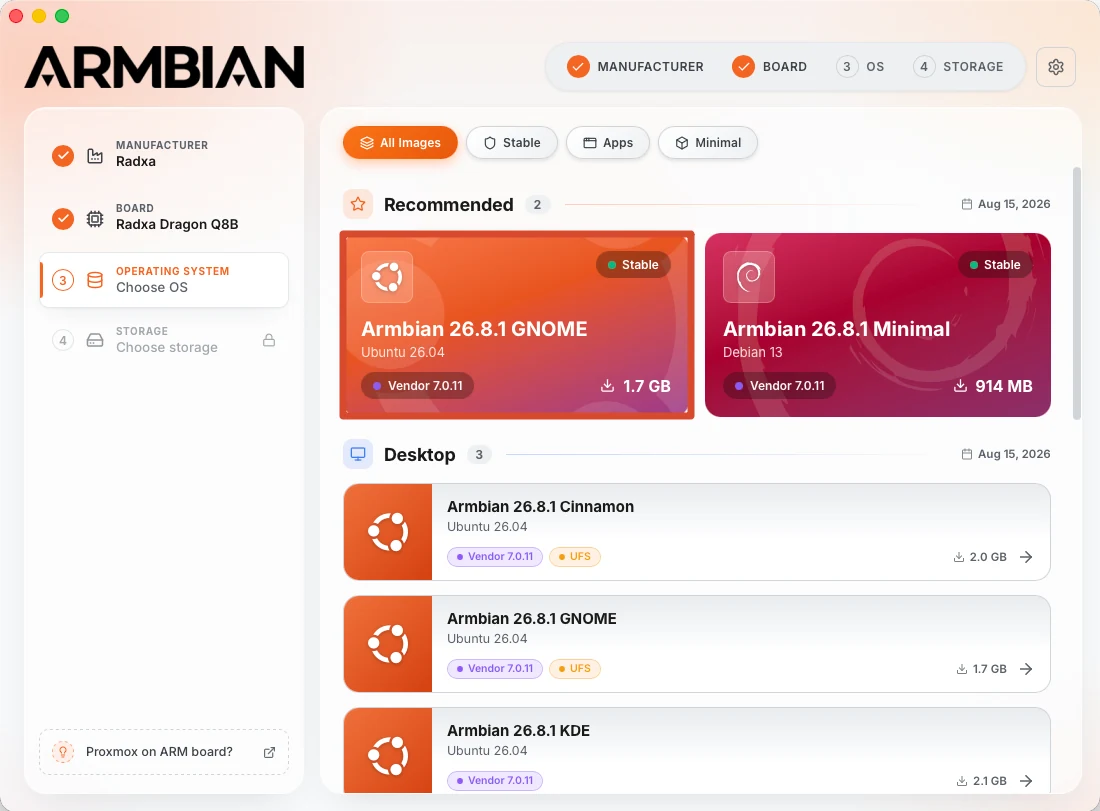
Select the Armbian system image that you want to install. This guide uses Armbian Ubuntu 26.04 as an example. Available versions may change; refer to the versions shown in Armbian Imager.
If the target is a UFS module, select an image designed for UFS. These image options usually include a UFS label.
Select a Local Image (Optional)
If you have already downloaded a system image, select Custom Image and import the local image file.
After selecting a local image, you do not need to select a manufacturer, board, or online image. You can proceed directly to selecting the target storage device.

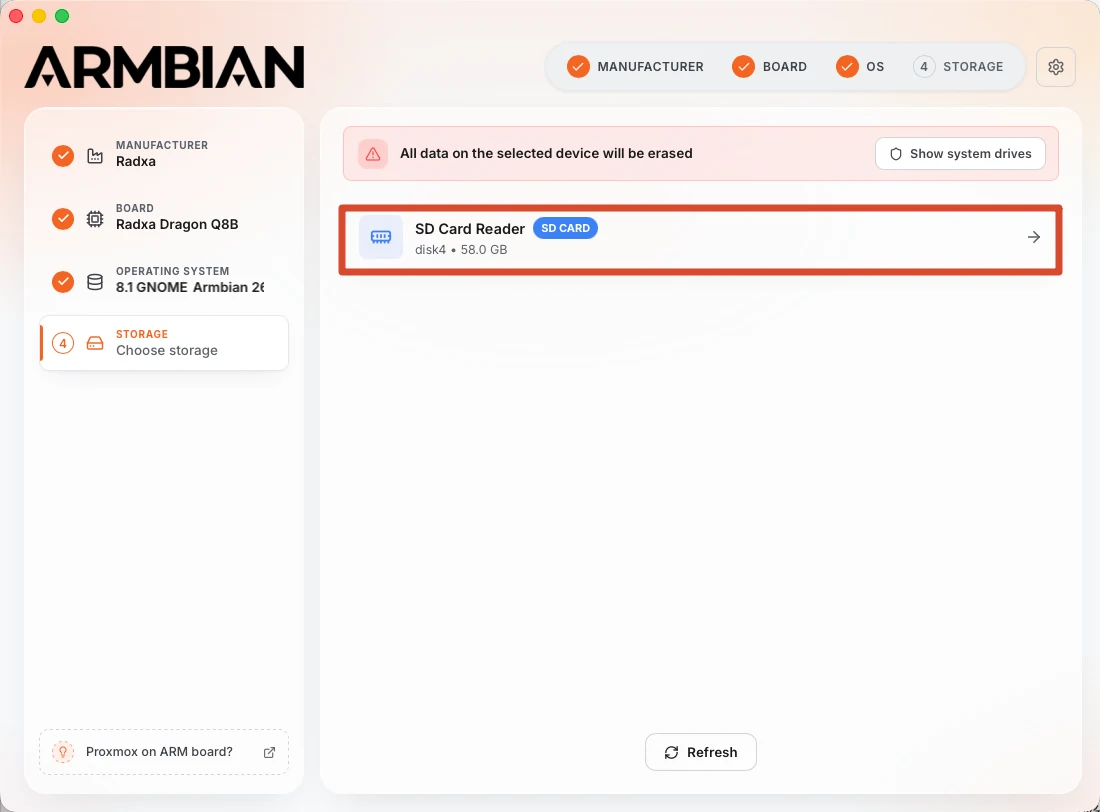
Select the Target Storage Device
Select the storage device to which the system will be written, and carefully verify its name and capacity.
All existing data on the selected device will be erased. Do not select your computer's system drive or another important storage device.
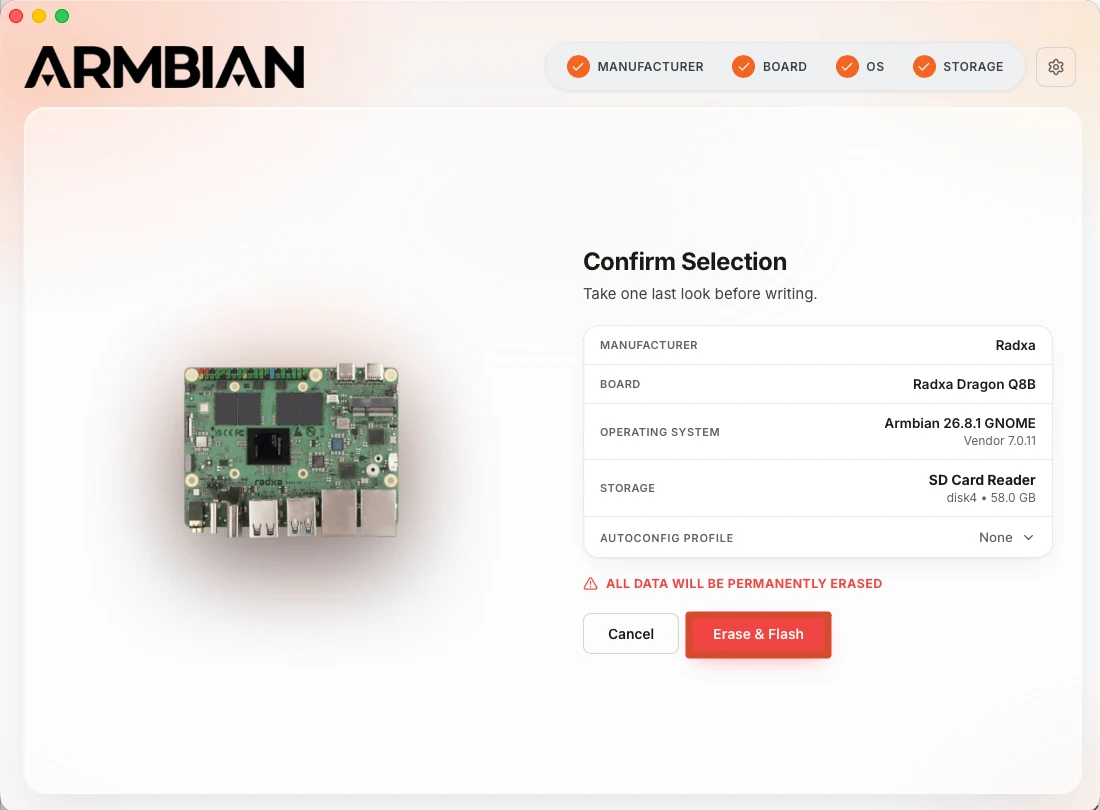
Start Flashing
After confirming the image and target device, click Erase & Flash. Armbian Imager downloads the image (skipped for a local image), decompresses it, erases the target device, writes the system image, and verifies the written data.
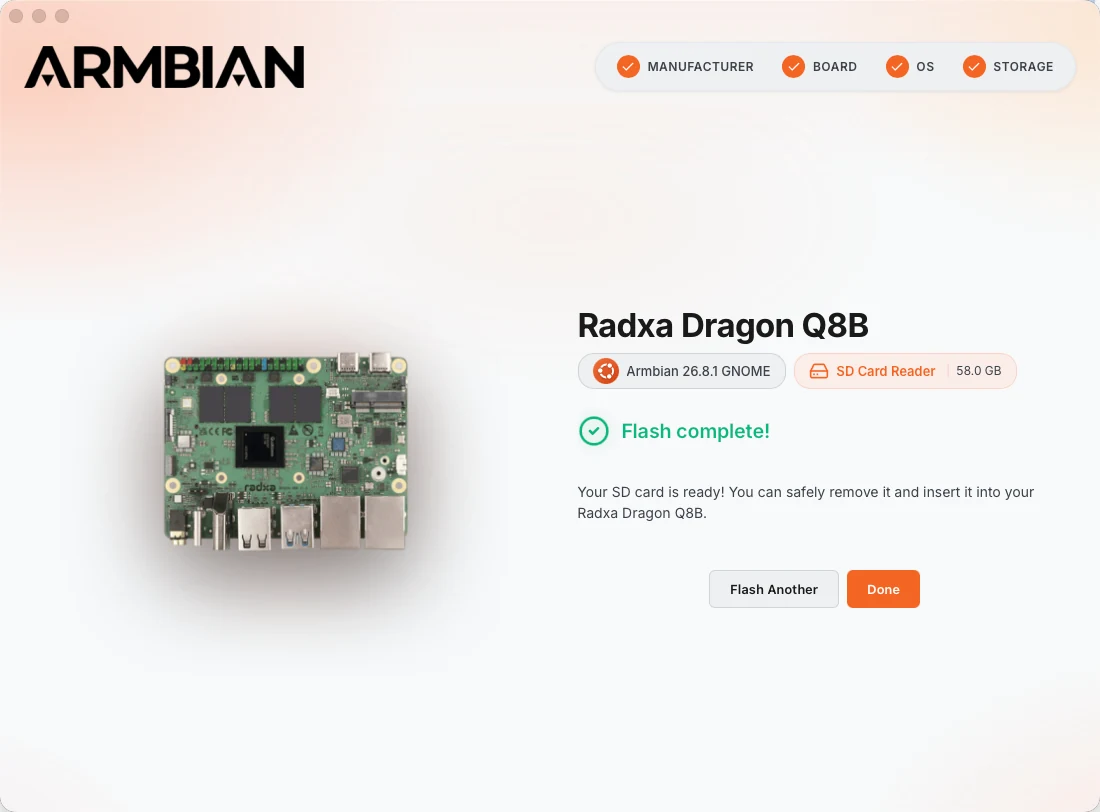
Complete Flashing
When Flash Complete! appears, the system image has been written and verified successfully.
Use the System
If you flashed the system image to a UFS module through EDL mode, power on the board after flashing and the system will start automatically.
If the system is installed on a microSD card or NVMe SSD, install the storage device in the corresponding slot on the board, and then connect the power adapter. The device will start automatically.
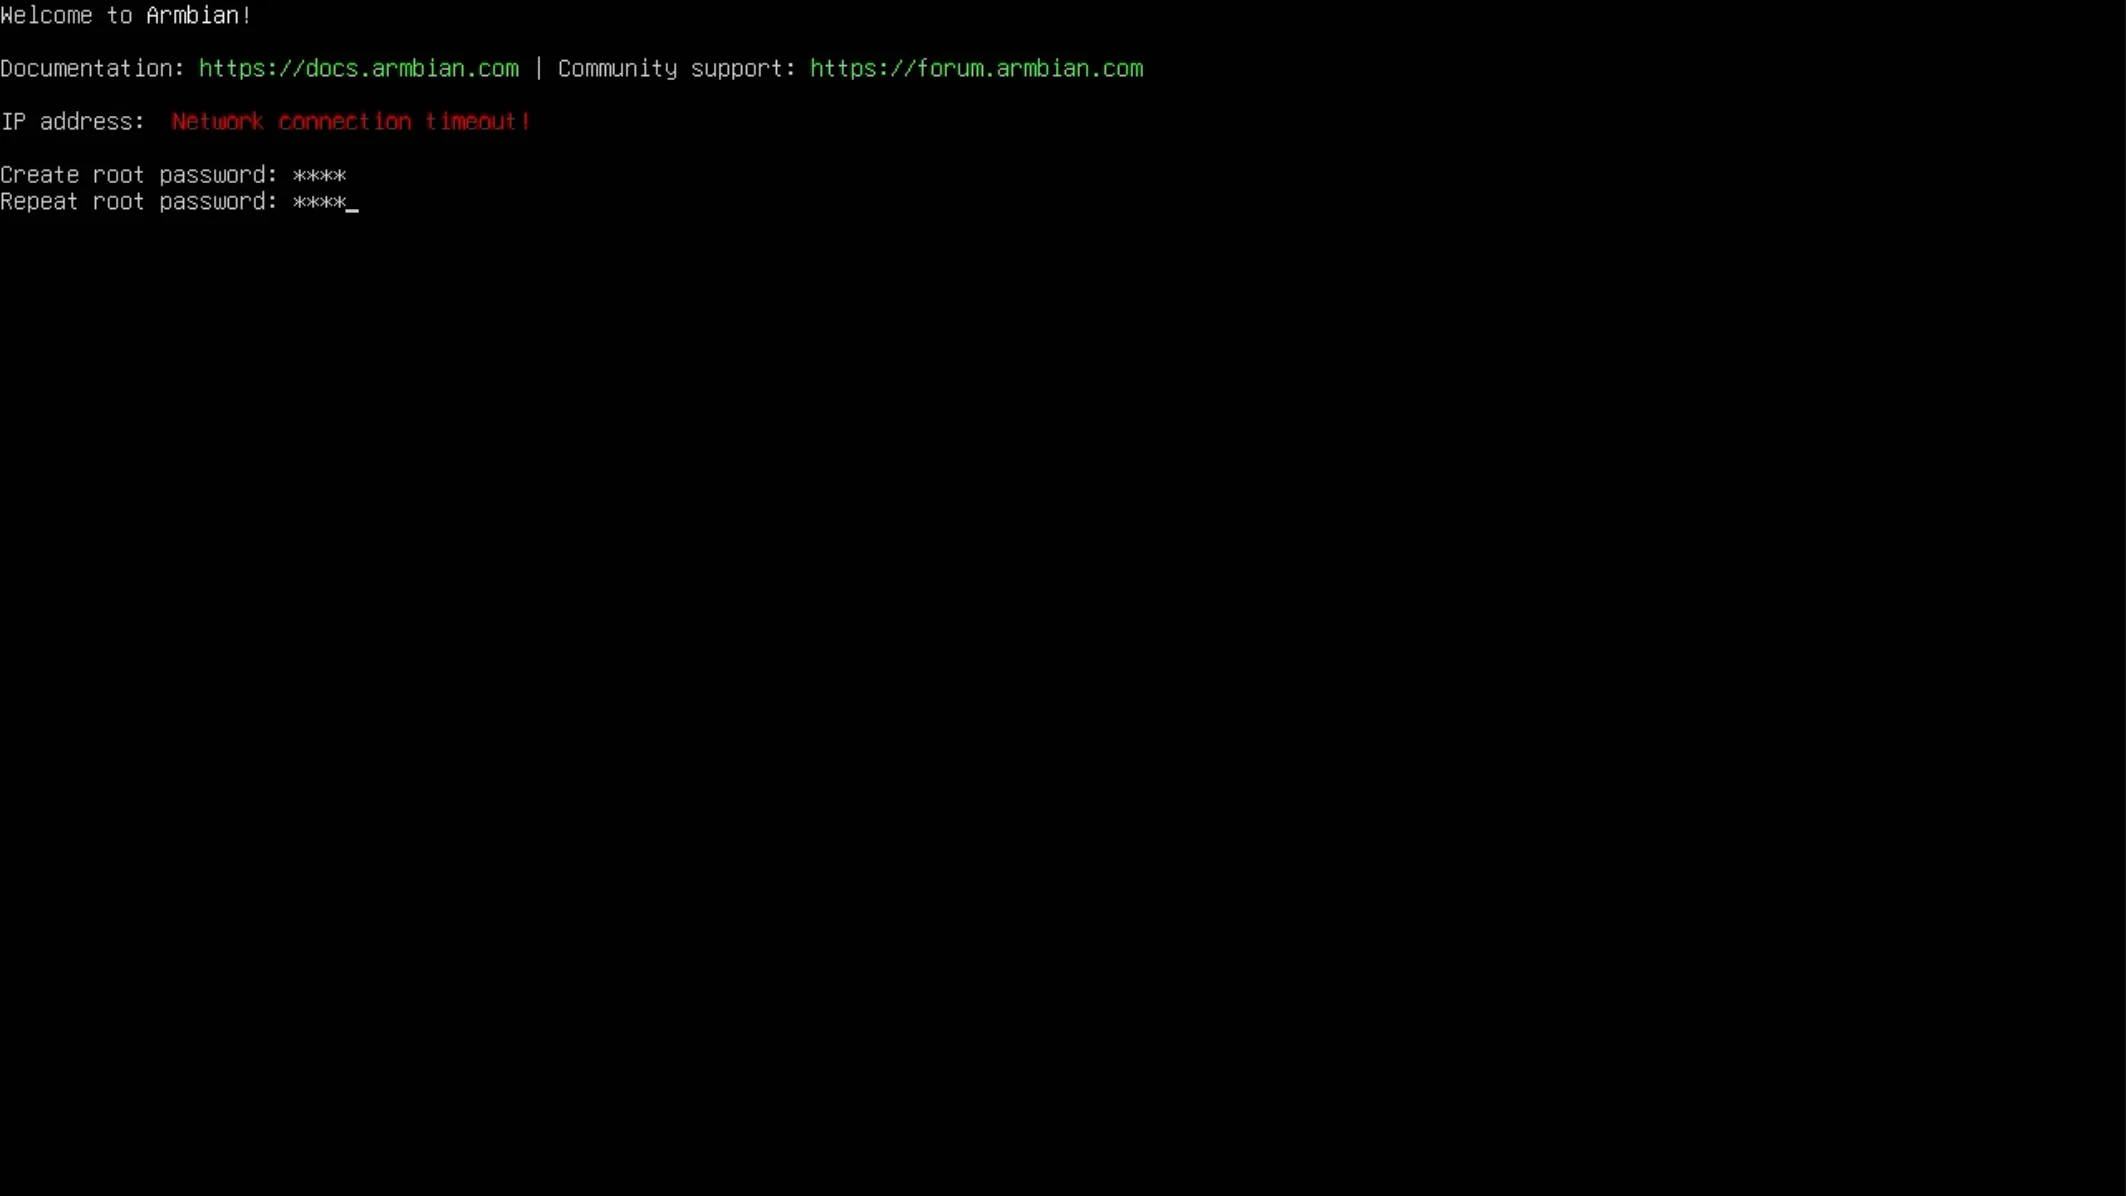
Set the Root Password
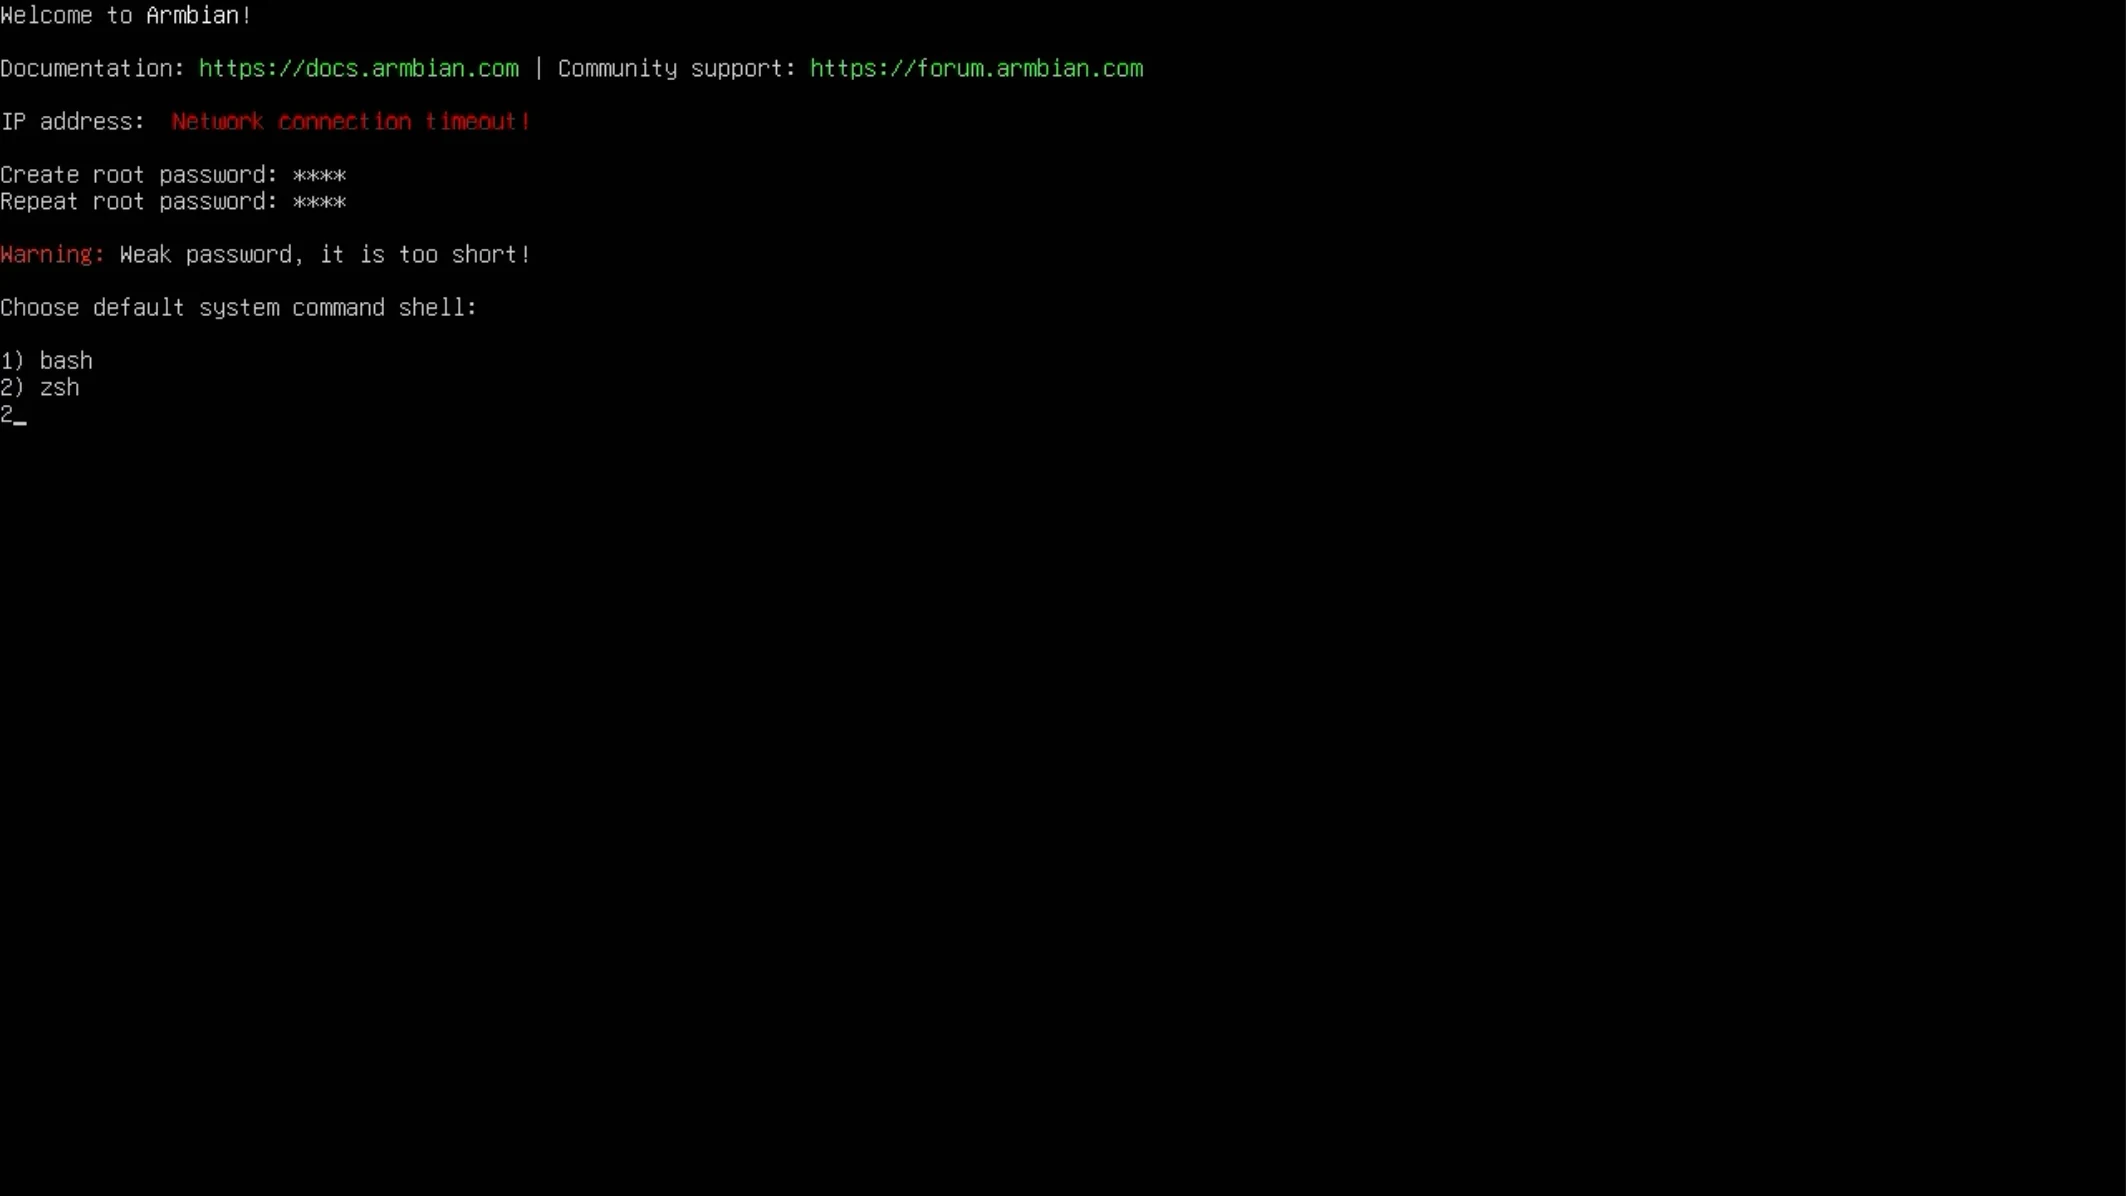
At first boot, follow the prompts to set a password for the root user.
Select the System Shell
Select the default command-line shell.
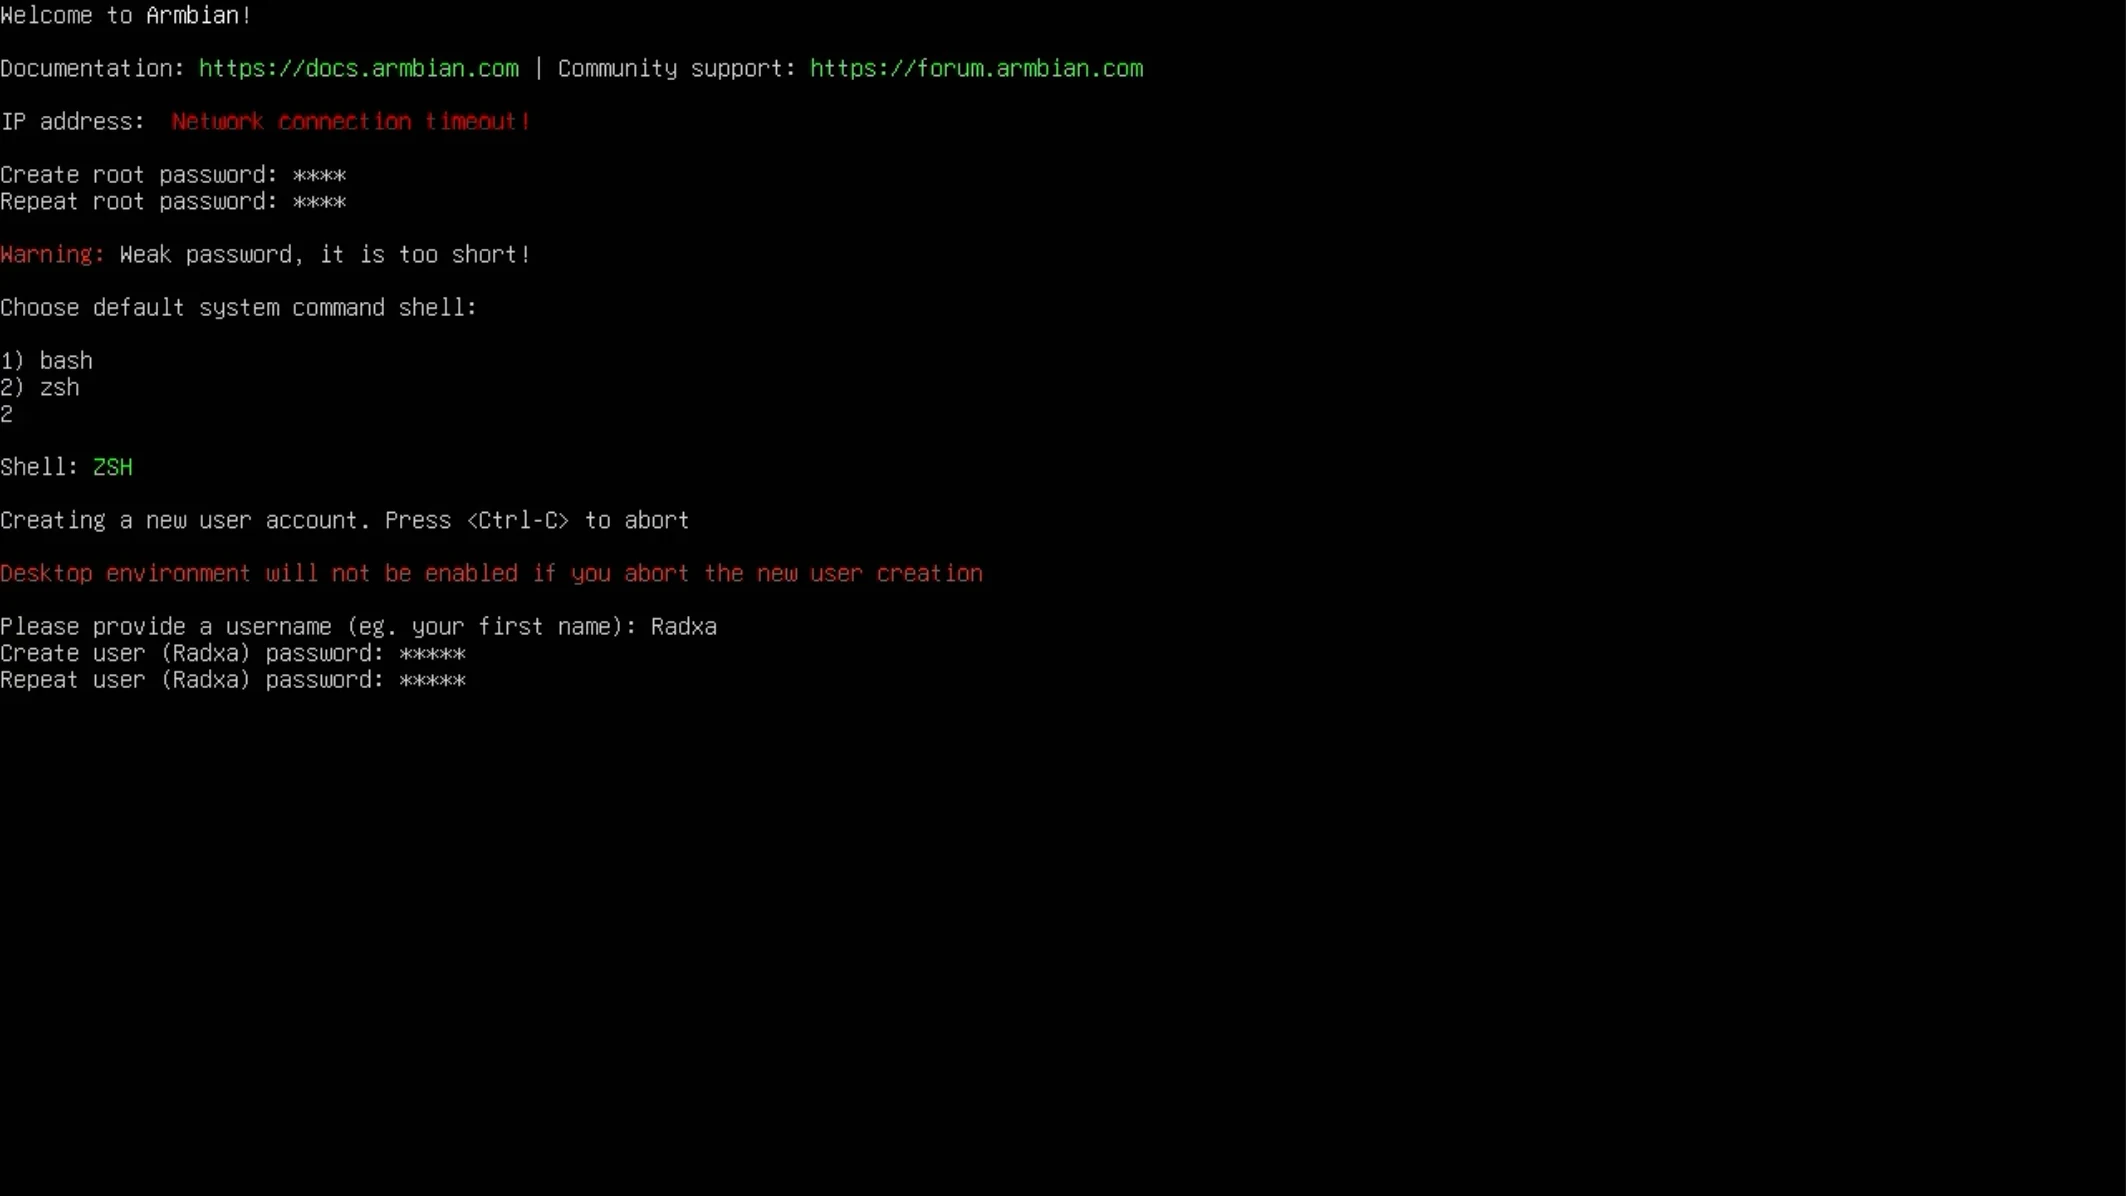
Set the Username and Password
Follow the prompts to create a regular user and set its password.
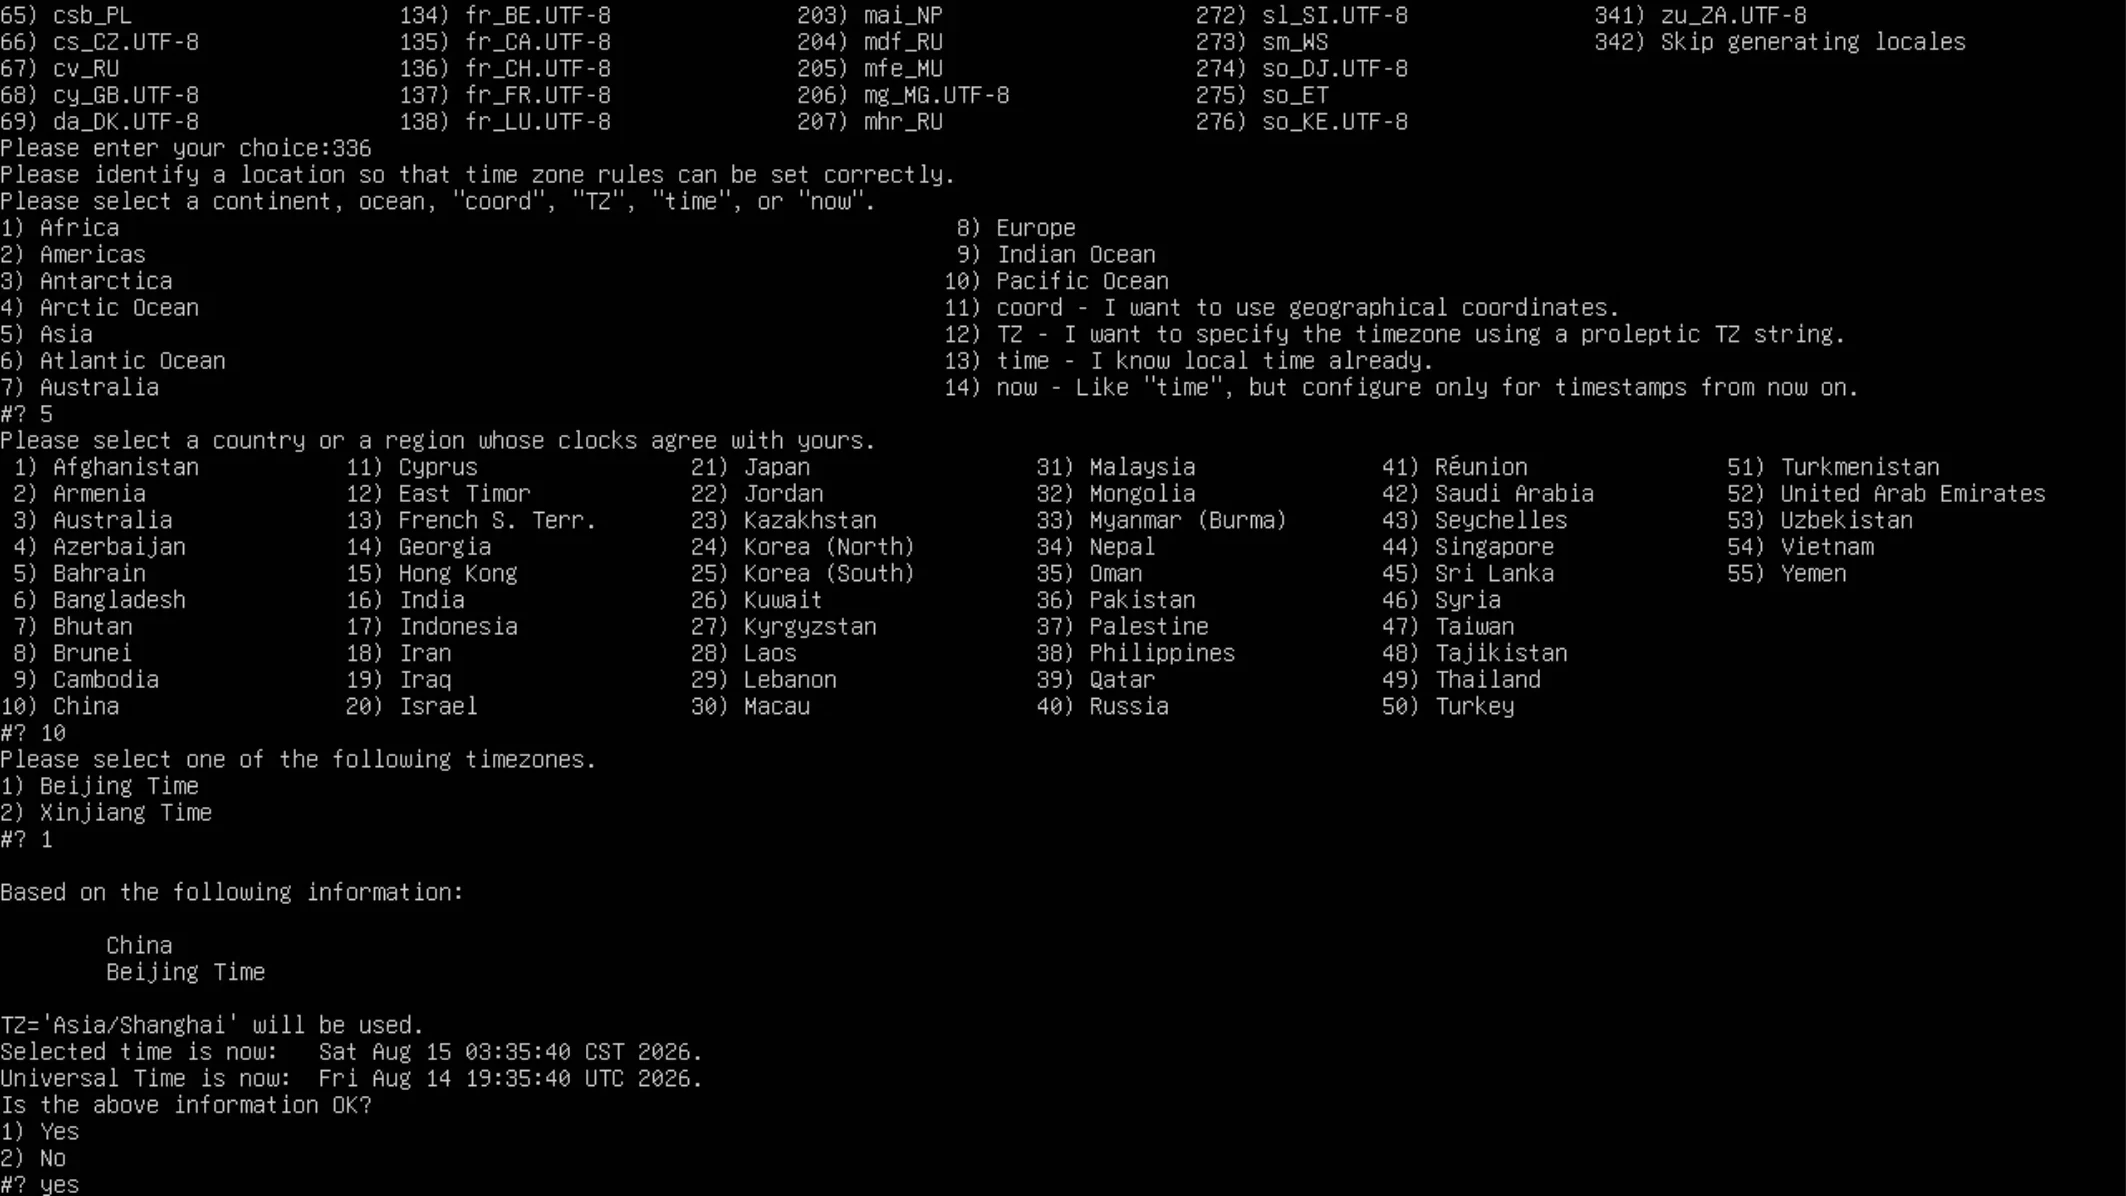
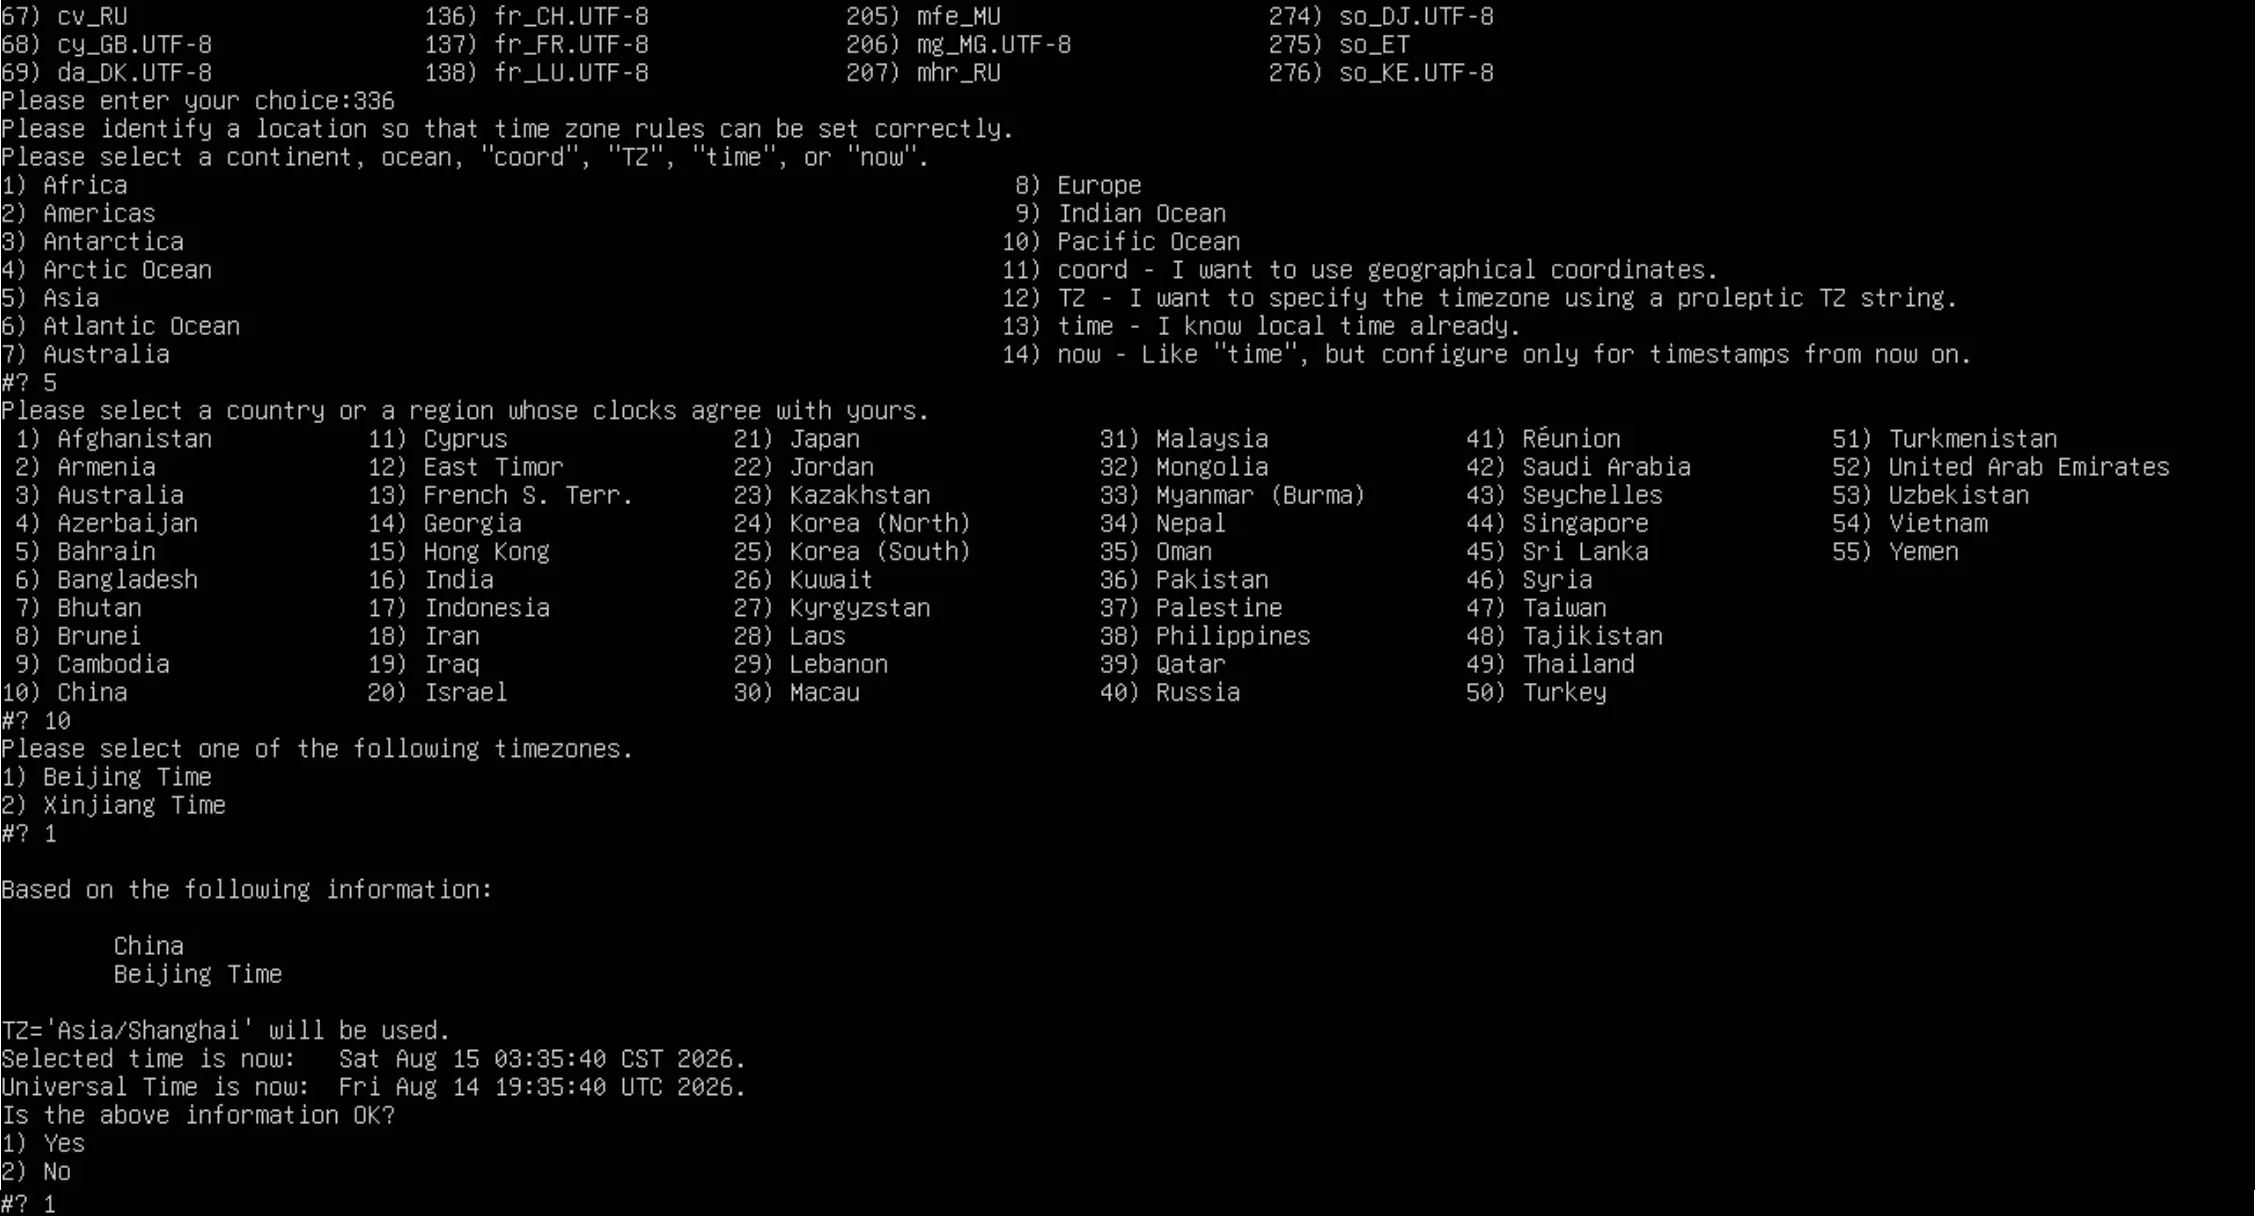
Set the Locale and Time Zone
Select the locale, country, and time zone for your region, and then confirm the settings.
System Desktop
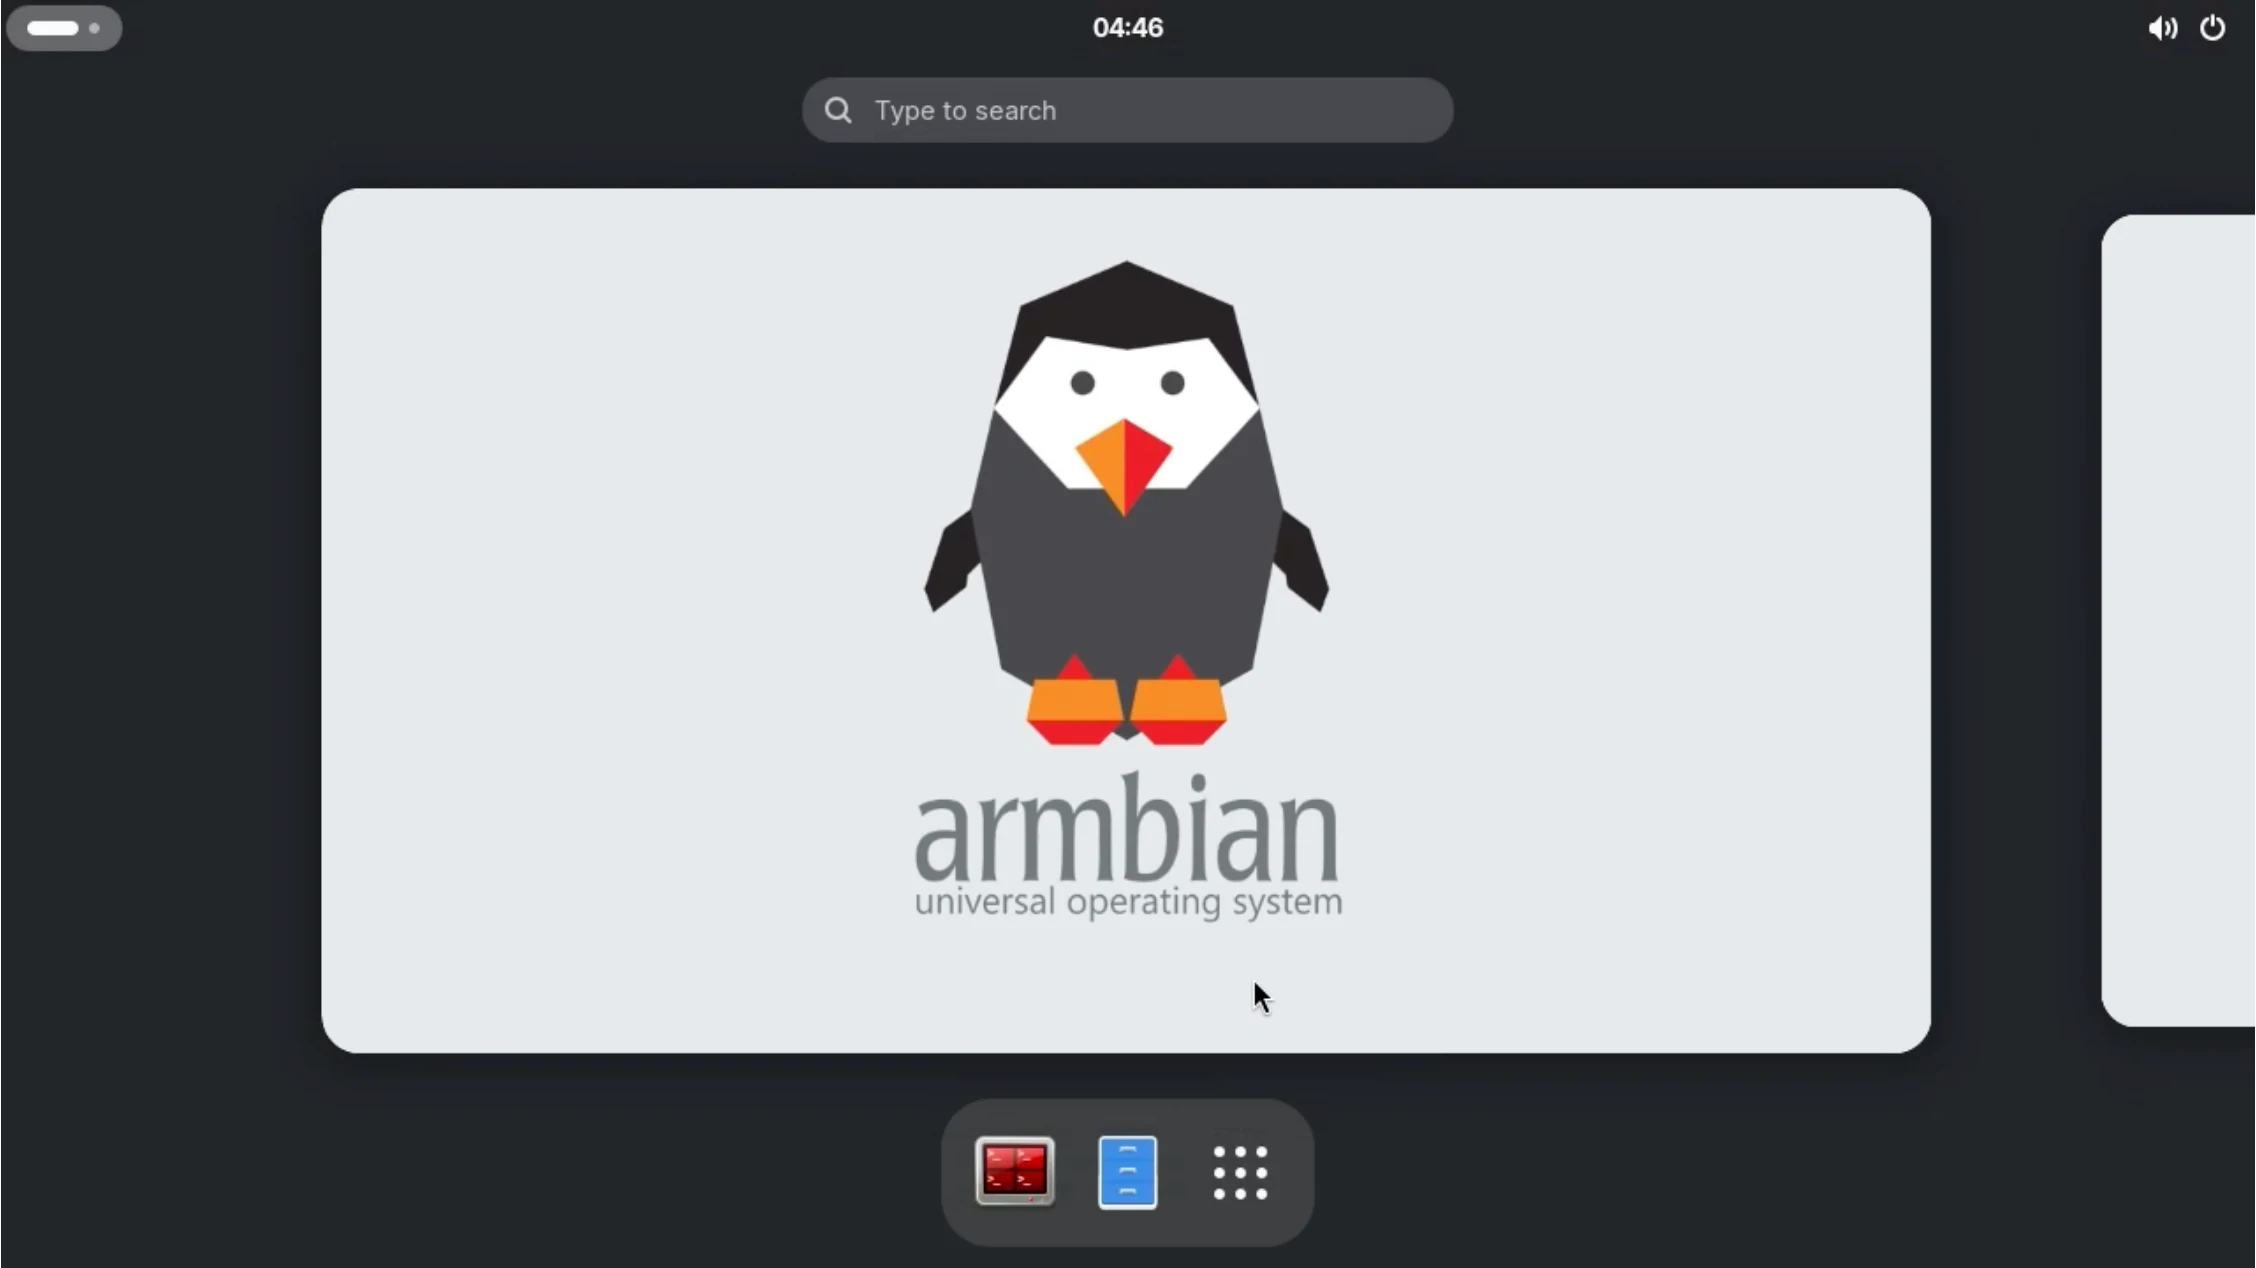
After completing the initial setup, the Armbian desktop appears.