Install Debian 14
This guide explains how to create a bootable USB drive and install Debian 14 to a microSD card on the Radxa Dragon Q8B, from BIOS setup through the installer and the first boot into the desktop.
The installation process erases all data on the selected target storage device. Back up any important files in advance, and double-check the target disk.
Download the System Image
Download the ARM64 build of Debian 14 from the official Debian website.
Burn the Bootable USB Drive
Use balenaEtcher to write the downloaded system image to a USB drive. For installation and usage instructions, see Etcher Usage.
Modify BIOS Settings
Install the bootable USB drive and the microSD card on the board, then connect the power adapter.
Enter the UEFI Setup Main Screen
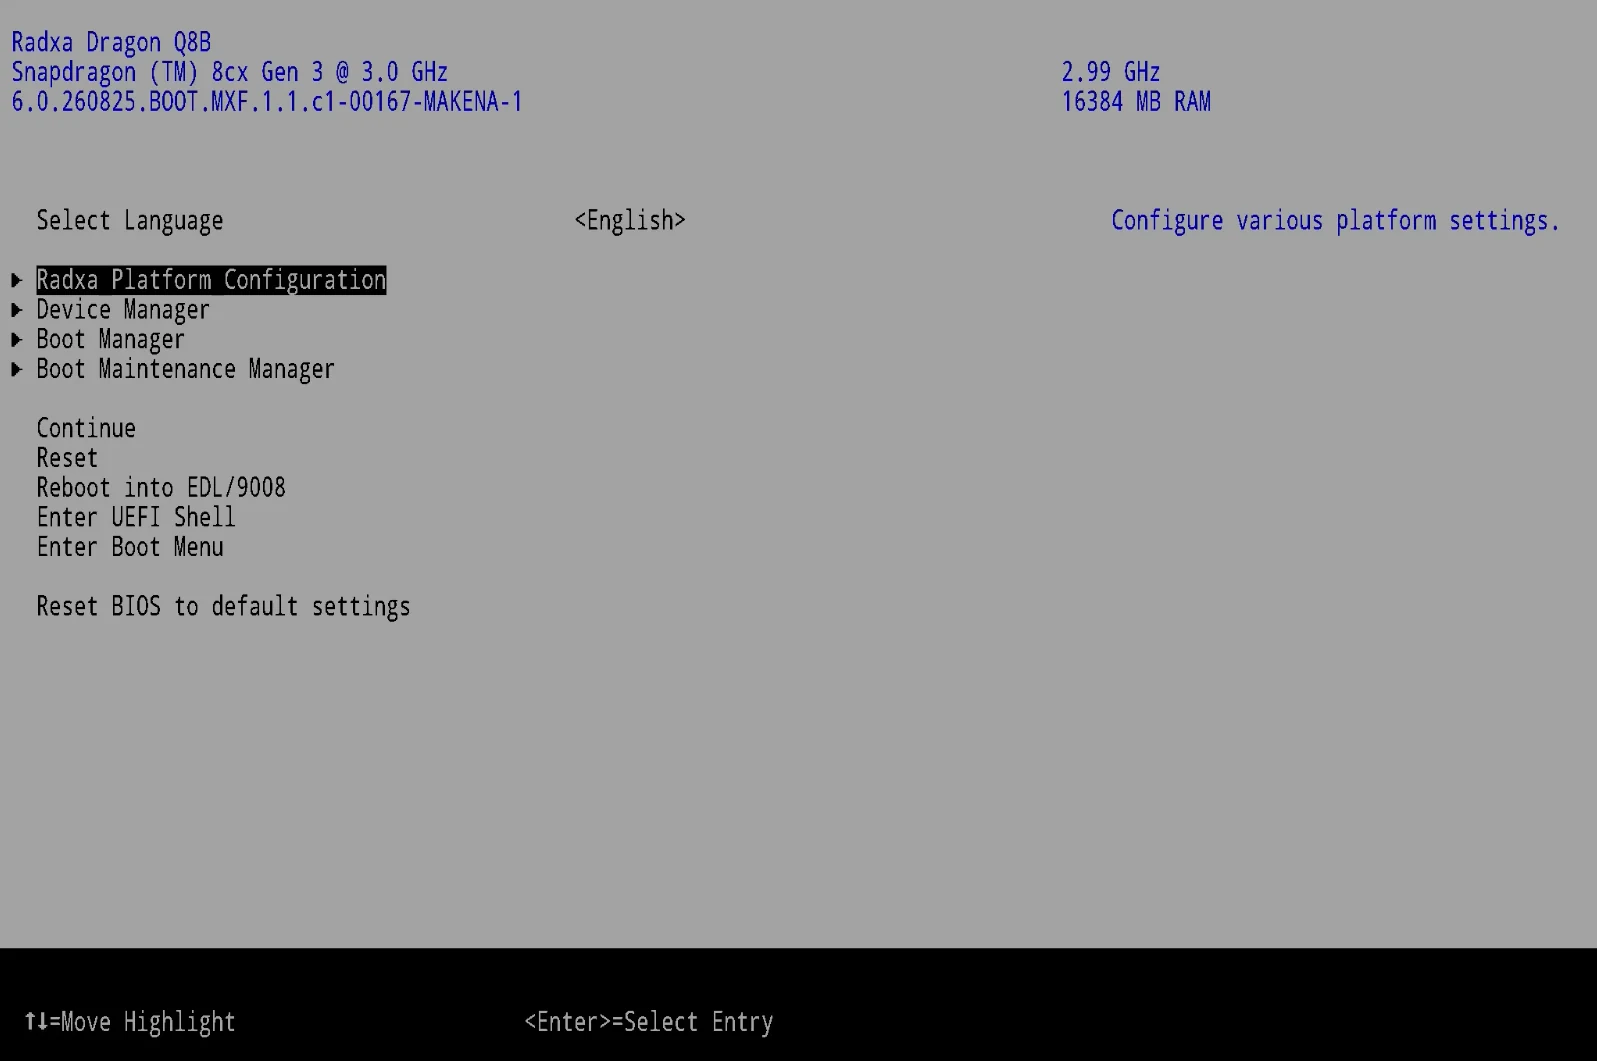
Power on and press F2 to enter the UEFI setup, and confirm that the firmware version, SoC, and memory are detected correctly. With the cursor on Radxa Platform Configuration, press Enter to continue.
Enter Radxa Platform Configuration
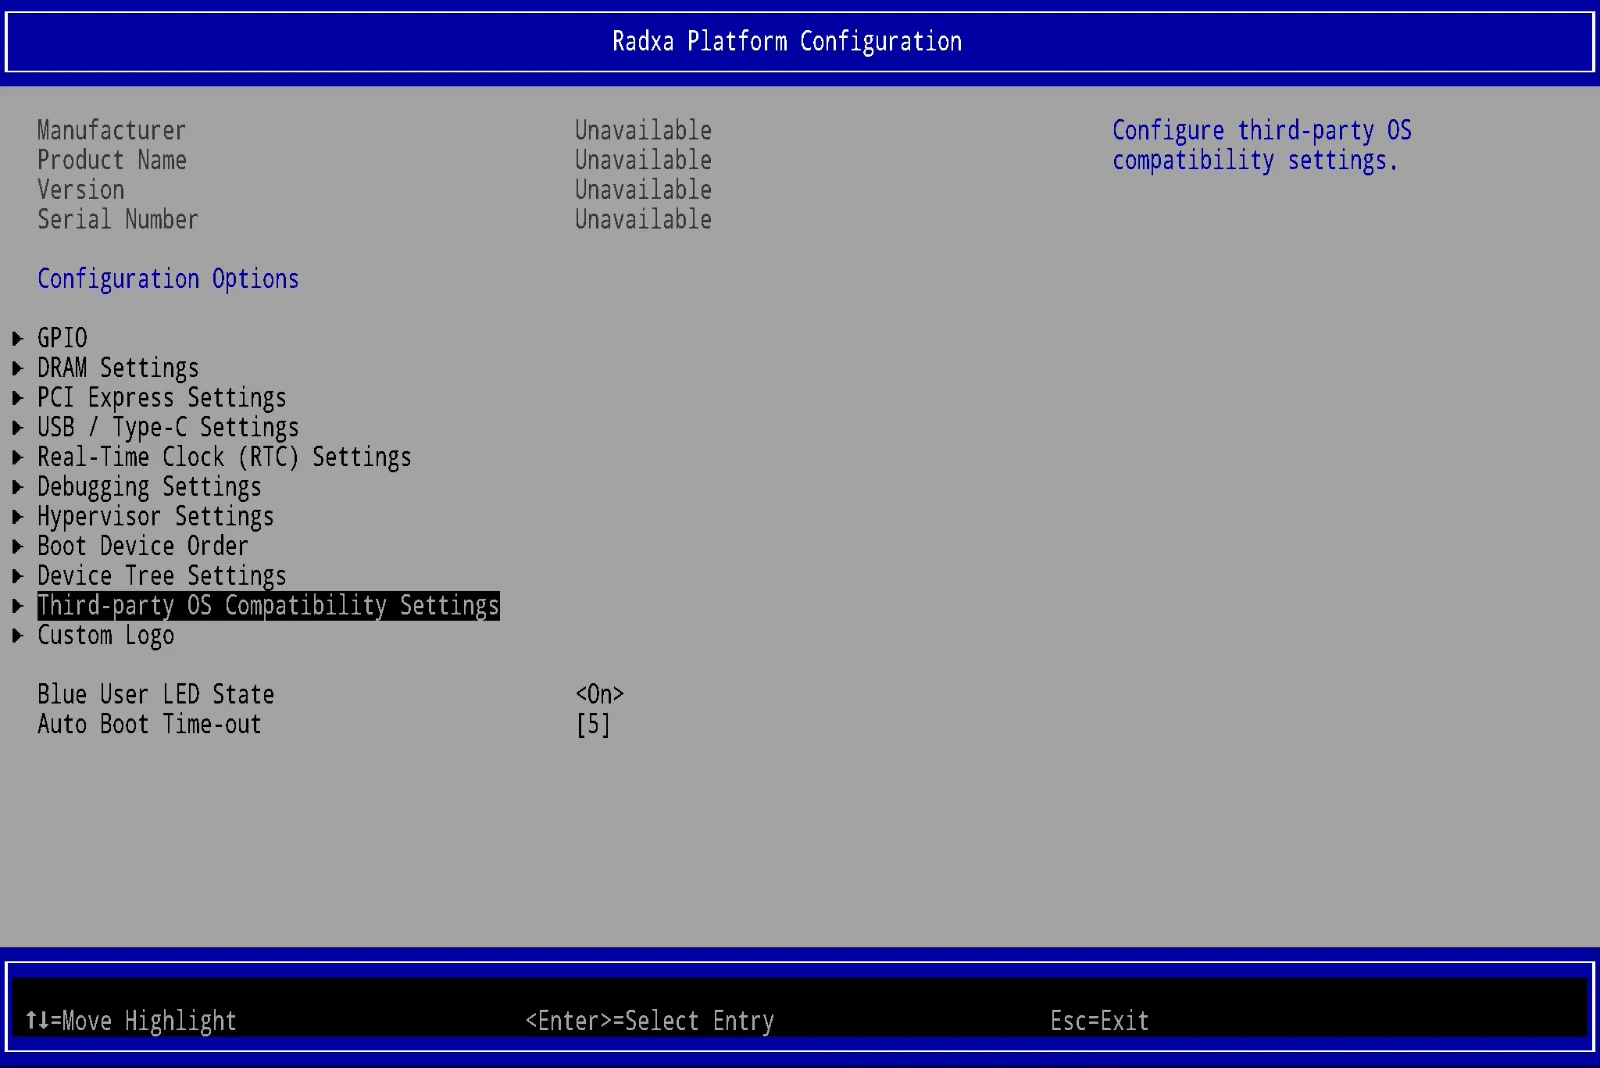
In the Configuration Options list, select Third-party OS Compatibility Settings and press Enter.
Set All Third-Party OS Compatibility Options to Enabled
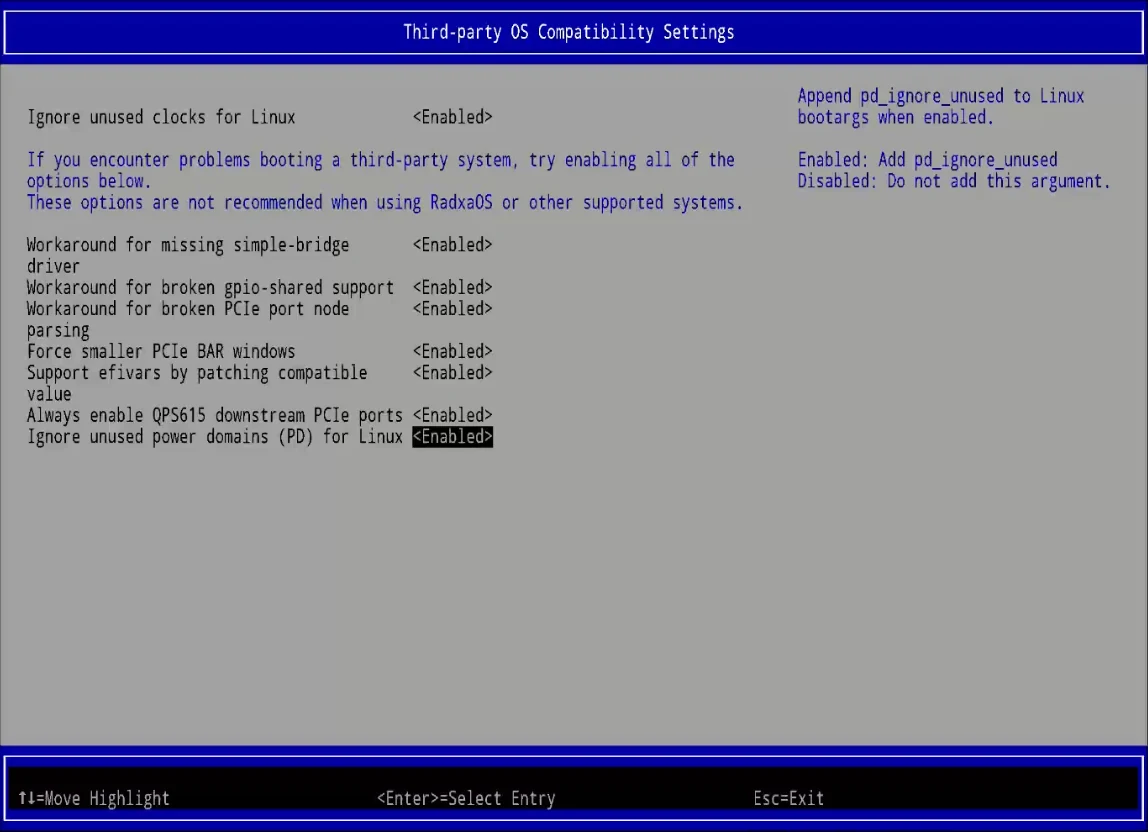
Keep every compatibility switch (simple-bridge / gpio-shared / PCIe port node parsing / PCIe BAR windows / efivars / QPS615 / PD, and so on) set to <Enabled>, and do not turn them off before the third-party system is installed. Press Esc to exit and save.
Install Debian
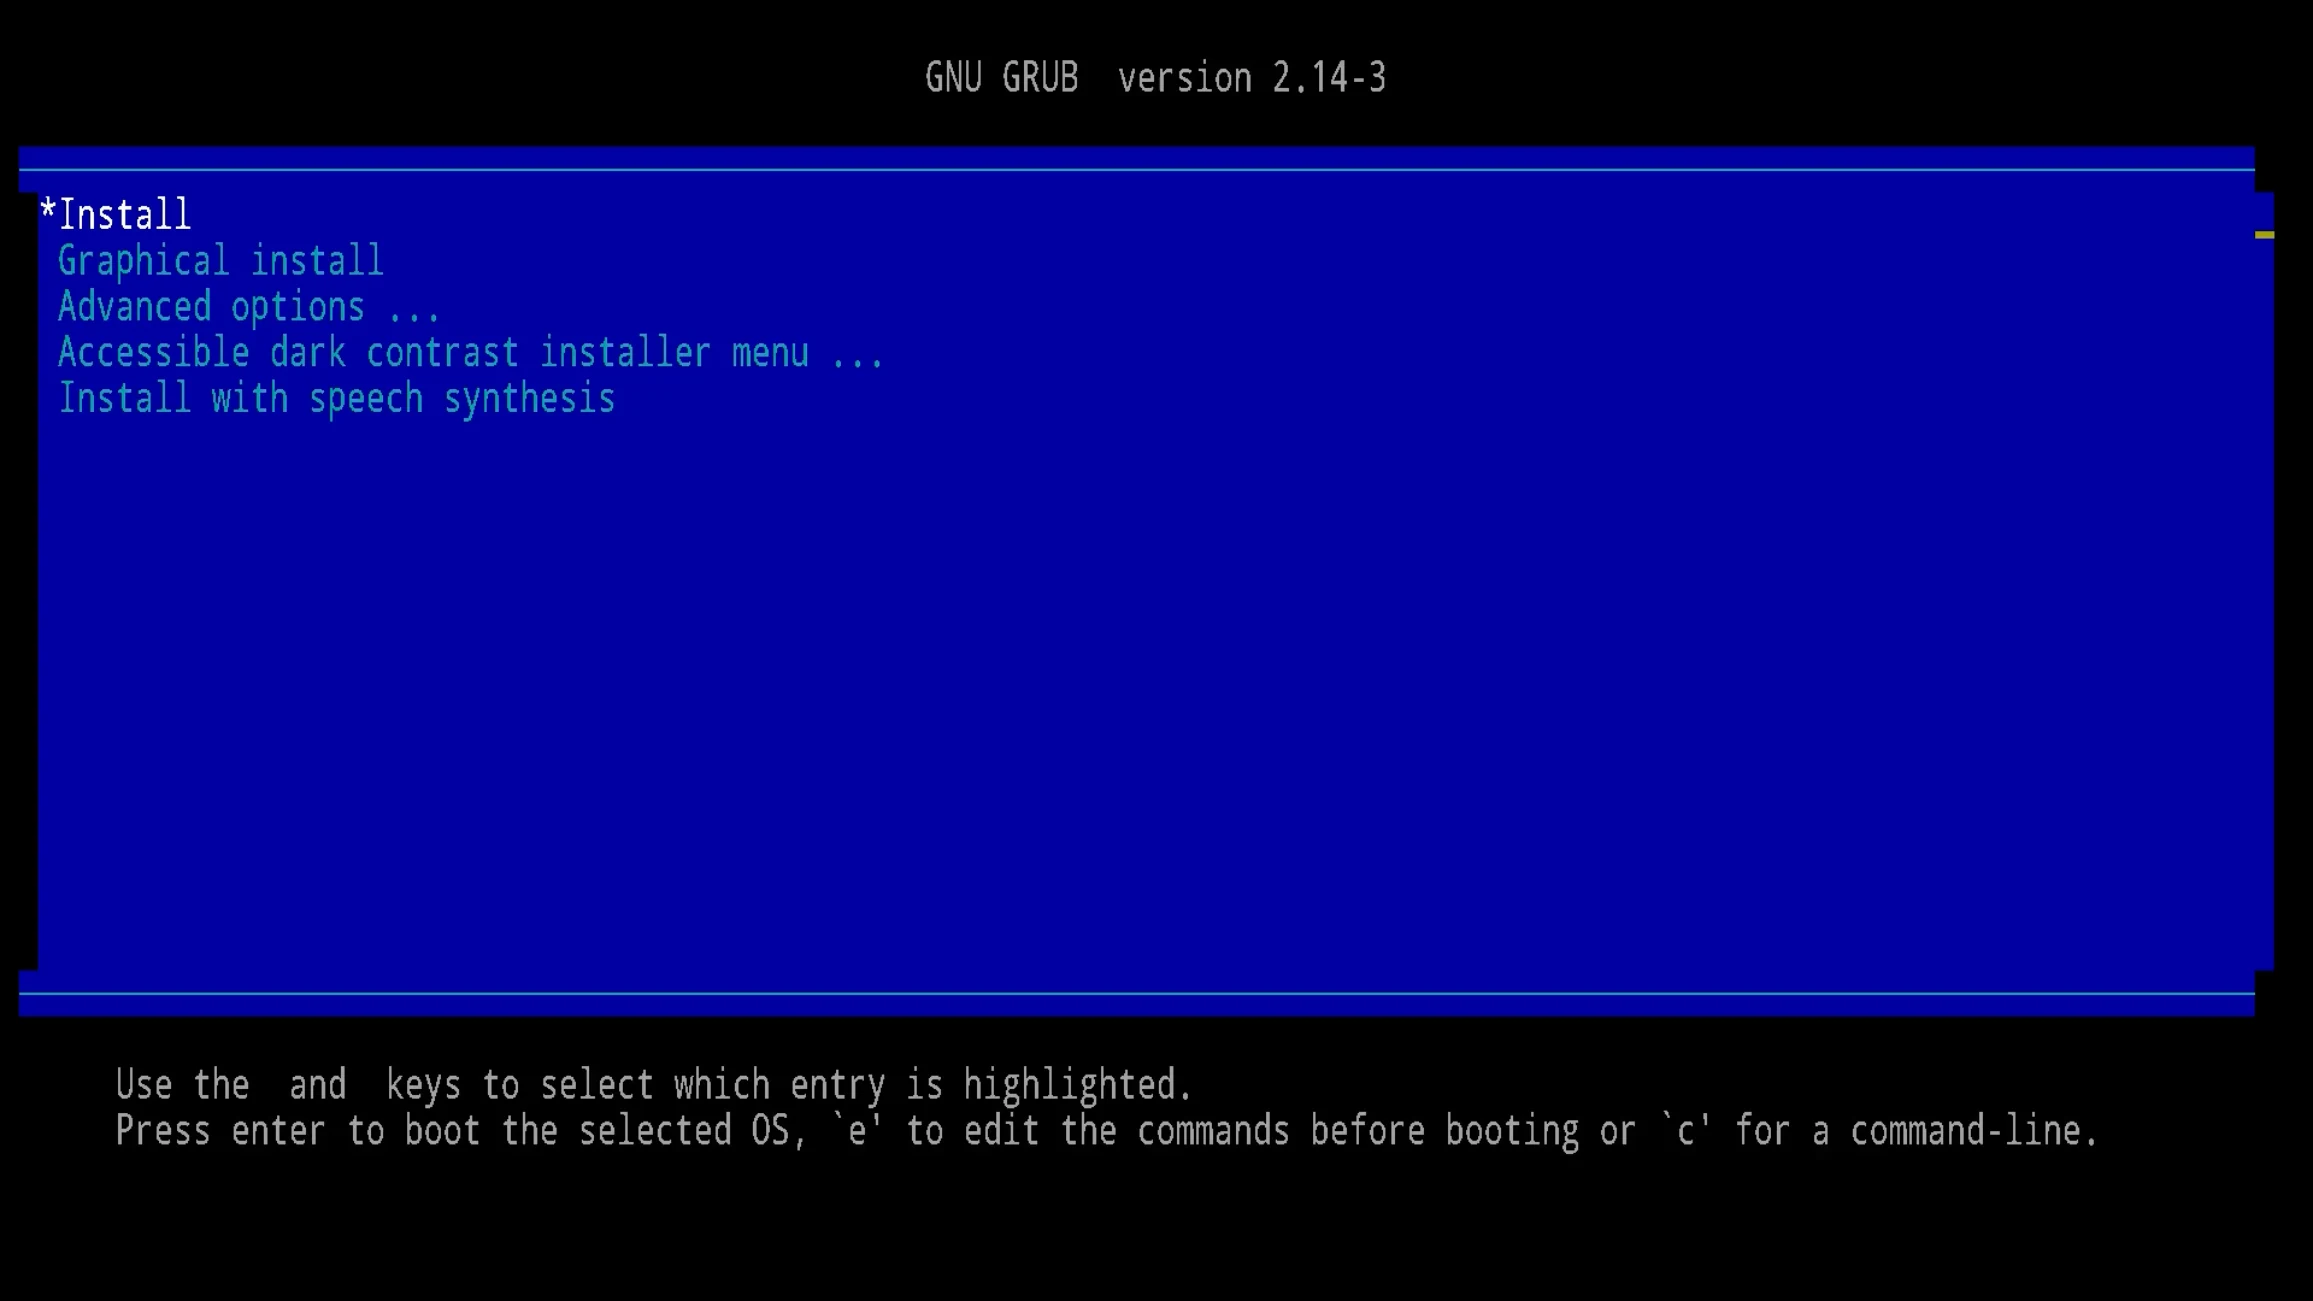
Text Mode: Install
After booting from the USB drive, the GRUB menu appears with Install highlighted by default; press Enter to start the text-mode installer.
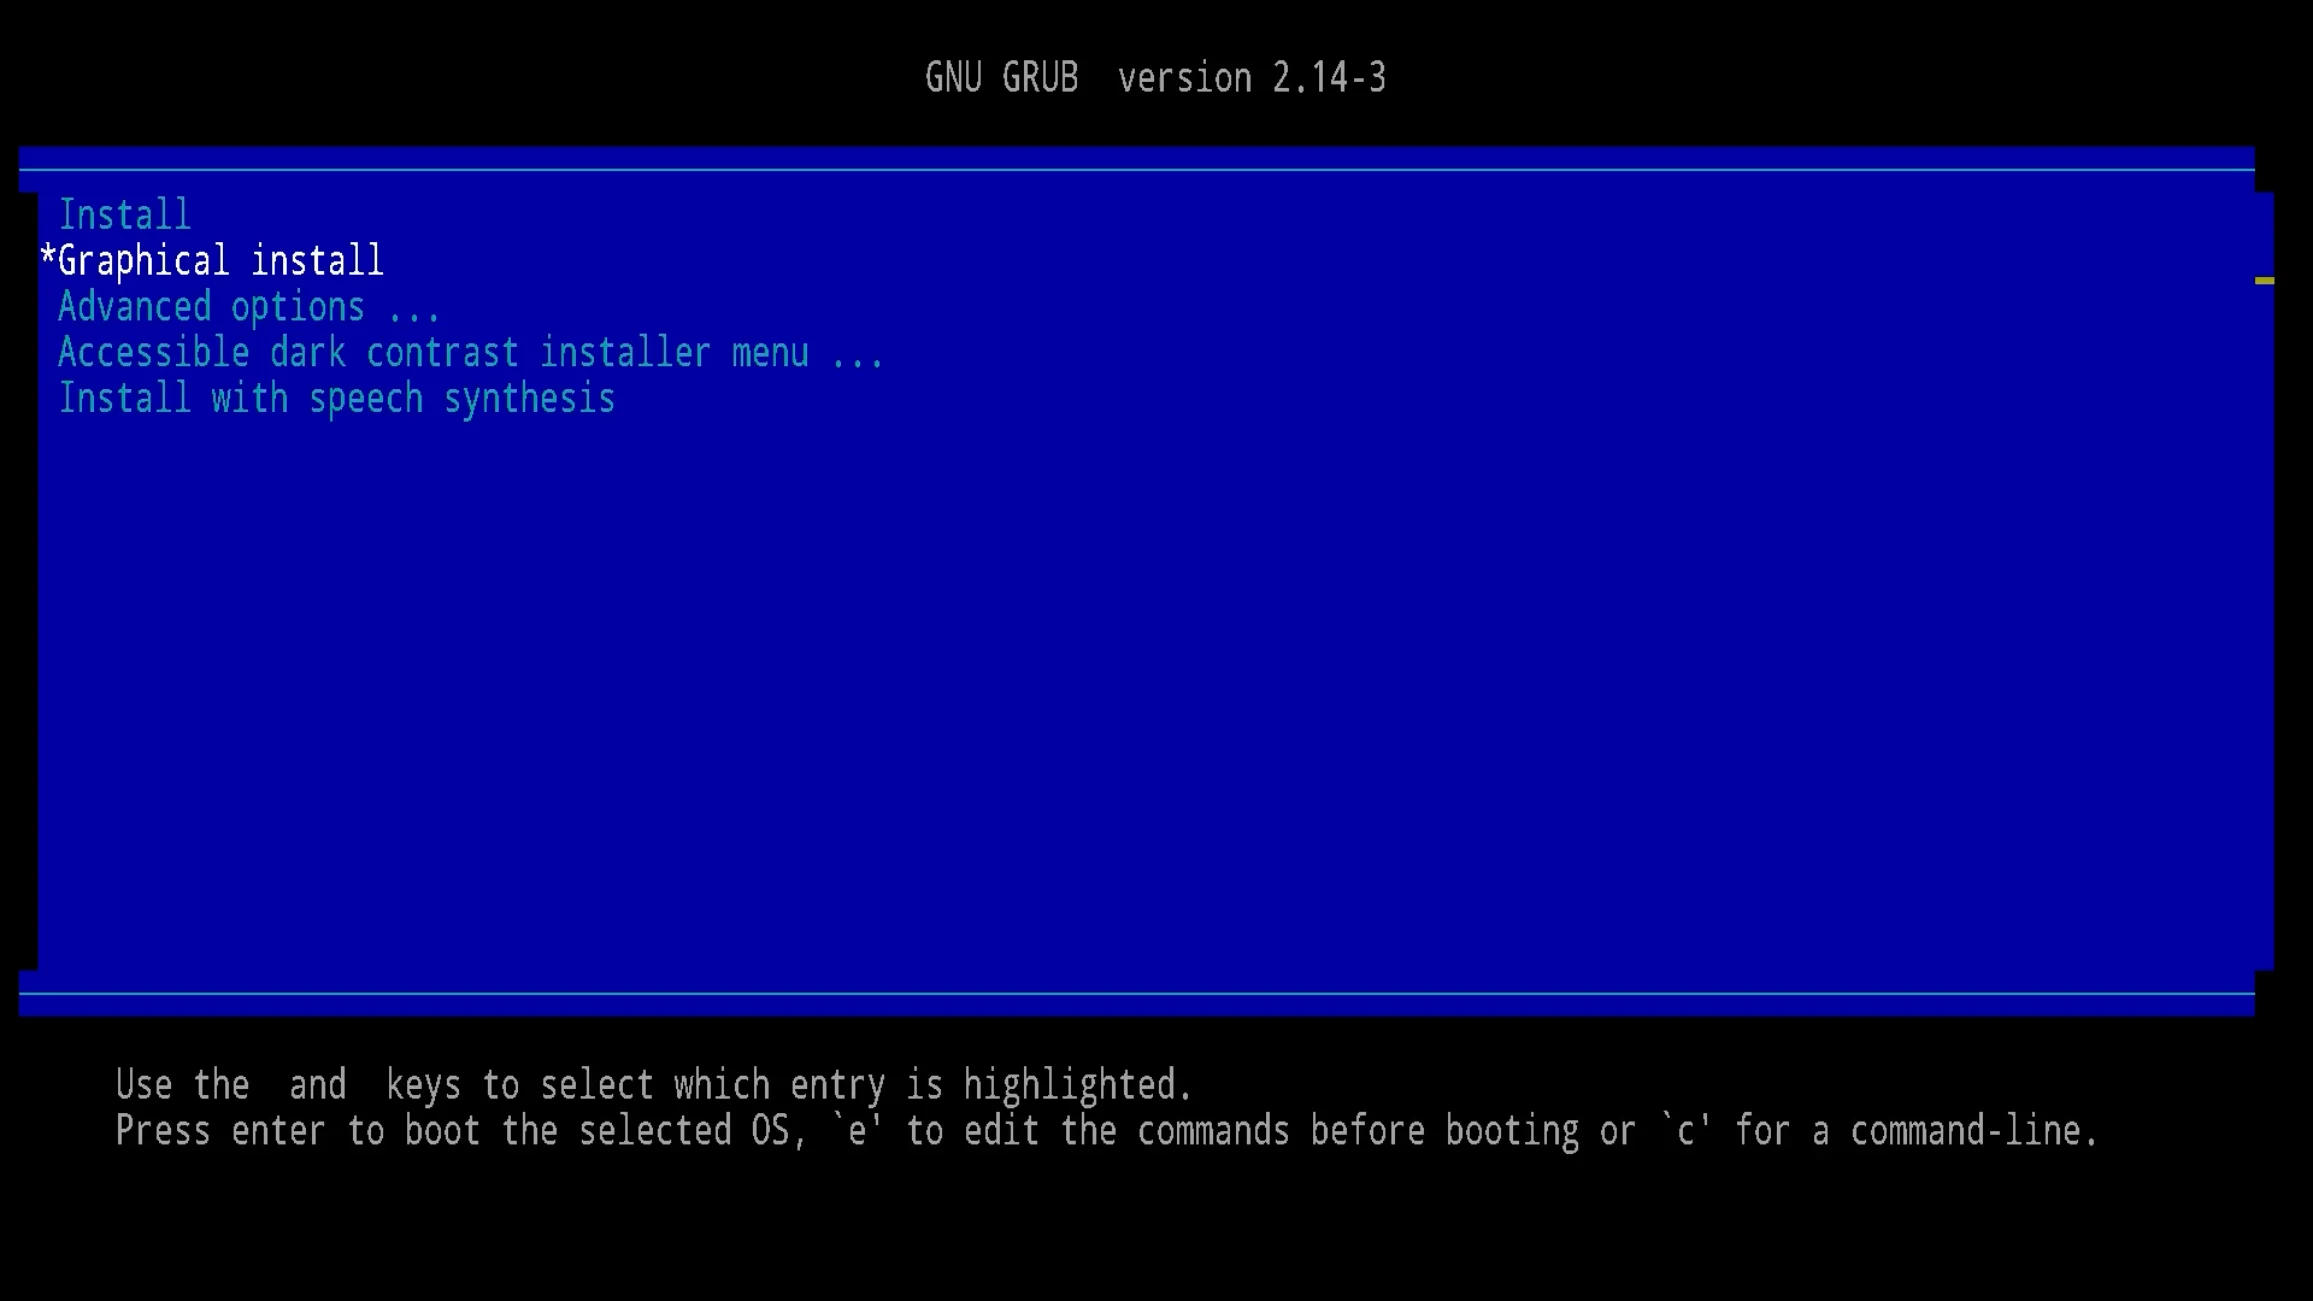
Graphical Mode: Graphical install
You can also use ↑↓ to select Graphical install and press Enter for a graphical installer. The steps below use the graphical installer; both modes follow the same flow.
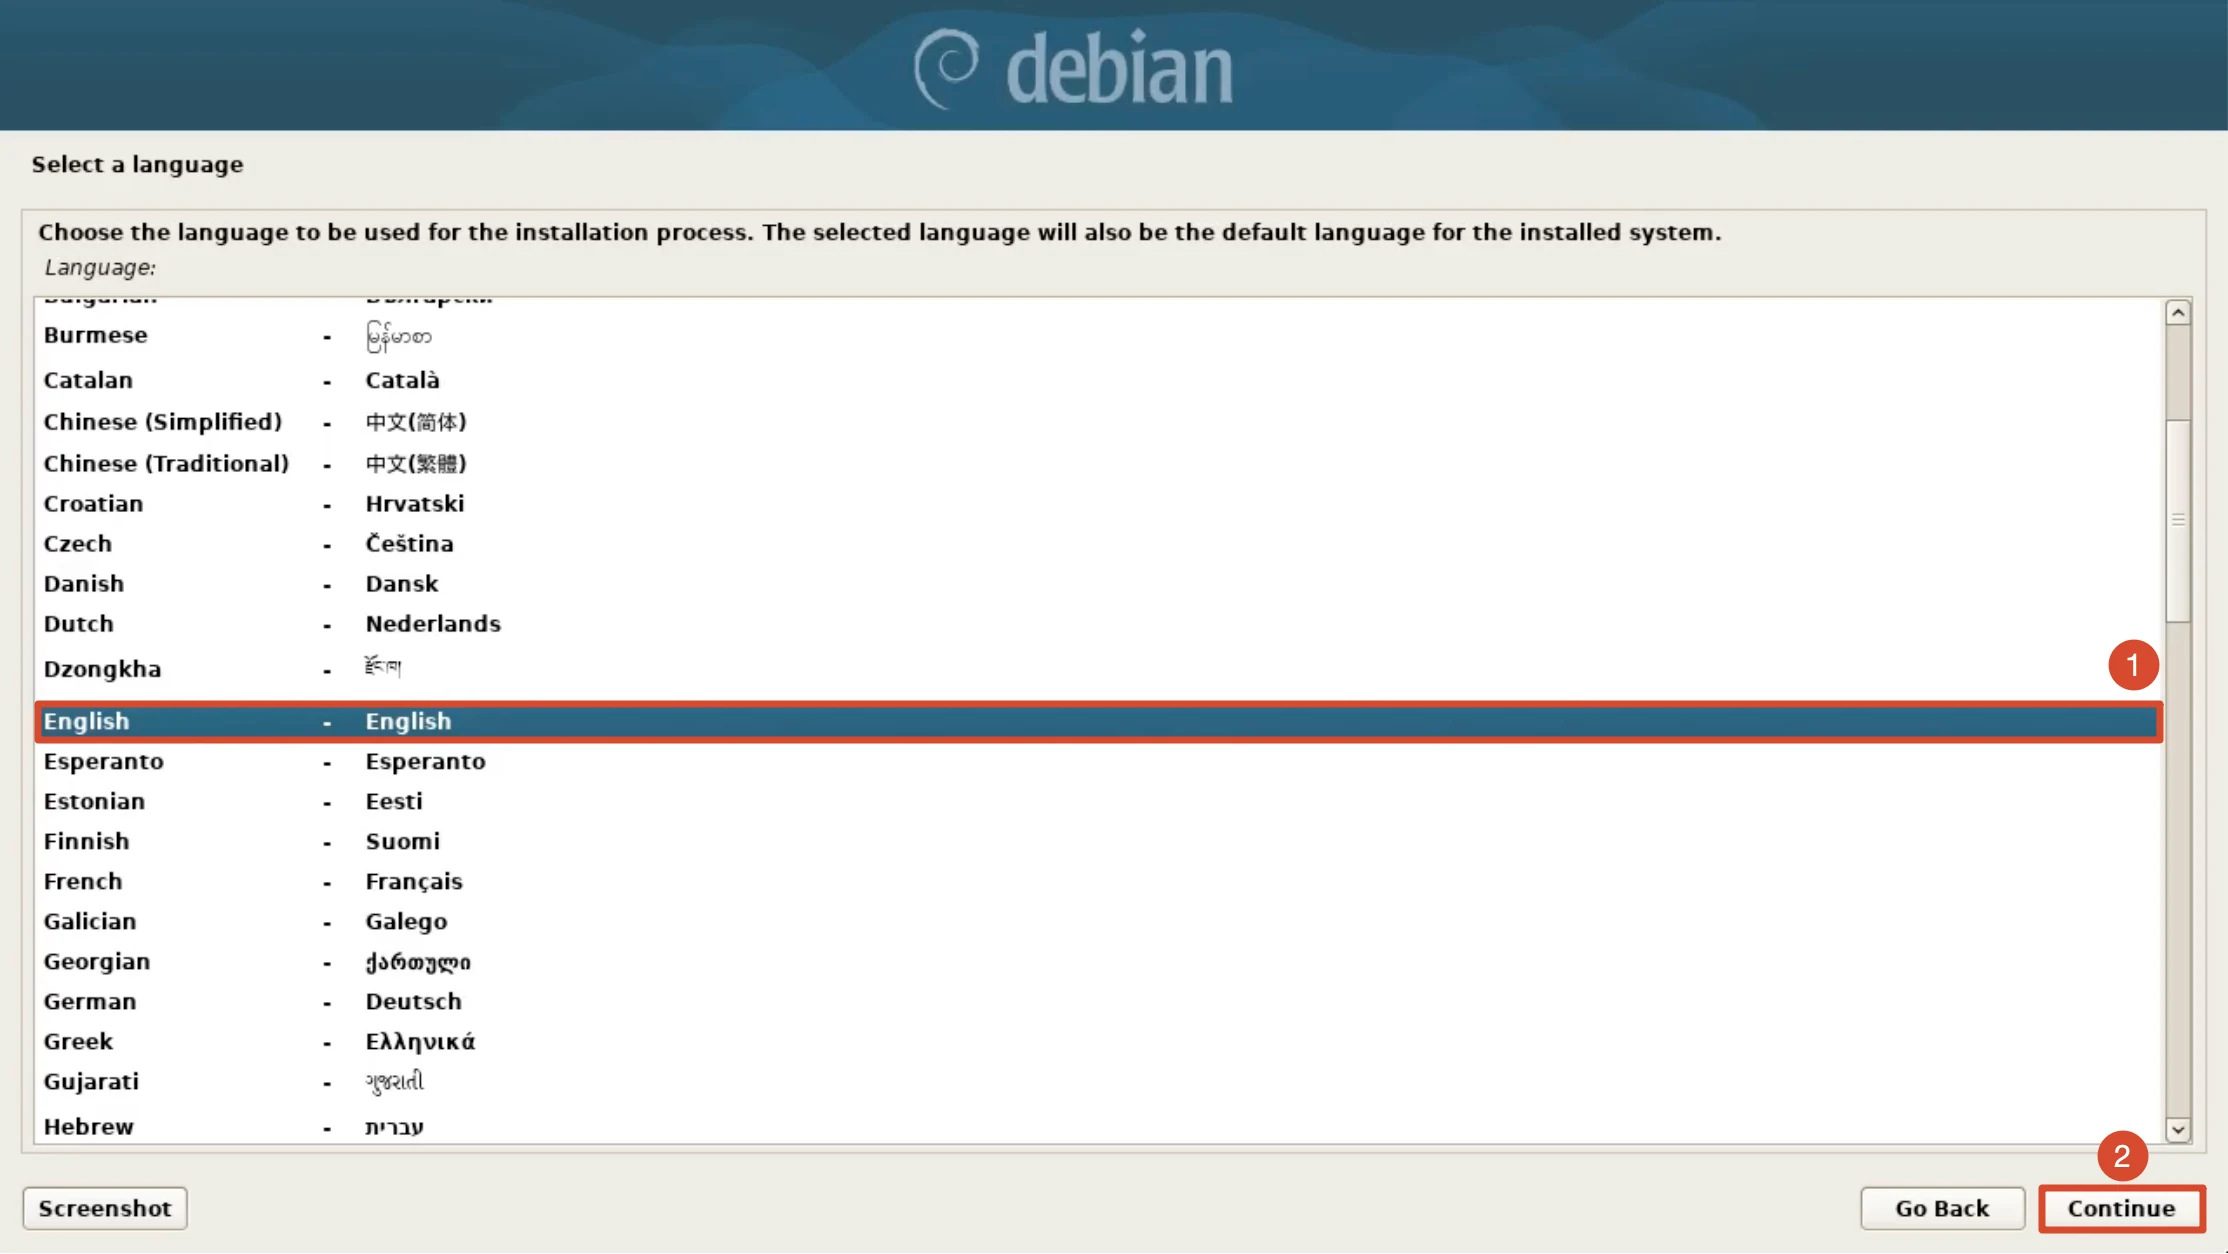
Select the Installation Language
In the Select a language list, select English and click Continue. The language you choose also becomes the default language of the installed system.
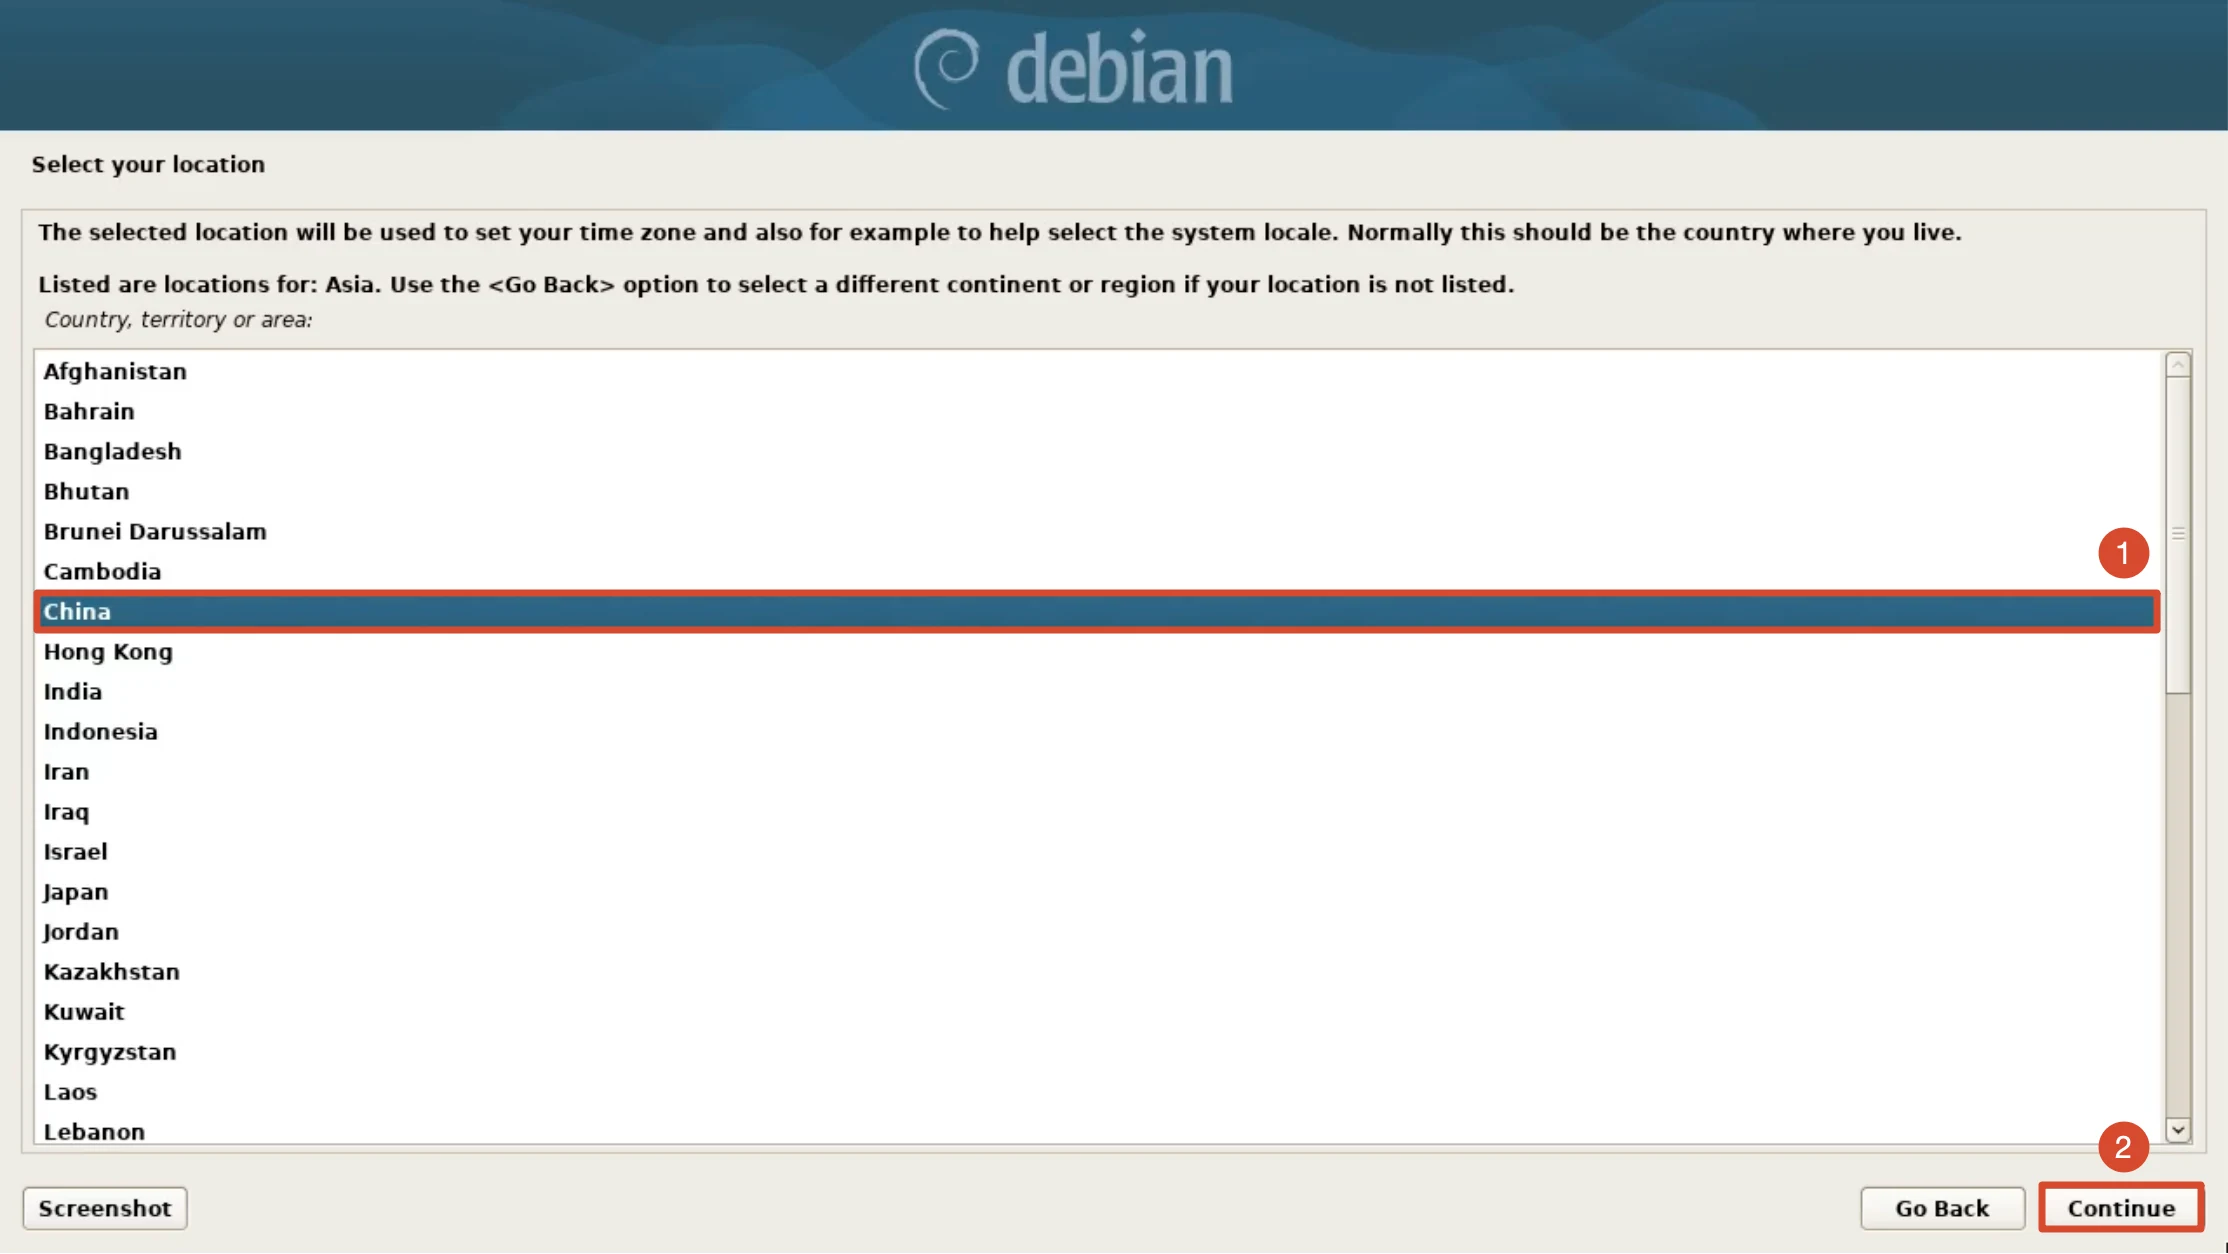
Select Your Location
In the Asia list, select China and click Continue. This setting determines the time zone and system locale.
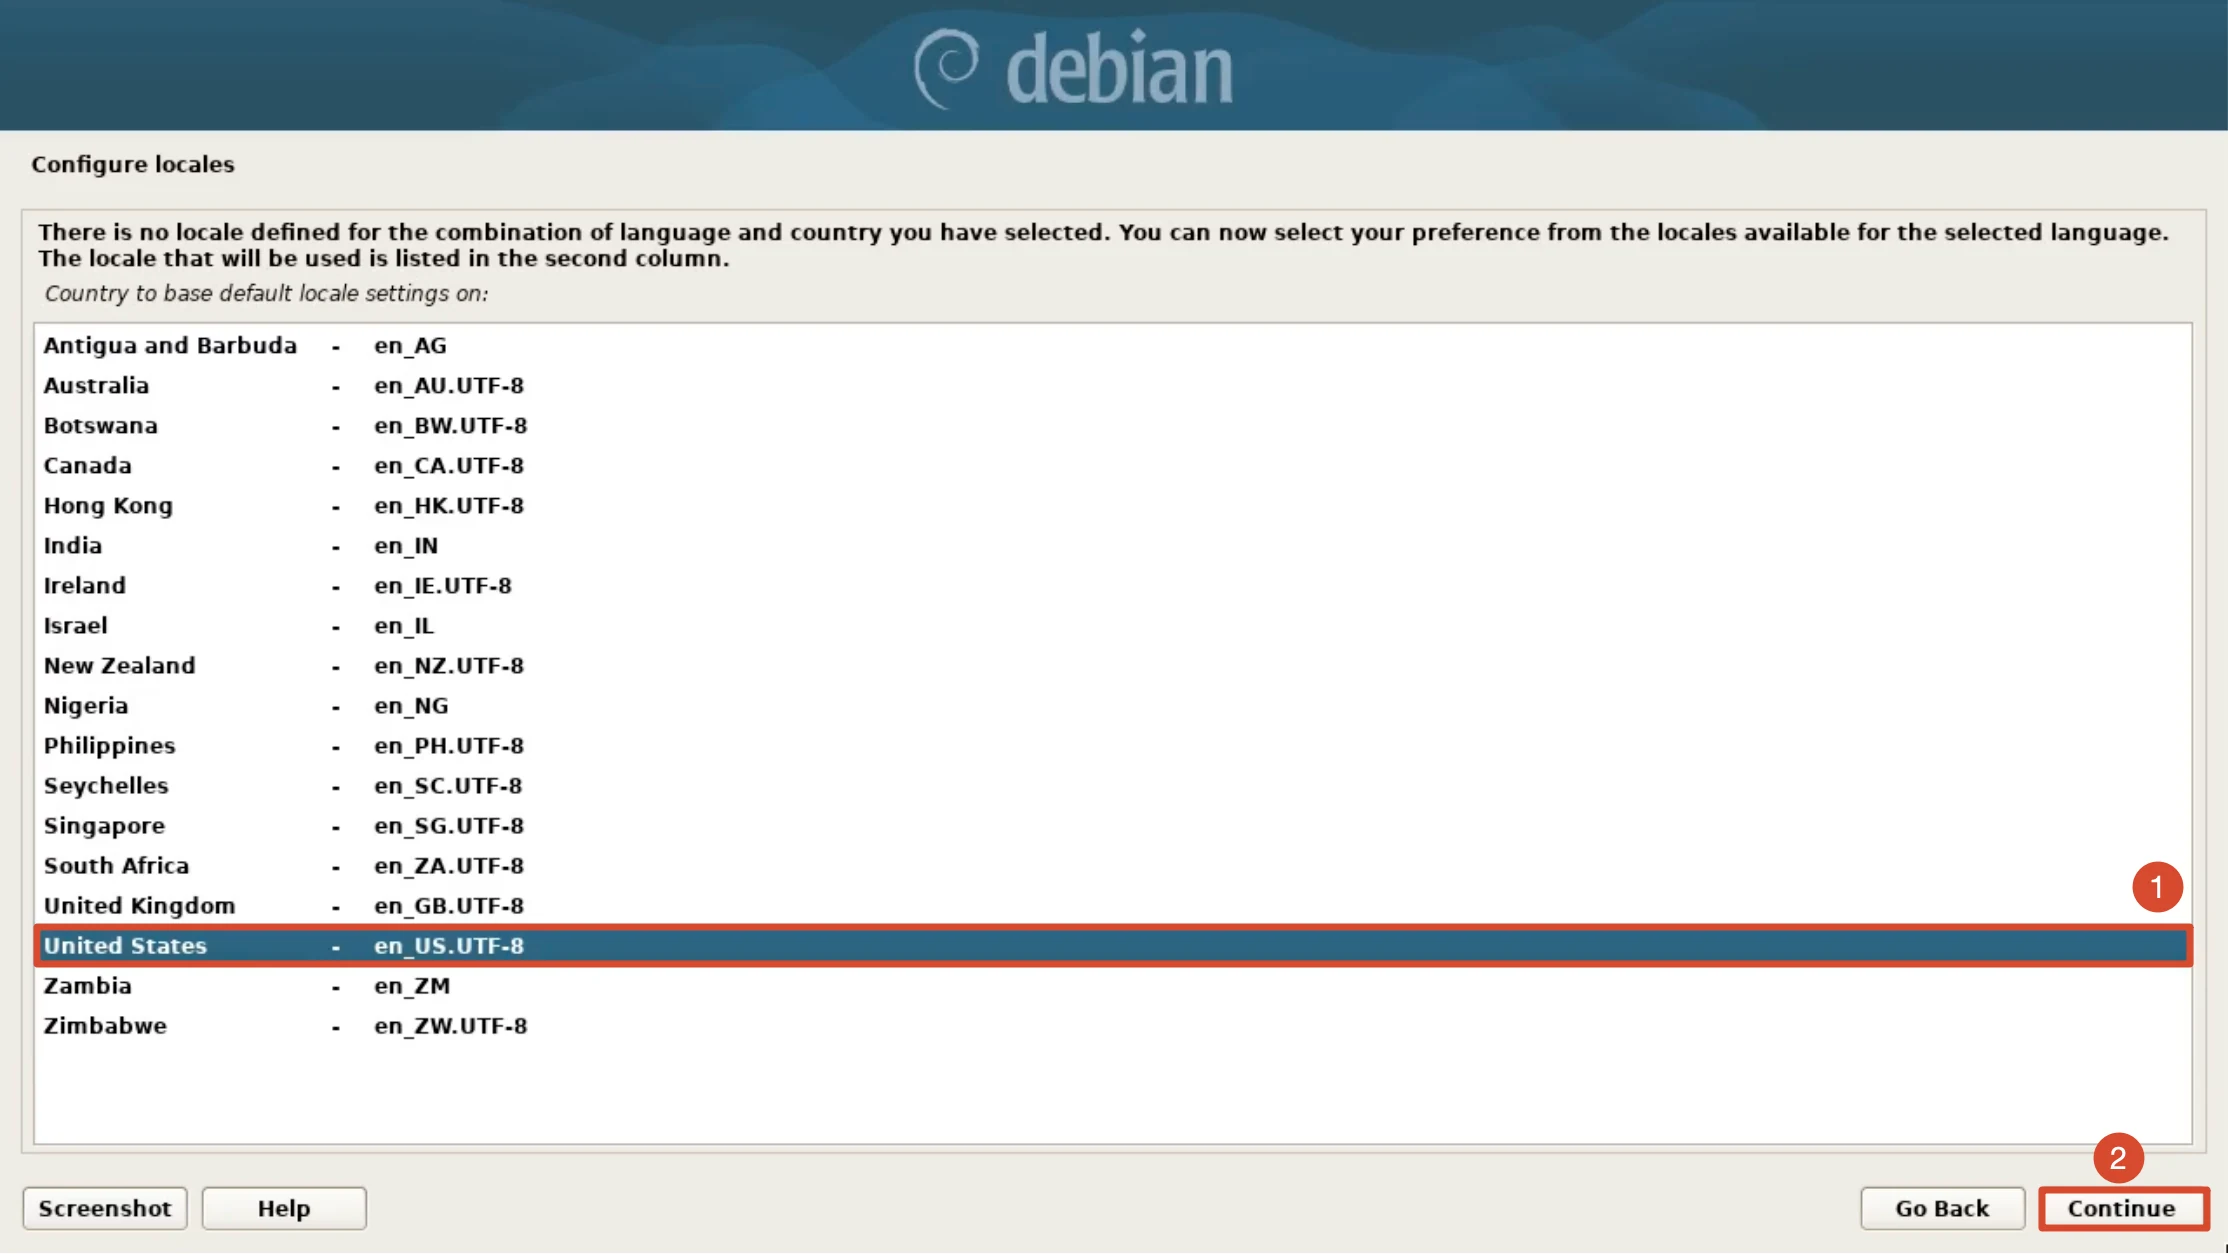
Select the Default Locale
Because the "English + China" combination has no ready-made locale, you must choose a base country for English here: select United States - en_US.UTF-8 and click Continue. This option determines the character encoding and the date and currency formats.
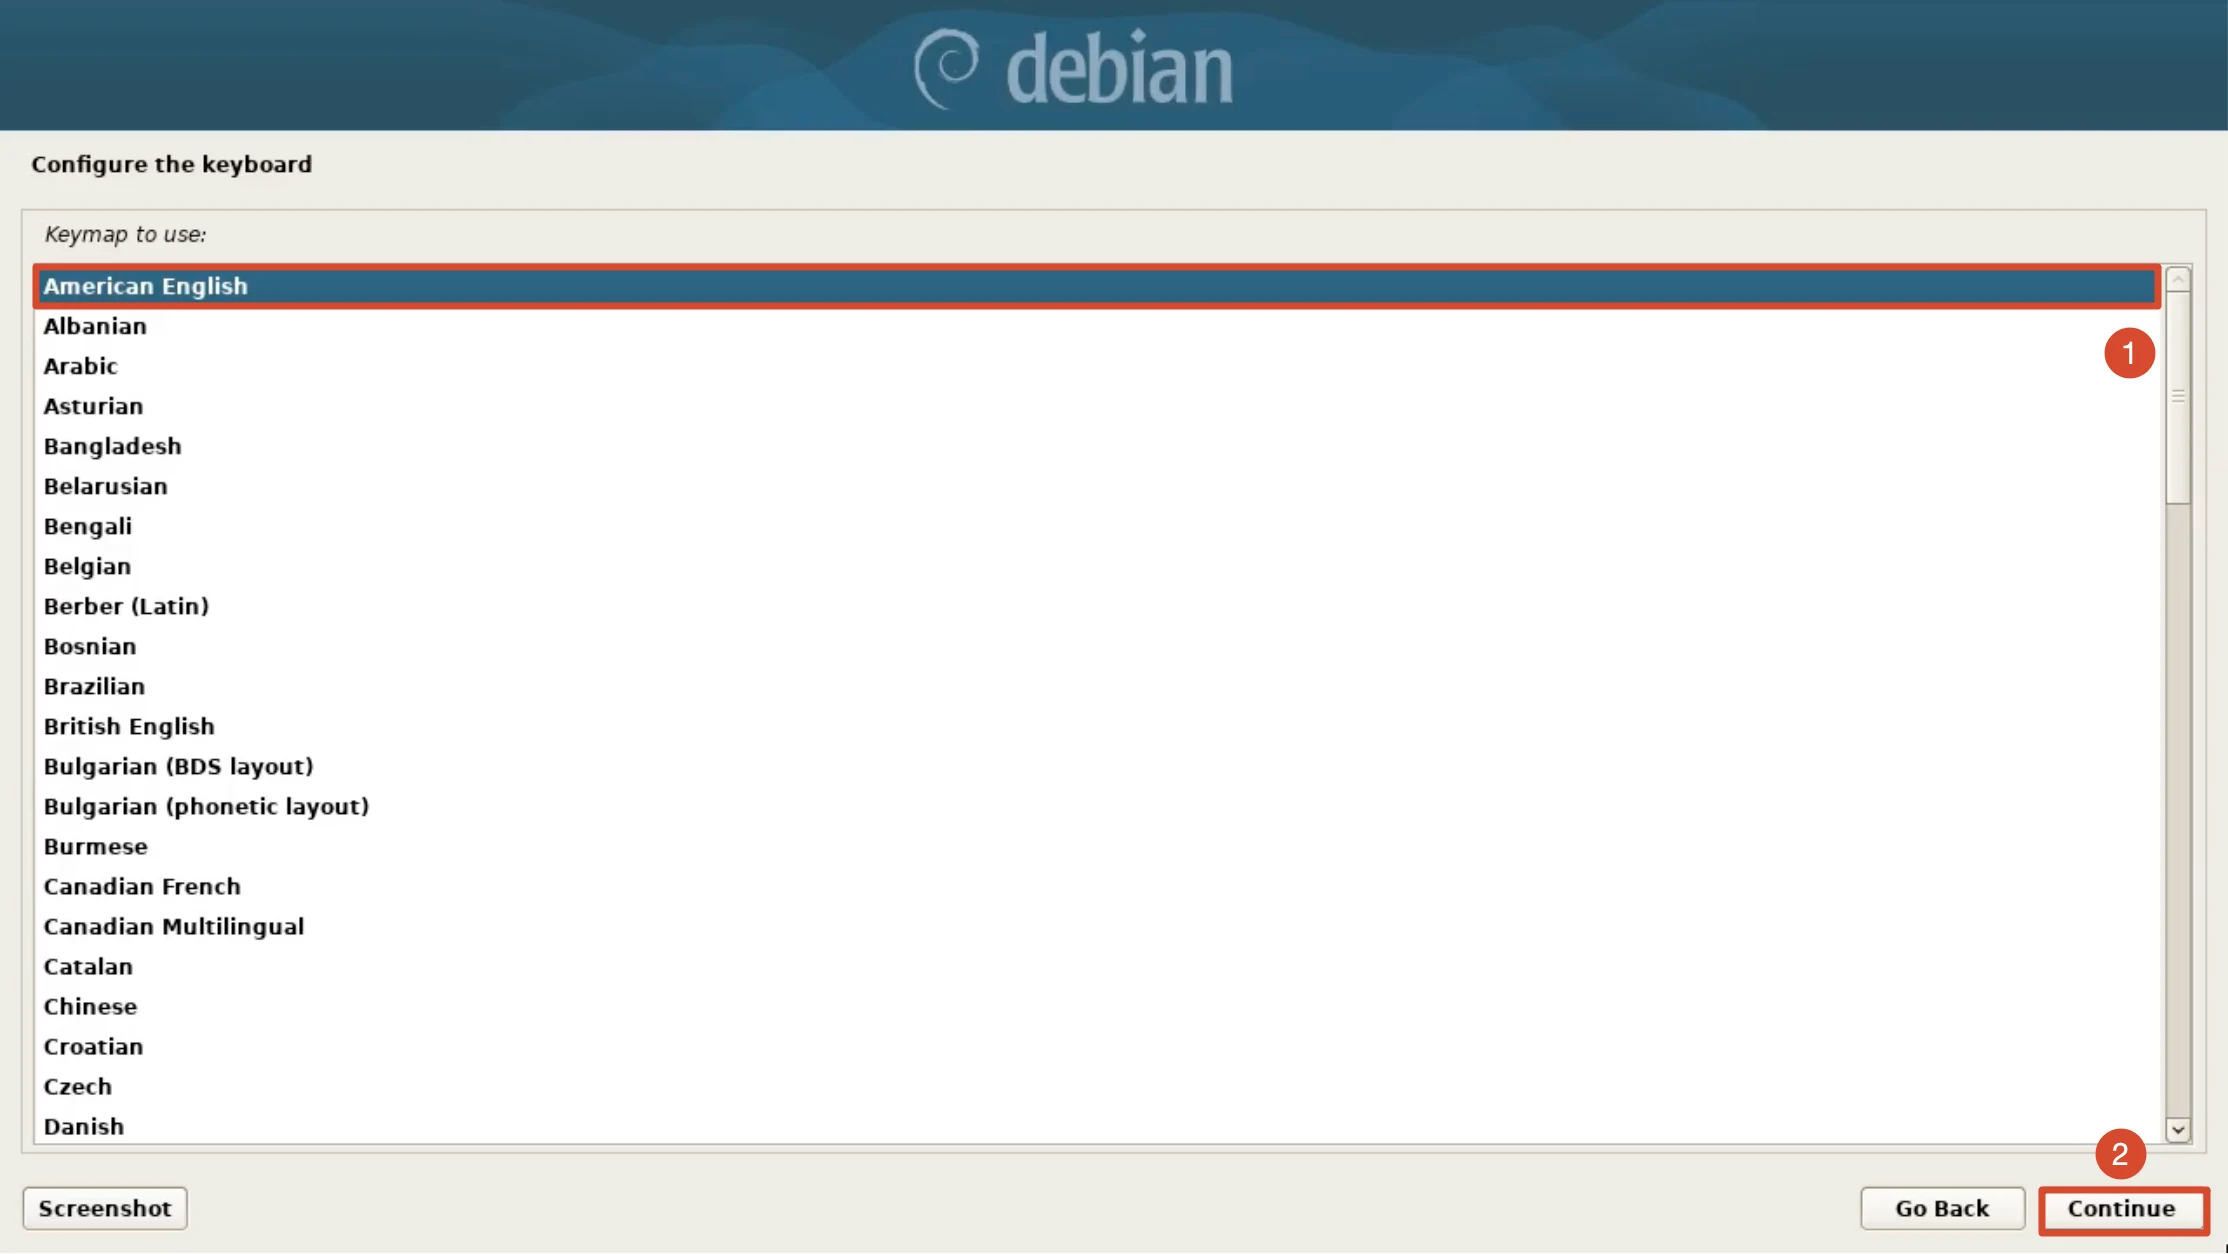
Select the Keyboard Layout
In Keymap to use, select American English and click Continue.
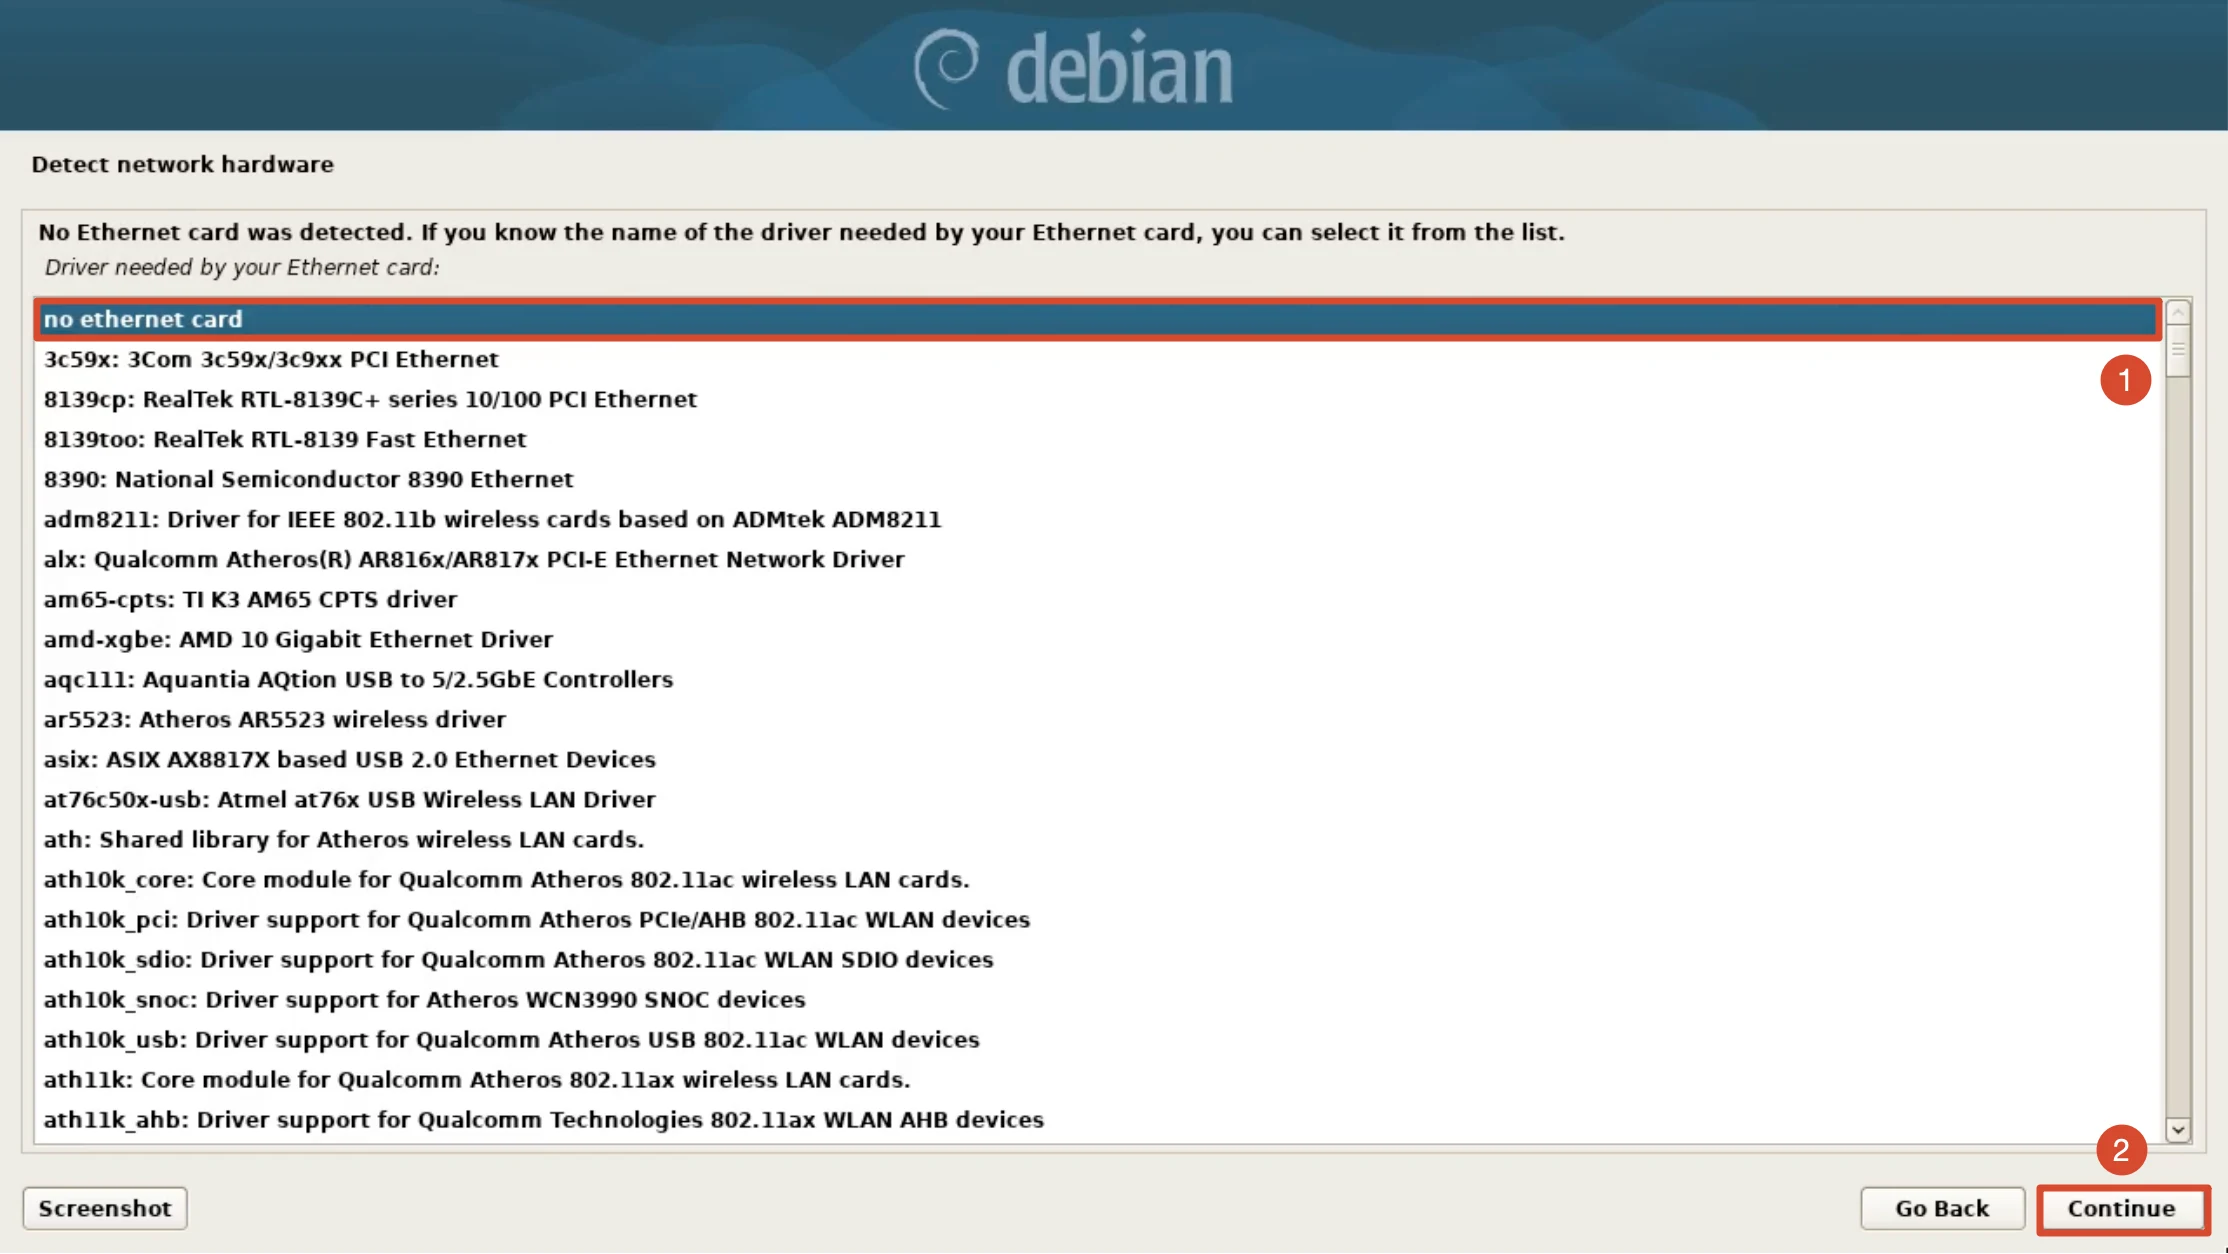
Detect Network Hardware
No wired network card was detected automatically. Keep the default no ethernet card (do not specify a driver manually) and click Continue.
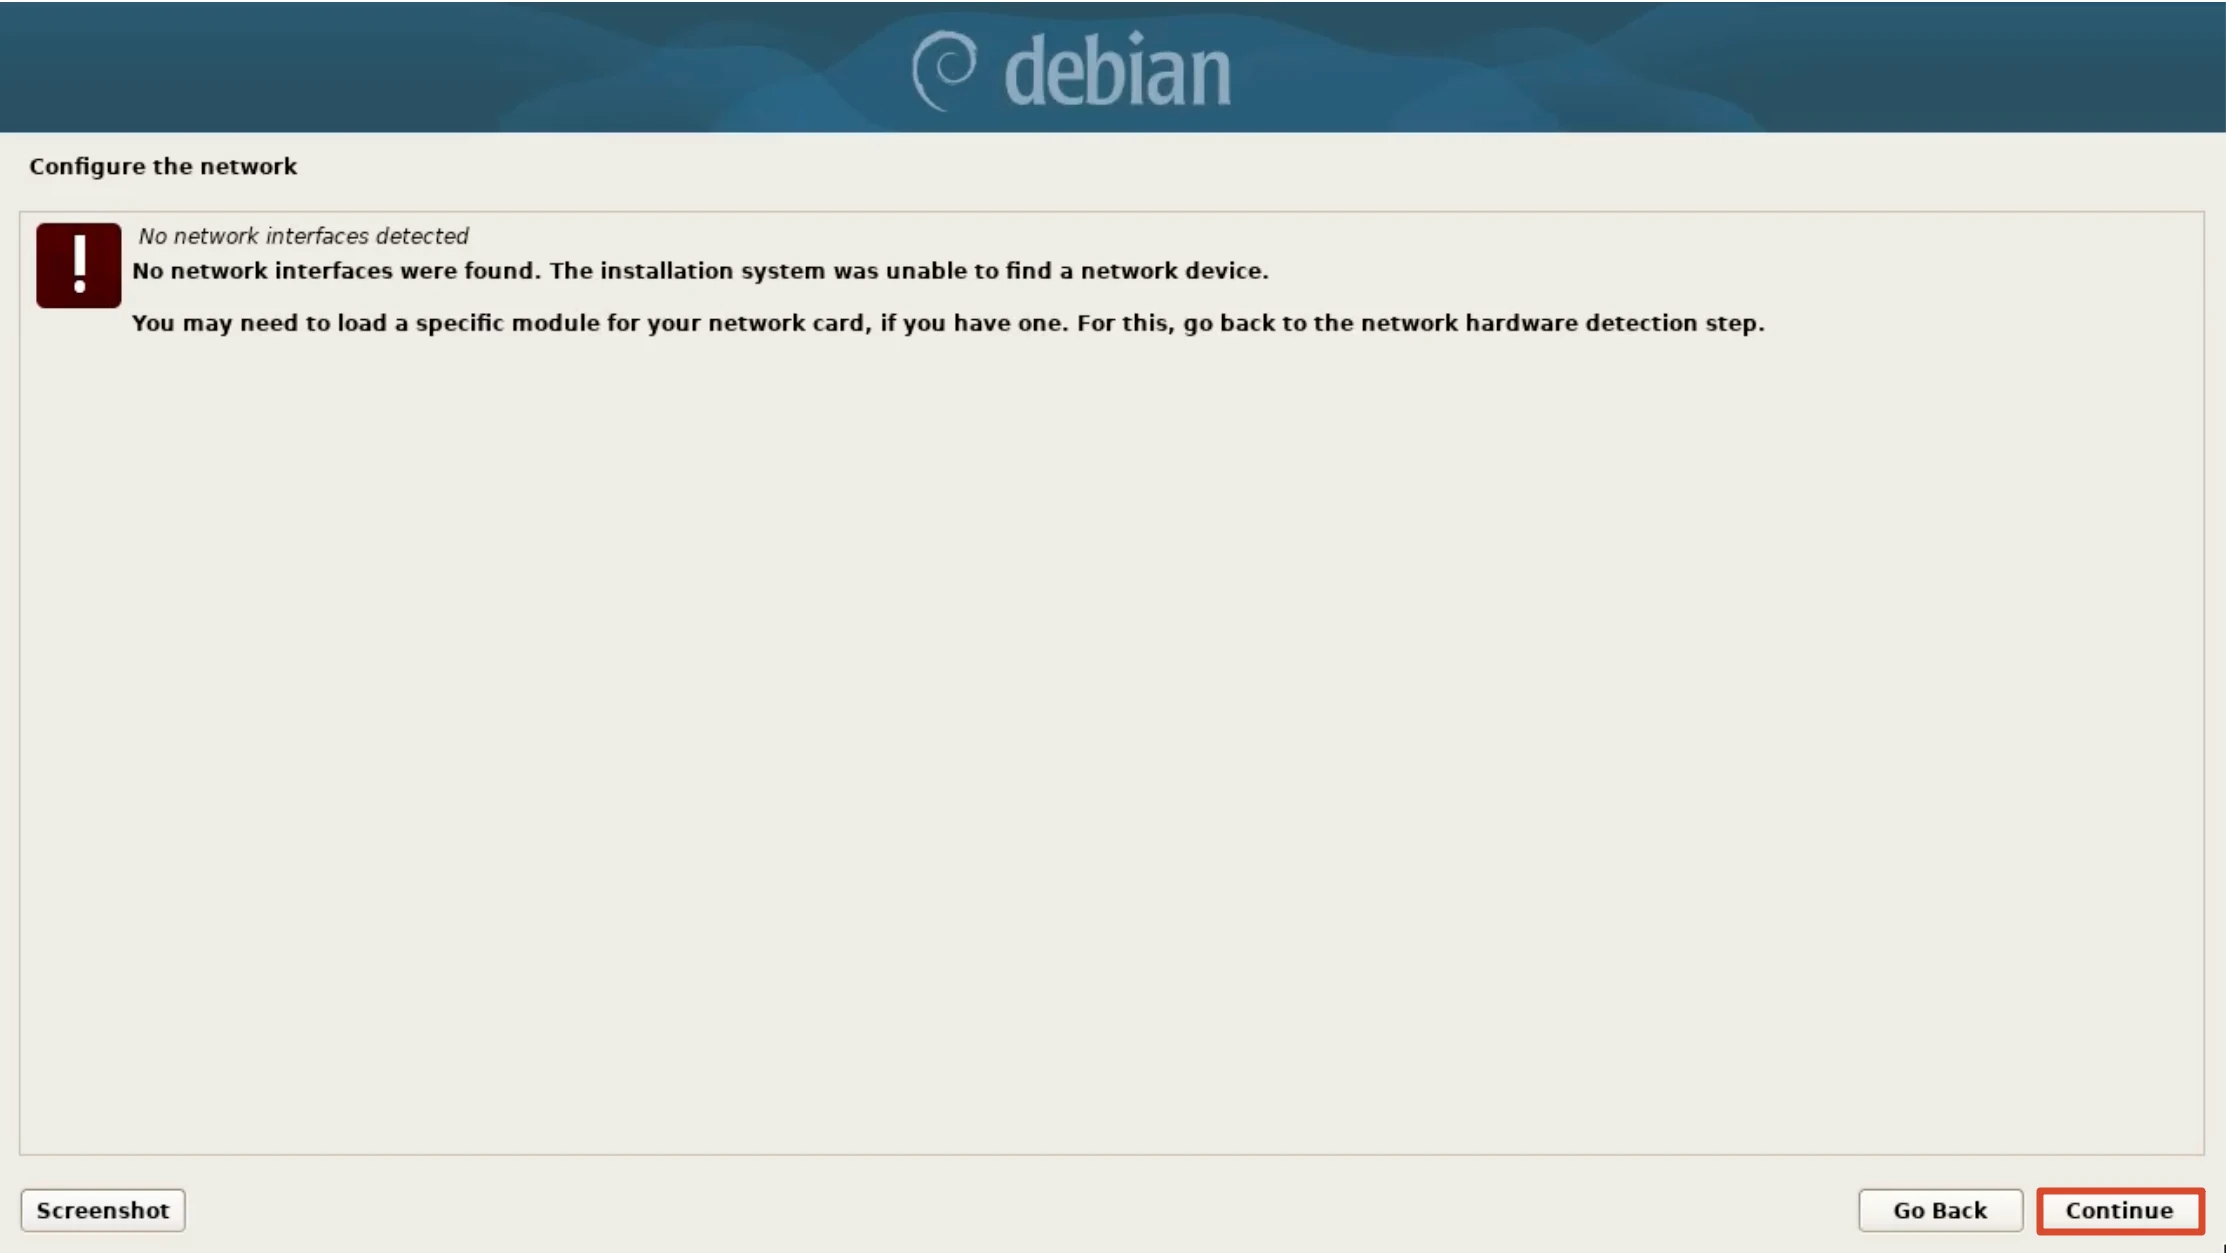
Network Configuration: No Network Interface Detected
The installer reports No network interfaces were detected. Click Continue to skip this step; the installation can be completed offline, and the network can be configured after the system is installed.
Set the Hostname
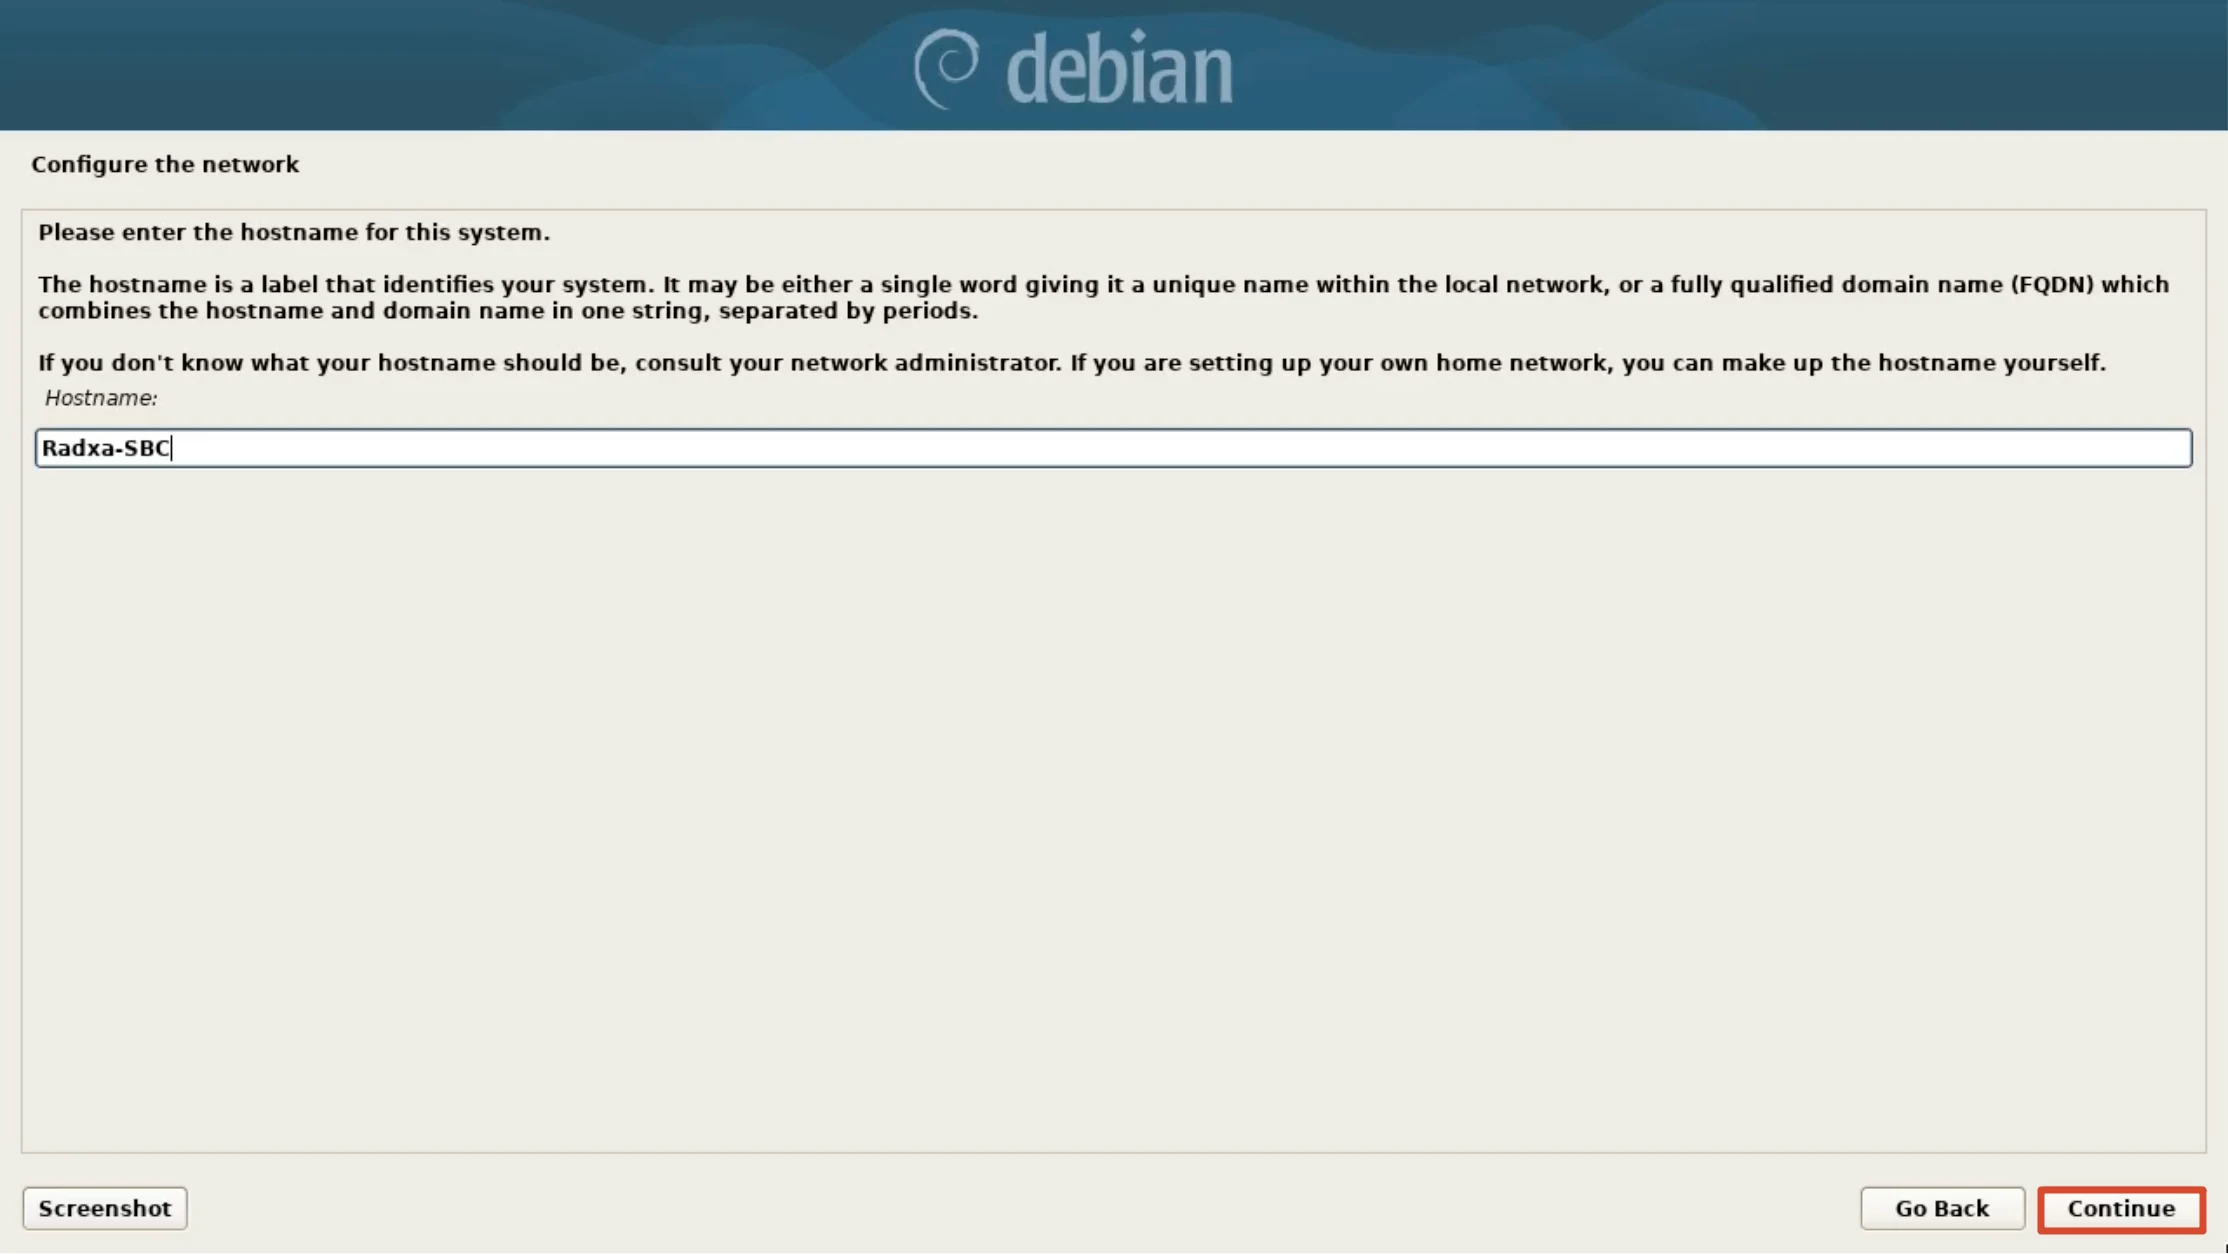
Enter a hostname in the Hostname box; this tutorial uses Radxa-SBC, then click Continue. Hostnames must be unique within the same local network.
Set the Root Password
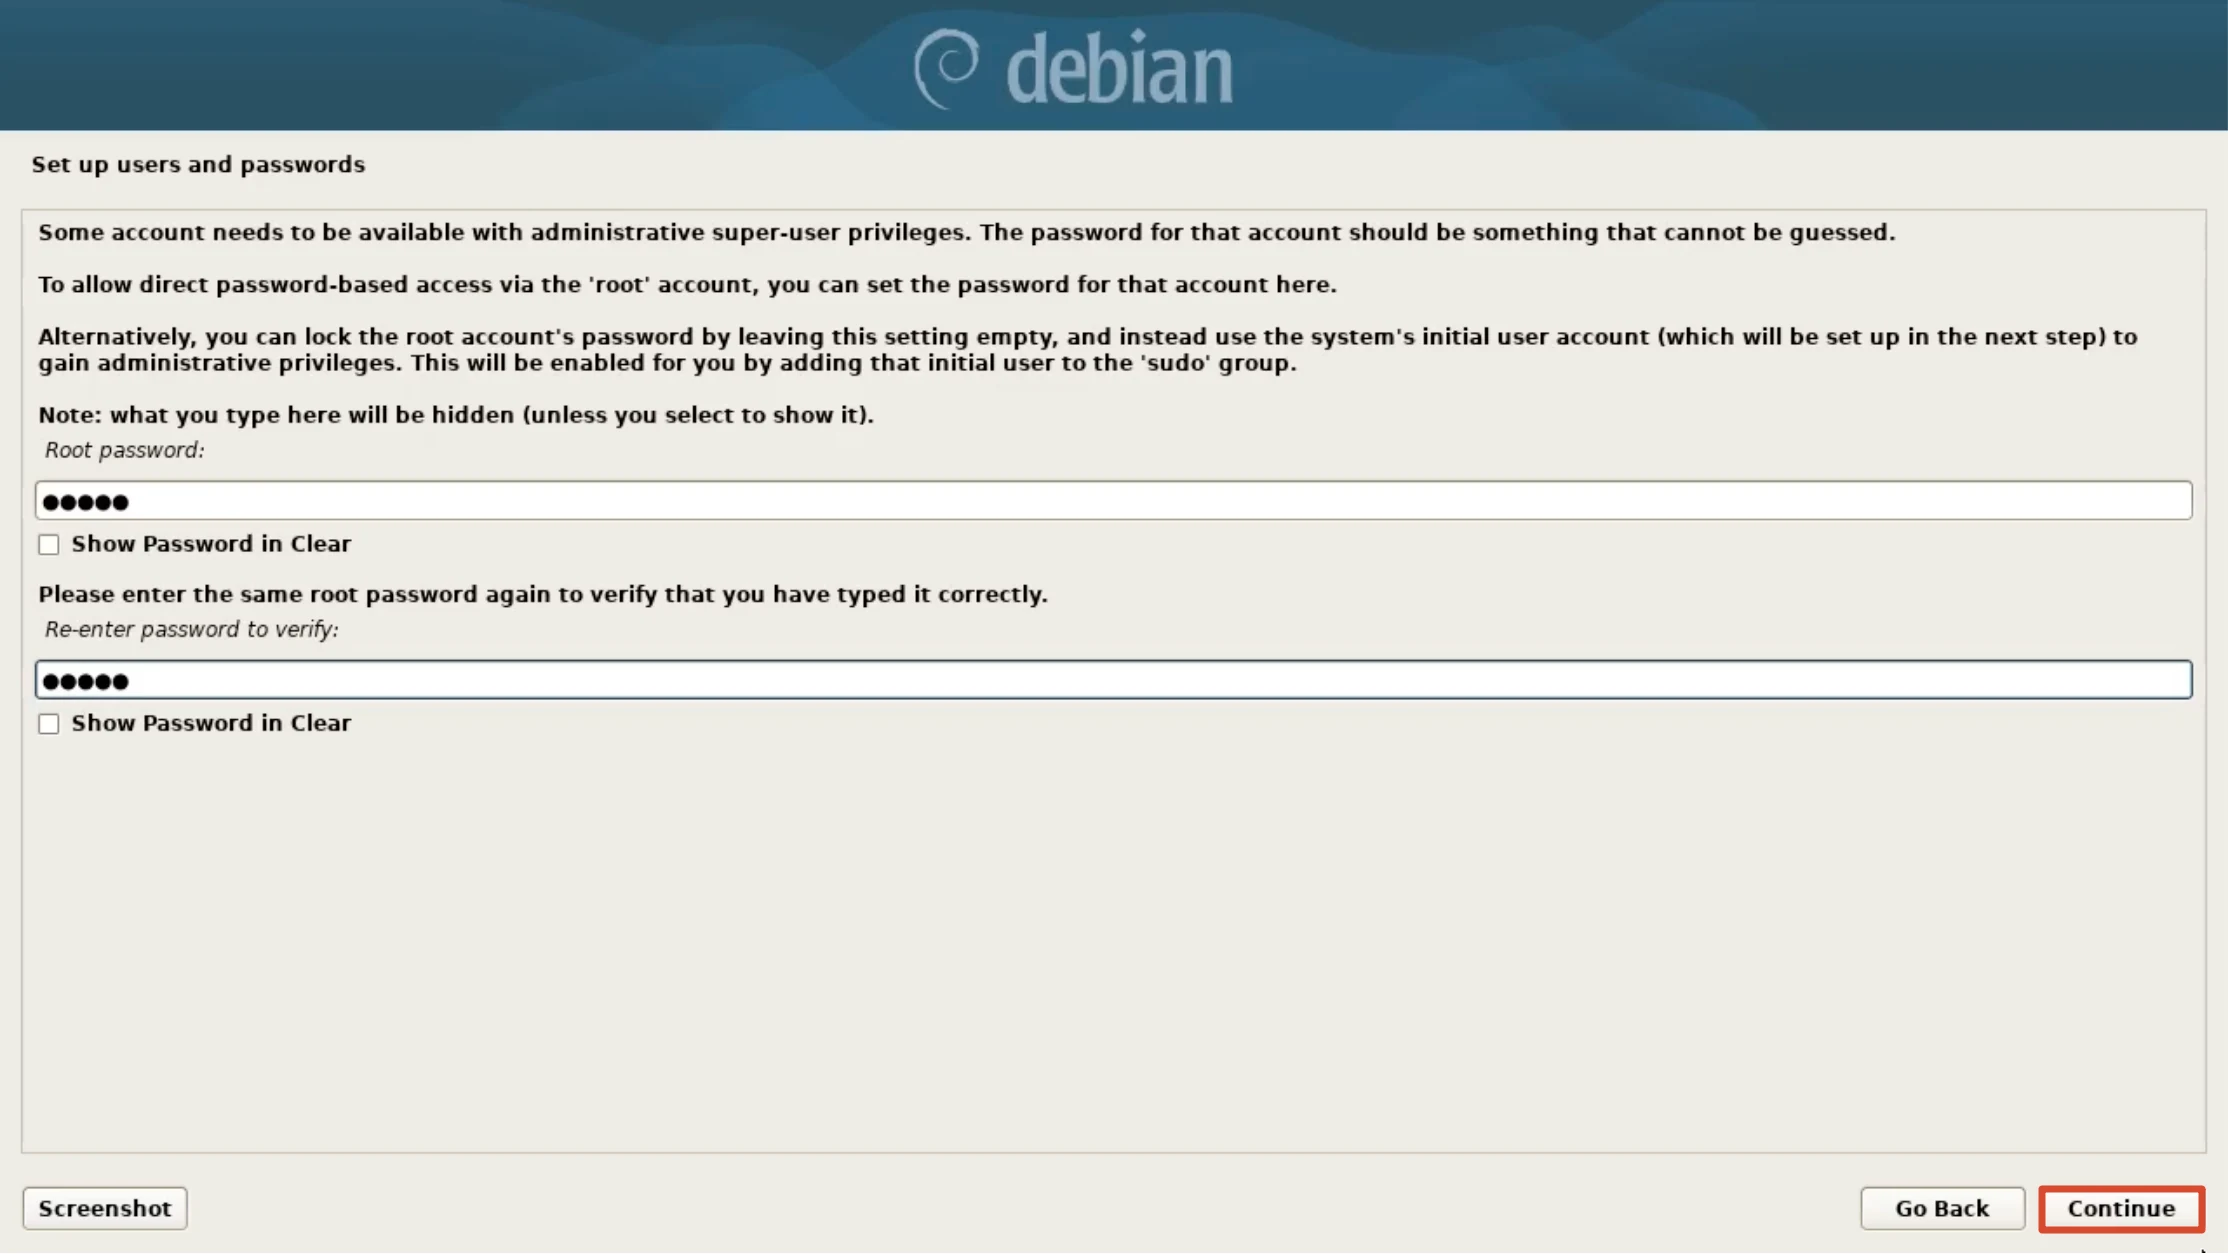
Enter the Root password and type it again to confirm. If you do not want to allow direct root login, leave both fields empty and rely on the regular user created in the next step to elevate privileges via sudo.
Set the New User's Full Name
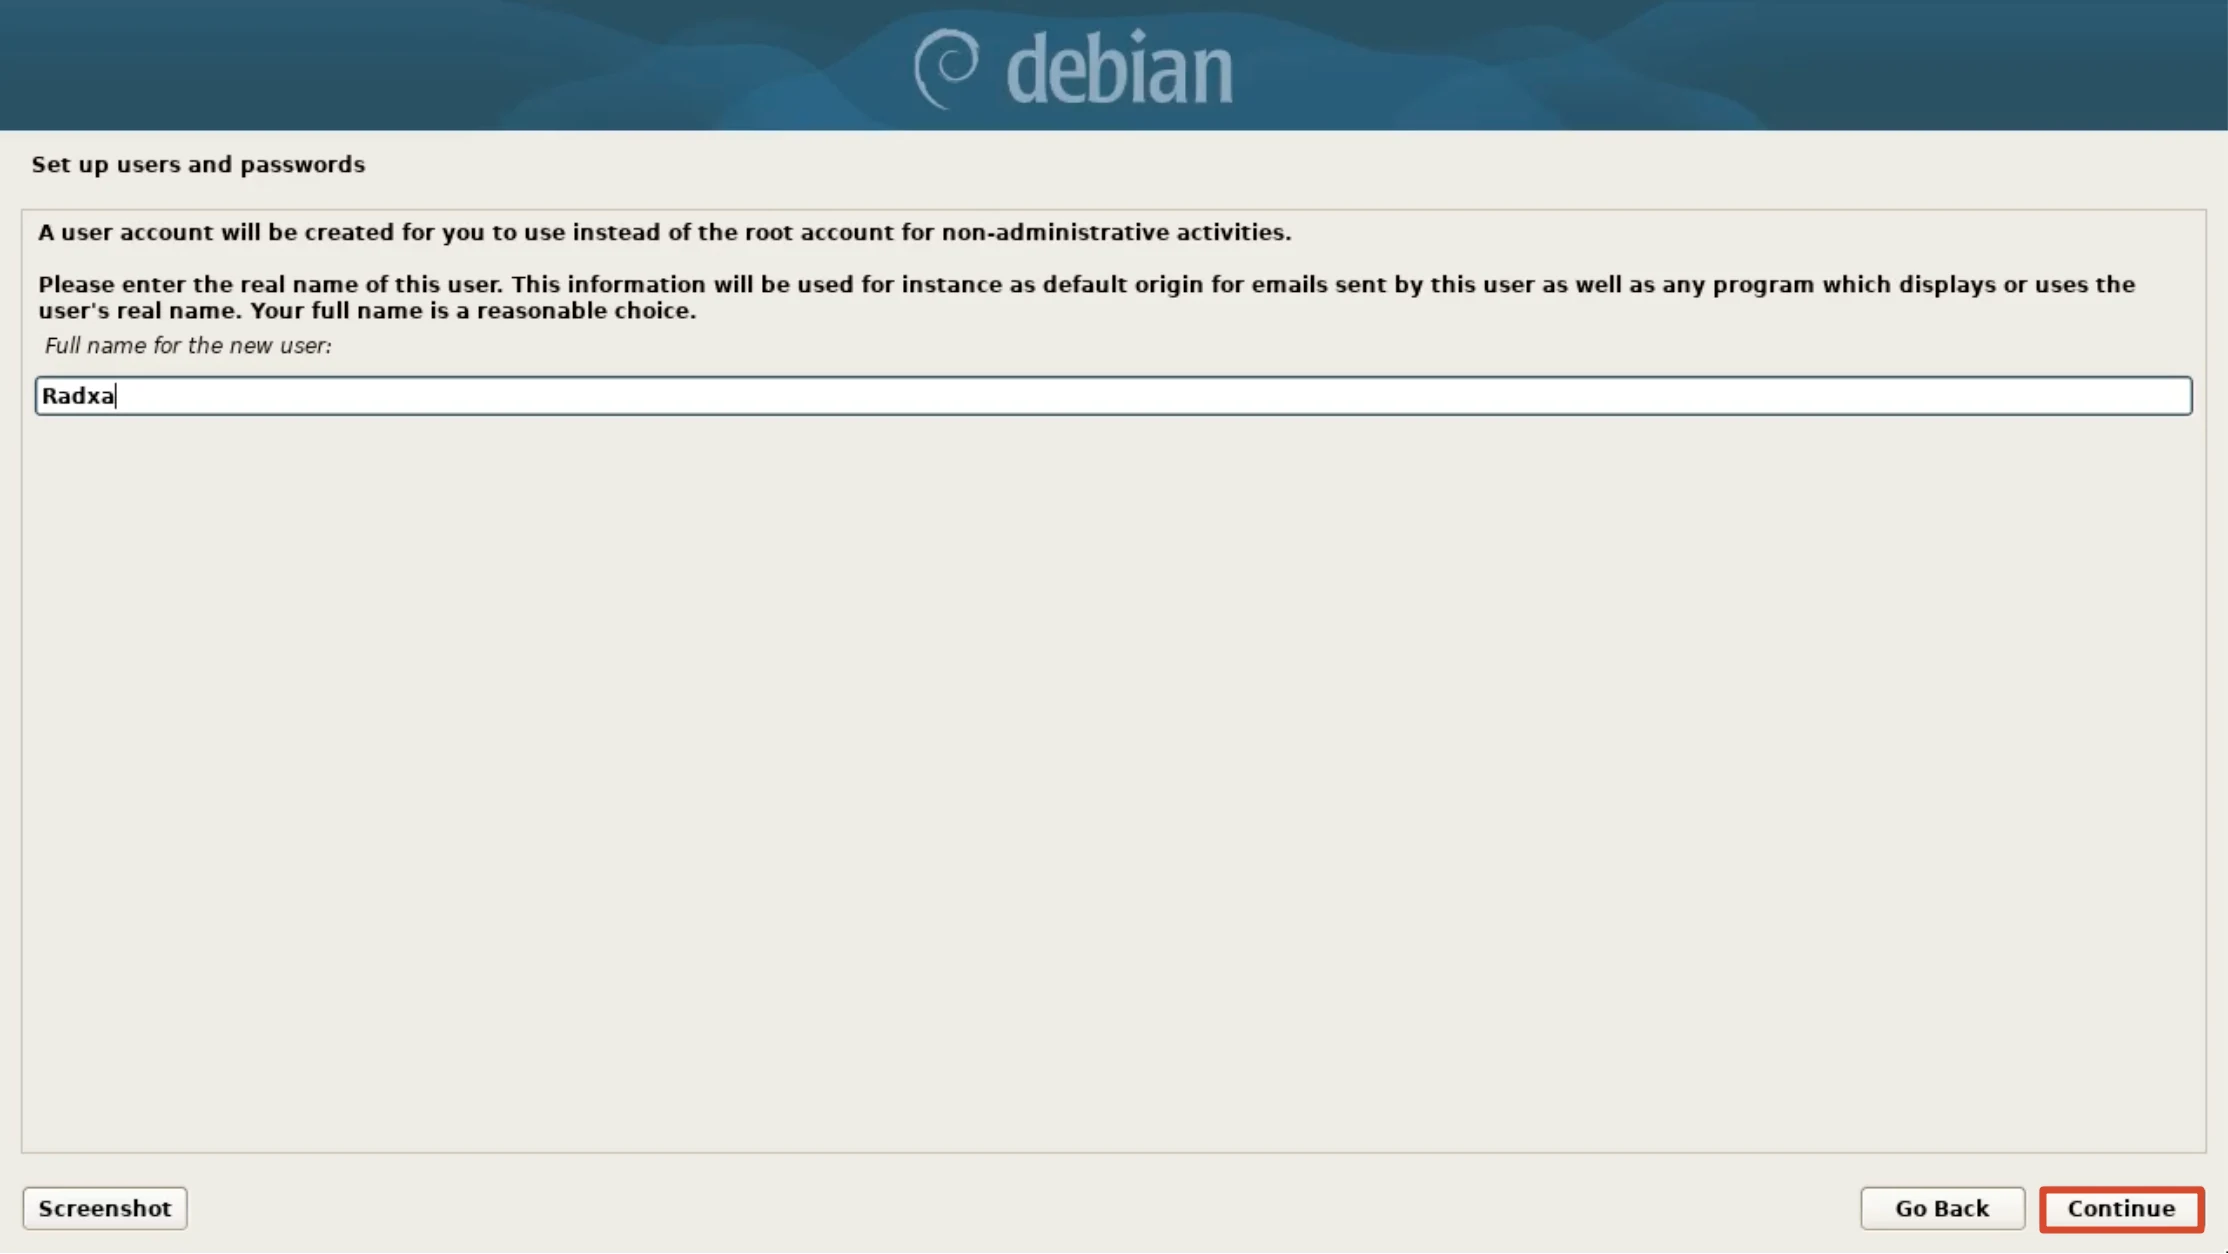
Enter the user's full name in the Full name for the new user box (this tutorial uses Radxa) and click Continue.
Set the New User's Password
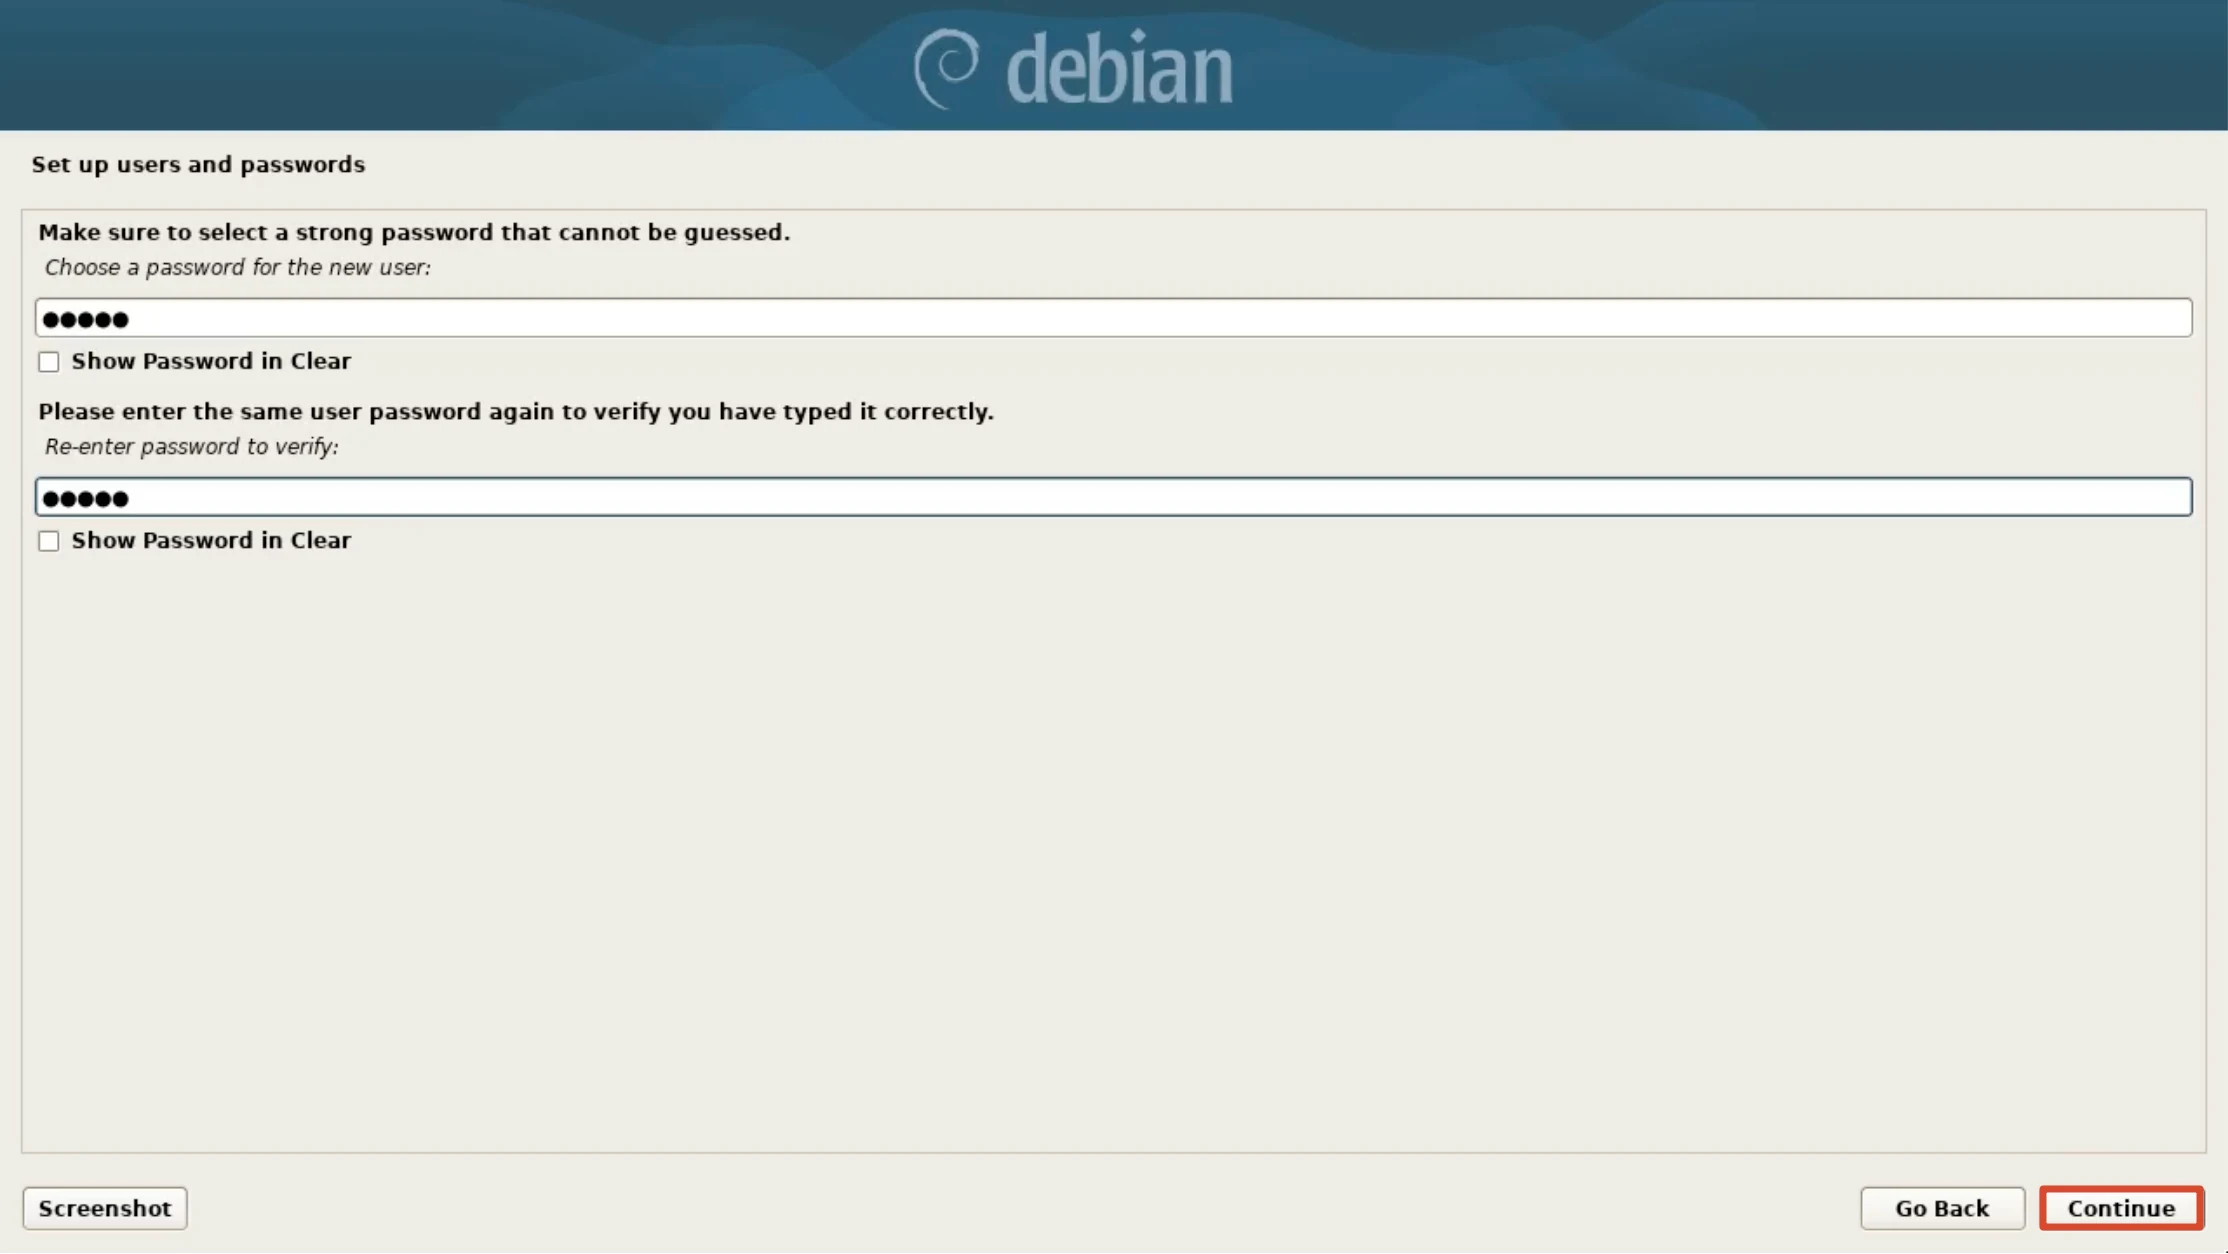
Enter the new user's password and type it again to confirm (you can check Show Password in Clear to verify the input), then click Continue.
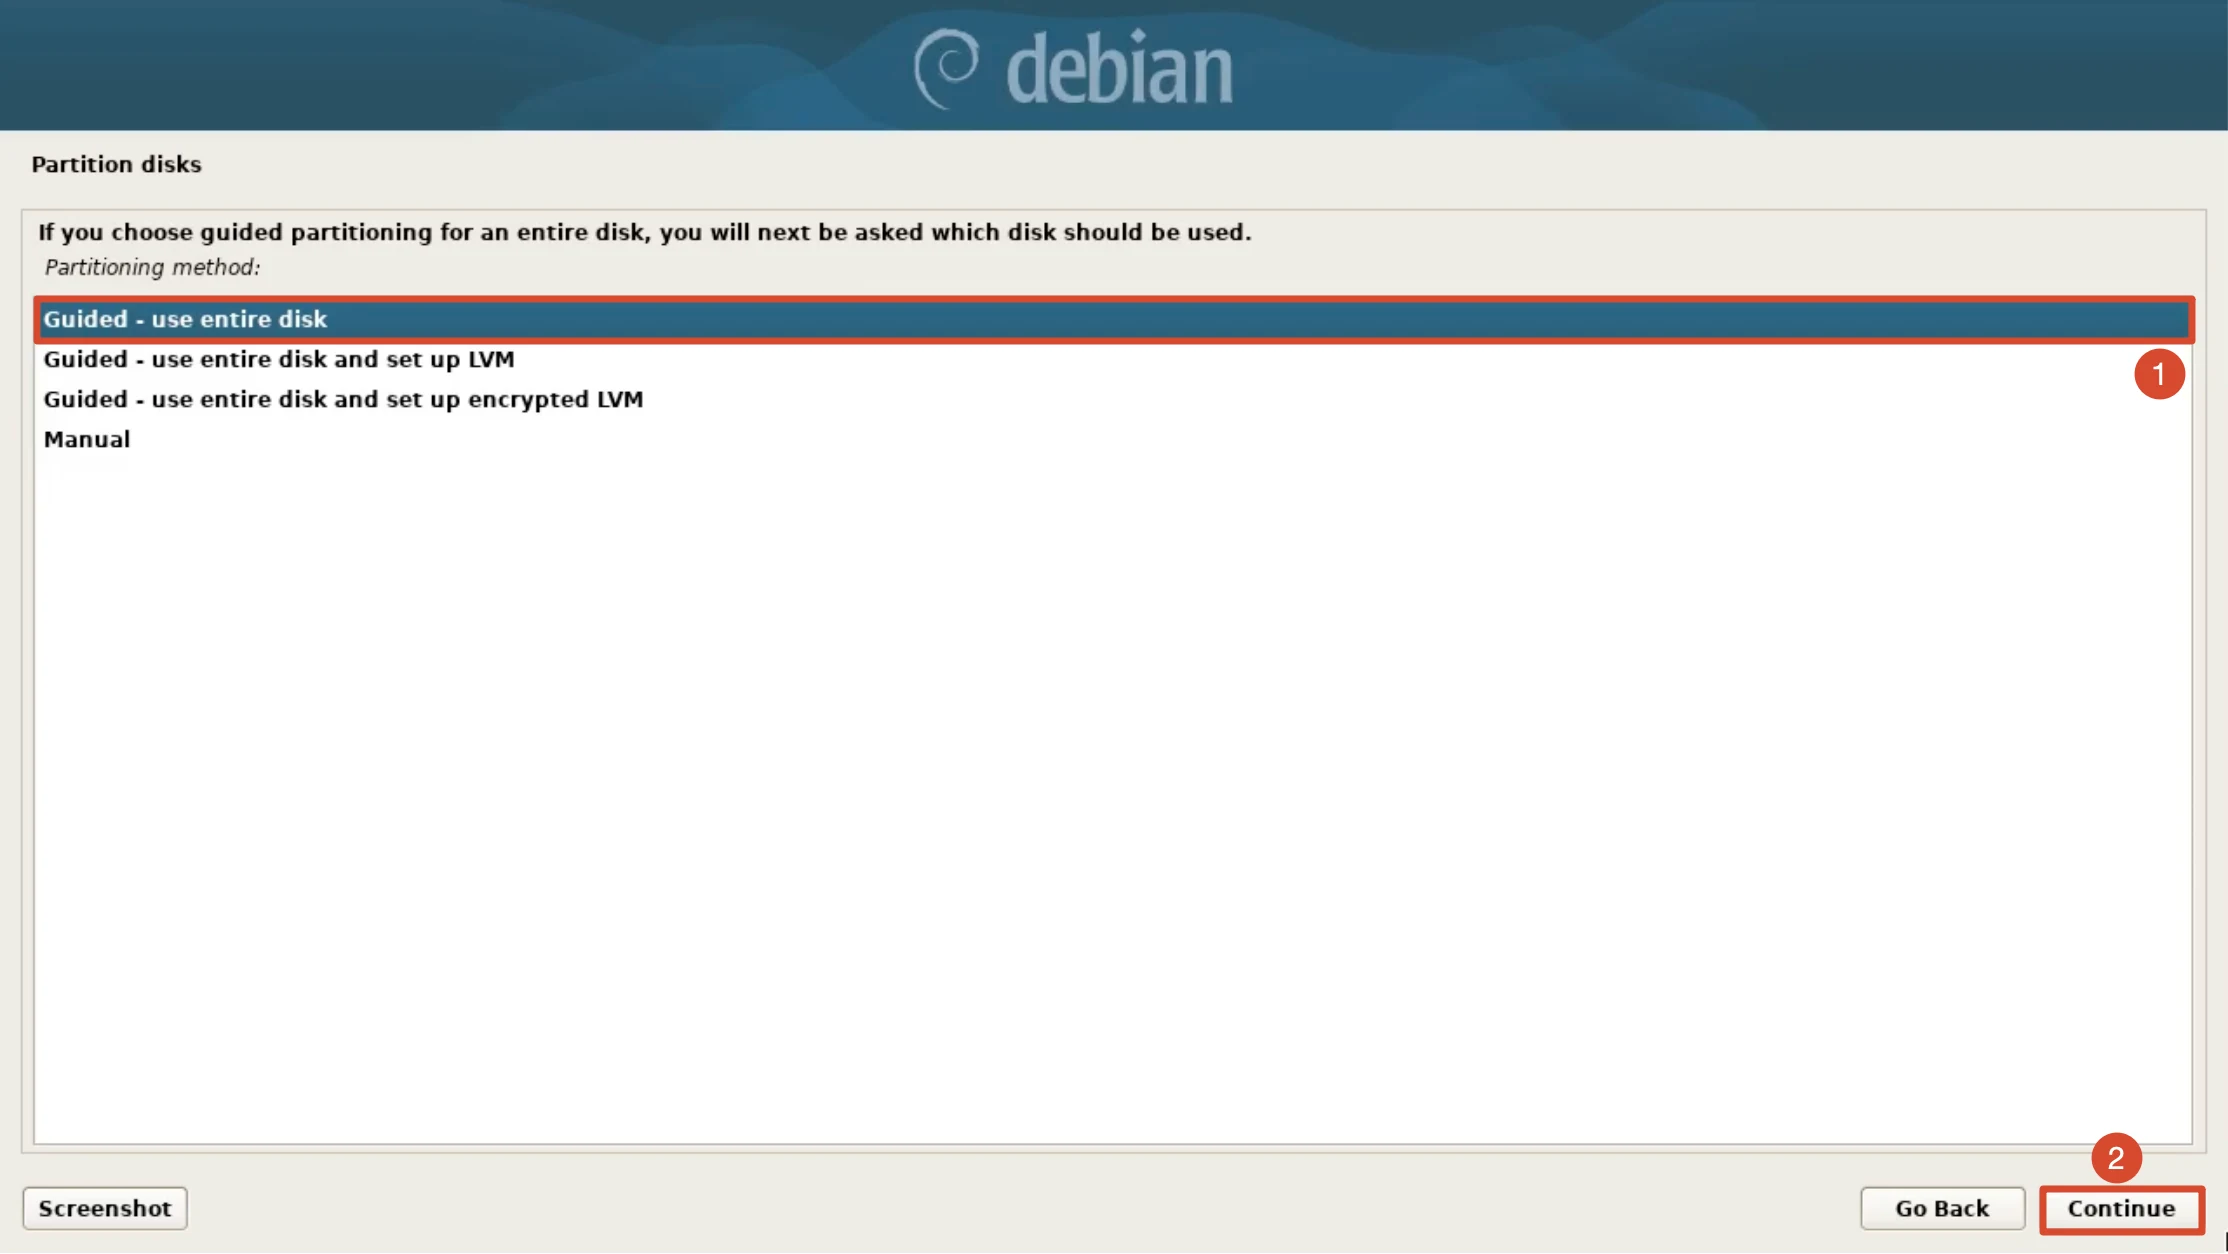
Choose the Partitioning Method
In Partitioning method, keep Guided - use entire disk and click Continue. Choose LVM, encrypted LVM, or manual partitioning only when you actually need them.
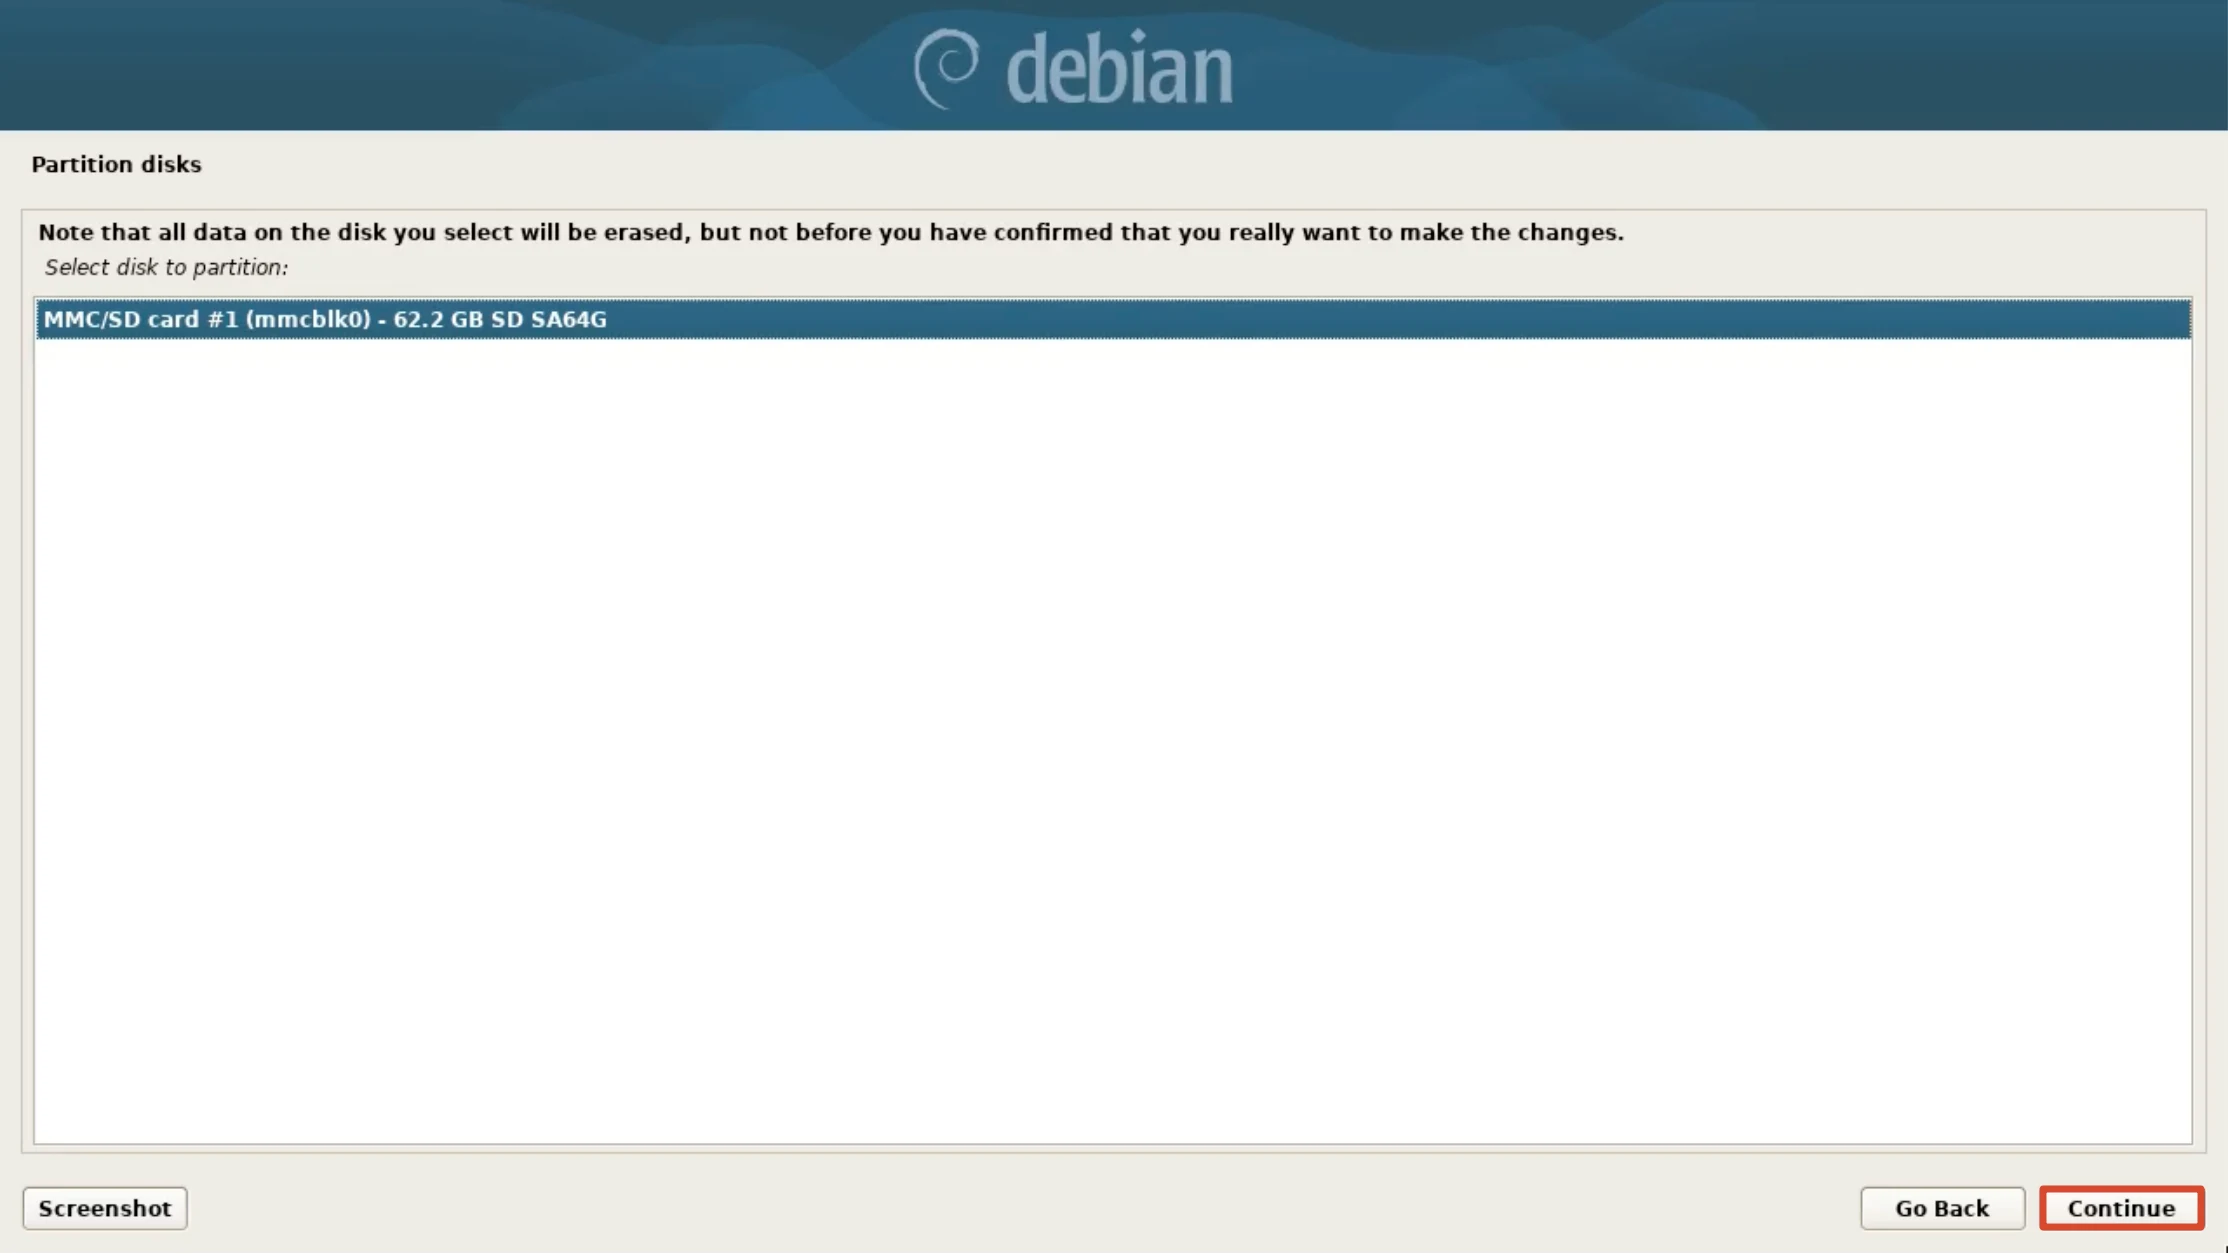
Select the Disk to Partition
Select the target disk MMC/SD card #1 (mmcblk0) - 62.2 GB (the microSD card) and click Continue. Note the warning: all data on the selected disk will be erased.
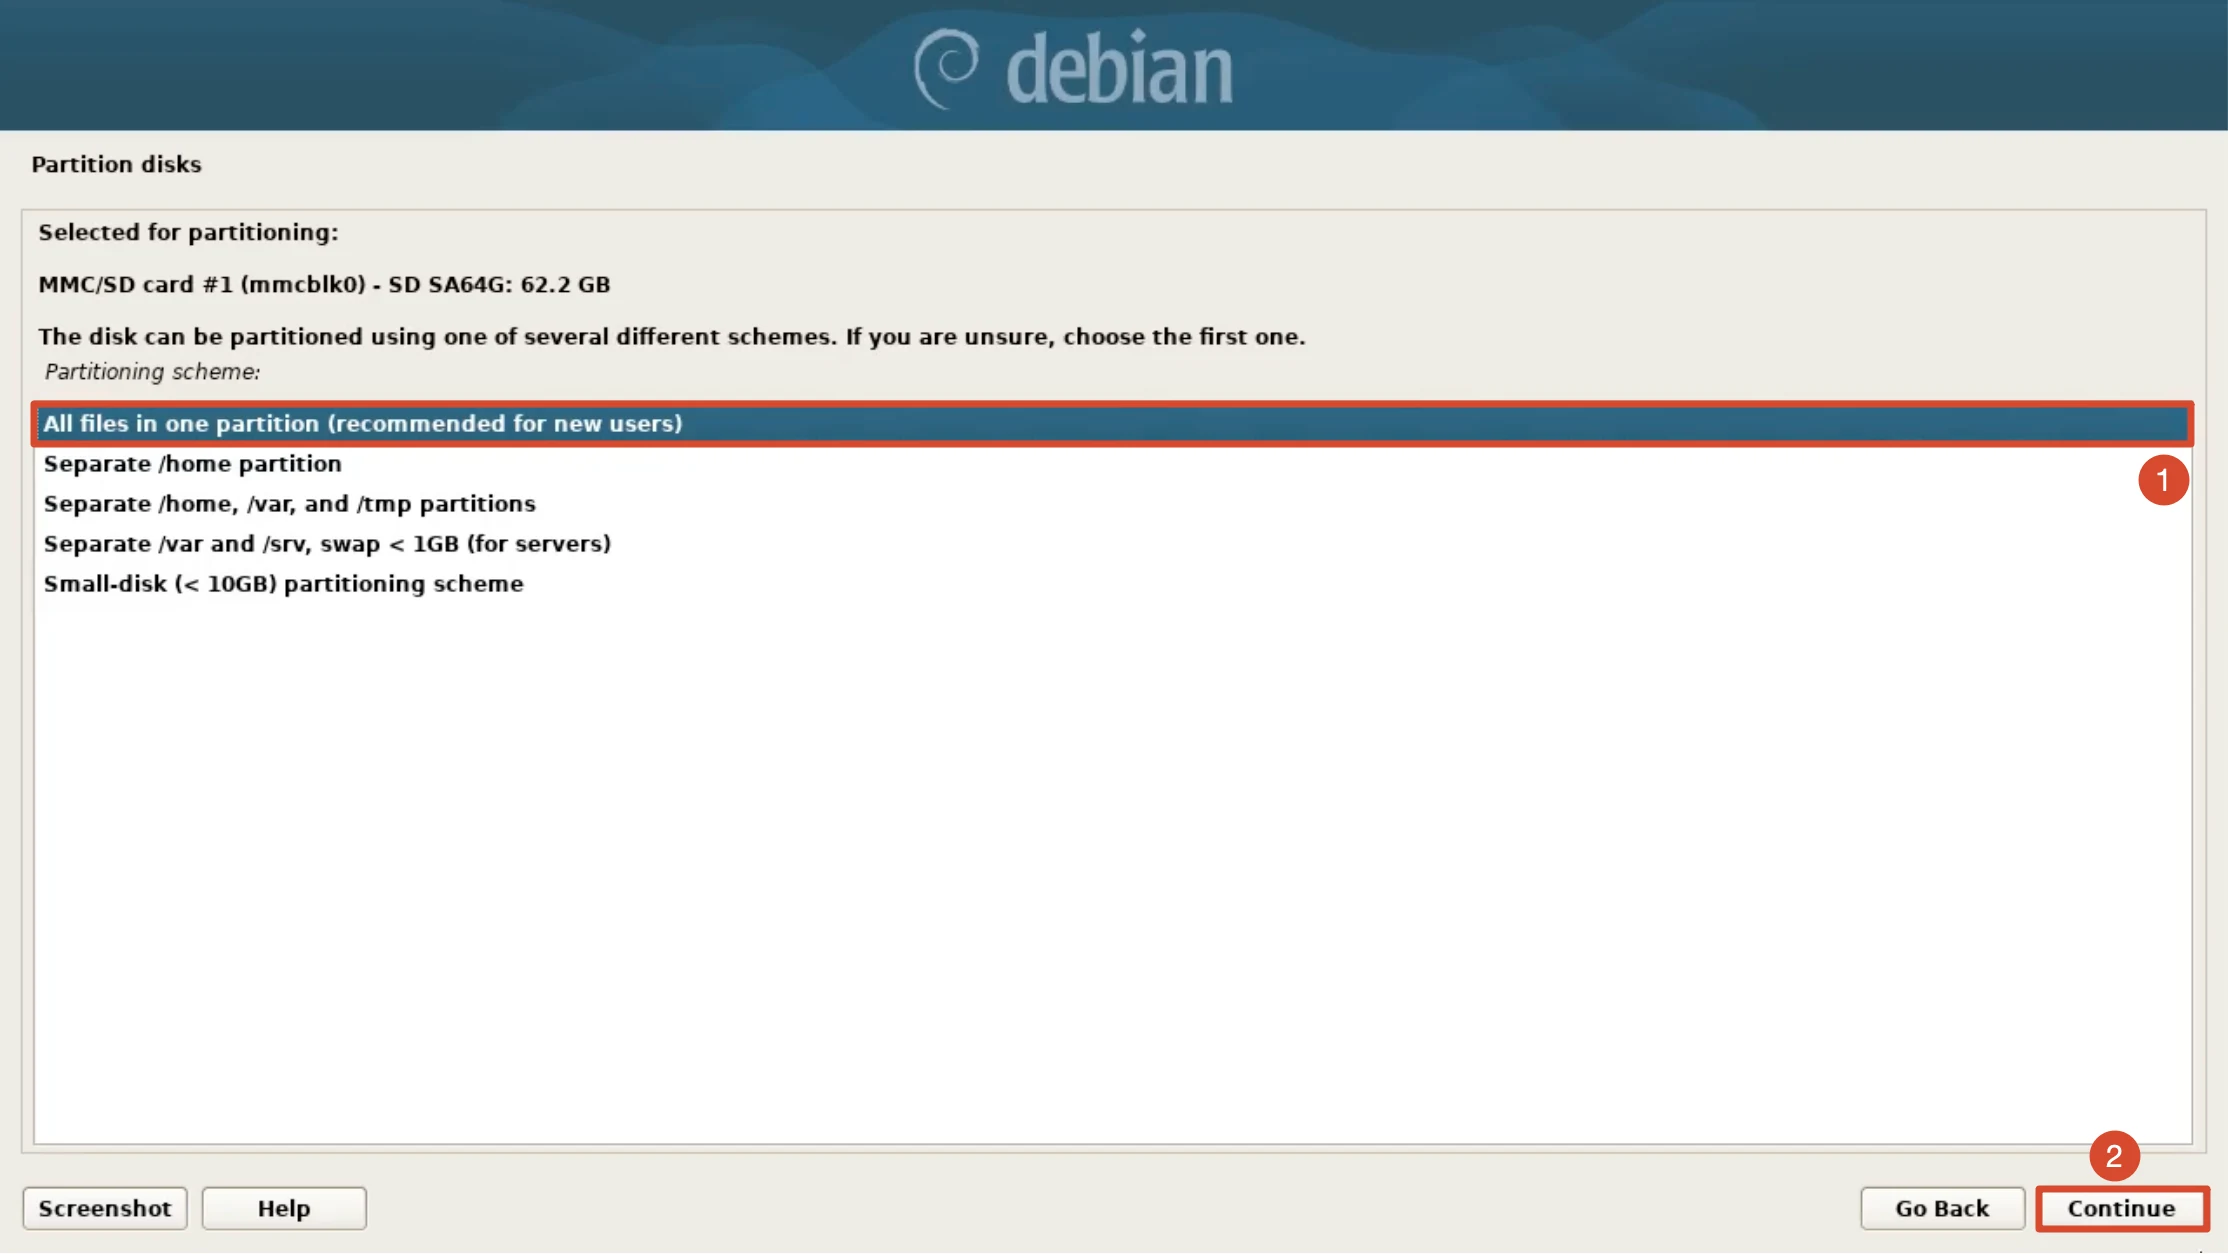
Choose the Partitioning Scheme
Keep All files in one partition (recommended for new users) and click Continue.
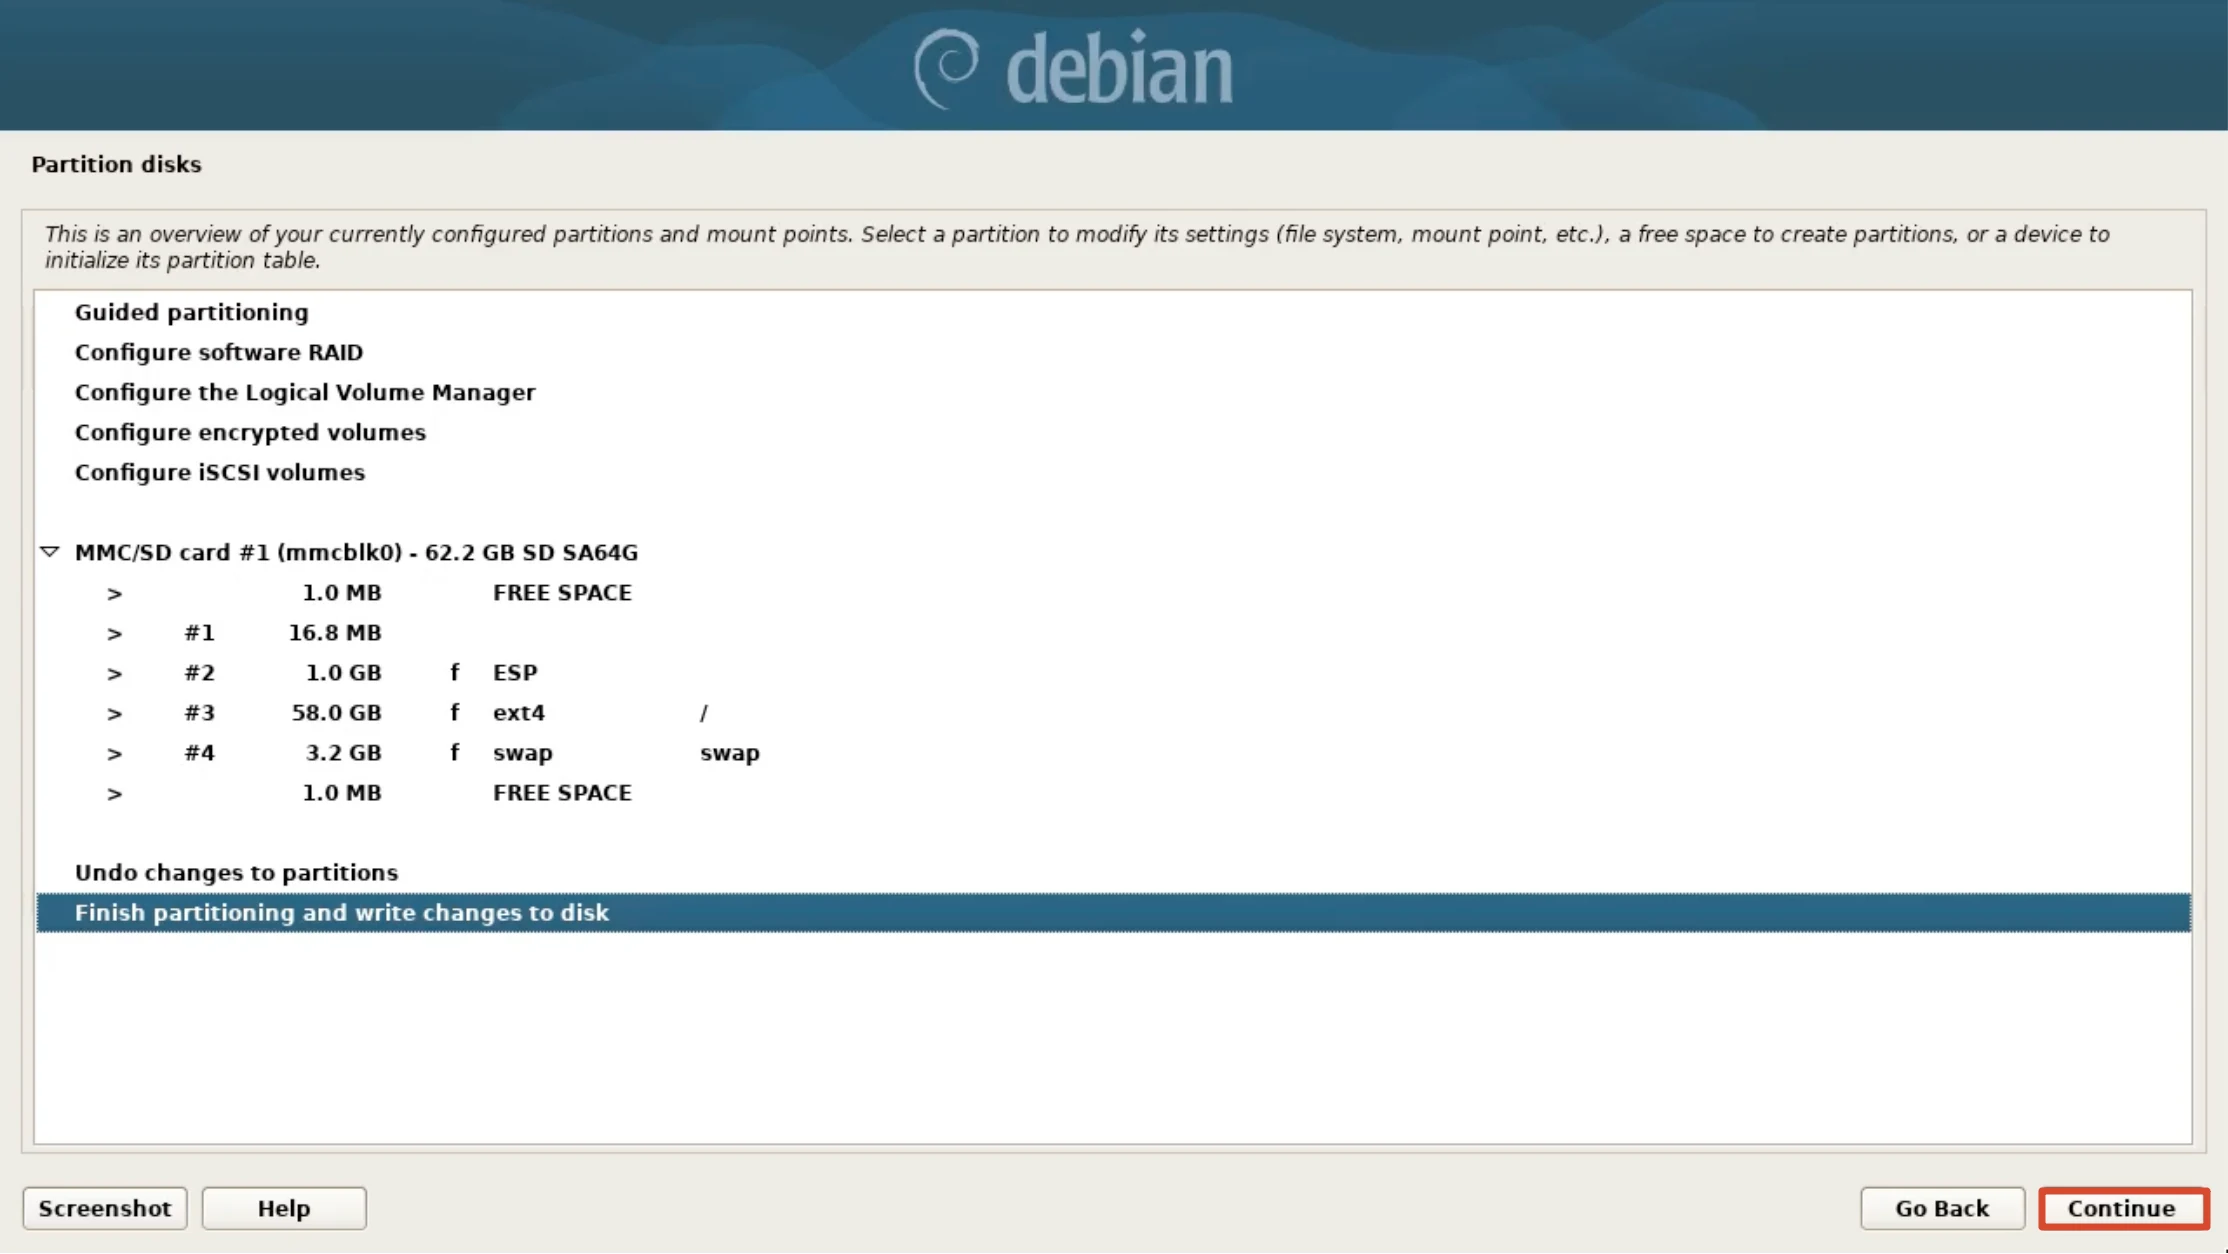
Partitioning Overview
Confirm the automatic layout: an ESP (/boot/efi, 1.0 GB), an ext4 root partition (/, 58.0 GB), and swap (3.2 GB). Select Finish partitioning and write changes to disk, then click Continue.
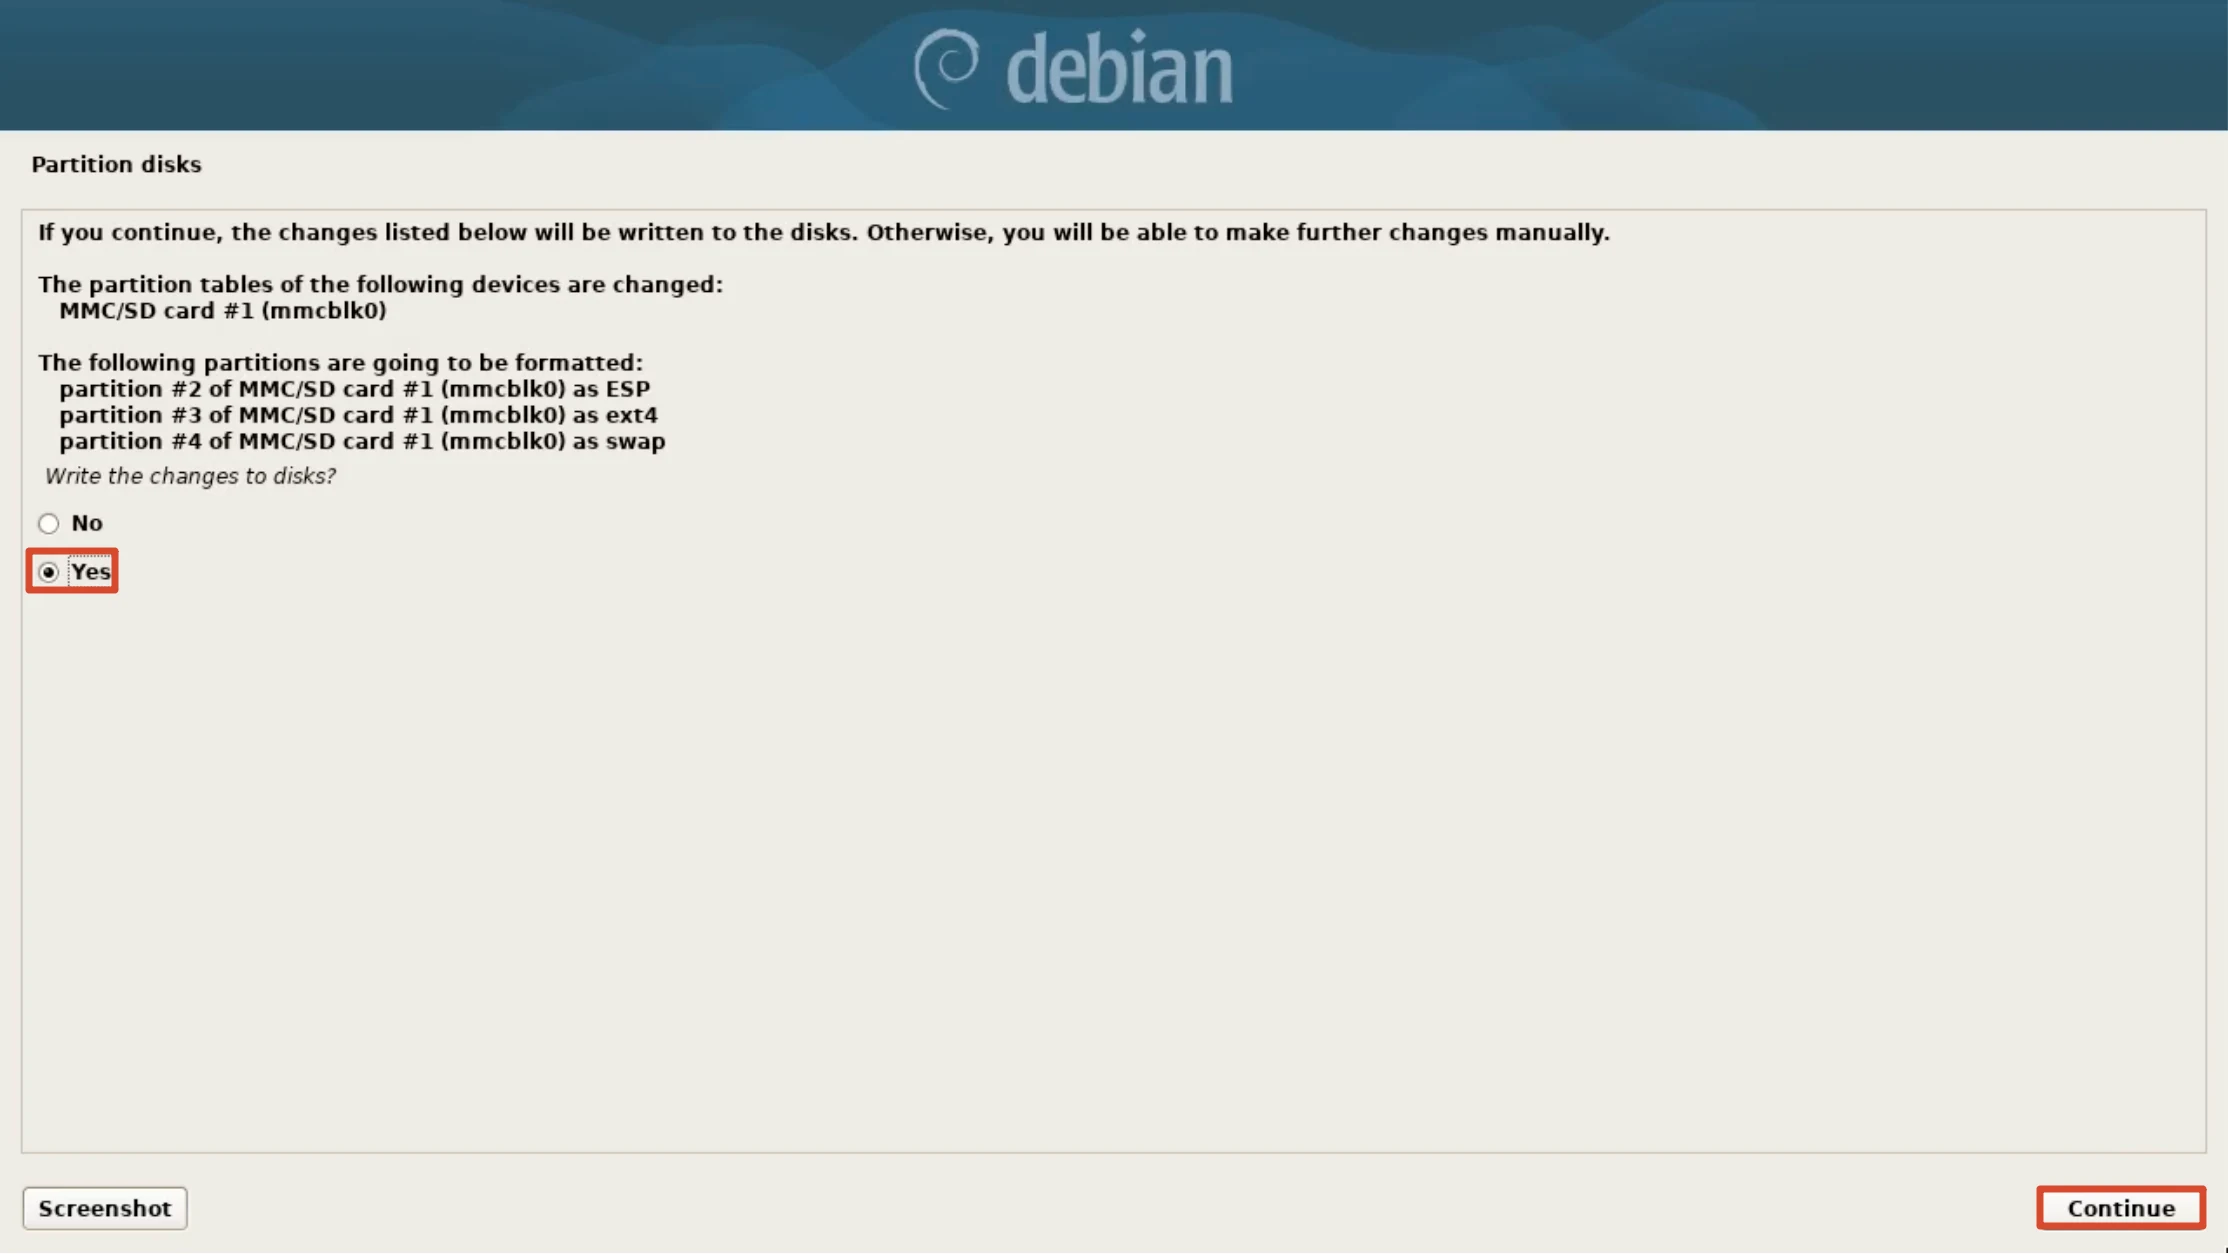
Confirm Writing the Partition Table
One final confirmation: the ESP, ext4, and swap partitions will be created and written to the disk. Select Yes and click Continue to begin formatting and installation.
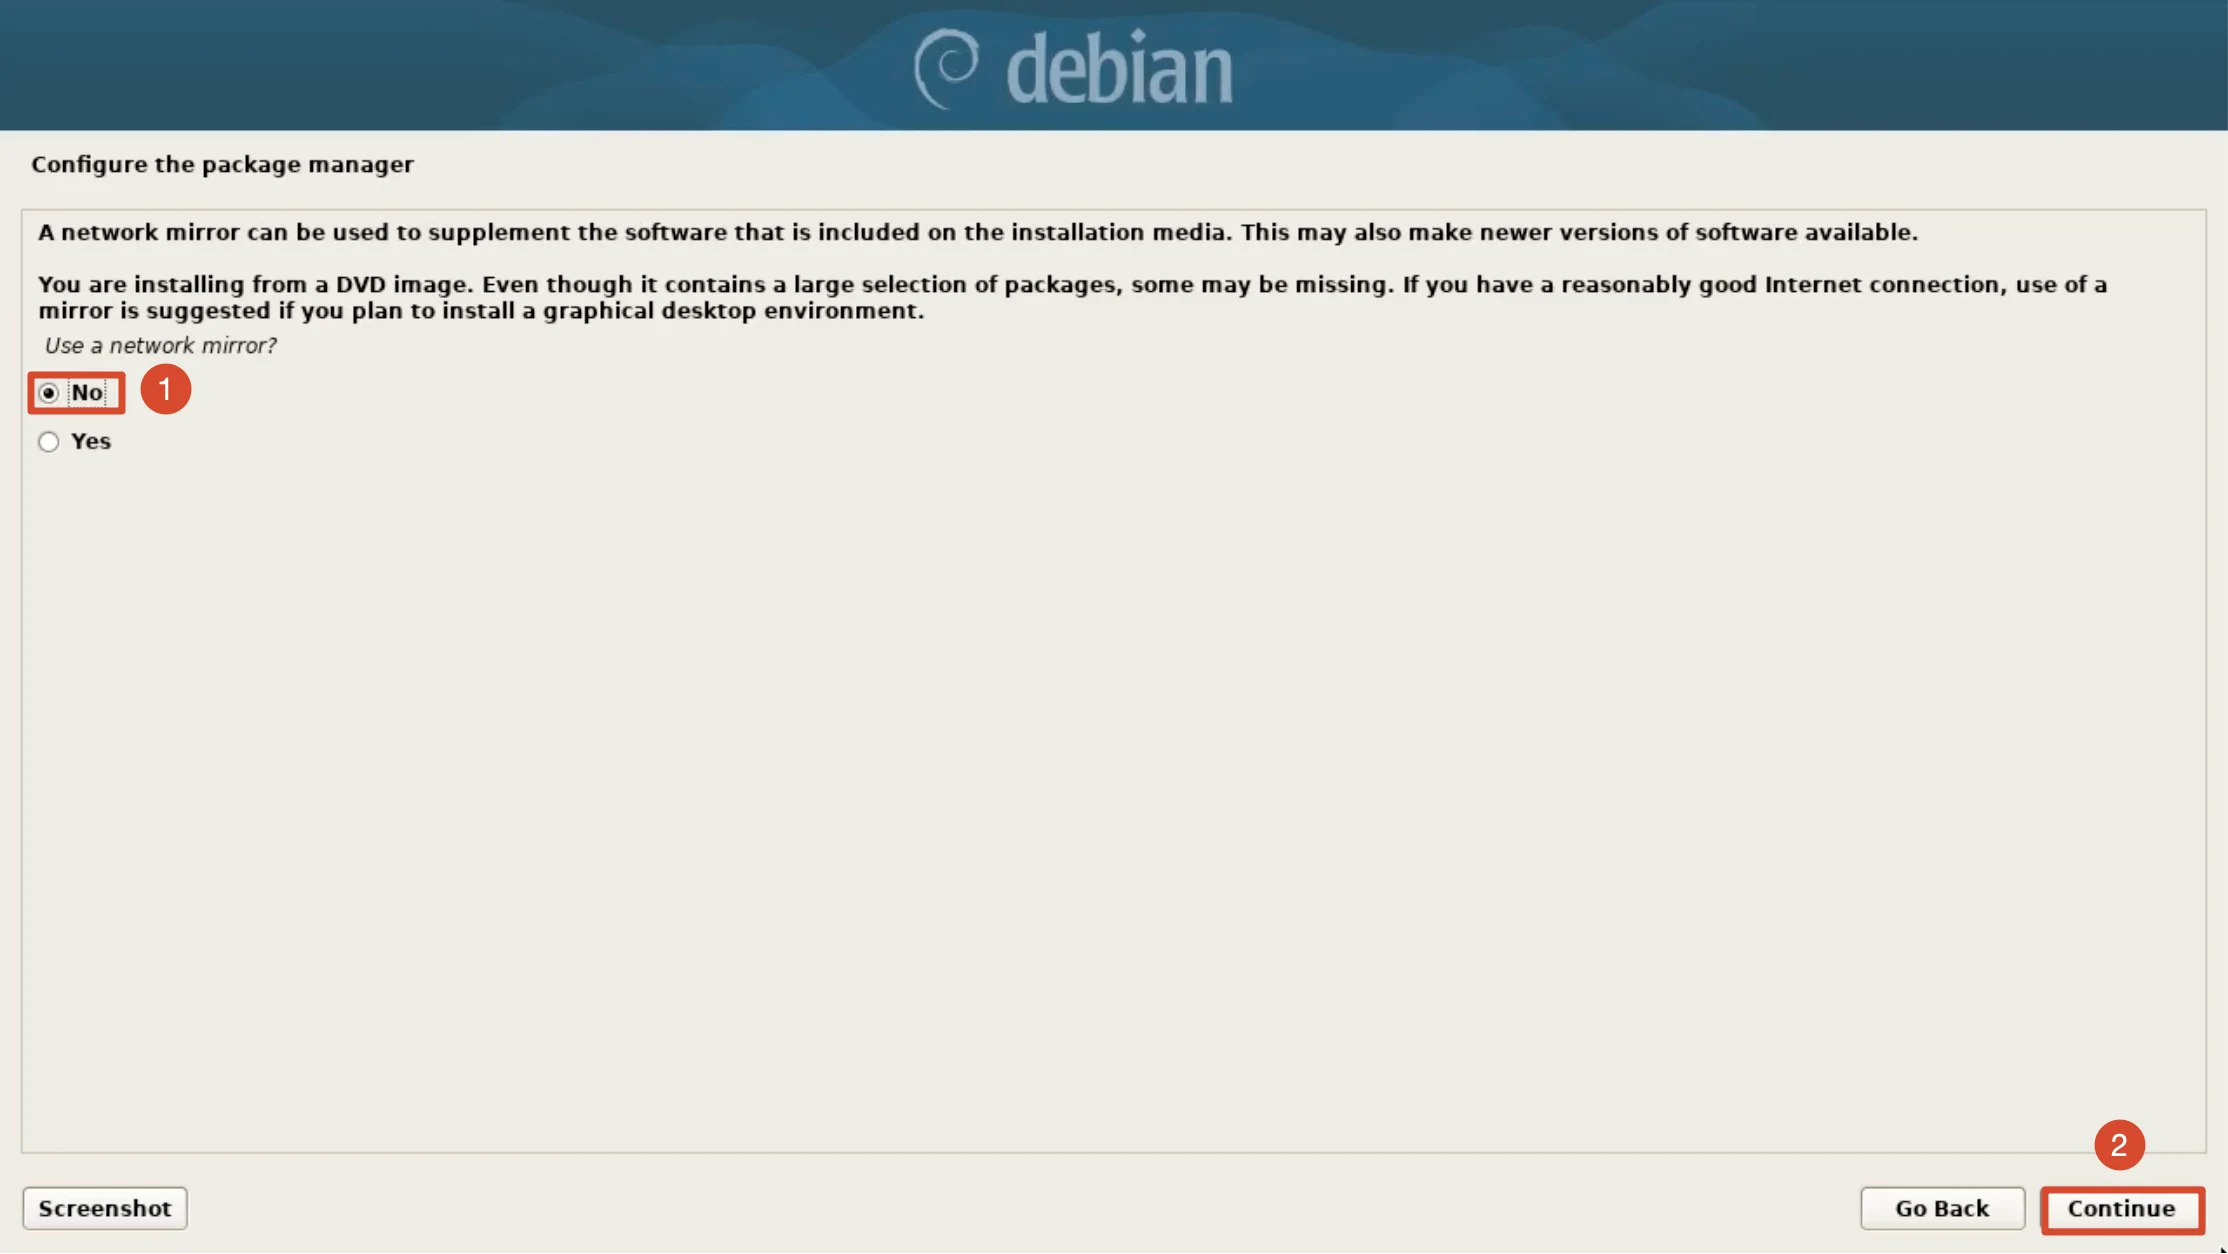
Configure the Package Manager (Network Mirror)
When asked Use a network mirror?, keep No and click Continue. This tutorial installs offline from the DVD medium, which is faster and does not depend on a network mirror.
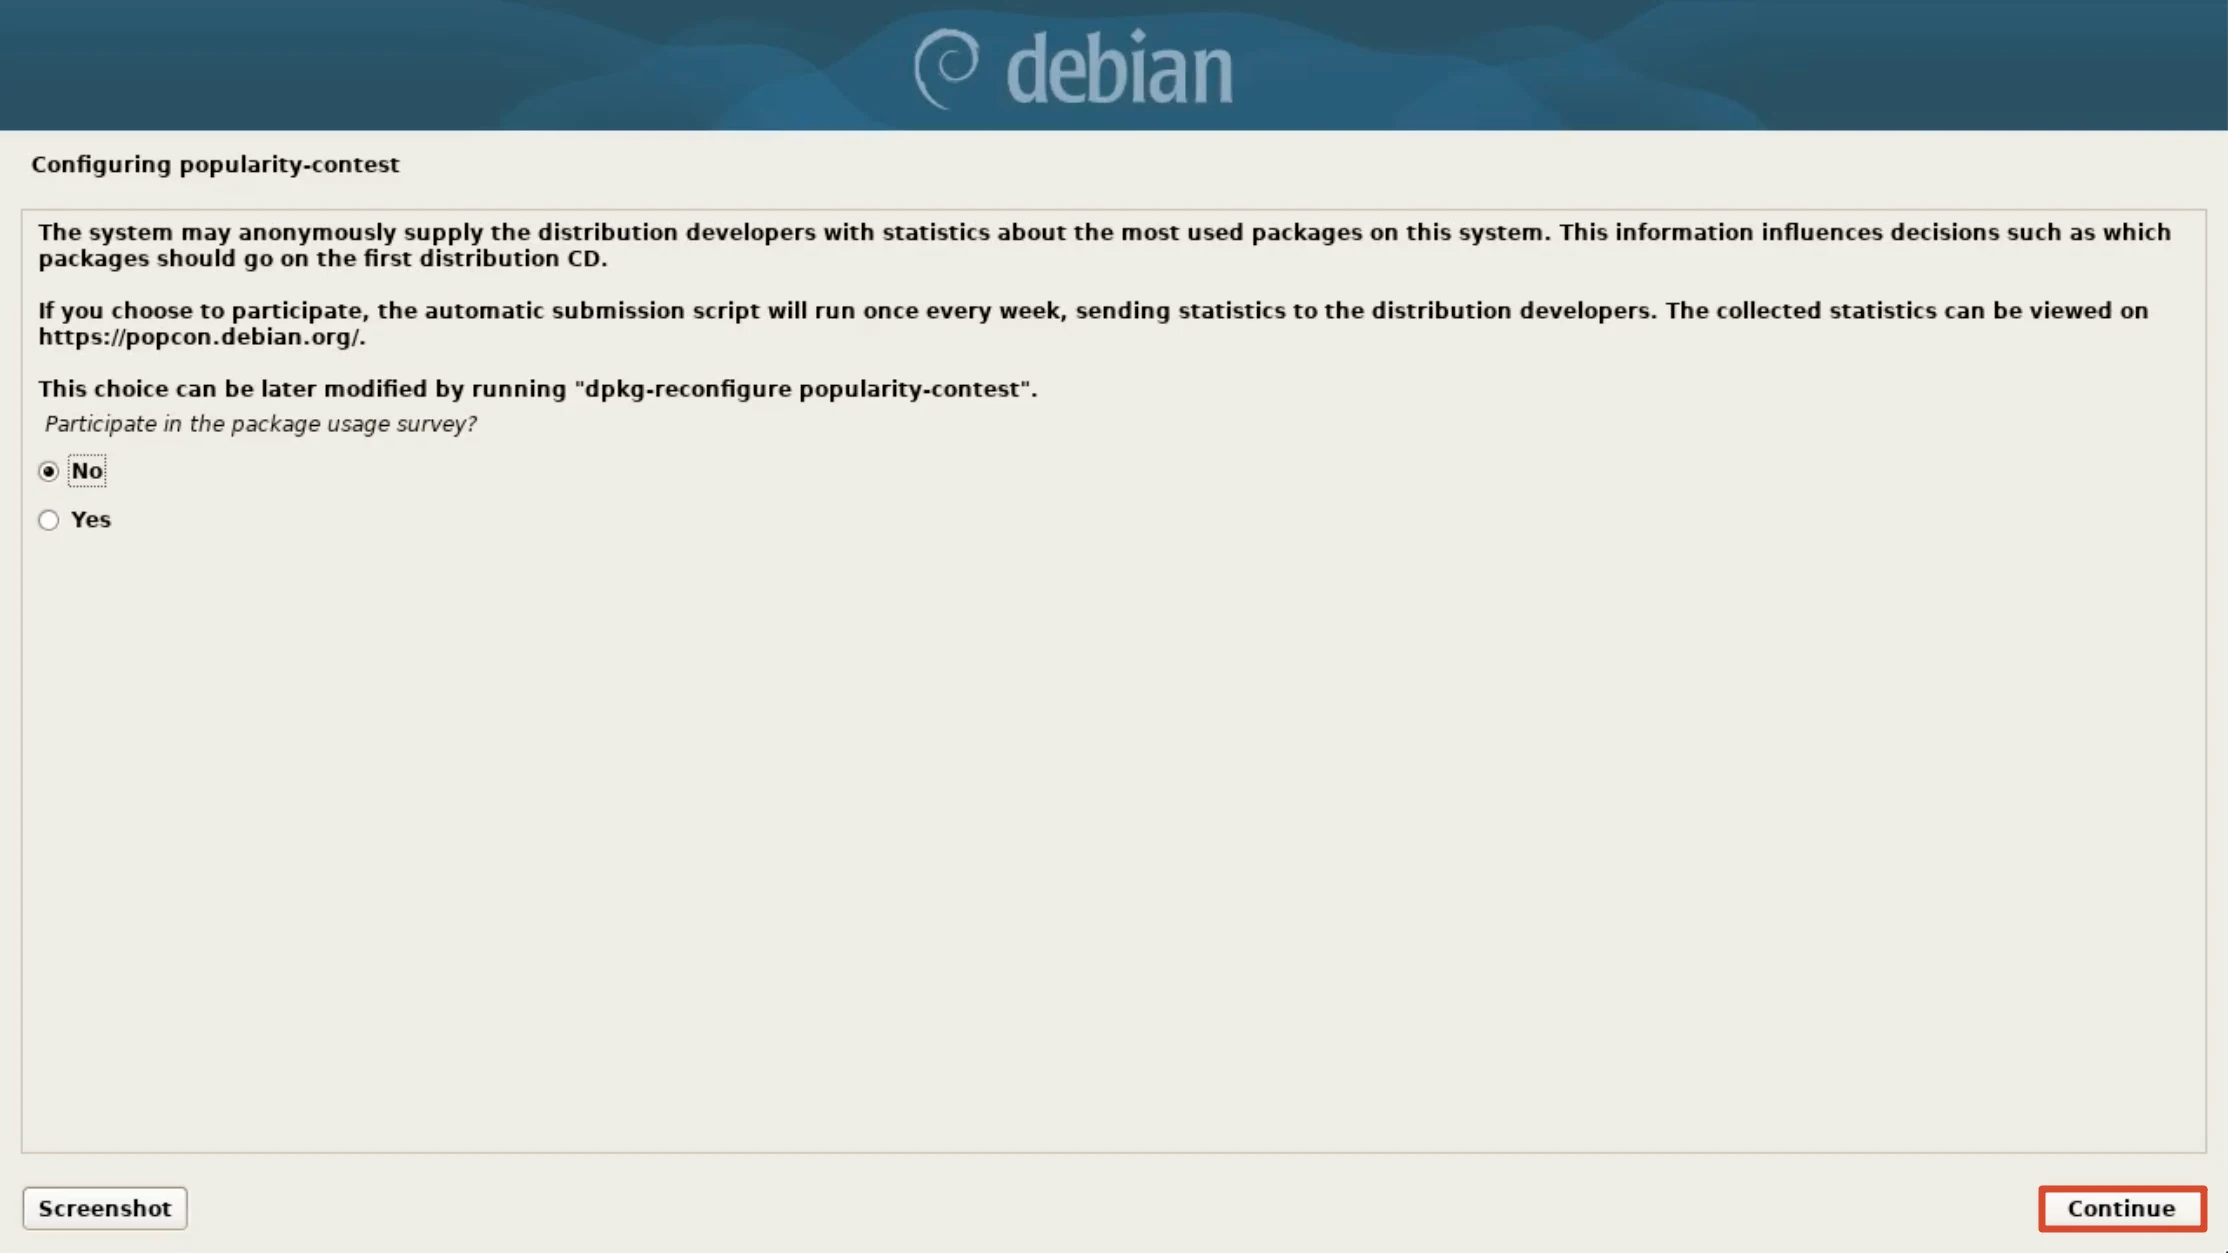
Participate in the Package Usage Survey?
Keep the default No for Participate in the package usage survey? (you can change this later with dpkg-reconfigure popularity-contest) and click Continue.
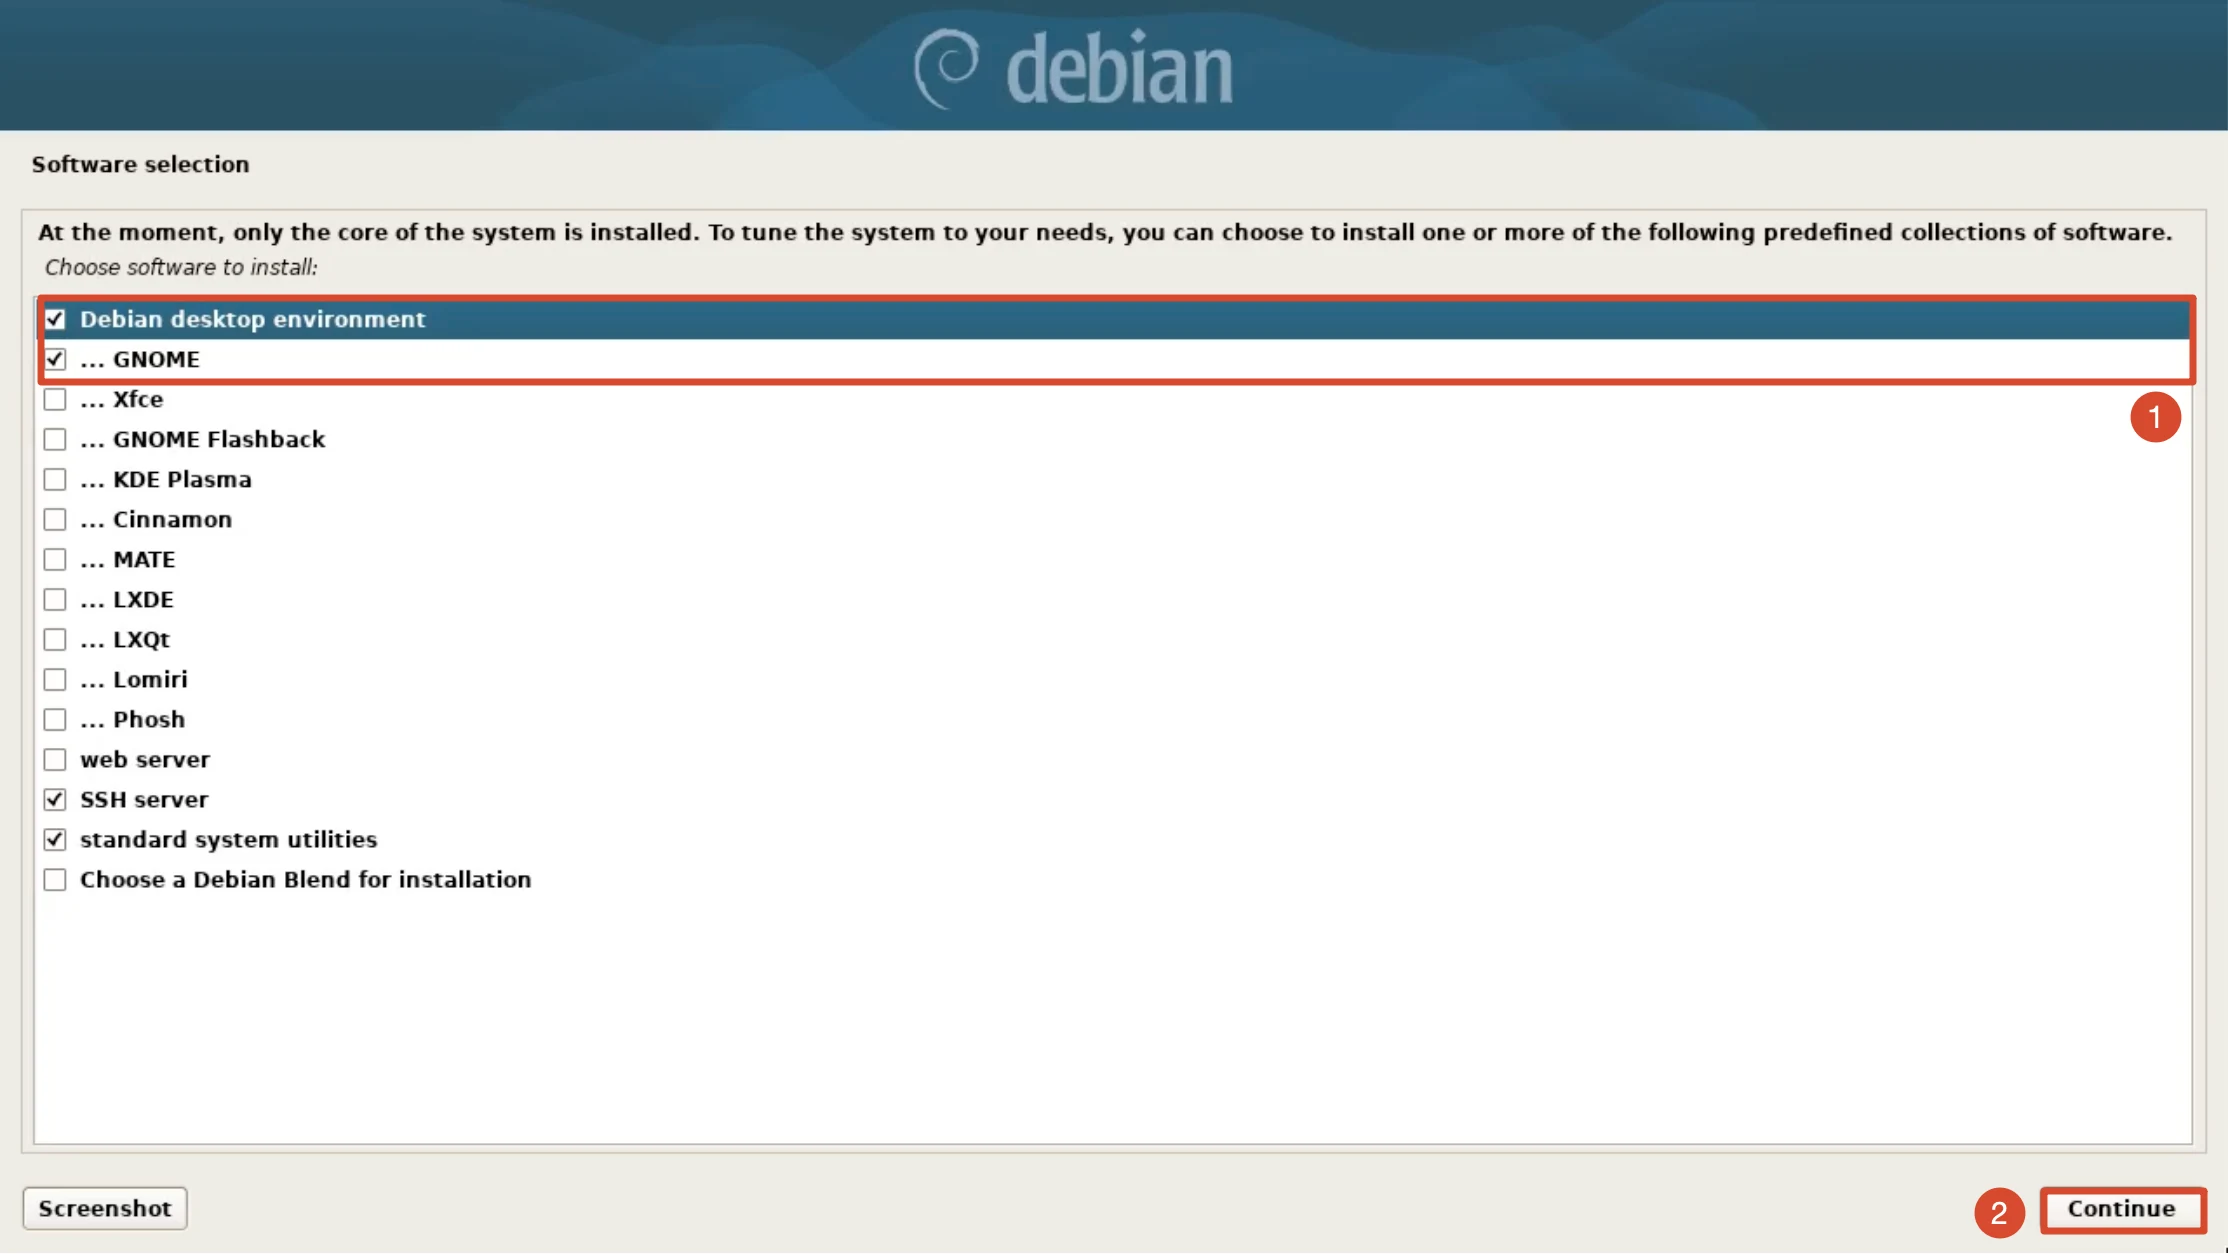
Software Selection
Keep Debian desktop environment + GNOME, SSH server, and standard system utilities selected; do not add other desktop environments, and do not select web server. Click Continue.
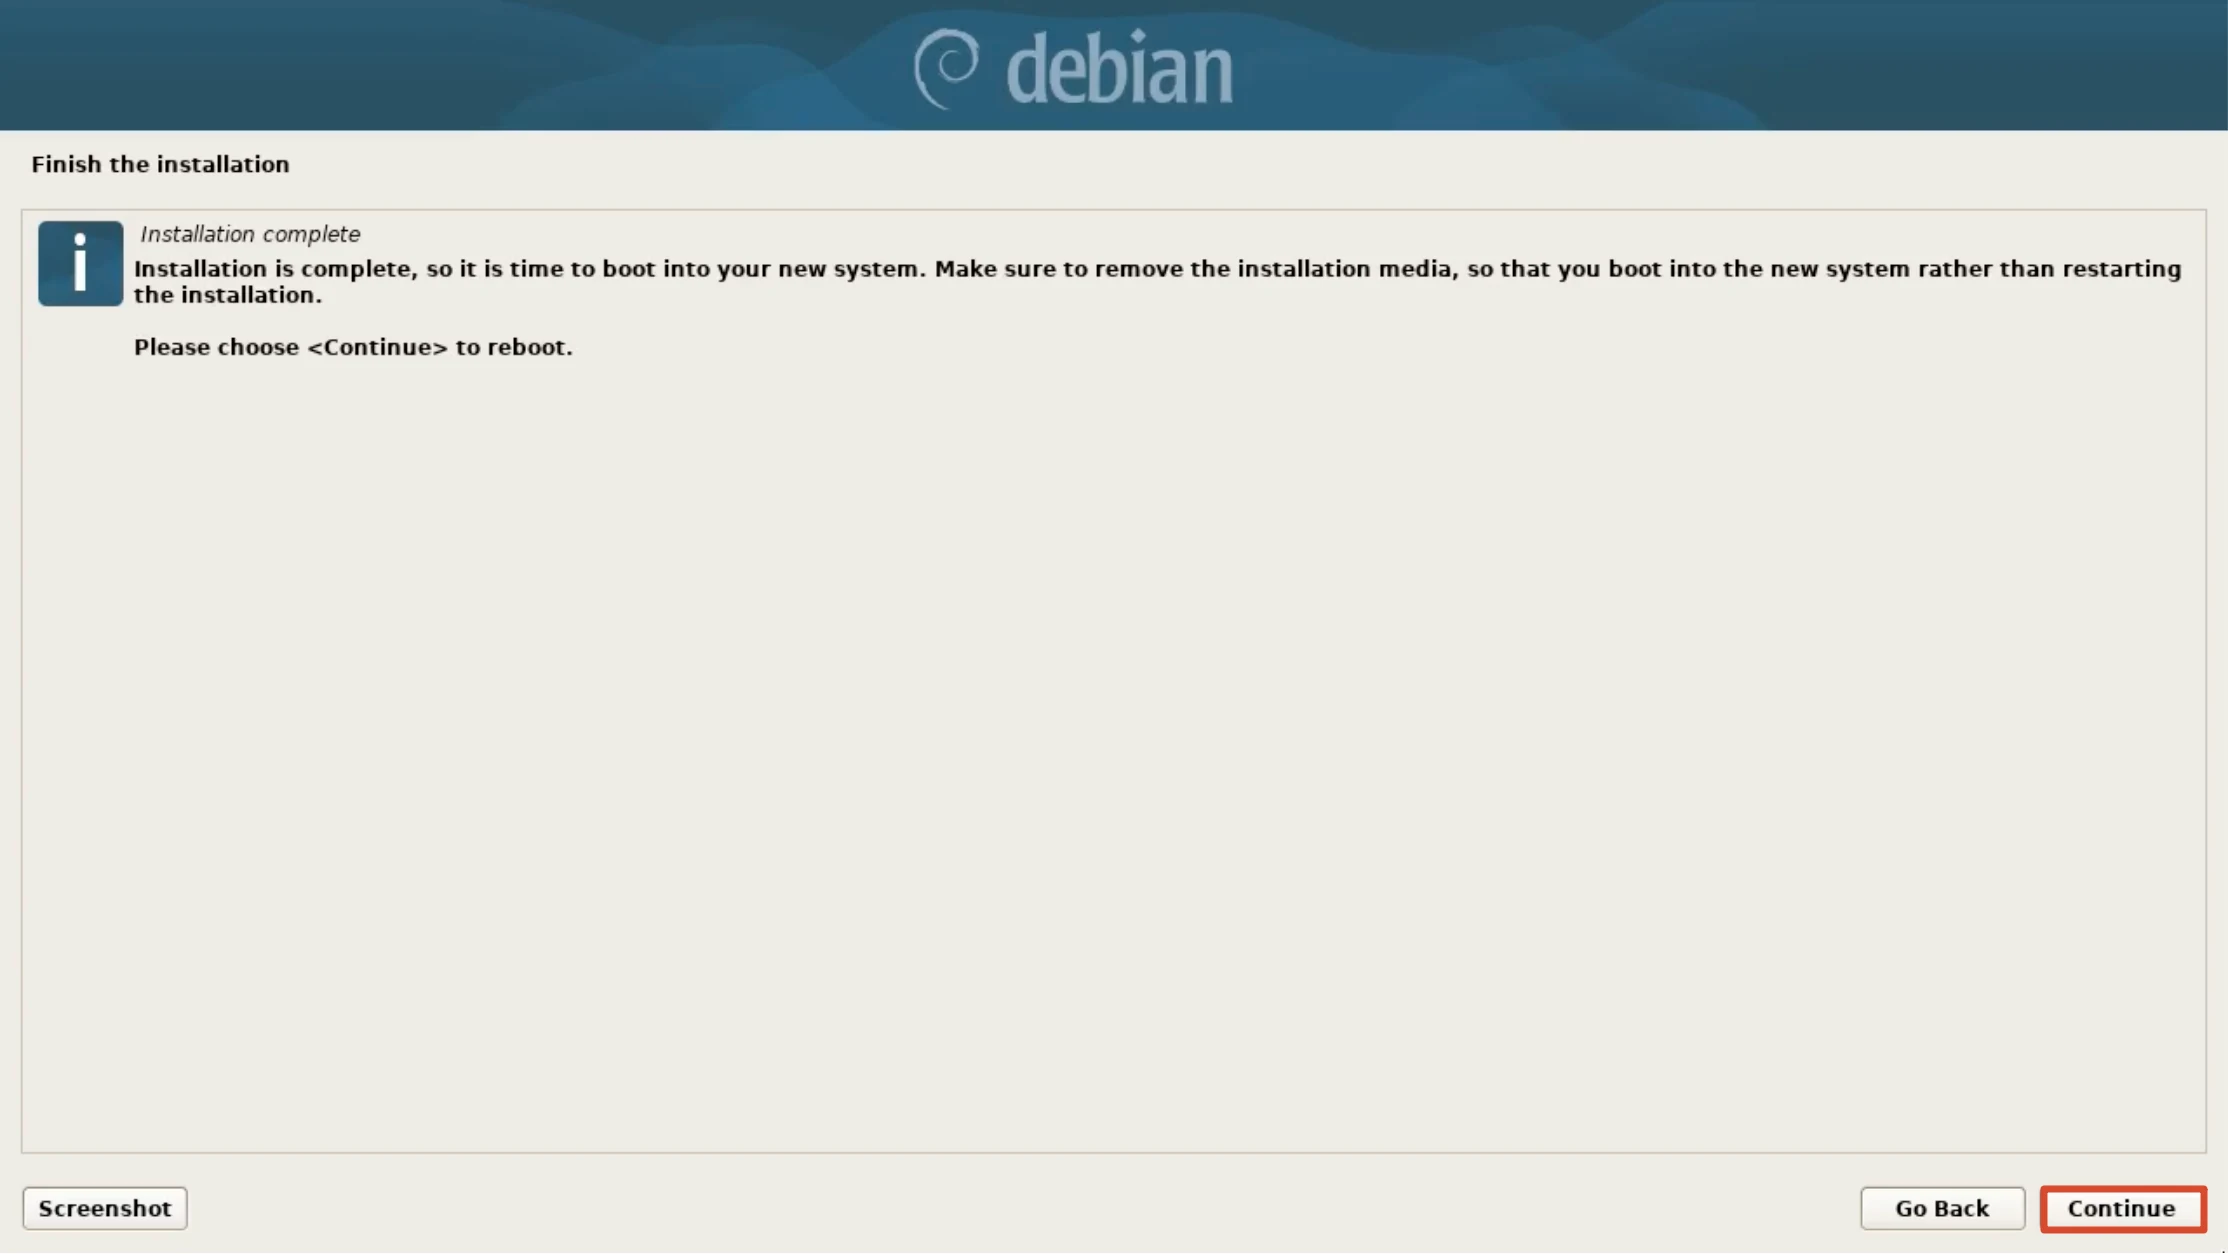
Finish the Installation
After the installation completes, unplug the installation USB drive first, then click Continue to reboot; otherwise the system will boot back into the installer from the USB drive.
Using Debian
First Boot: The GNOME Desktop
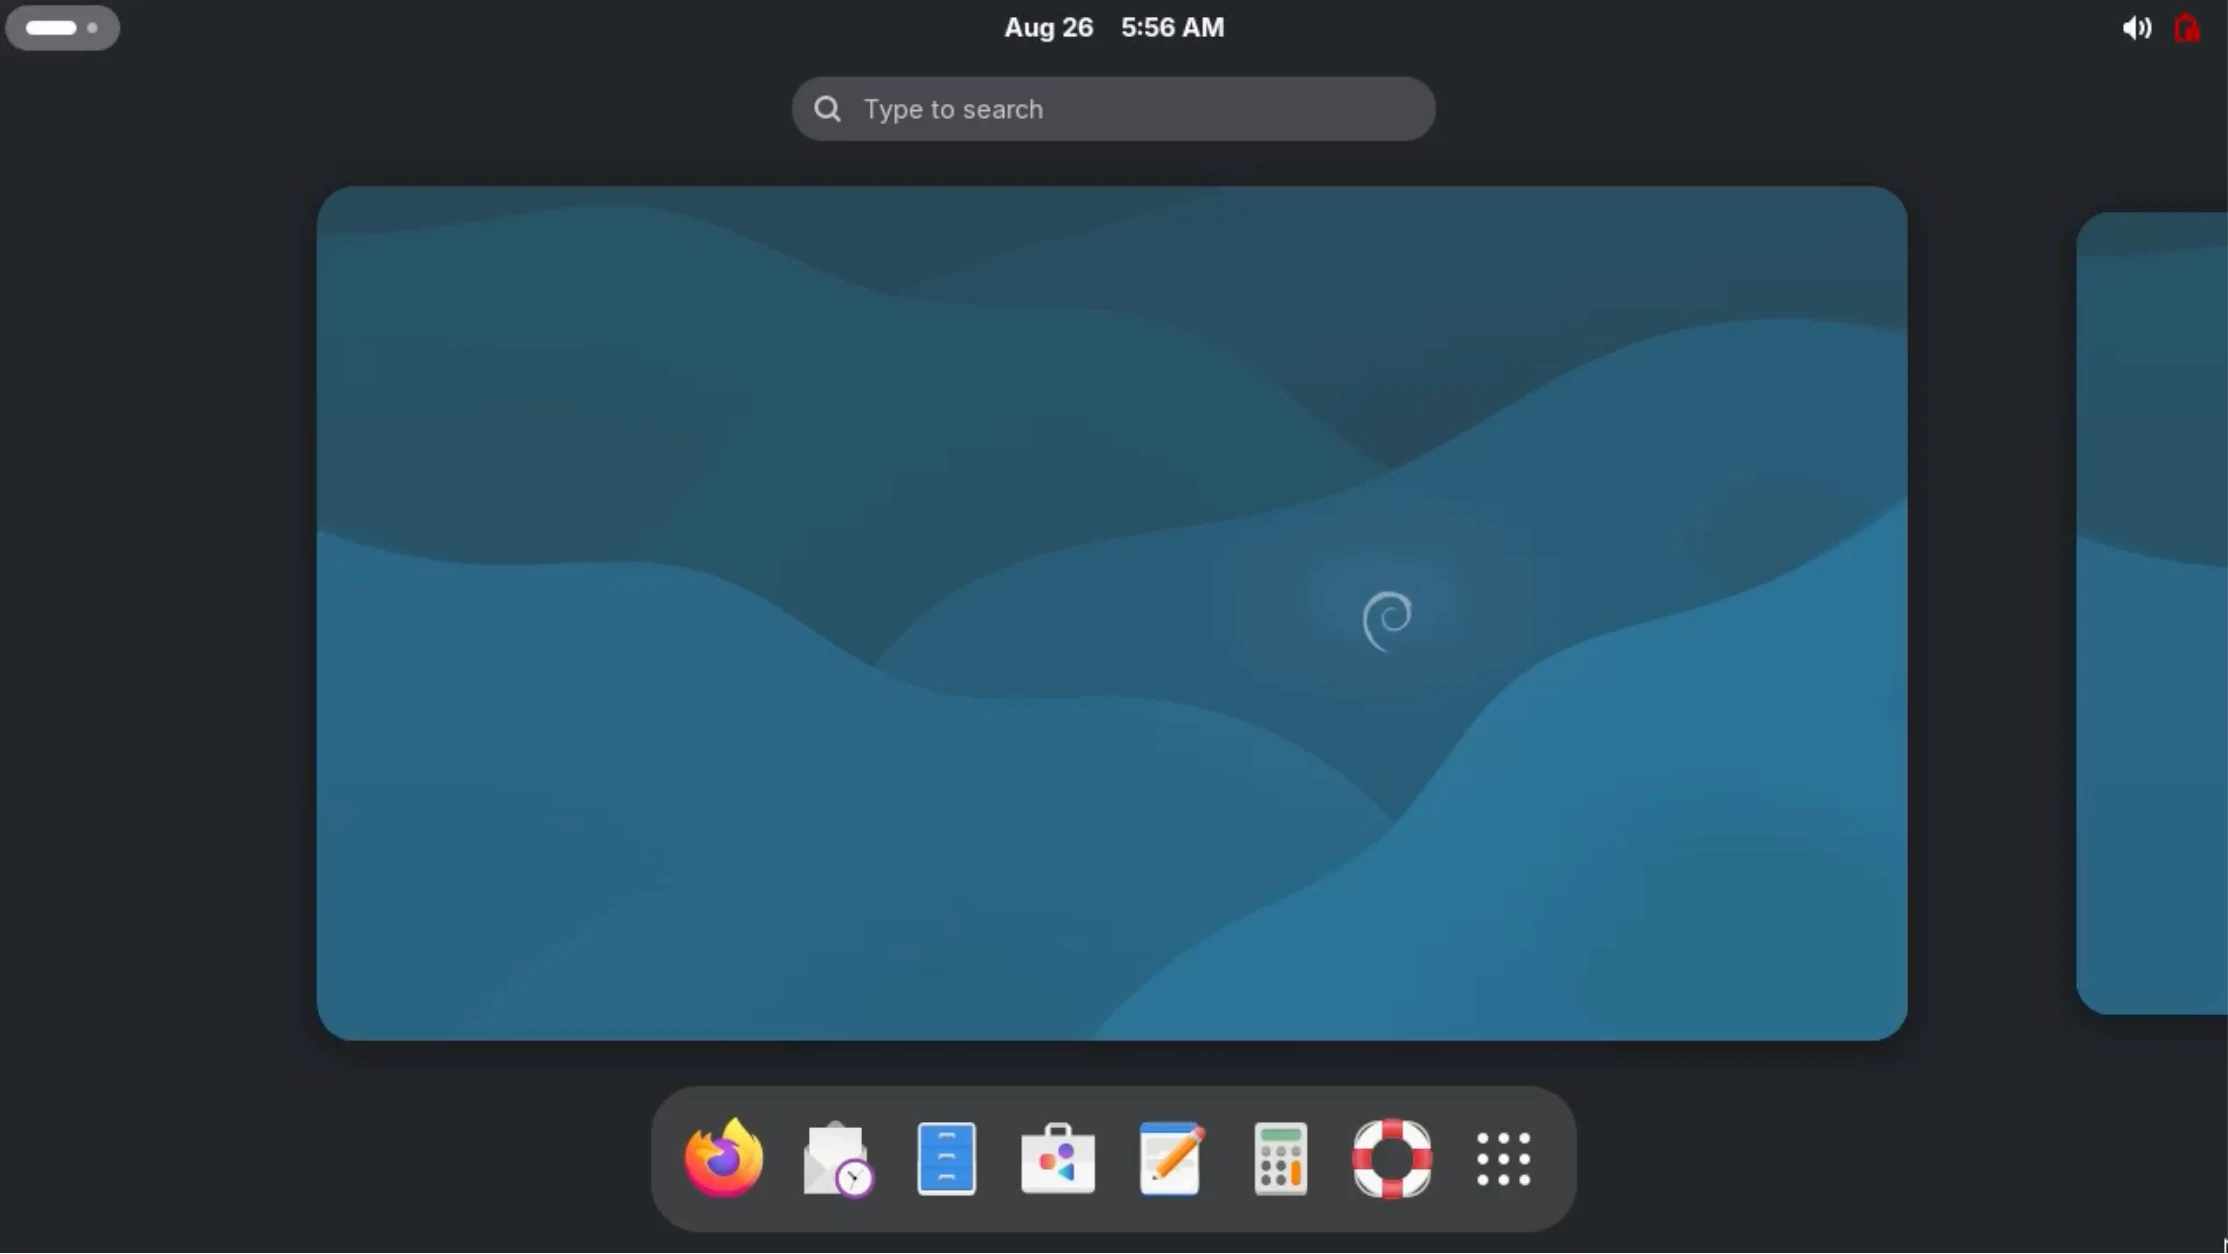
During the reboot, unplug the installation USB drive so the system boots from the microSD card. Once the GNOME desktop appears, you can launch Firefox, Files, LibreOffice, and other applications from the Dock at the bottom, and click the grid icon to view all applications.