Install Ubuntu 26.04
This guide explains how to create a bootable USB drive and install Ubuntu 26.04 to a microSD card on the Radxa Dragon Q8B, from BIOS setup through the installer and the first boot into the desktop.
The installation process erases all data on the selected target storage device. Back up any important files in advance, and double-check the target disk.
Download the System Image
Download the ARM64 build of Ubuntu 26.04 from the official Ubuntu website.
Burn the Bootable USB Drive
Use balenaEtcher to write the downloaded system image to a USB drive. For installation and usage instructions, see Etcher Usage.
Modify BIOS Settings
Install the bootable USB drive and the microSD card on the board, then connect the power adapter.
Enter the UEFI Setup Main Screen
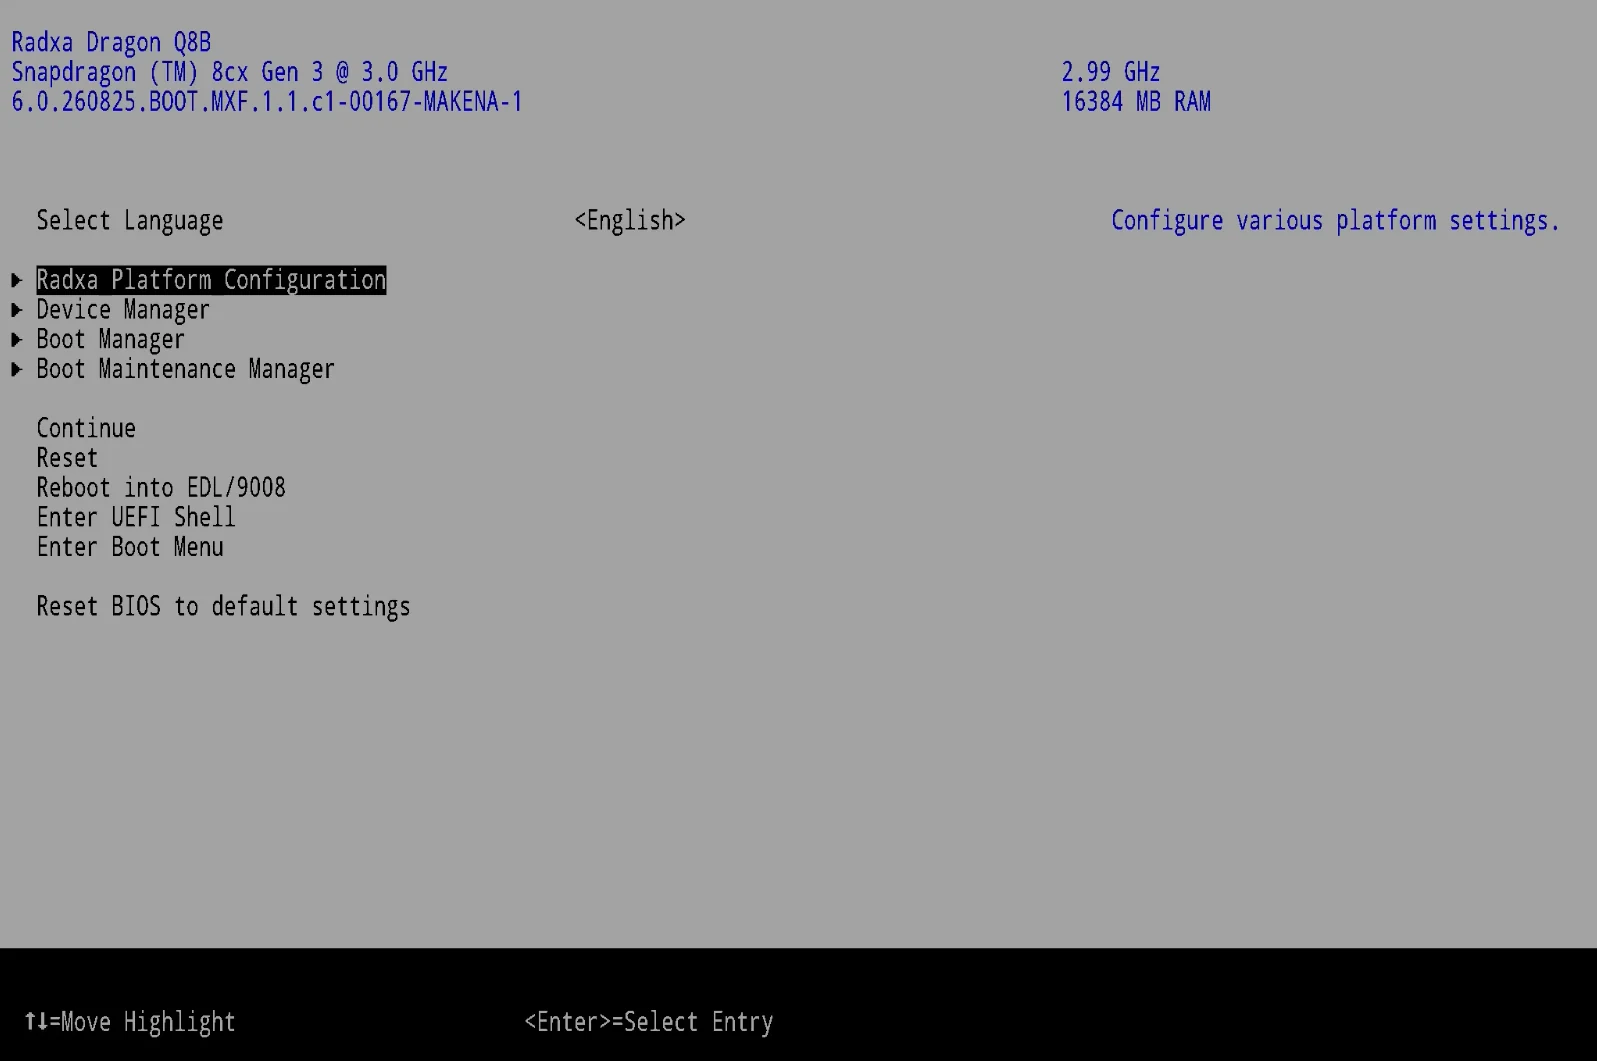
Power on and press F2 to enter the UEFI setup. The top of the main screen shows the SoC (Snapdragon 8cx Gen 3), the firmware version, and the memory capacity (16384 MB). Confirm that the cursor is on Radxa Platform Configuration and press Enter; use ↑↓ to move the highlight and Enter to enter a submenu.
Enter Radxa Platform Configuration
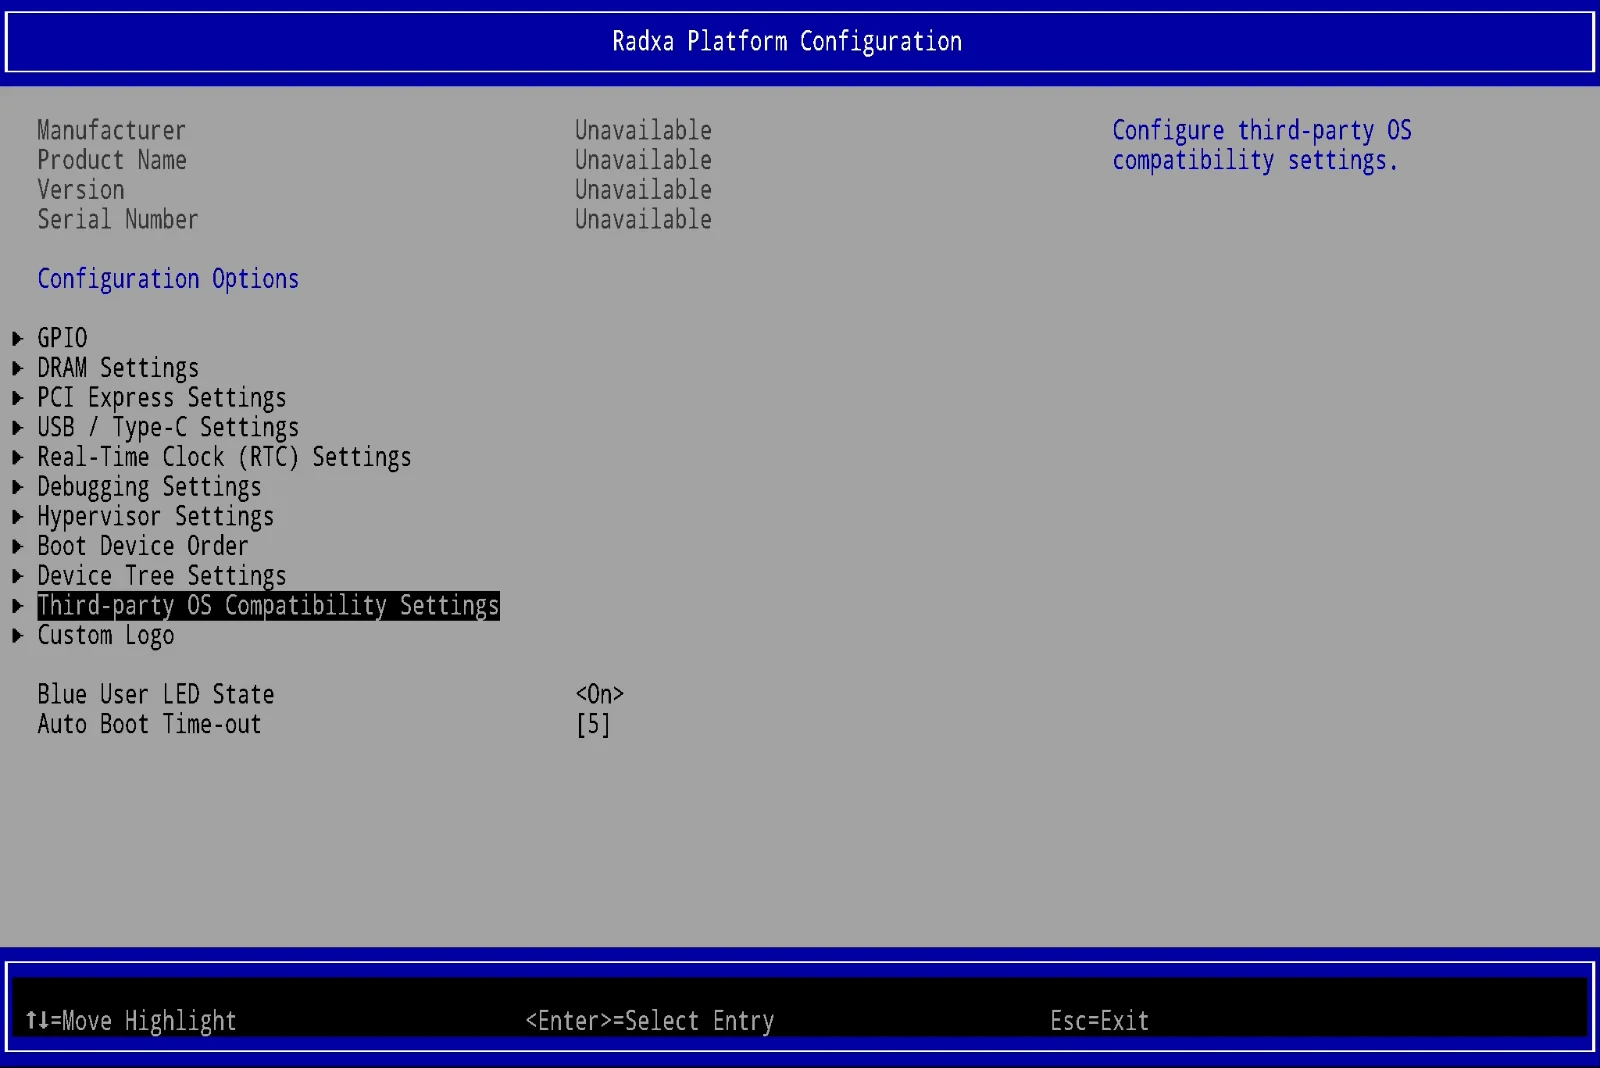
In the Configuration Options list of the platform configuration menu, use ↑↓ to move the highlight to Third-party OS Compatibility Settings and press Enter.
Set All Third-Party OS Compatibility Options to Enabled
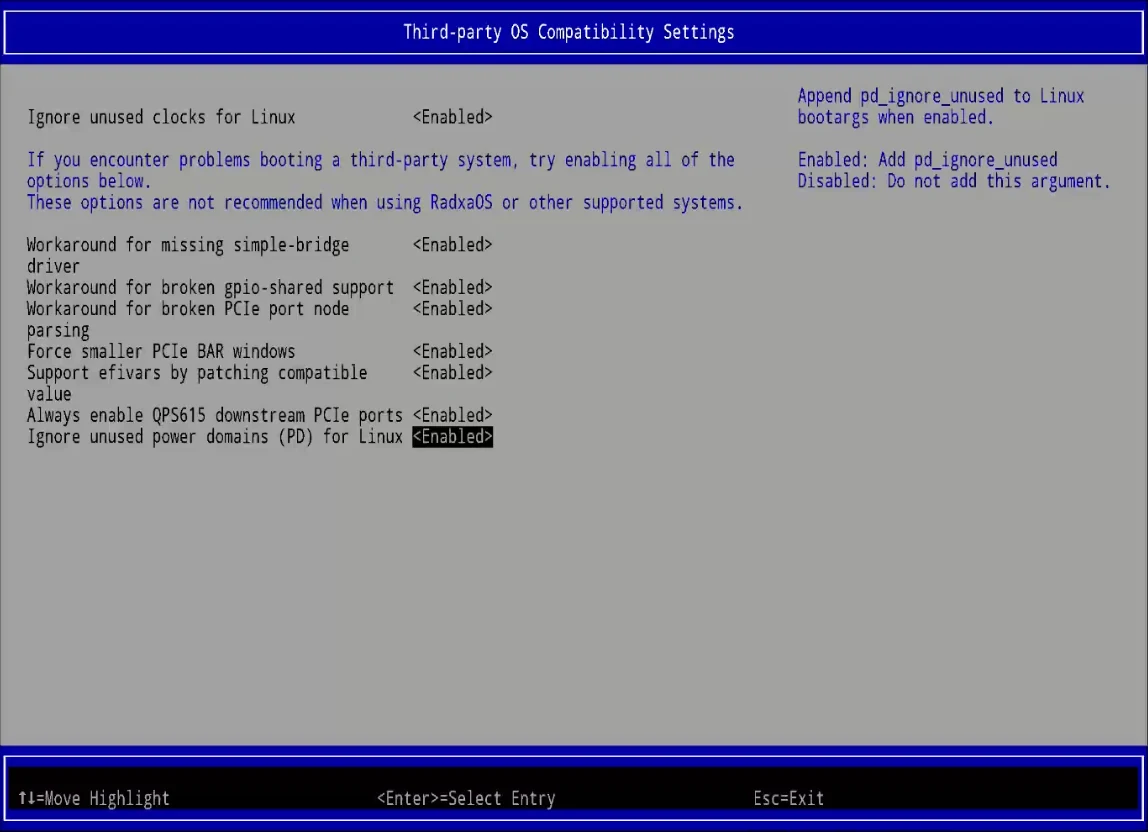
Inside Third-party OS Compatibility Settings, keep every option (simple-bridge / gpio-shared / PCIe port node parsing / PCIe BAR windows / efivars / QPS615 / PD, and so on) set to <Enabled>. When Ignore unused power domains (PD) for Linux is enabled, pd_ignore_unused is appended to the Linux boot parameters. When you are done, press Esc to exit and save.
Install Ubuntu
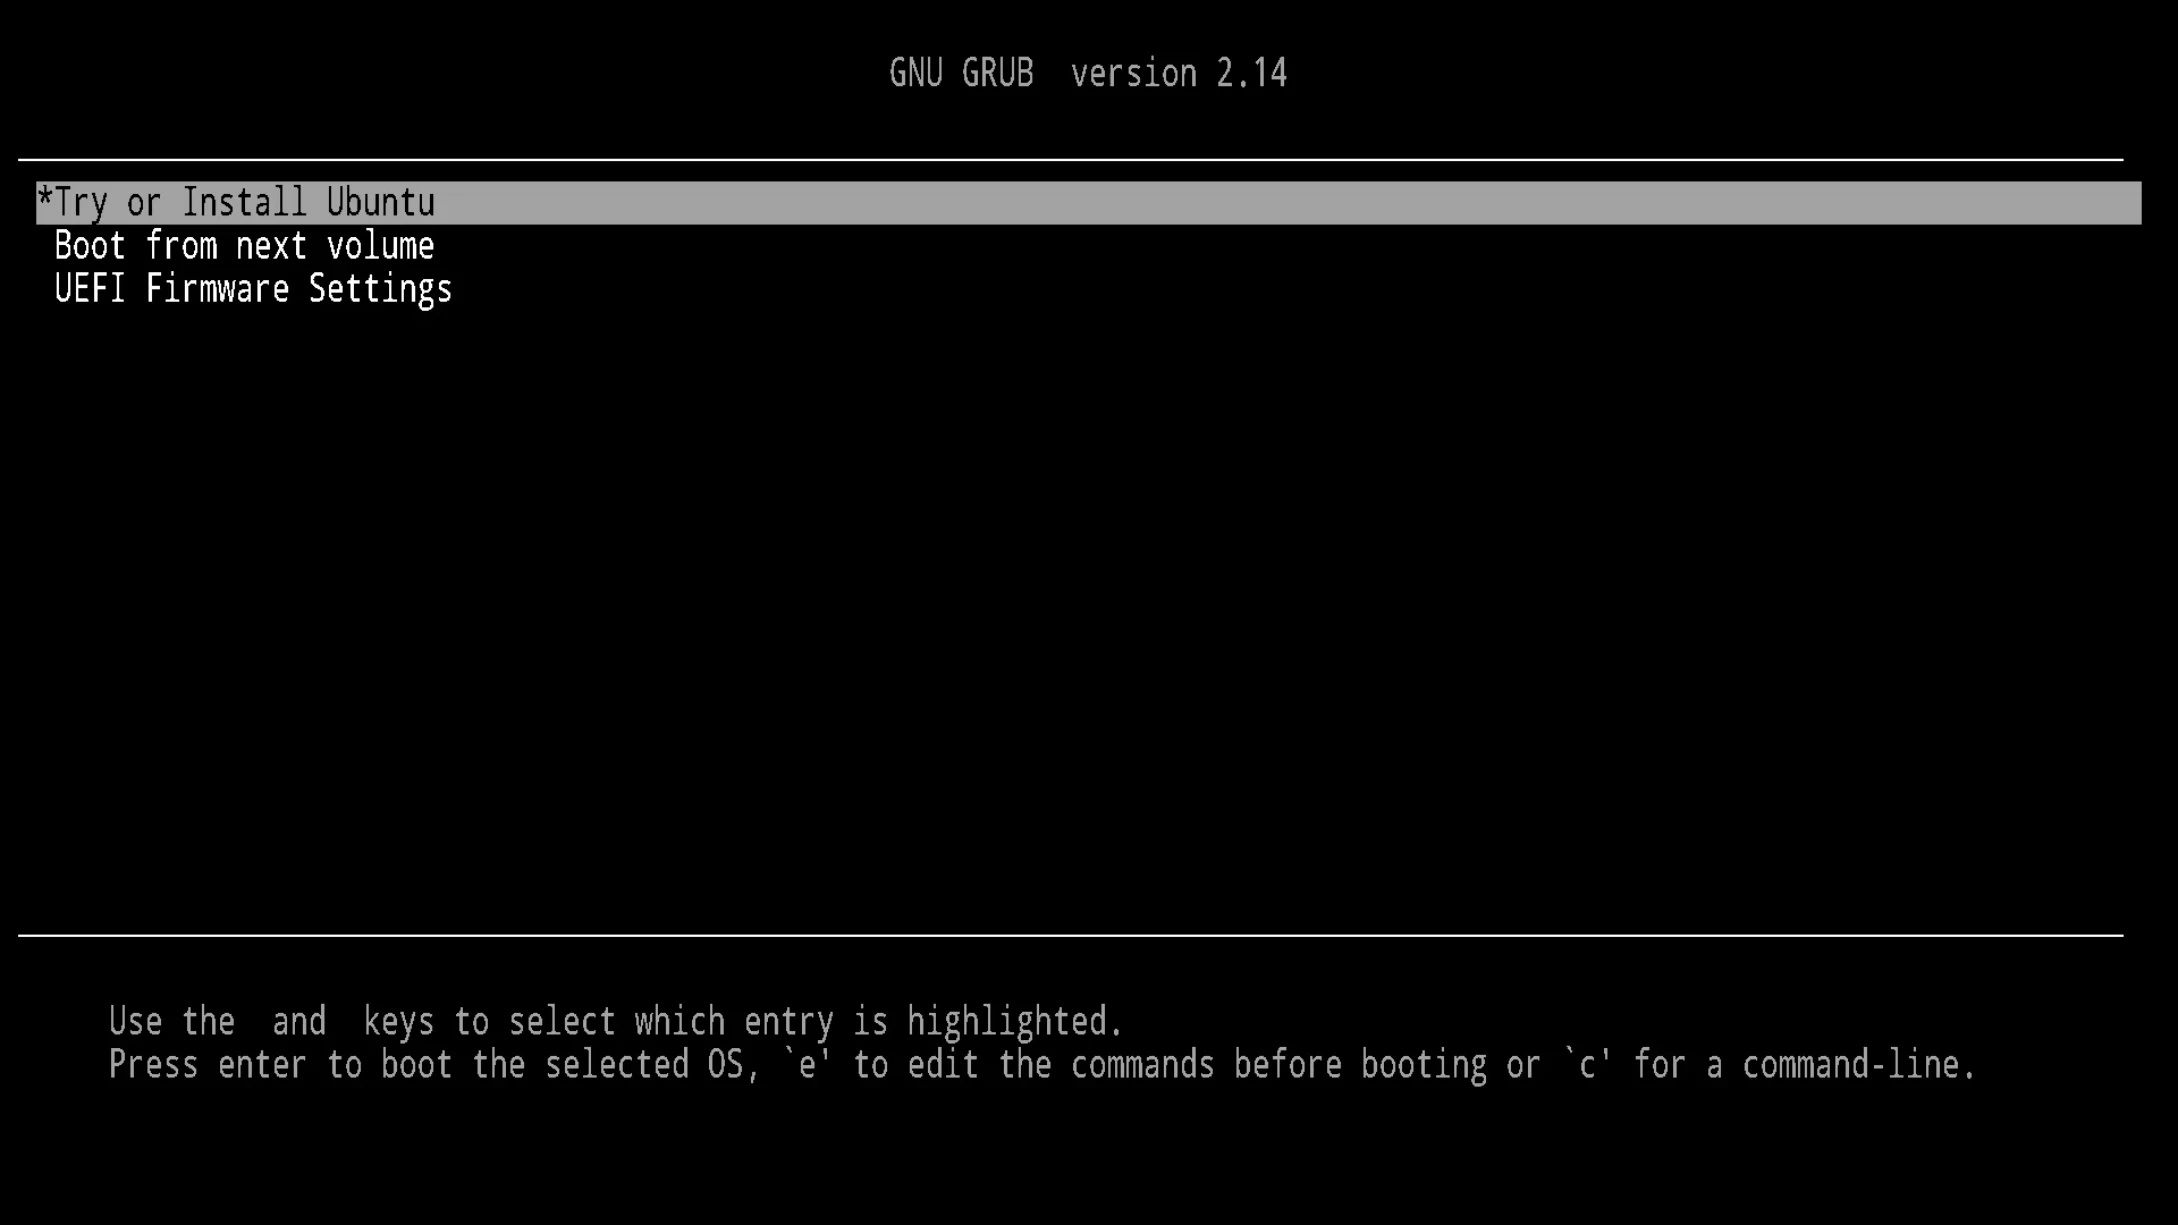
GRUB Boot Menu: Try or Install Ubuntu
After booting from the USB drive, the GRUB menu appears with Try or Install Ubuntu highlighted by default; press Enter to start the Ubuntu installer.
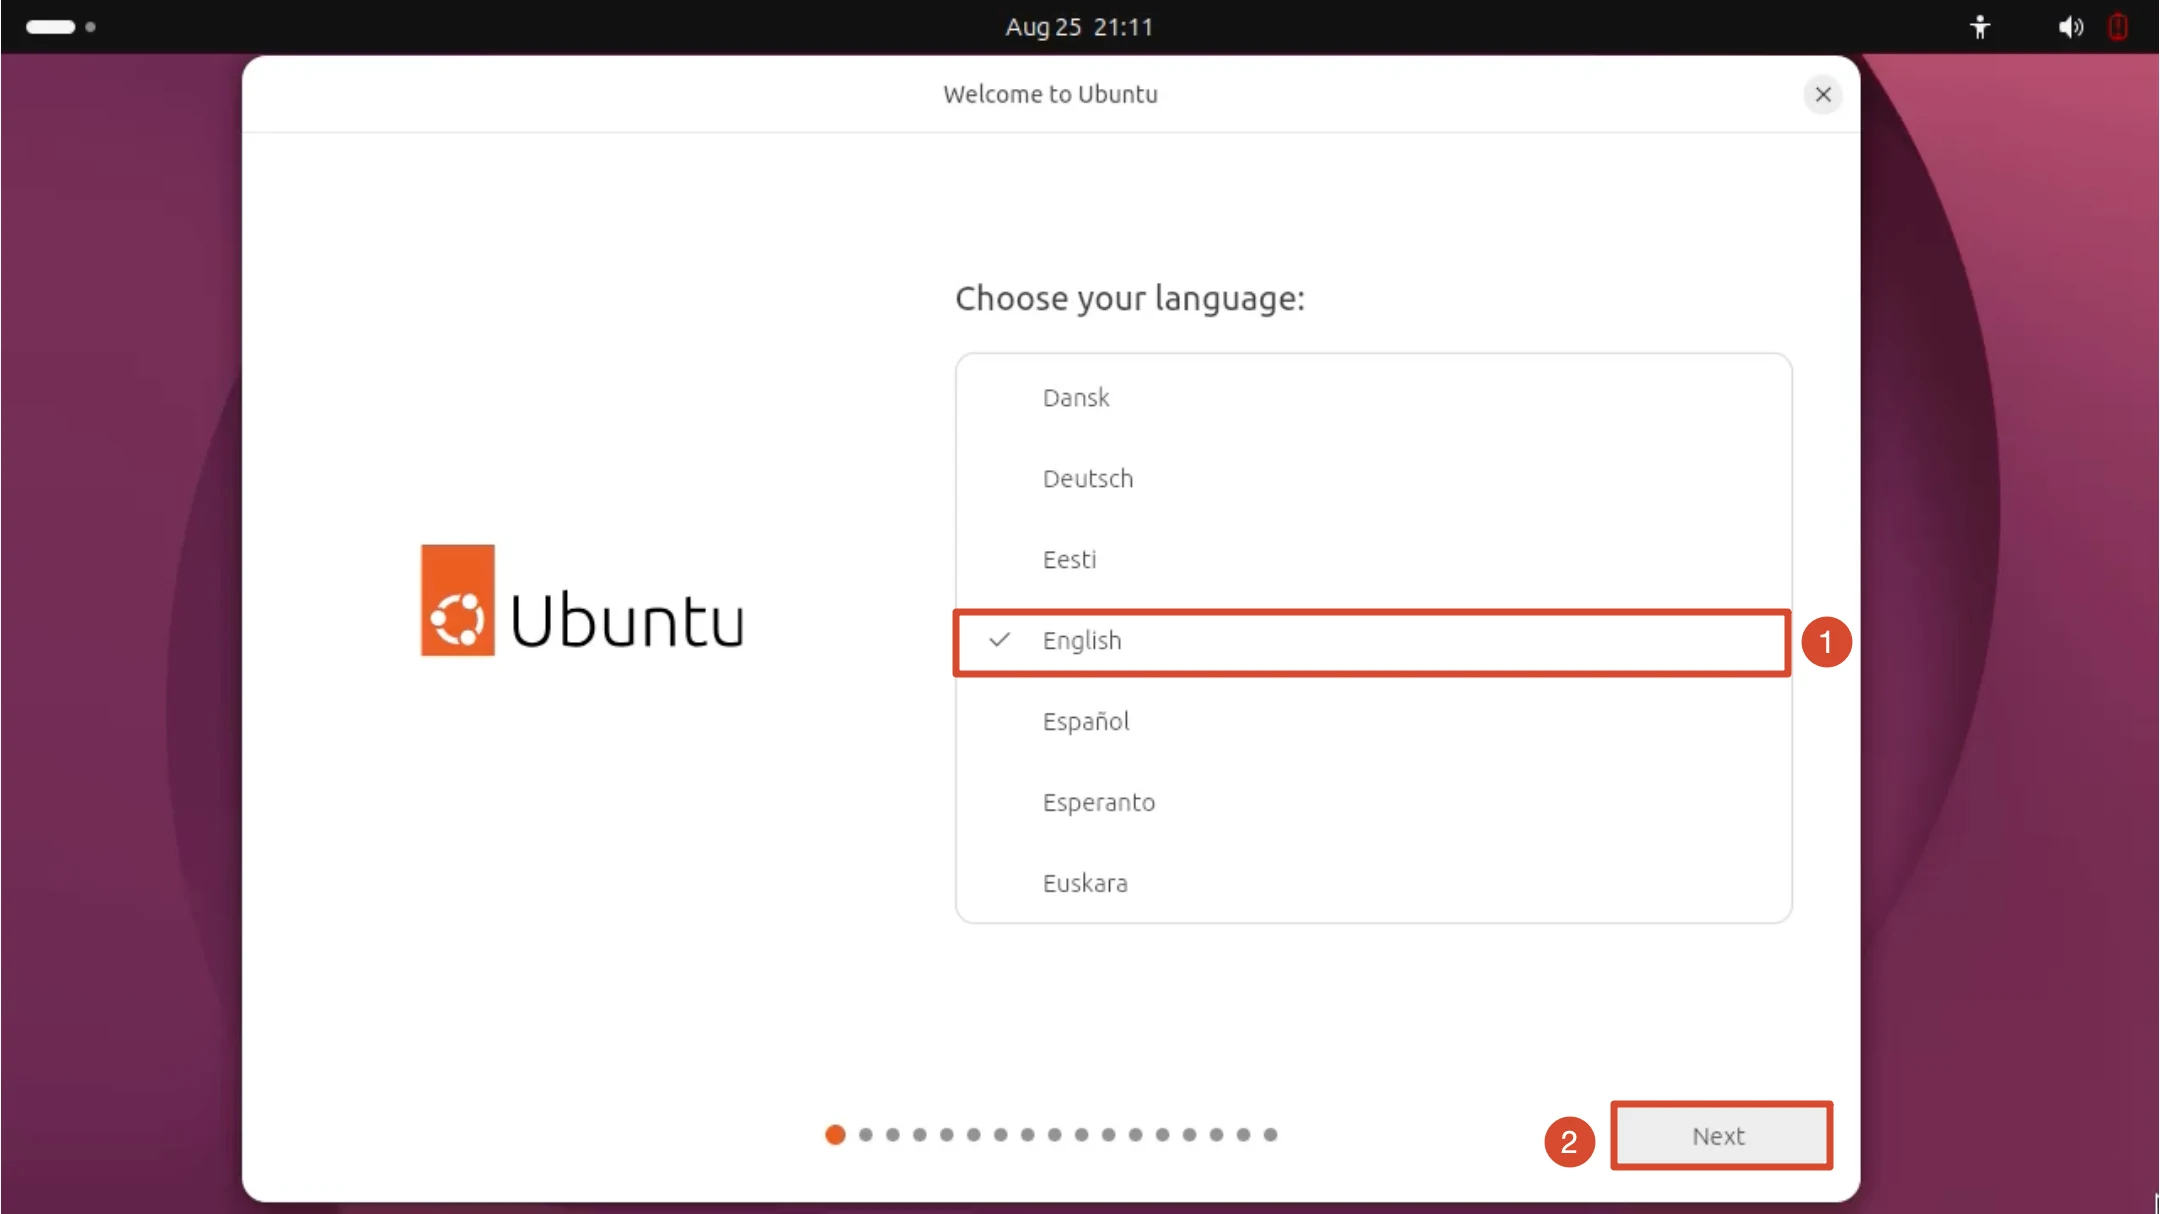
Select the Installation Language
Select English in the language list (it is selected by default) and click Next in the lower-right corner to continue.
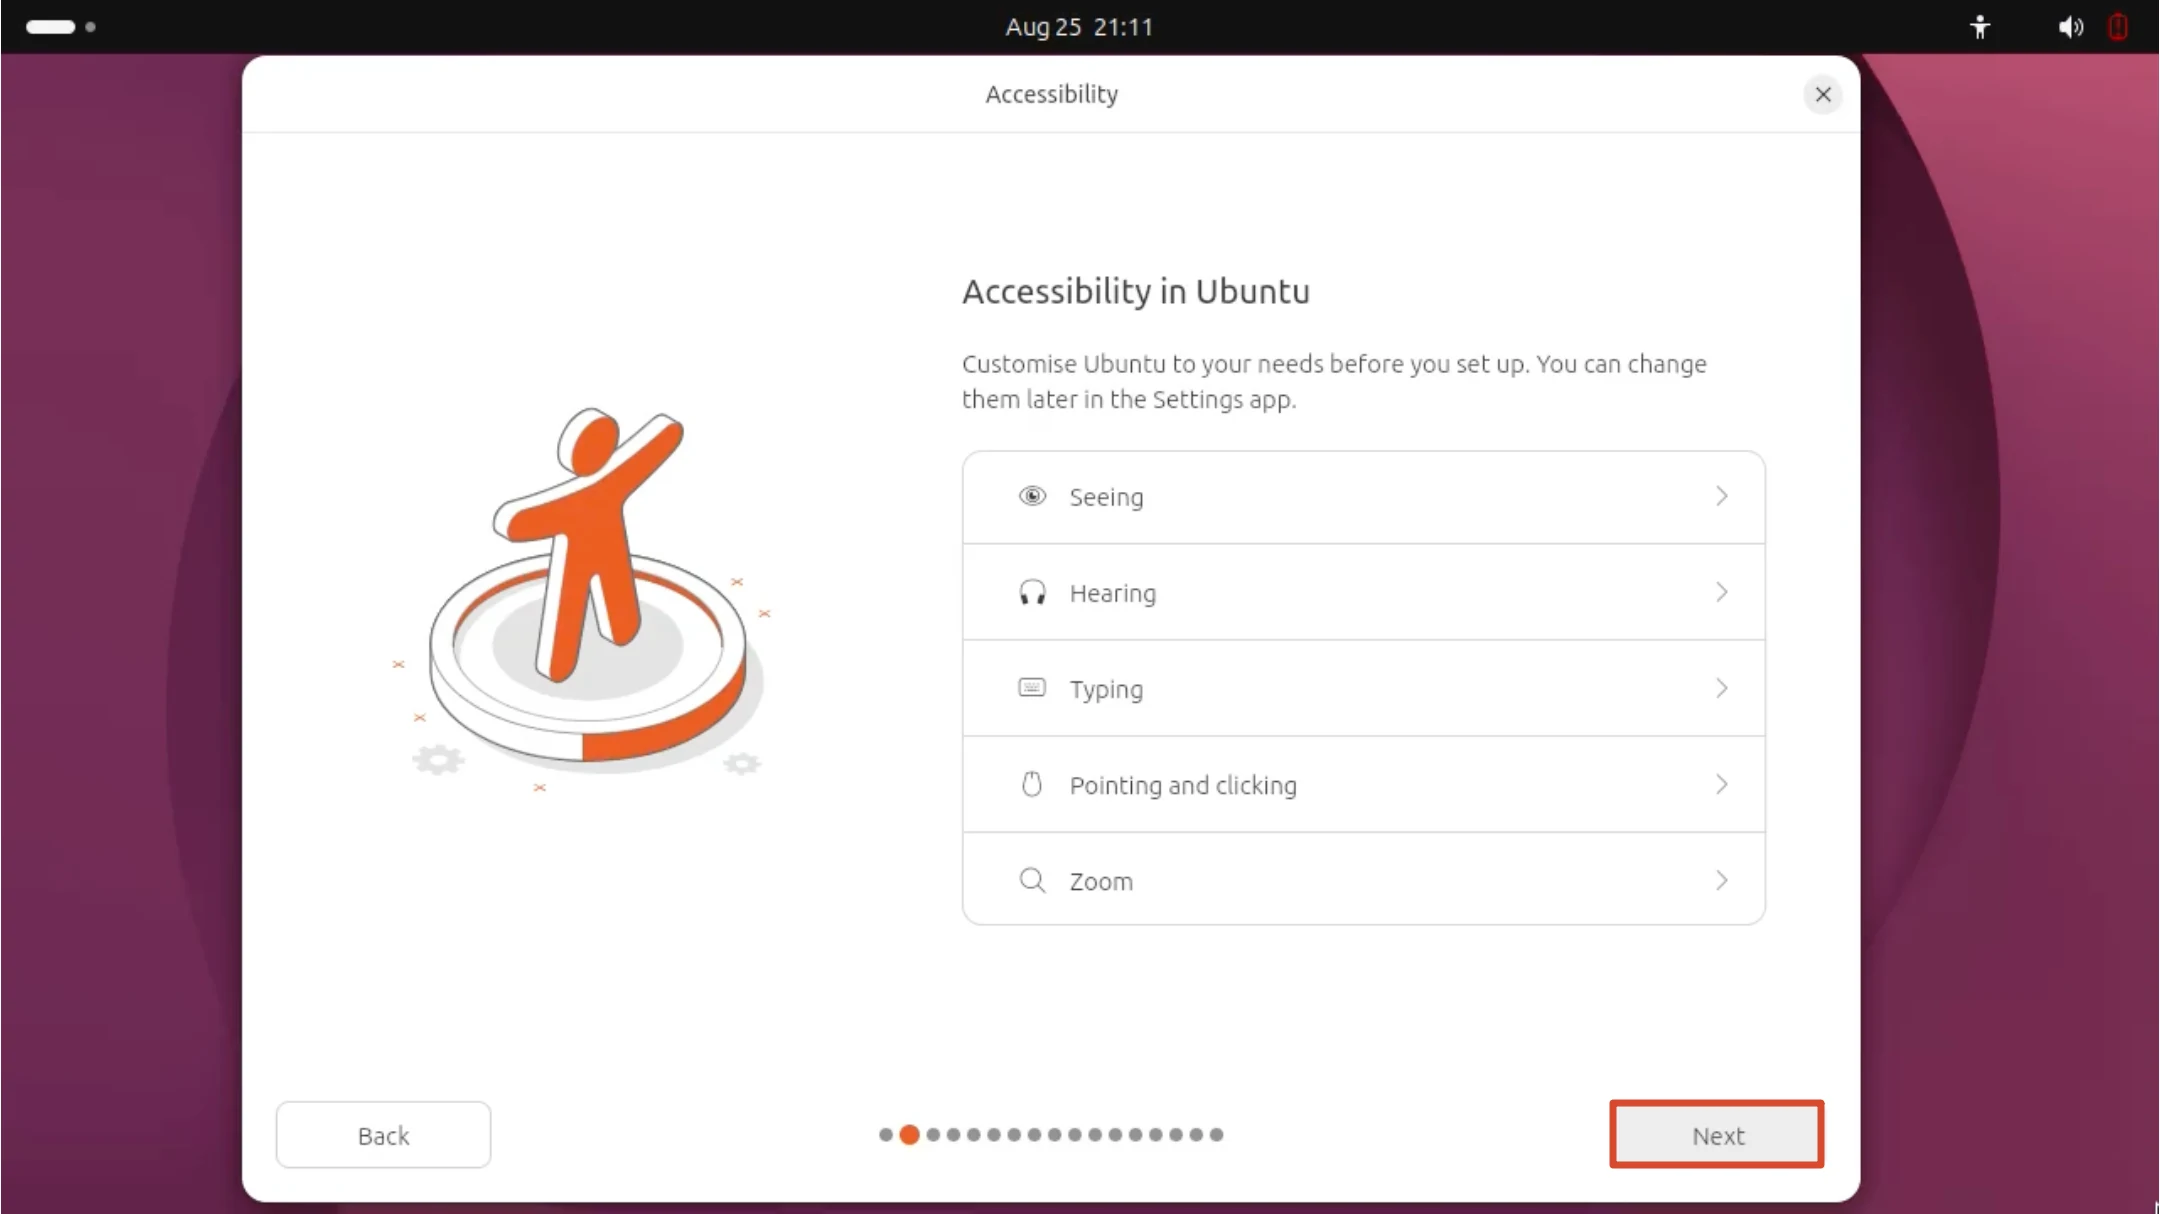
Accessibility Settings
This page lets you adjust accessibility options such as vision, hearing, keyboard, pointer, and zoom before installing. If you have no special requirements, click Next.
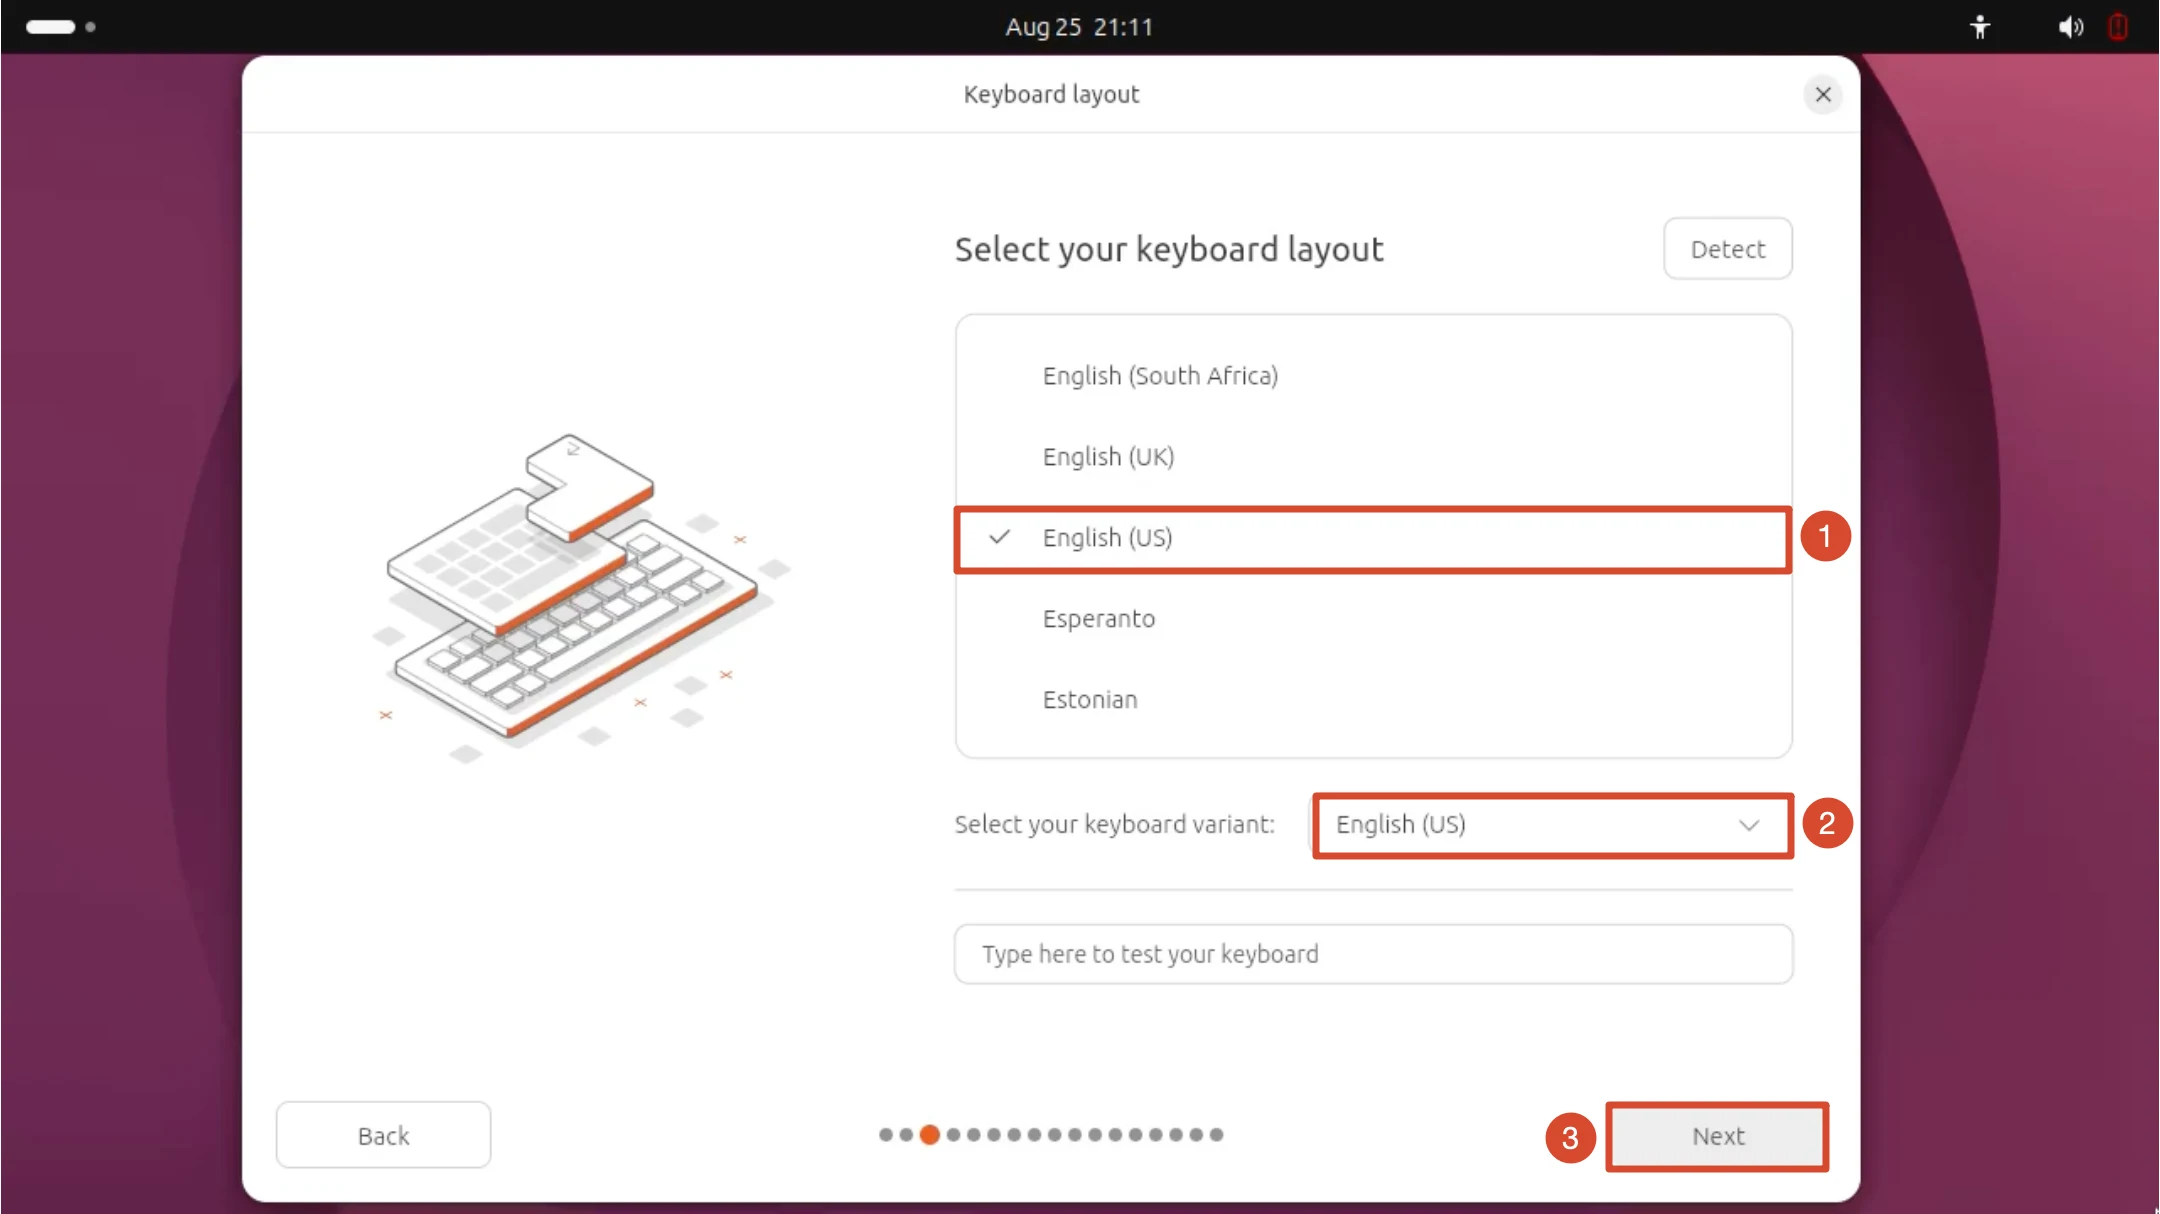
Select the Keyboard Layout
Keep the default English (US) layout and the English (US) variant. You can type in the box below to confirm the keys are correct, then click Next.
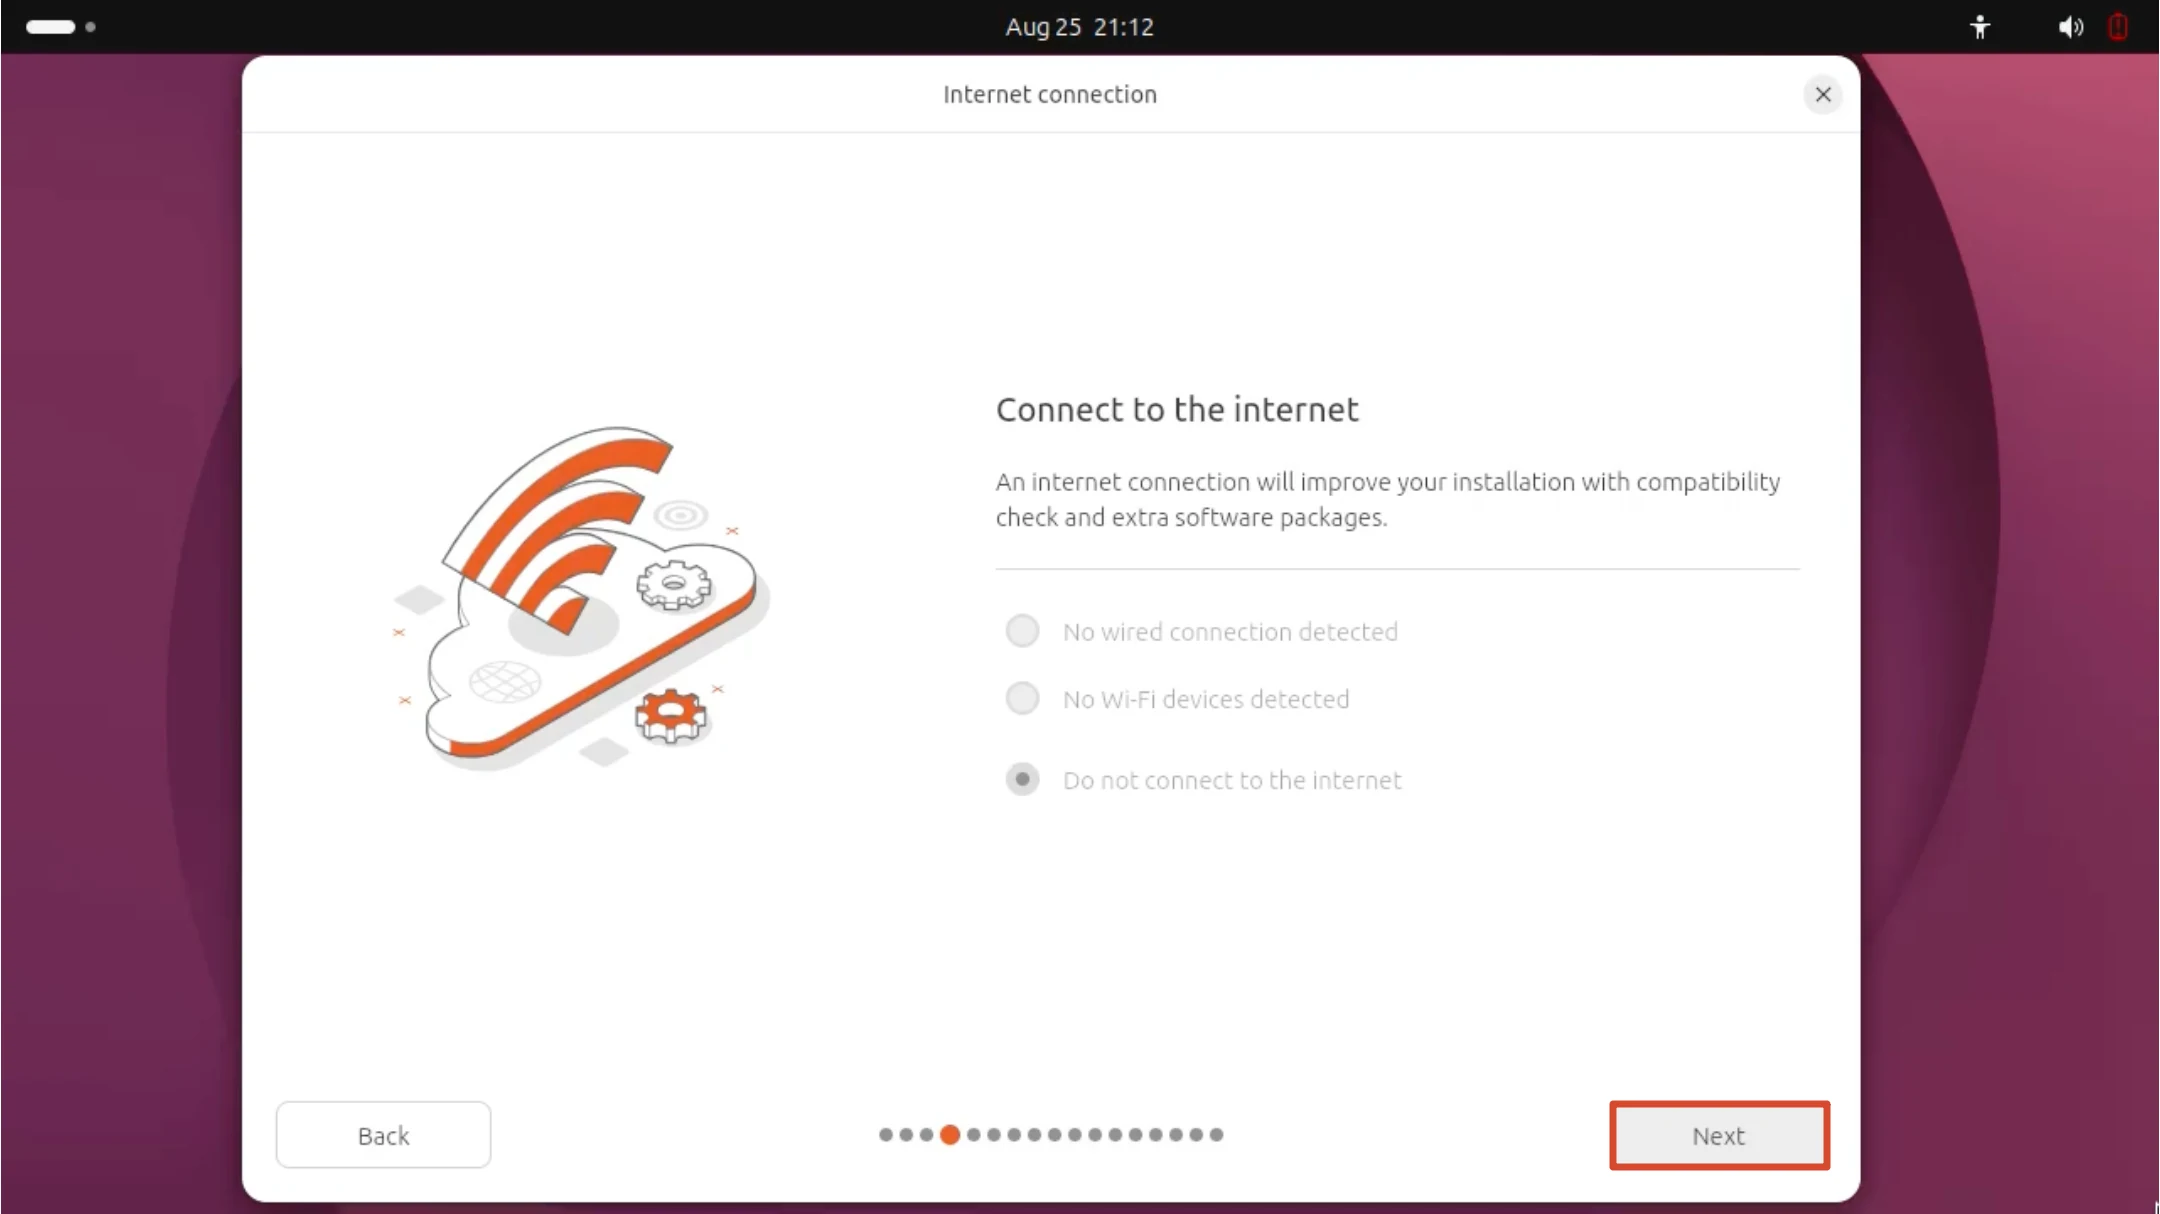
Network Connection
No wired or Wi-Fi device is detected, so the first two options are grayed out and unavailable. Keep the default Do not connect to the internet selected and click Next.
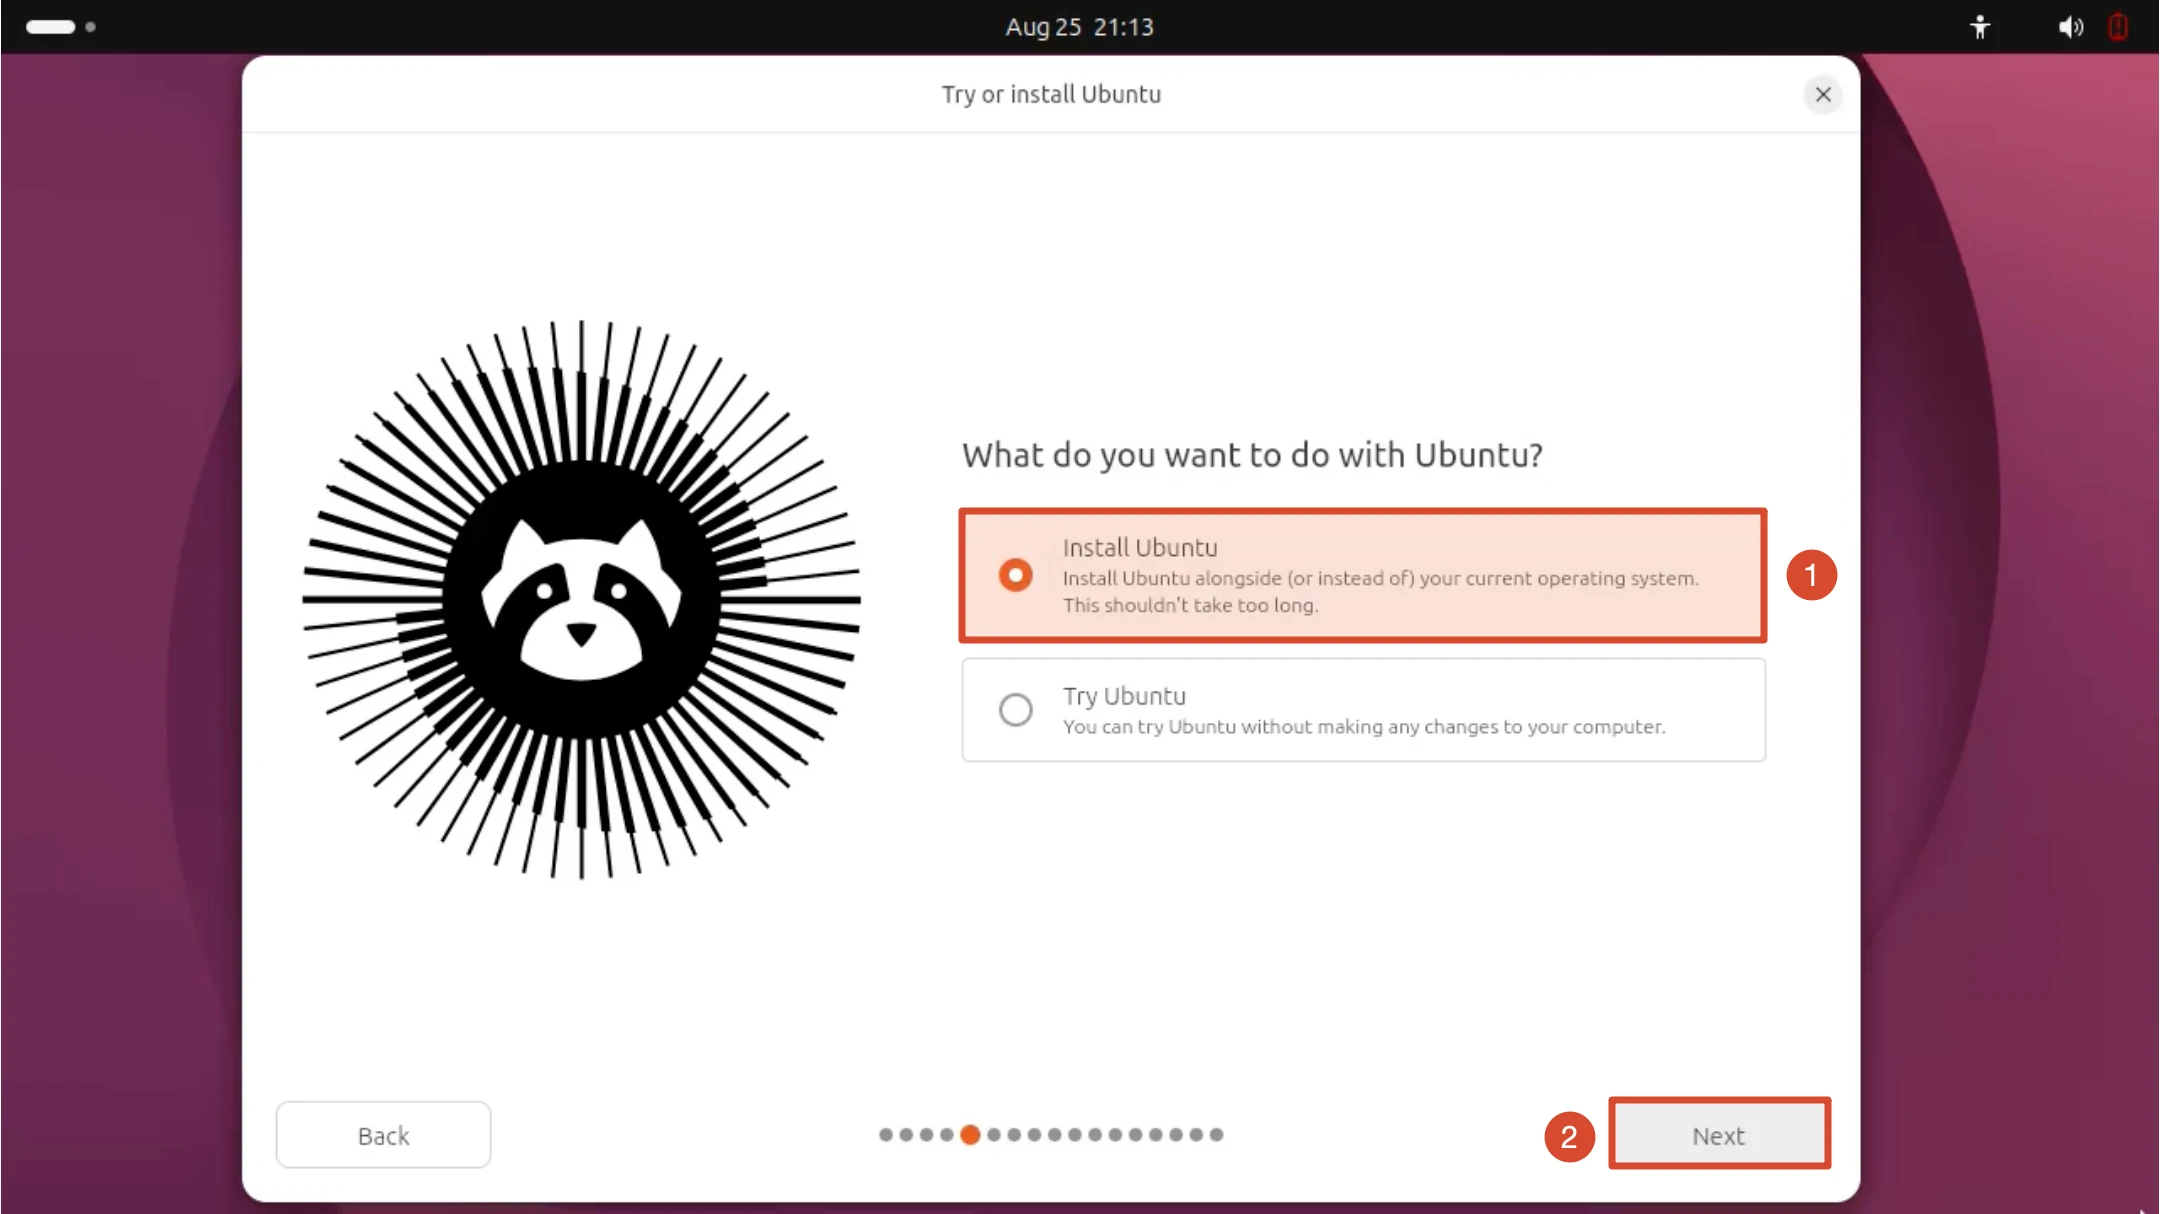
Choose Install Ubuntu
On the What do you want to do with Ubuntu? page, keep the default Install Ubuntu selection and click Next. Select Try Ubuntu only if you want to try the system first.
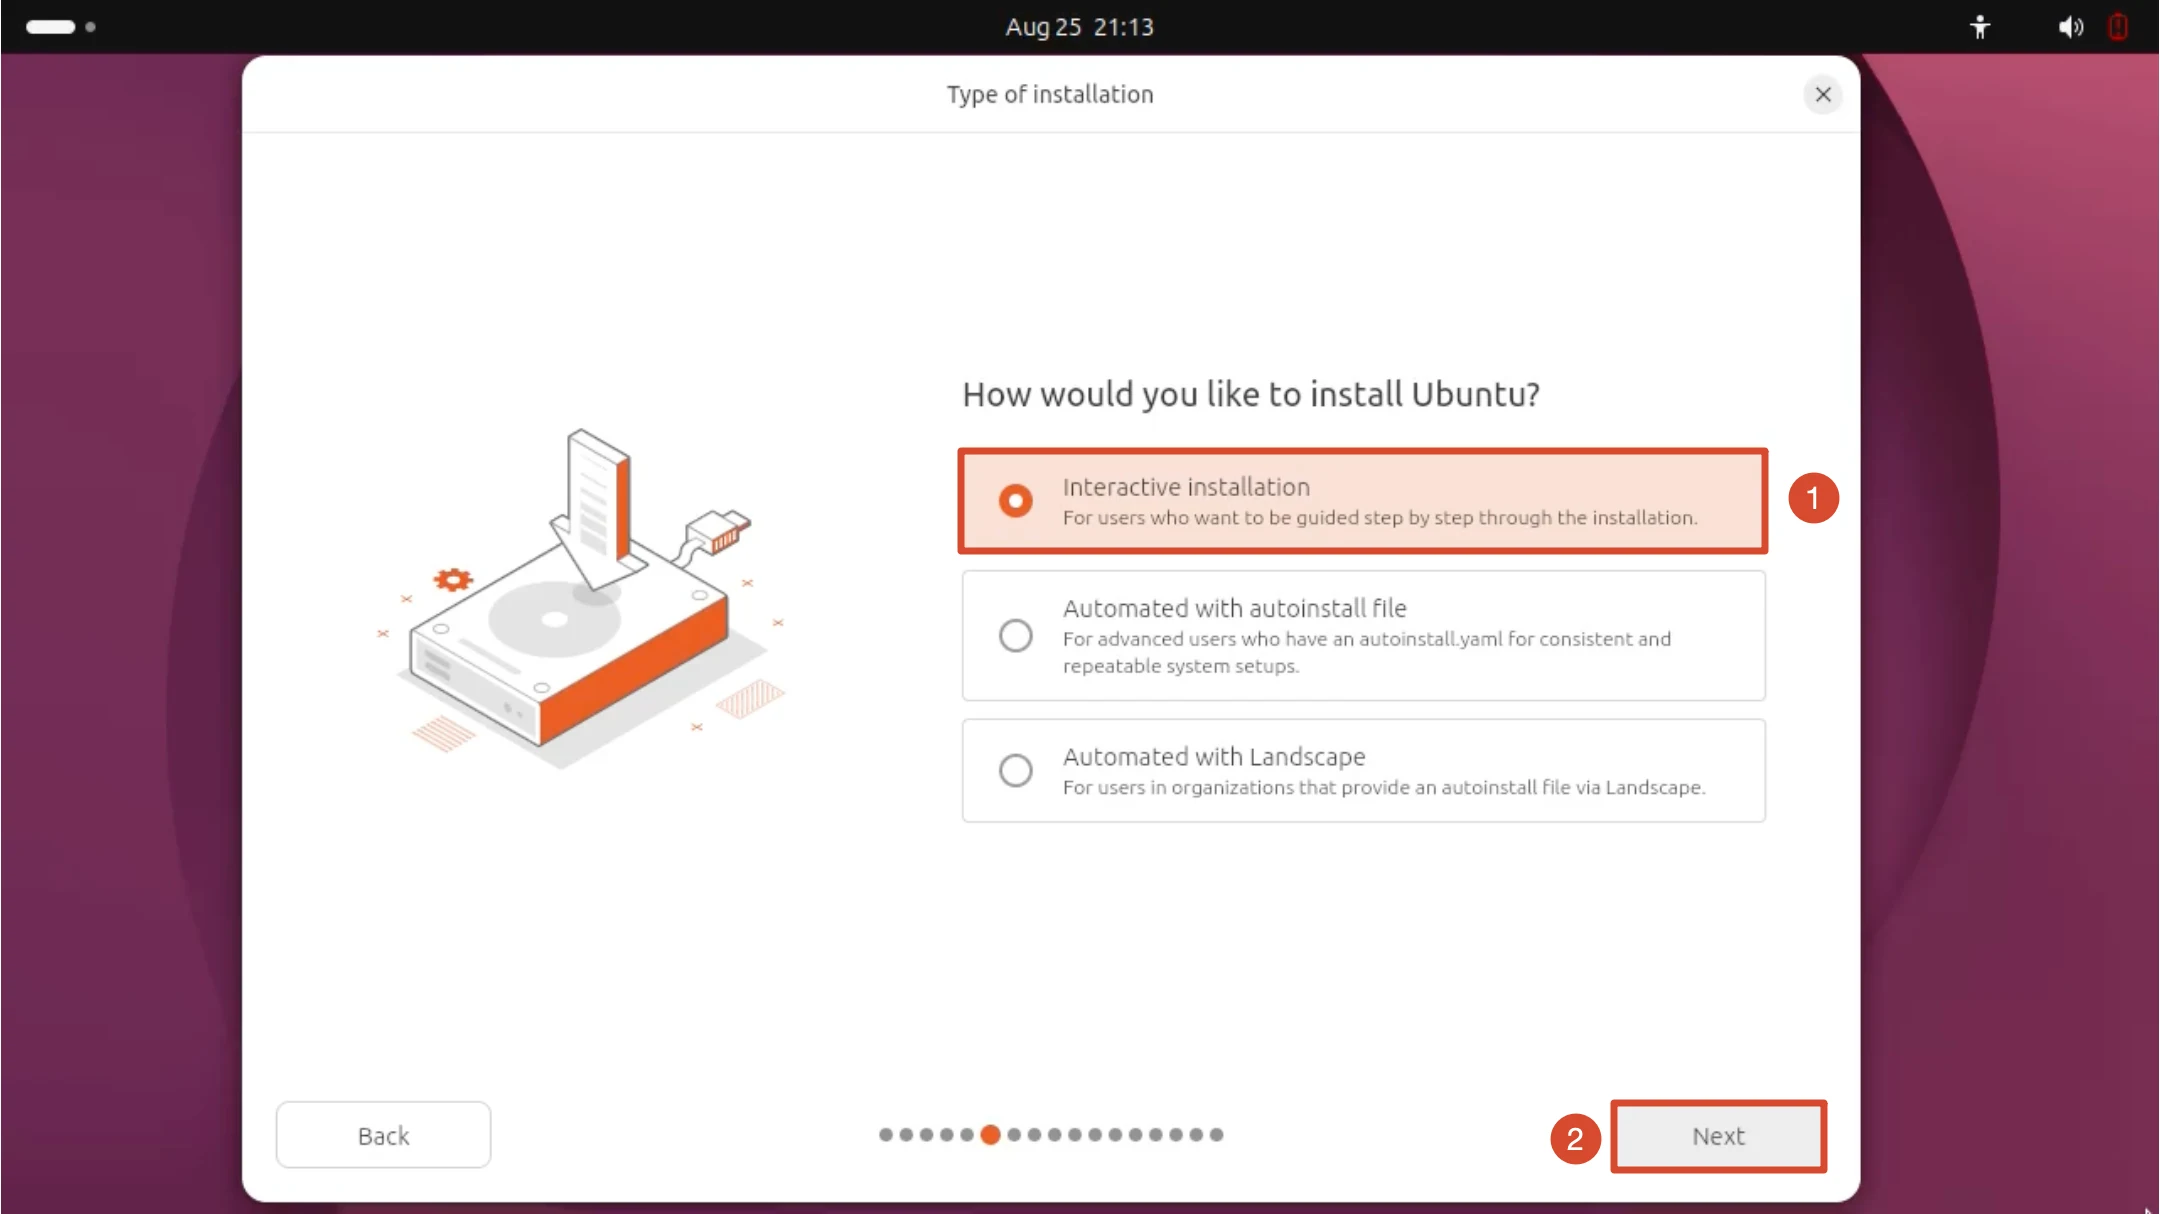
Choose the Installation Type
Keep the default Interactive installation and click Next.
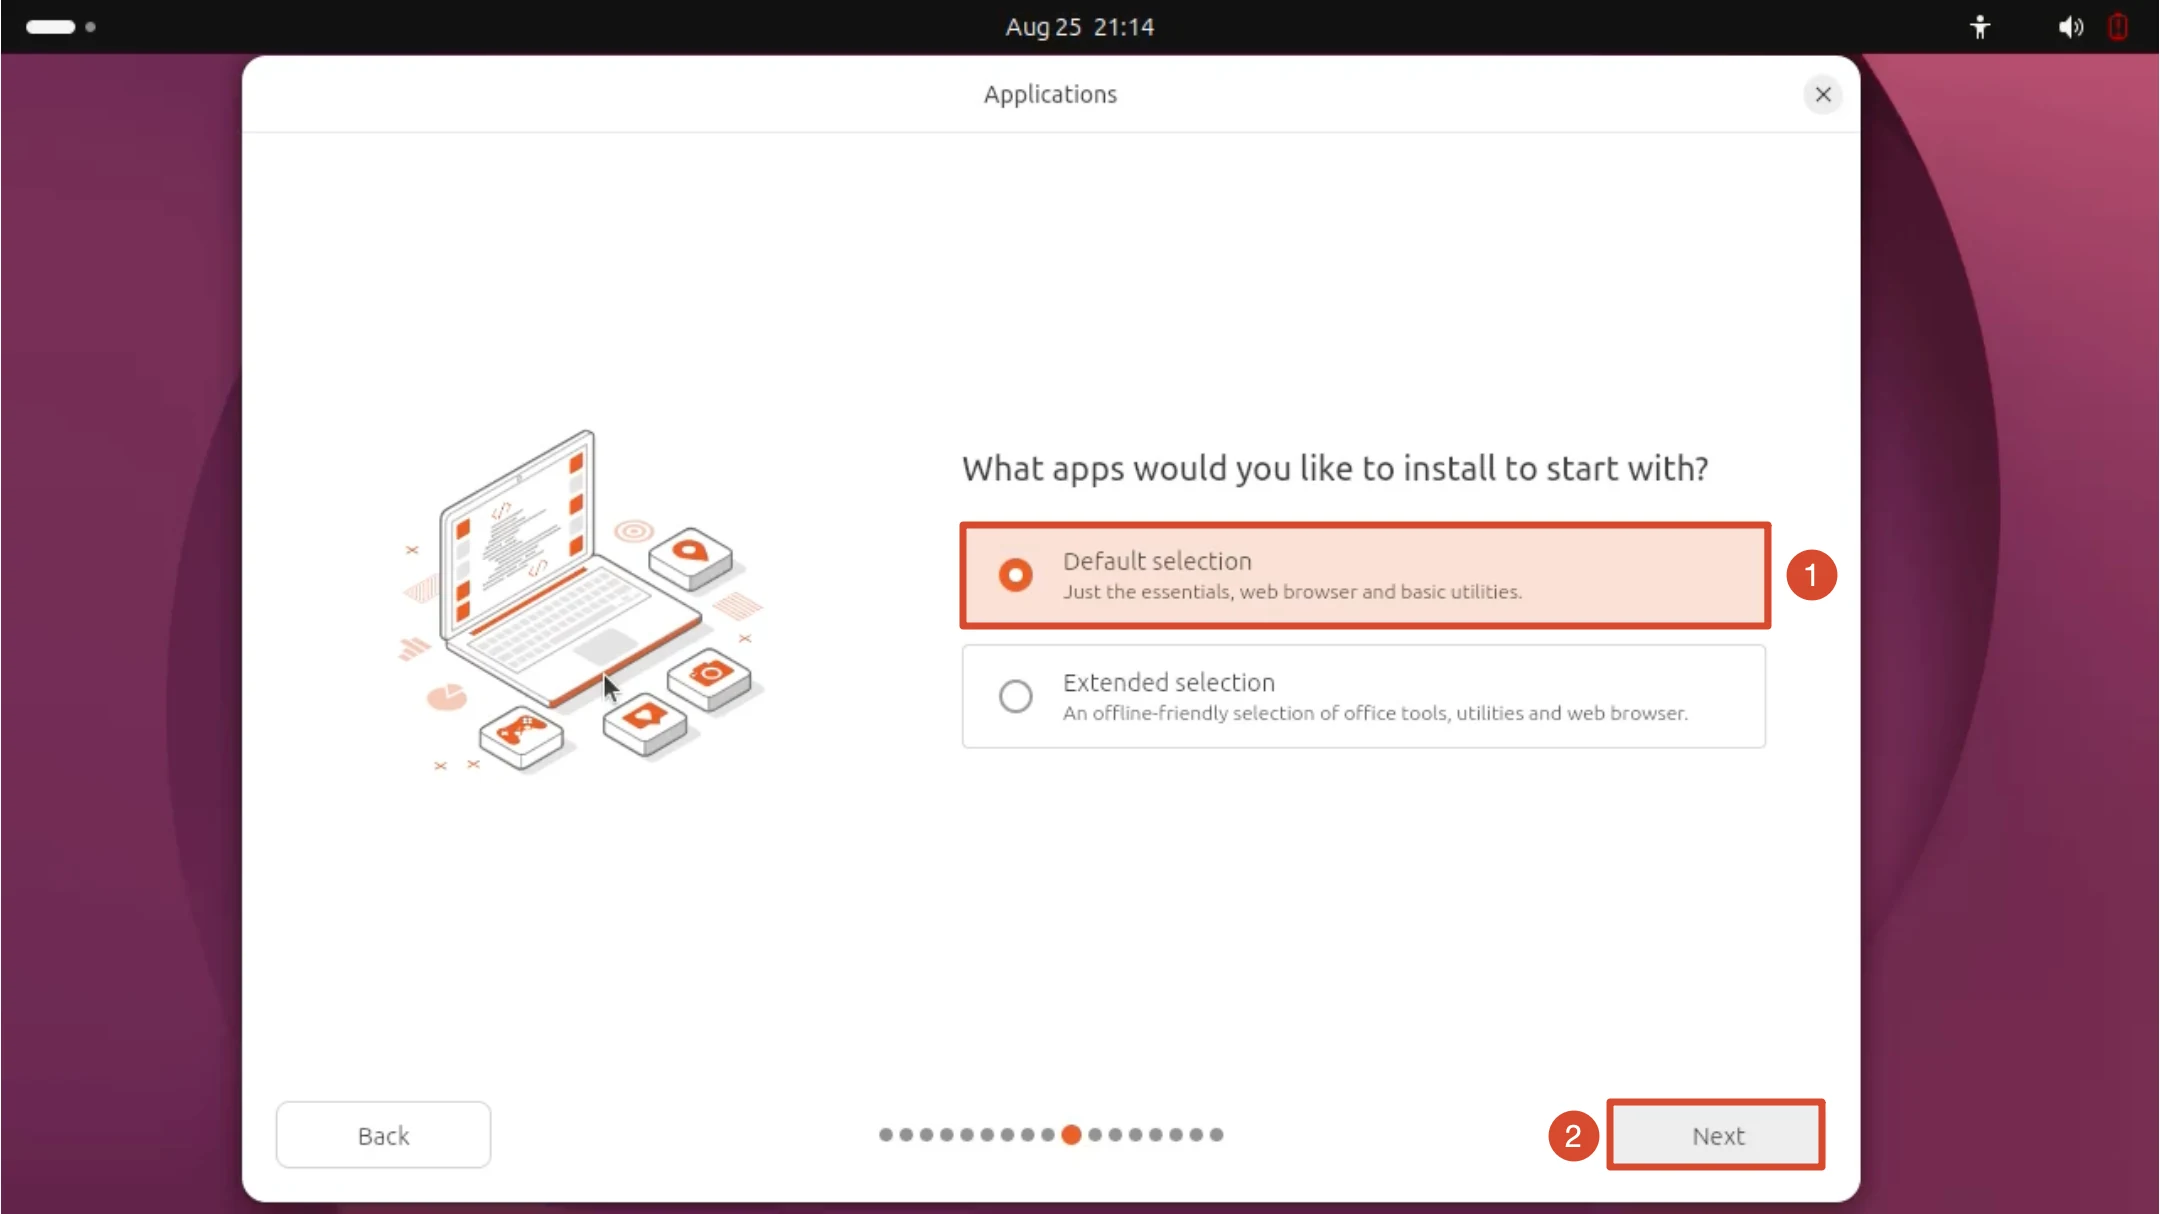
Choose the Applications to Install
Keep Default selection (the default, a browser plus basic tools). If you need an office suite such as LibreOffice, switch to Extended selection, then click Next.
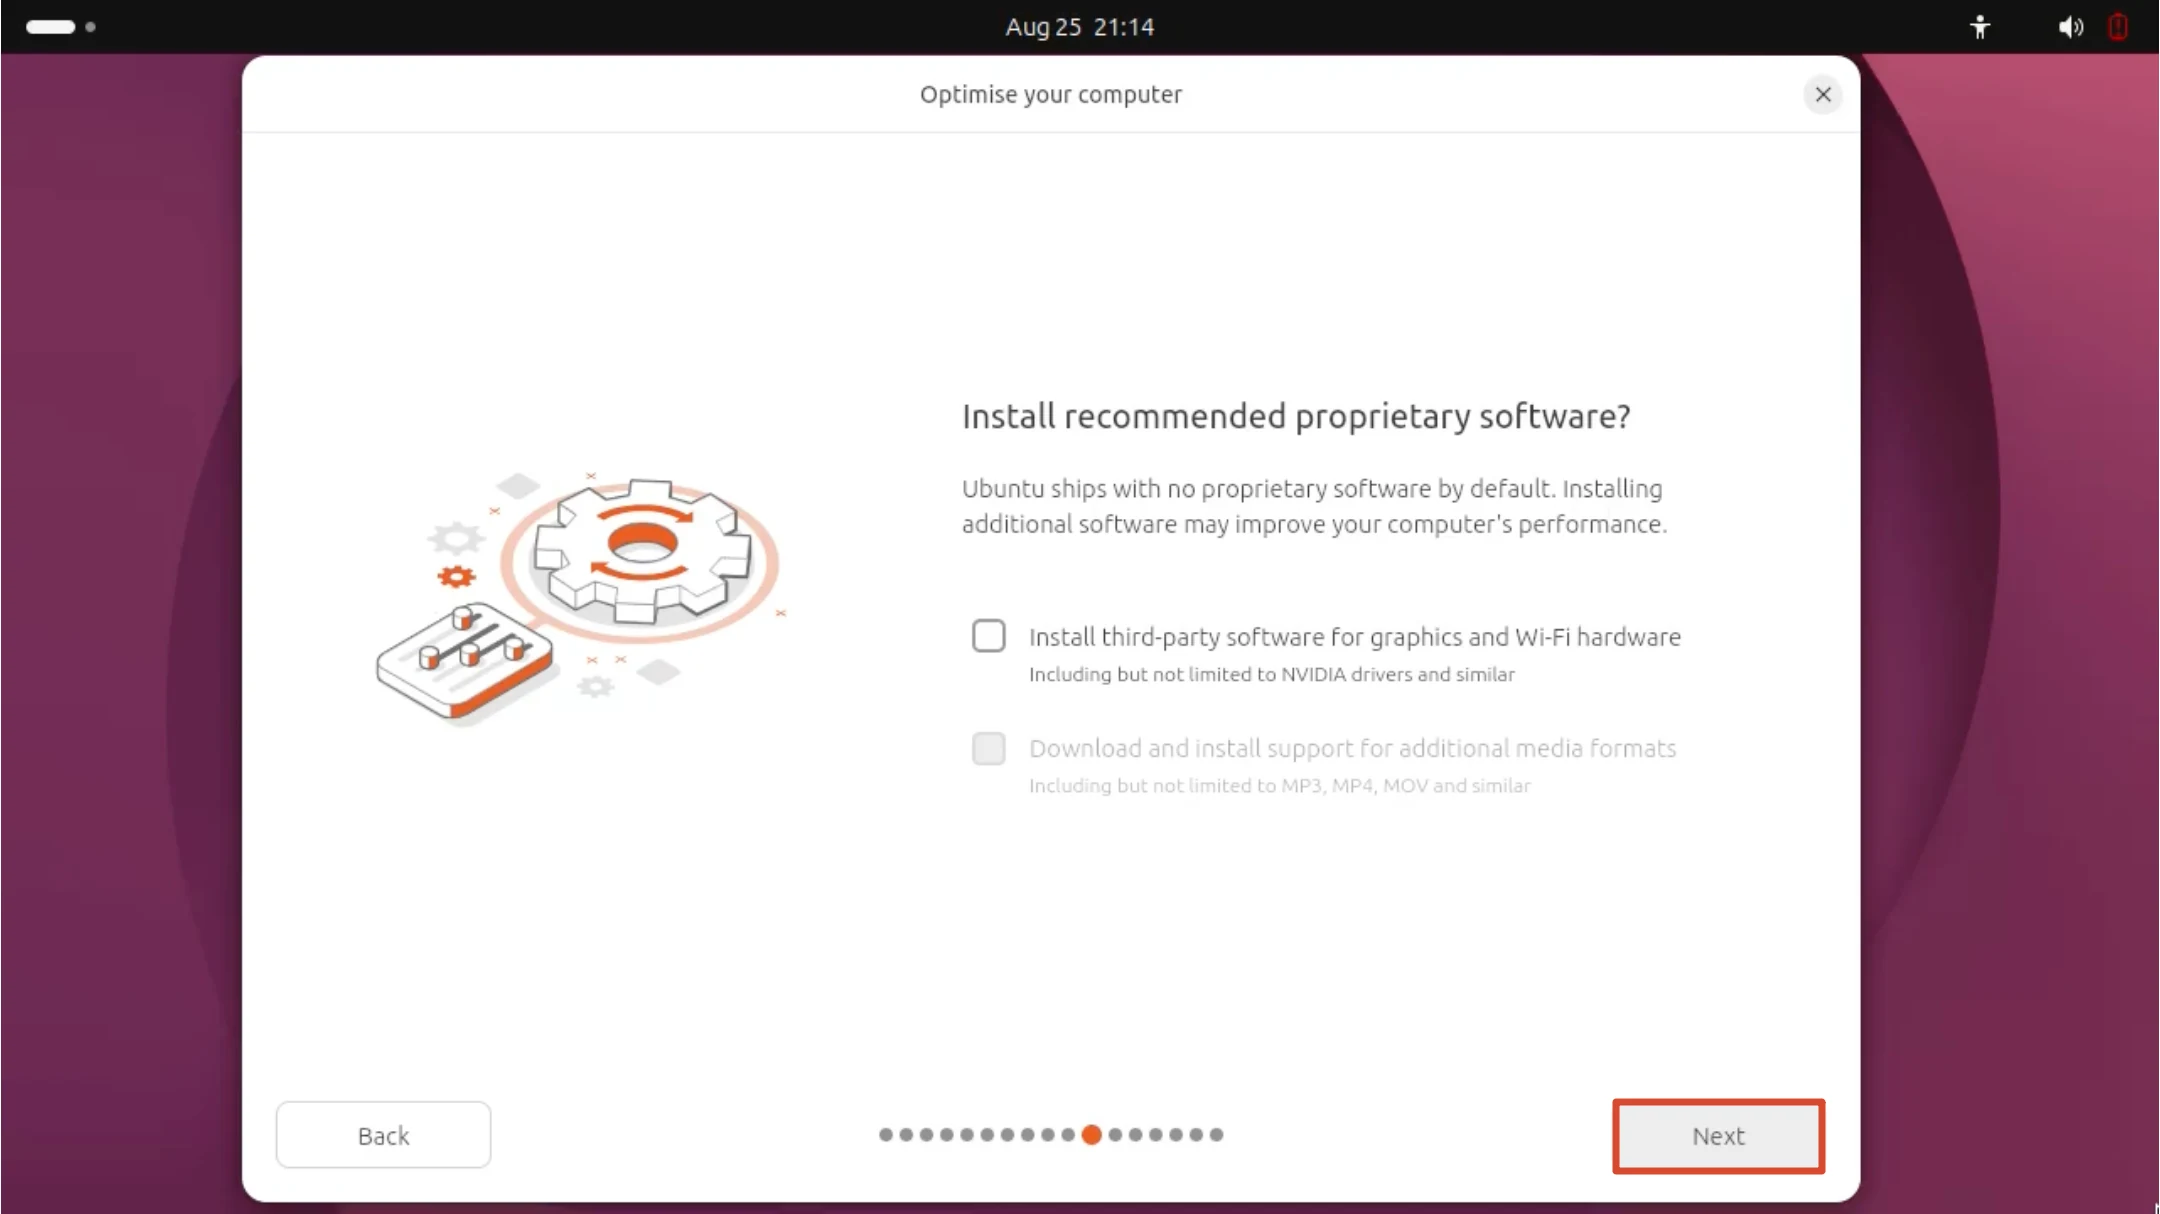
Install Recommended Proprietary Software
This page asks whether to install recommended proprietary software (third-party firmware/drivers and additional media formats). Select the options you need and click Next; leaving them unselected does not prevent the system from booting normally.
Choose the Installation Method
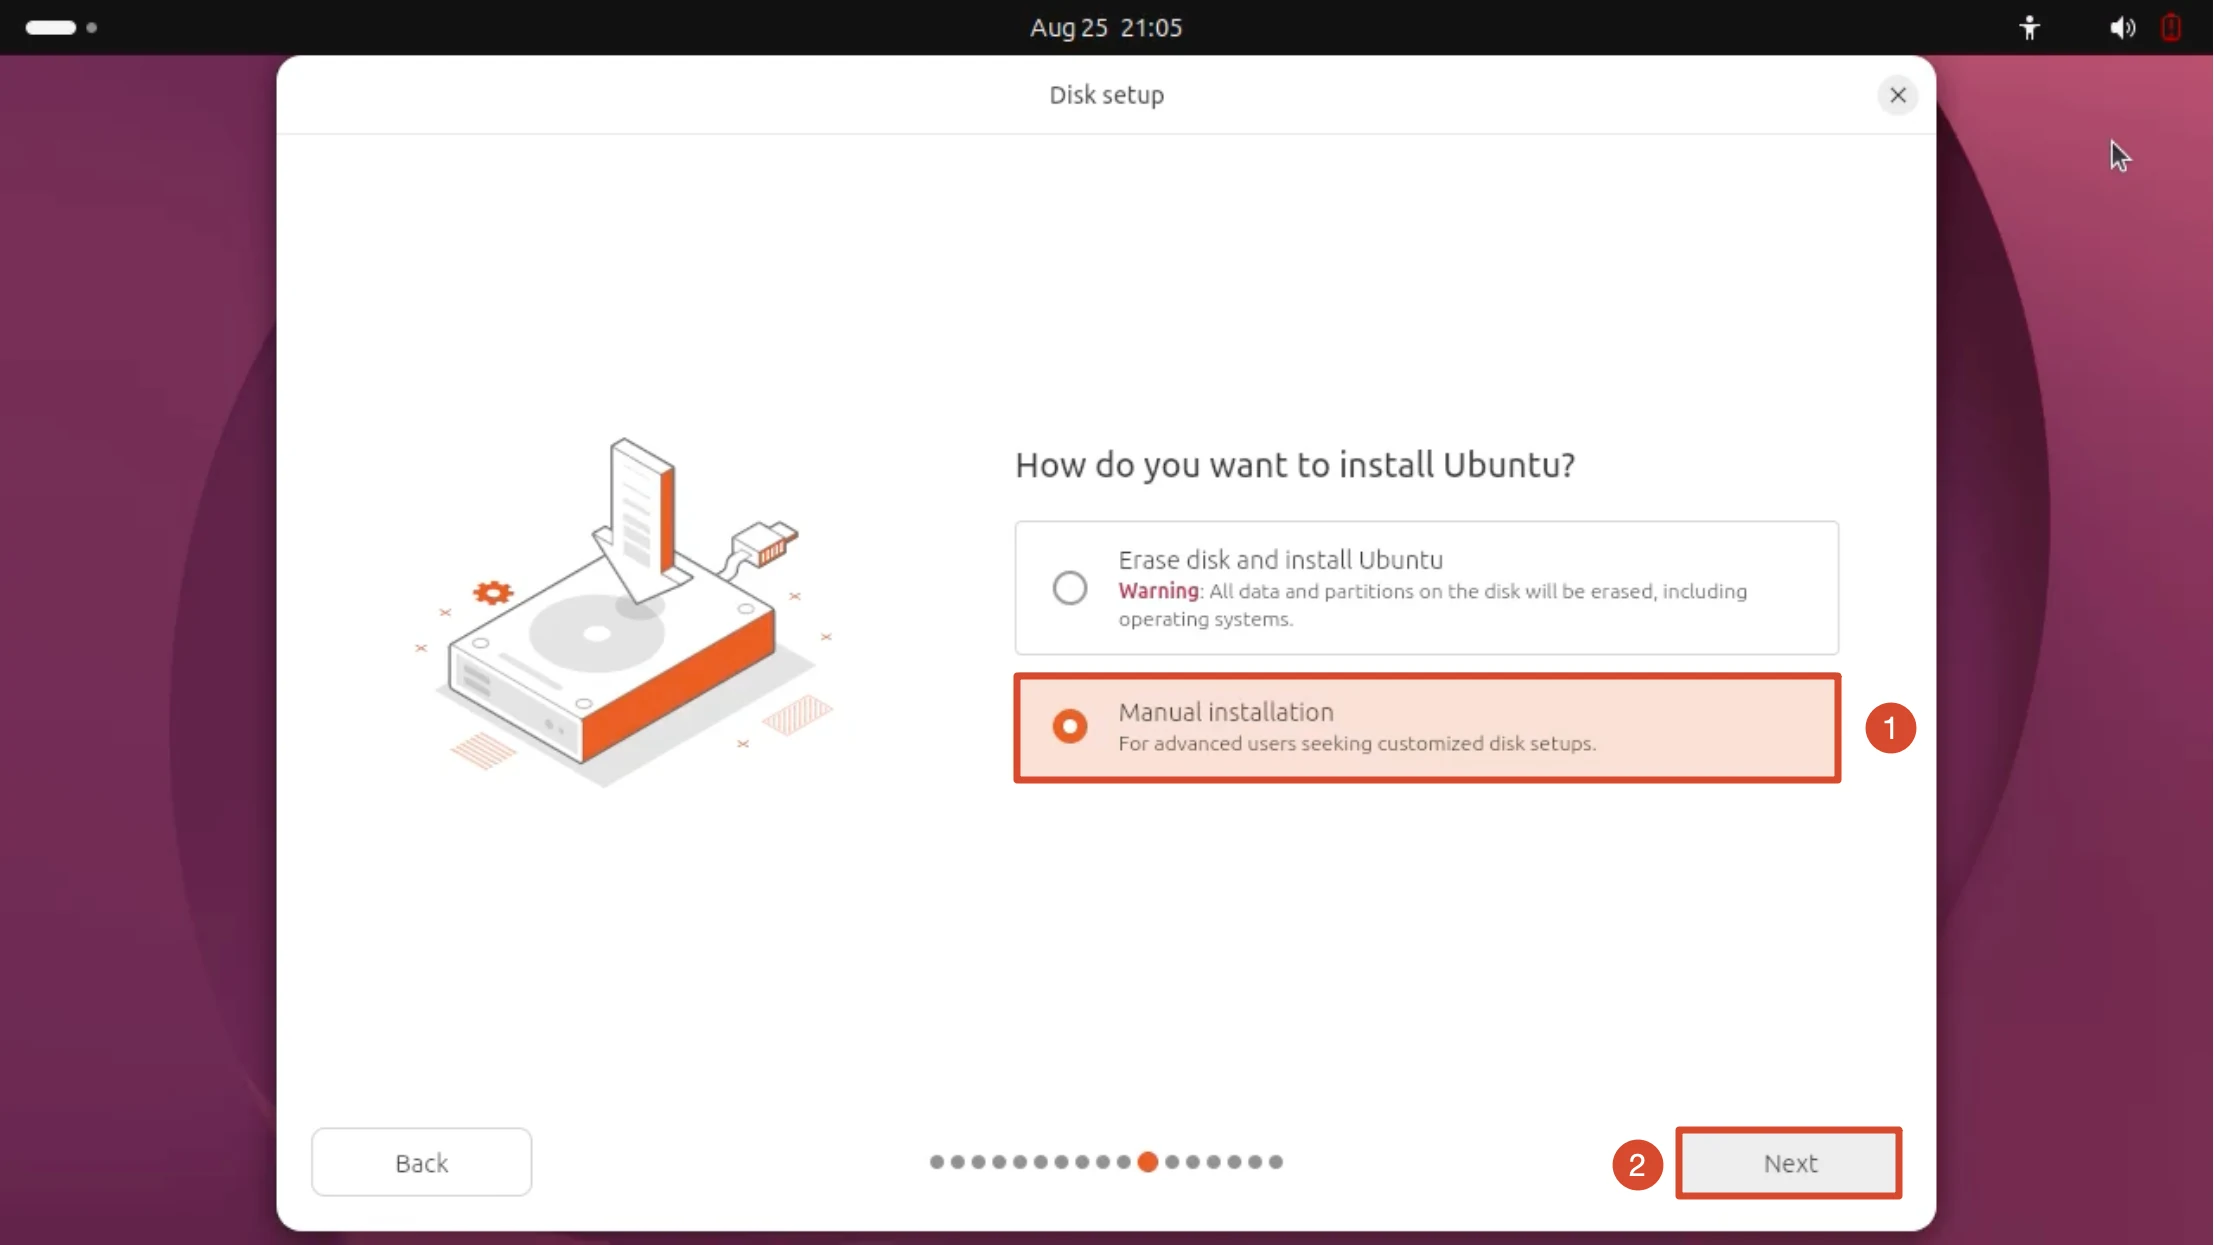
On the How do you want to install Ubuntu? page, choose an installation method.
- Manual installation
- Erase disk
Select Manual installation to customize the partitions on the microSD card, then click Next.
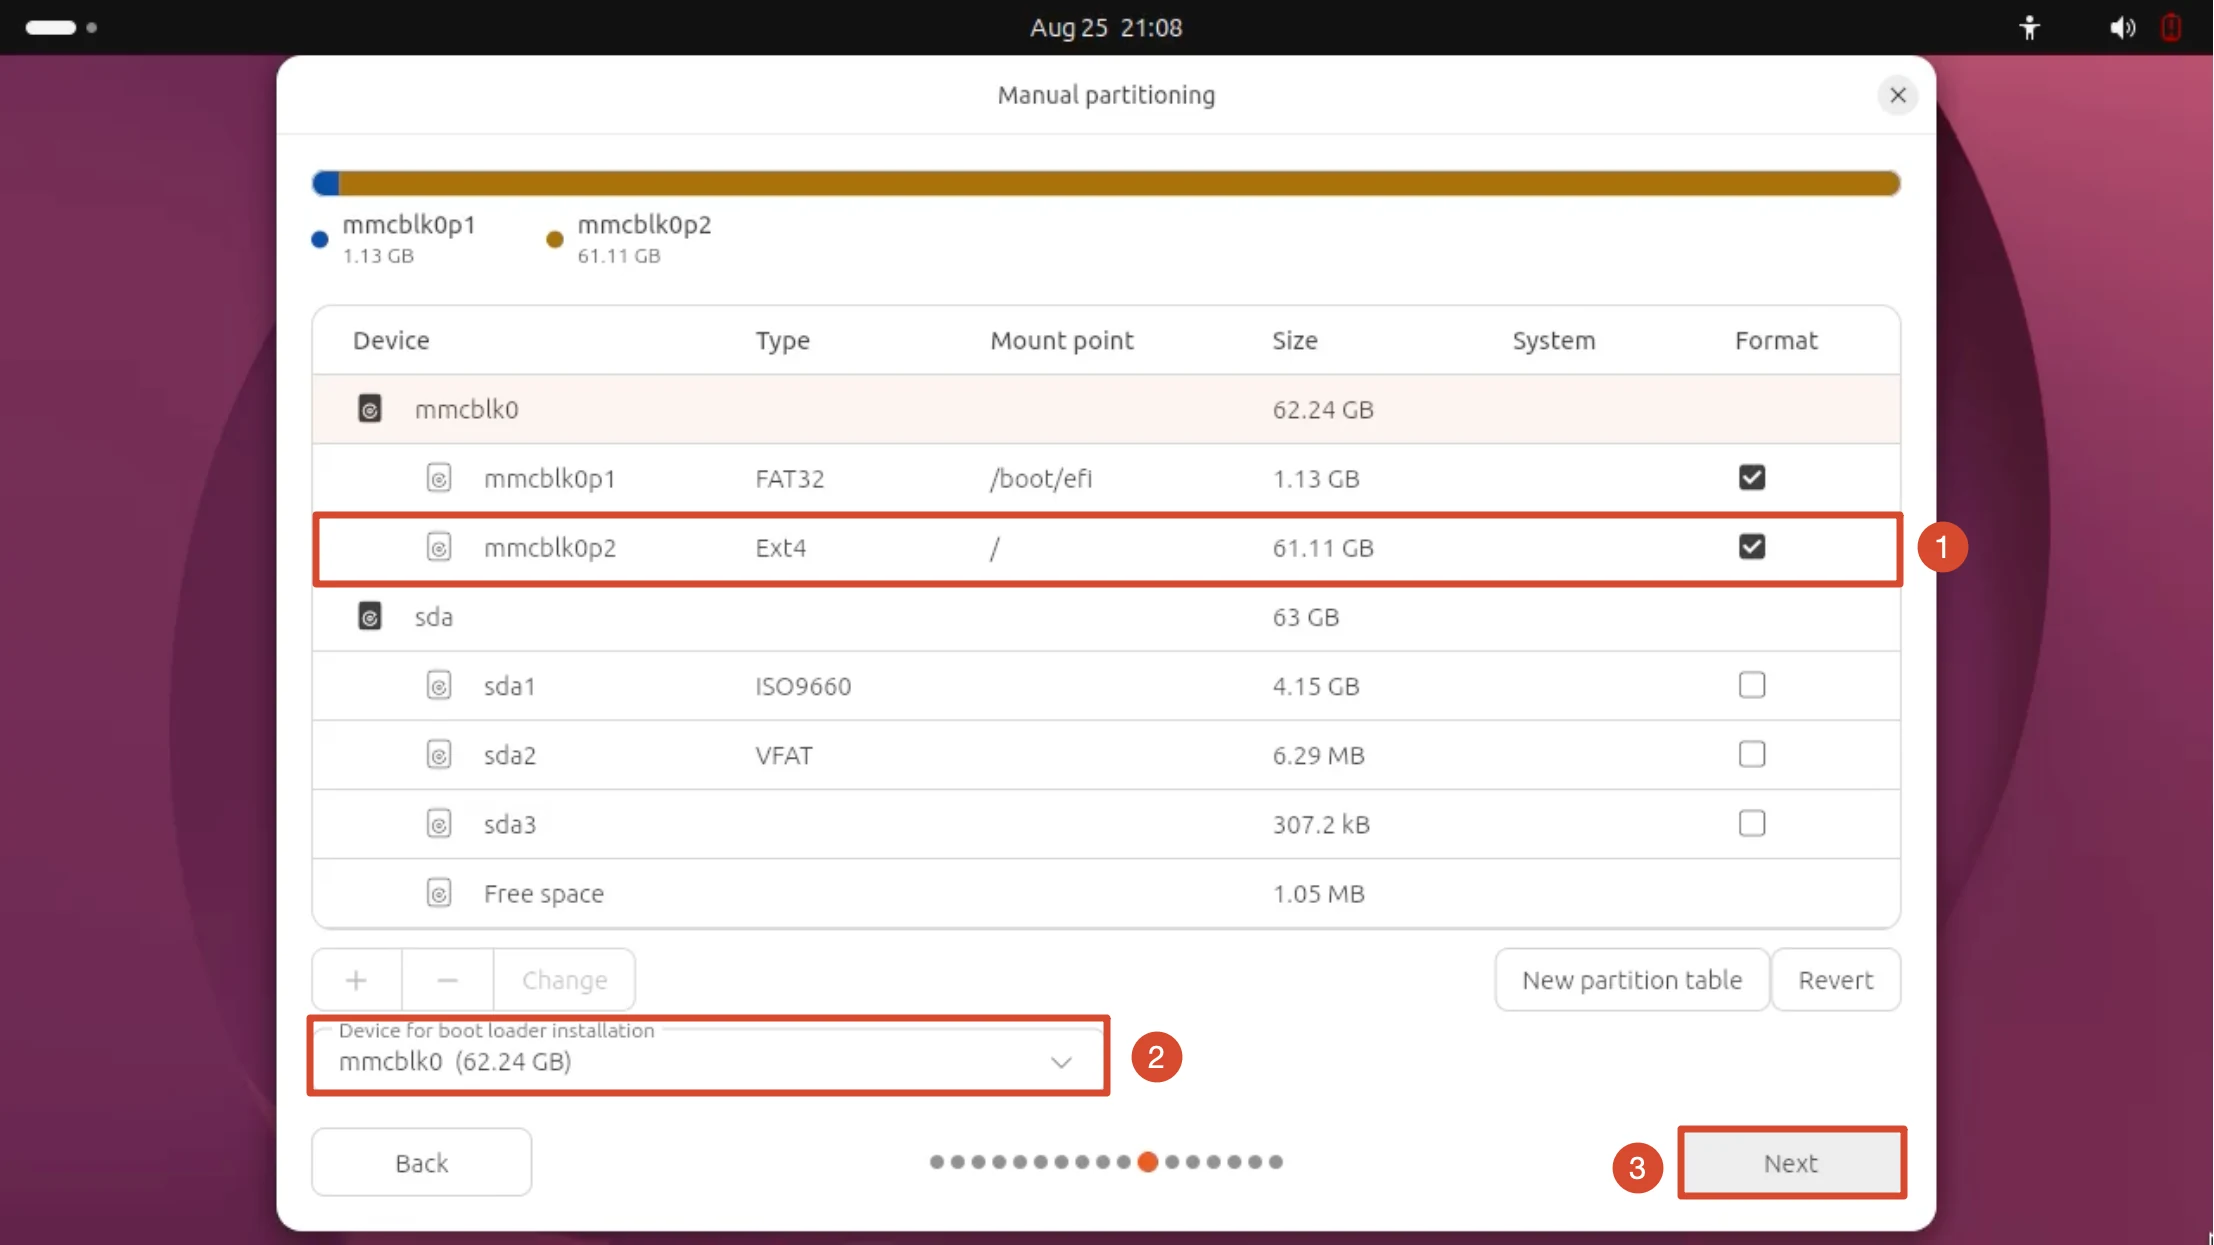
Confirm the partition layout: mmcblk0p1 is FAT32 mounted at /boot/efi, and mmcblk0p2 is ext4 mounted at /. sda is the installation USB drive — do not select or format it. Device for boot loader installation must be set to mmcblk0 (the microSD card), not the USB drive. When everything is correct, click Next.
If you do not need custom partitions, select Erase disk and install Ubuntu instead. This erases all data on the entire mmcblk0 disk. Then click Next.
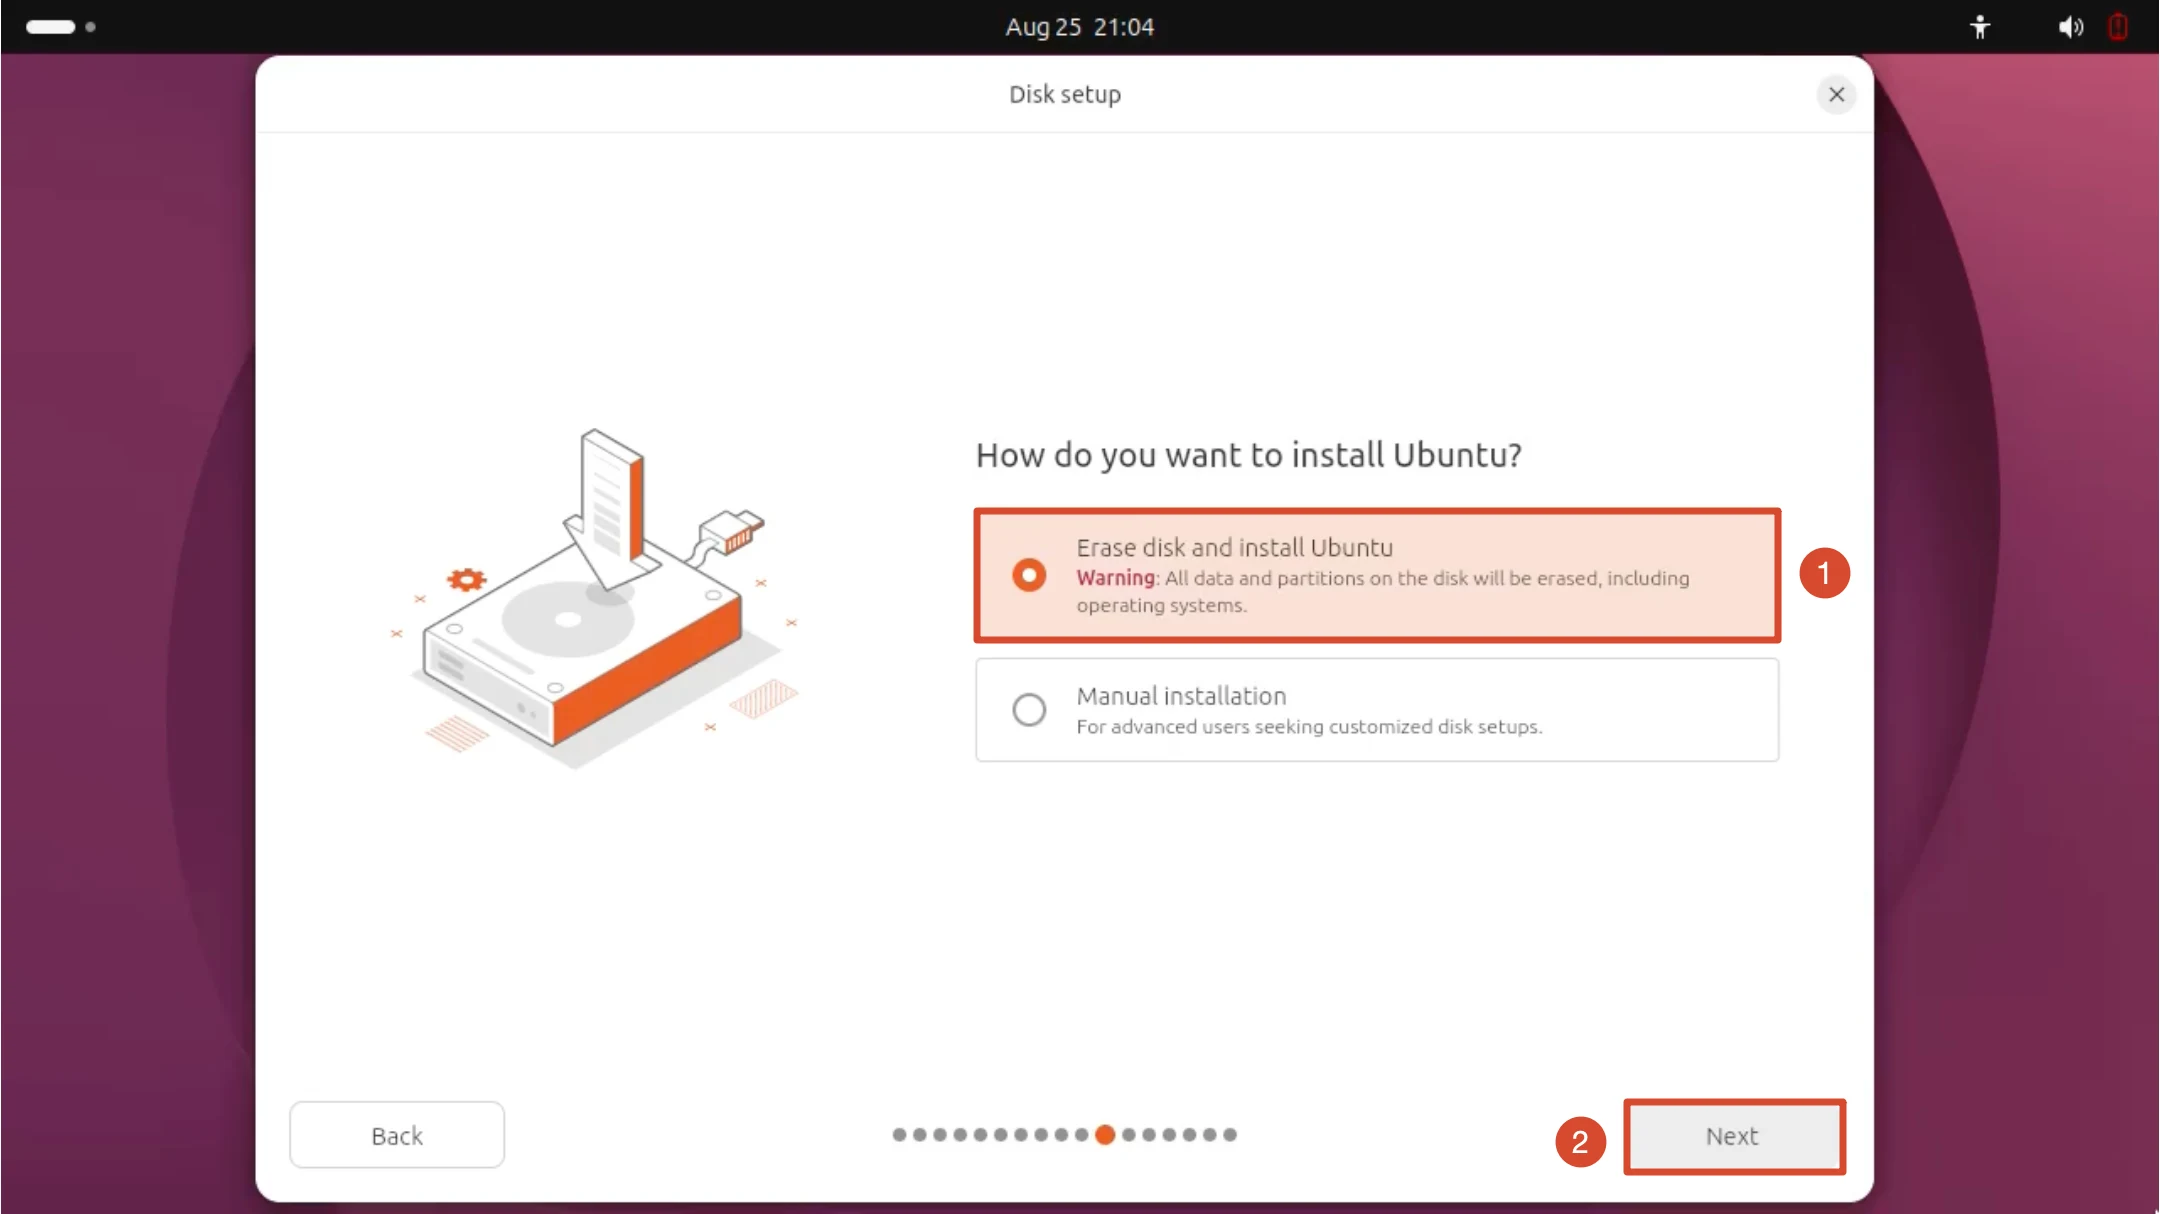
Use only one of these two methods; do not mix them.
Disk Encryption Option
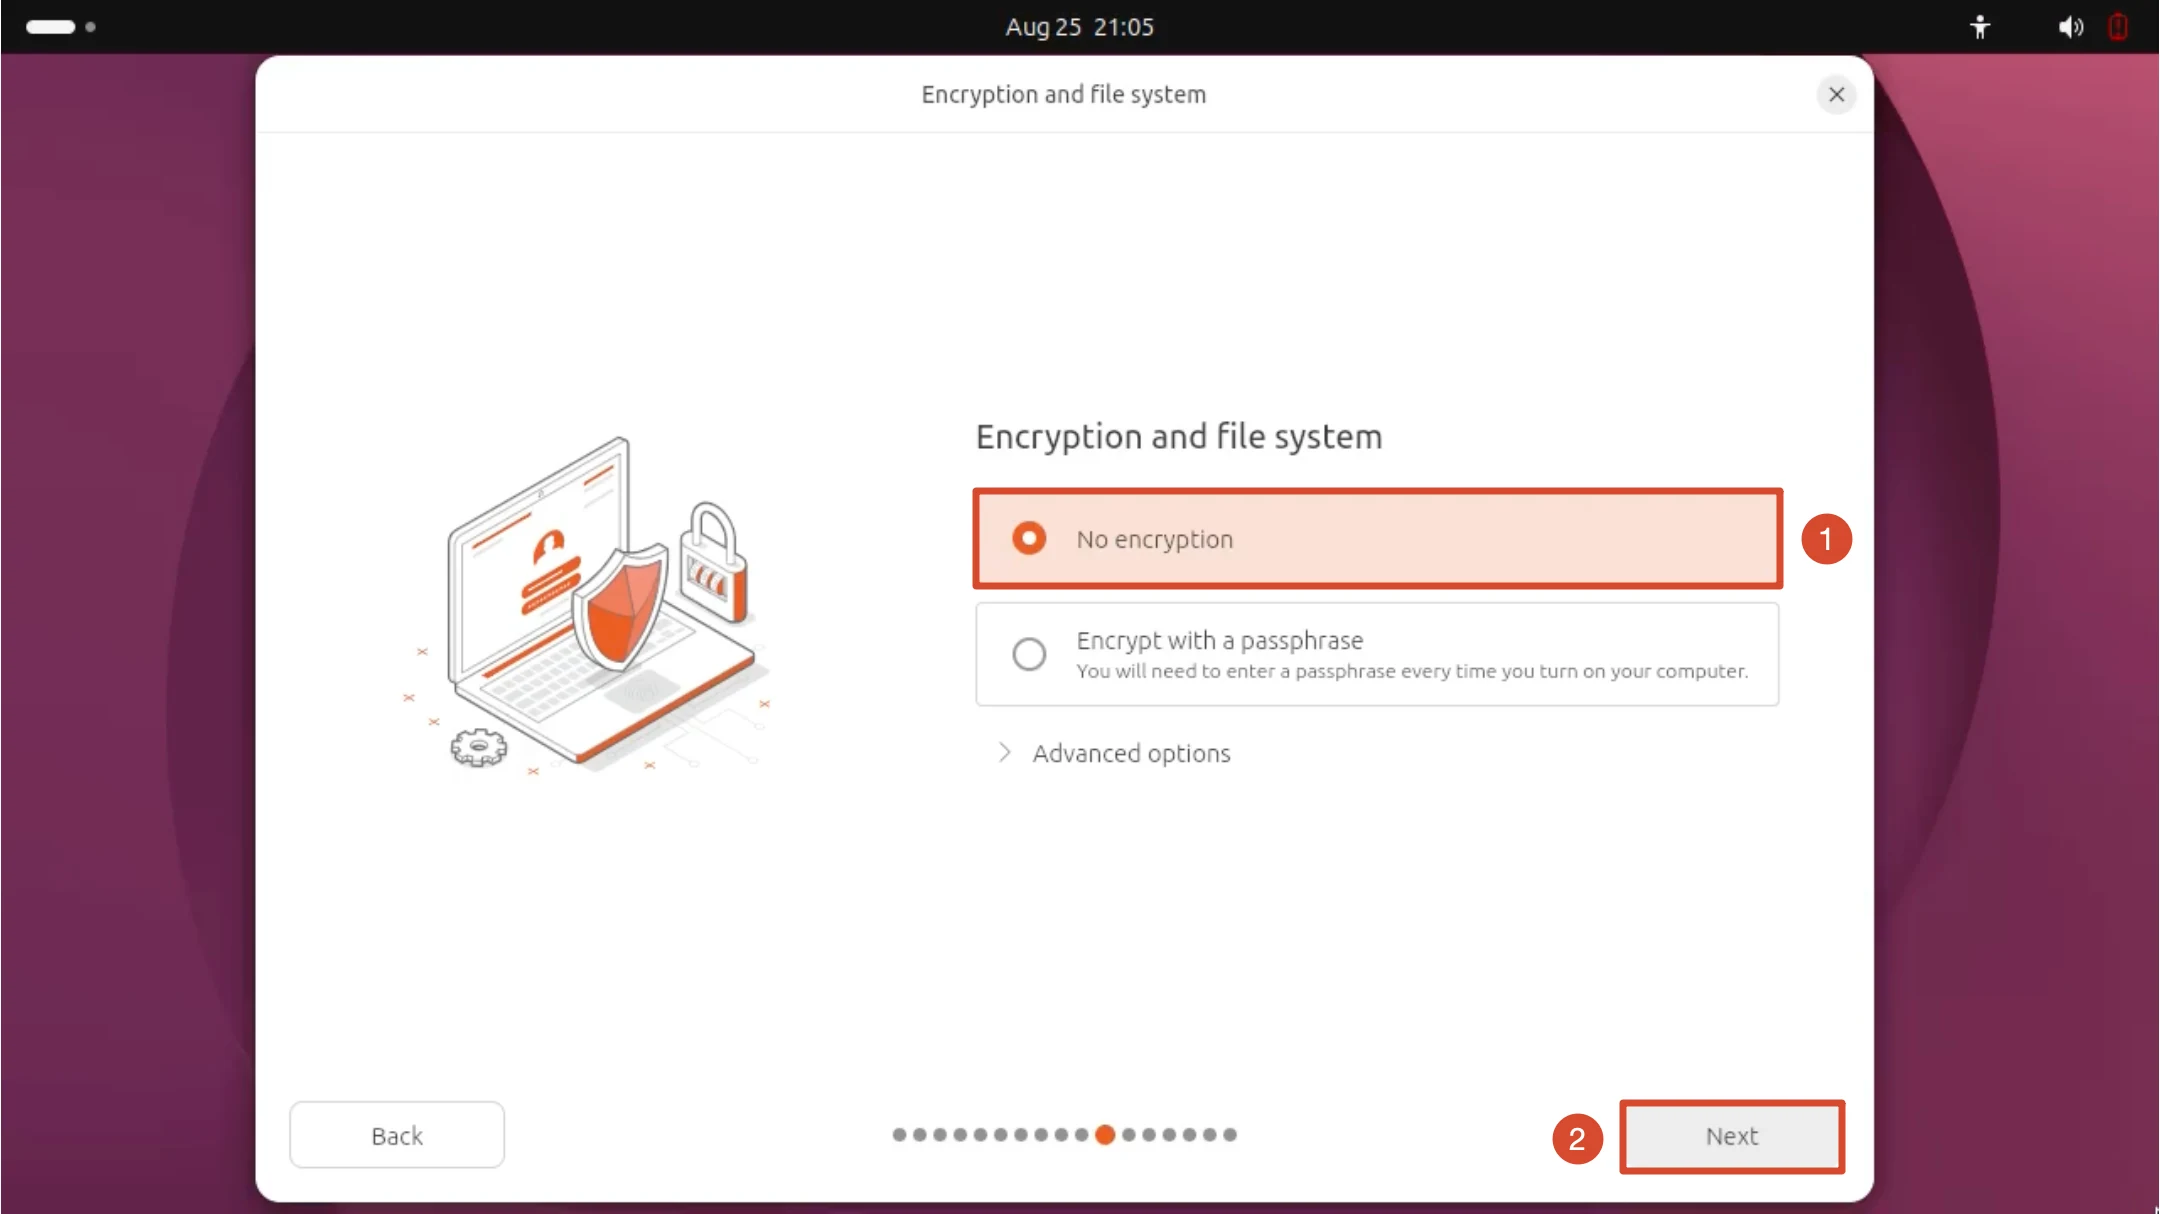
Keep the default No encryption and click Next. Select Encrypt with a passphrase only if you want to enter a passphrase to unlock the disk at boot.
Create an Account
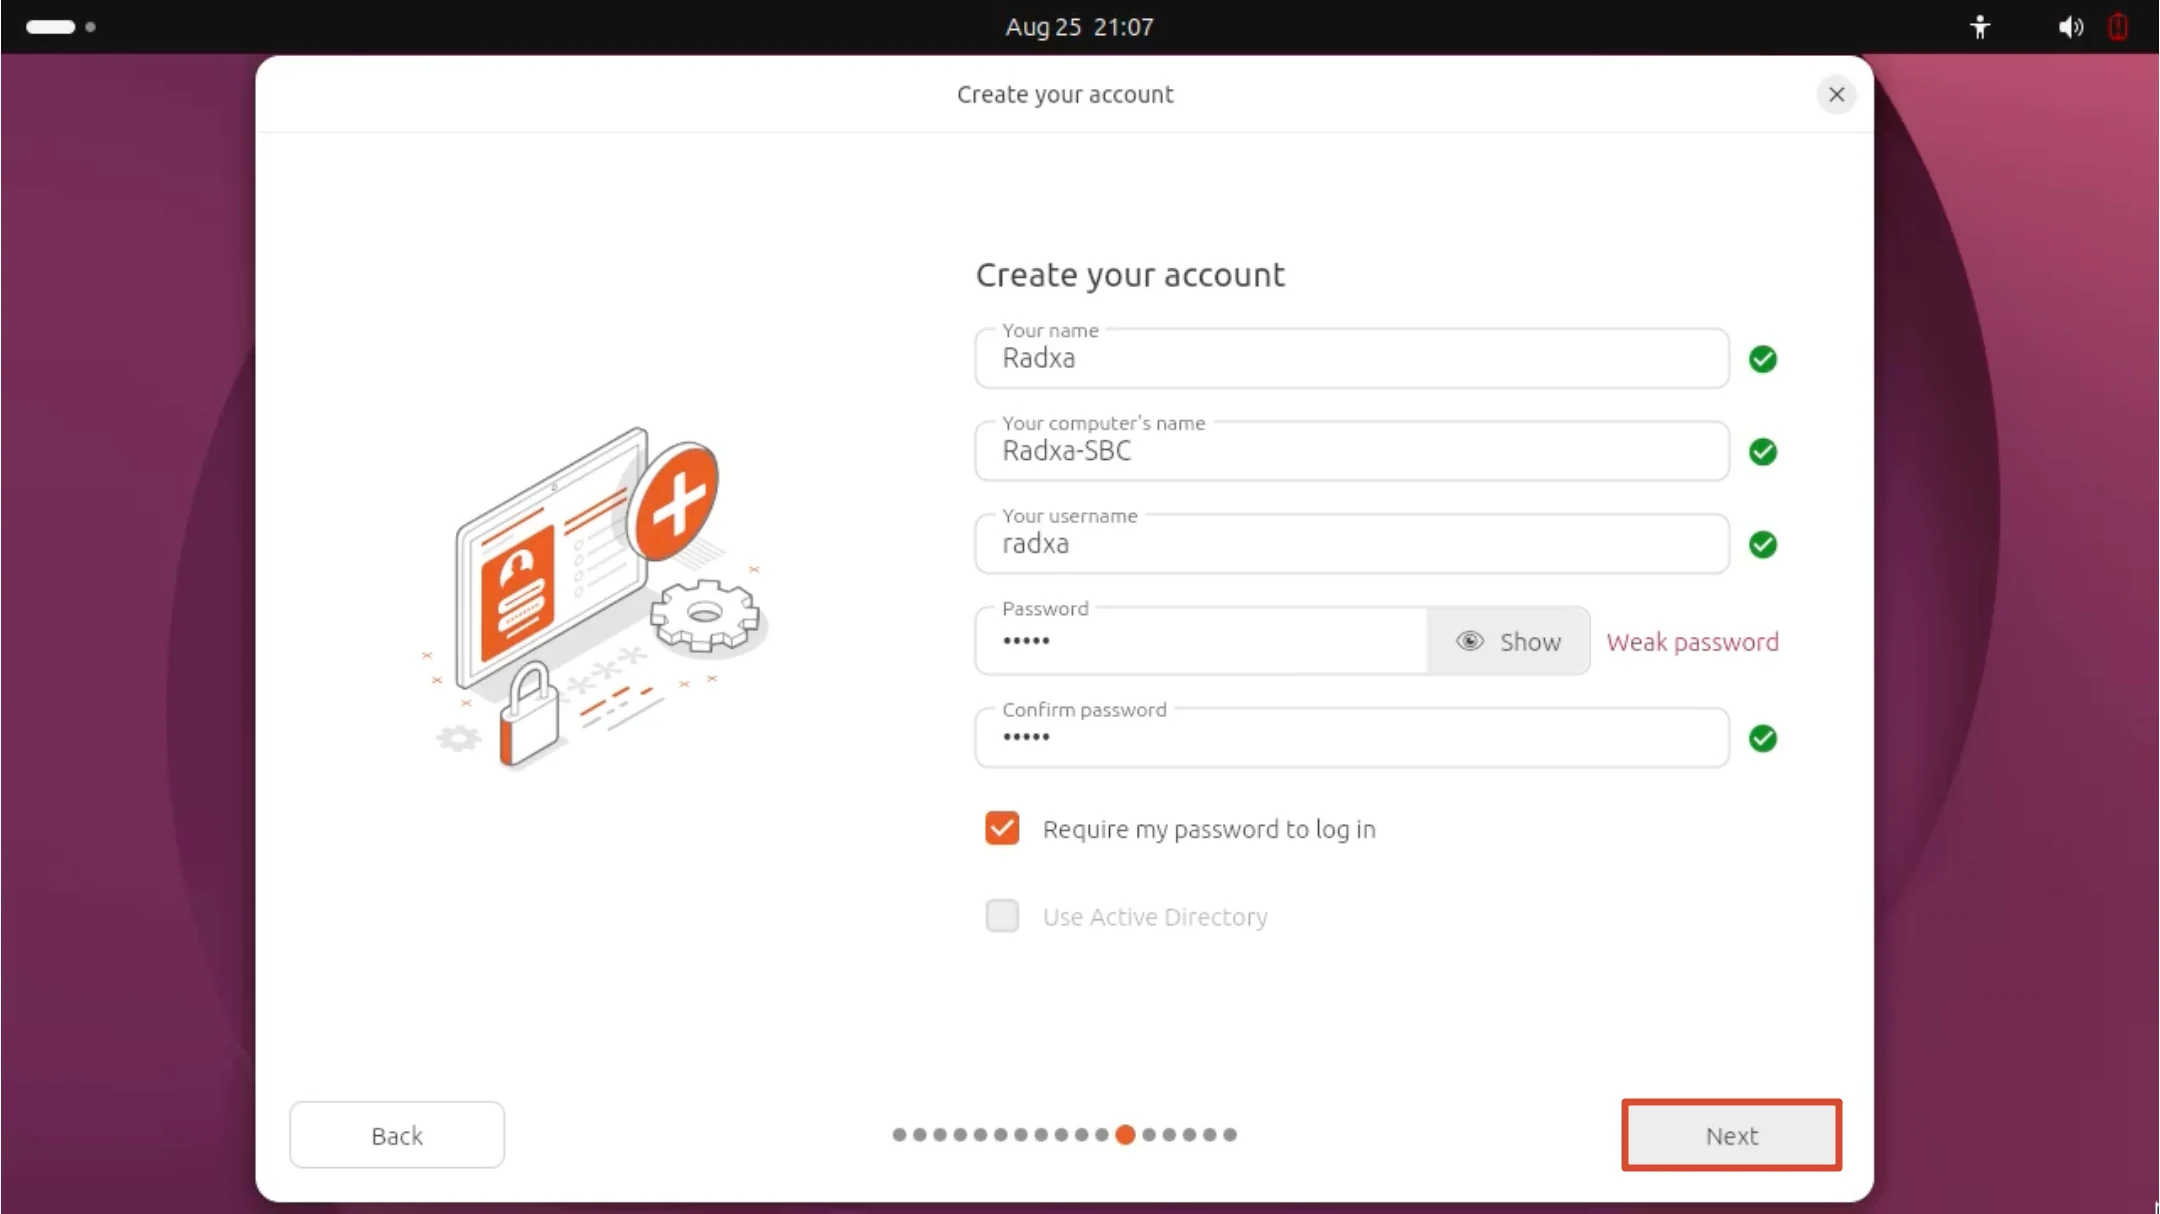
Fill in Your name, Your username, Password, and the password confirmation, and keep Require my password to log in checked. If a Weak password warning appears, choose a stronger password, then click Next.
Select the Time Zone
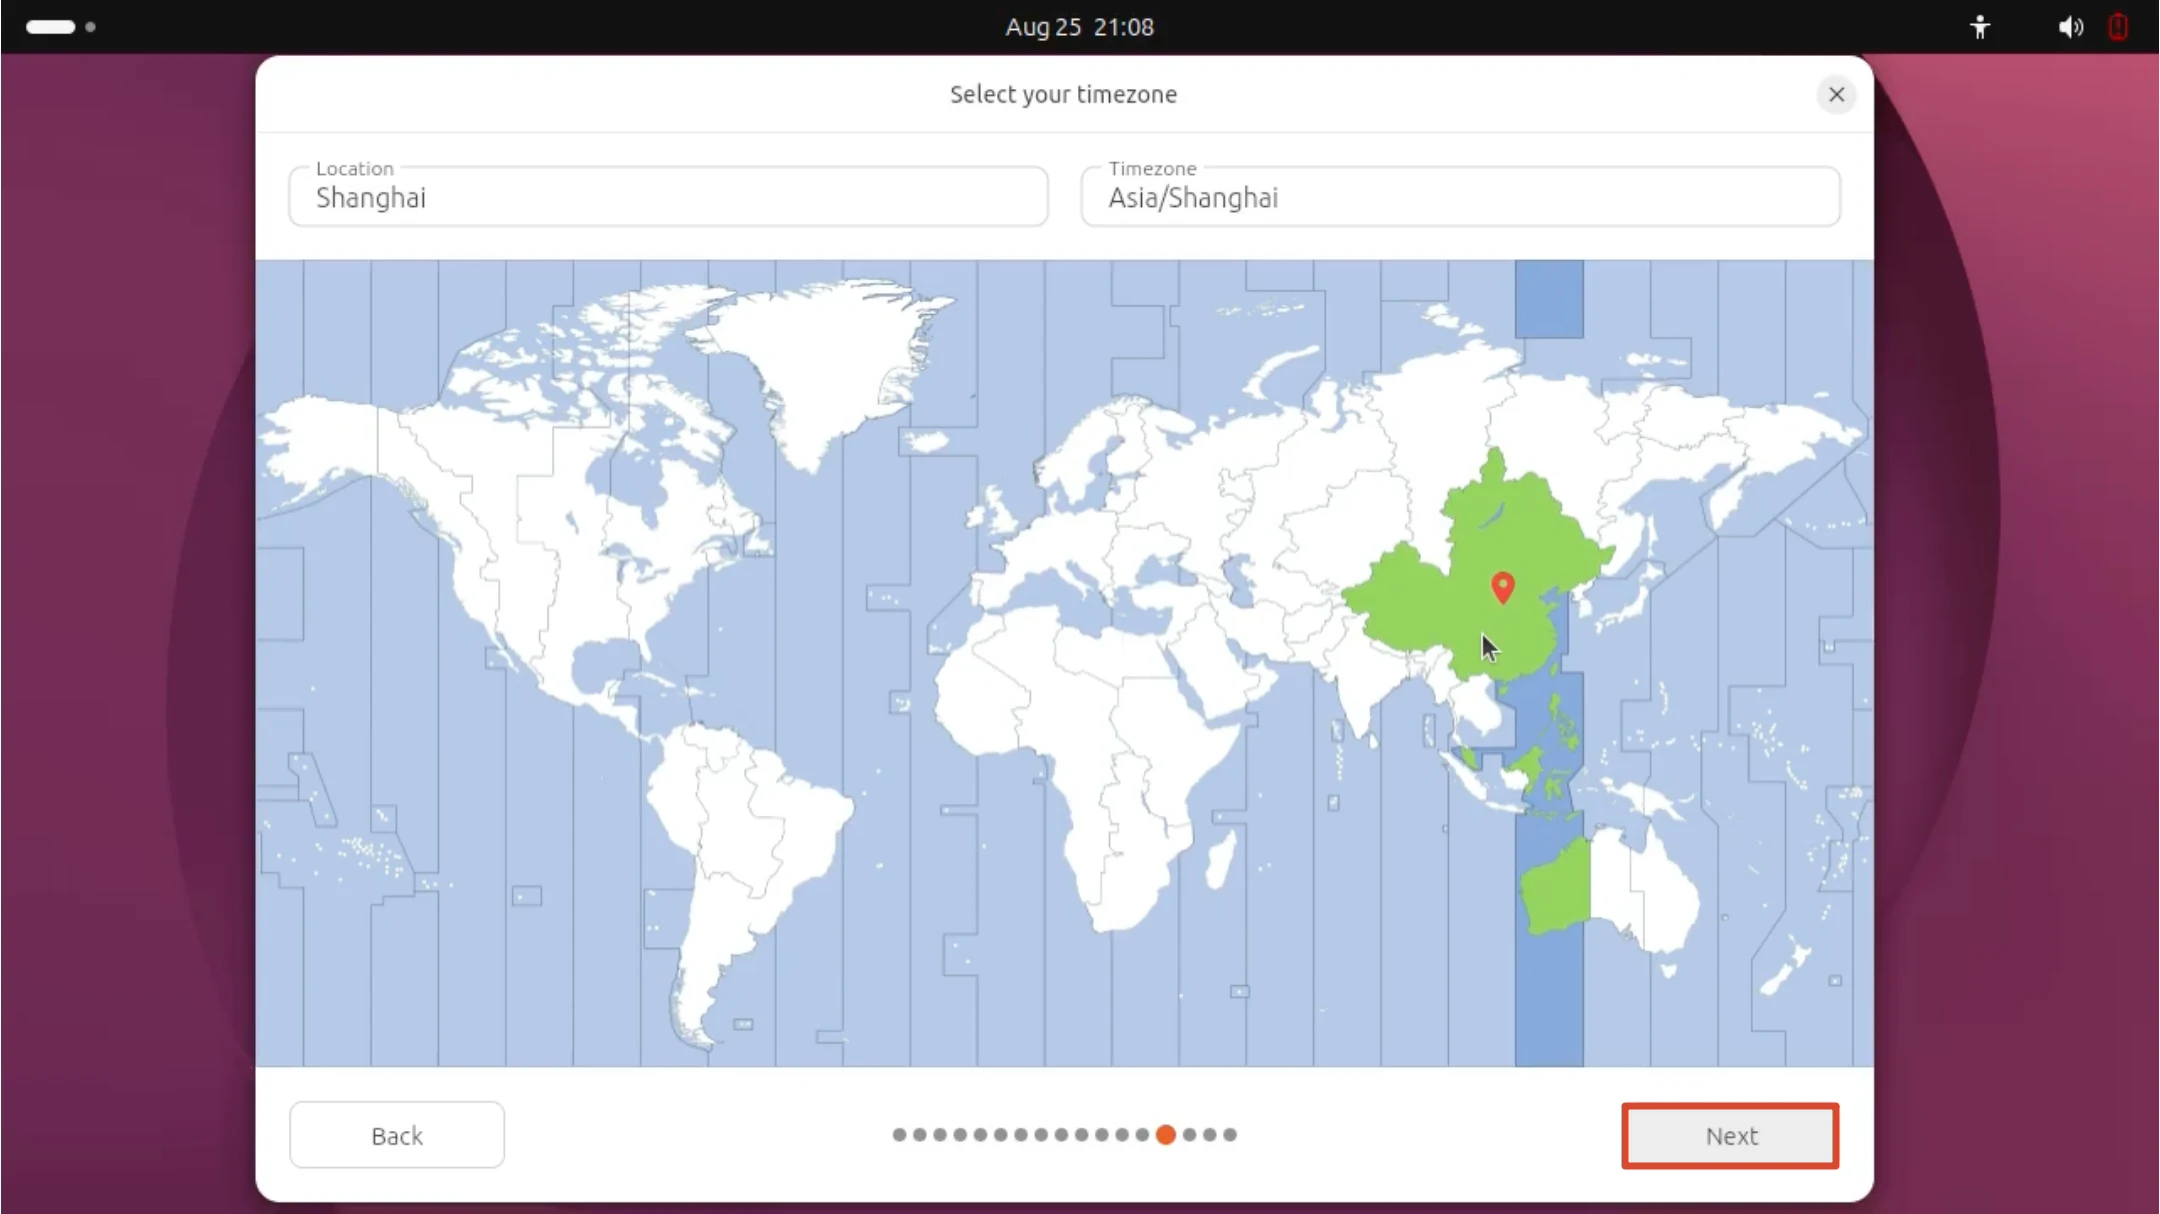
Confirm that Location is Shanghai and Timezone is Asia/Shanghai (the China region is highlighted on the map and marked with a red pin). To change it, click on the map or type a city name directly, then click Next.
Review and Start the Installation
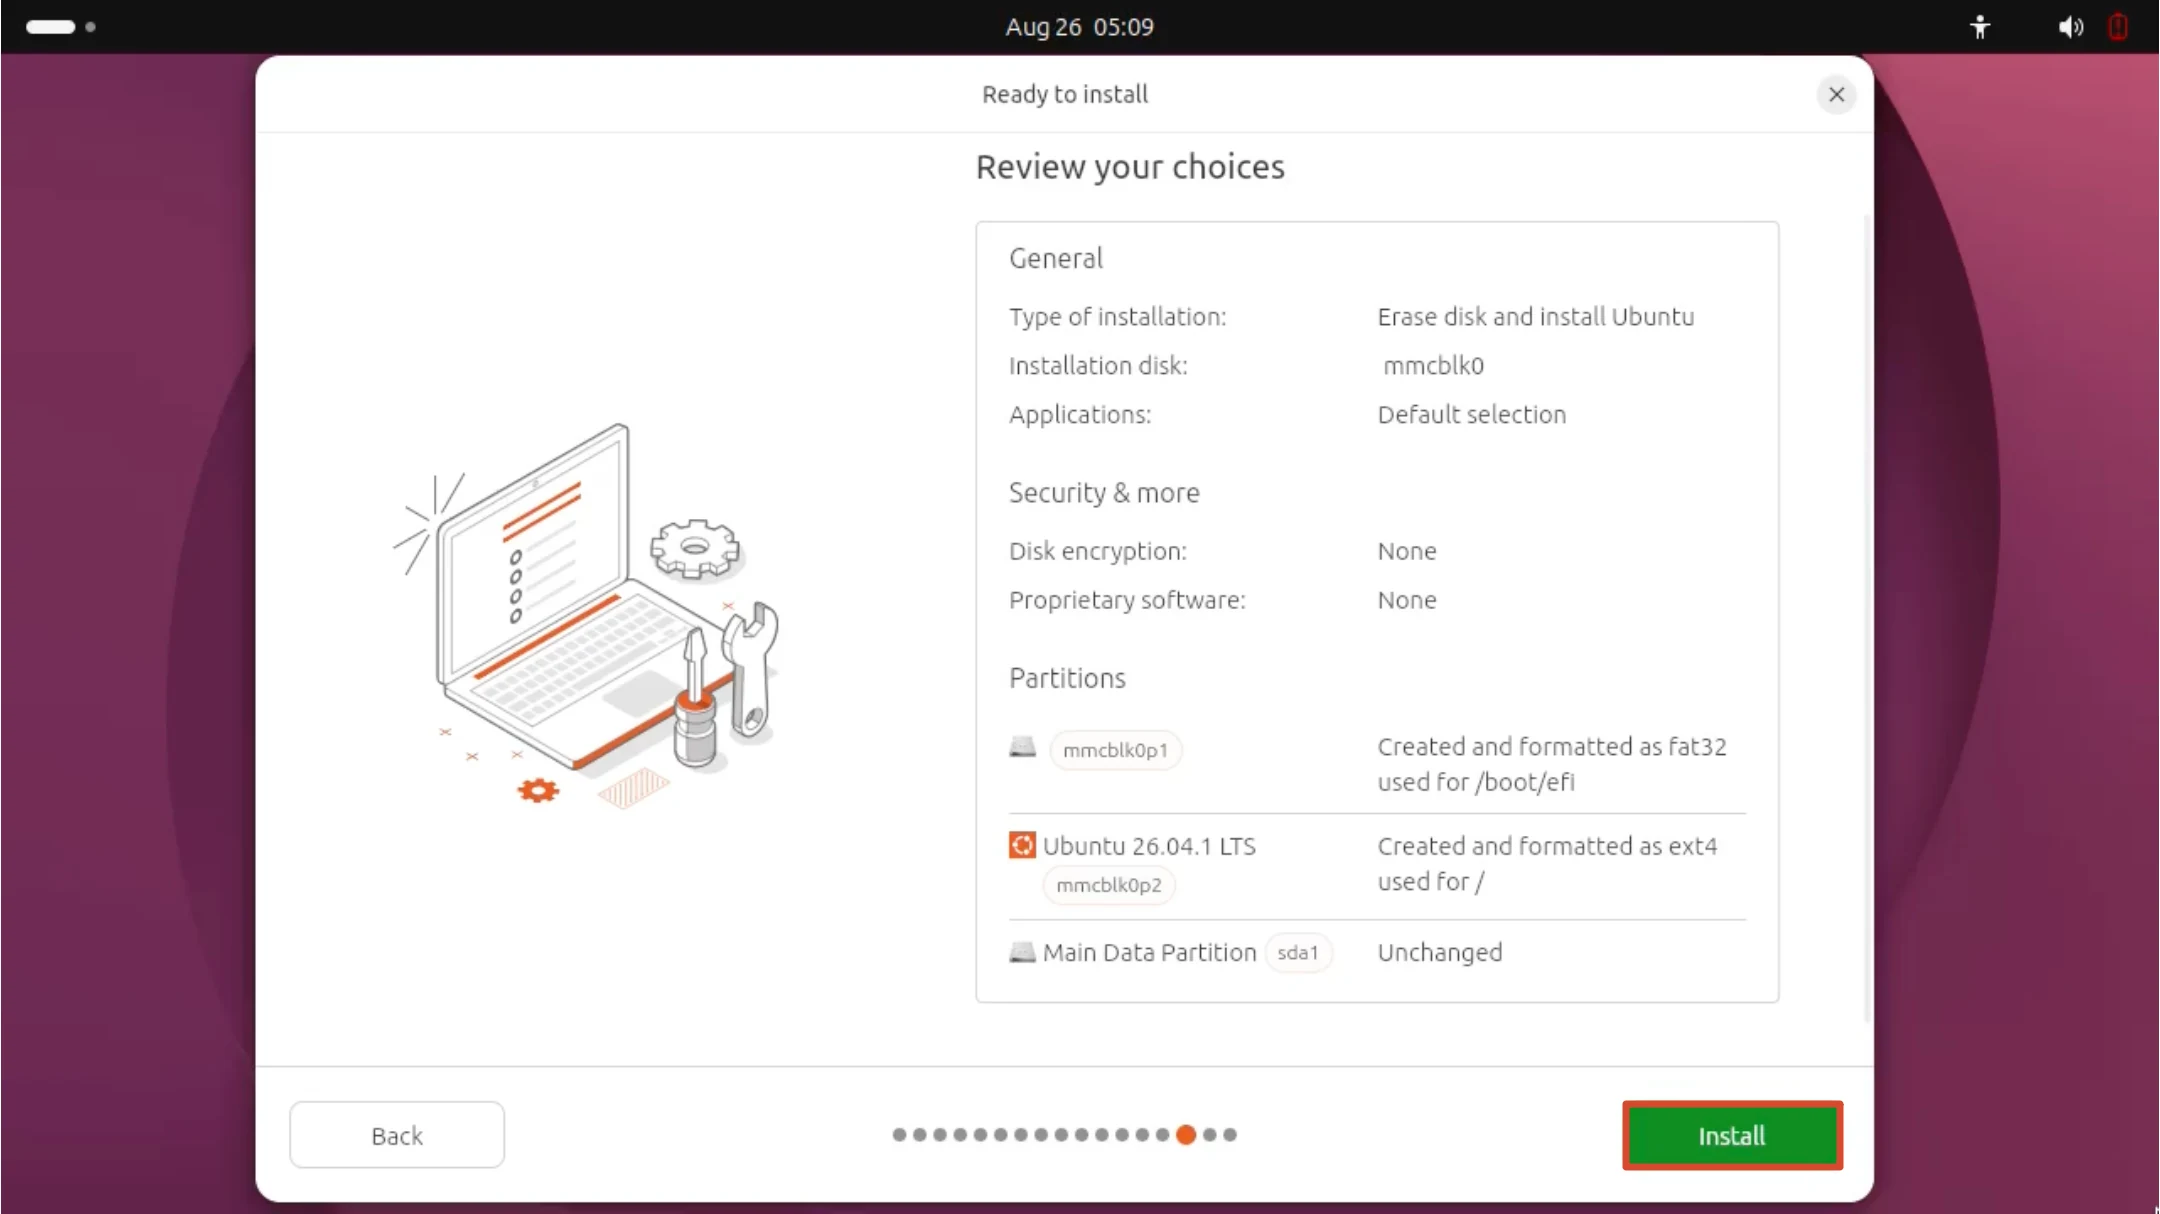
On the Ready to install / Review your choices page, double-check the installation type, the installation disk (mmcblk0), the applications, encryption, and the partition information. When everything is correct, click Install. From this point the installer erases mmcblk0 and writes the system, and the change cannot be undone.
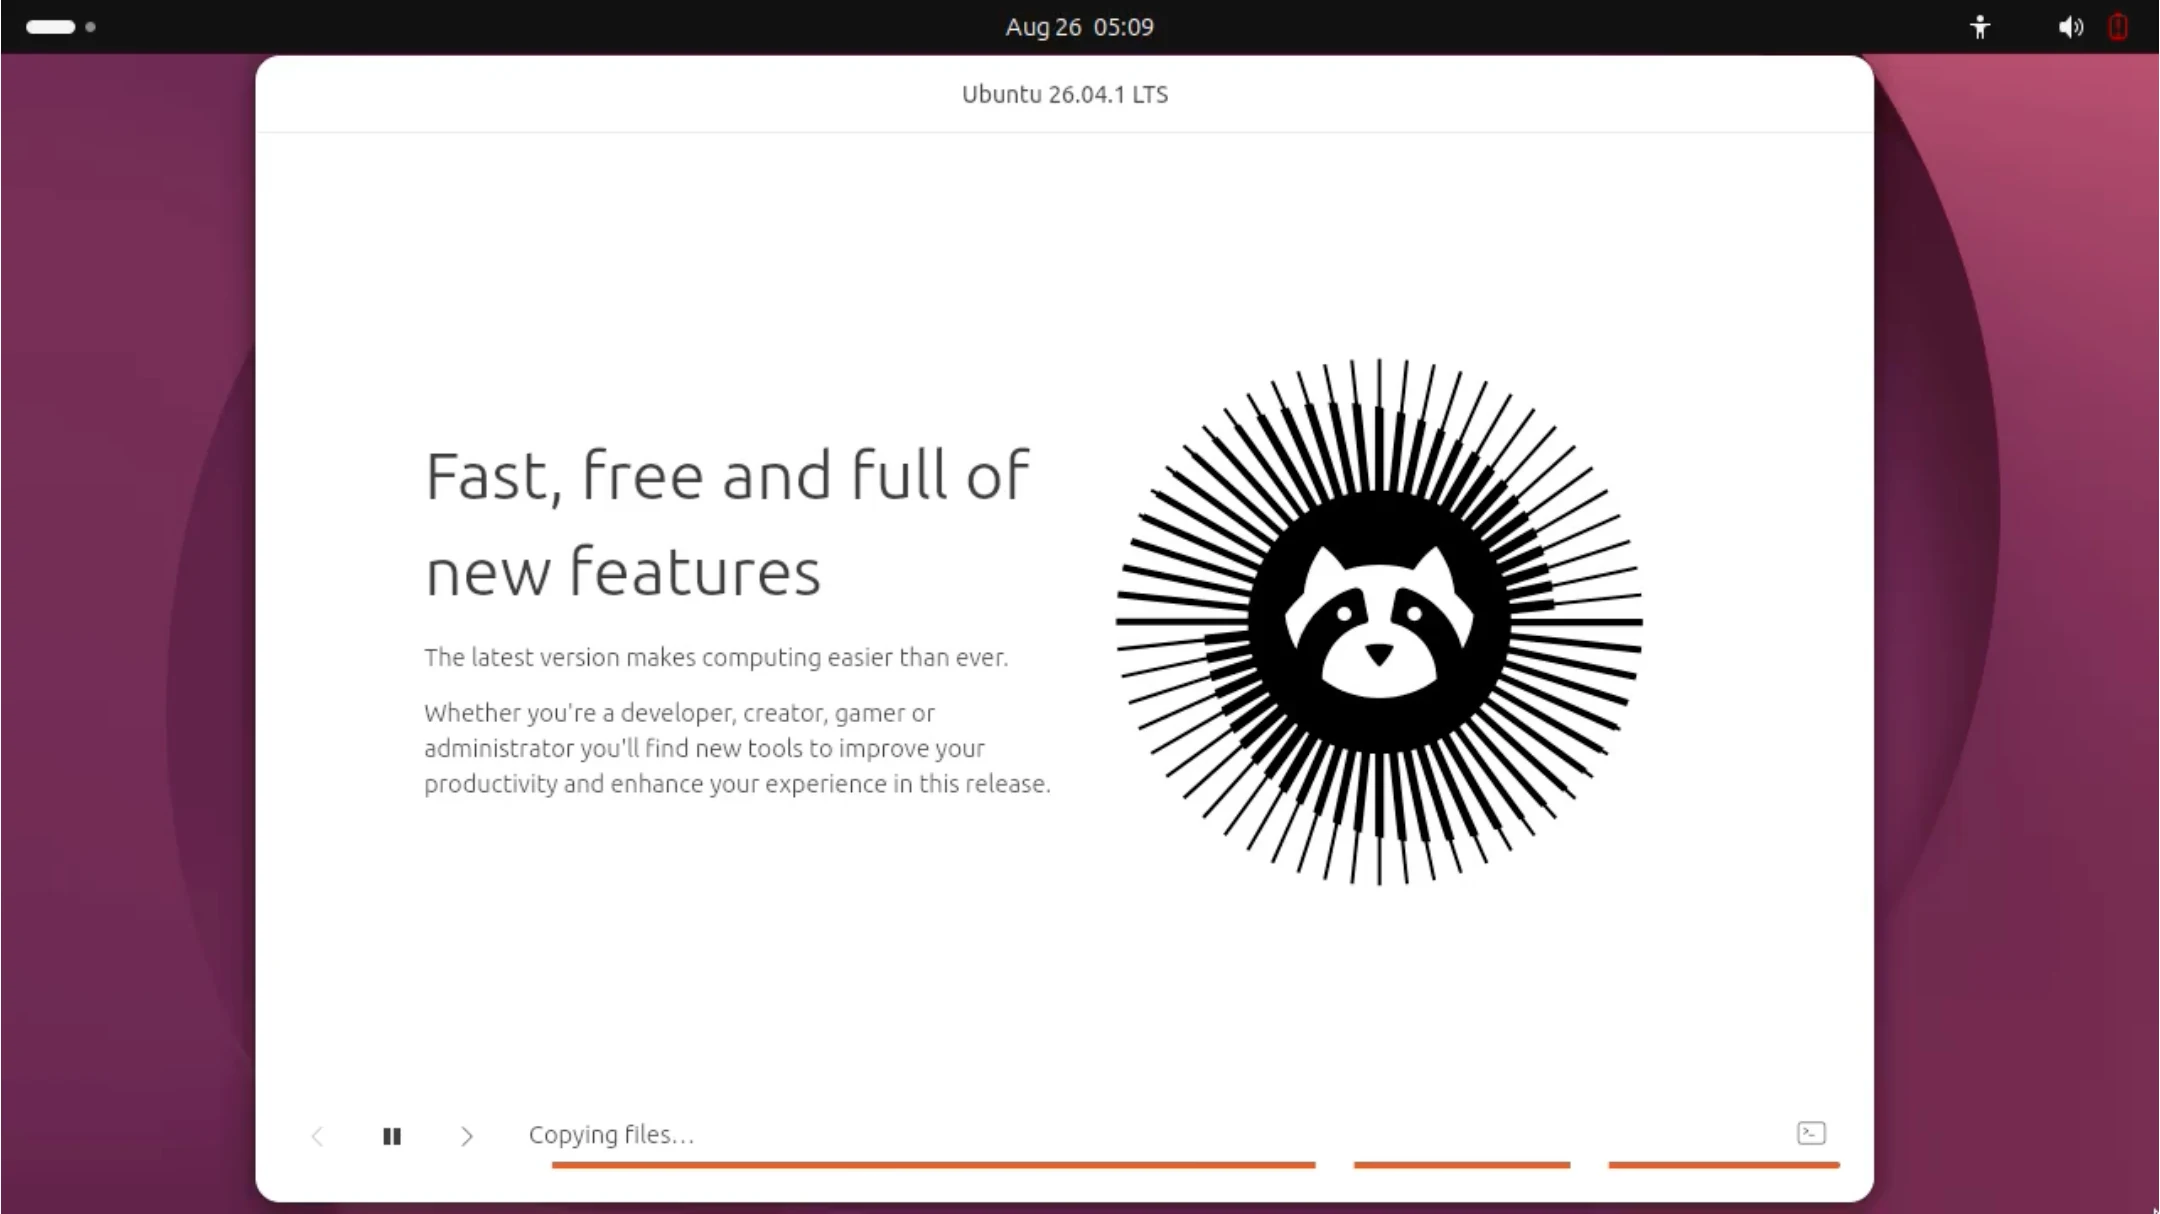
Installation in Progress: Copying Files
The installer copies files in the background (Copying files…) while the page shows an Ubuntu 26.04 LTS feature carousel. No action is needed. Do not power off or unplug the USB drive.
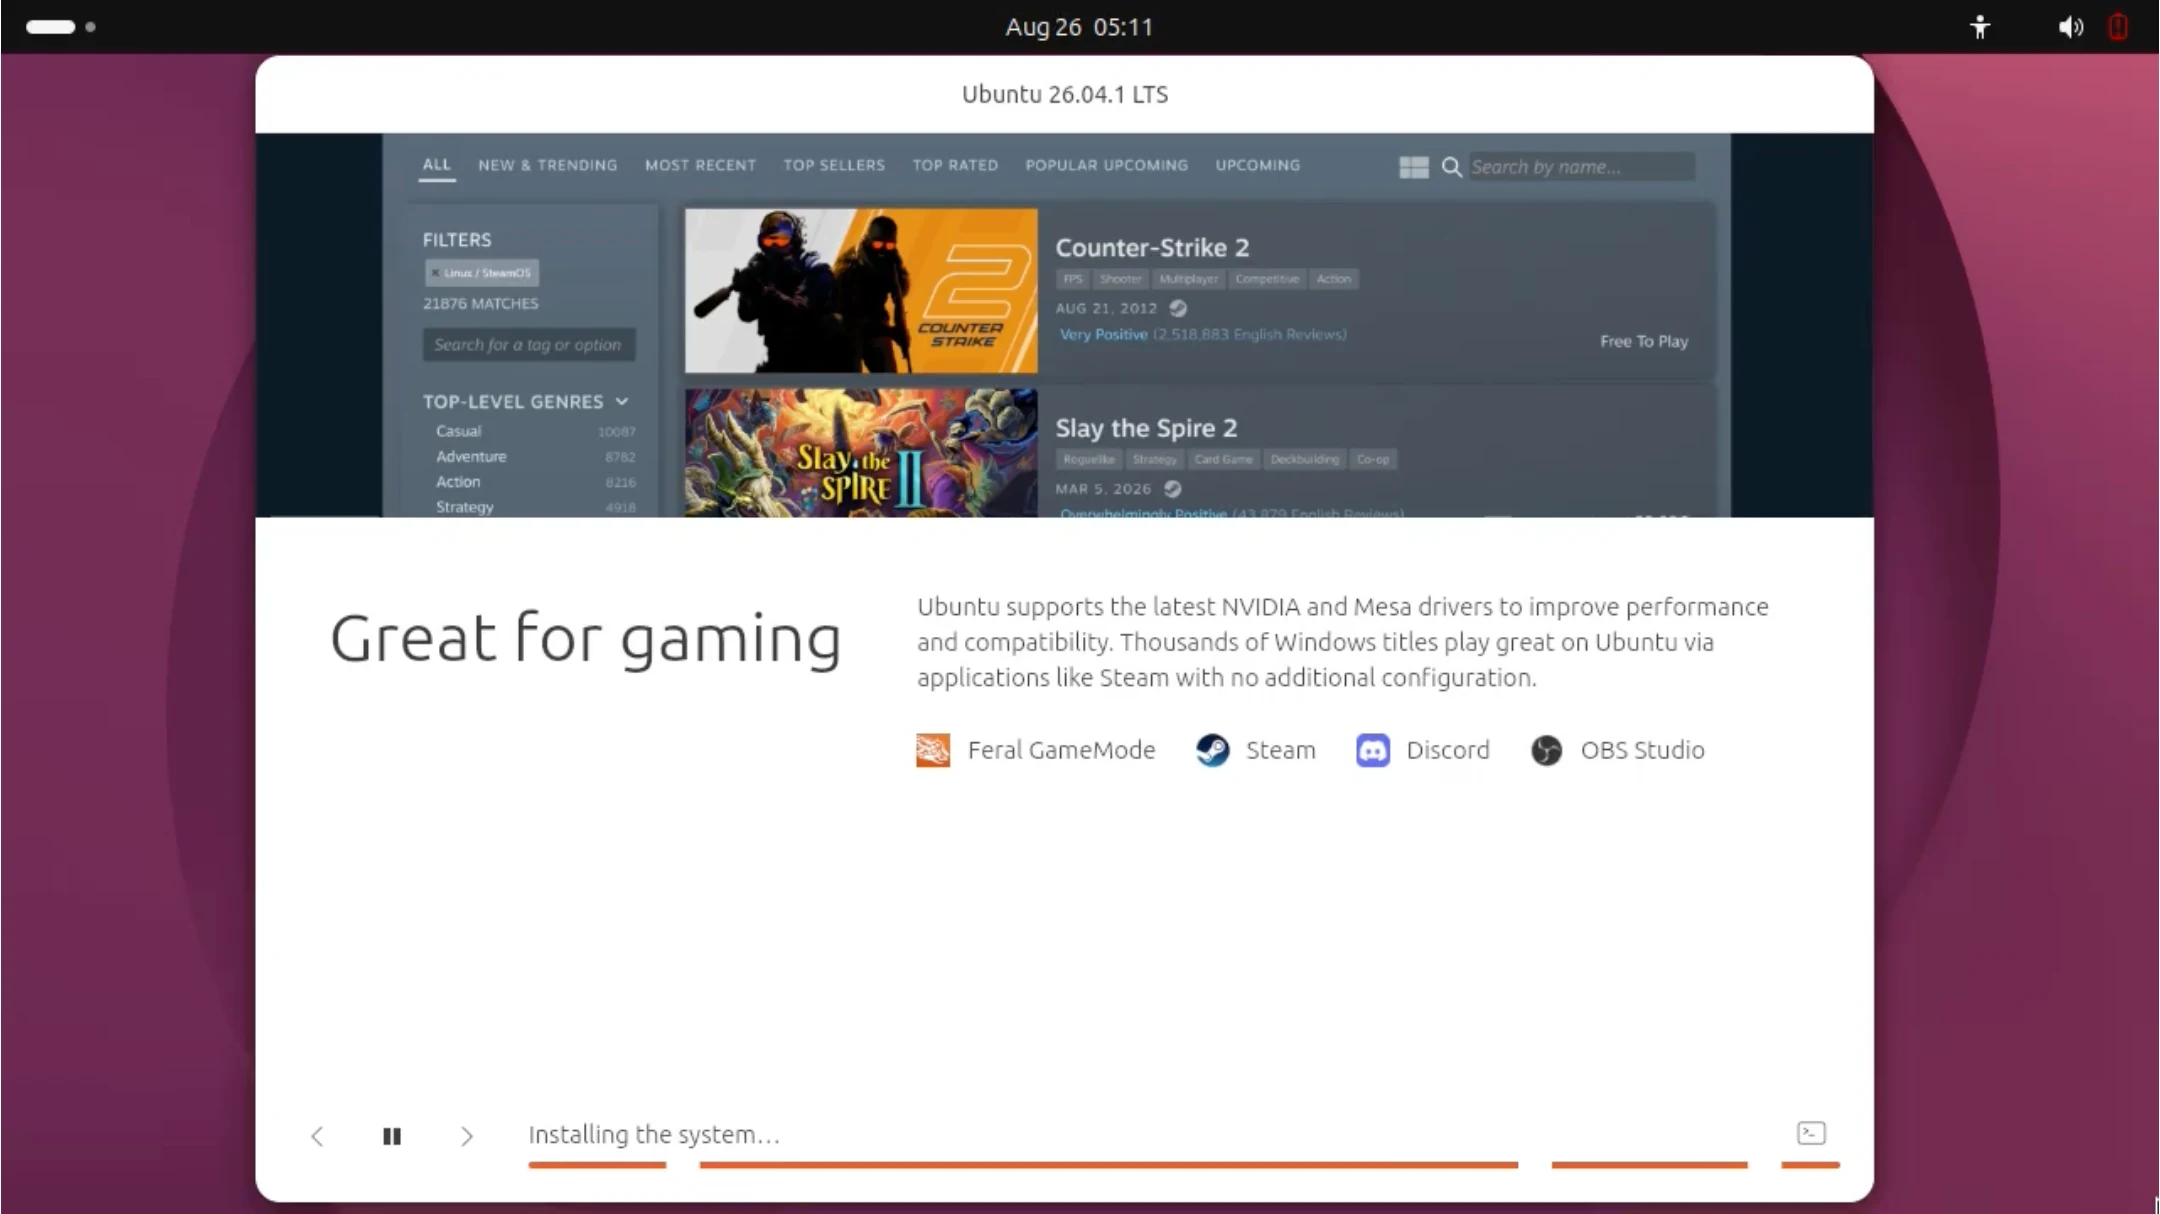
Installation in Progress: Introduction Slides
The carousel continues to show feature highlights, and the bottom of the screen reads Installing the system…. The installation is still running in the background; no action is needed — just wait.
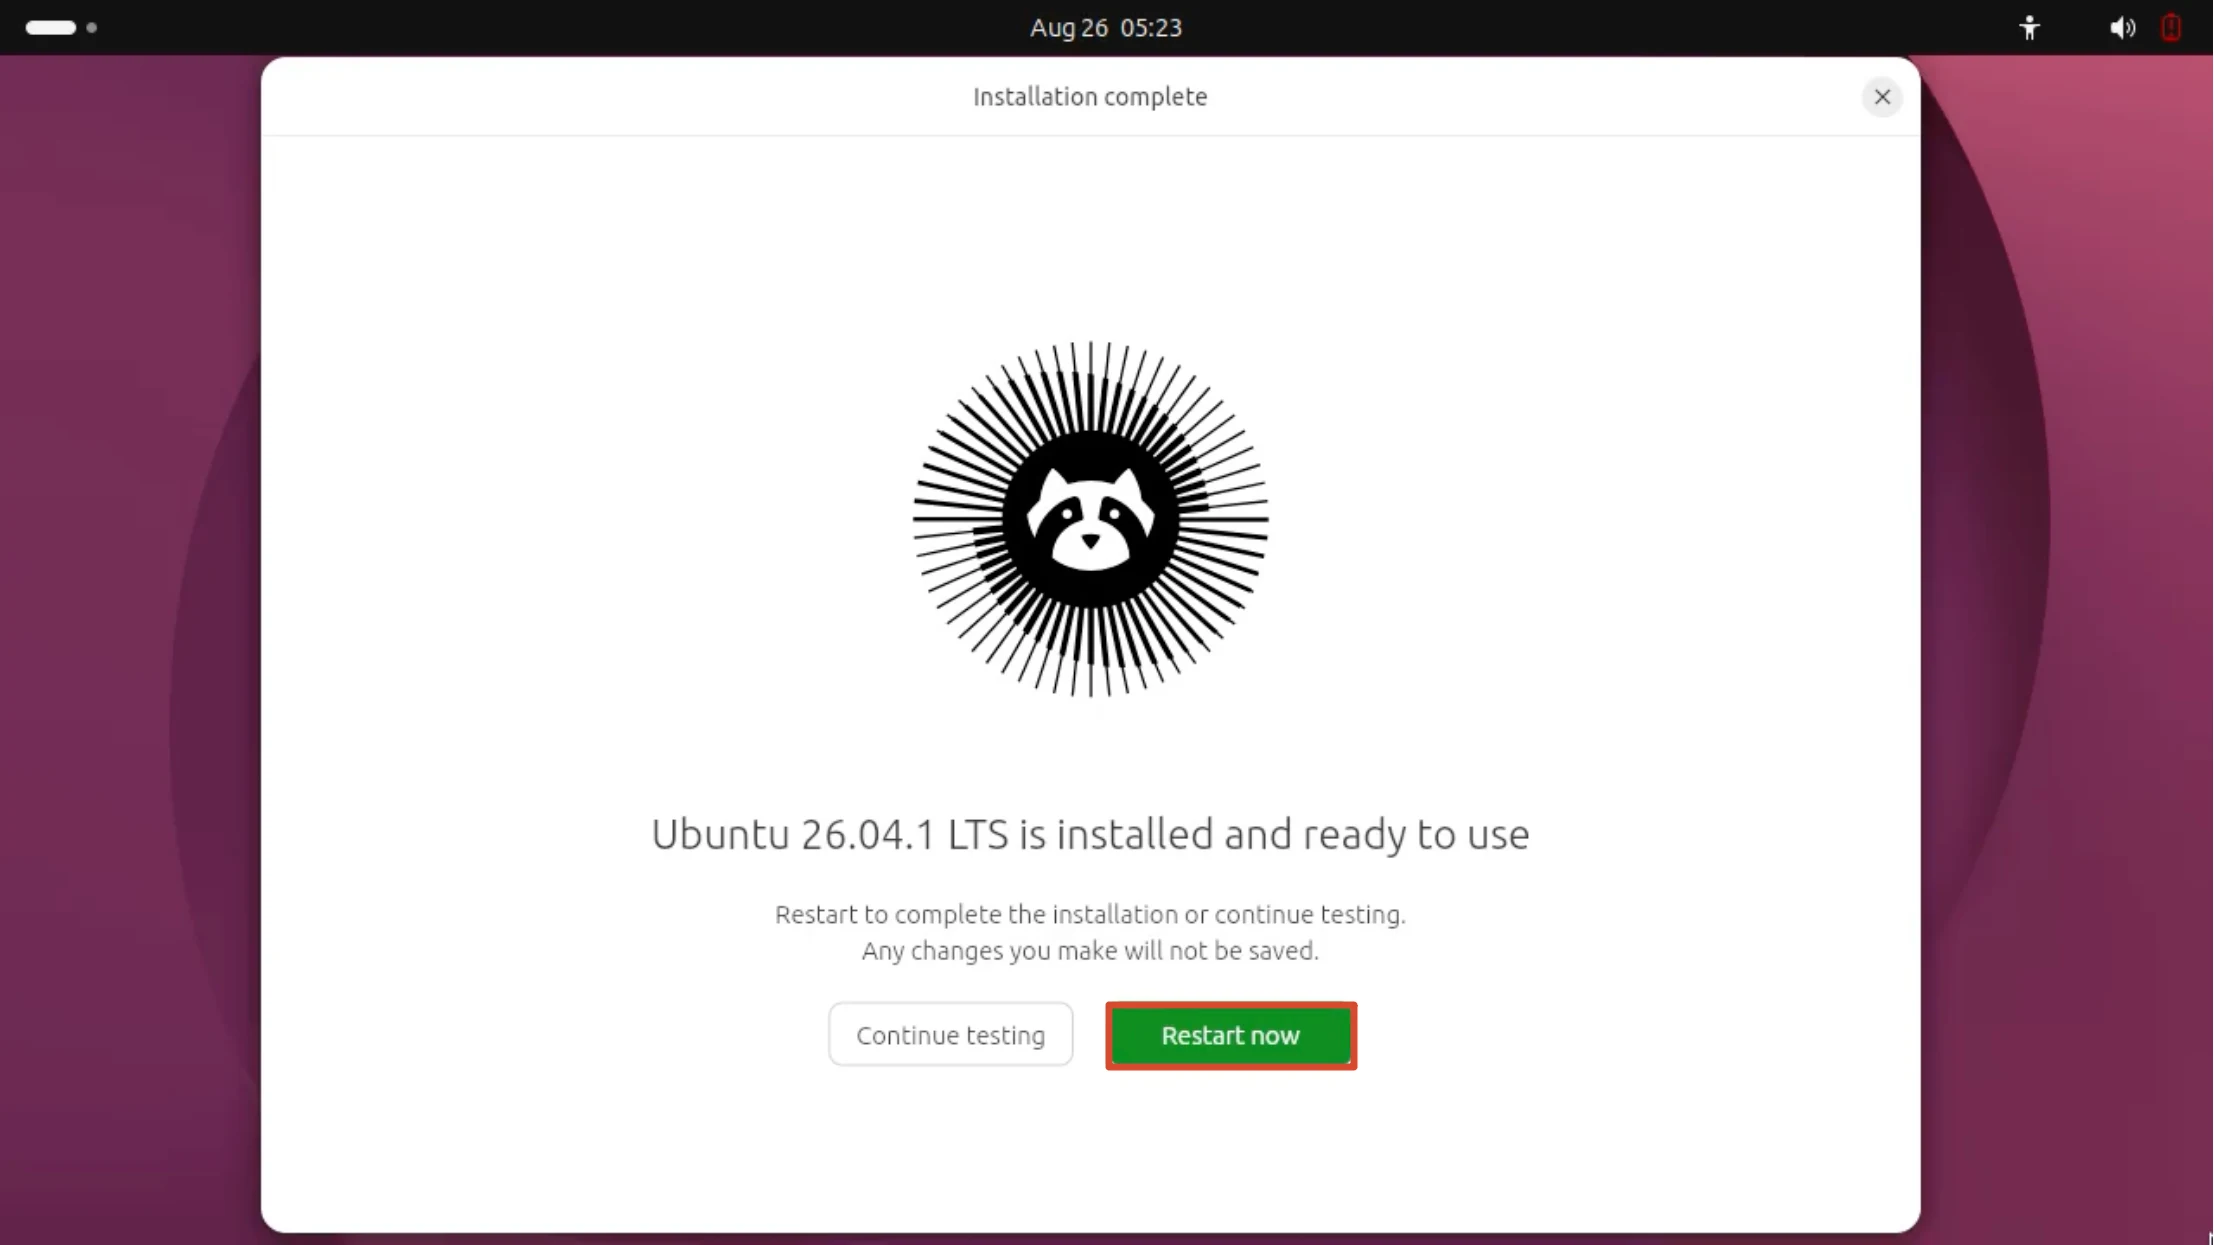
Installation Complete
Once Ubuntu 26.04.1 LTS is installed and ready to use appears, click Restart now to reboot into the installed system. Choosing Continue testing only keeps you in the live environment, and any changes are not saved.
Using Ubuntu
First Boot: The Ubuntu Desktop
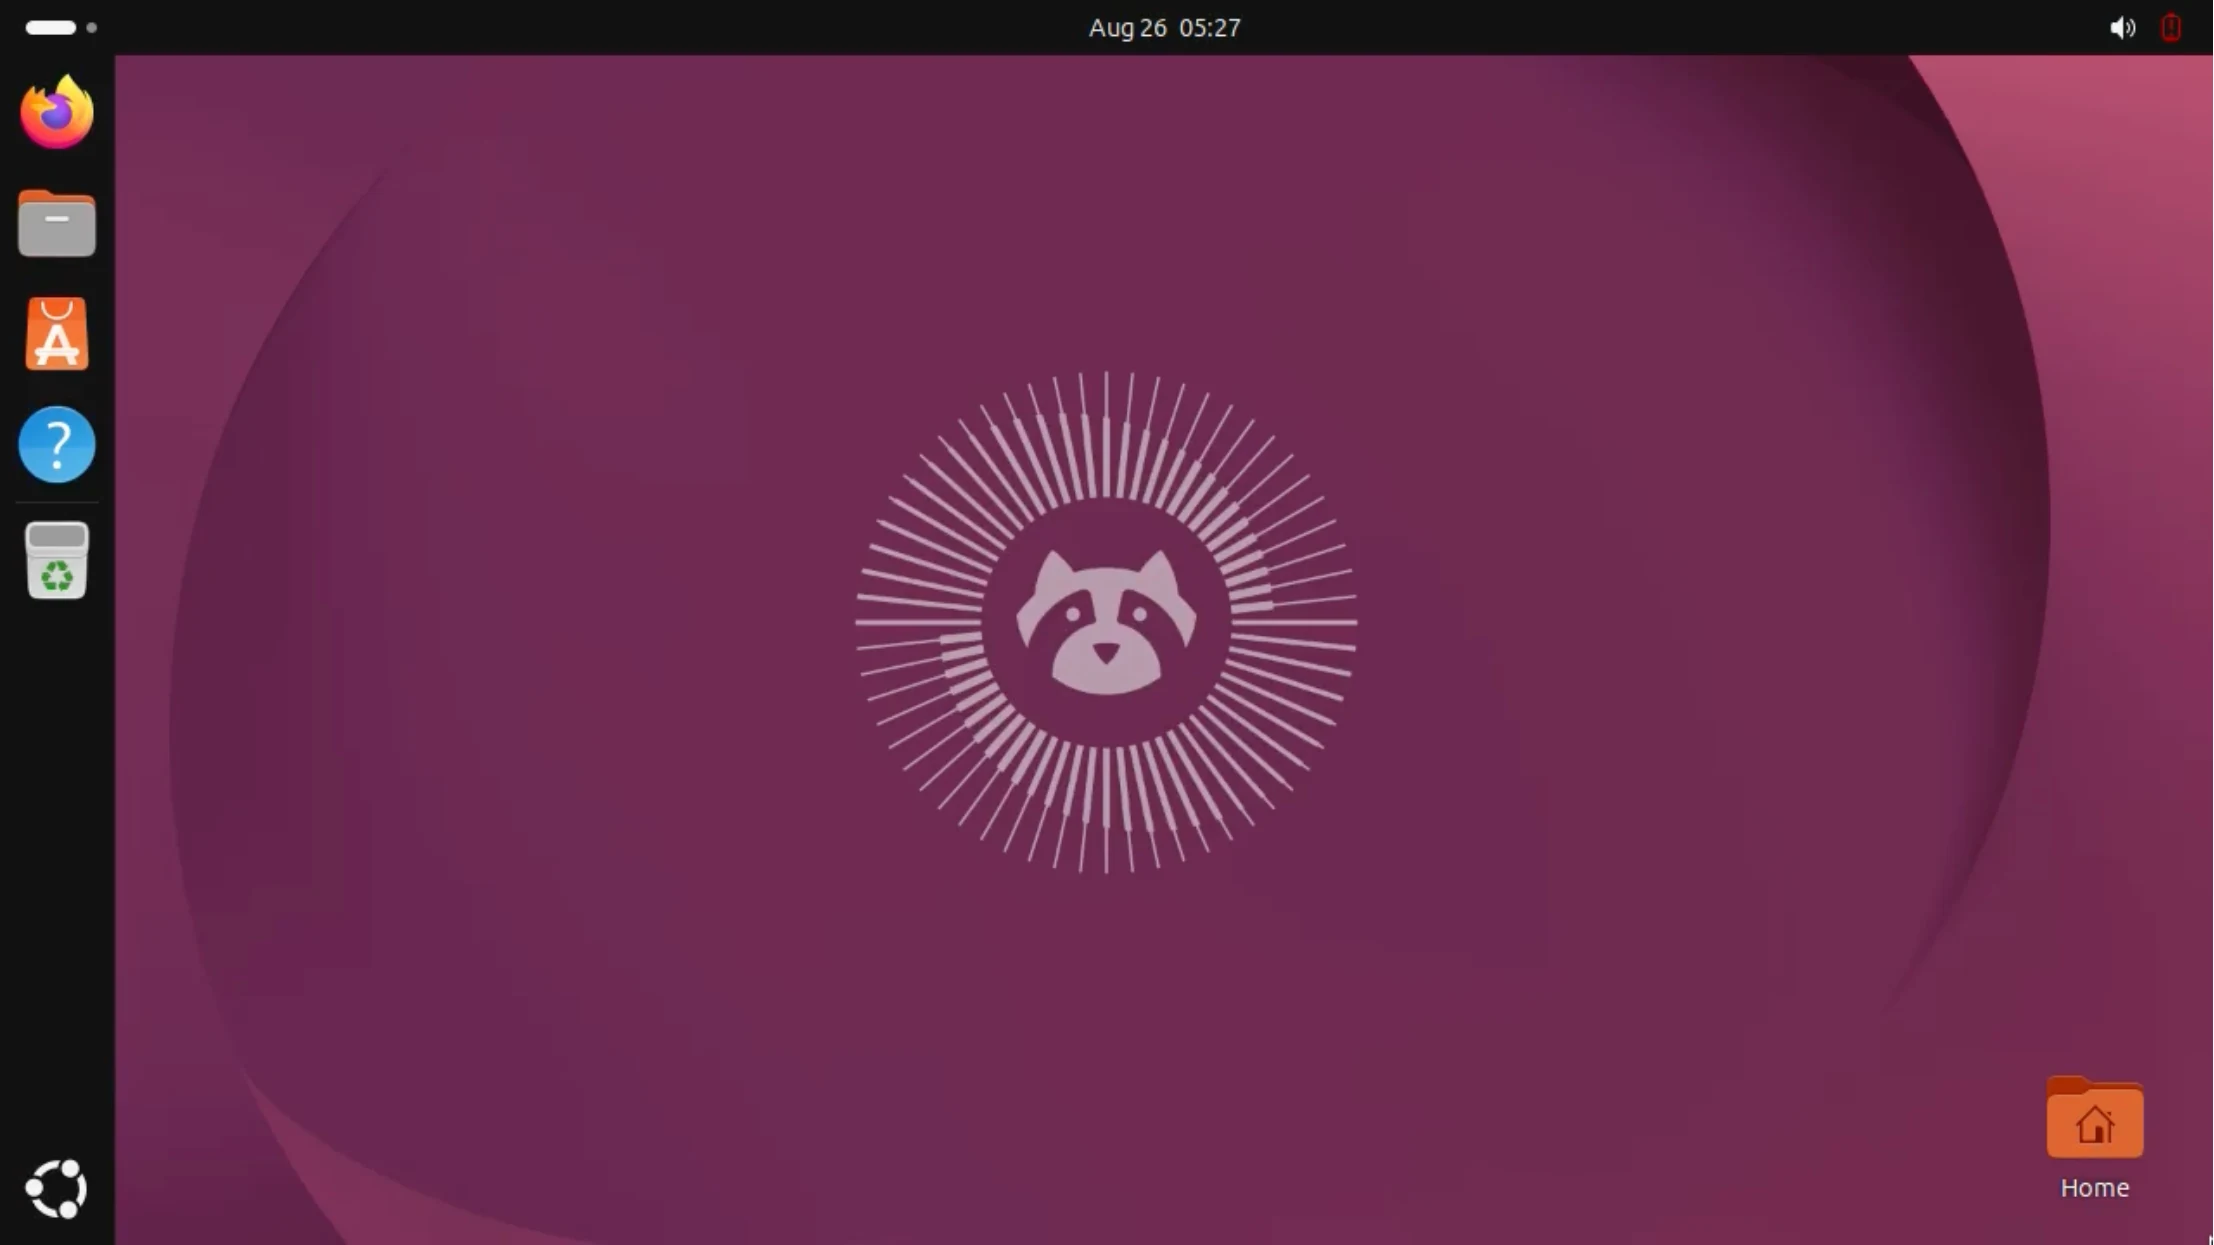
During the reboot, unplug the installation USB drive so the system boots from the microSD card. The first time you reach the desktop, a loading animation appears briefly, and then the GNOME desktop opens; you can launch Firefox, Files, and other applications from the Dock on the left.