NoMachine Login
You can install NoMachine on your PC and then remotely connect to the Radxa board using NoMachine.
Install NoMachine on PC
Visit the NoMachine official website to download the installation package for your operating system.
- Windows
- Linux
Installation Steps
1. Run the Installer
Run the nomachine_xxx.exe installation package as administrator.
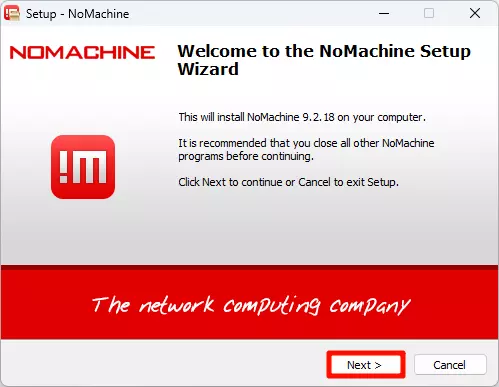
2. Welcome Screen
Click Next to proceed to the next step.
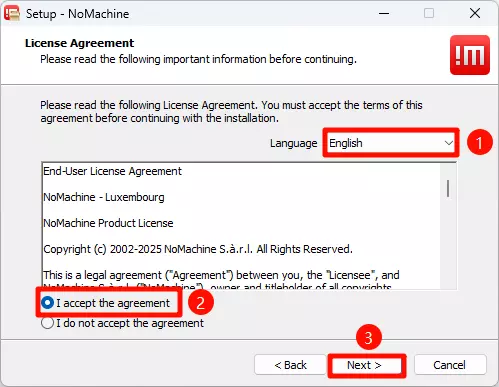
3. Language and License Agreement
Select your preferred language and accept the license agreement, then click Next to proceed.
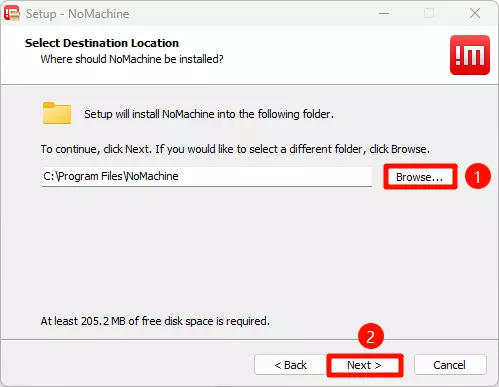
4. Choose Installation Location
It is recommended to select the default installation location, then click Next to start the installation.
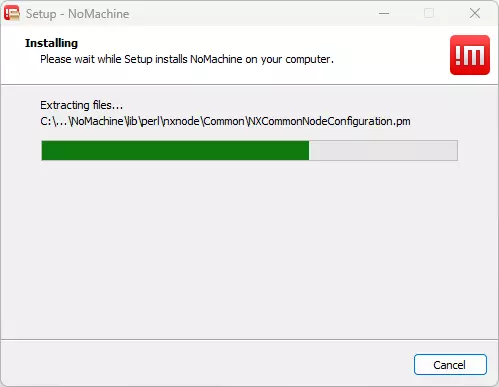
5. Installation Process
Wait for the installation to complete.
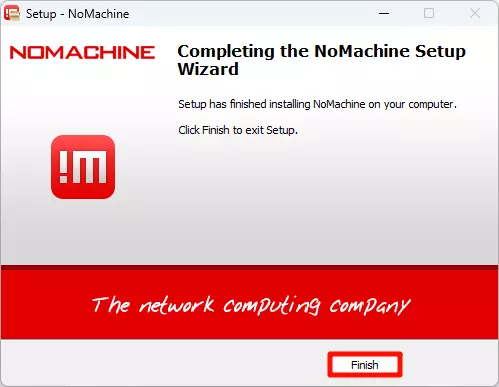
6. Complete Installation
Click Finish to complete the installation.
Installation Steps
- Open the terminal and navigate to the directory containing the NoMachine installation package
- Run the following command to install NoMachine:
sudo dpkg -i nomachine_xxx.deb
After installation is complete, you need to restart the system.
Install NoMachine on Radxa Board
Install and configure NoMachine on dragon-q8b.
Download NoMachine
Visit the NoMachine official website to download the Linux version for ARM architecture.
Install NoMachine
- Open the terminal and navigate to the directory containing the NoMachine installation package
- Run the following command to install NoMachine:
sudo dpkg -i nomachine_xxx.deb
If you are logged into the board system via serial port or SSH, you can use the wget command to download the NoMachine installation package: Replace <download_url> with the download URL for the corresponding version from the NoMachine official website.
wget <download_url>
Configure Virtual Display
Modify the configuration file so that NoMachine can work properly without a physical display:
sudo nano /usr/NX/etc/node.cfg
Change PhysicalDisplays :0 to PhysicalDisplays :1 in the file, then save it.
Restart System
Restart the system to apply all configurations.
sudo reboot
Using NoMachine Remote Connection
Connect to Radxa Board
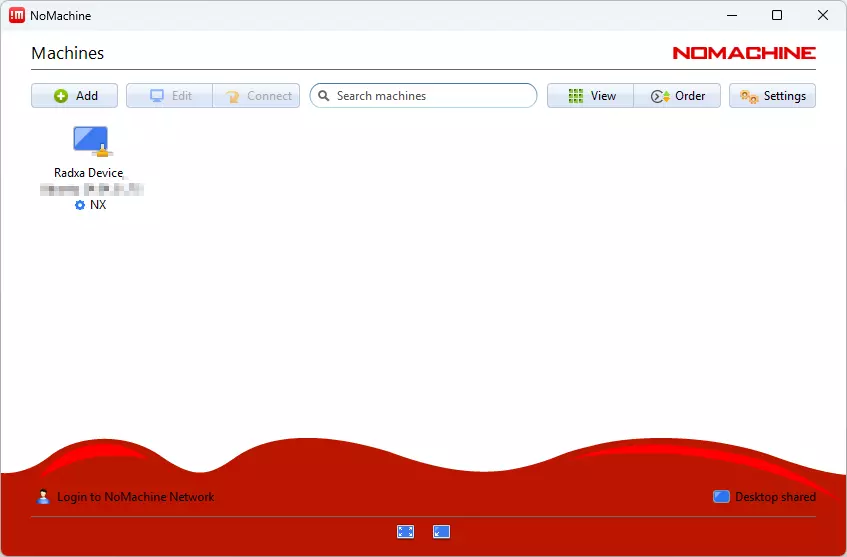
- Open the NoMachine software on your PC
- The software will automatically scan for NoMachine devices on the same local network
- Find the corresponding Radxa board device and click
Connectto establish the connection
Login to System
Enter the username and password of the board, then click OK to login.

Remote Desktop Connection Successful
After successful login, a NoMachine window will pop up on your PC, displaying the desktop environment of the Radxa board. You can now remotely control the board.
