Install OS to NVMe
Overview
To boot Radxa E54C from NVMe, you first need to boot the system from a microSD card or eMMC, then flash the SPI Flash using either the rsetup tool or RKDevTool, and finally write the system image to the NVMe device using the dd command.
This tutorial demonstrates the process using a microSD card. The installation process is identical for eMMC systems.
Boot the System
Refer to the Quick Start guide to boot the system from a microSD card.
After confirming that the Radxa E54C system has successfully booted, shut it down and disconnect the power. Then insert the NVMe drive into the M.2 slot on the Radxa E54C motherboard.
The microSD card functions similarly to a boot disk in an x86 system. Its purpose is to provide a Linux environment for system installation, obtain the SPI Flash image file (spi.img), and then flash spi.img to the SPI Flash using the rsetup tool.
Flash SPI Flash
There are two methods to flash the SPI Flash: using the rsetup tool or the RKDevTool. Choose the one that best suits your needs.
Using Rsetup
Use the system configuration tool rsetup to flash spi.img to the SPI Flash.
Update Rsetup
Rsetup Tool Guide: Interface may vary slightly between versions. Please refer to your actual interface.
- Confirm selection: Press
Enter - Cancel selection: Press
ESC - Toggle options: Use arrow keys
- Multi-selection interface: Press
Spaceto select, thenEnterto confirm
Open the system command line and run the rsetup tool to update.
rsetup
rsetup Main Interface
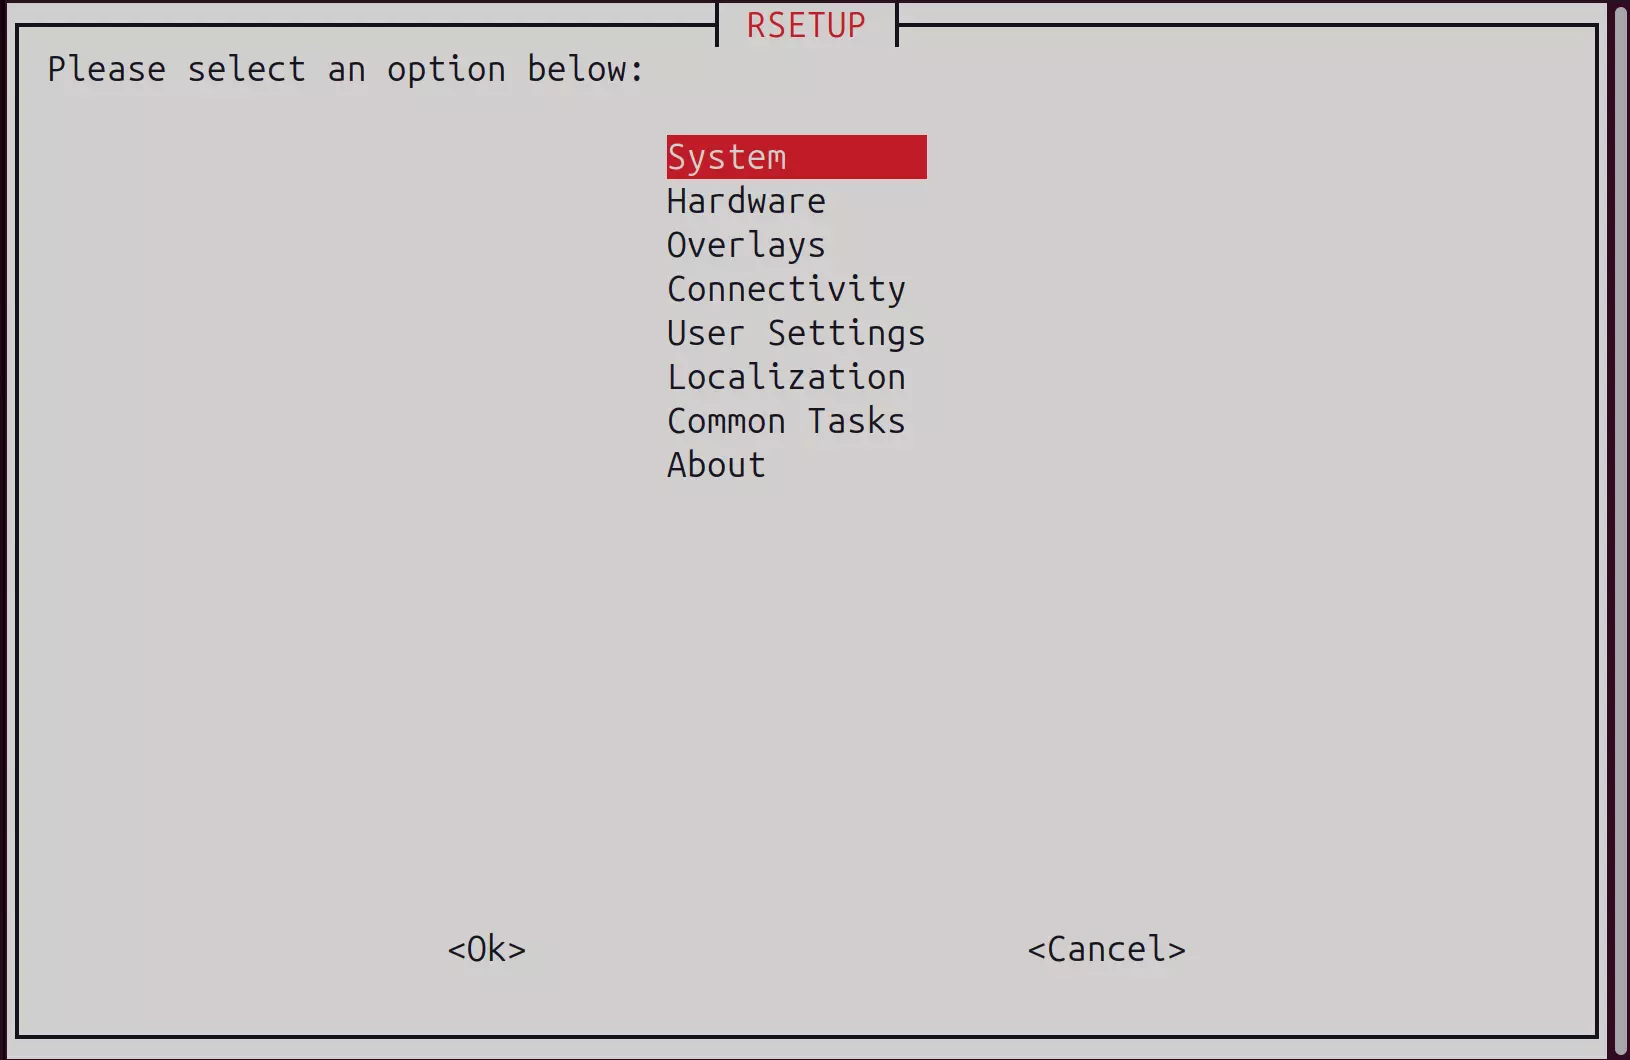
- Update System
Navigate to
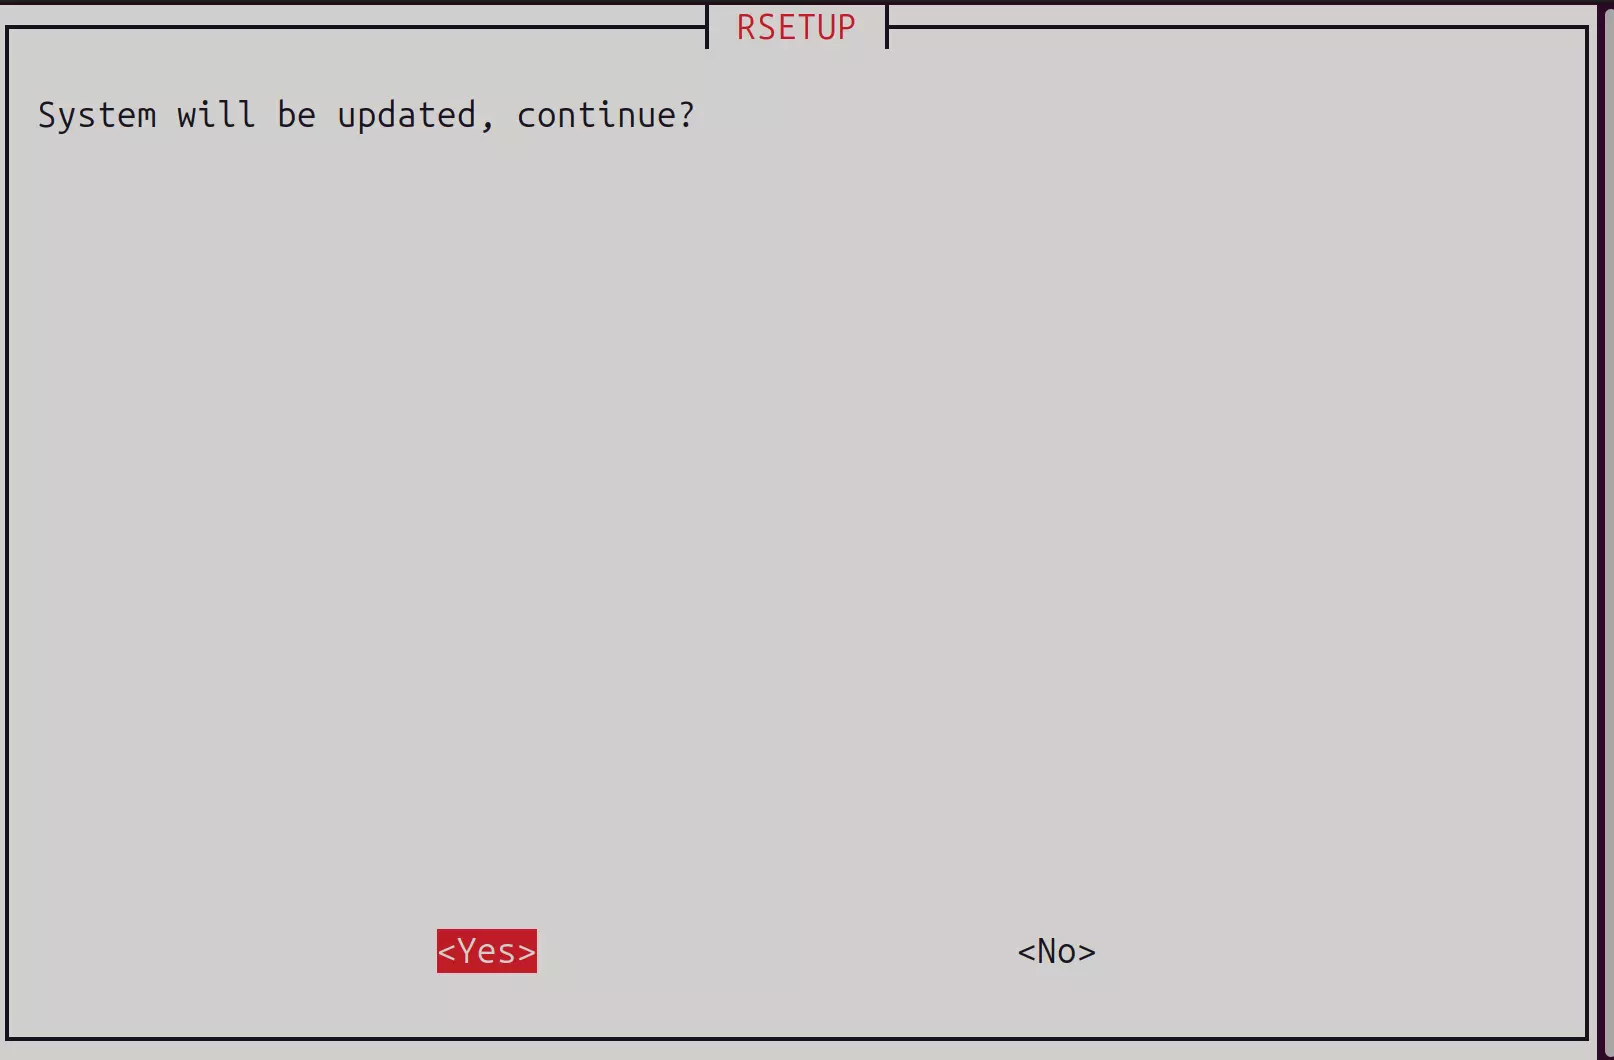
System→System Update:

Select yes to continue, then follow the on-screen instructions to complete the remaining steps:
Restart the system after completing all operations.
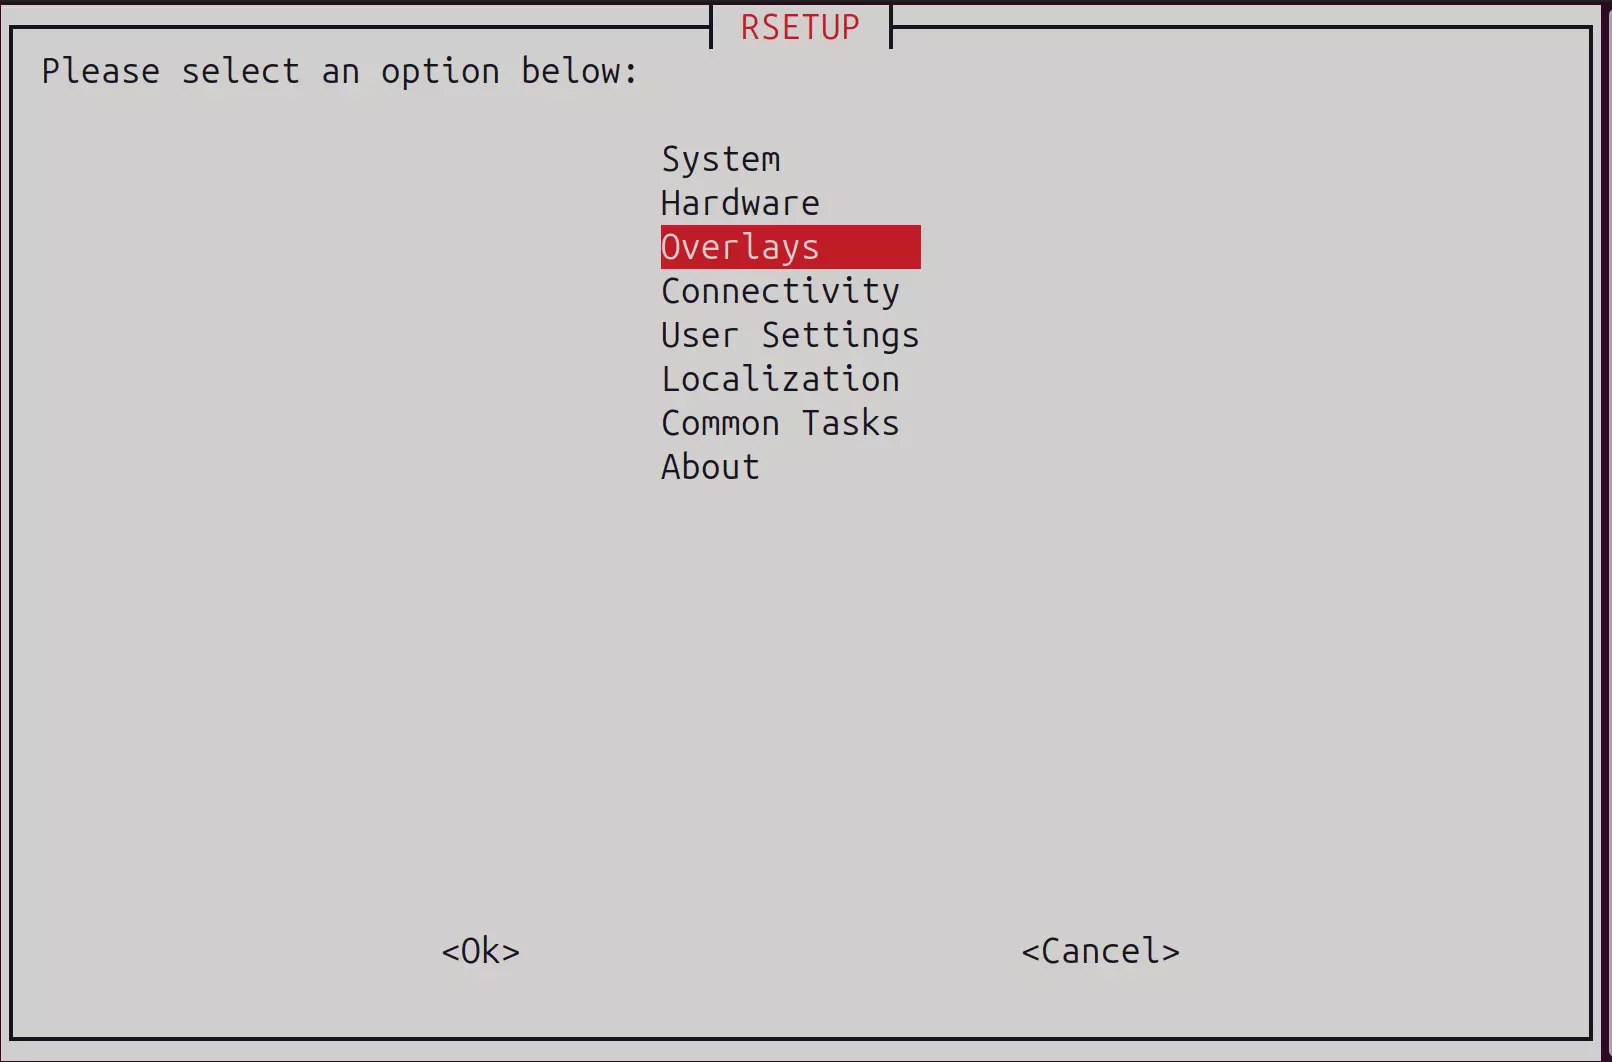
Enable SPI Flash Device
To prevent accidental writes to the bootloader stored in the SPI Flash during normal use, the SPI Flash device is disabled by default. Enable it using the following method.
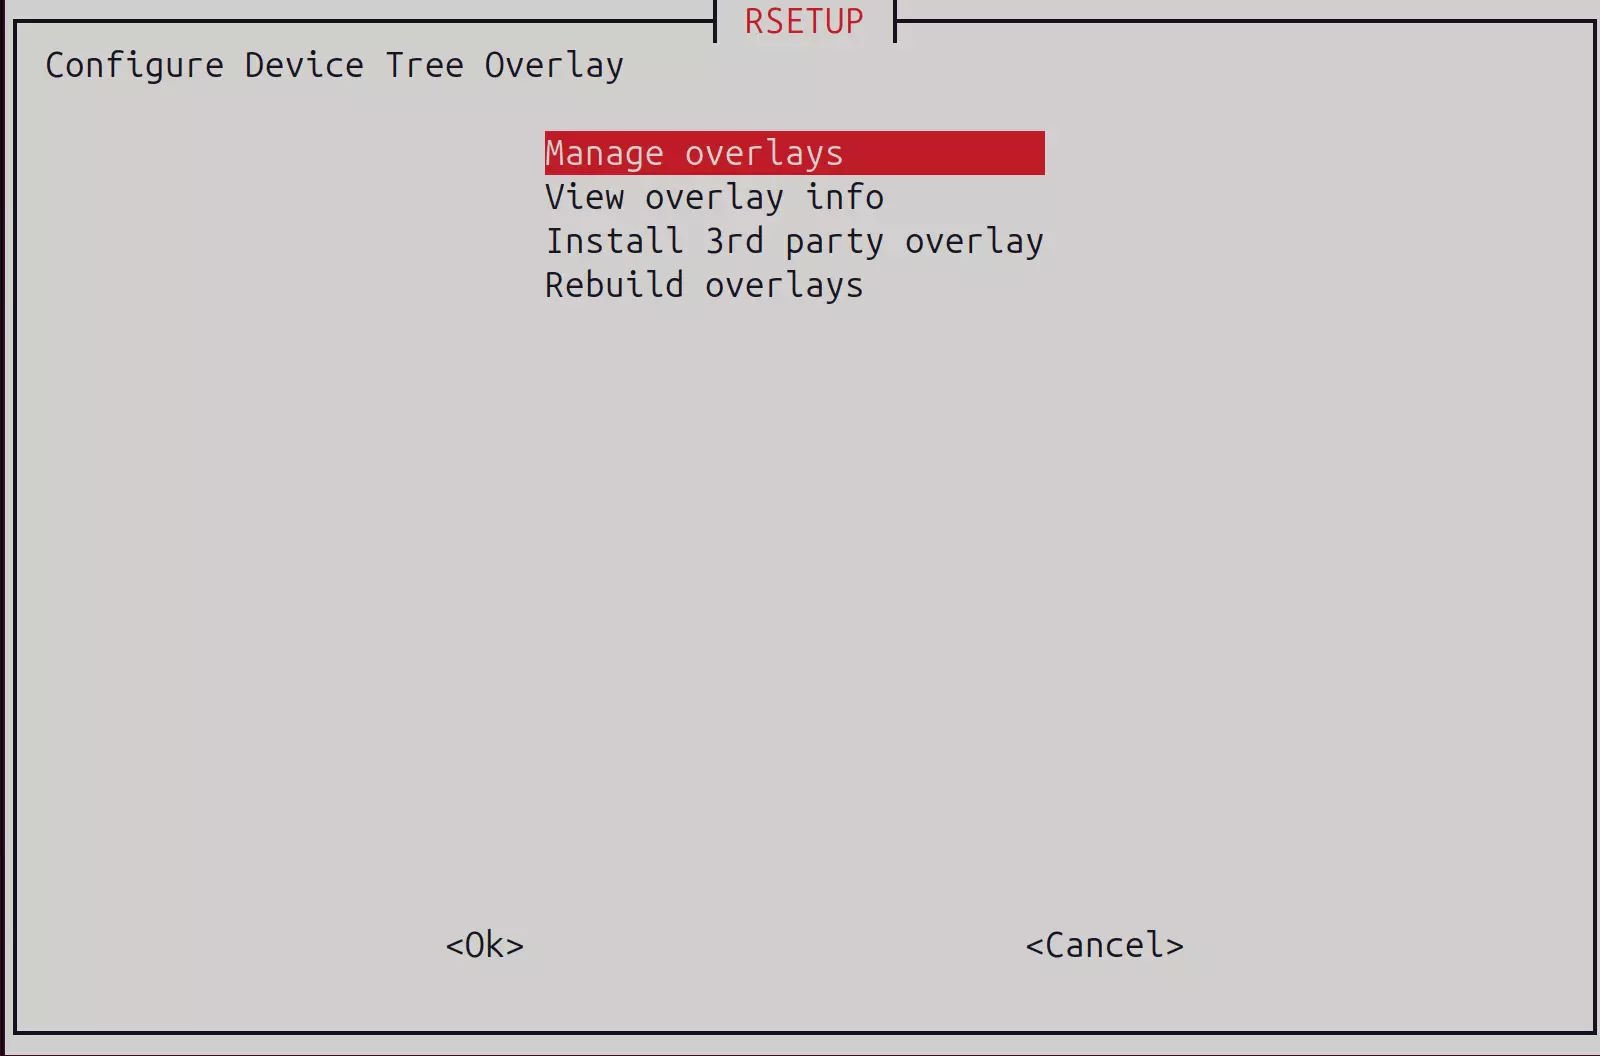
Navigate to Overlays → Manage Overlays:
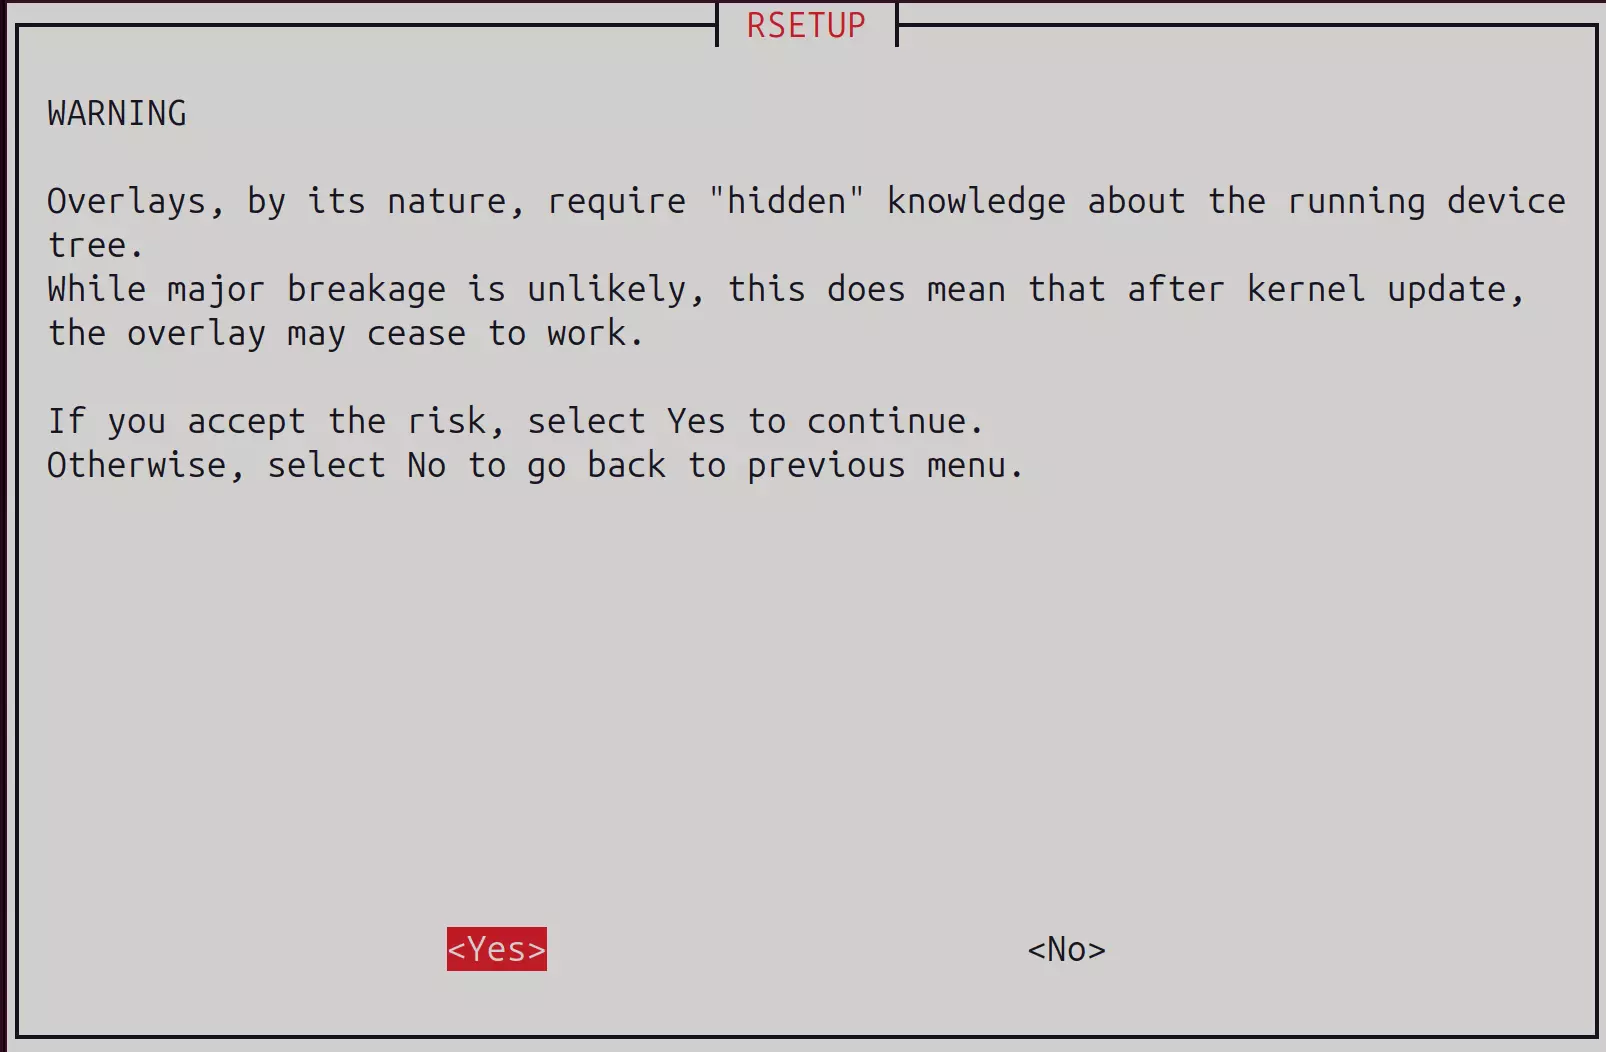
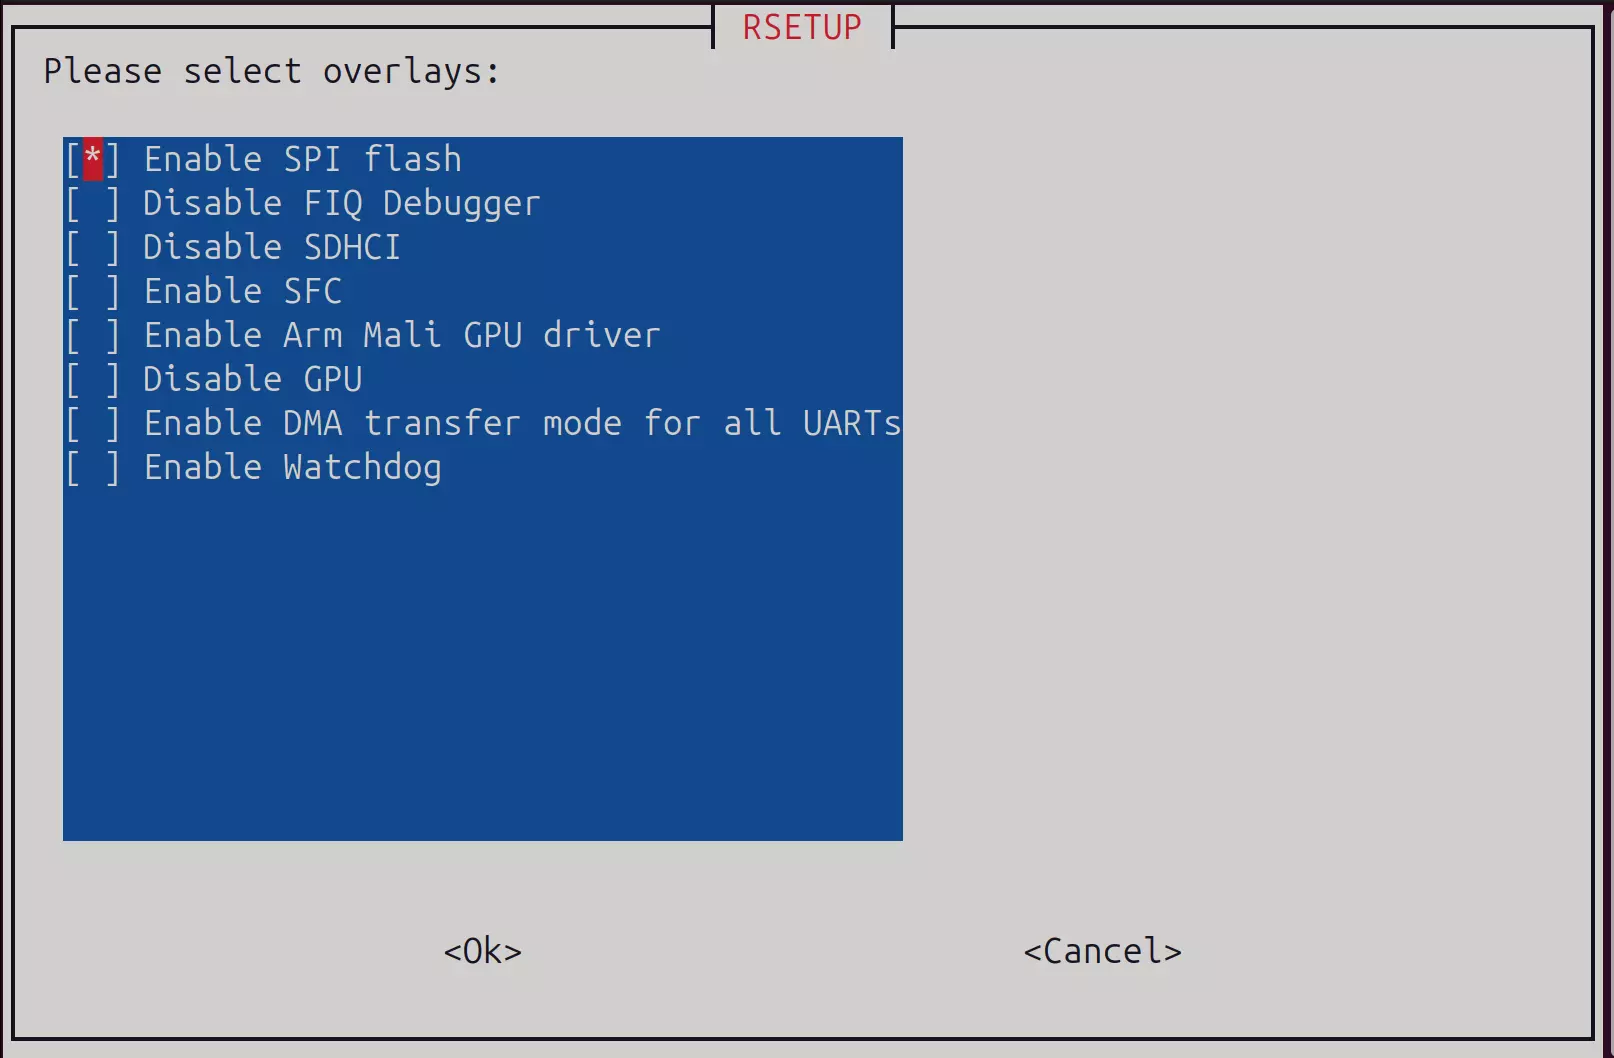
Select the Enable SPI Flash option. Press Space to see a * symbol, which indicates that SPI Flash is enabled, then press Enter to confirm:
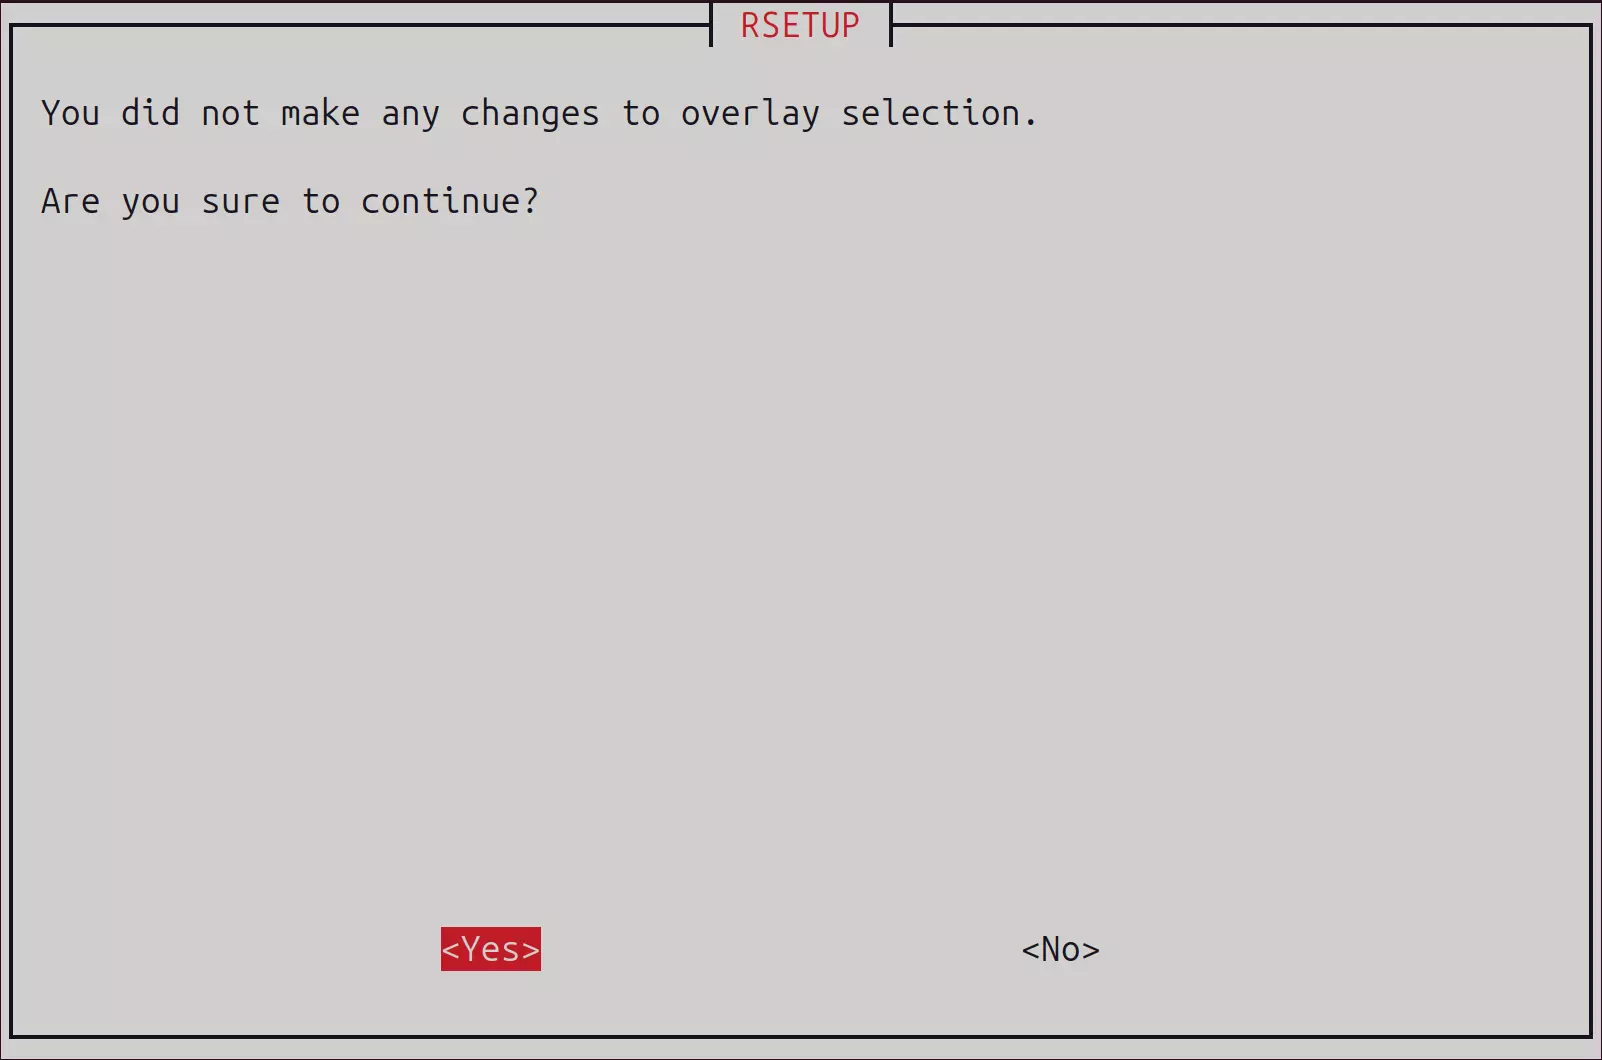
Follow the on-screen instructions to complete the remaining steps:
Restart the system after completing all operations.
Flash SPI Flash
After rebooting, open the system configuration tool rsetup again.
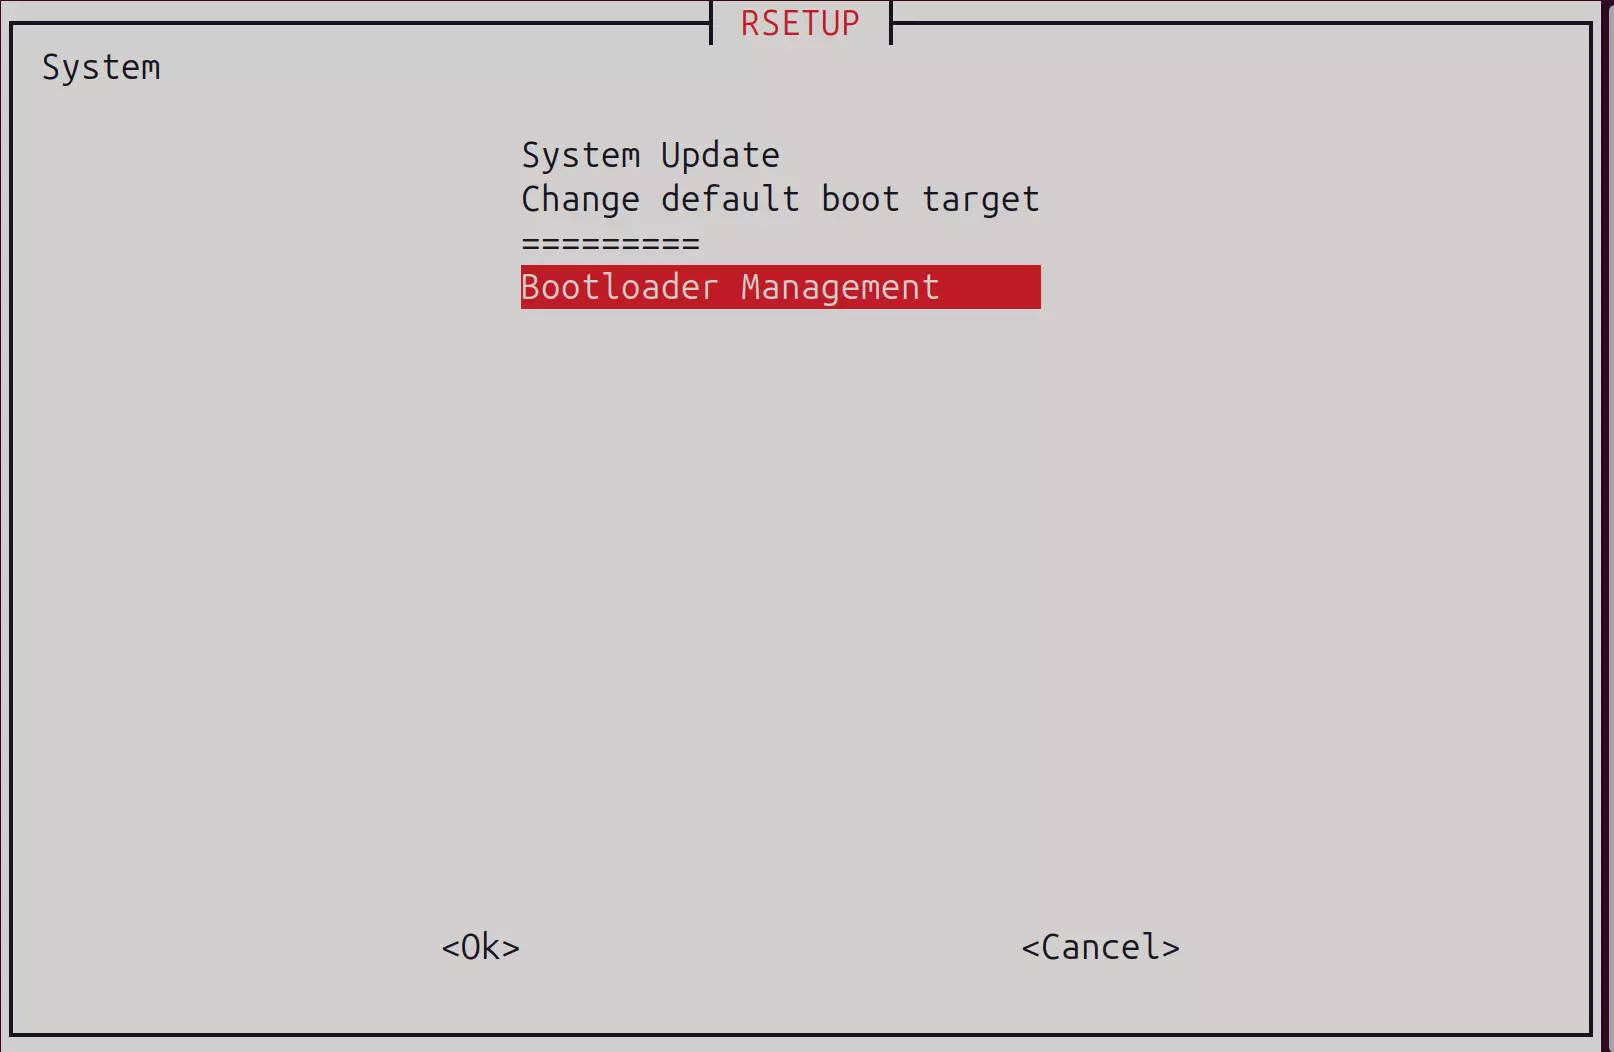
Navigate to System → Bootloader Management → Update SPI Bootloader:

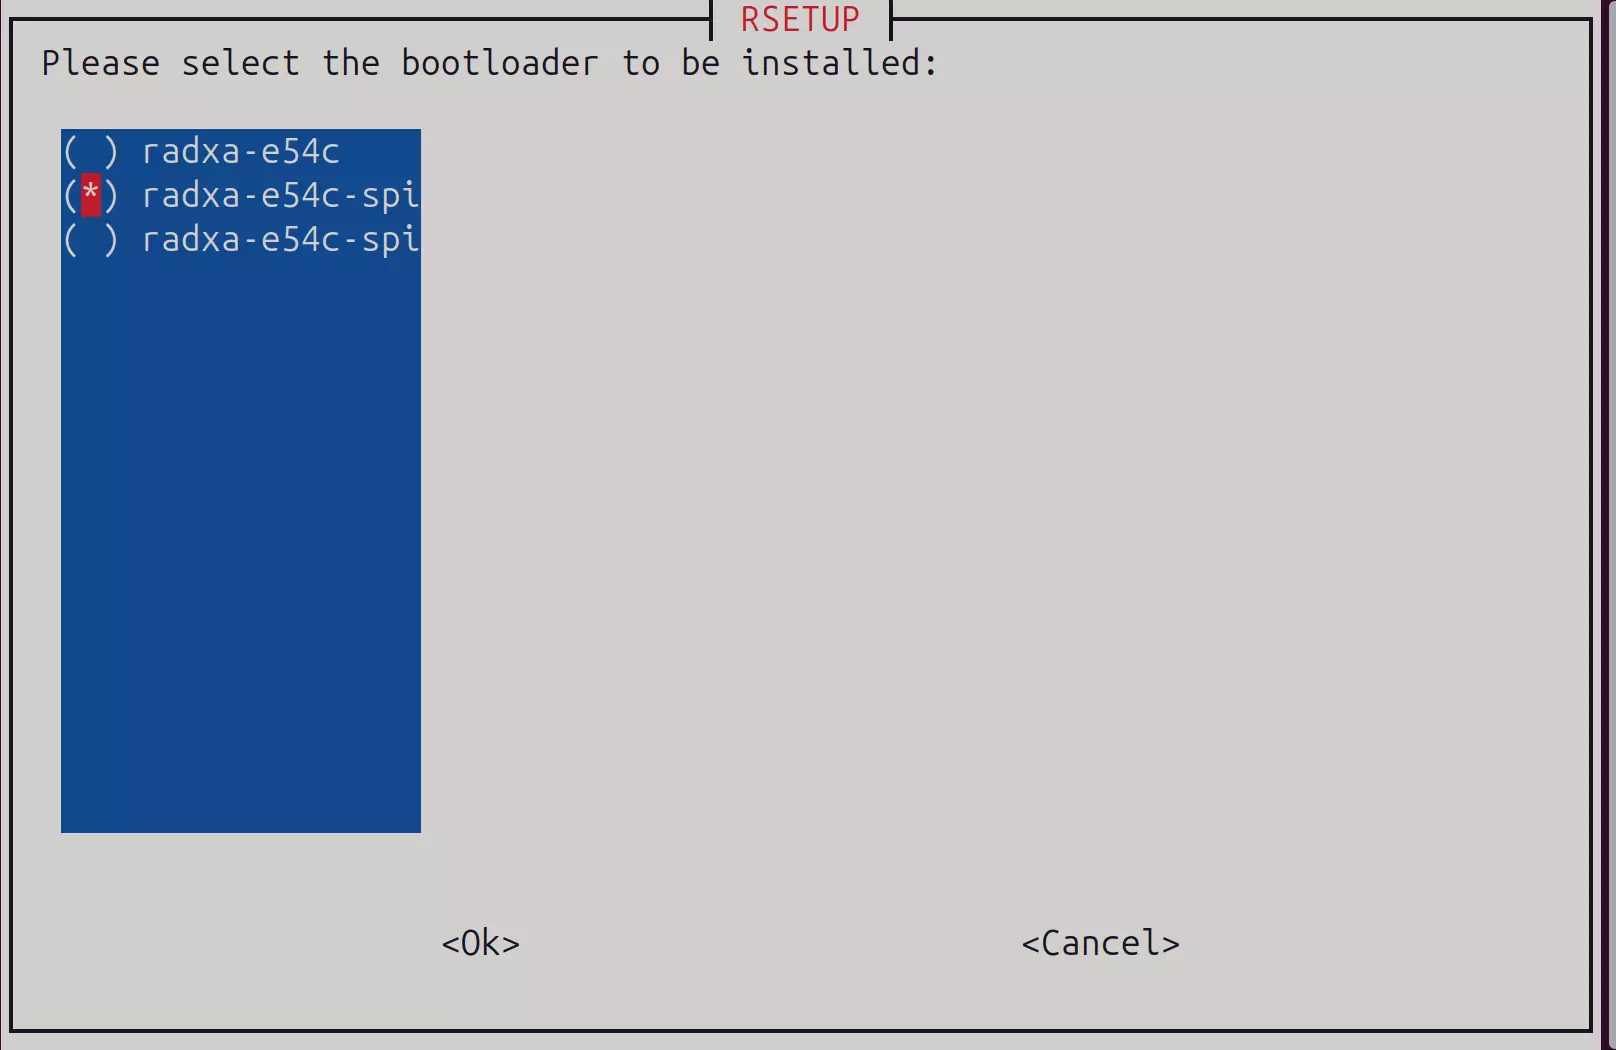
Select the Bootloader file to install. If there are multiple options, prioritize the one with the spi suffix:
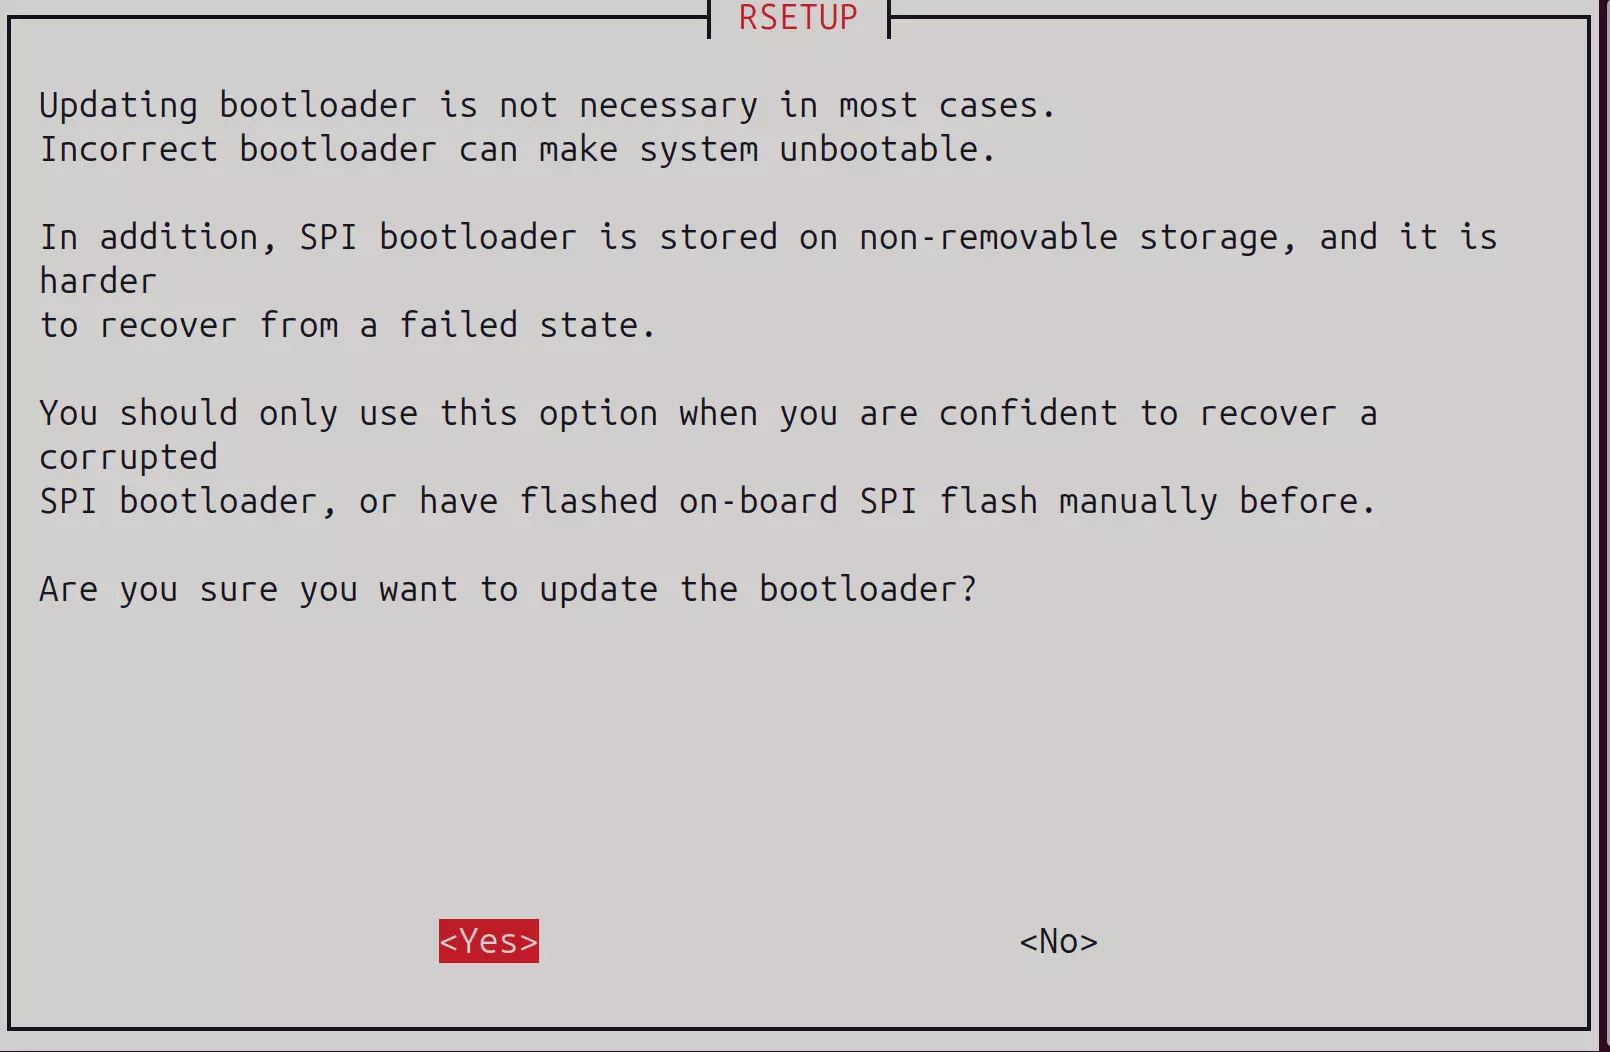
Follow the on-screen instructions to complete the remaining steps:
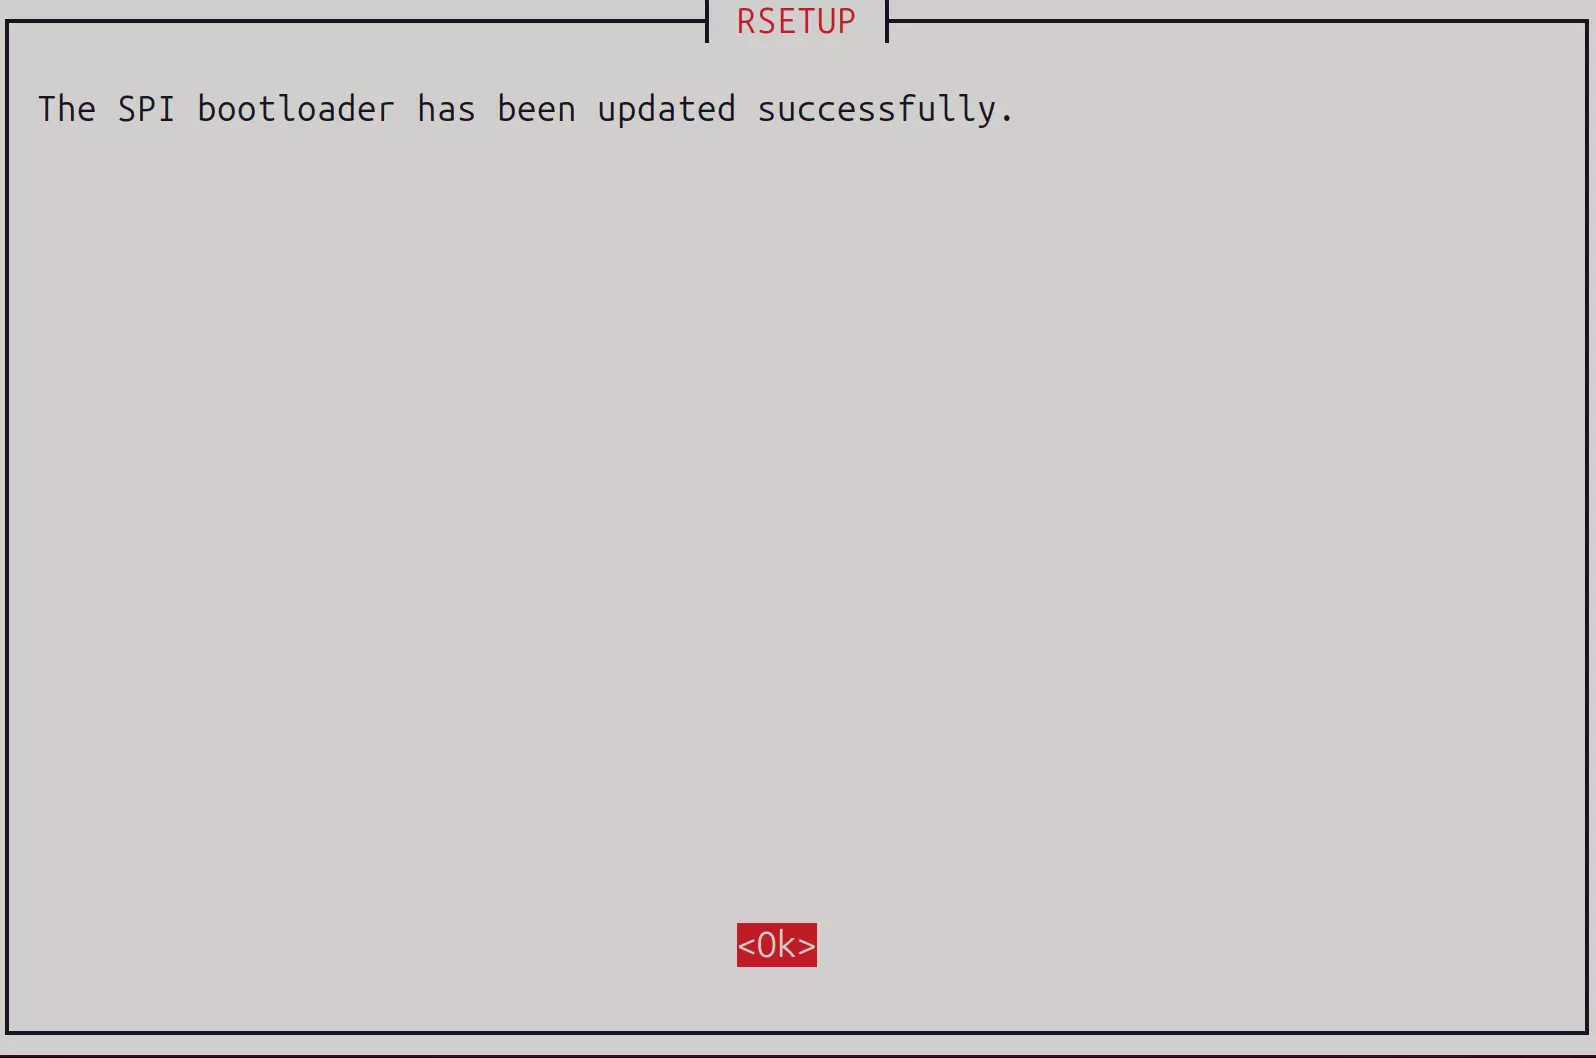
Restart the system after completing all operations.
Using RKDevTool
RKDevTool is a software developed by Rockchip for USB burning on Windows/Linux/MacOS platforms, designed to simplify and accelerate the development and debugging process for Rockchip series chips.
Install RKDevTool
- Windows
- Linux
- MacOS
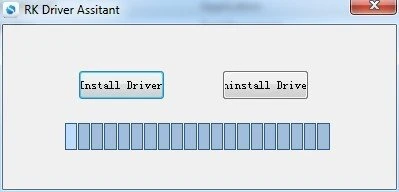
- Install Driver
Download and extract the DriverAssitant file.
Locate the DriverInstall.exe file and run it as administrator:
To install the driver: Click the Install Driver option
To uninstall the driver: Click the Uninstall Driver option
If you have installed other versions of the driver before, please uninstall them first before installing the new one.
- Download RKDevTool
Download the RKDevTool tool, then extract the downloaded file. The executable program is RKDevTool.exe, which you can open and use by double-clicking.
- Install rkdeveloptool
Open the system terminal or command line and run the following commands to install.
sudo apt-get update
sudo apt-get install -y libudev-dev libusb-1.0-0-dev dh-autoreconf pkg-config libusb-1.0 build-essential git wget
git clone https://github.com/rockchip-linux/rkdeveloptool
cd rkdeveloptool
autoreconf -i
./configure
make -j $(nproc)
sudo cp rkdeveloptool /usr/local/sbin/
- Verify Version
After installing RKDevTool, you can check the version using the following command:
rkdeveloptool -V
- Install HomeBrew
HomeBrew is a free and open-source package manager that simplifies software installation for macOS users.
If you don't have HomeBrew installed, you can install it with the following command:
/bin/bash -c "$(curl -fsSL https://raw.githubusercontent.com/Homebrew/install/HEAD/install.sh)"
- Install rkdeveloptool
Open the system terminal or command line and run the following commands to install.
brew install automake autoconf libusb pkg-config git wget
git clone https://github.com/rockchip-linux/rkdeveloptool
cd rkdeveloptool
autoreconf -i
./configure
make -j $(nproc)
cp rkdeveloptool /opt/local/sbin/
- Verify Version
After installing RKDevTool, you can check the version using the following command:
rkdeveloptool -V
Flashing SPI Flash using RKDevTool
- Windows
- Linux / MacOS
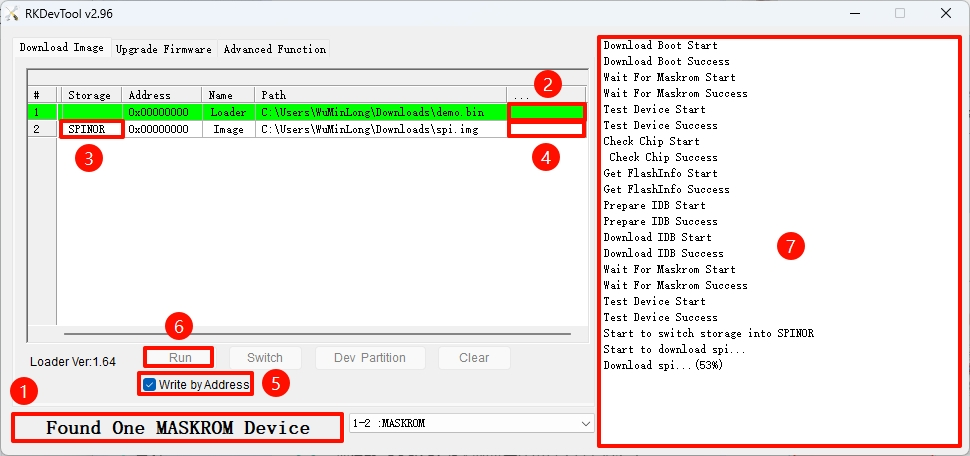
①. Ensure E54C is in Maskrom mode
②. Select the Loader file corresponding to E54C. You can download the Loader file from the Resource Download page.
③. Select the storage device. Here we choose the SPINOR option.
④. Select the spi.img file you want to flash to the SPI Flash.
⑤. Check the Write by Address option.
⑥. Click the RUN button to execute all operations.
-
Ensure E54C is in Maskrom mode.
-
Verify Maskrom Mode
Use the rkdeveloptool ld command to view the recognized device information:
rkdeveloptool ld
Output similar to the following indicates a Maskrom device is recognized:
DevNo=1 Vid=0x2207,Pid=0x350e,LocationID=109 Maskrom
- Run the Loader File
Replace demo.bin with the Loader file corresponding to E54C. You can download the Loader file from the Resource Download page.
sudo rkdeveloptool db demo.bin
- Flash the SPI Boot Firmware
Replace spi.img with the SPI boot firmware corresponding to E54C. You can download the SPI boot firmware from the Resource Download page.
sudo rkdeveloptool wl 0 spi.img
- Reboot the system to make the SPI Flash flashing take effect
sudo rkdeveloptool rd
Write System Image to NVMe
After completing the SPI Flash flashing operation, we can check if the system recognizes the SPI Flash and NVMe devices.
Check Devices
Open the system command line and use the lsblk command to check if the system recognizes the NVMe device.
lsblk
-
If the Linux system recognizes the SPI Flash device, it will typically be identified as
mtdblock* -
If the Linux system recognizes the NVMe device, it will typically be identified as
nvme*n*
Example output from lsblk:
NAME        MAJ:MIN RM   SIZE RO TYPE MOUNTPOINTS
mtdblock0    31:0    0    16M  0 disk
mmcblk1     179:0    0    58G  0 disk
├─mmcblk1p1 179:1    0    16M  0 part
├─mmcblk1p2 179:2    0   300M  0 part
└─mmcblk1p3 179:3    0  57.6G  0 part /
zram0       253:0    0   3.9G  0 disk [SWAP]
nvme0n1     259:0    0 119.2G  0 disk
├─nvme0n1p1 259:1    0    16M  0 part /config
├─nvme0n1p2 259:2    0   300M  0 part /boot/efi
└─nvme0n1p3 259:3    0 118.9G  0 part
Download System Image
Download the Radxa E54C system image file to your local machine: You can use the wget command to download the file to the current directory. The download link can be copied from the Resource Download page.
You can also download the system image from the Resource Download page and transfer it to the Radxa E54C using a USB drive or online transfer methods (such as FTP, SCP, etc.).
# Install wget
sudo apt-get install wget
# Download system image file
wget https://github.com/radxa-build/radxa-e54c/releases/download/rsdk-b2/radxa-e54c_bookworm_cli_b2.output.img.xz
- wget: Download file, followed by the download link
Write System Image to NVMe
Use the following command to extract and write the compressed system image directly to the NVMe device.
sudo xzcat ~/radxa-e54c_bookworm_cli_b2.output.img.xz | sudo dd of=/dev/nvme0n1 bs=1M status=progress
- xzcat: Extract the xz-format system image file
- dd: Copy and write to the NVMe device (⚠️Note: When using the dd command, please confirm the device name, as an incorrect device name may result in data loss)
- of=/dev/nvme0n1: Specify the target device as nvme0n1
- bs=1M: Set the block size to 1M to improve write speed
- status=progress: Display write progress to monitor the writing status
Verify Write Result
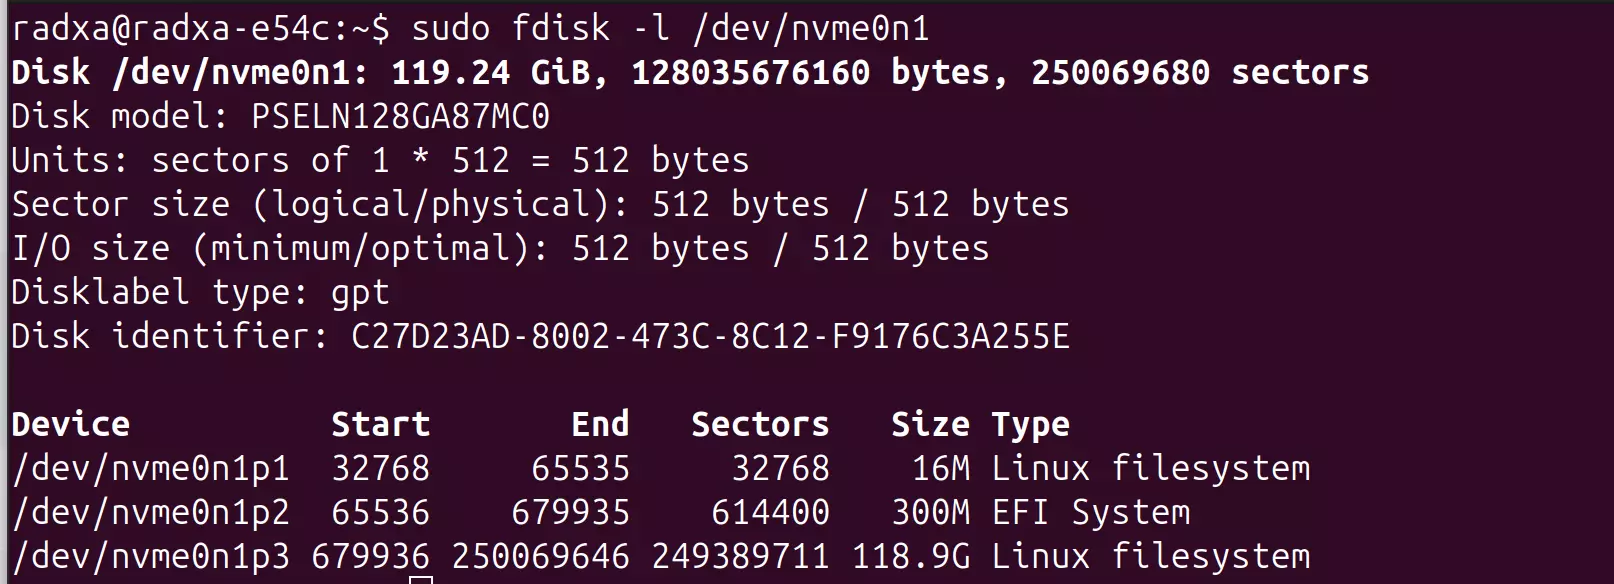
After writing is complete, you can verify if the partition table in NVMe was created correctly:
sudo fdisk -l /dev/nvme0n1
If written correctly, you should see partition information similar to the following:
Booting from NVMe
Restart Preparation
After completing the above operations, please follow these steps:
- Shut down the system:
sudo shutdown -h now - Disconnect power from the Radxa E54C
- Remove the microSD card
- Reconnect the power
- Wait for the system to boot from NVMe
Verify NVMe Boot
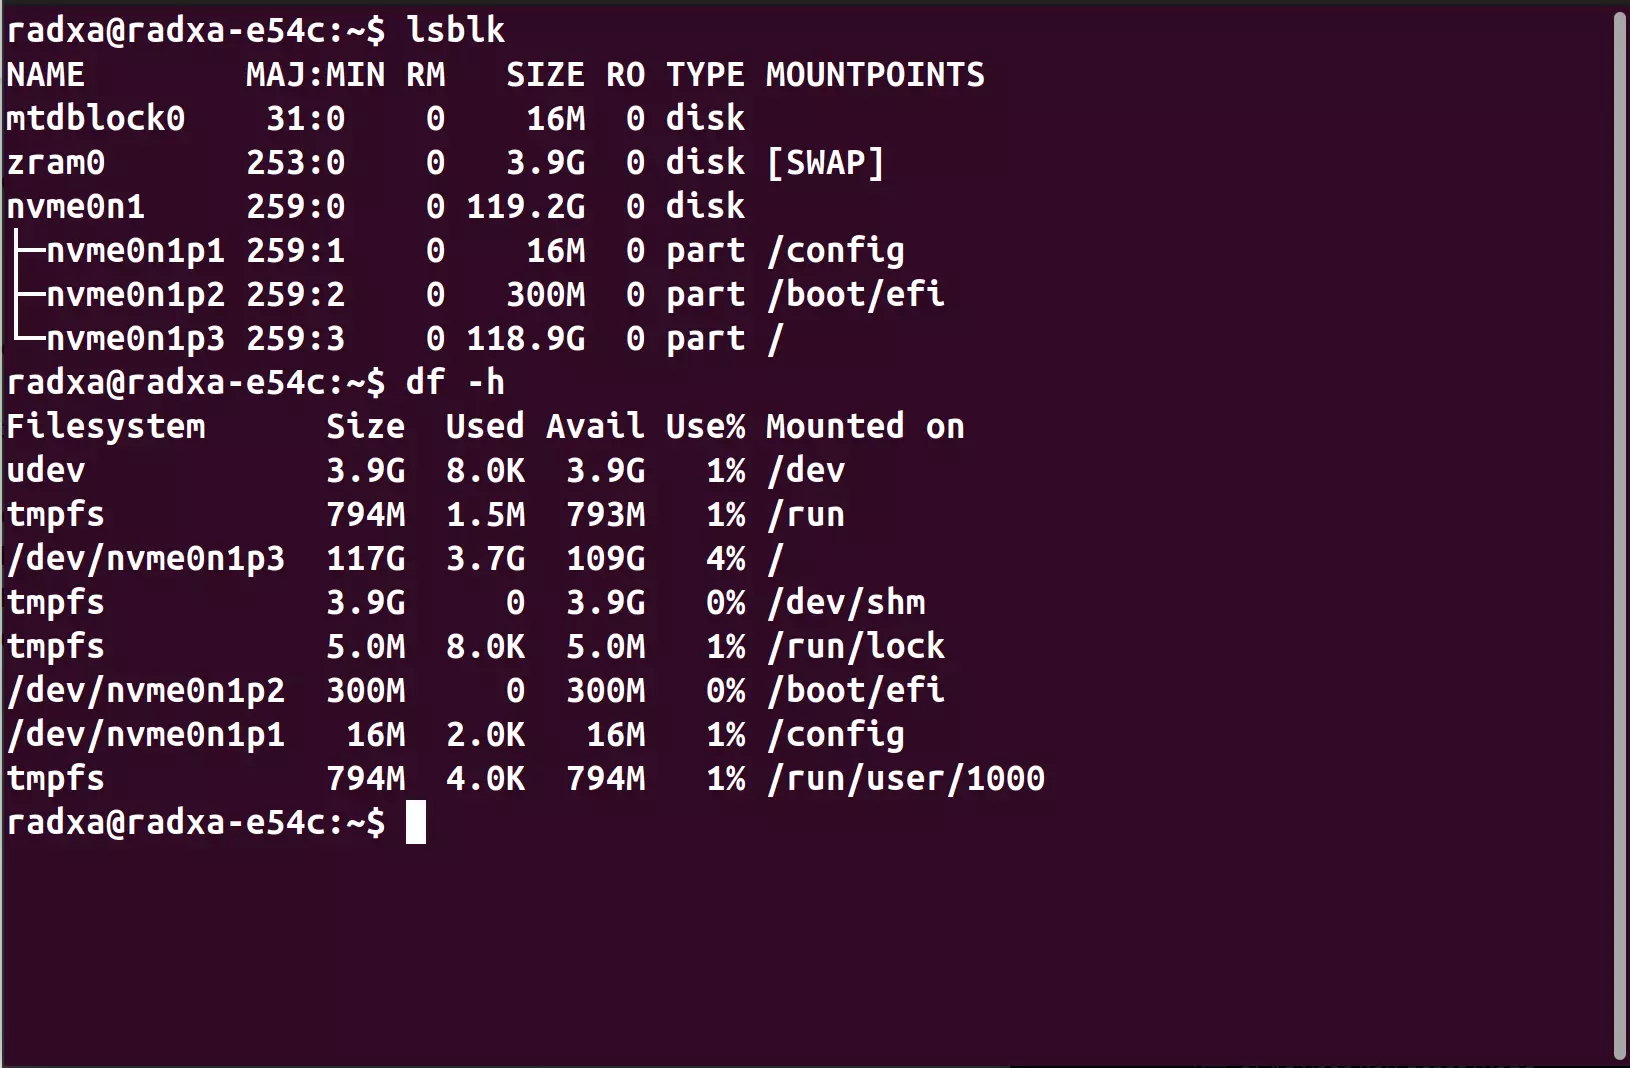
After the system boots, you can verify if the system has successfully booted from NVMe by:
lsblk
df -h
If you see /dev/nvme0n1p3 mounted as the root directory /, it means the system has successfully booted from NVMe.
Common Issues and Solutions
If you encounter issues during the boot process, try the following solutions:
-
System Fails to Boot:
- Reinsert the microSD card and boot the system
- Try changing the Bootloader file option for the SPI Flash (prioritize the latest version)
- Check if the M.2 interface is properly connected; try reseating the NVMe drive
-
System Boots But Cannot Log In:
- Default username:
radxa, password:radxa - If the password is incorrect, you can boot using the microSD card again, then re-download and rewrite the system image :::
- Default username:
Next Steps
After successfully booting from NVMe, you can perform the following operations:
System Update
sudo apt update && sudo apt upgrade
System Backup
Regularly back up important data using the dd or rsync command.
Performance Testing
- Test Read Speed
Test read speed (1GB of data).
sudo dd if=/dev/nvme0n1 of=/dev/null bs=1M count=1024 iflag=direct
- Check NVMe Temperature
# Install nvme-cli
sudo apt install nvme-cli
# Check temperature
sudo nvme smart-log /dev/nvme0n1 | grep "temperature"
- View NVMe Device Details and Health Status
sudo nvme list
