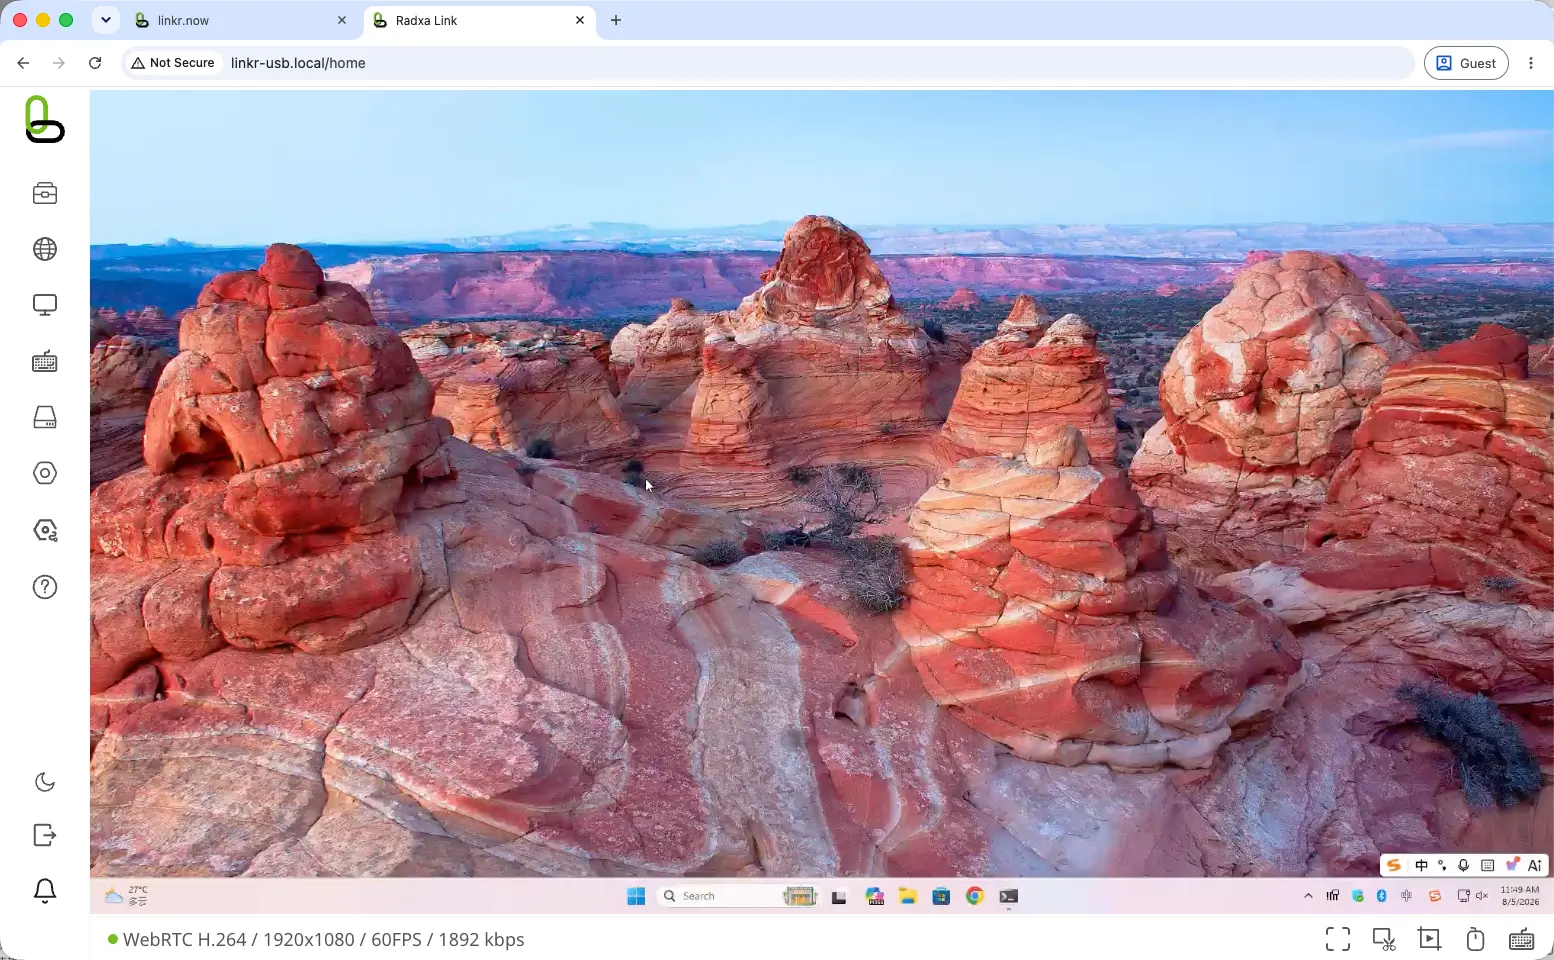
Wi-Fi Connection
This mainly introduces how to control the controlled device by connecting Radxa Linkr and the host (control device) to the same Wi-Fi network.
The Wi-Fi connection needs to be configured in the linkr.now management interface, so the first configuration must use the USB-C direct connection and USB-C to RJ45 methods to connect successfully before configuring the Wi-Fi connection.
Hardware Connection
Connect the controlled device using the HDMI input port and USB-C device port of Radxa Linkr. After connecting to Wi-Fi in the linkr.now management interface, the host (control device) and Radxa Linkr are on the same Wi-Fi network.
The schematic is the Wi-Fi connection wiring diagram. If Wi-Fi is not connected, please configure the Wi-Fi connection via the wired connection (USB-C direct or USB-C to RJ45) first, then proceed with the hardware connection shown below.
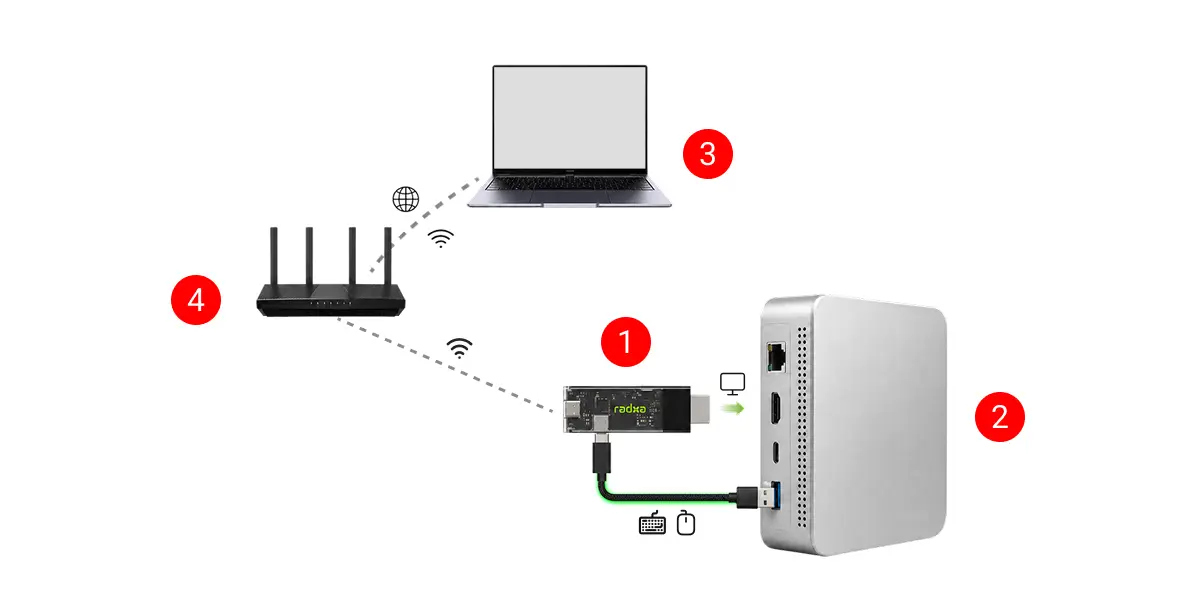
① Radxa Linkr
② Controlled device
③ Host (control device)
④ Router / Switch
- Indicator Description
After completing the hardware connection above, the system status indicator will change from blue blinking (system booting) to solid blue (system running normally). The video status indicator lights up when an HDMI video signal from the controlled device is detected.
Control the Controlled Device
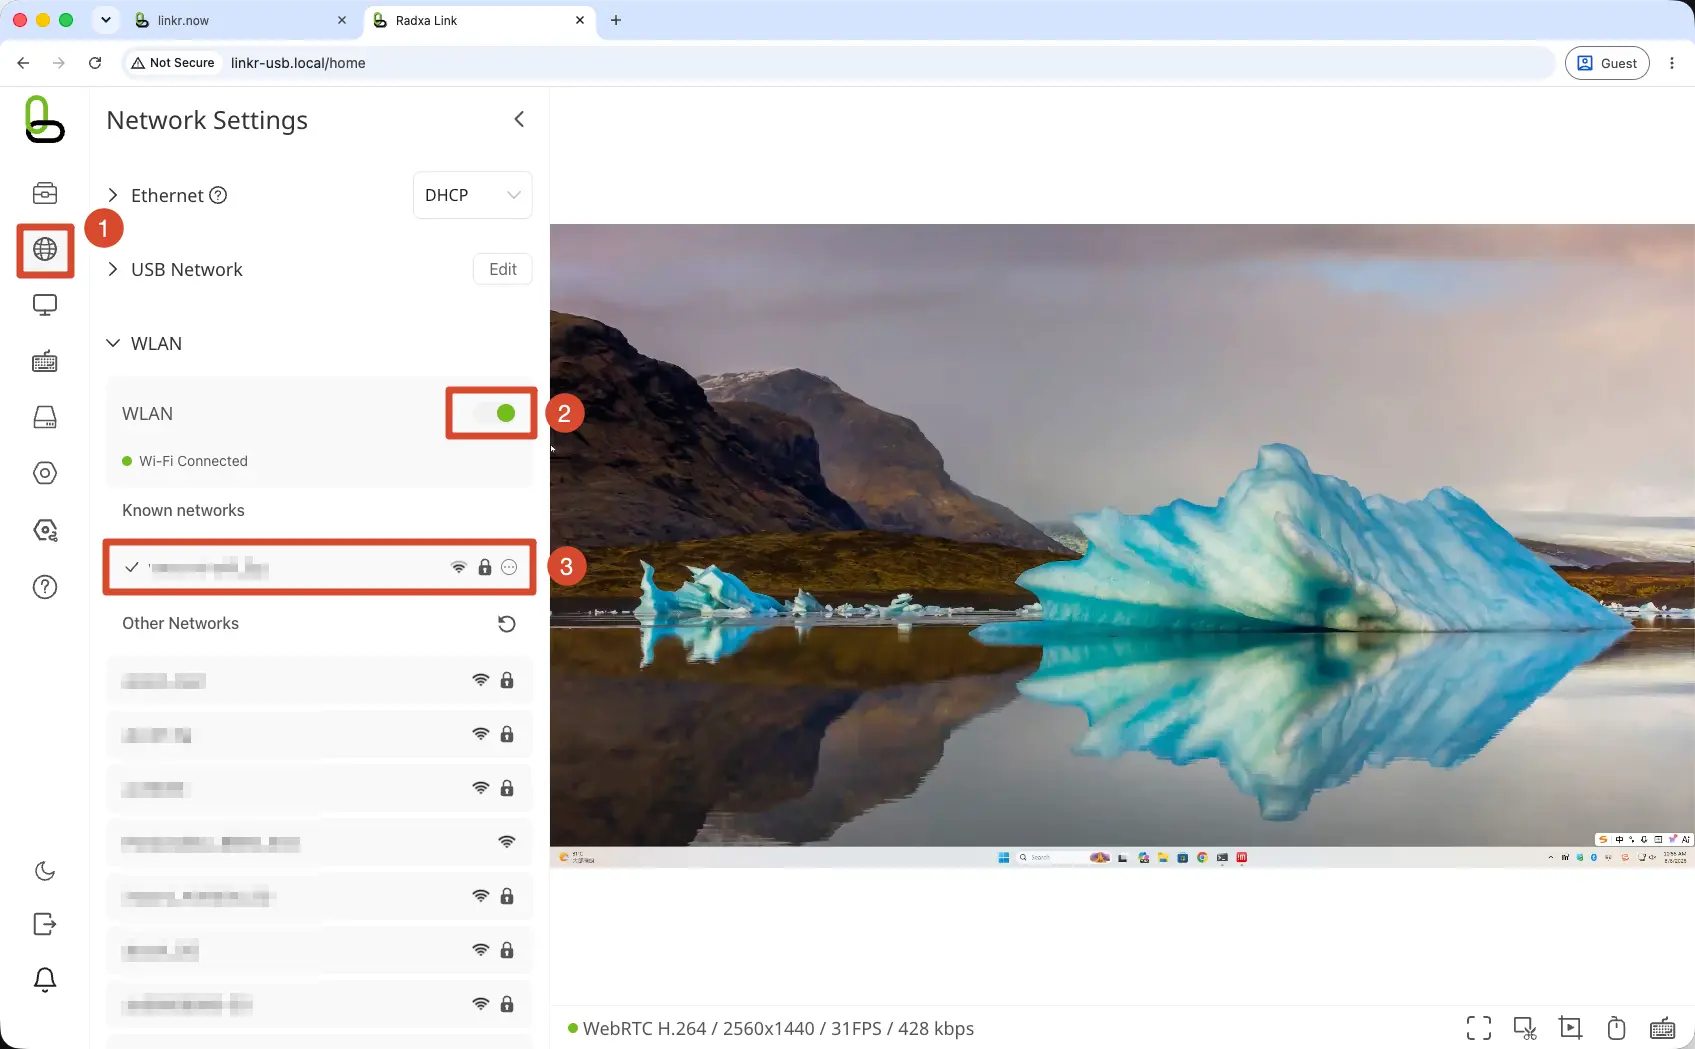
Configure Wi-Fi Connection
Based on the wired connection (USB-C direct or USB-C to RJ45) method, configure the Wi-Fi connection in the Linkr management interface.
Control the Controlled Device via Wi-Fi
Disconnect the wired connection to verify the Wi-Fi control.
Open the linkr.now page using Chrome, Edge, or Firefox to access the Radxa Linkr management interface.
Note: The UI may differ after future linkr.now updates. Follow the actual on-screen prompts.
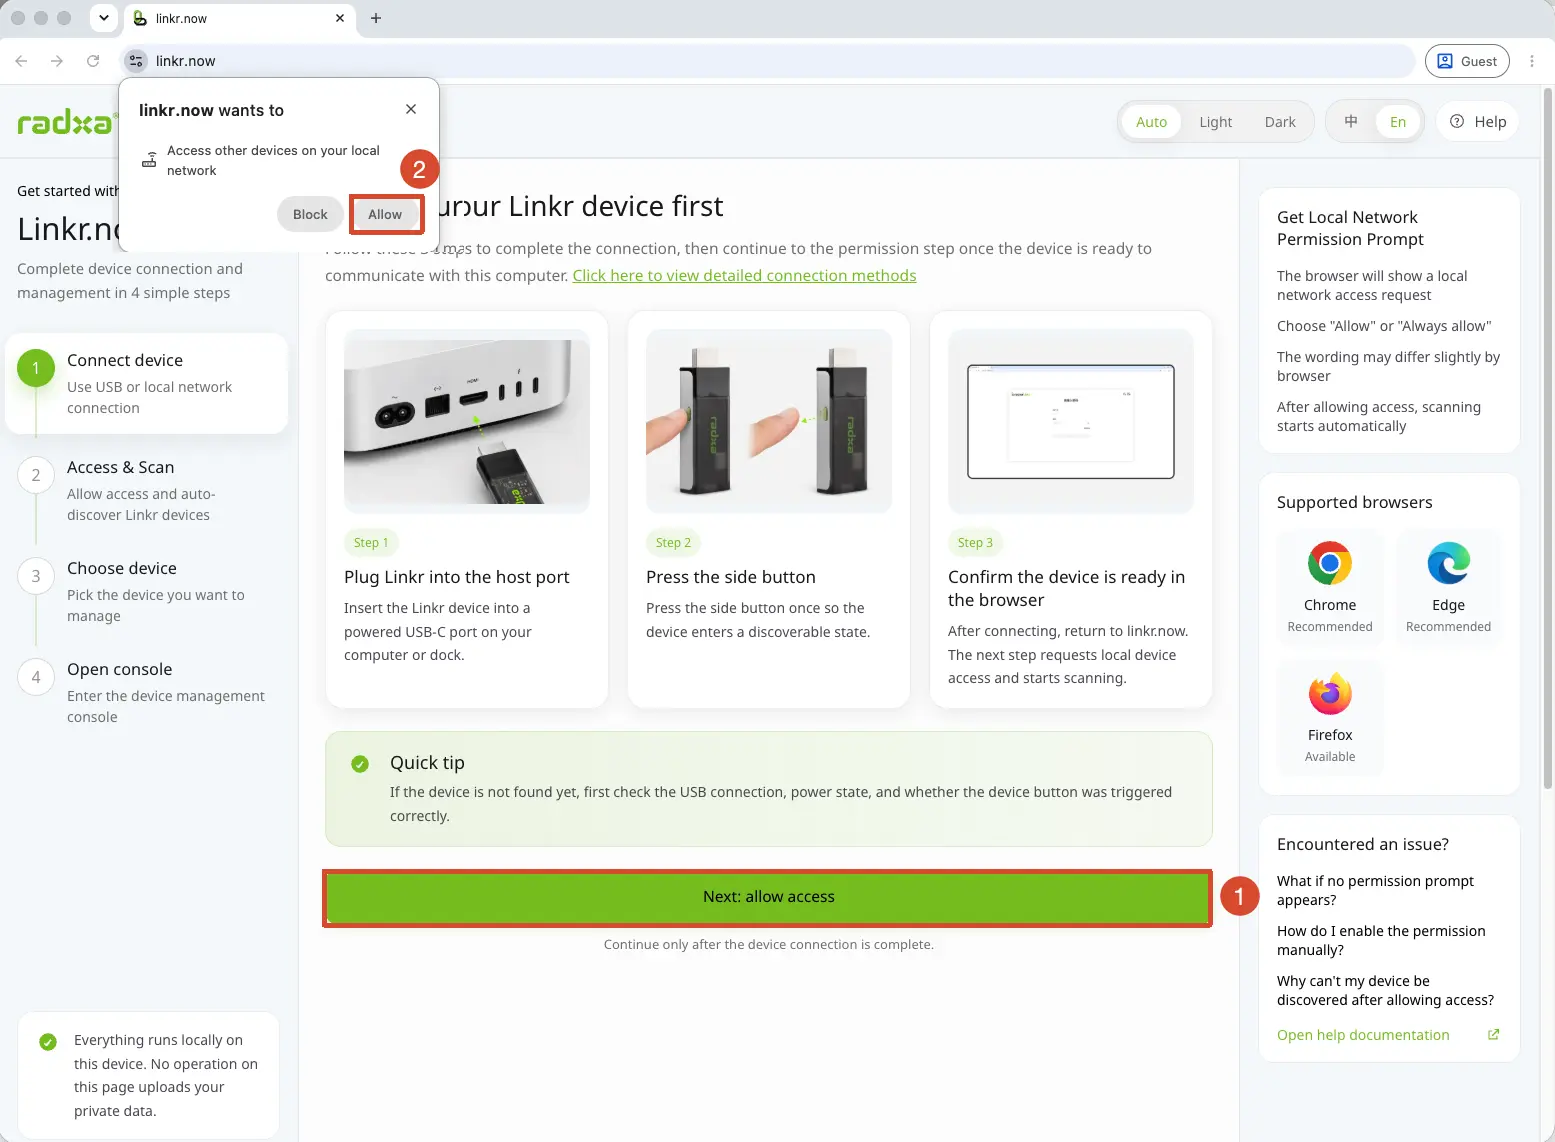
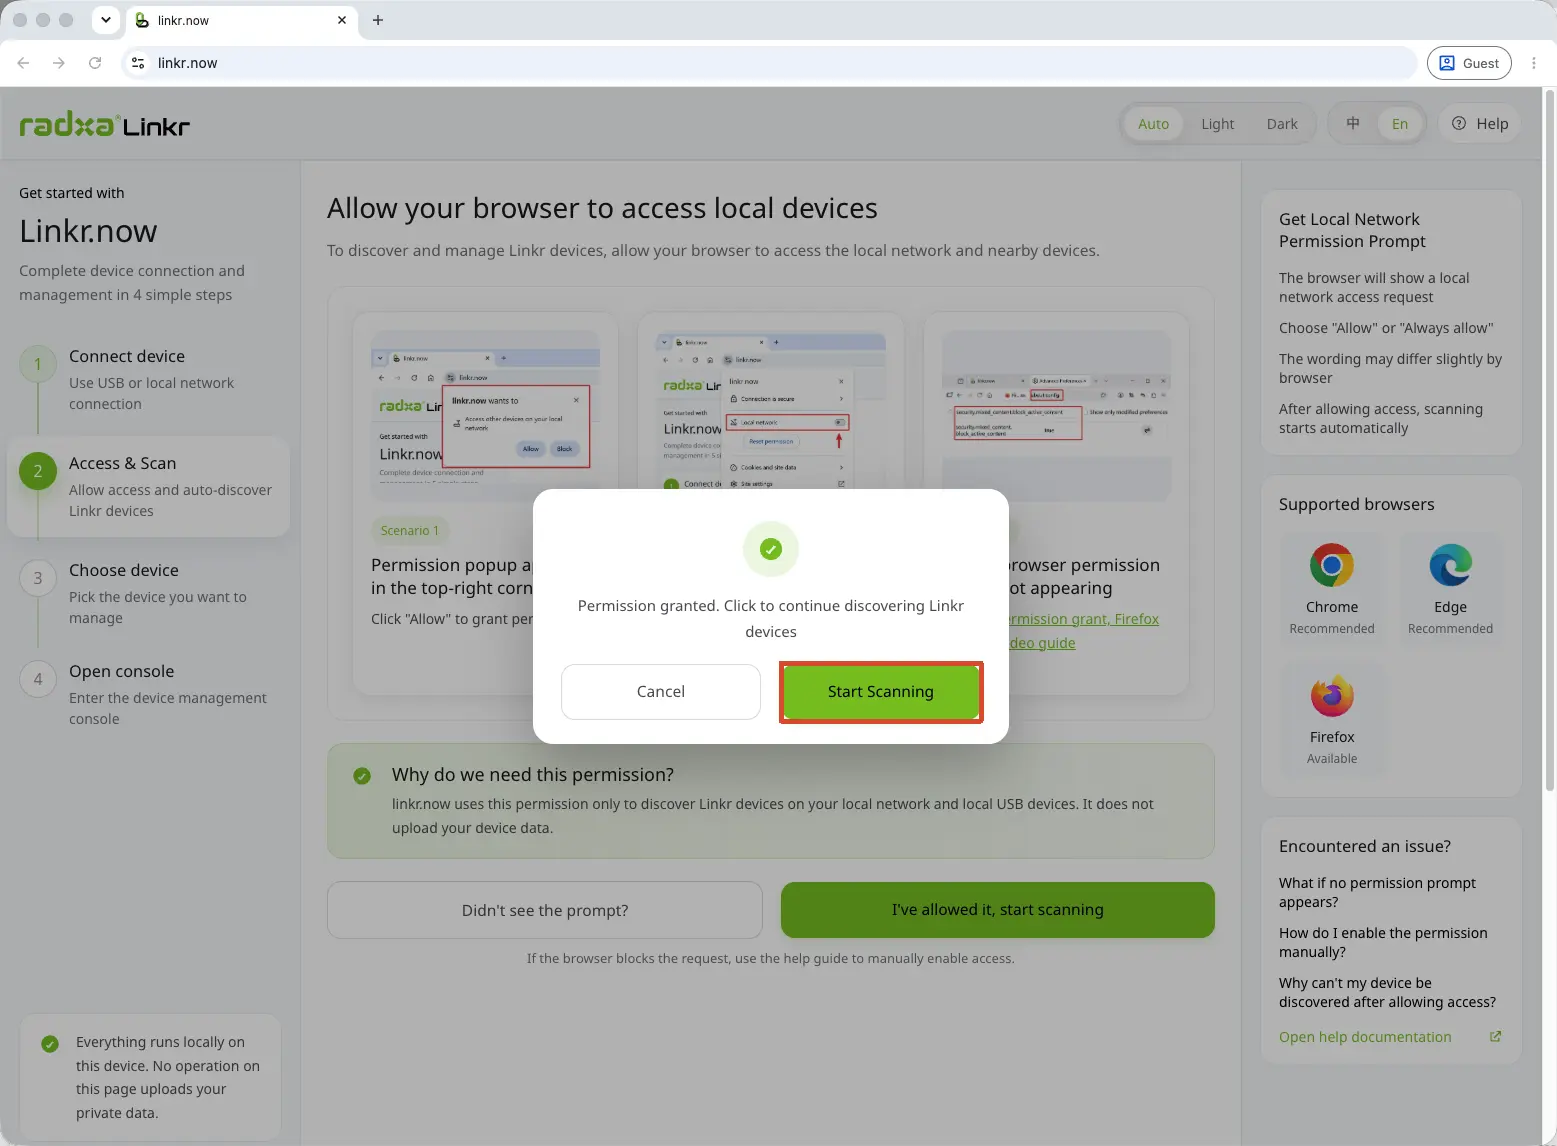
Allow Access Permissions
When accessing the linkr.now page for the first time, the browser may prompt you to allow access. Please follow the prompts so that Radxa Linkr can be discovered normally.
If access permission has already been granted, it will not be requested again. Proceed to the next step directly.
Scan for Linkr Devices
Click the Start Scanning option to scan for Radxa Linkr devices on the local network.
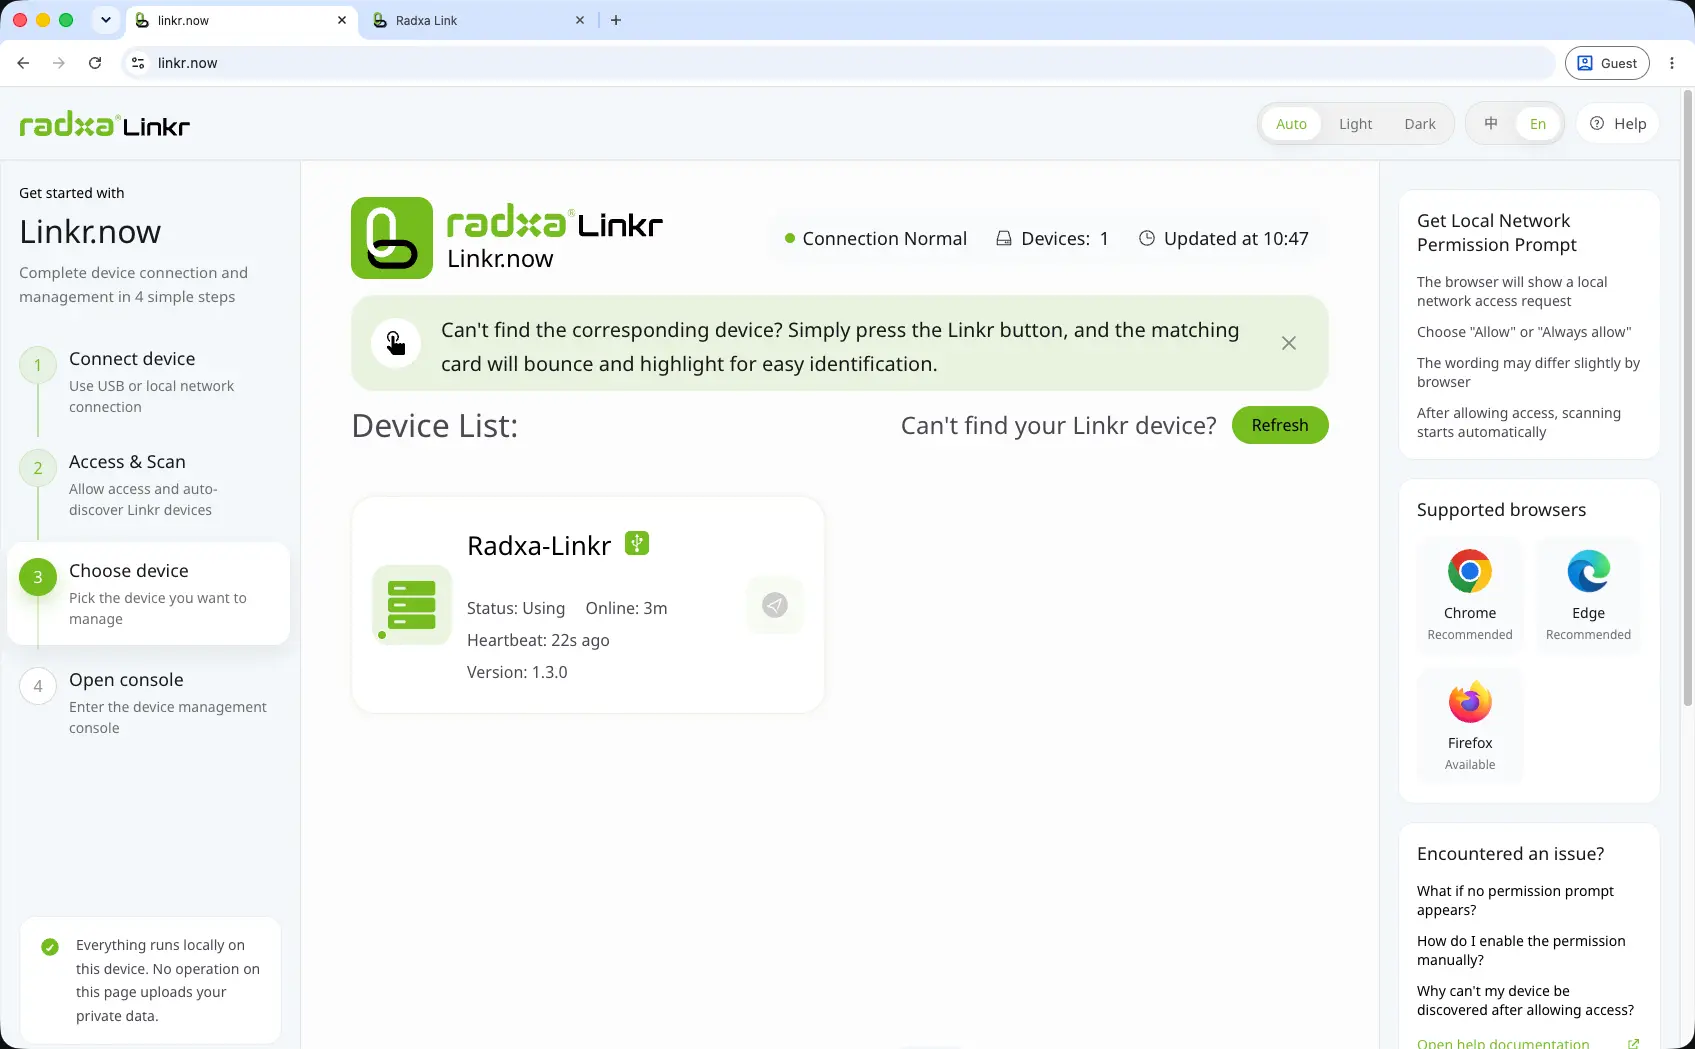
If you have multiple Linkr devices, you can short-press the user button on the side of the Linkr, and the corresponding Linkr device will be highlighted on the device page for easy identification.
Select Linkr Device
Click the device card with the corresponding name to enter the control page.
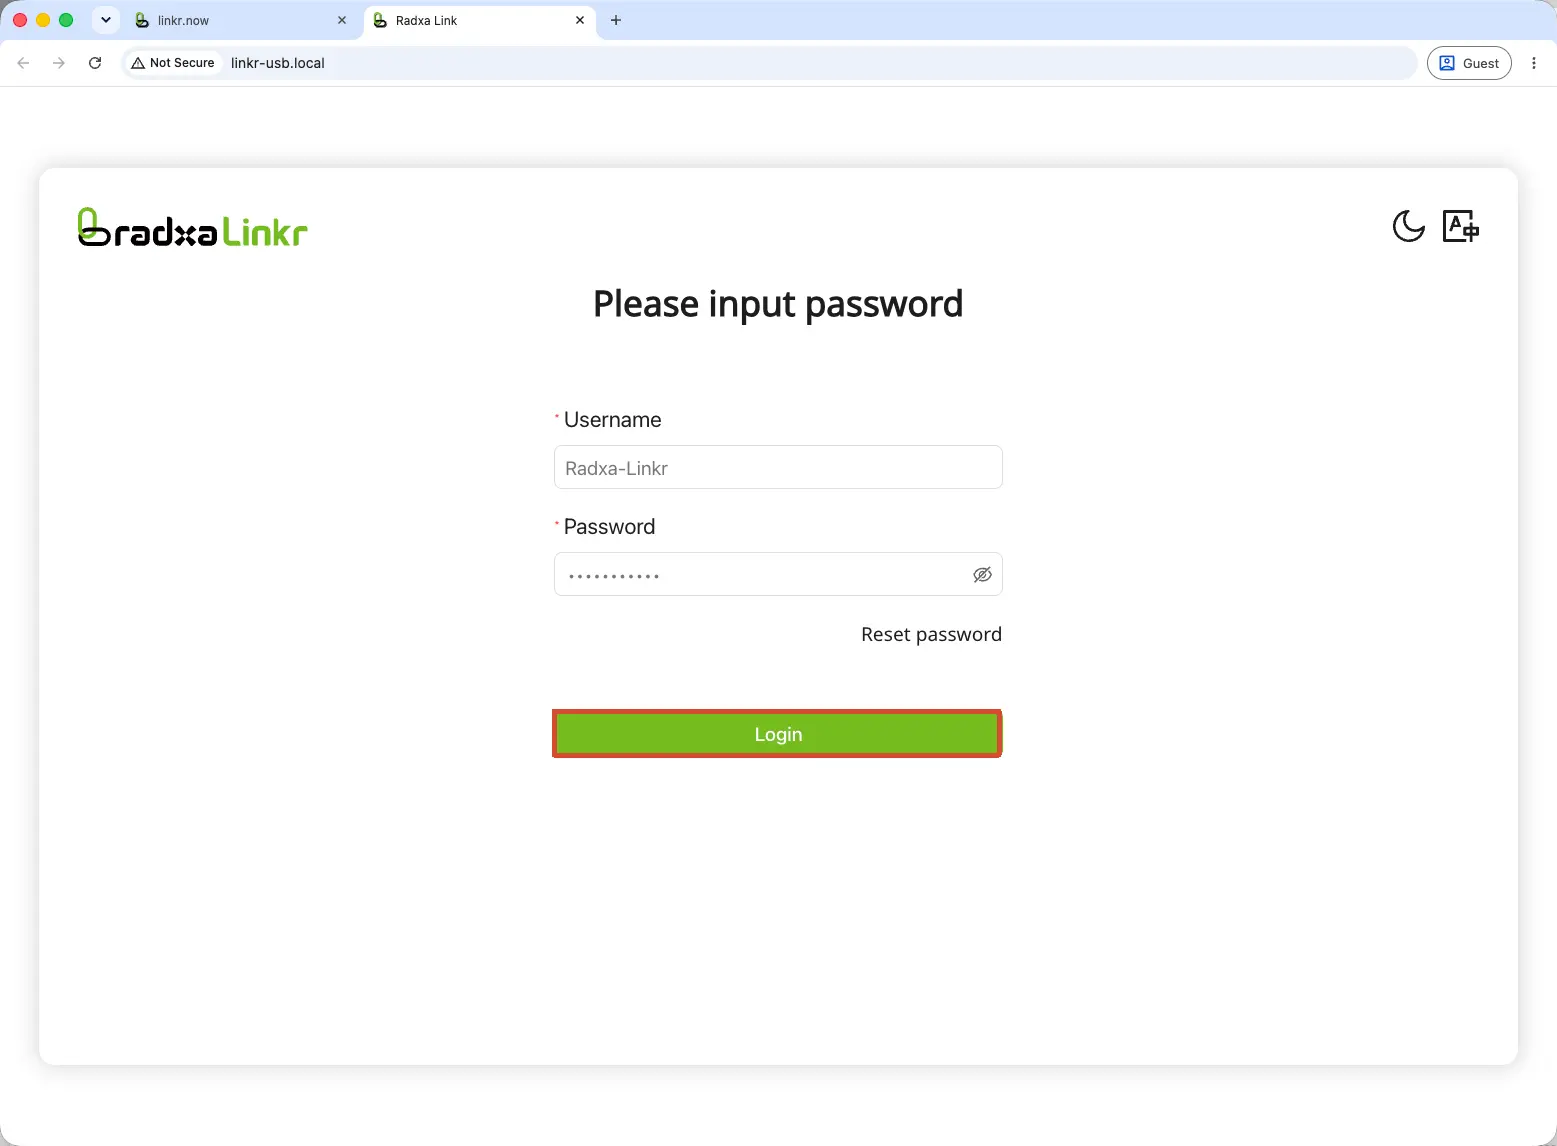
Log in to Linkr Device
Log in to the Linkr device using the set username and password.
Linkr Management Interface
After successful login, the controlled device's system interface is displayed, with the Linkr device's function options on the side.