8420B Heatsink
This guide explains how to install and remove the Radxa 8420B active cooling system.
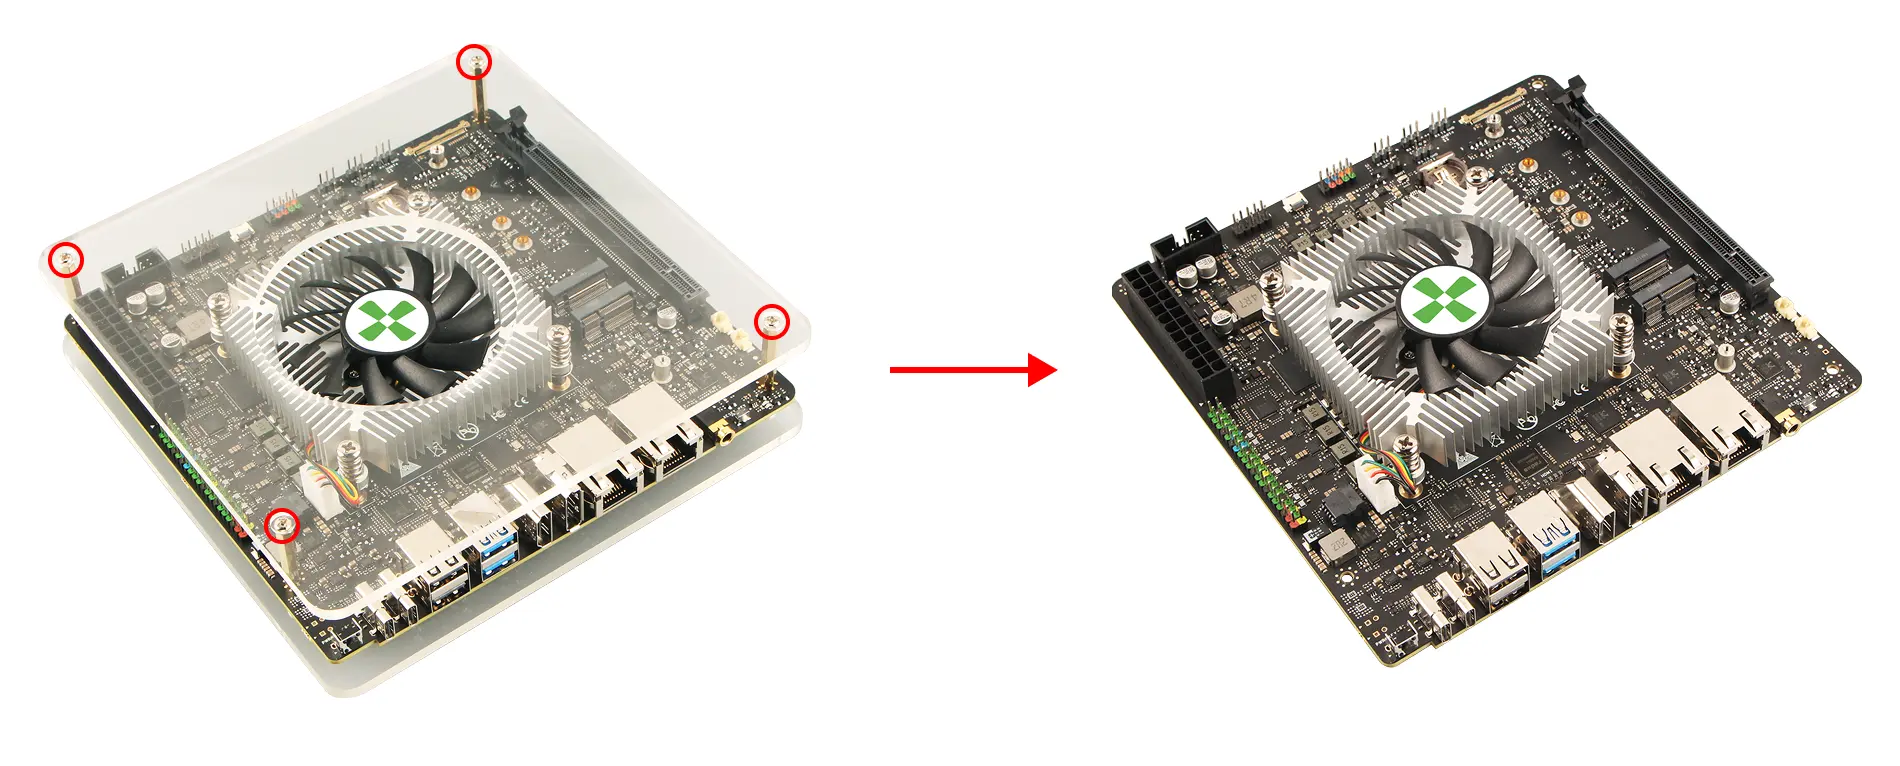
This tutorial is applicable to Radxa Orion O6 / O6N. The installation and removal procedures are essentially the same for both models, with the exception that the Radxa Orion O6 requires the additional step of removing an acrylic case.
For Radxa Orion O6N, you can follow the installation and removal instructions after removing the acrylic case.
Installing the 8420B Active Cooling System
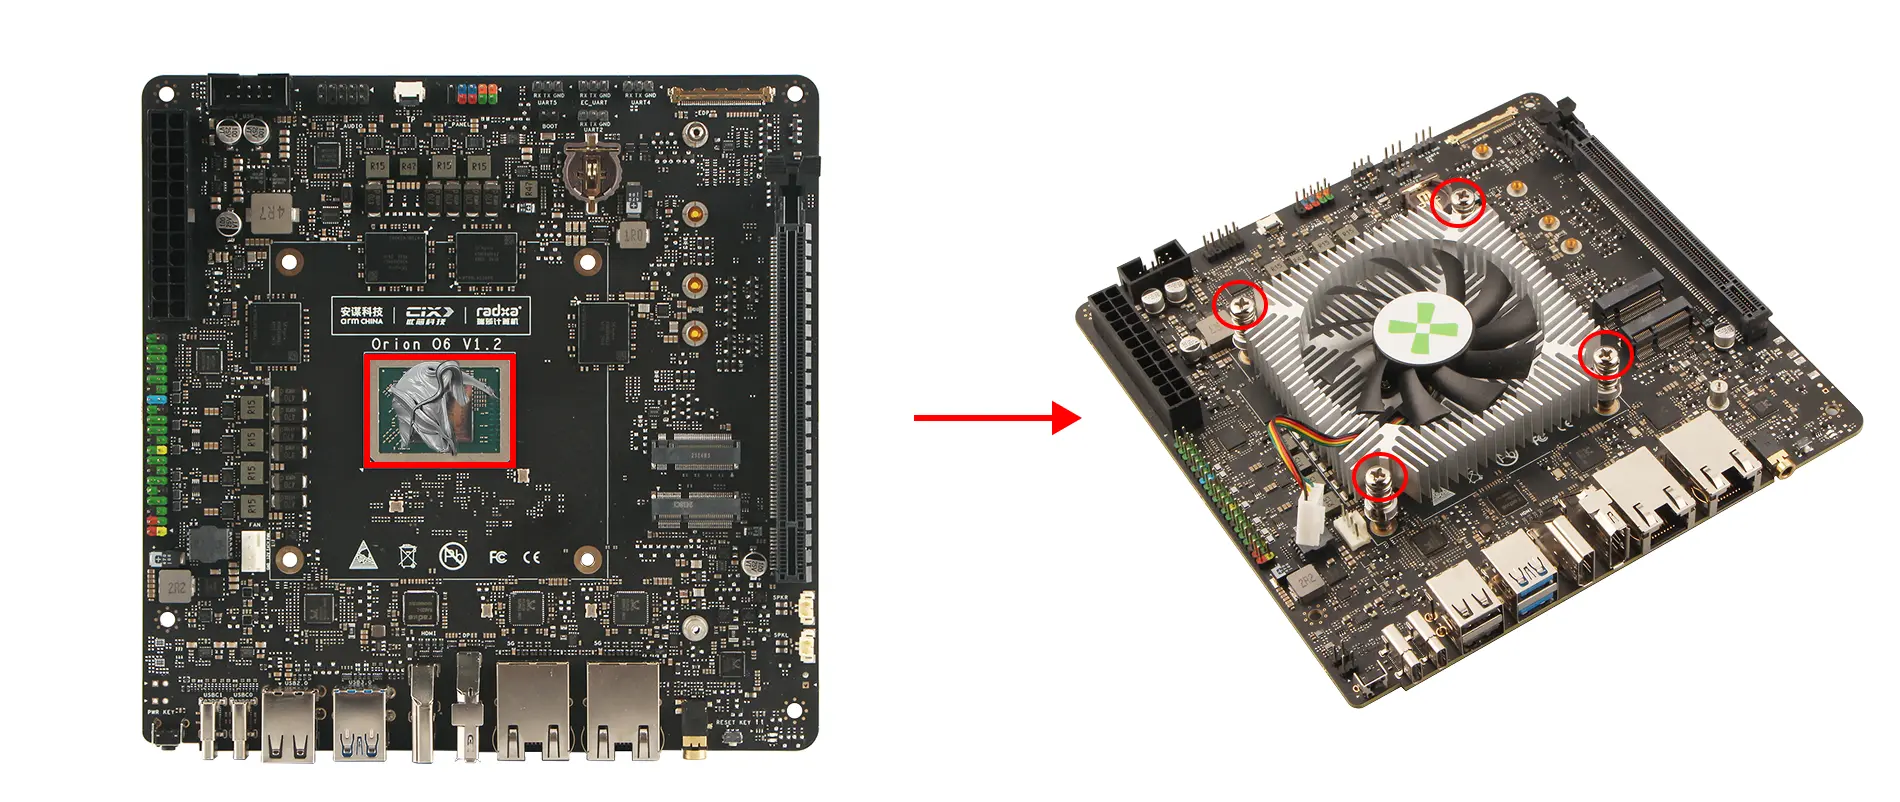
Mounting the 8420B Heatsink
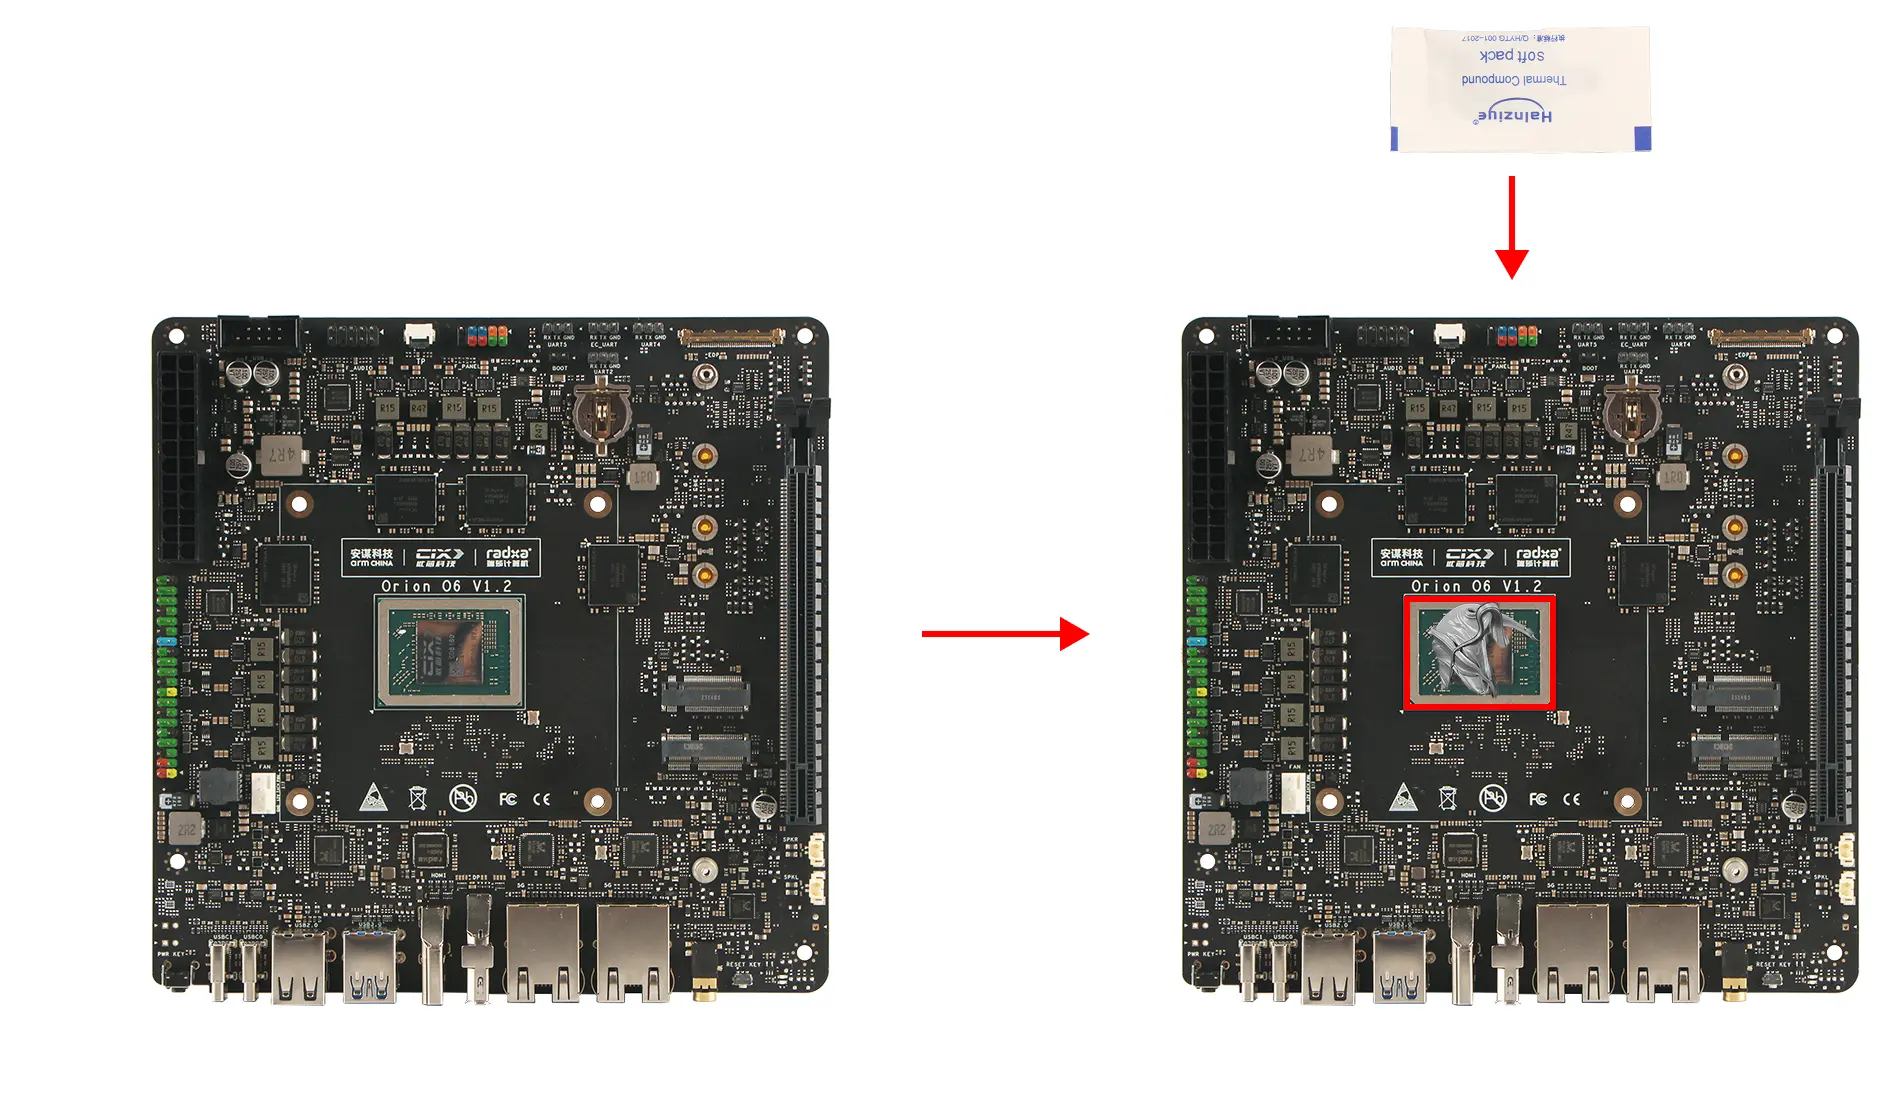
Apply Thermal Paste
Apply an appropriate amount of thermal paste onto the motherboard's SOC chip.
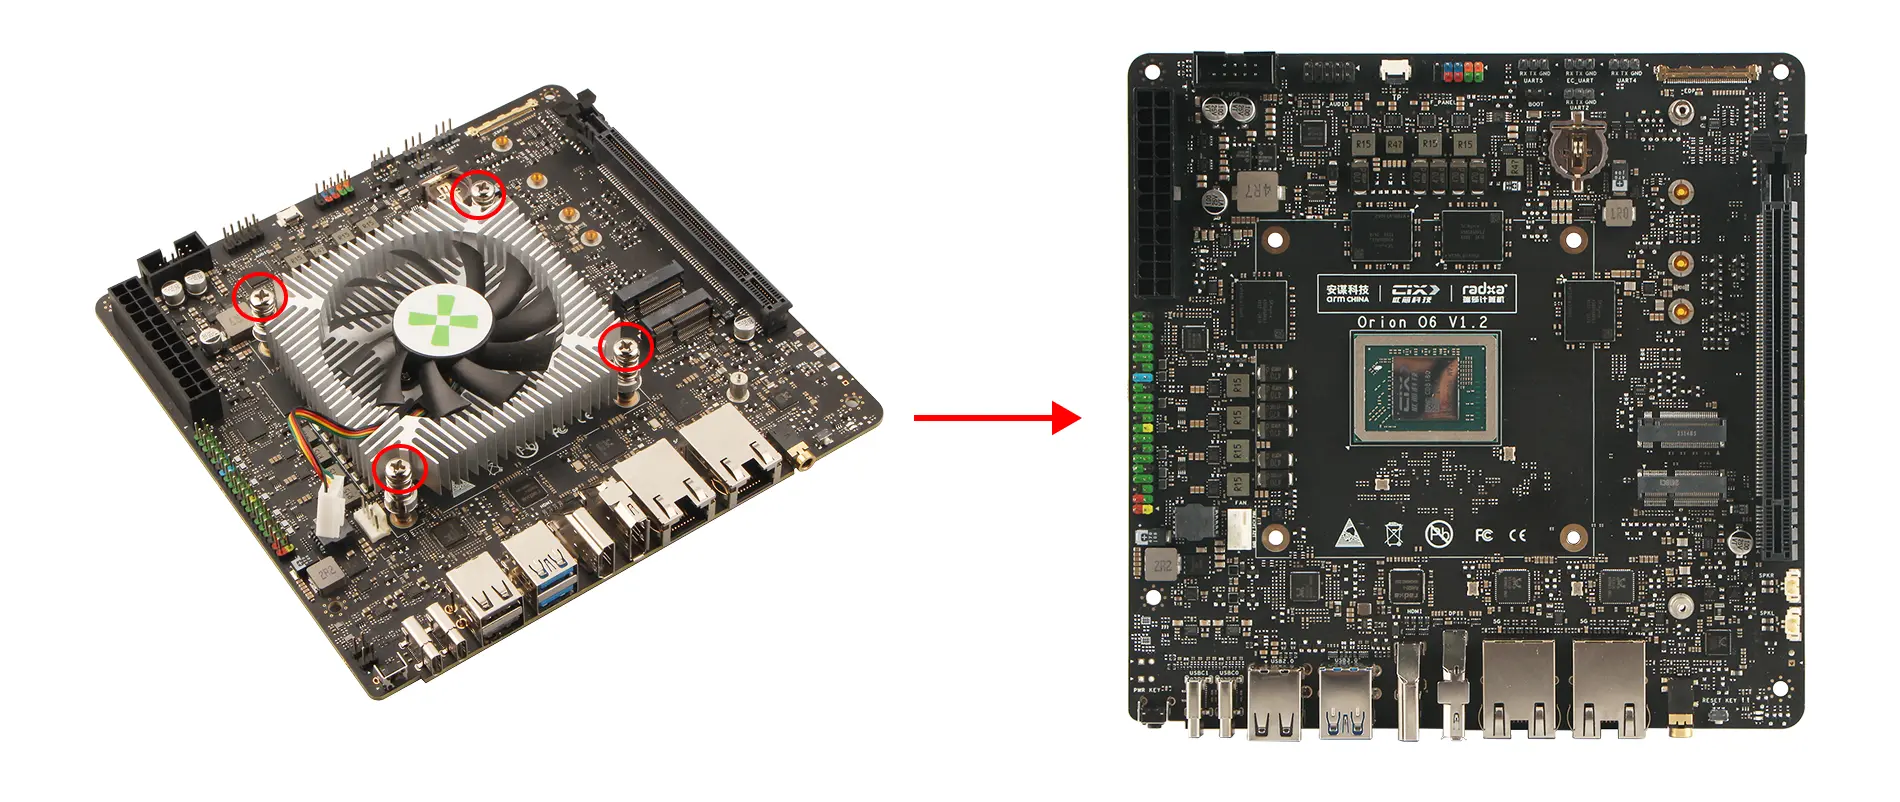
Secure the Heatsink
Use a screwdriver to tighten the four heatsink mounting screws in a cross pattern to ensure even pressure distribution.
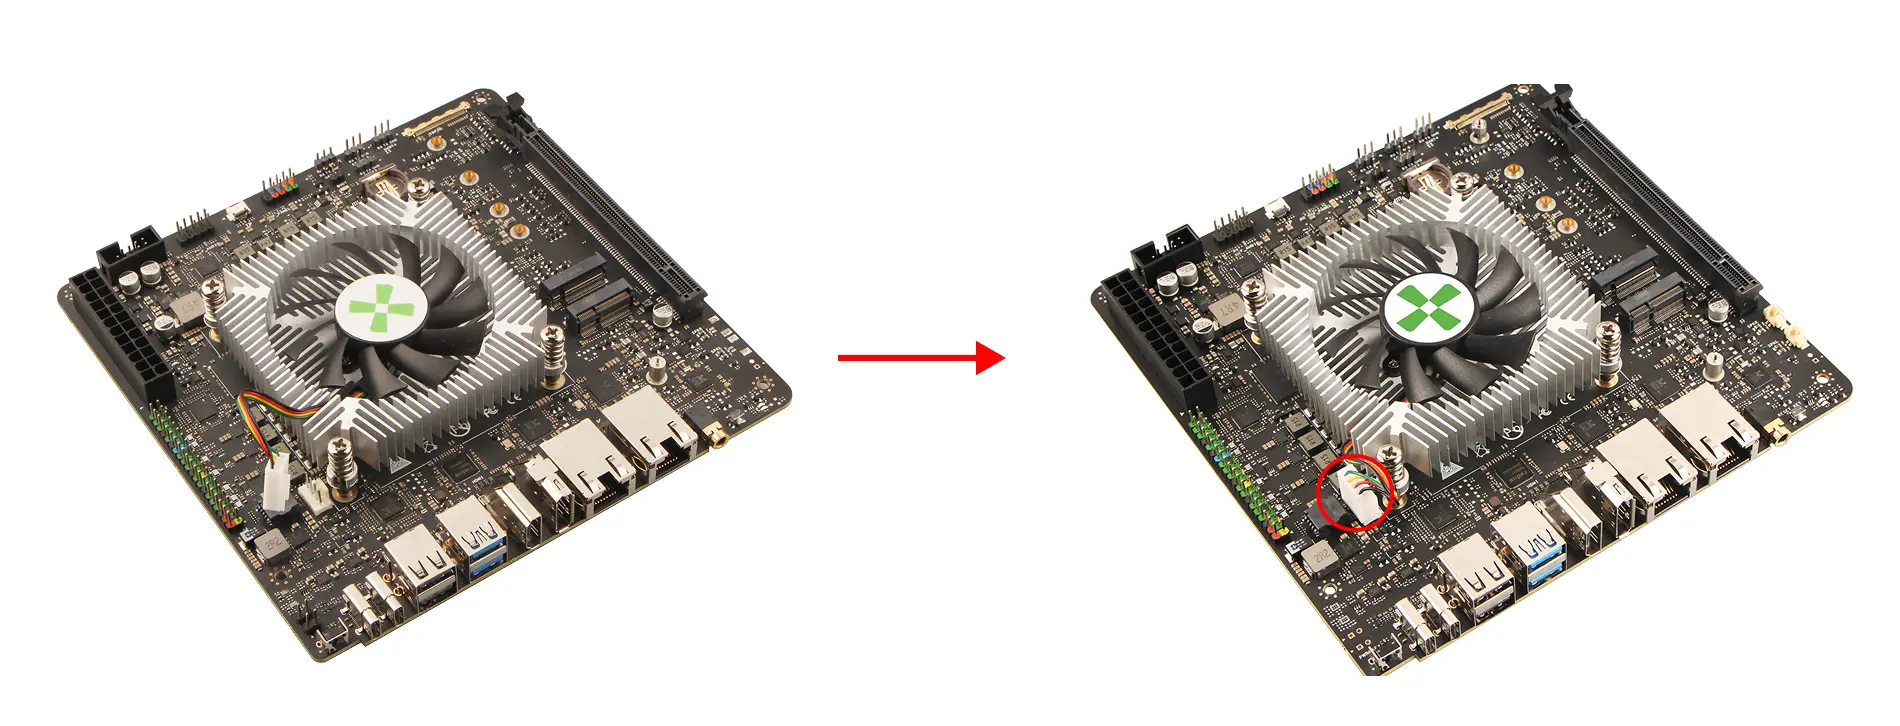
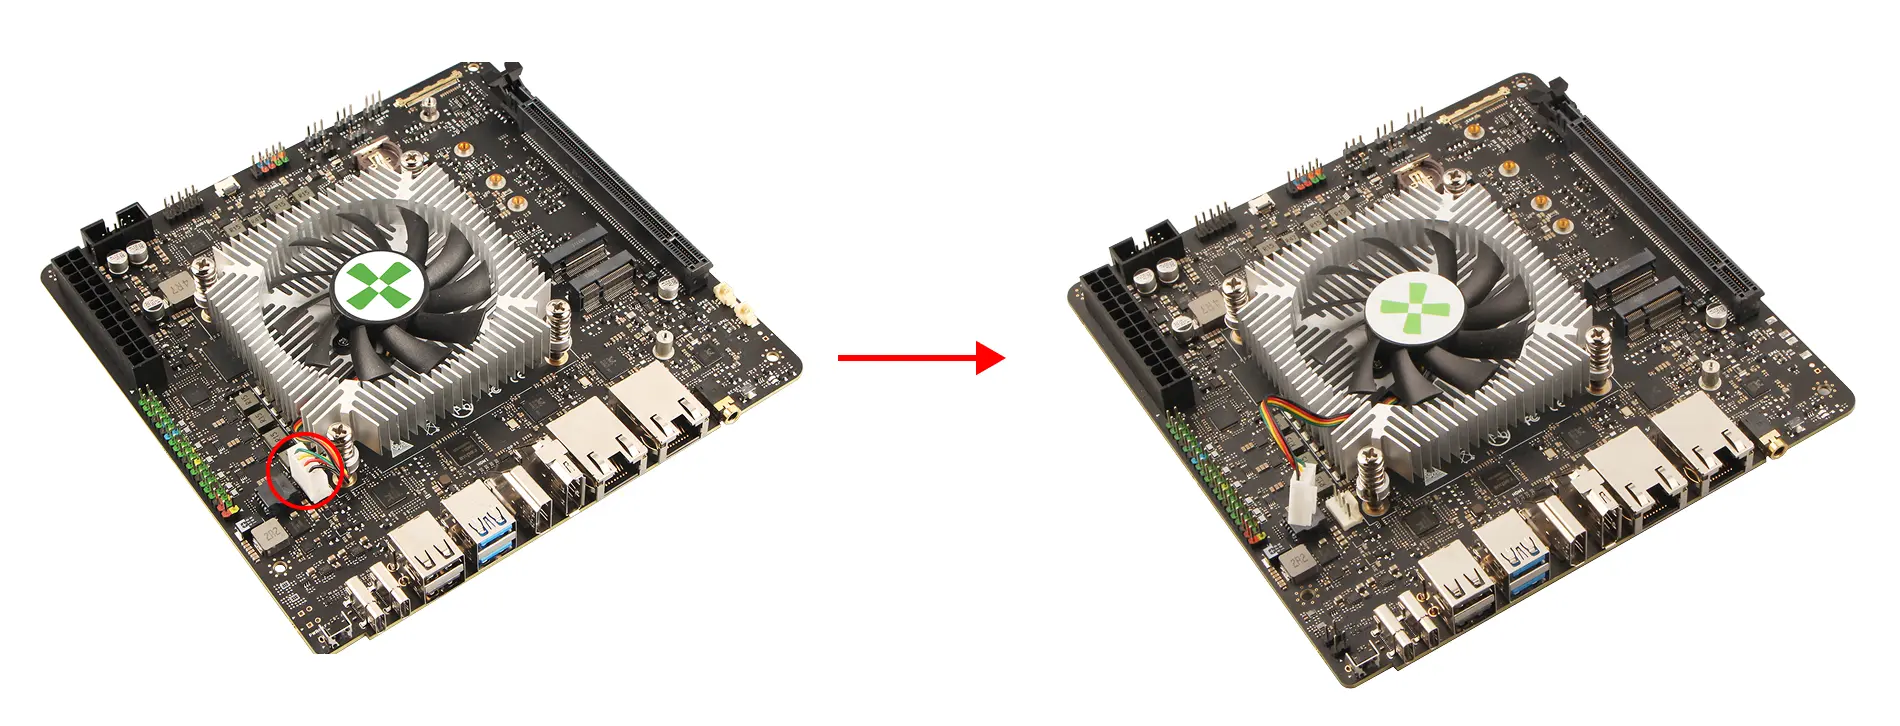
Connect the Heatsink Cable
Connect the heatsink cable to the corresponding port on the motherboard.
Install the Acrylic Case
Removing the 8420B Active Cooling System
Remove the Acrylic Case
This step is only for users who have purchased the acrylic case. If you don't have one, you can skip this step!
Use a screwdriver to remove the screws securing the top and bottom acrylic panels, then remove the standoffs and acrylic panels.
Remove the 8420B Heatsink
Disconnect the Heatsink Cable
Disconnect the cable connecting the heatsink to the motherboard.
Remove the Heatsink
Use a screwdriver to loosen the four heatsink mounting screws in a cross pattern to ensure even pressure release.