Quick Start
Prerequisites
- Motherboard: Radxa Orion O6
- USB Drive: For updating BIOS
- System Boot Drive: NVMe SSD
- USB Type-C Cable: For data connection
- Display: For accessing BIOS setup interface
- Power Adapter: USB-C 20V Power Adapter (PD Compatible)
- Host PC: Windows / Linux / MacOS with ADB and fastboot tools installed
- Optional: Serial Debug Cable
Note: The optional serial debug cable is used for BIOS flashing, which can be done either via serial console or display.
Flashing Android BIOS
Before starting, please ensure all preparations are complete.
Preparation
1. Install Required Tools
Install ADB and fastboot tools on your host PC.
Ubuntu is recommended for system installation.
sudo apt update
sudo apt install android-tools-adb android-tools-fastboot
2. Create BIOS USB Drive
Visit the Downloads page, download the latest Android BIOS files, and extract them to the root directory of your USB drive.
Hardware Connection
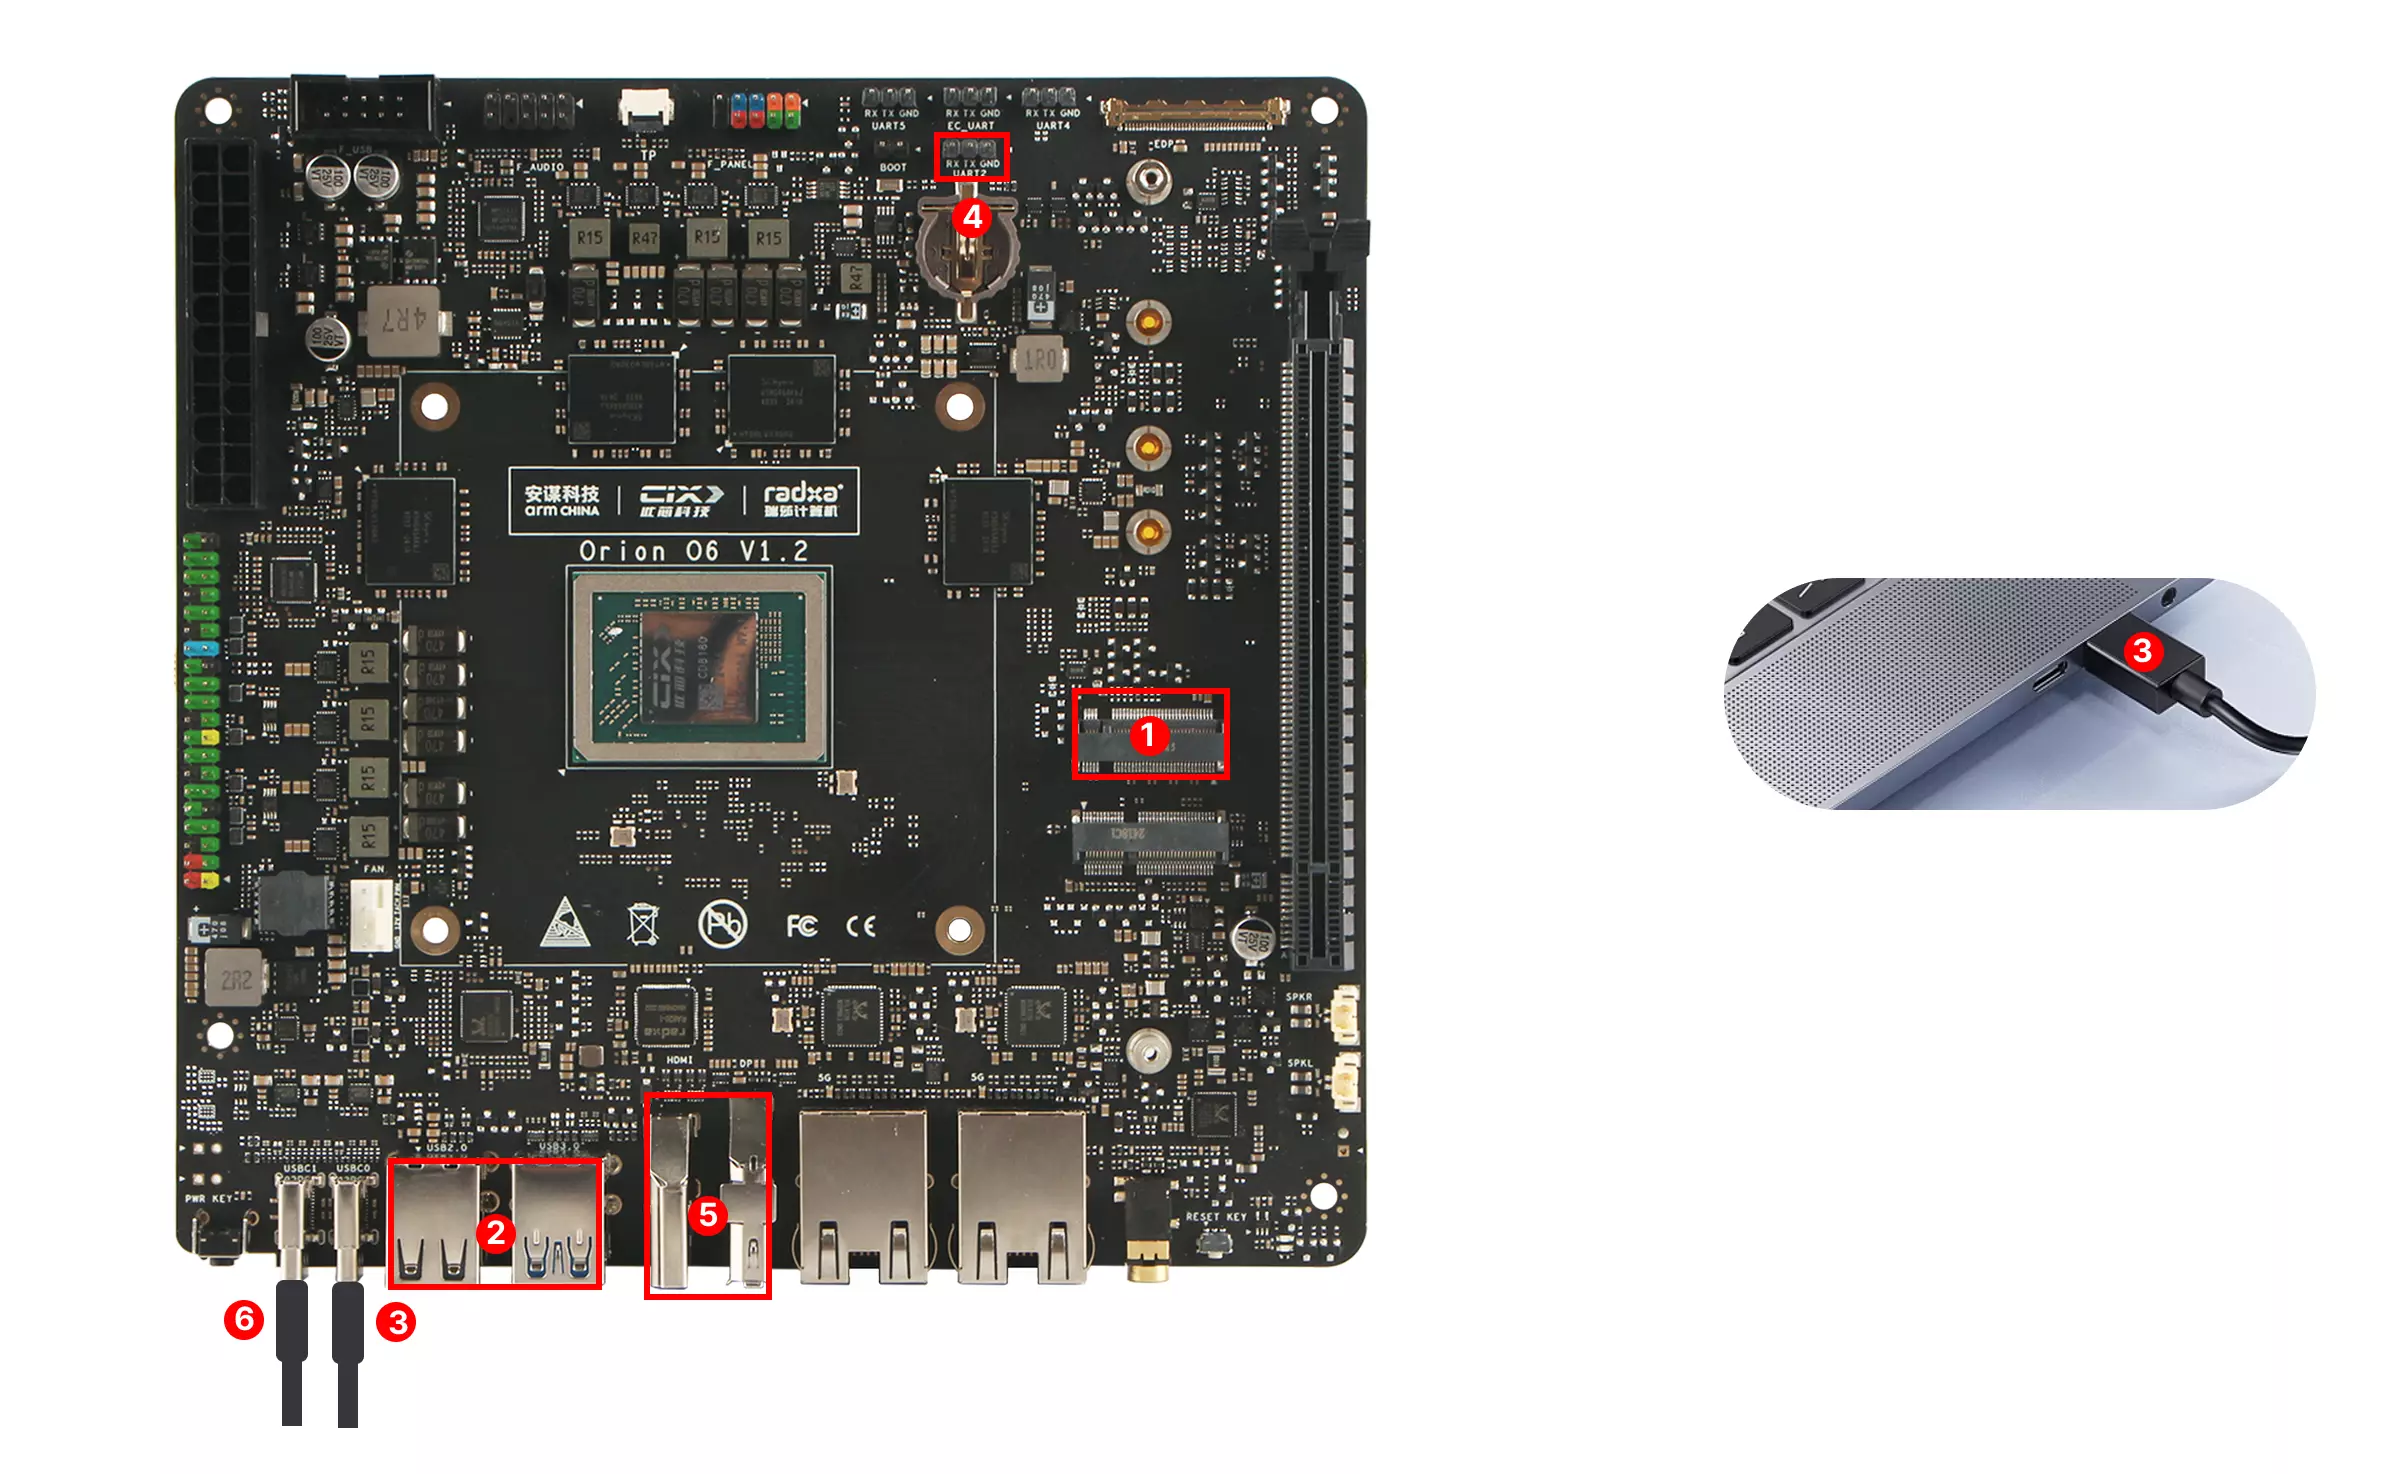
The Radxa Orion O6 motherboard features two USB Type-C ports:
- Data Port: Near the USB-A port, used for connecting to a PC for data transfer.
- Power Port: Near the power button, used for connecting the power adapter.
- Install the NVMe SSD onto the motherboard.
- Insert the prepared BIOS USB drive into the motherboard's USB-A port.
- Connect the motherboard's Data Port to your PC using a USB Type-C cable.
- (Optional) For serial console access, connect a serial debug cable to the motherboard's UART2 interface.
- Connect a display to the motherboard's HDMI or DP port.
- Power the motherboard's Power Port using a USB-C power adapter.
Procedure
1. Enter BIOS Setup
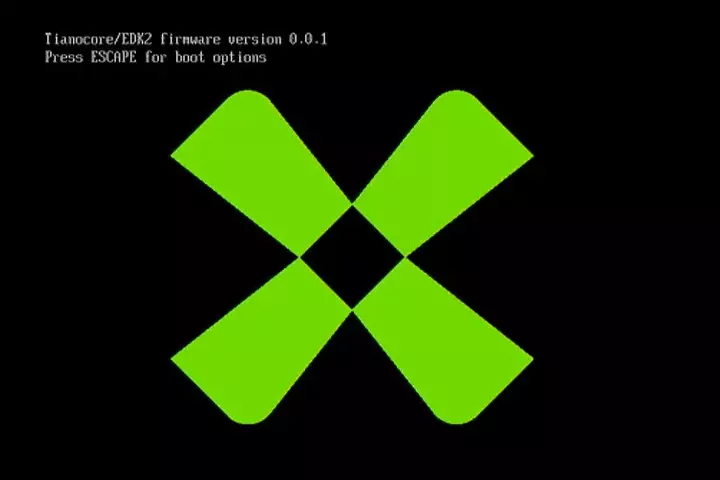
Power on the motherboard. When you see the Radxa logo or the message Press ESCAPE for boot options in the serial console, immediately press the Esc key to enter the BIOS setup interface.
- Via Display
- Via Serial Console
Tianocore/EDK2 firmware version 0.3.0-1
Press ESCAPE for boot options
2. Run BIOS Flashing Script
In the BIOS interface, navigate to Boot Manager -> EFI Shell. The system will automatically detect and run the startup.nsh script from the USB drive to complete the BIOS flashing process.
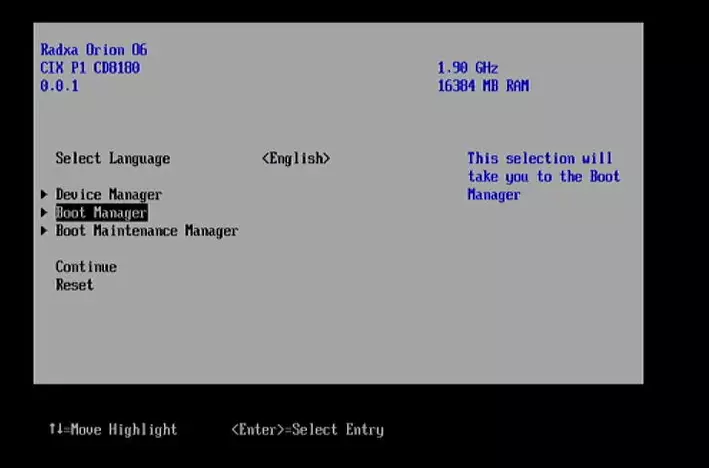
Entering Boot Manager
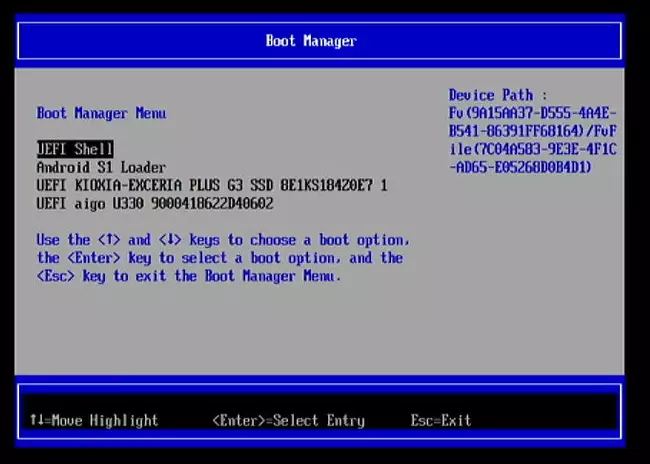
Selecting EFI Shell
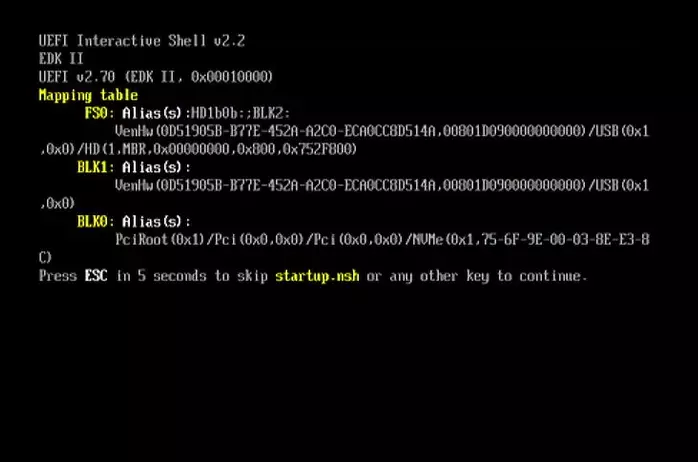
Automatic Script Execution
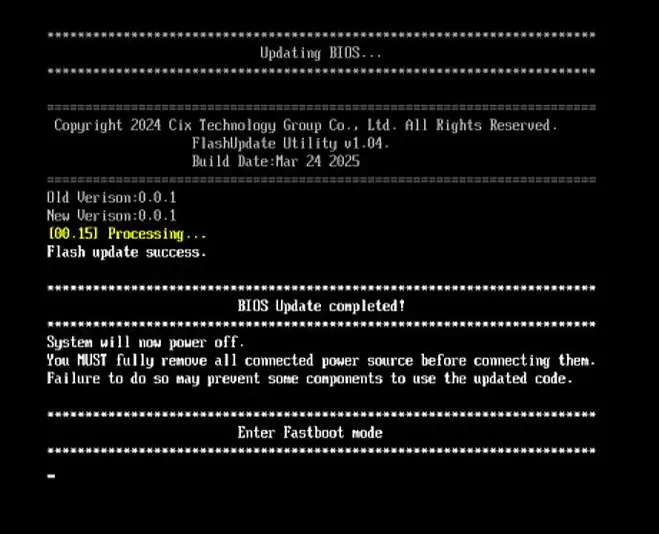
3. Confirm Fastboot Mode
After the BIOS flashing is complete, the motherboard will automatically reboot and enter Fastboot mode.
Installing Android OS
With the motherboard in Fastboot mode, you can now proceed to install the Android OS.
1. Download and Extract System Image
Visit the Downloads page, download the latest Android system image, and extract it to your local PC.
2. Flash the System Image
Open a terminal on your PC, navigate to the extracted Android system image directory, and run the android_flush_images.sh script.
./android_flush_images.sh
The script will automatically complete the system flashing. After successful flashing, the motherboard will automatically reboot into the Android OS.