Quick Start
Product Package Content Check
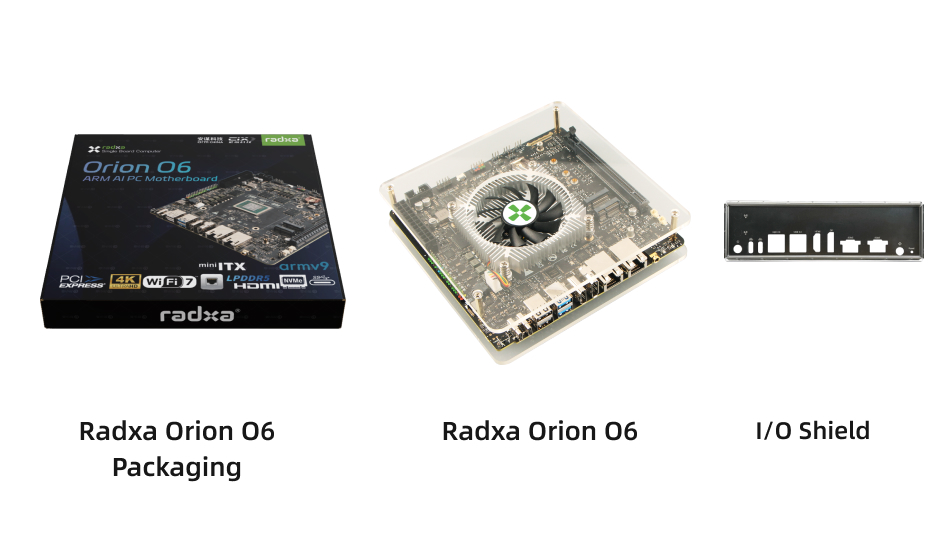
The standard packaging list of Radxa Orion O6 includes the following items:
- 1x Orion O6 Motherboard
- 1x I/O Shield
- 1x Heatsink 8420B(Preinstalled)
- 1x Acrylic Case for Orion O6(Preinstalled)
- 2x M.2 Fixed Screw(Preinstalled)
- 1x Sticker
After receiving the packaging of Radxa Orion O6, please first check the contents of the package.
-
Open the package box. Inside, you will find the motherboard securely placed in an anti‑static packaging bag. Carefully remove it and place it on a clean, debris‑free surface.
-
Refer to the included detailed packing list to confirm that all accessories are present. The motherboard comes with a pre‑installed Heatsink 8420B and an Acrylic Case for Orion O6. Pay special attention to the following key components during the inspection:
-
Heatsink 8420B: Ensure it is firmly attached to the SoC, with neatly aligned fins. Check that the cooling fan rotates smoothly without stuttering or noise, and verify that the power cable is intact and undamaged.
-
Acrylic Case for Orion O6: Check for any visible scratches or cracks. Ensure the edges are polished smooth to prevent injury. Verify that the screws and standoffs securing the case and motherboard are intact.
If any accessories are missing, damaged, or differ from the packing list, contact the seller or manufacturer’s customer service team immediately for prompt resolution.
Additional Items Needed
To use the Orion O6, the following items are required:
-
USB PD Power Adapter: A 65W USB‑C PD (20V/3.25A) or USB‑C DC (20V/3.25A) power supply is recommended.
-
M.2 NVMe SSD:
- Supported types: 2230、2242、2260、2280
- Supported interfaces: PCIe Gen3 or Gen4(SATA M.2 SSDs are not supported).
-
USB Keyboard and Mouse:Required for operation.
-
USB Drive: For OS installation.
- Supported: USB 2.0/3.0, USB‑A or USB‑C drives (USB 3.0 is recommended for faster installation).
-
Monitor or TV: Must support HDMI, DP, or USB‑C video input.
Optional:
- M.2 Wireless Module: For WiFi/Bluetooth functionality.
Creating a Bootable USB Drive
To create a bootable USB drive, you will need another computer (Host Computer) running Windows, Linux, or macOS.
1. Download the image:
- Visit the Download Page and download the Debian 12 pre‑installed image.
2. Download the imaging tool:
- Use a tool like Etcher to write the image to the USB drive.
3. Write the image:
- Insert the USB drive into the Host Computer.
- Open the Etcher tool, select the downloaded image, and write it to the USB drive. This process may take over 10 minutes, depending on the speed of your USB drive and Host Computer.
Disassemble the Top Cover
-
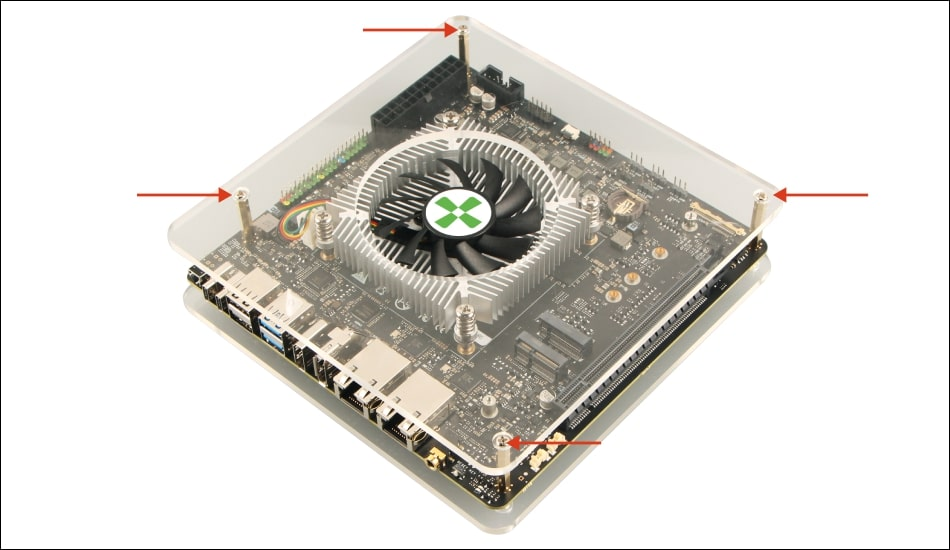
Unscrew the 4x CM3x5x5 screws securing the acrylic upper cover using a Phillips screwdriver. Apply gentle, even force to avoid stripping the screws.
-
Remove the acrylic upper cover carefully, as shown below:
Note:
Always ensure the motherboard is powered off before disassembly or assembly.
Install NVMe SSD
The Orion O6 motherboard does not include a pre‑installed SSD. Follow these steps to install an M.2 NVMe SSD:
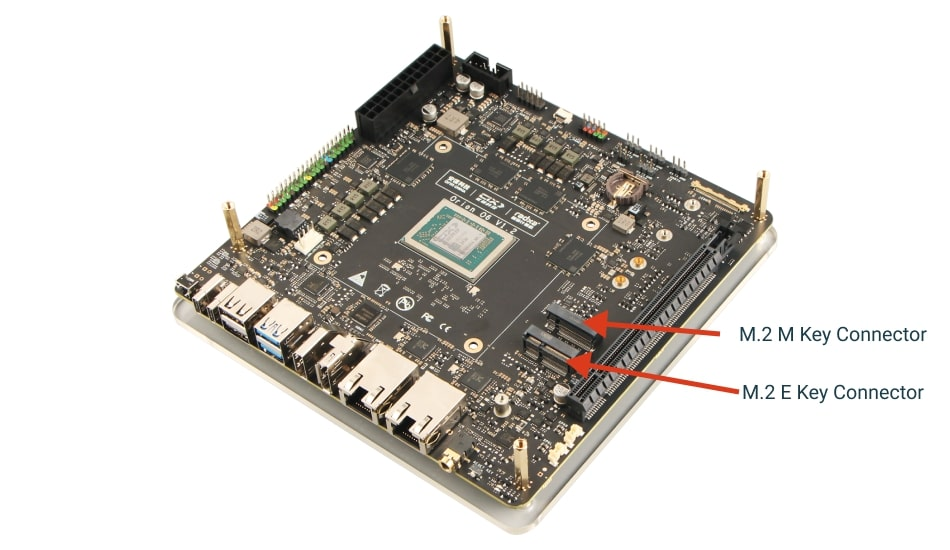
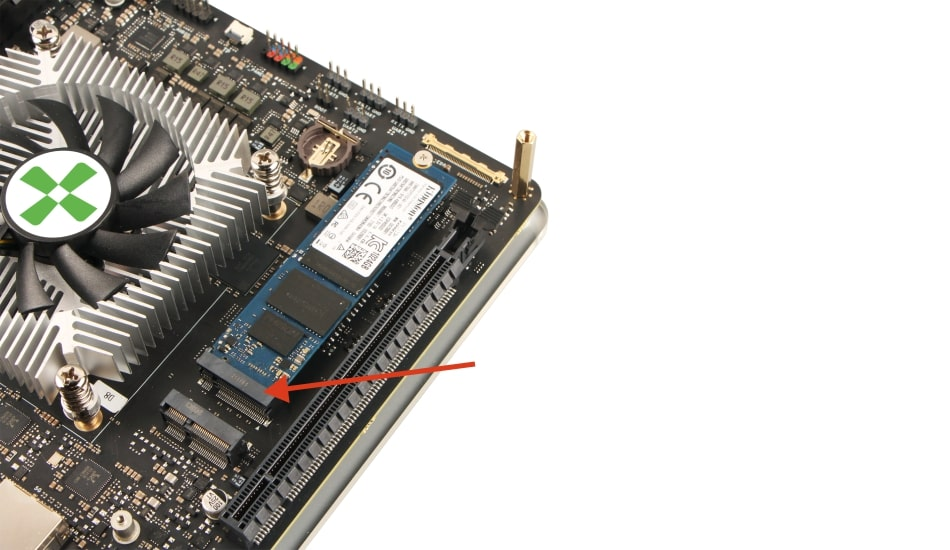
- Locate the M.2 M Key connector on the motherboard. Identify the correct mounting positions for the copper standoffs based on your SSD’s size.
-
Install the standoffs securely to provide stable support.
-
Align the NVMe SSD with the M.2 connector, ensuring the correct orientation. Insert the SSD gently to avoid damage.
-
Secure the SSD with CM2x2.5 screws.
Install WiFi Module (Optional)
If desired, install a WiFi/Bluetooth module:
- Locate the M.2 E Key connector on the motherboard. Align the module (e.g., Radxa Wireless Module A8) with the connector and gently insert it.
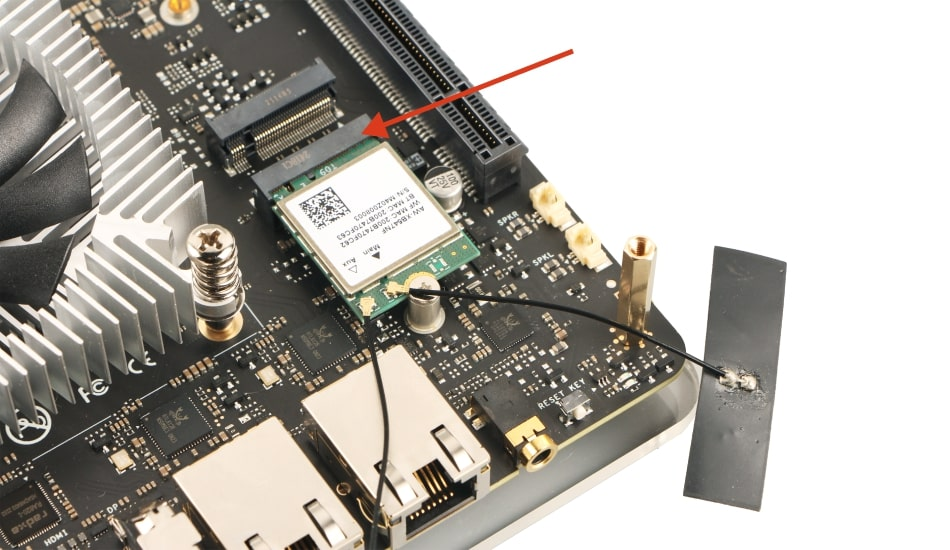
- Secure the module with CM2x4x5 screws.
Connecting Peripherals
-
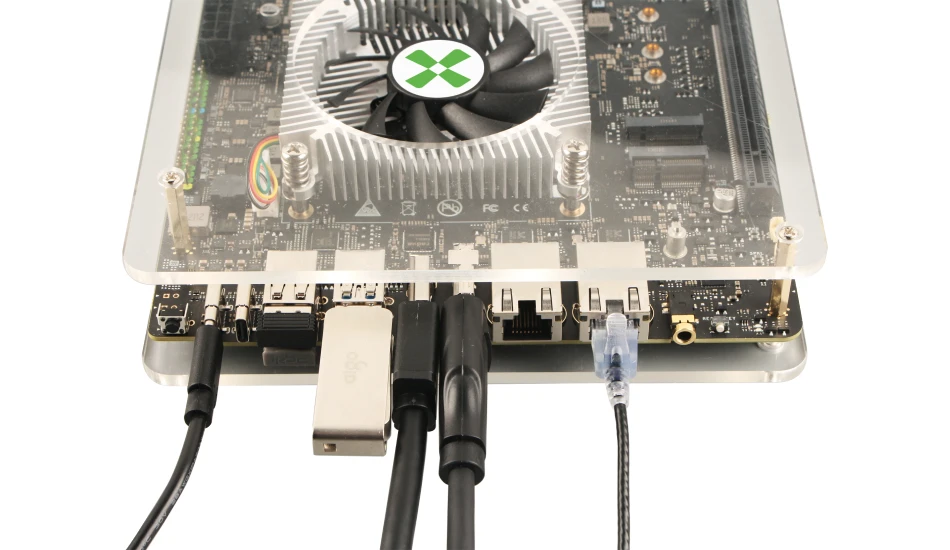
Plug the USB drive into a USB 3.2 port ⑫。
-
Connect the USB keyboard and mouse to any USB 2.0 Port ⑫。
-
Attach a monitor or TV via HDMI ⑩ or DP ⑨.
Powering on and Install OS to NVMe SSD
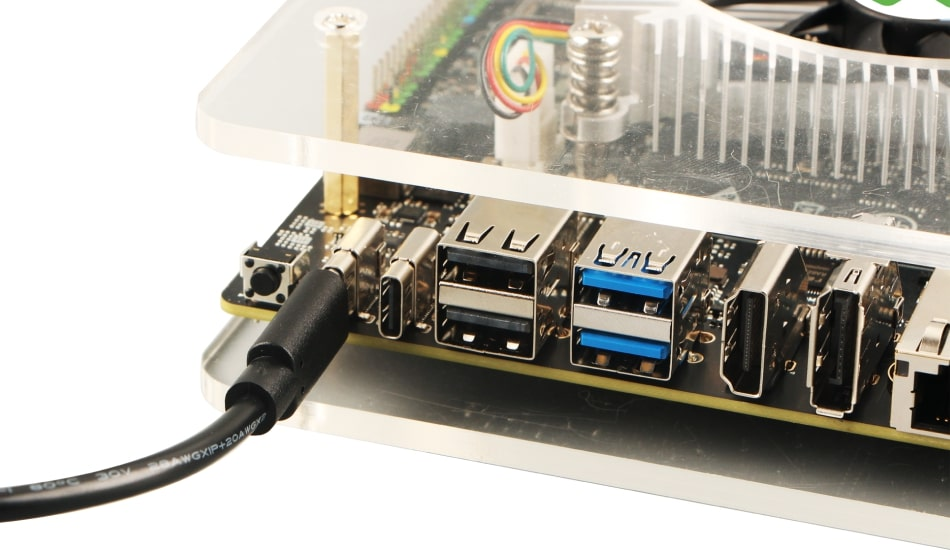
- Insert the USB Type‑C power adapter into either USB‑C port. The green LED will light up, followed by the blue LED, and the fan will start spinning.
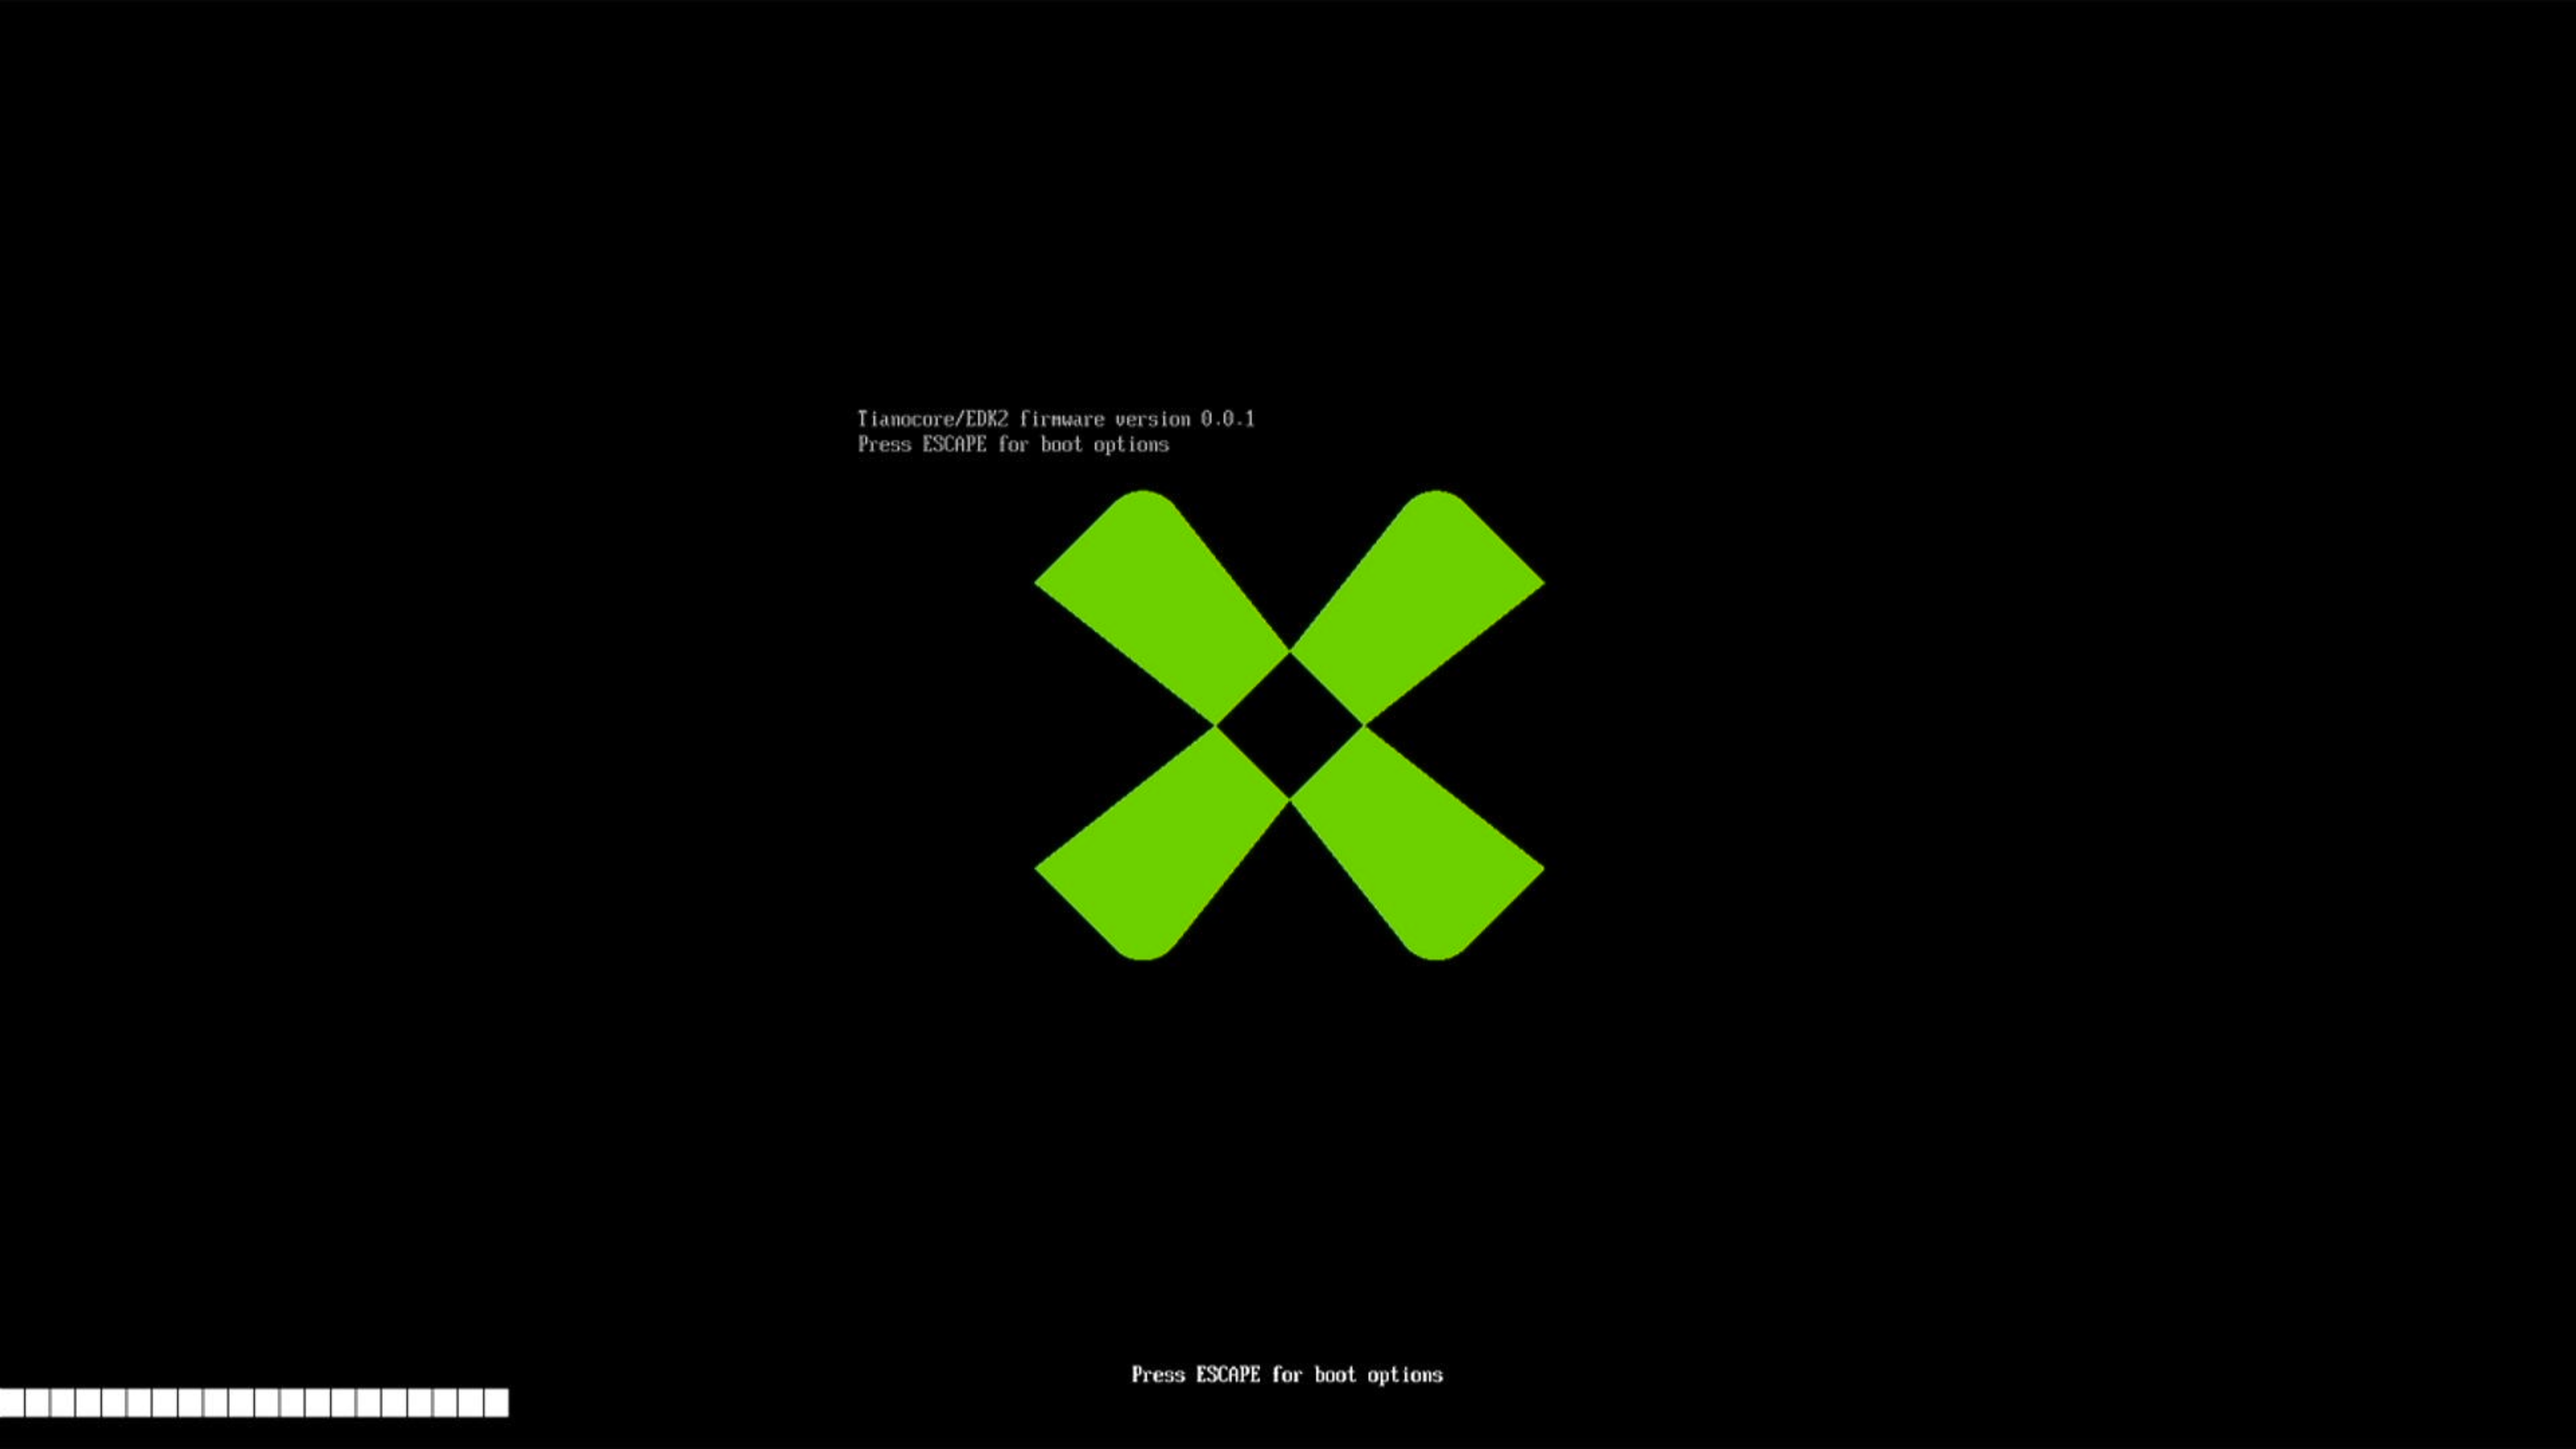
- The BIOS menu should appear on the monitor. Press the ESC key on the keyboard to enter the UEFI/BIOS menu.
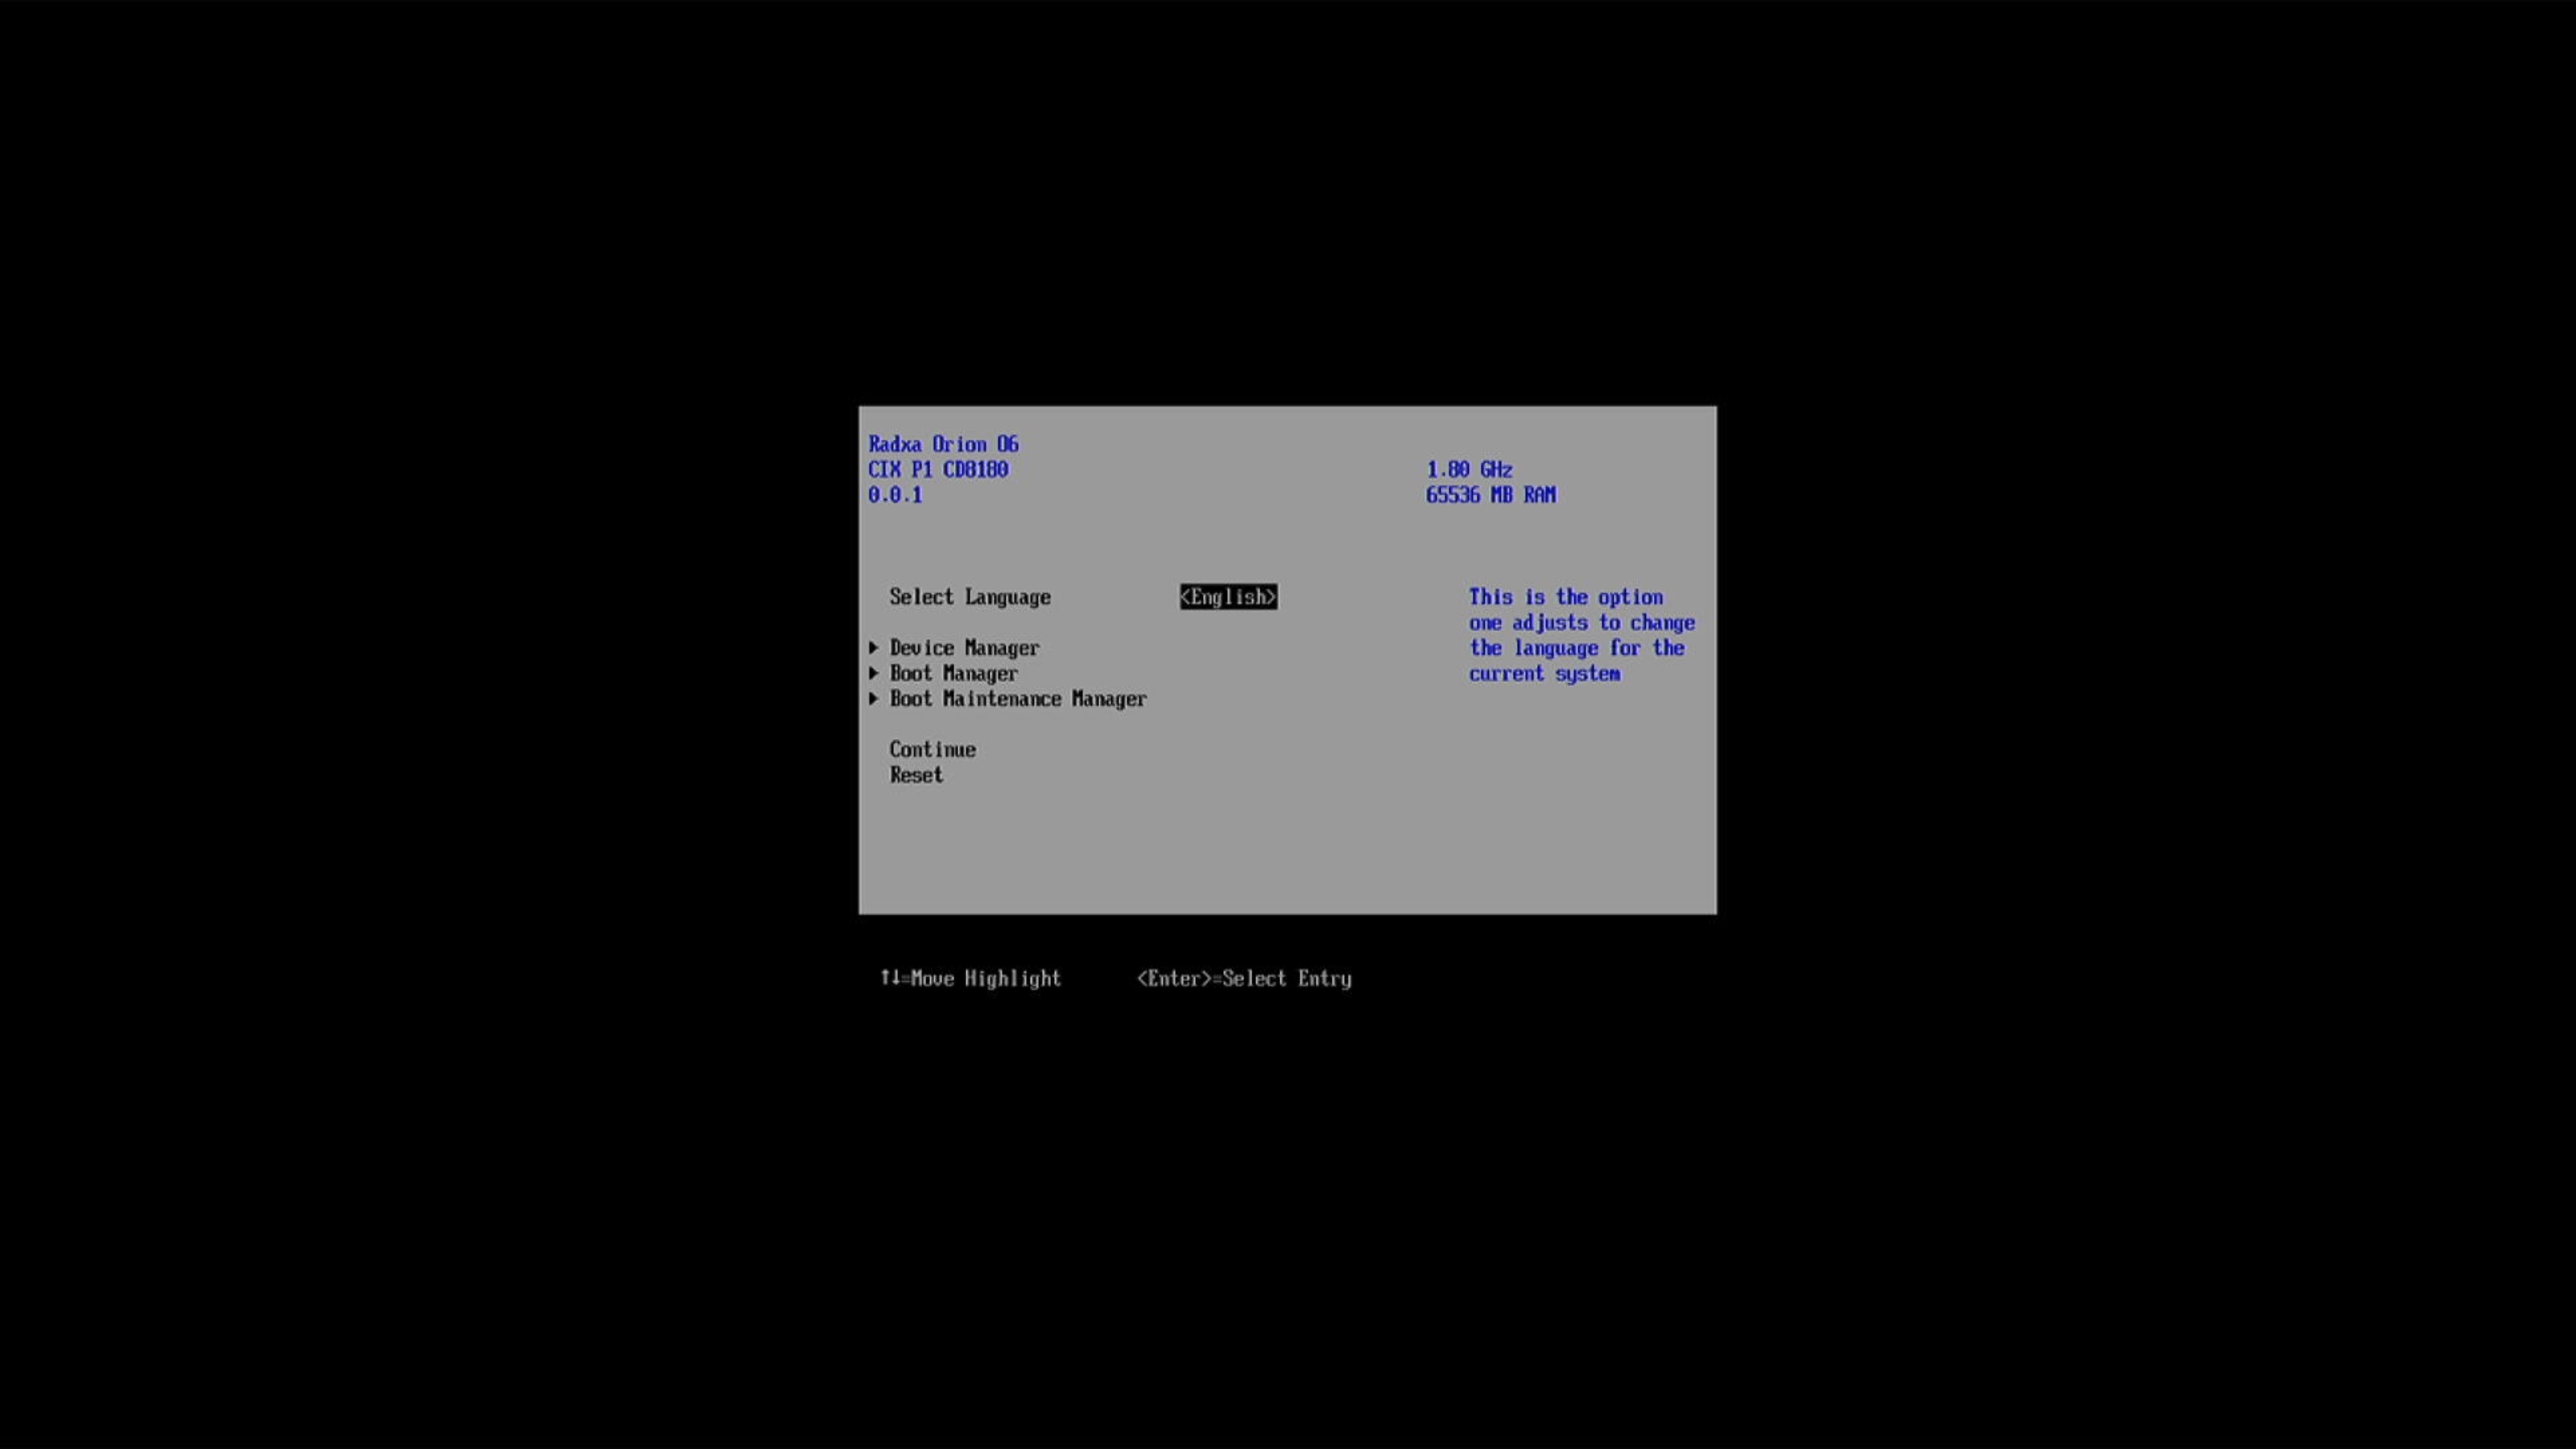
- From the BIOS menu:
- Choose Boot Manager and press Enter to select your USB drive from the Boot Manager Menu, it should looks like:
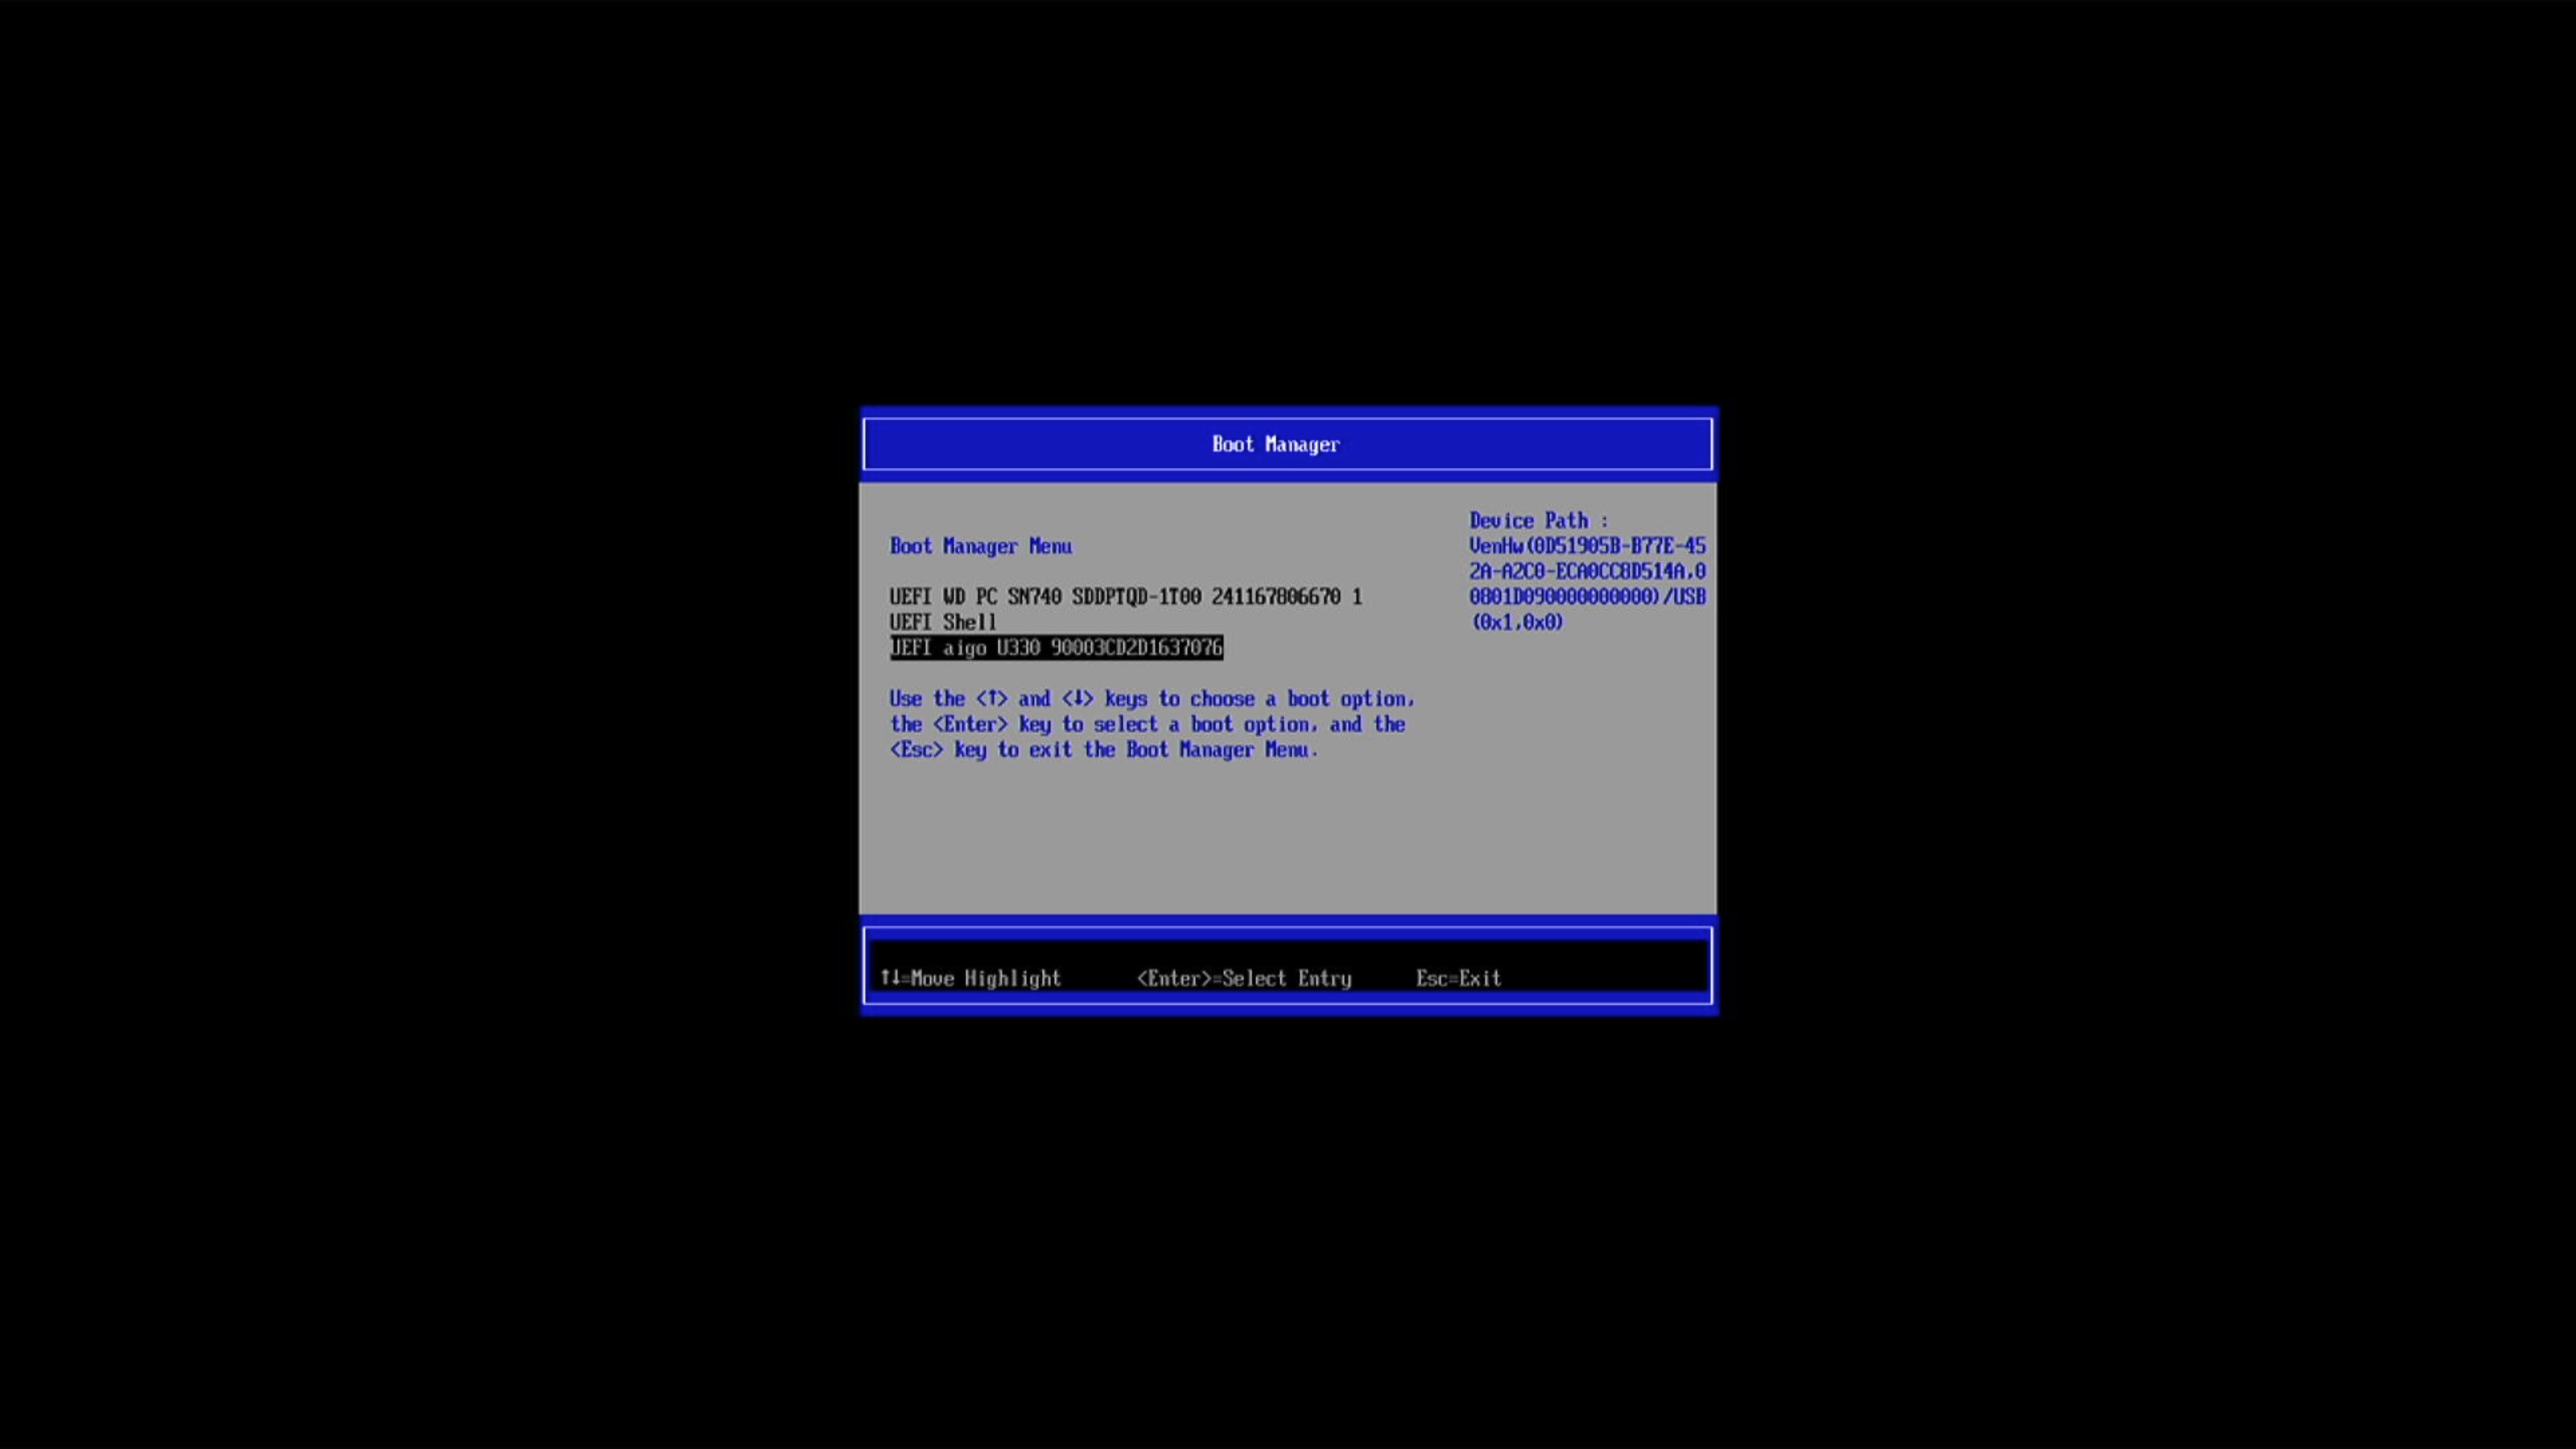
- The system is now booting from the USB drive. This process may take approximately 20 seconds or longer, depending on the speed of the USB drive. During this time, the monitor may remain blank.
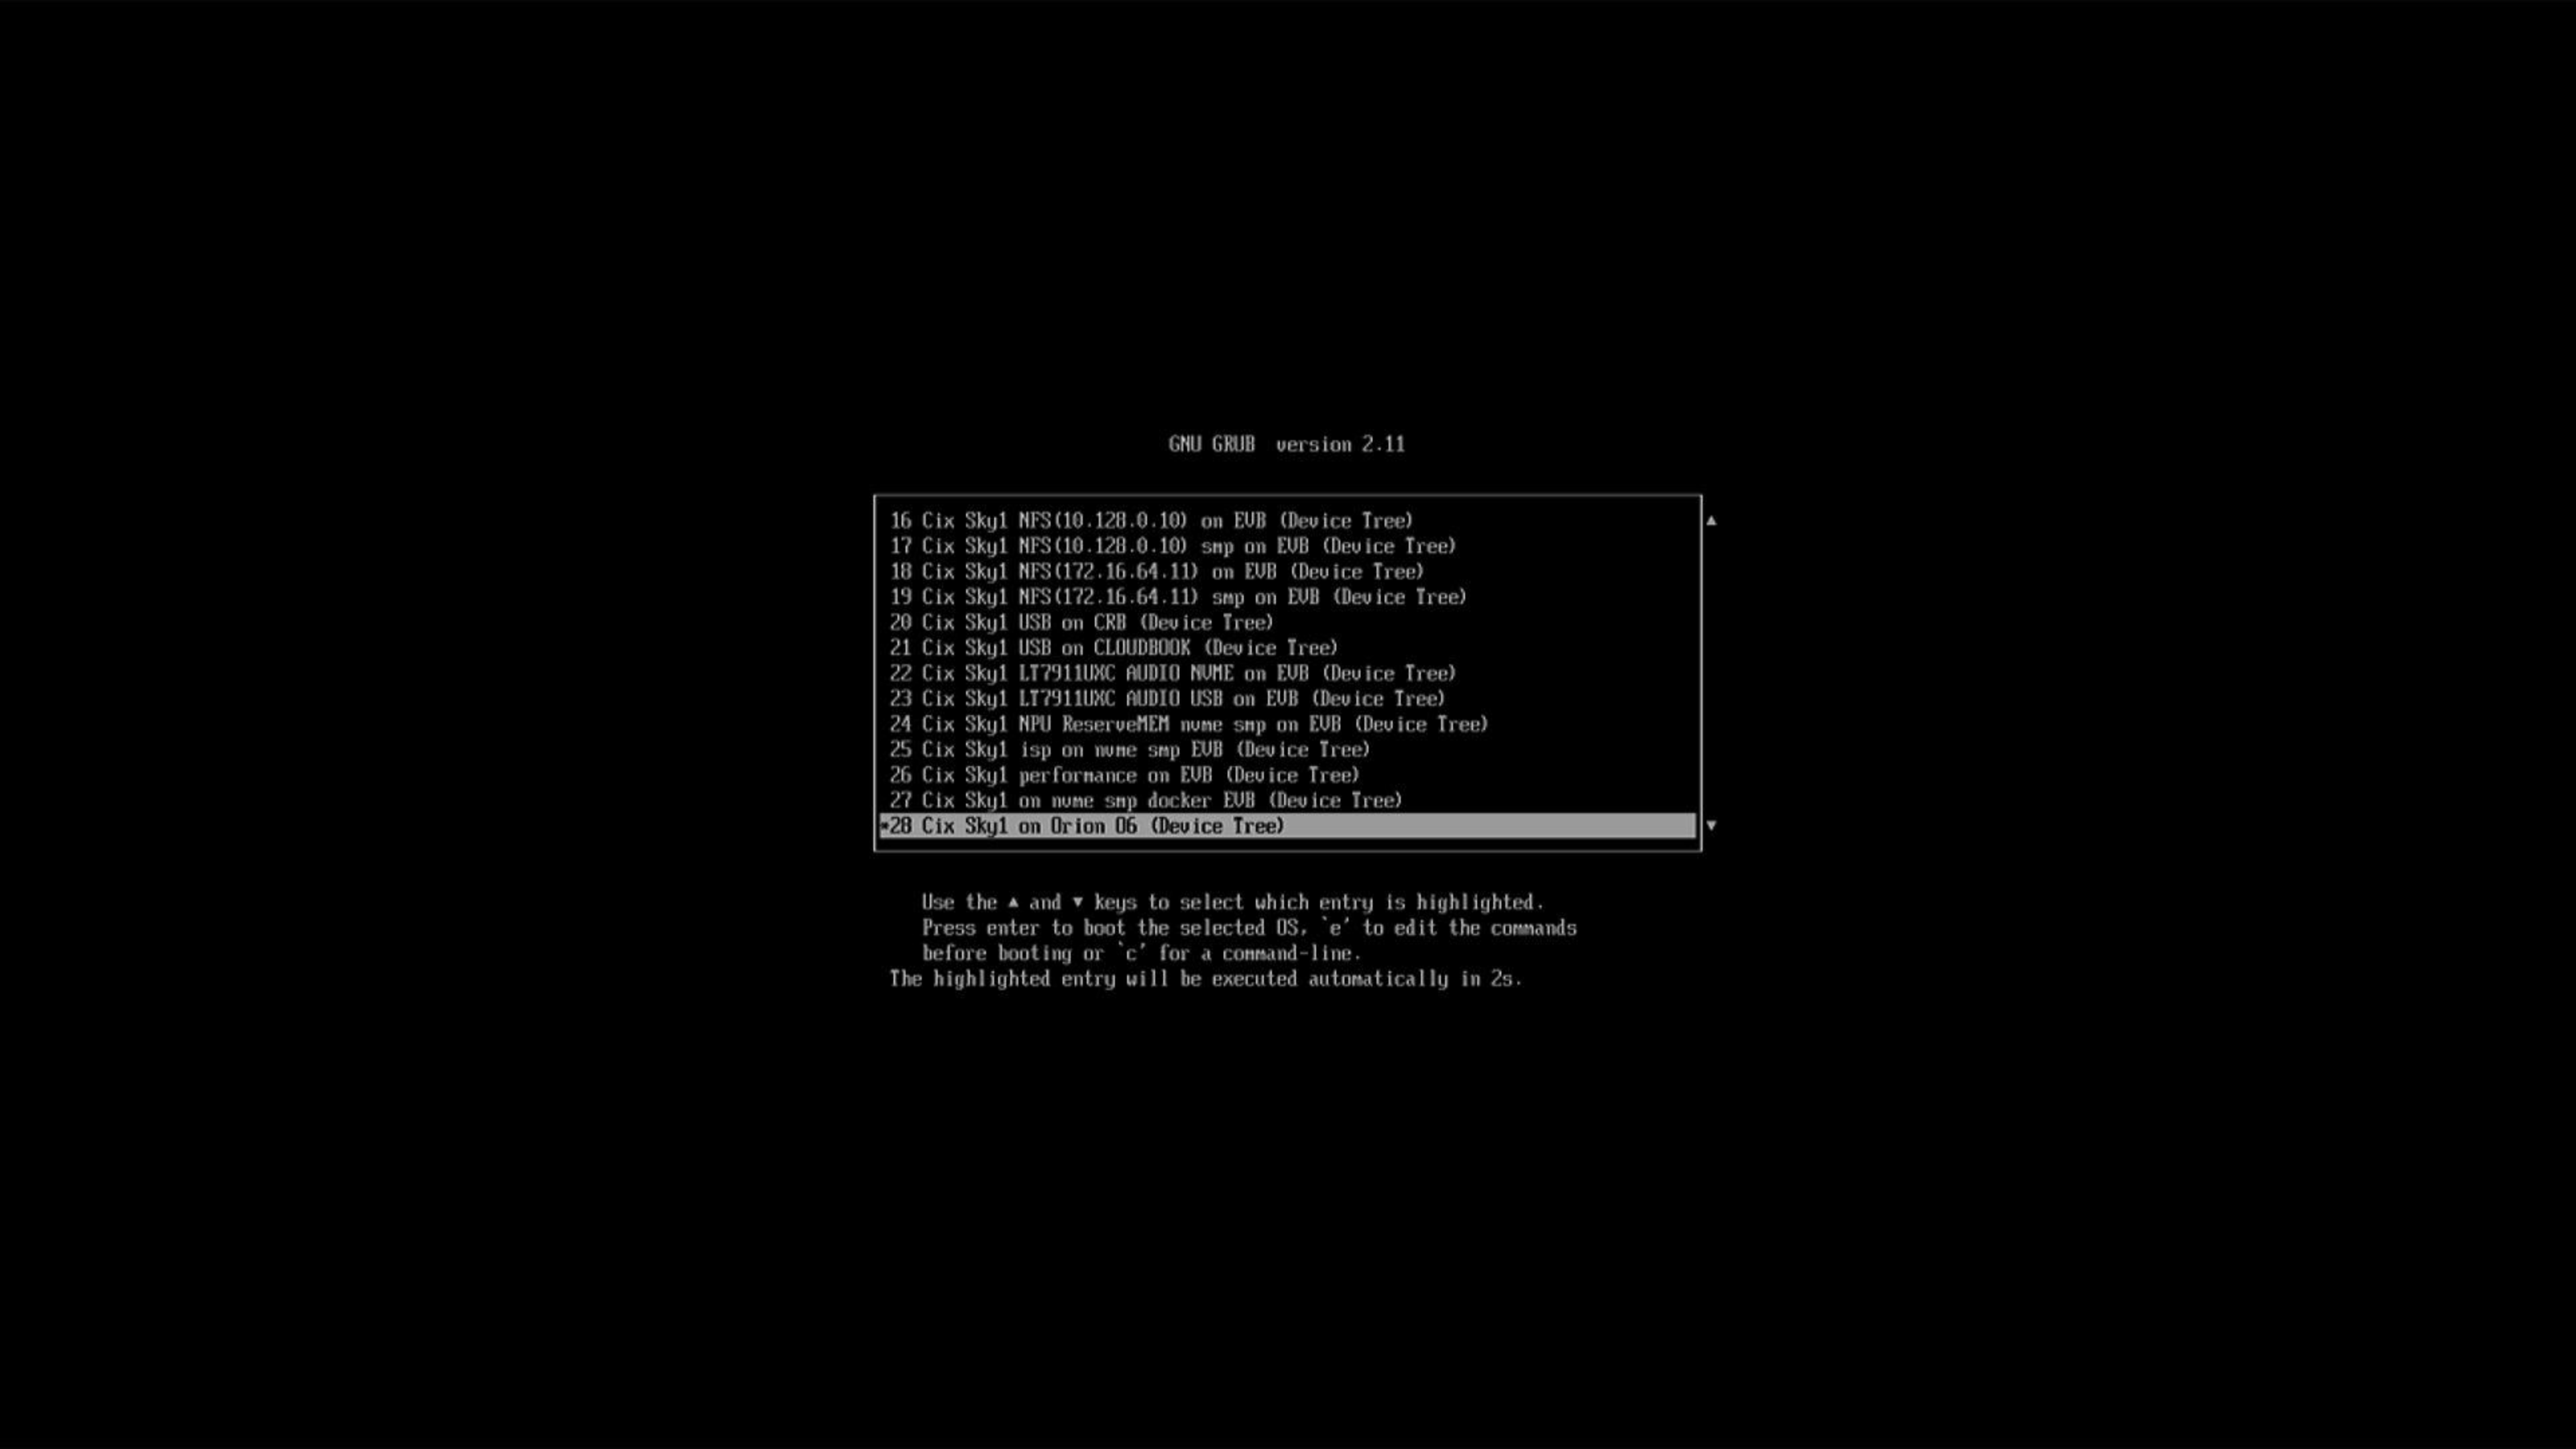
- Once the USB drive has successfully booted, the Debian desktop will appear on the monitor.
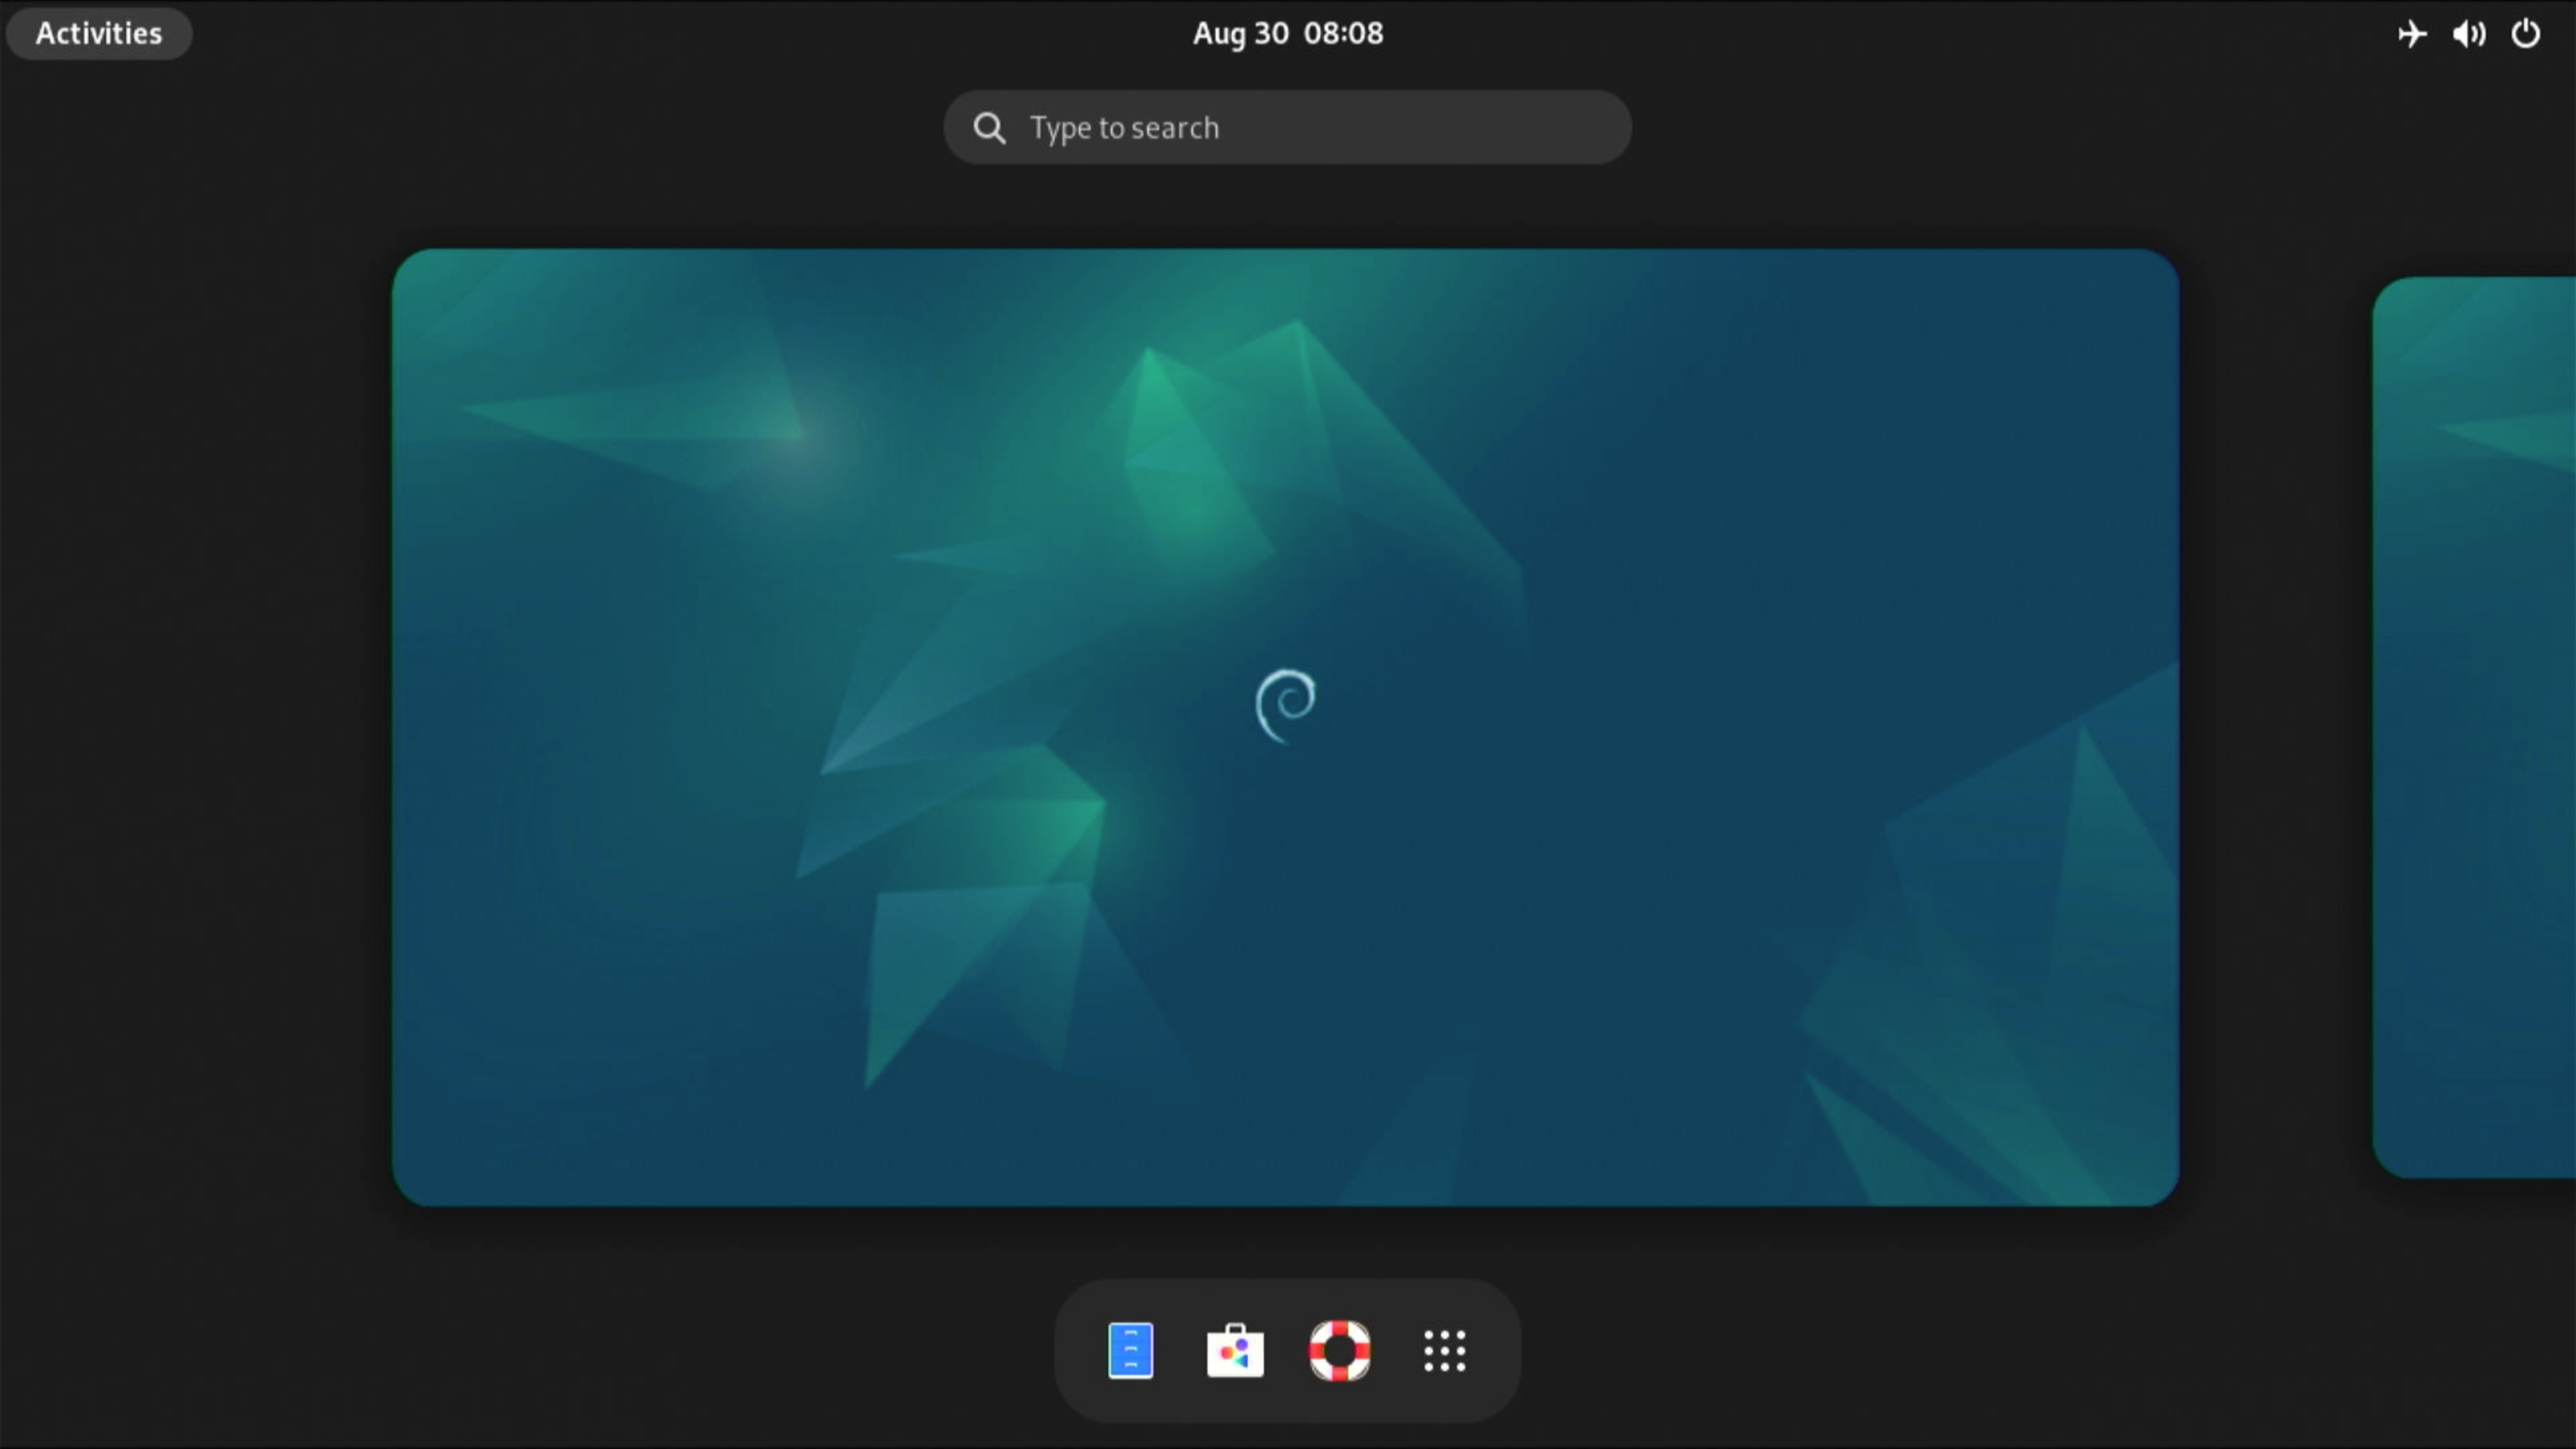
- Click the Application Menu located on the bottom‑right taskbar and select balenaEtcher.
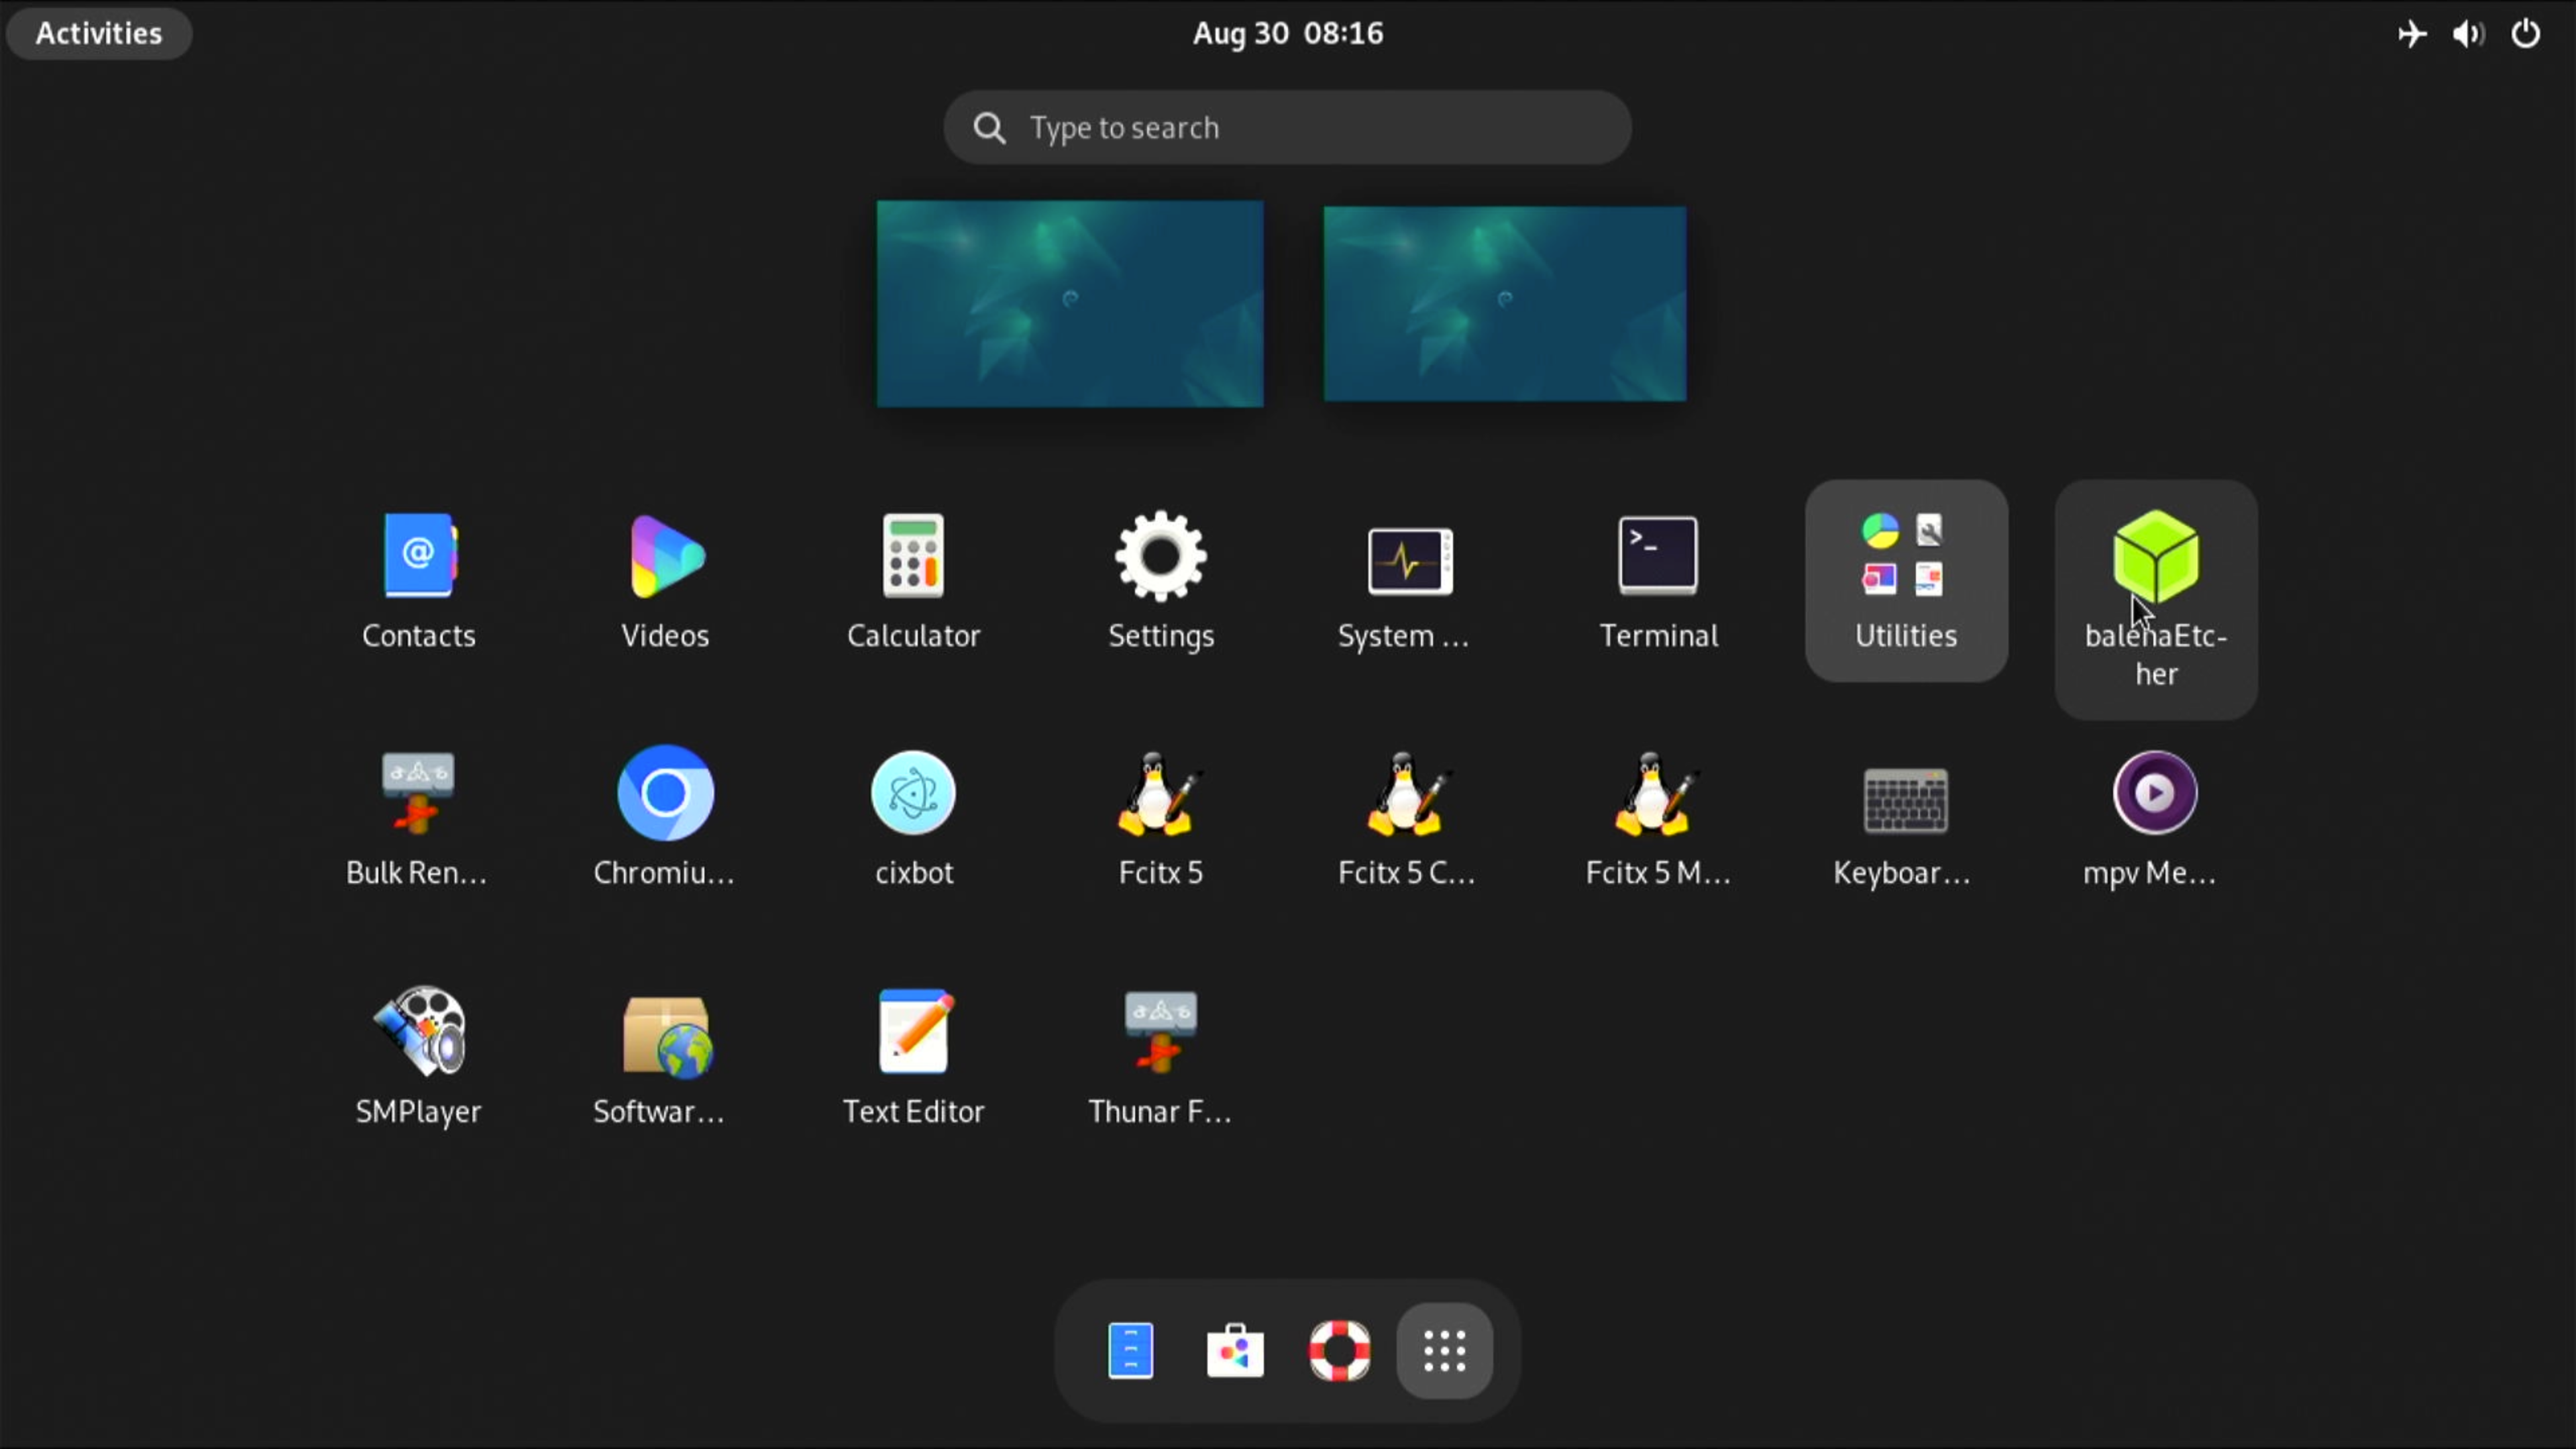
-
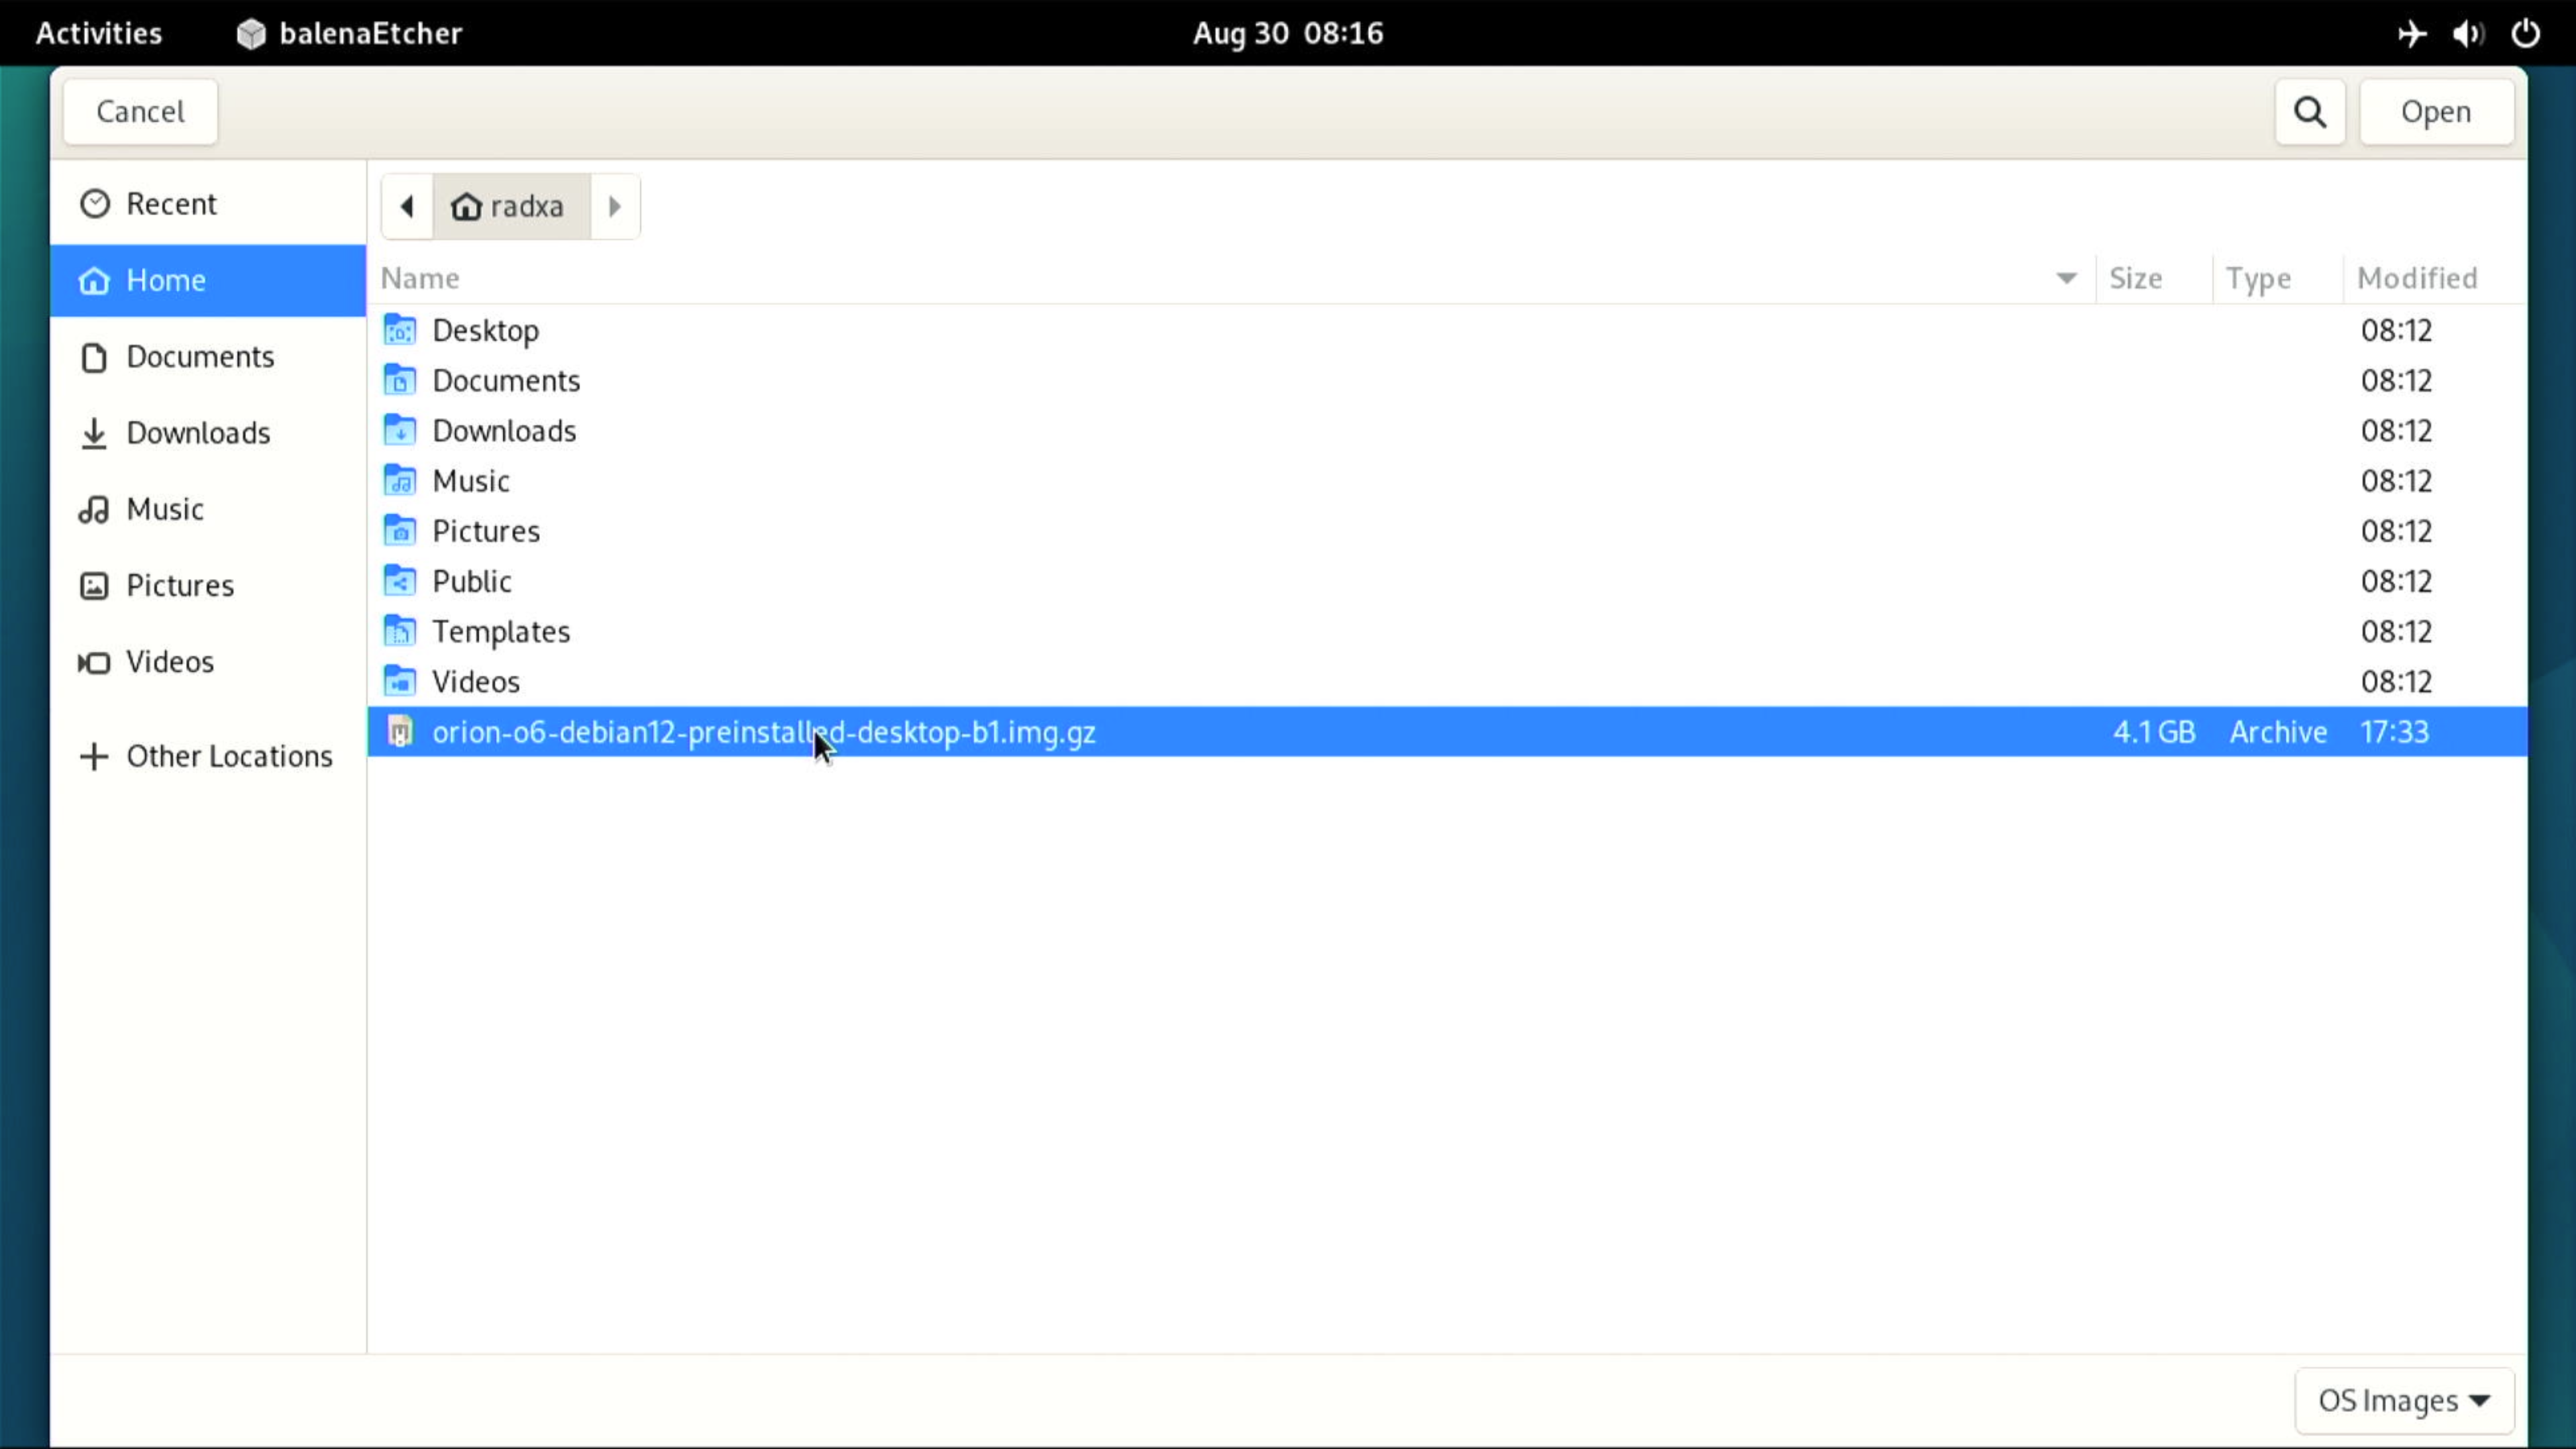
Click Flash from file on the left icon and select the image located in the Home folder:
- orion-o6-debian12-preinstalled-desktop-b1.img
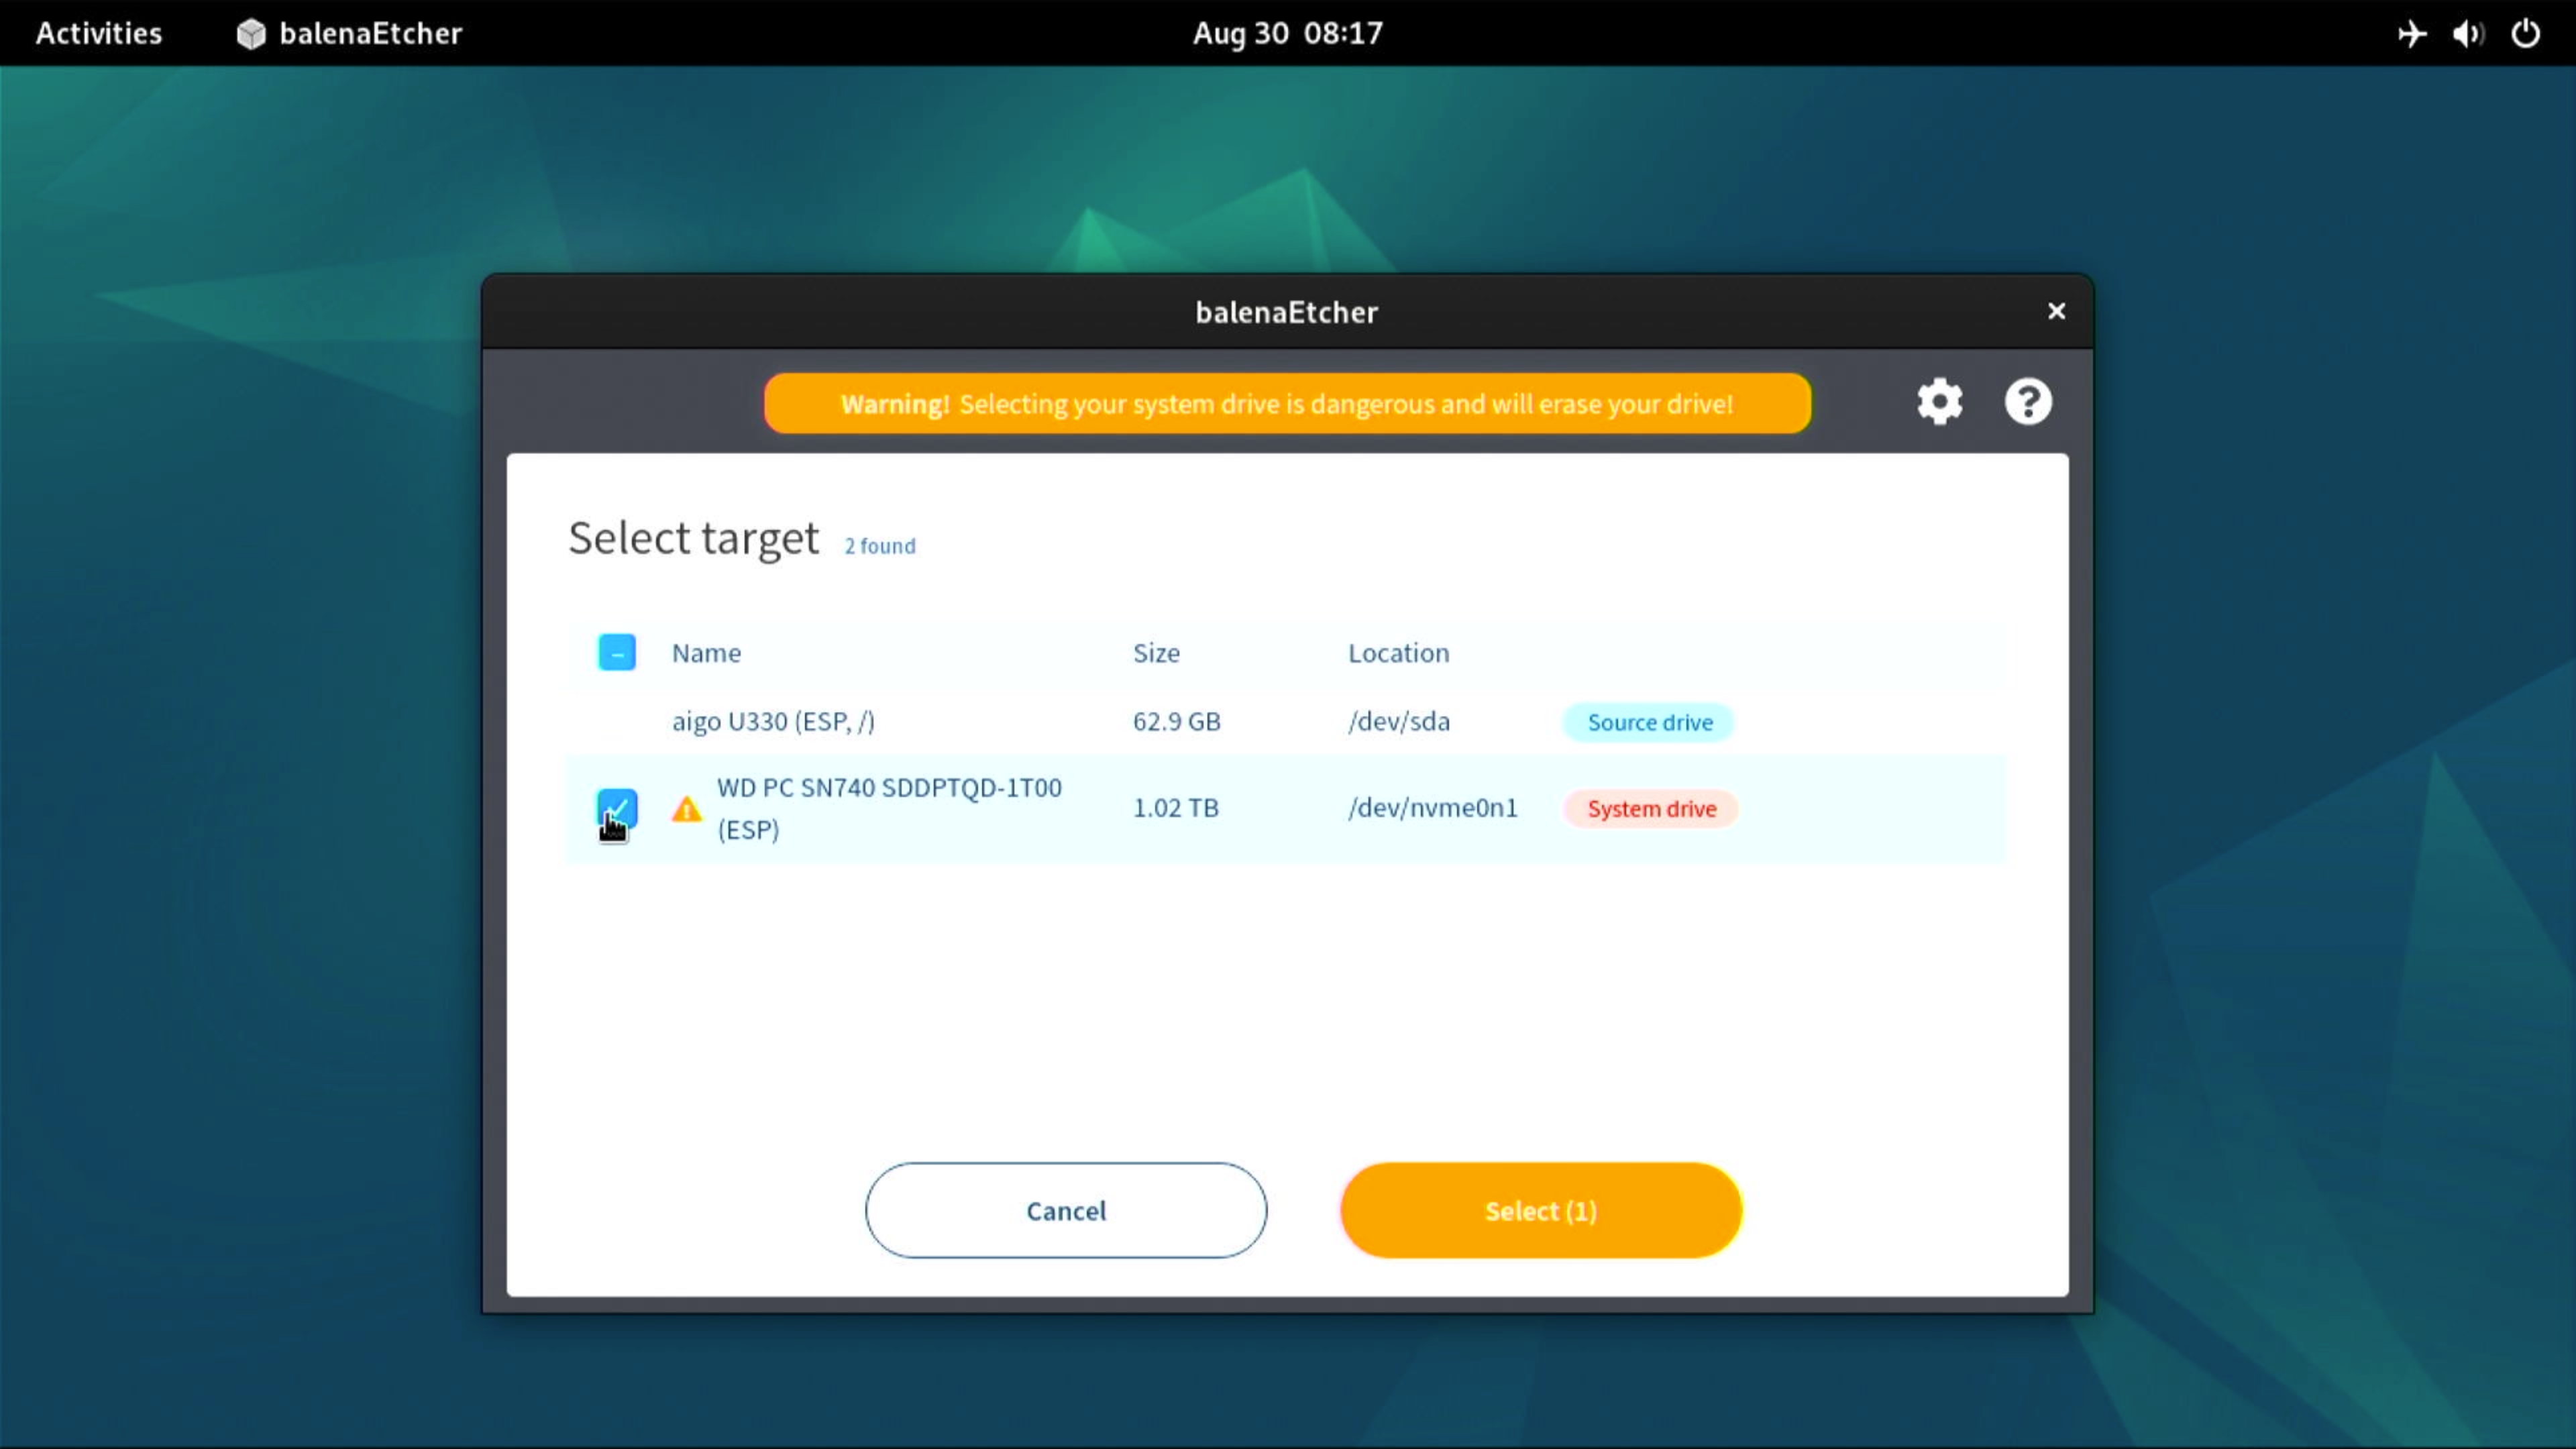
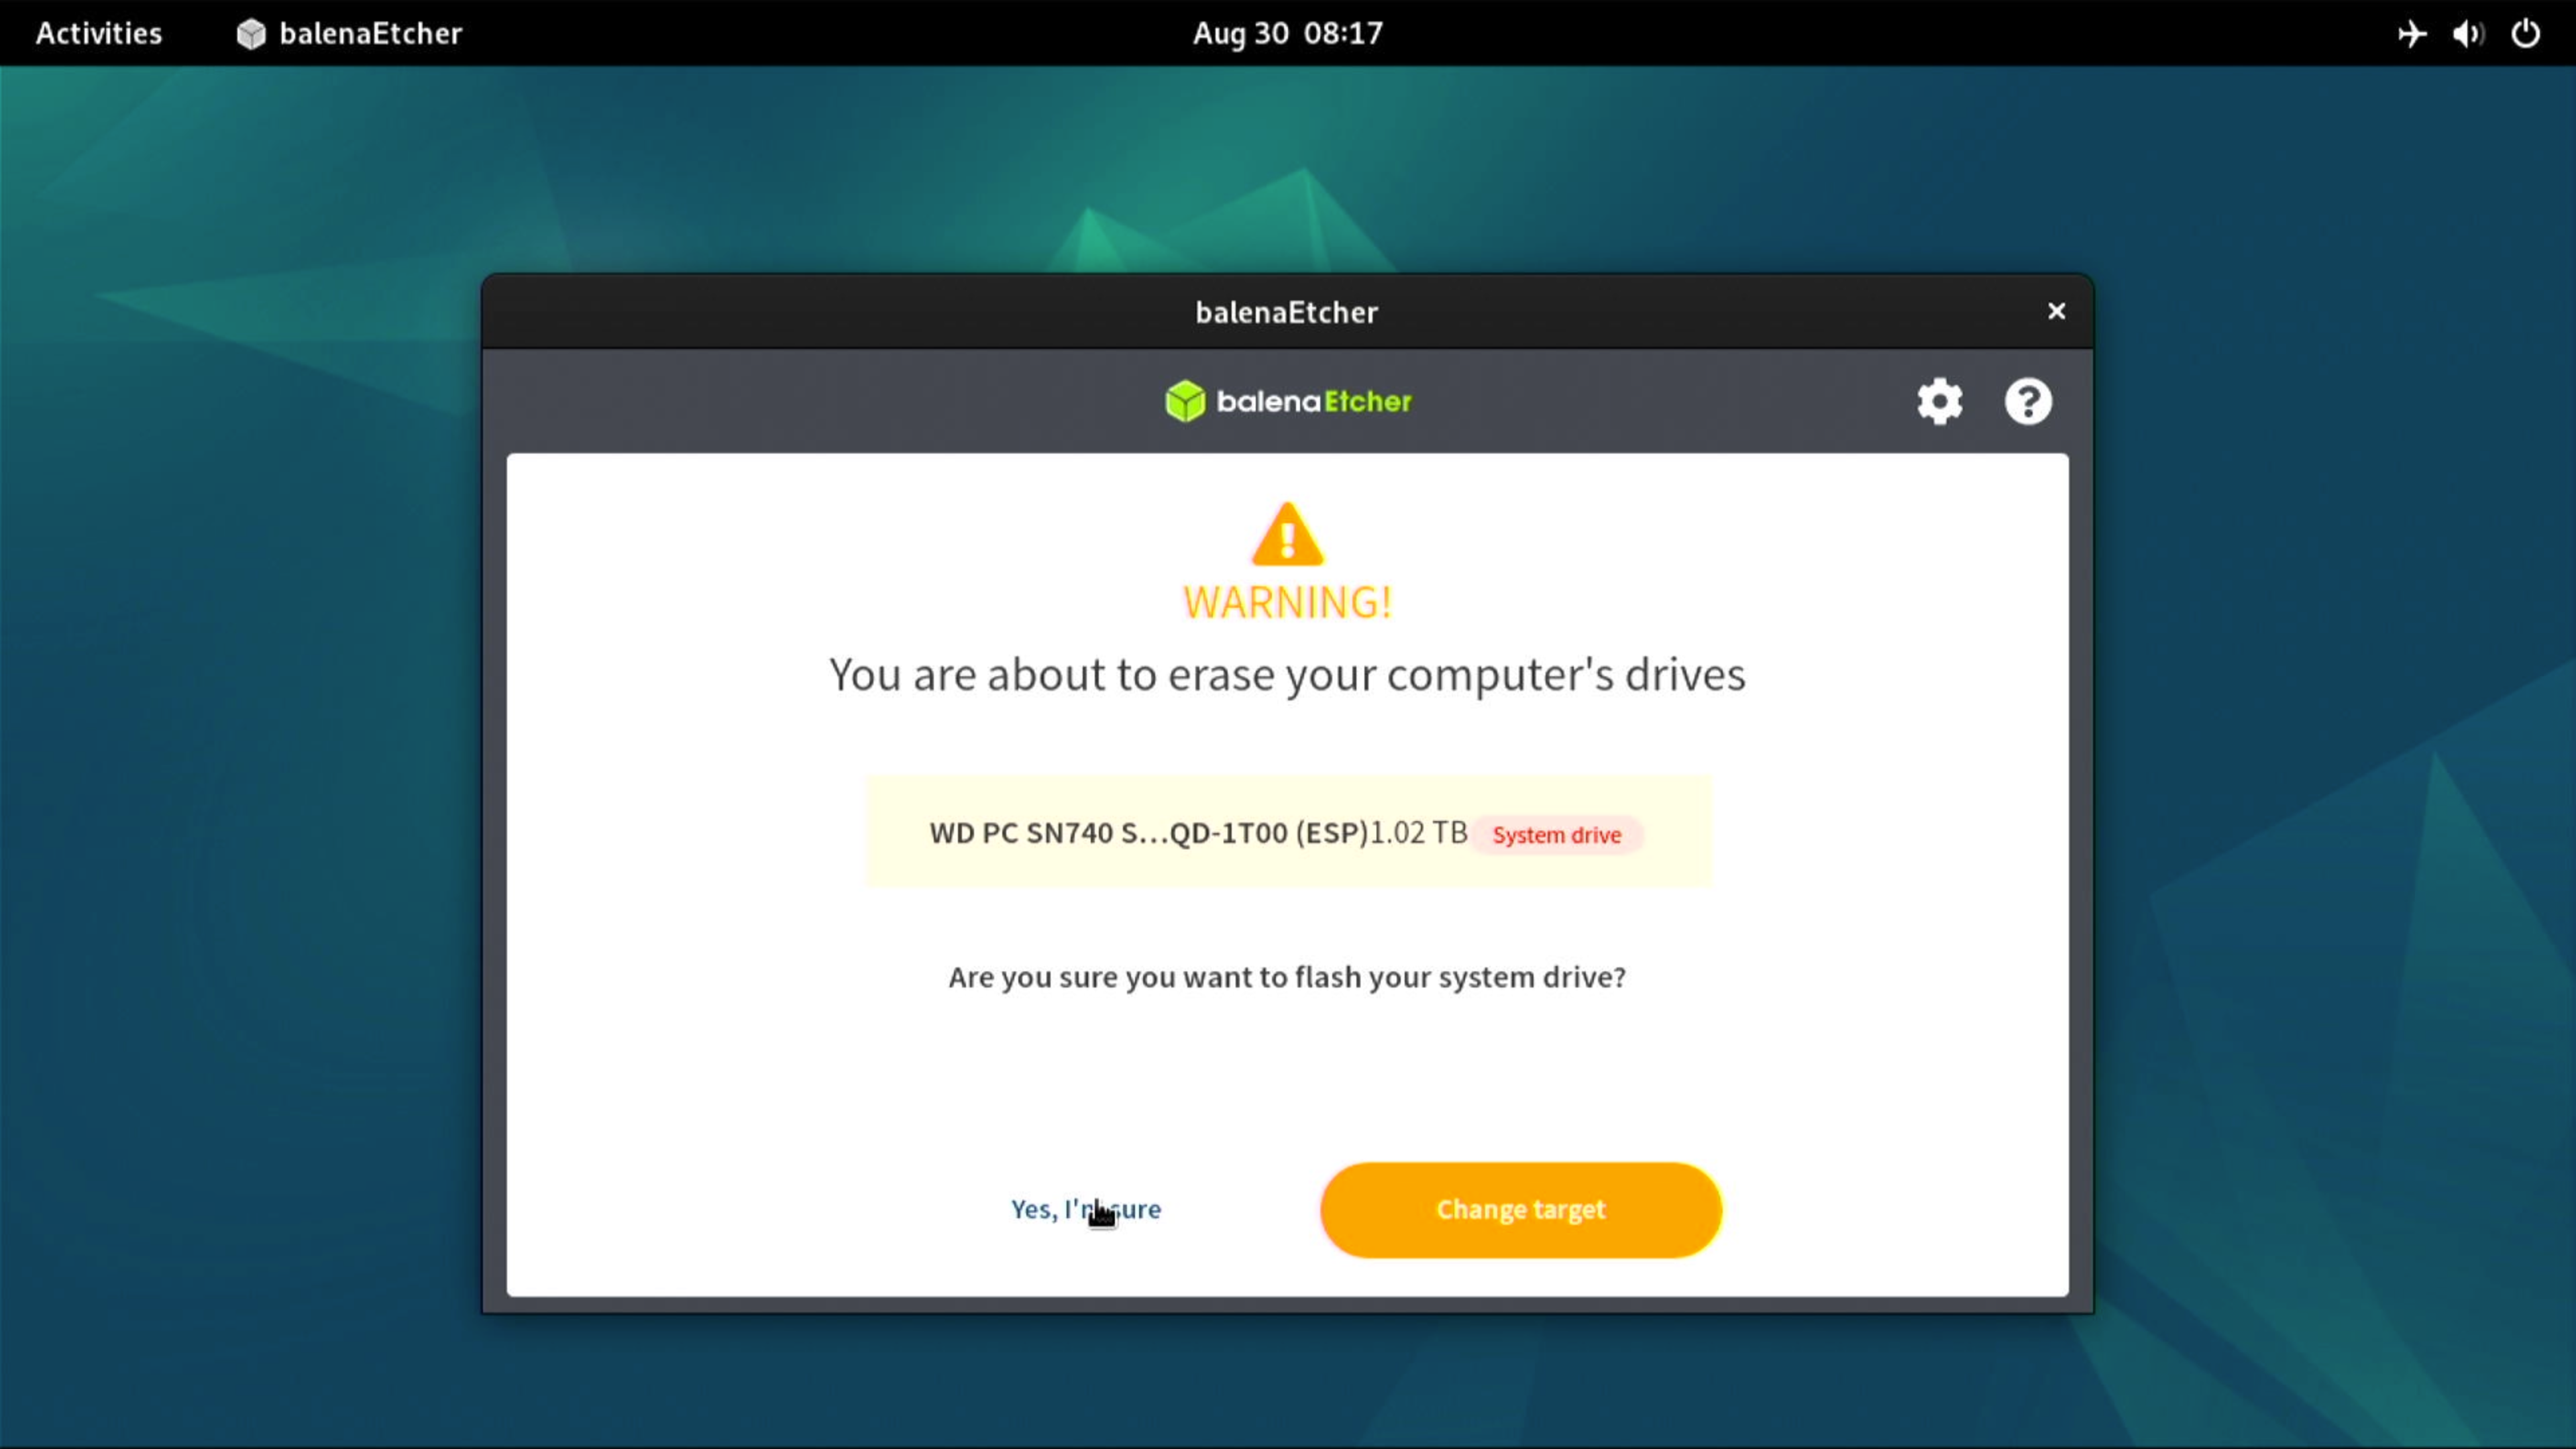
- Click Change on the middle icon, then click Show 1 Hidden. Deselect the USB drive and select the System drive, which refers to the NVMe SSD.
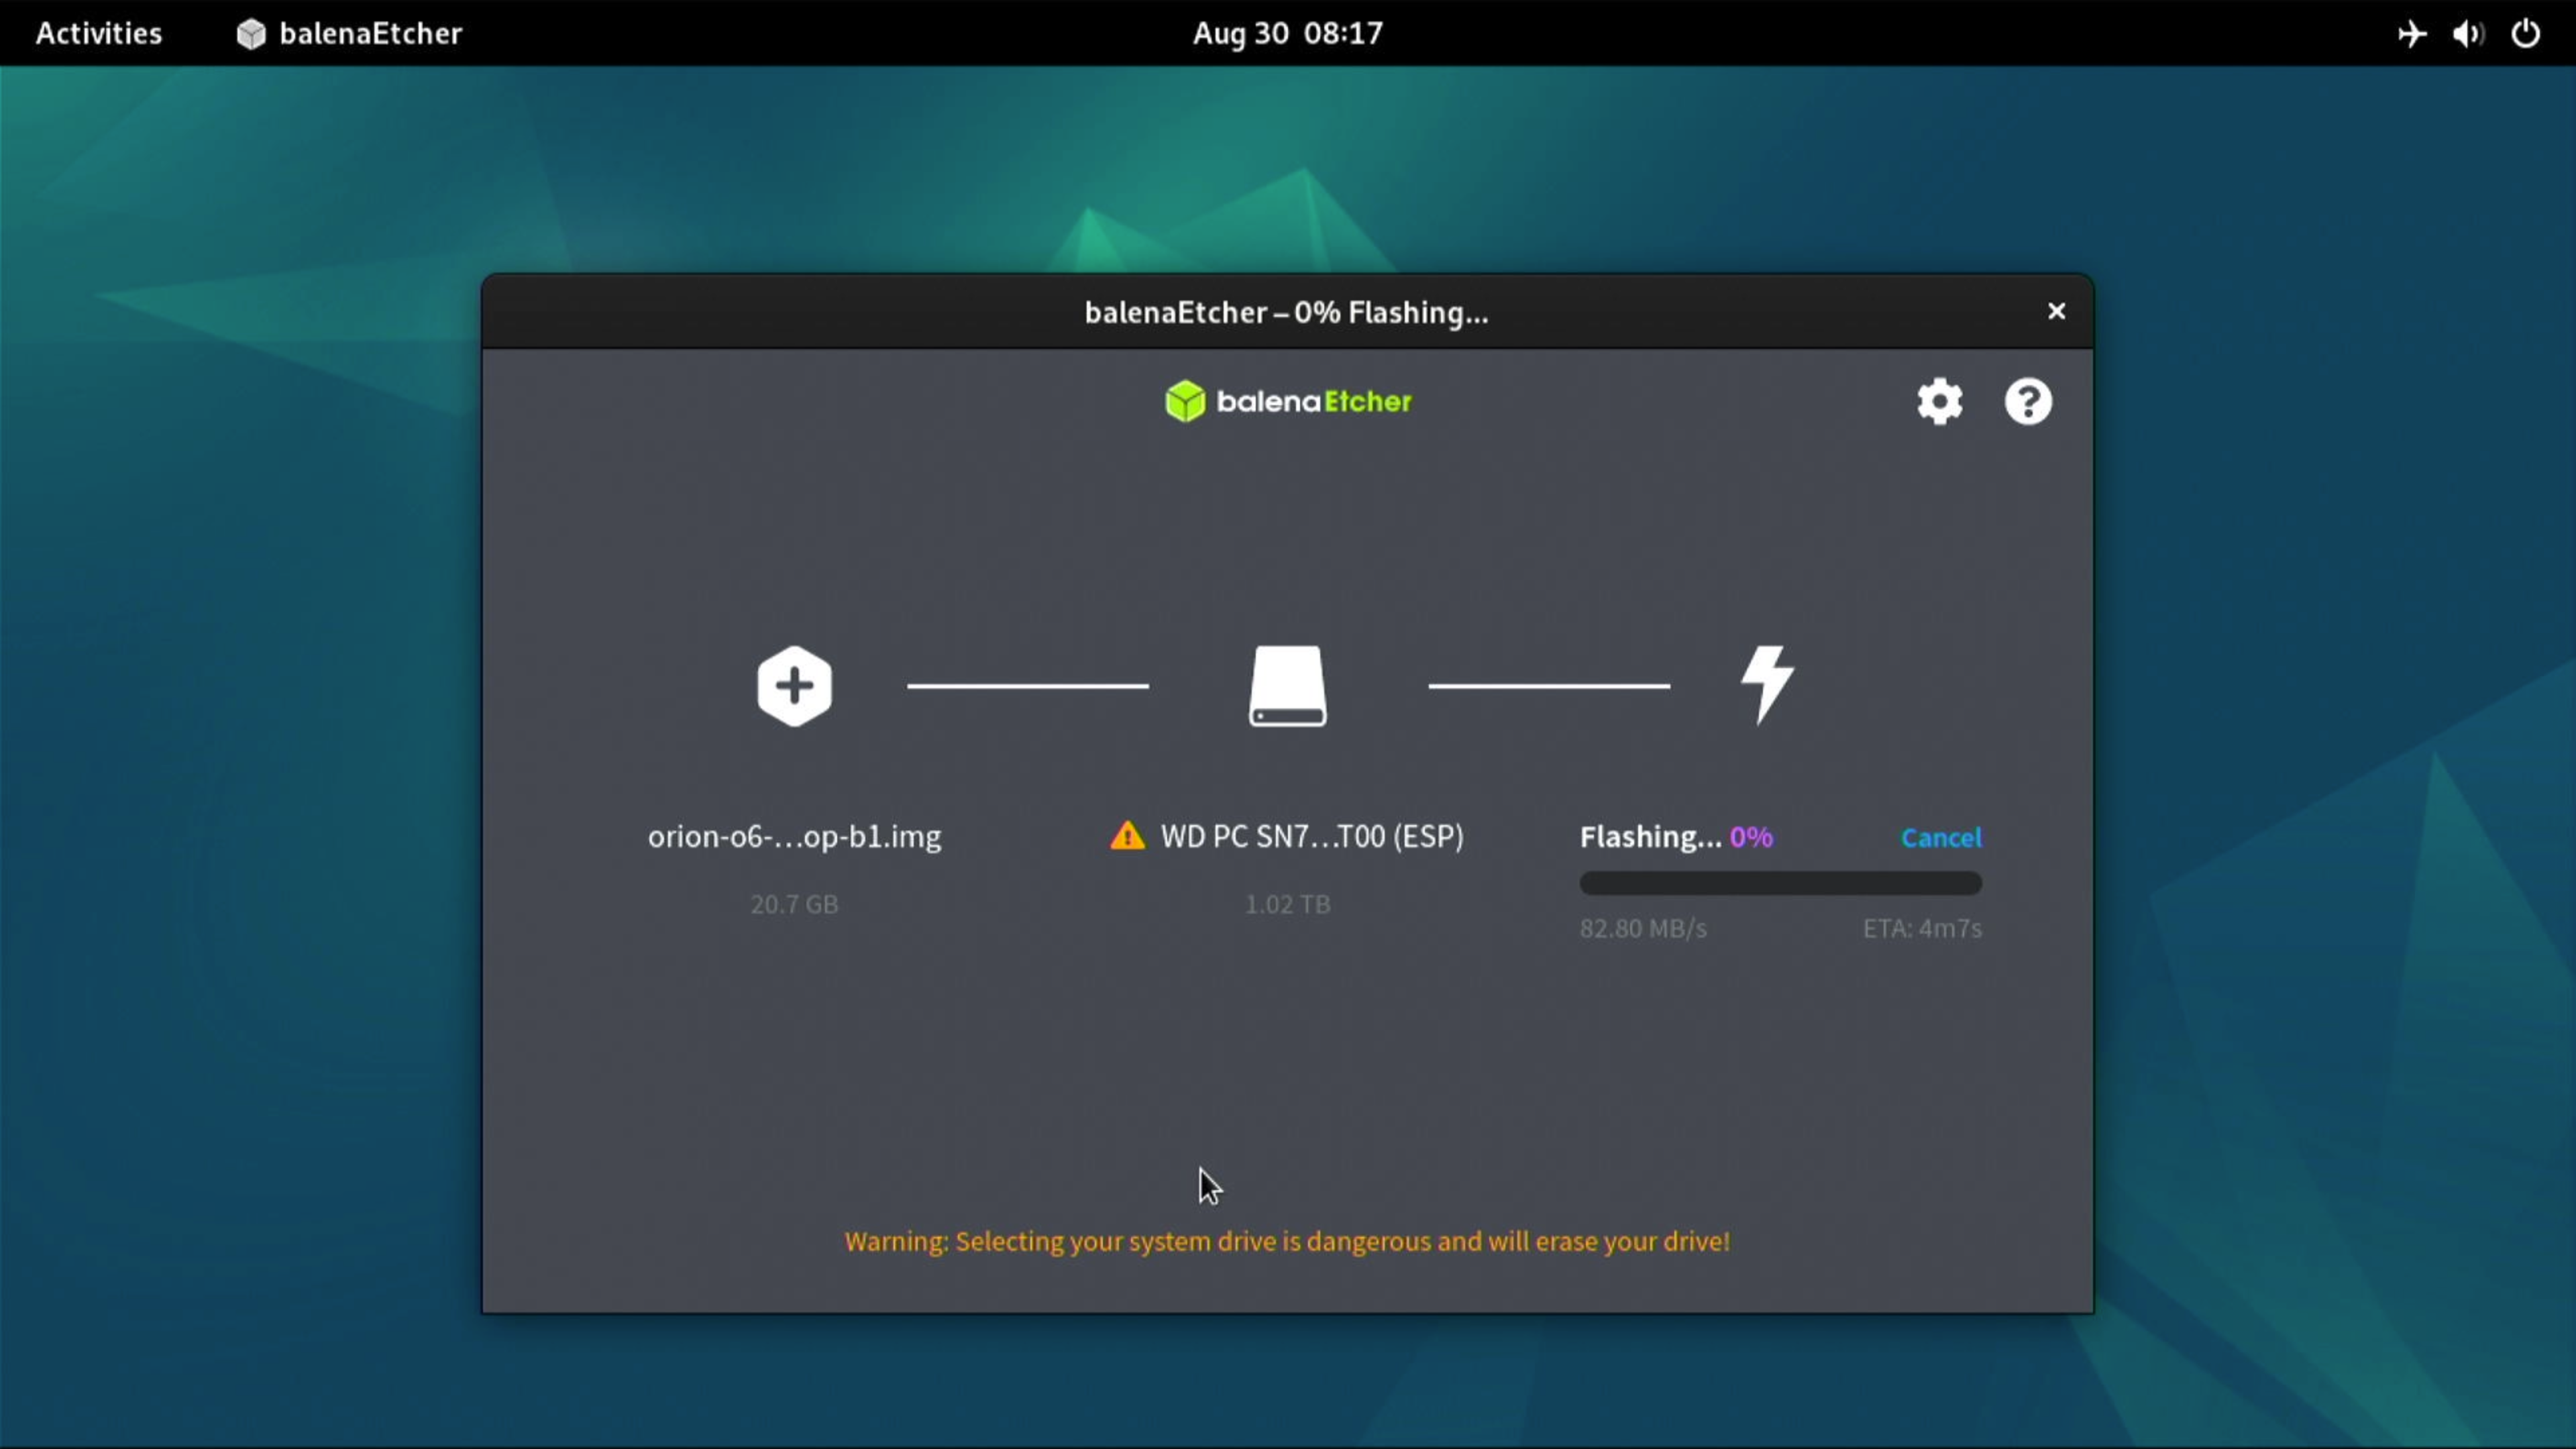
- Click Flash and then confirm by clicking “Yes, I’m sure” to begin writing the image to the SSD.
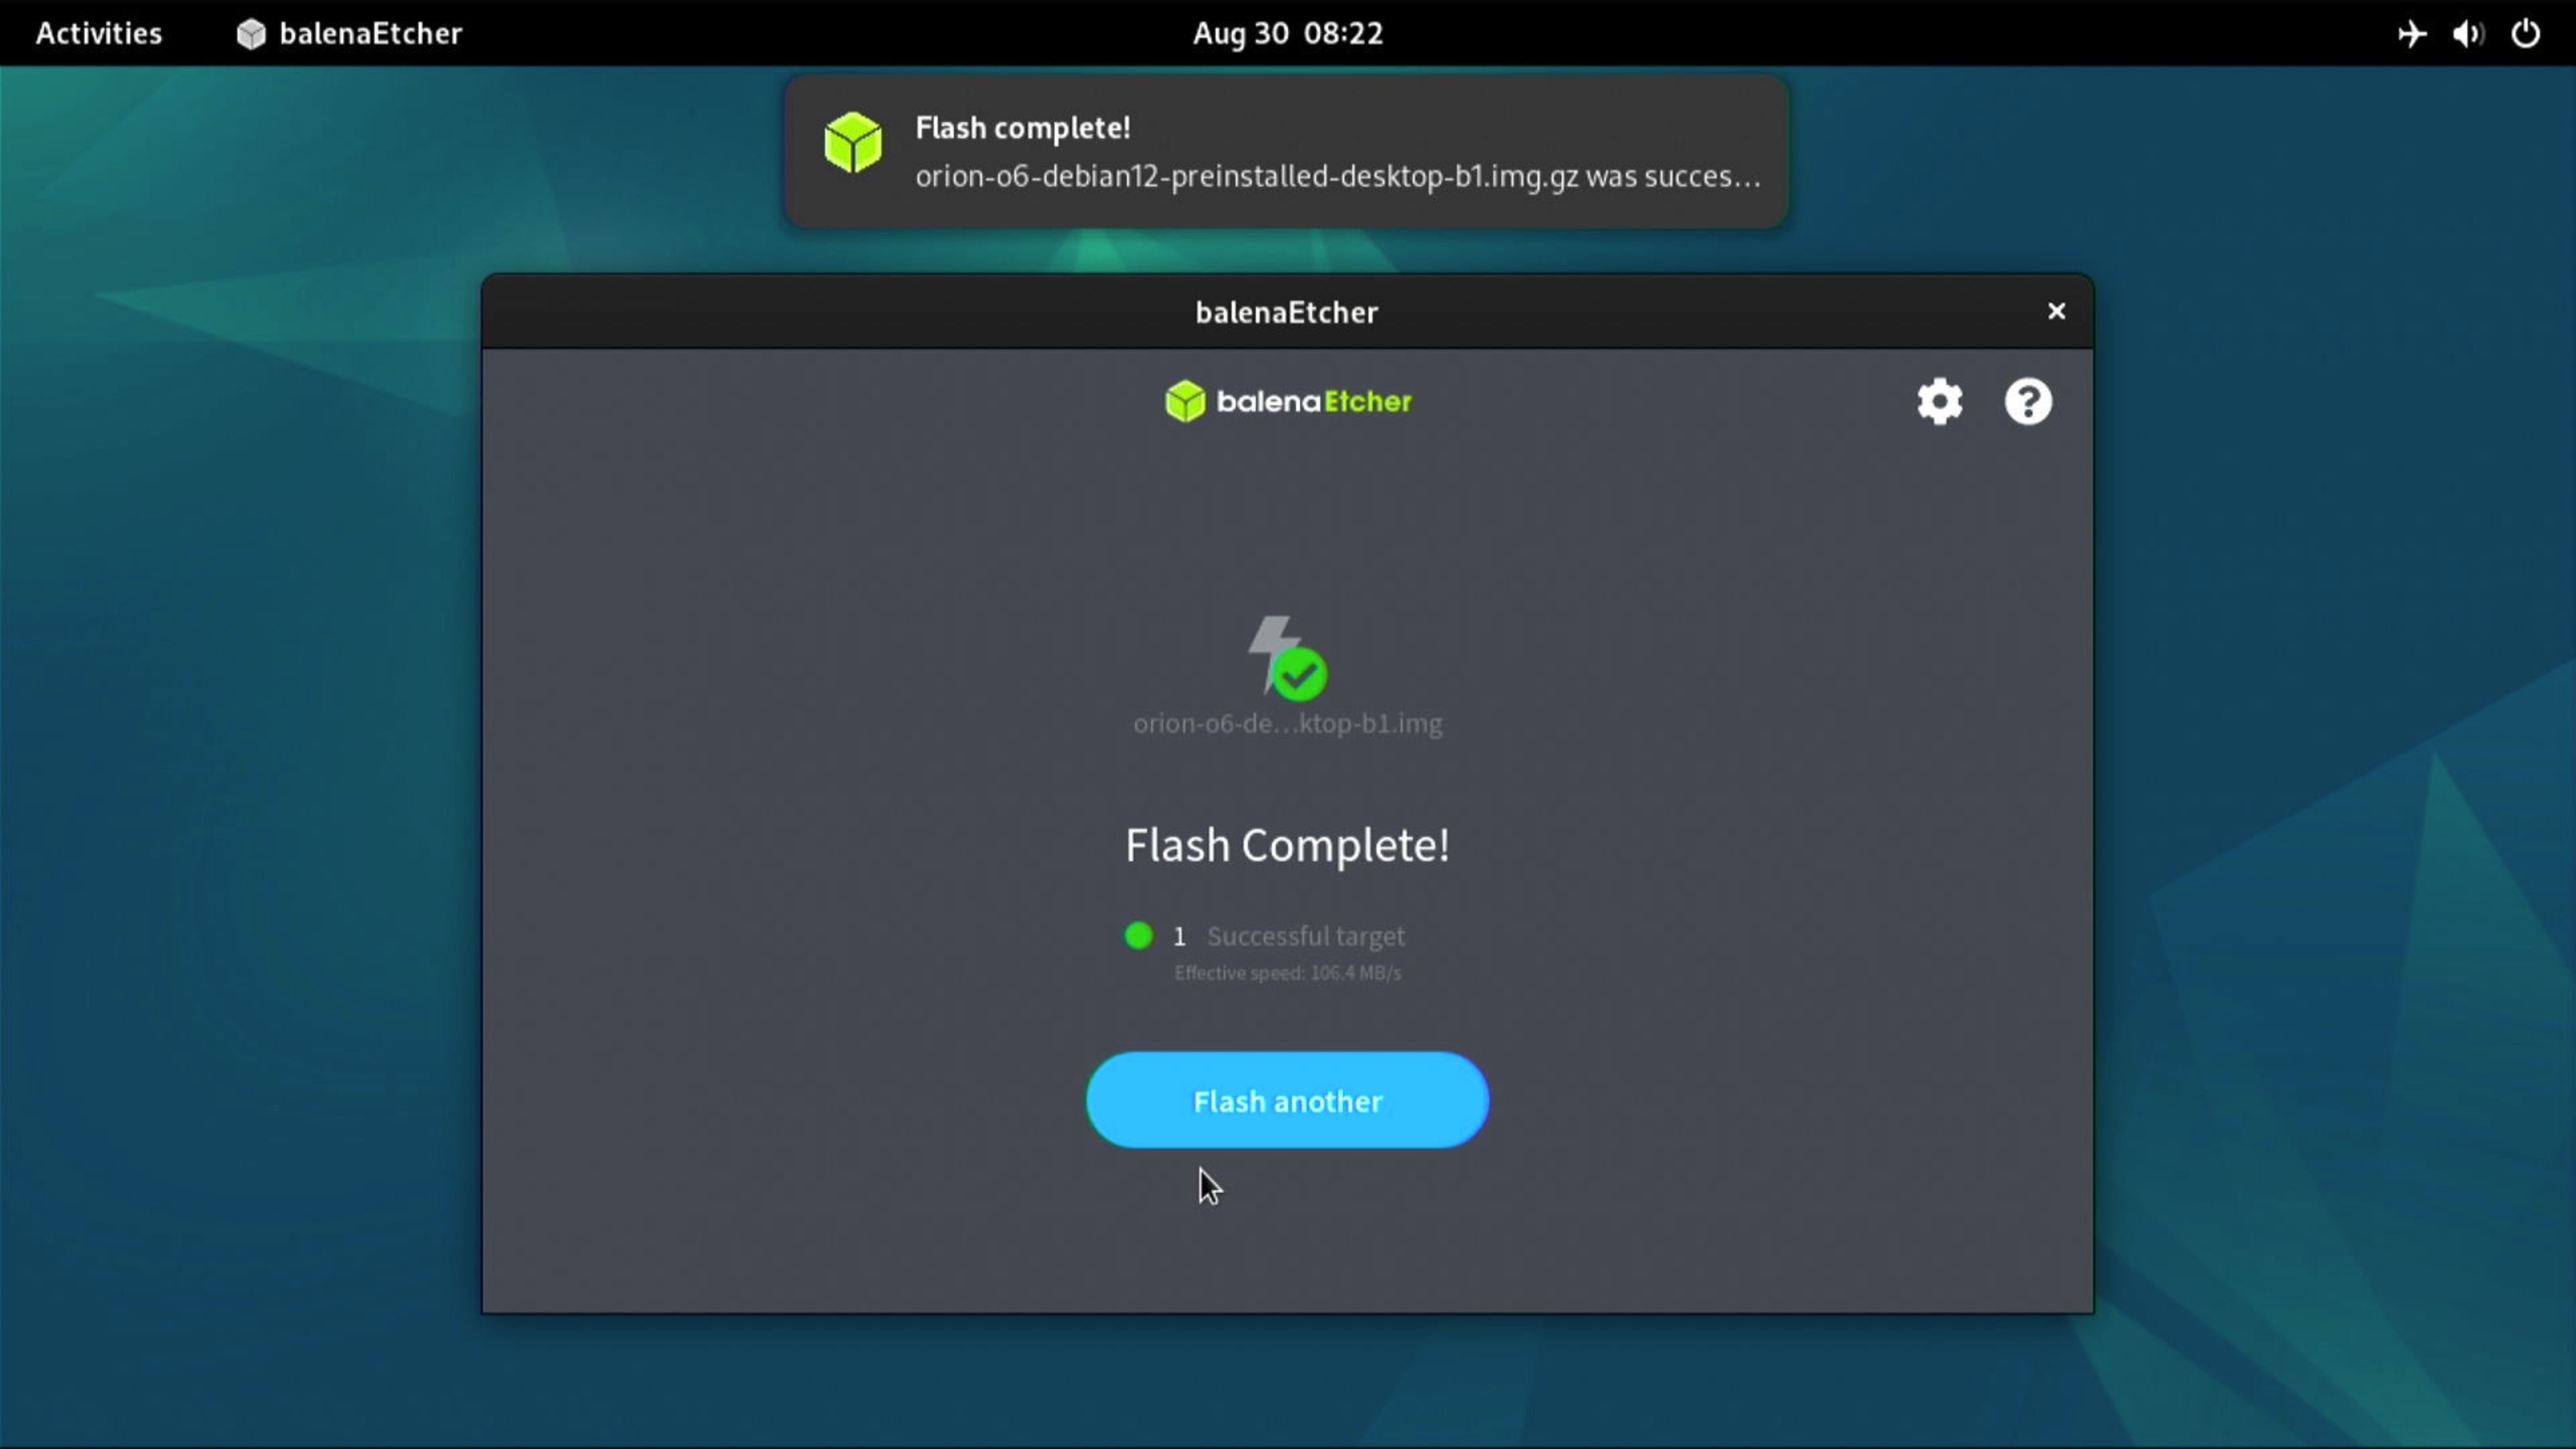
- The image has been successfully installed on the NVMe SSD. You can now power off the motherboard and remove the USB drive. When you power it on again, the system will boot from the NVMe SSD.
