Quick Start
This tutorial is designed to help you quickly get started with the Radxa Orion O6N products.
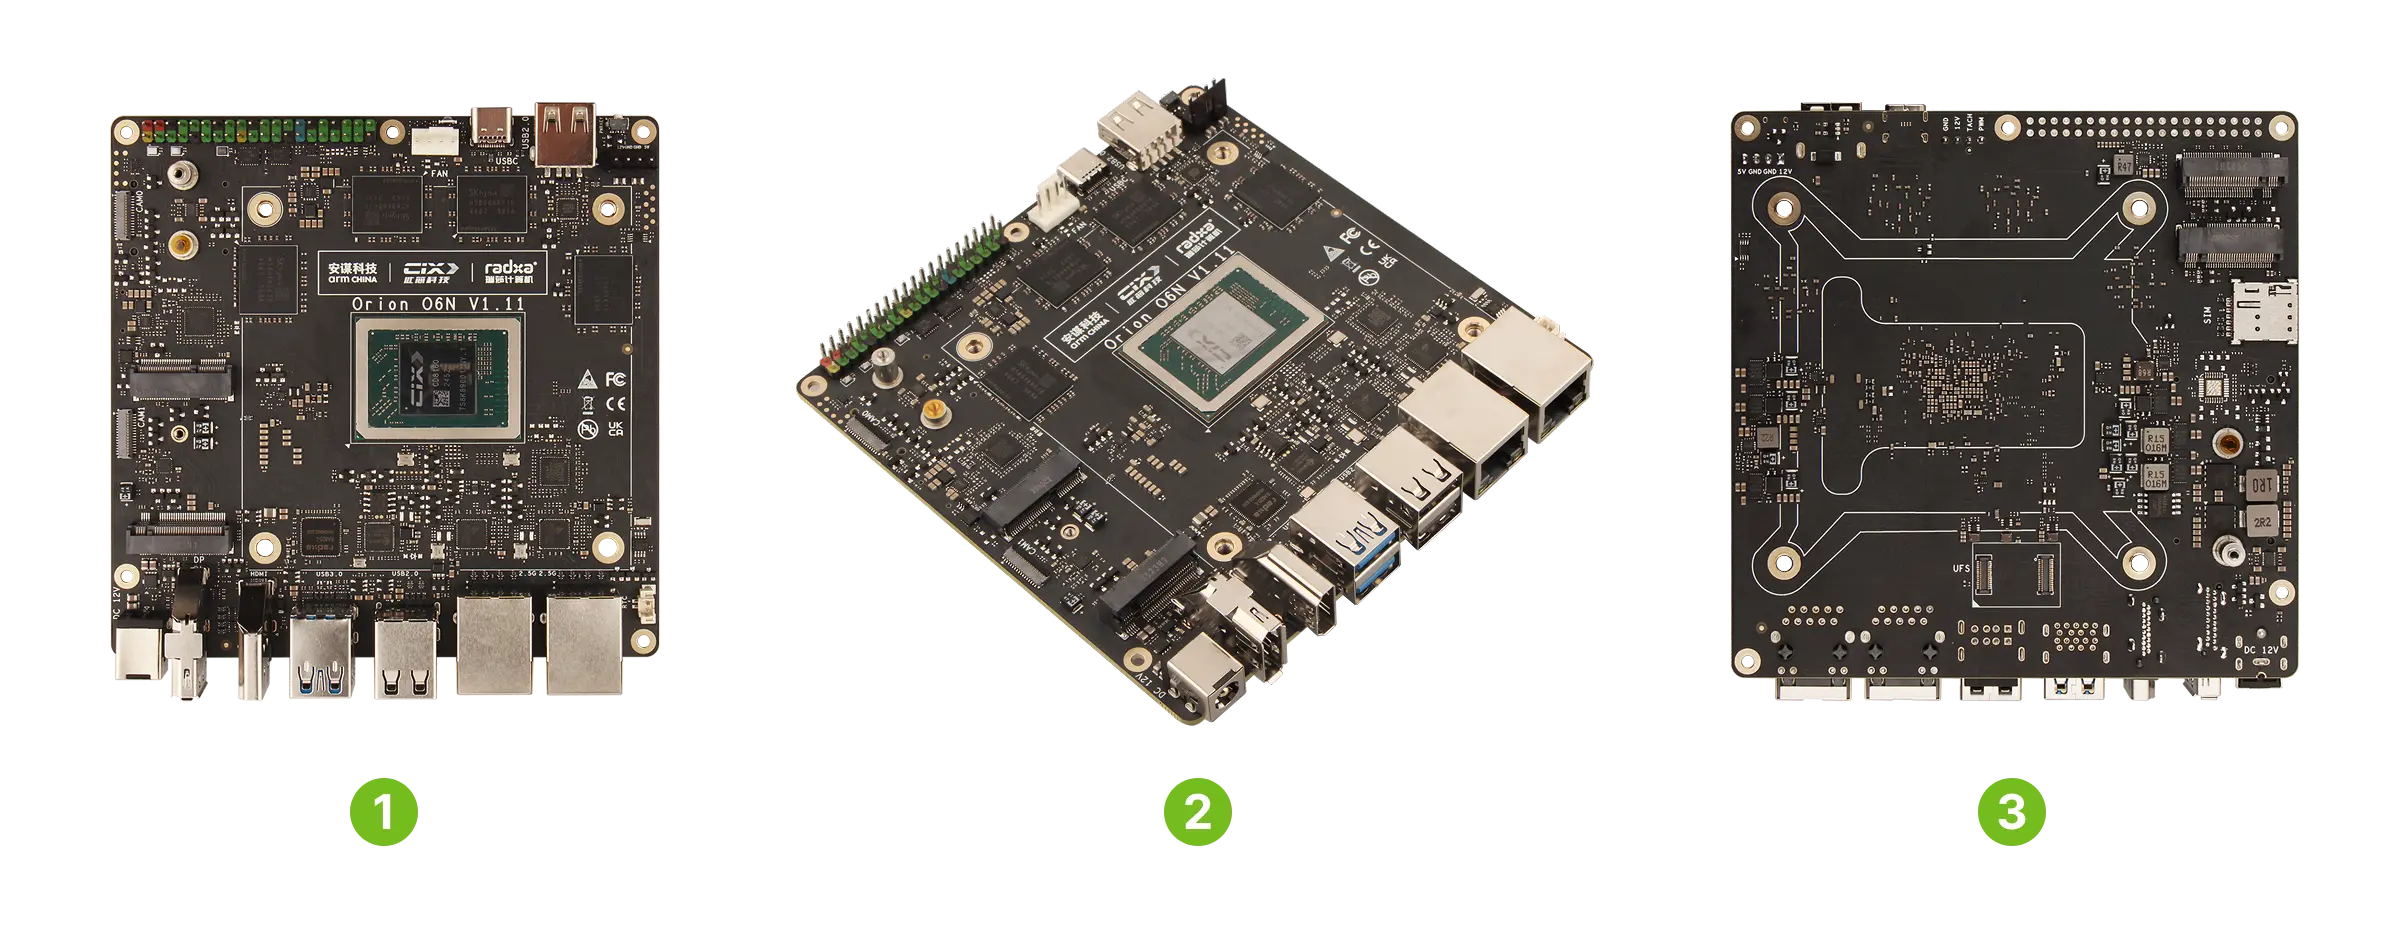
Product Overview
| No. | View | No. | View | No. | View |
|---|---|---|---|---|---|
| ① | Radxa Orion O6N Front View | ② | Radxa Orion O6N Side View | ③ | Radxa Orion O6N Rear View |
Prerequisites
You will need to prepare the following hardware devices in advance:
- Motherboard: Radxa Orion O6N
- Power Supply: 12V DC power adapter (recommended current 3A or higher)
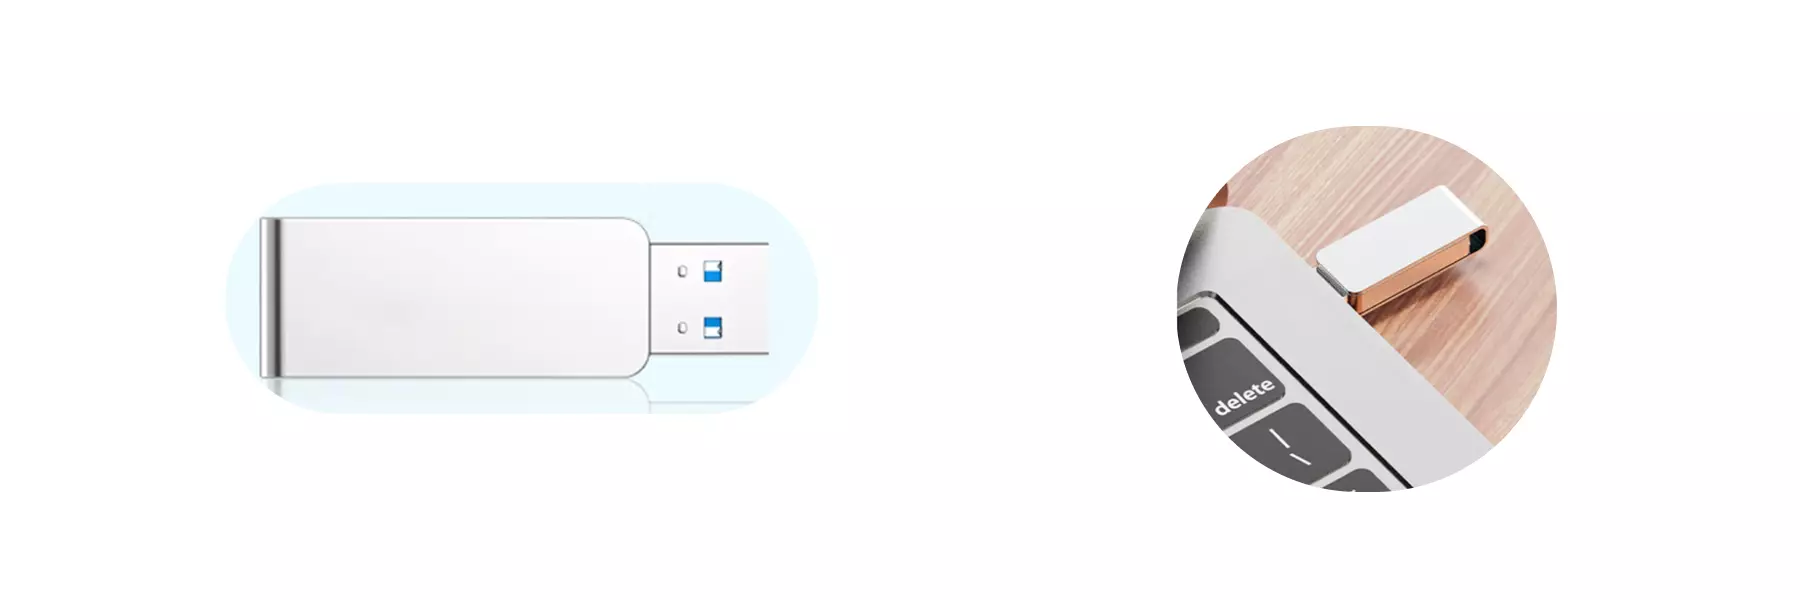
- System Boot Media: USB flash drive (for OS installation and booting)
- Display: HDMI/DP cable and monitor
- Input Devices: Keyboard and mouse (for GUI operation)
- Debugging Tool (Optional): USB-to-Serial cable (for serial console login)
- Radxa DC 36W Power Adapter (Recommended)
- Radxa DC 60W Power Adapter (Recommended)
- Standard 12V DC5525 power adapter, 3A or higher current recommended
Installing the Operating System
This section explains how to install the operating system to a USB flash drive.
Installing the OS will completely format the USB drive, and all data will be permanently deleted!
Before proceeding, please confirm:
- There is no important data on the USB drive or you have backed up all important data
- You have selected the correct storage device to avoid formatting other disks
Hardware Connection
Insert the USB flash drive into your computer's USB port.
Download System Image
Please visit the Downloads page to download the System Image.
The image file is in .img.xz compressed format. After downloading, you need to extract it to get the .img image file before use.
Install System Image
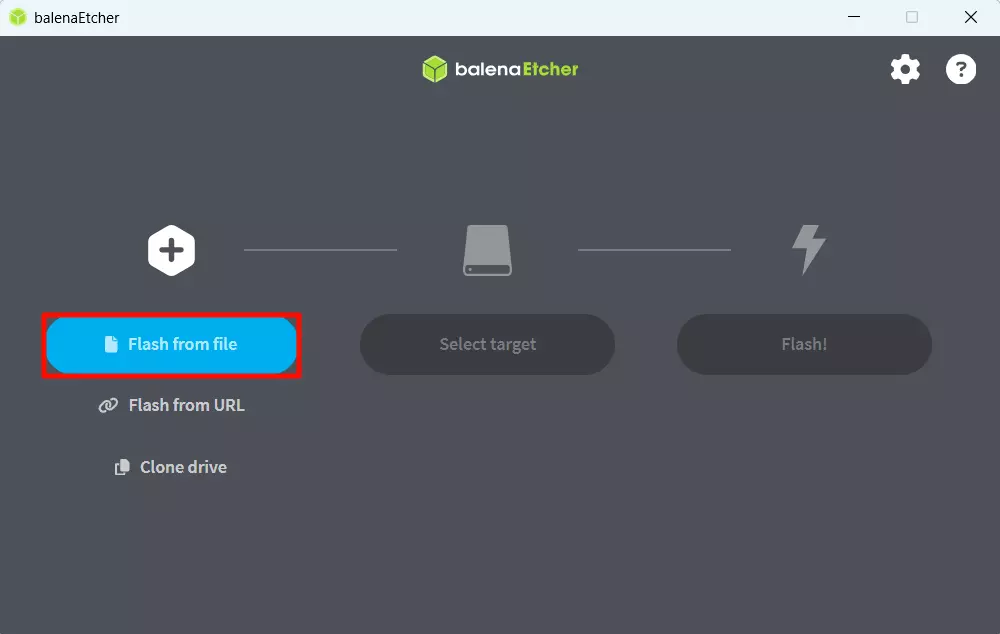
You can use Balena Etcher software to install the system image to your USB flash drive.
For the installation and usage of Balena Etcher, you can refer to the Etcher Usage tutorial.
Select System Image
Click the Flash from file option and select the system image file you have downloaded and extracted in advance.
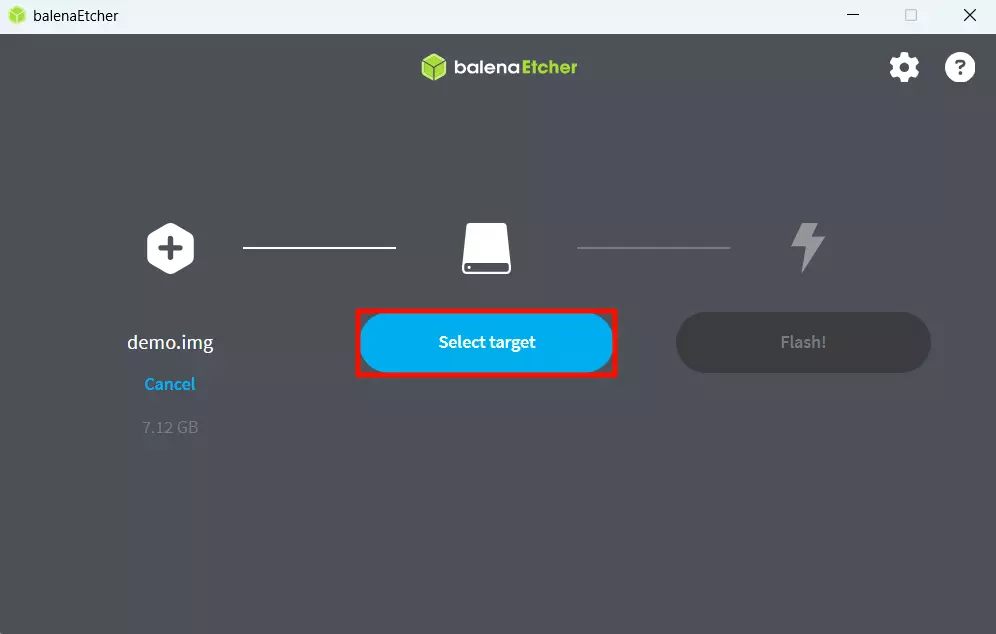
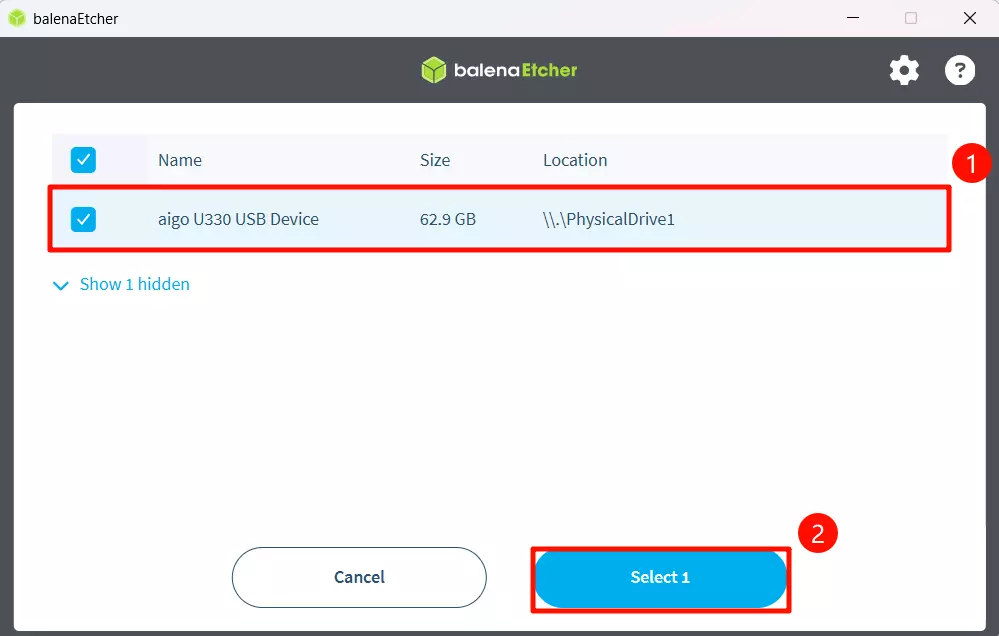
Select Storage Device
Click the Select target option and choose the USB flash drive device.
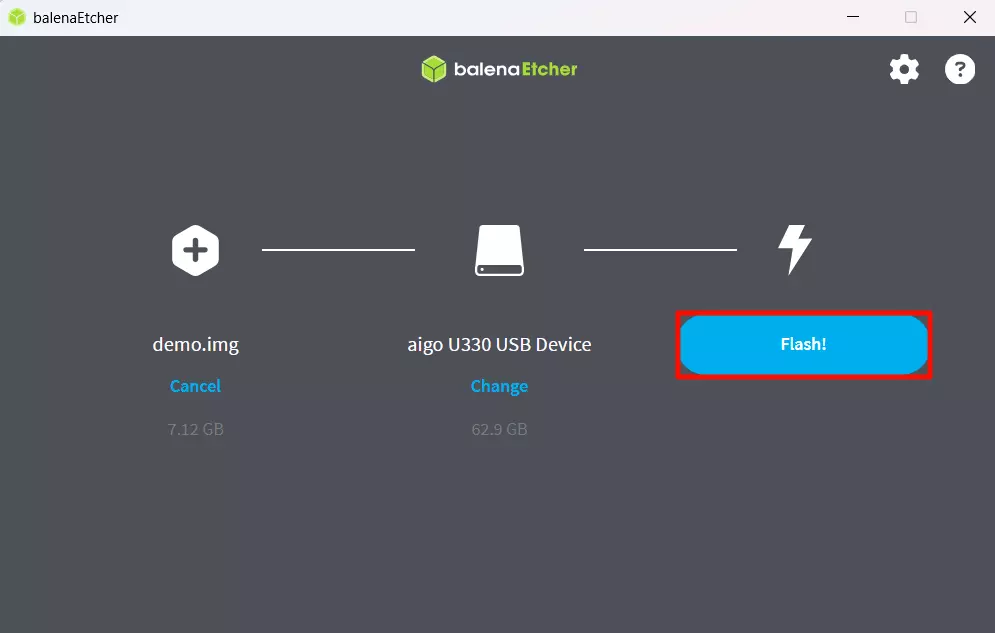
Start Flashing
Click the Flash! button to begin installing the system image to the USB flash drive.
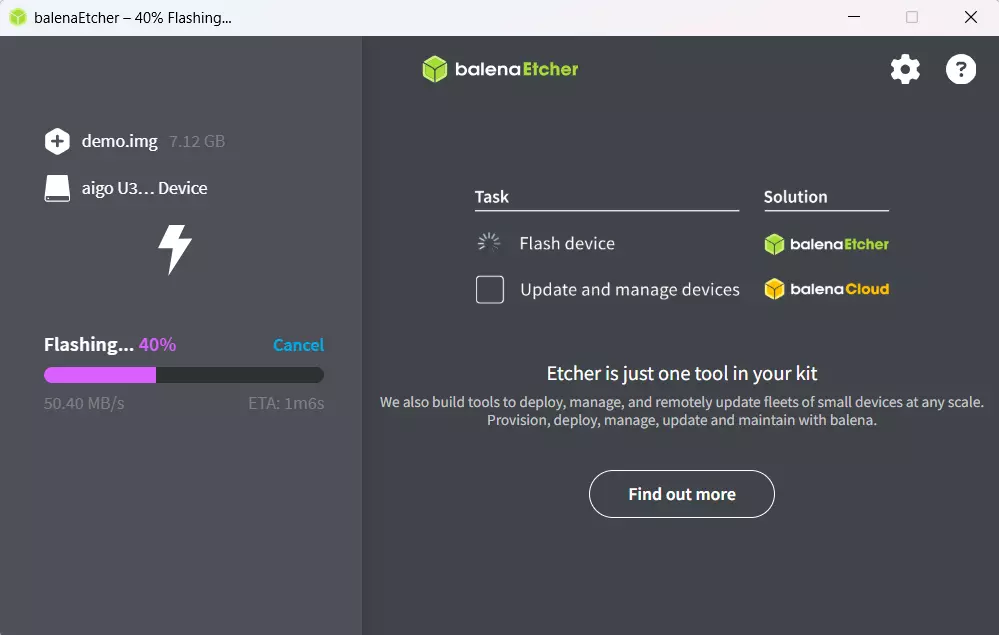
Installing system, please wait...
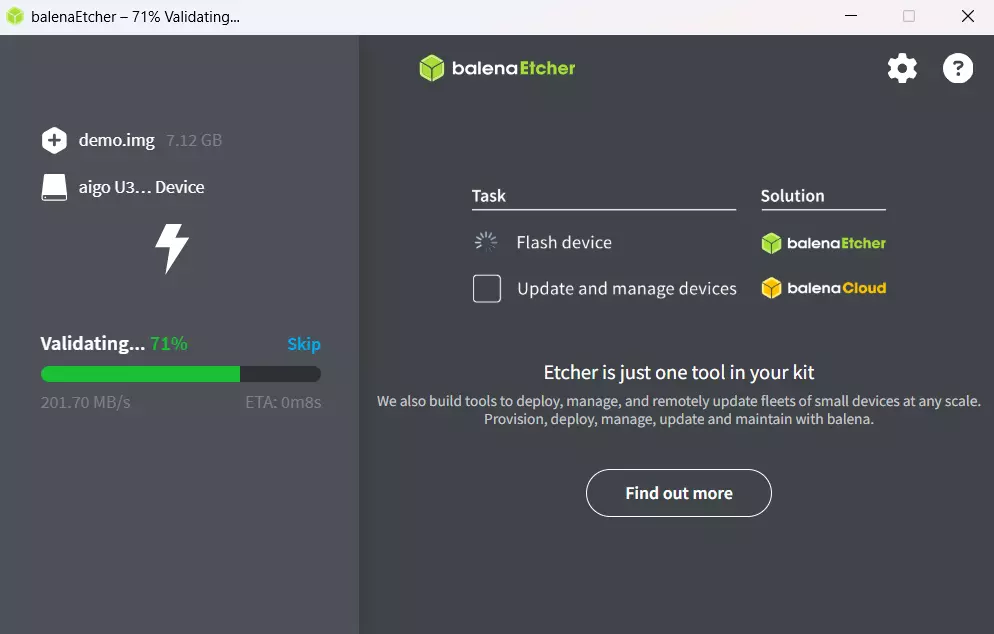
Verifying installation, please wait...
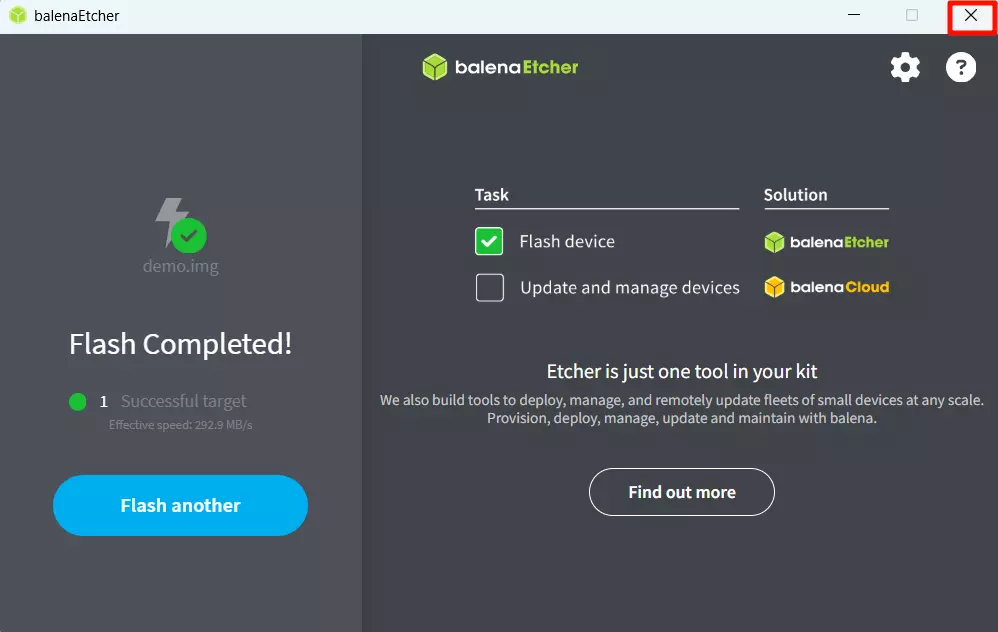
System image has been successfully installed! Please close Etcher.
Booting the System
After completing the system installation, insert the USB flash drive into the Radxa Orion O6N's USB port, then power on the device using a 12V DC power adapter to boot the system.

① : Installation USB flash drive
② : Connect the monitor to the motherboard using an HDMI/DP cable
③ : Power on the Radxa Orion O6N using the power adapter
When the system boots normally, the power indicator will light up green, and the status indicator will flash blue.
System Login
When you start the system for the first time, you'll need to log in using the default username and password.
Default credentials for Radxa OS:
| Item | Value |
|---|---|
| Username | radxa |
| Password | radxa |
Using the System
After successfully logging in, you can proceed with system configuration and development on your Radxa Orion O6N.
For users who want to boot the system using other methods (such as UFS or NVMe SSD), please refer to the following tutorials for installation: