This document introduces how to install Android image to Rock 3a.
Rock 3a can boot from microSD card or eMMC, so install os on microSD card or eMMC based on your choose.
- Install OS on microSD card
- Install OS on eMMC
Install the operating system
Preparation
- 1x microSD card (capacity >=8GB)
- 1x microSD card reader
- 5V power adapter (recommended Radxa Power PD30W)
Image Download
Please go to Resource Download to download the corresponding image file.
Install the system
Balena Etcher is a cross-platform and user friendly image file burning tool that we recommend you use.
- Download Etcher and install it.
- Windows
- Linux
Please download balenaEtcher-2.1.4.Setup.exe After the download is complete, there is no need to perform any additional actions. After downloading, you can double click it to open it without any additional operation.
Please download balena-etcher_2.1.4_amd64.deb. Once the download is complete, please install it by executing the following command in the terminal:
sudo dpkg -i balena-etcher_2.1.4_amd64.deb
-
Open Etcher

-
Click
Flash from fileto select the image to write to.
The downloaded system image is in compressed format. You must decompress it first before using Balena Etcher for image flashing.
-
Click
Select targetto select the device, please select carefully.
-
Click
Flash!Start writing and wait for the write progress bar to complete.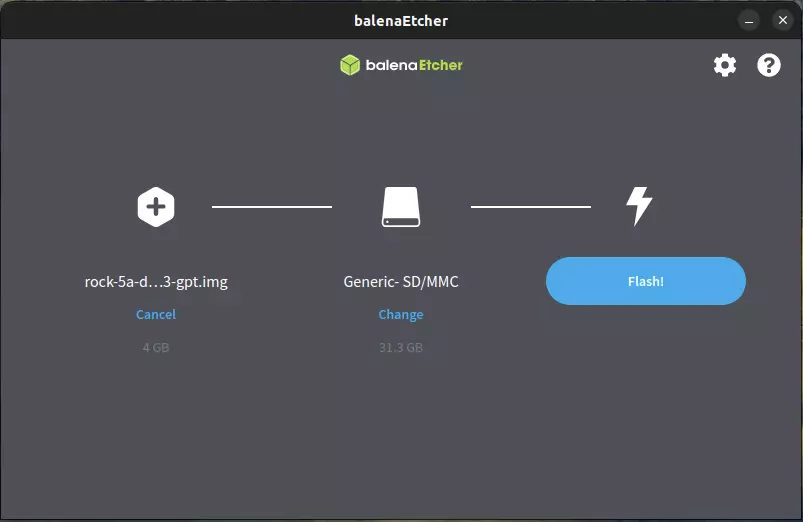
-
When writing the image successfully, Etcher will display
Flash Complete!.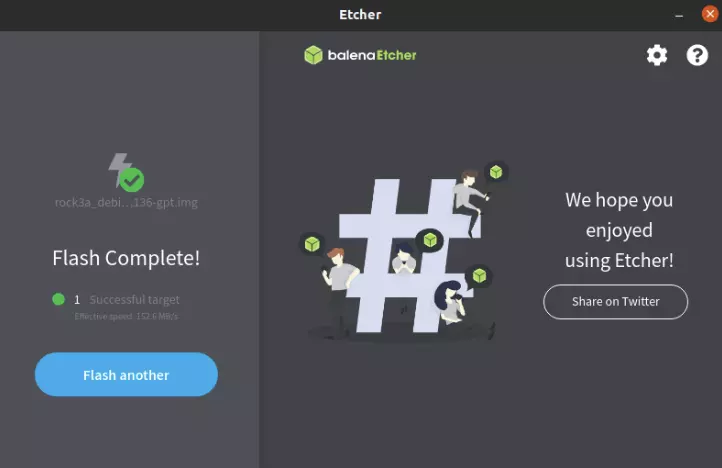
If there is an error in flashing, please try again.
Start the system
- After successfully burning the microSD card as described above, insert the microSD card into the microSD slot of the Radxa ROCK 3A.
- The power supply interface of Radxa ROCK 3A is USB 2.0 OTG Type C port, please use Type-C cable to connect the power supply port and the adapter.
Radxa ROCK 3A supports QC 3.0/2.0 adapter, 9V/2A, 12V/1.5A. Radxa recommends using the Radxa Power PD30W.
Preparation
Prepare the installation media
- micro usb to typea usb interface cable
Prepare the image file
Please go to Download Summary to download image.
System installation
-
Connect the micro usb cable to the host computer.
-
Enter Maskrom mode.
- Disconnect power to the board
- Remove the SD card and insert the eMMC module.
- Connect the USB3.0 port of the Radxa ROCK 3A to the PC with USB A-A.
- Short the following pins
- Power up the board.
- Remove the right yellow jumper cap, keep the left yellow jumper cap.
- Linux/Mac
- Windows
Linux/Mac systems use rkdeveloptool to write to
System startup
Rock 3a
- Power on the Rock 3a via the DC adapter.
- The Rock 3a will boot up with the green power LED on.
Radxa ROCK 3A supports 5V/12V power supply. Radxa recommends using Radxa Power PD30W.