Quick start
Packing list
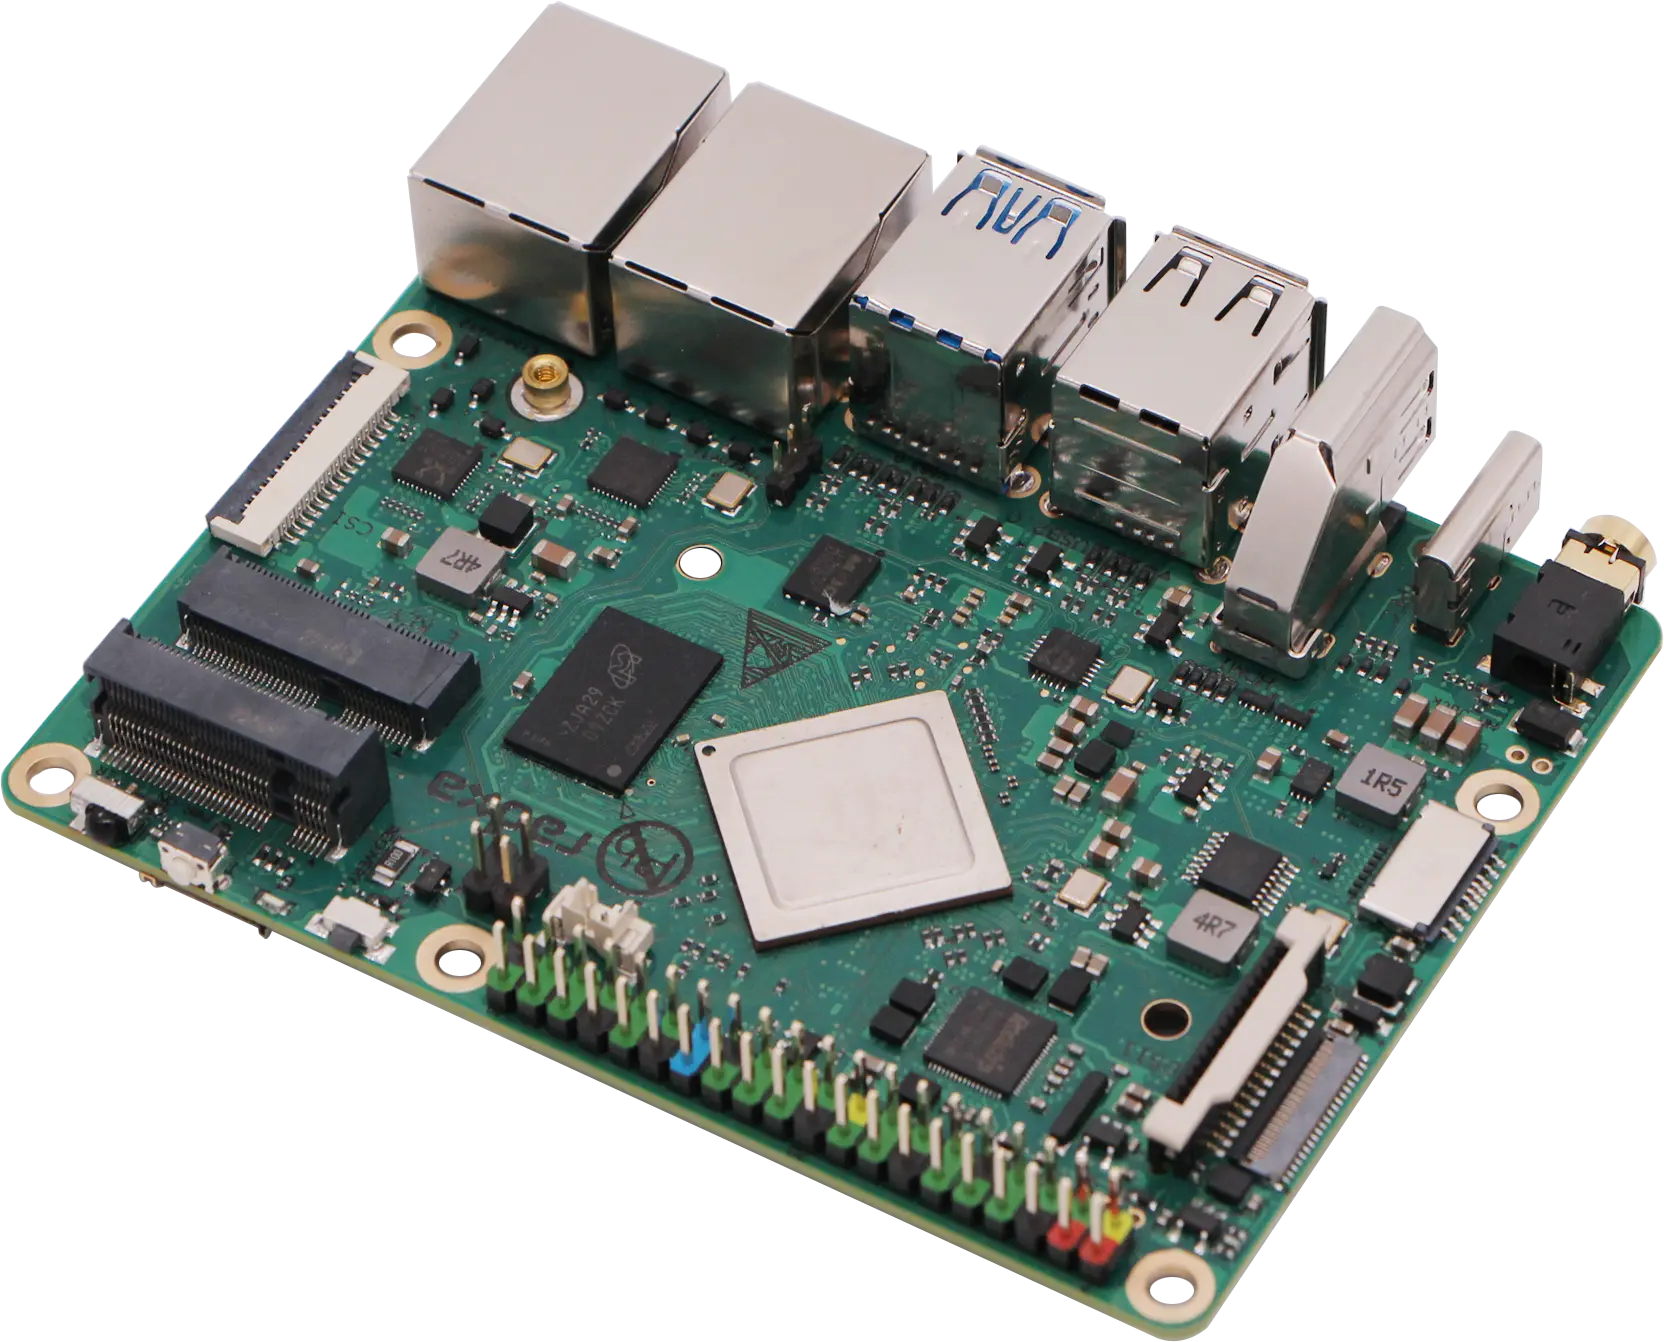
The ROCK 3B standard package includes the following items:
- ROCK 3B motherboard
To boot up the ROCK 3B, you will also need the following:
- A 12V/2A or higher power PD adapter.The ROCK 3B also supports PoE power supply. For more details on power supply, please refer to power-supply for more details on power supply.
- An HDMI cable and an HDMI-enabled monitor with a recommended resolution of 1080P or higher; a 4K monitor will provide the best experience.
- A set of USB mouse and keyboard, common USB input devices support plug and play.
- A network cable, which is required to update the system.
tip
Power adapter The official Radxa PD30W adapter is recommended. :::.
Peripherals that are not required but enhance the basic functionality of the ROCK 3B:
- Heat sink, refer to heat sink selection to install the heat sink.
- M.2 wireless module: ROCK 3B supports standard M.2 Wi-Fi card. Please check [Wireless Module Compatibility List](./interface-usage/pcie-e-key#wifi - bt - list of supported modules). Some older driver-free M.2 Wi-Fi cards may also support plug-and-play.
- M.2 NVMe SSDs. it is recommended to install the operating system on the M.2 NVMe SSDs.
M.2 NVMe SSDs.
Refer to the Install System section to install the operating system.
Wiring and Powering Up
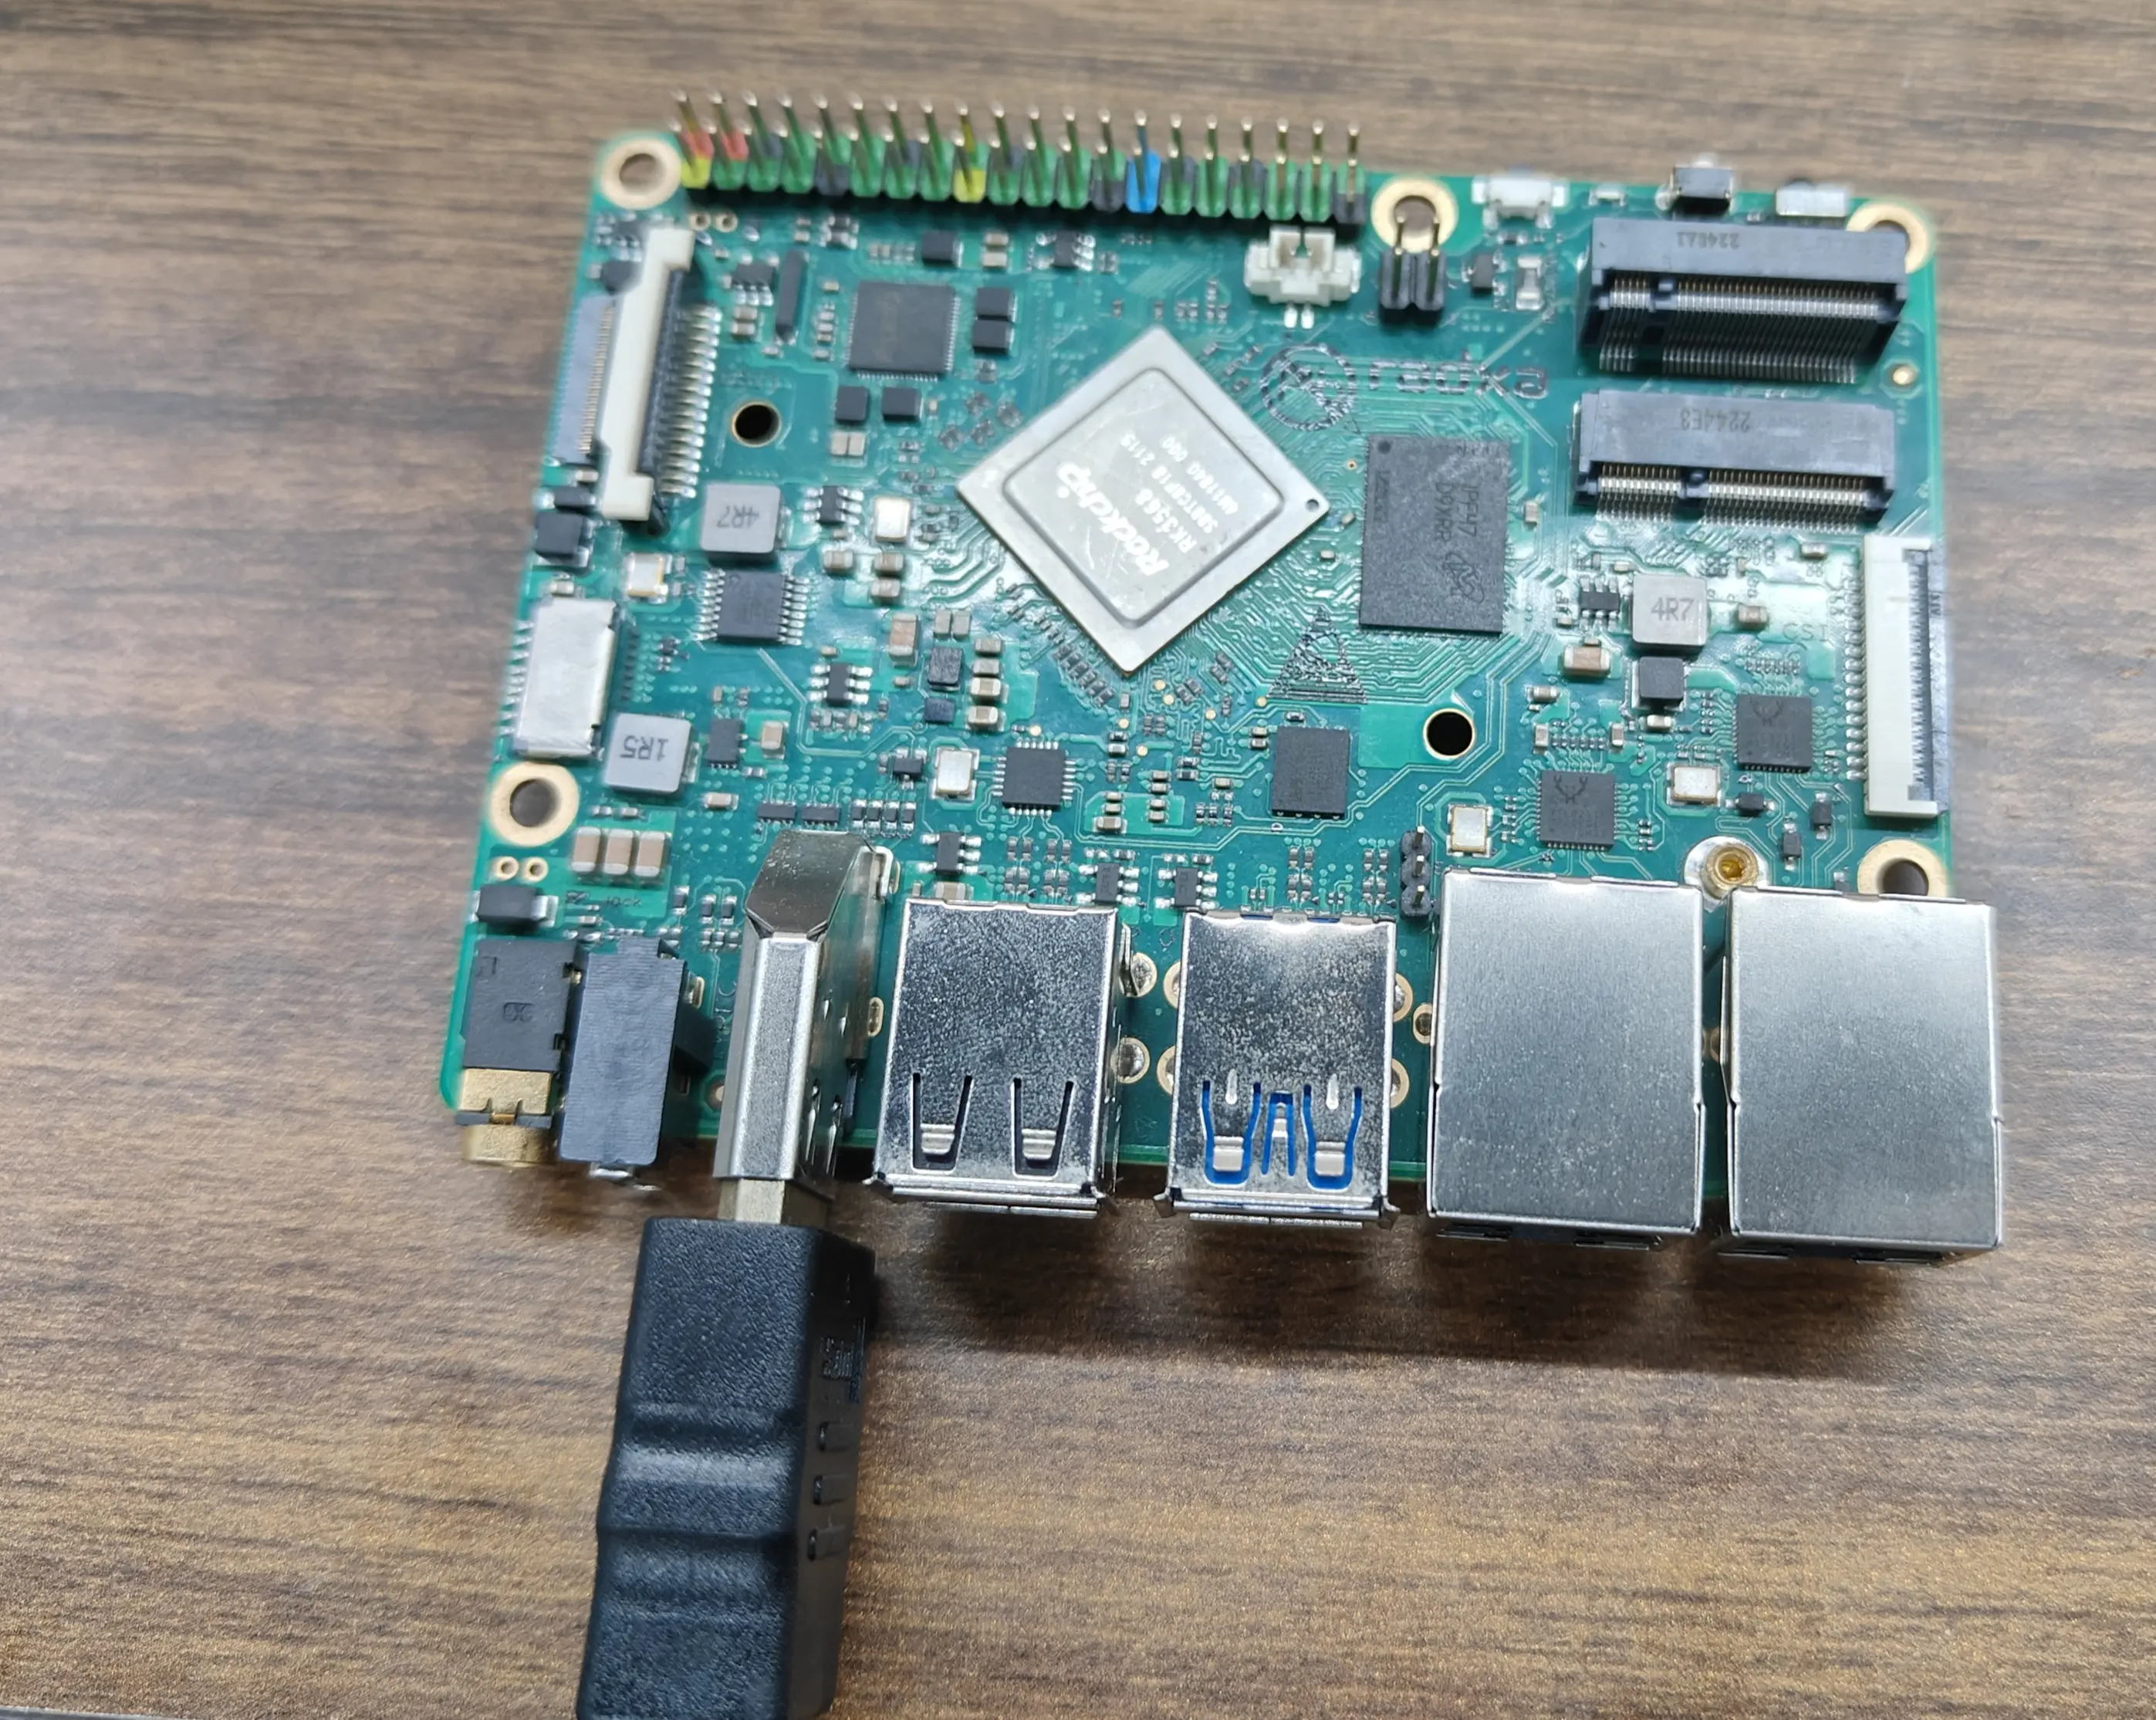
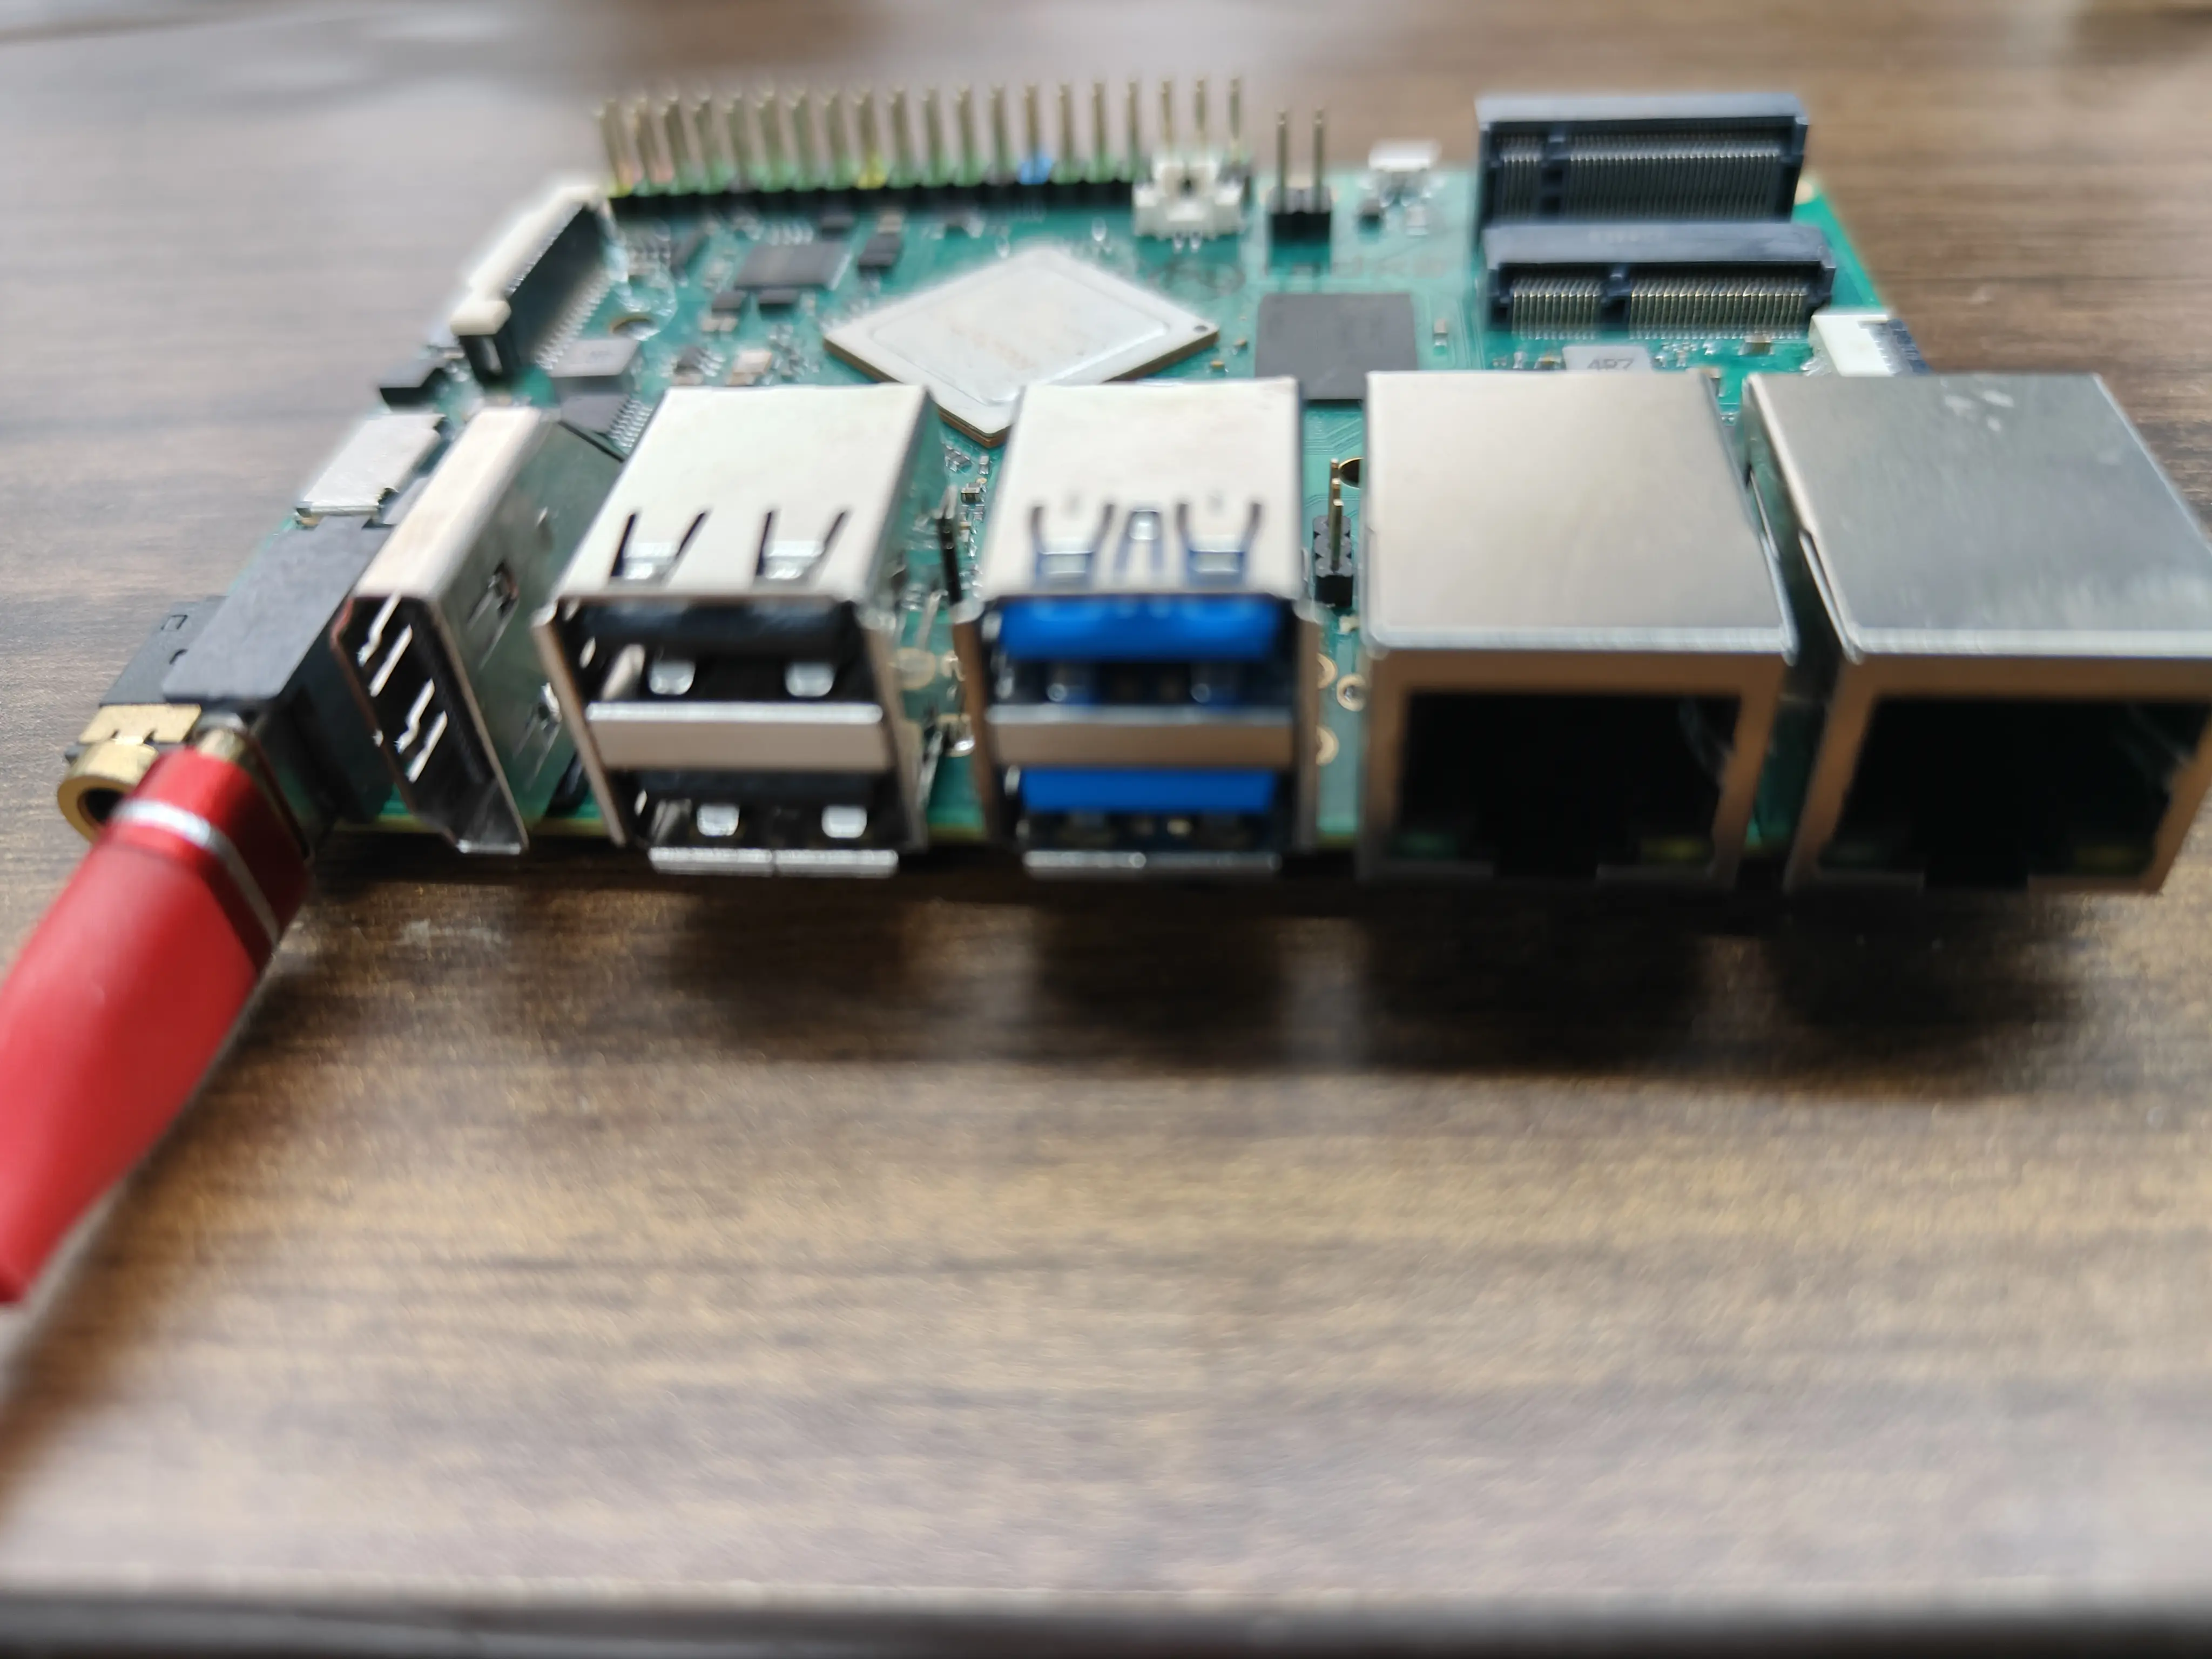
- Connect any of the HDMI output ports of the ROCK 3B to the HDMI monitor via the HDMI cable.
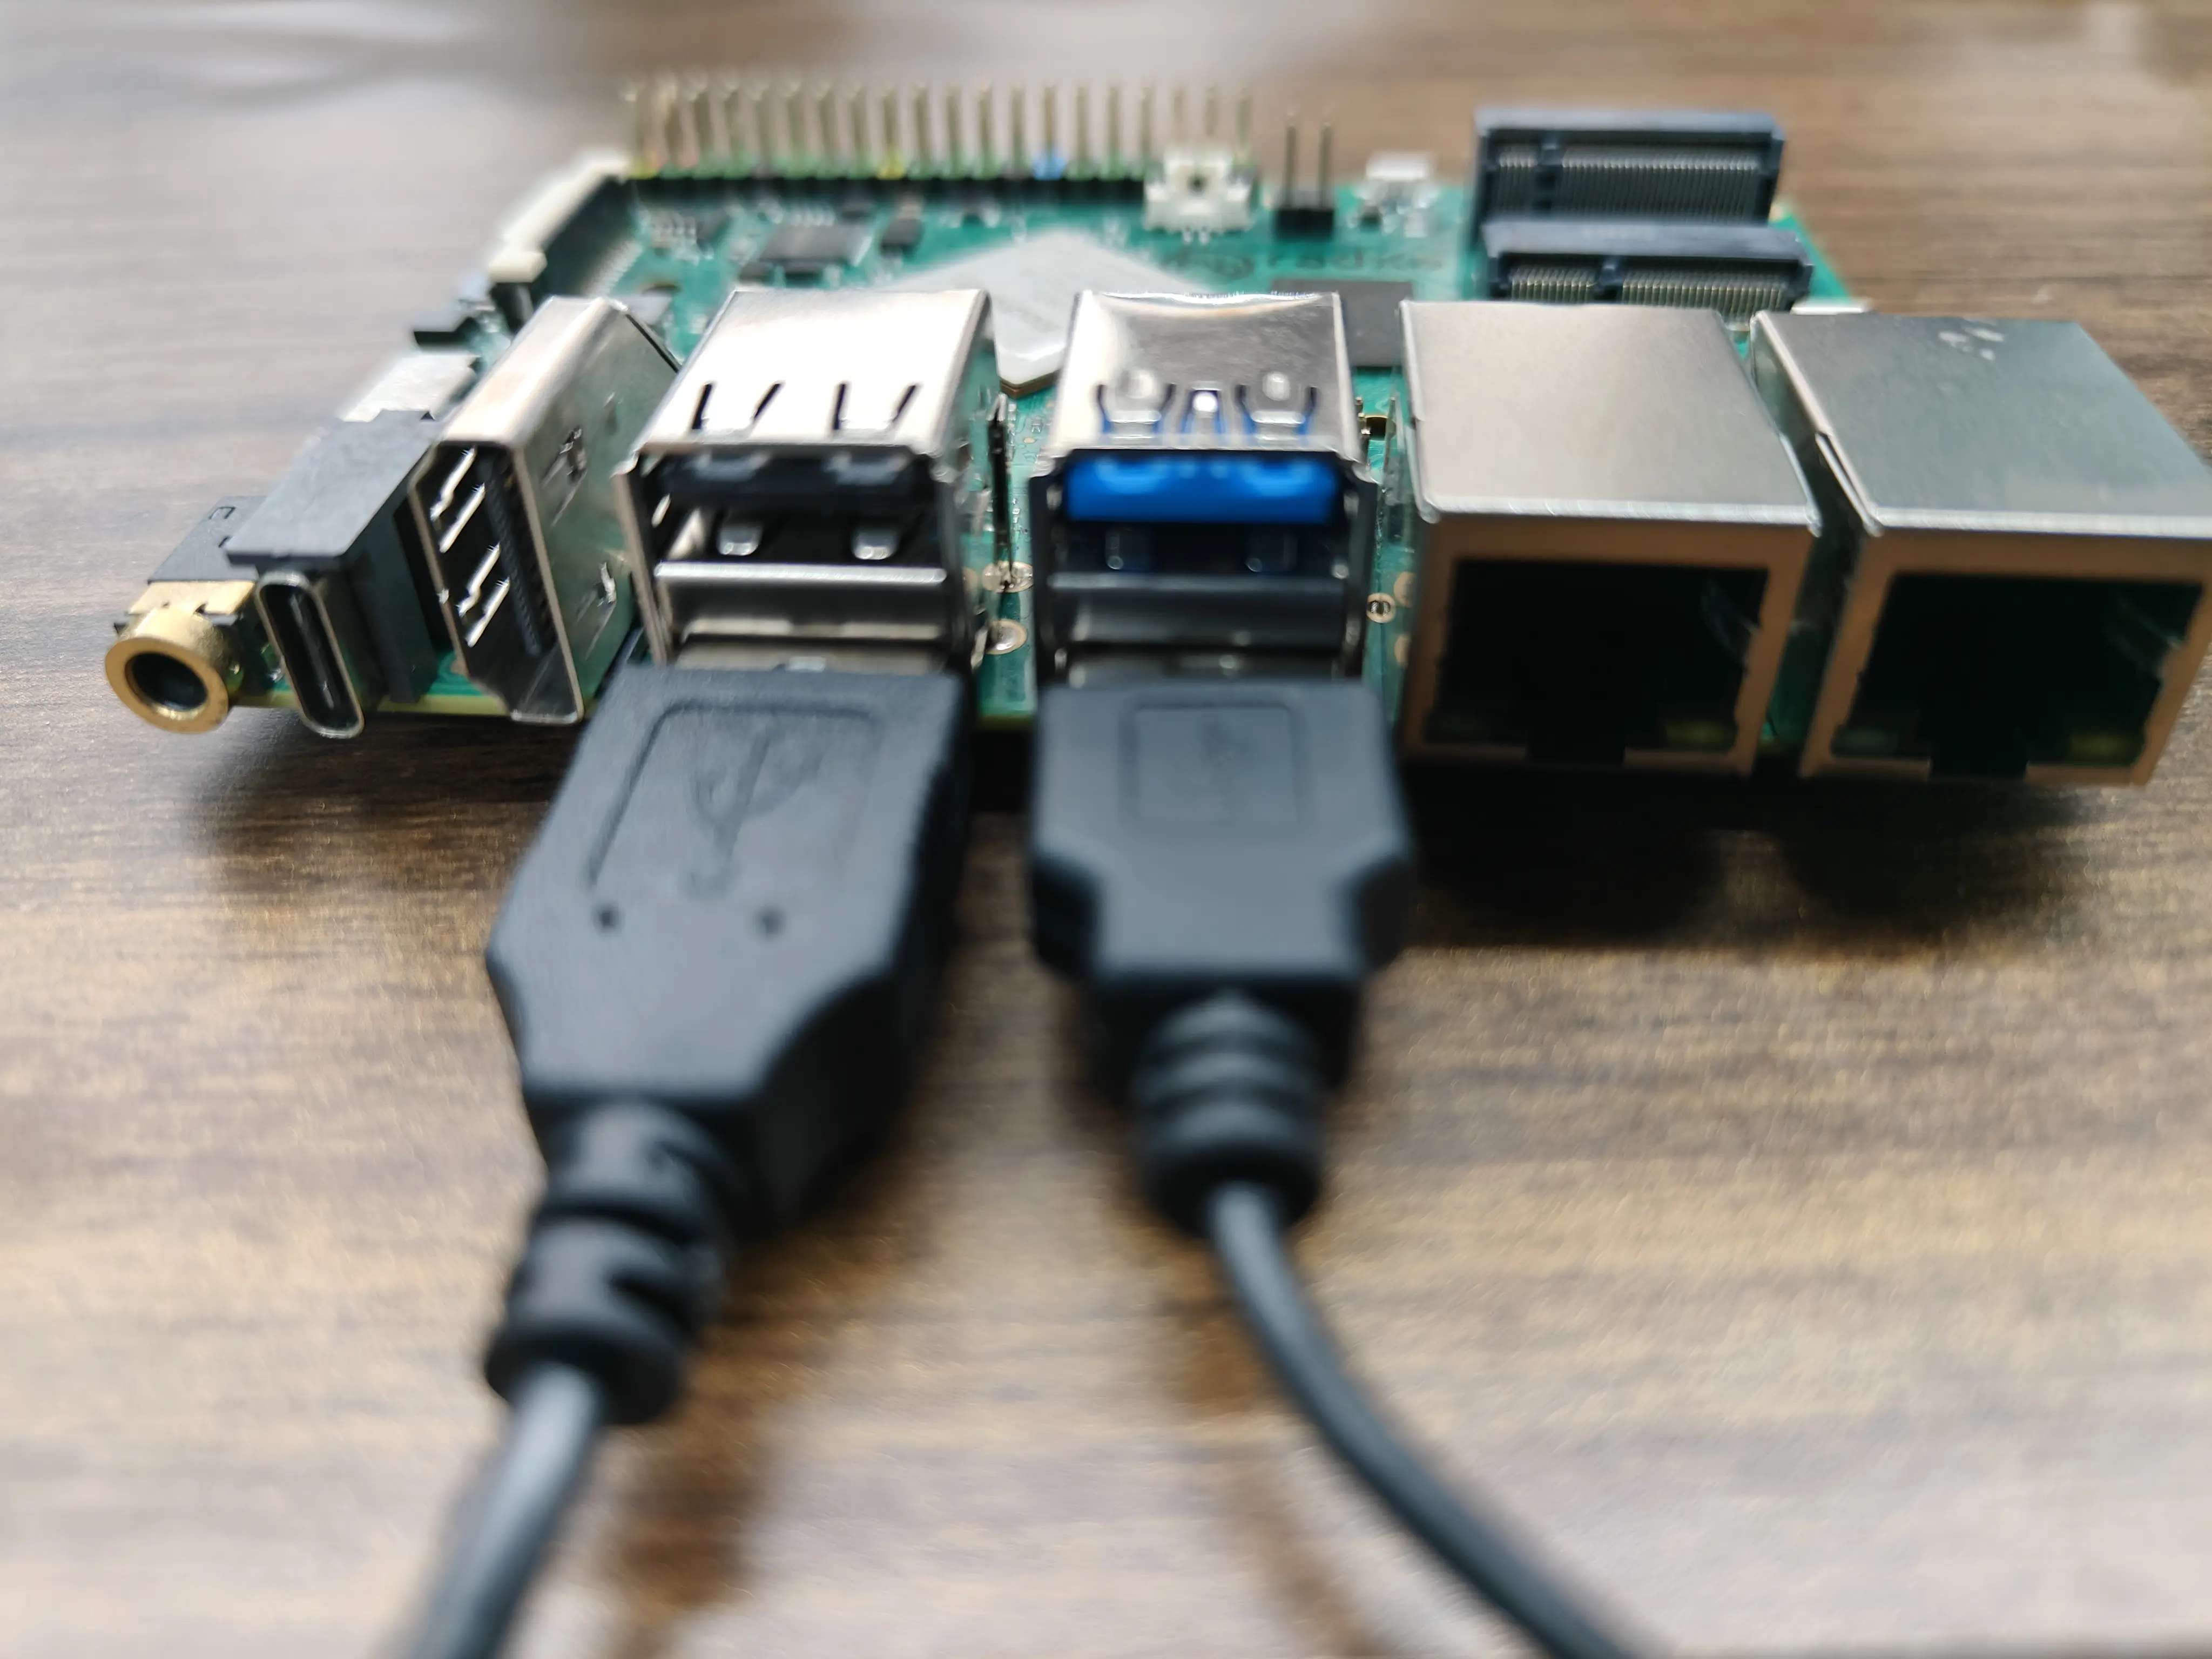
 2. Connect the USB mouse and keyboard to the ROCK 3B.
- Connect the USB mouse and keyboard to any USB 2.0 or 3.0 port on the ROCK 3B.
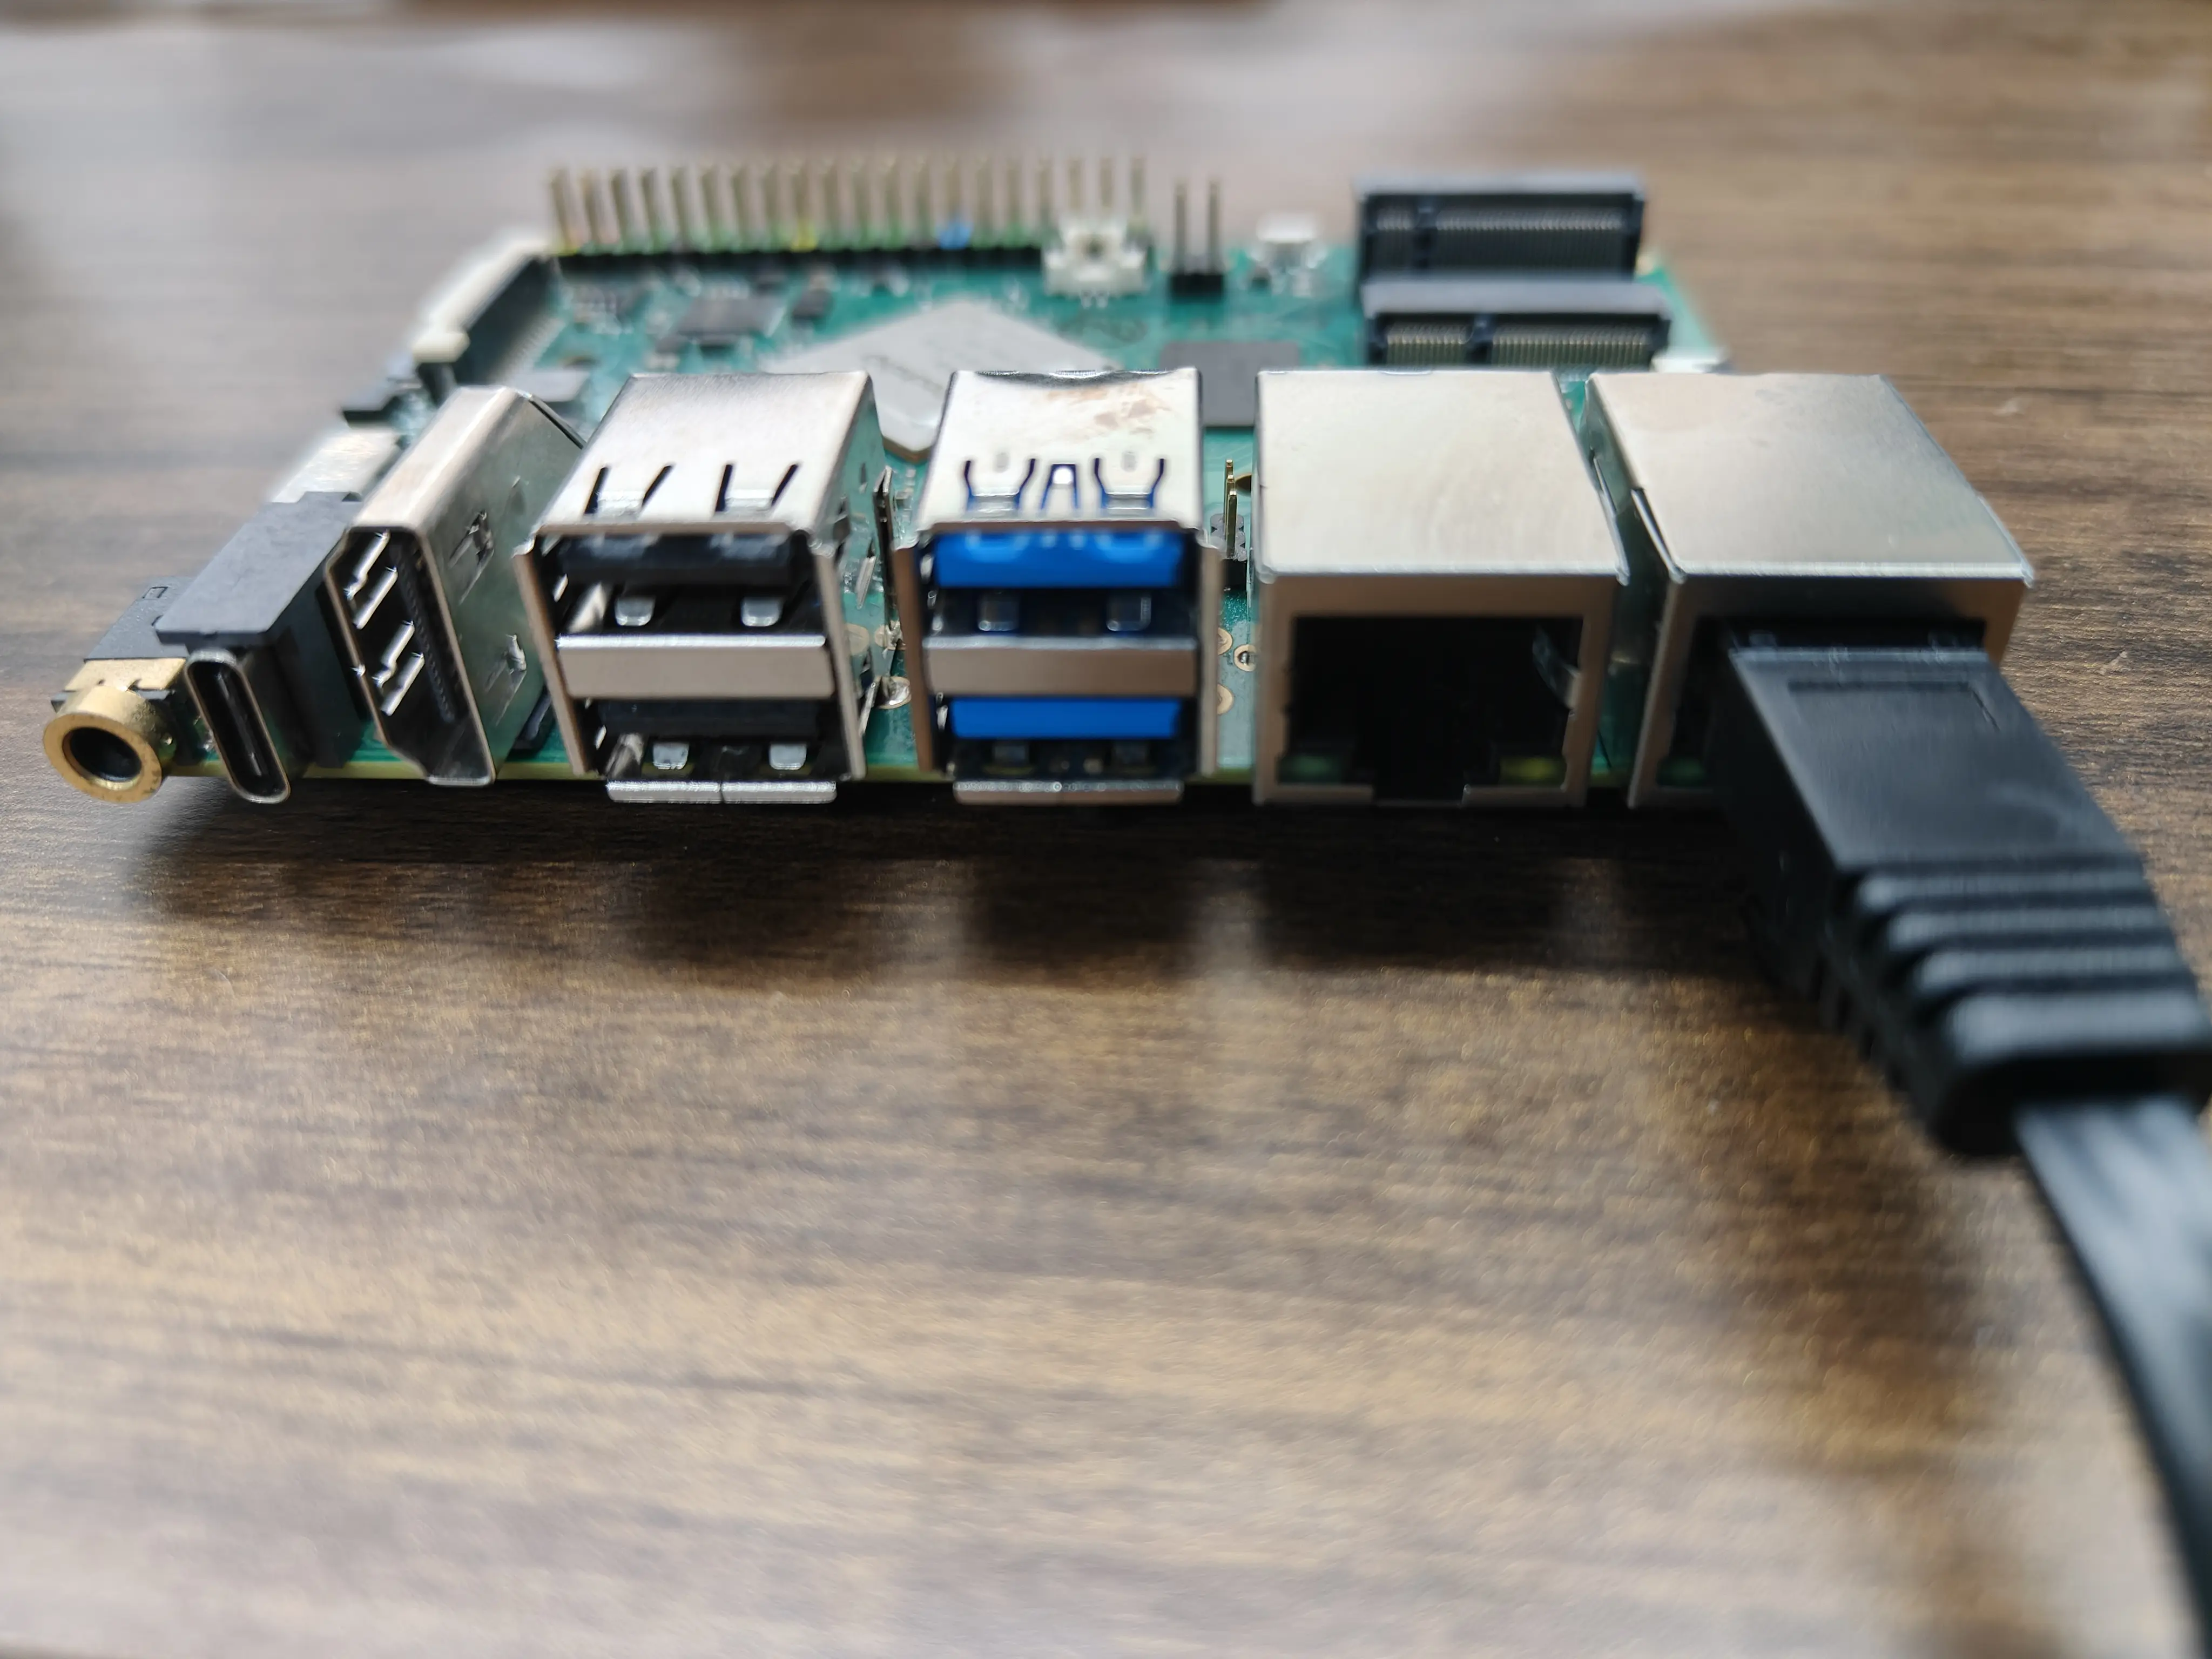
- Connect the network cable to the Ethernet port.
-
If there is an M.2 Wi-Fi module or SSD, install and secure it using the M.2 screws provided.
-
Plug the power adapter into the power connector on the ROCK 3B. The device will power up and start, the power indicator will light up.
tip
The whole process lasts about 40 seconds from powering up the system to booting it to the system desktop.