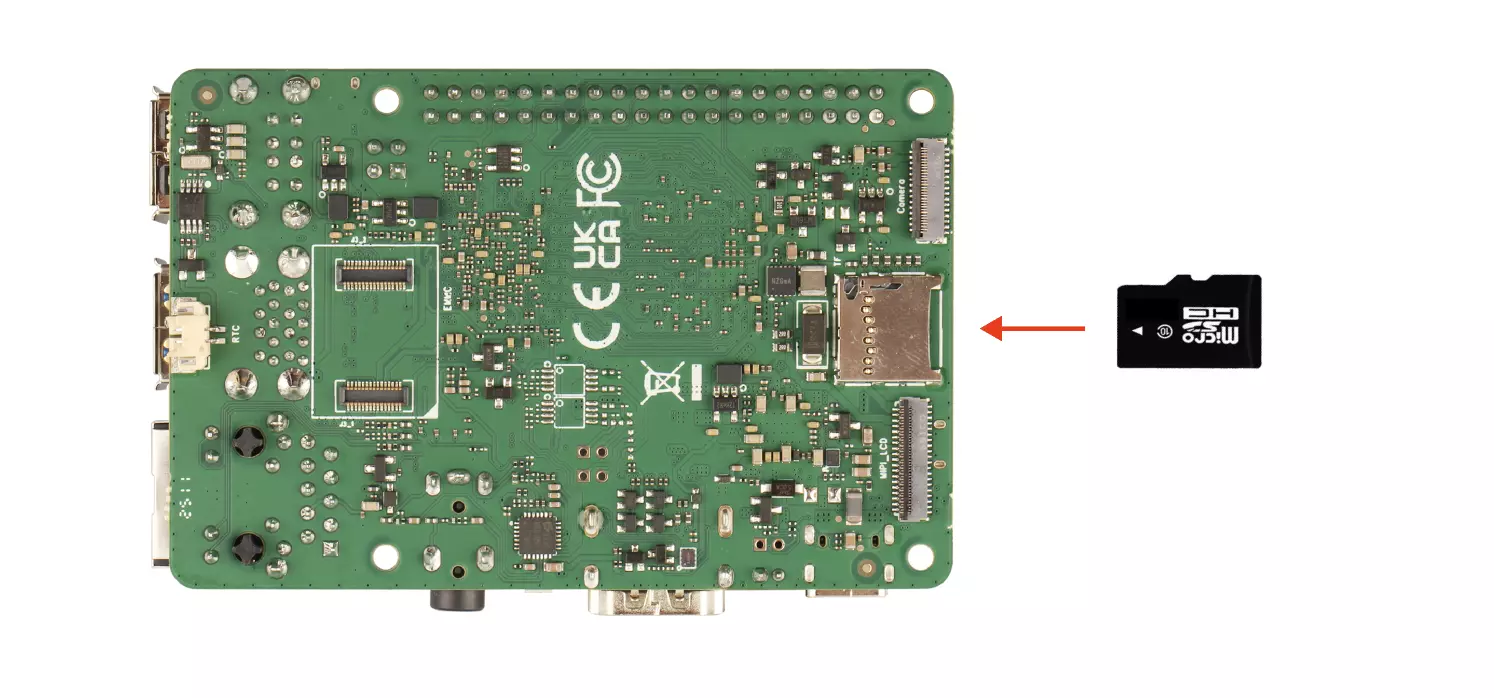
Installing System to MicroSD Card
This tutorial explains how to install the system on a MicroSD card.
Hardware Preparation
You will need the following hardware to complete the system installation and boot process.
For System Installation
- Card reader: MicroSD card reader
- Boot medium: MicroSD card (32GB or larger recommended)
For System Boot
- Development board: Radxa ROCK 4D
- Power adapter: Type-C power adapter (with PD protocol support, 5V input, 3A or higher recommended)
The ROCK 4D mainboard only supports 5V power input. A minimum of 3A is recommended to ensure stable operation of all peripherals.
Recommended power supplies:
-
Standard Type-C power adapter (5V input, with PD protocol support, 3A or higher recommended)
Installing the System
Installing the system will format the MicroSD card. Please back up any important data before proceeding.
Download System Image
On your PC, visit the Downloads Summary page and locate the system image for MicroSD card.
After downloading, extract the system image file. The resulting *.img file is the system image that will be written to the MicroSD card.
The downloaded system image is a compressed file that must be extracted before it can be written to the SD card using the image flashing software. If you try to flash the compressed file directly to the SD card without extracting it first, the system installation or boot process may fail.
Hardware Connection
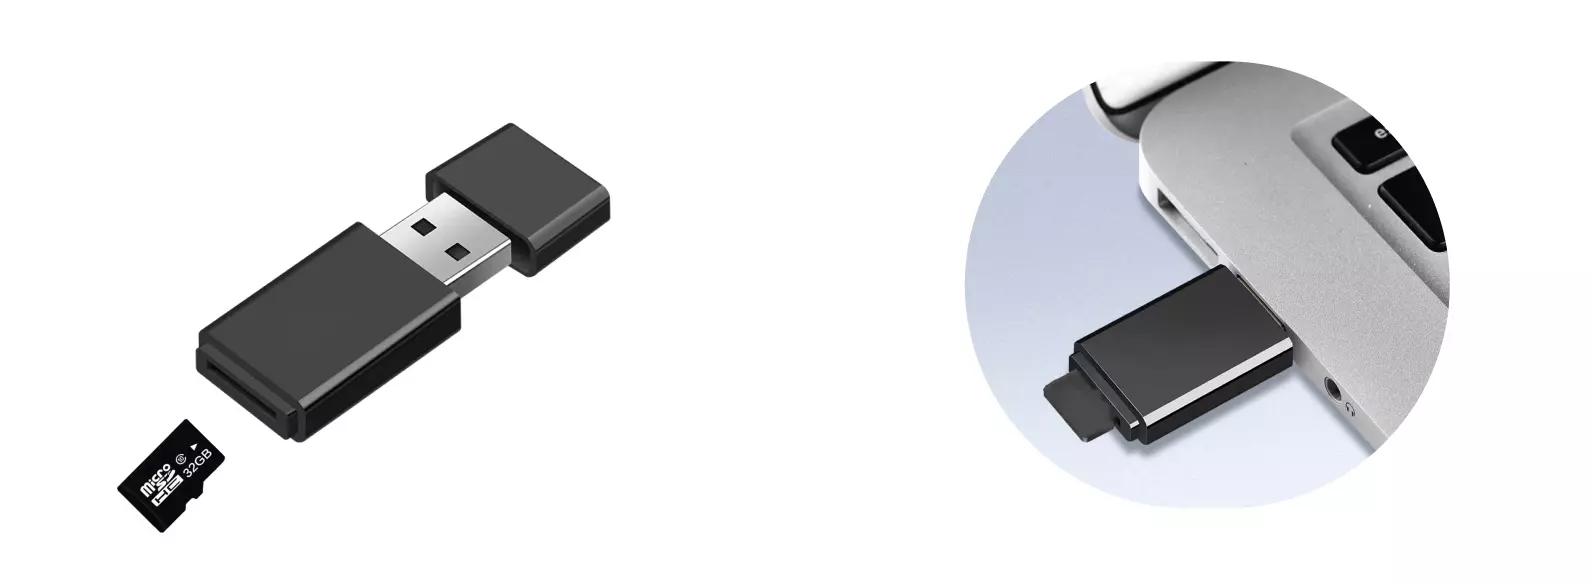
Insert the MicroSD card into the card reader, then connect the card reader to your PC's USB port.
Installing the System Image
Use the open-source image flashing tool Etcher to write the system image to the MicroSD card.
Downloading Etcher
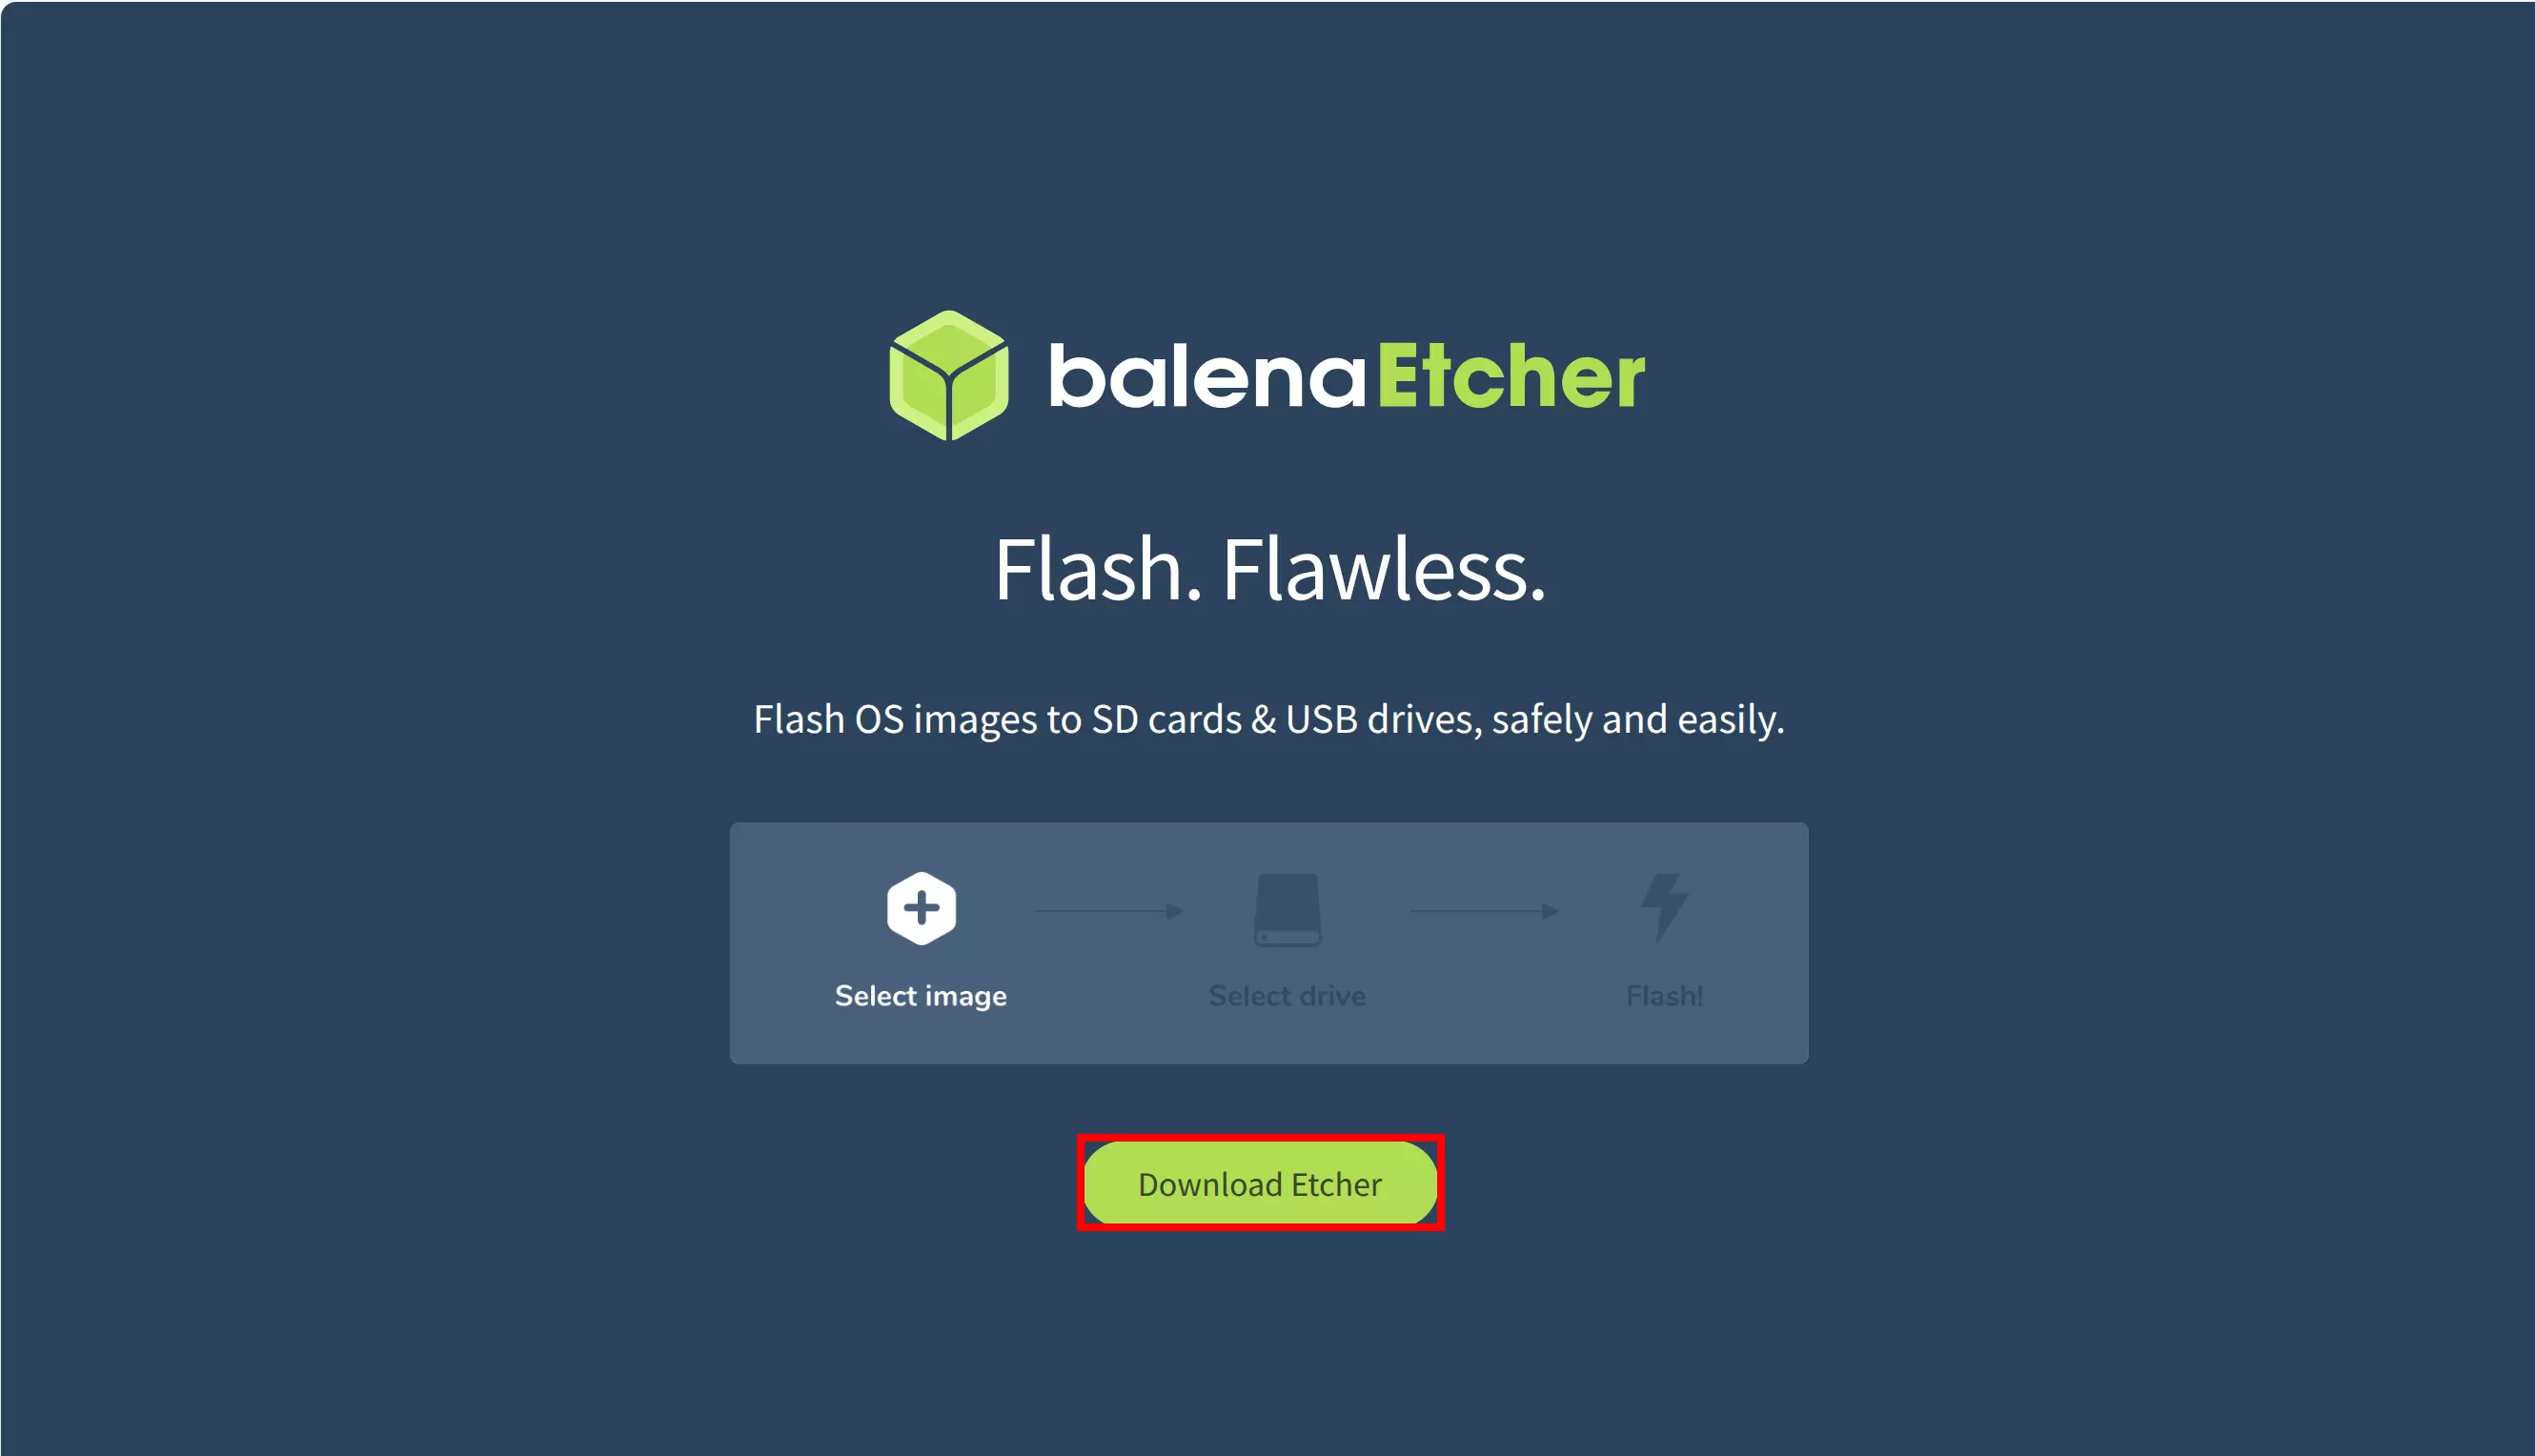
Visit the official Balena Etcher website to download the software for your platform: balenaEtcher.
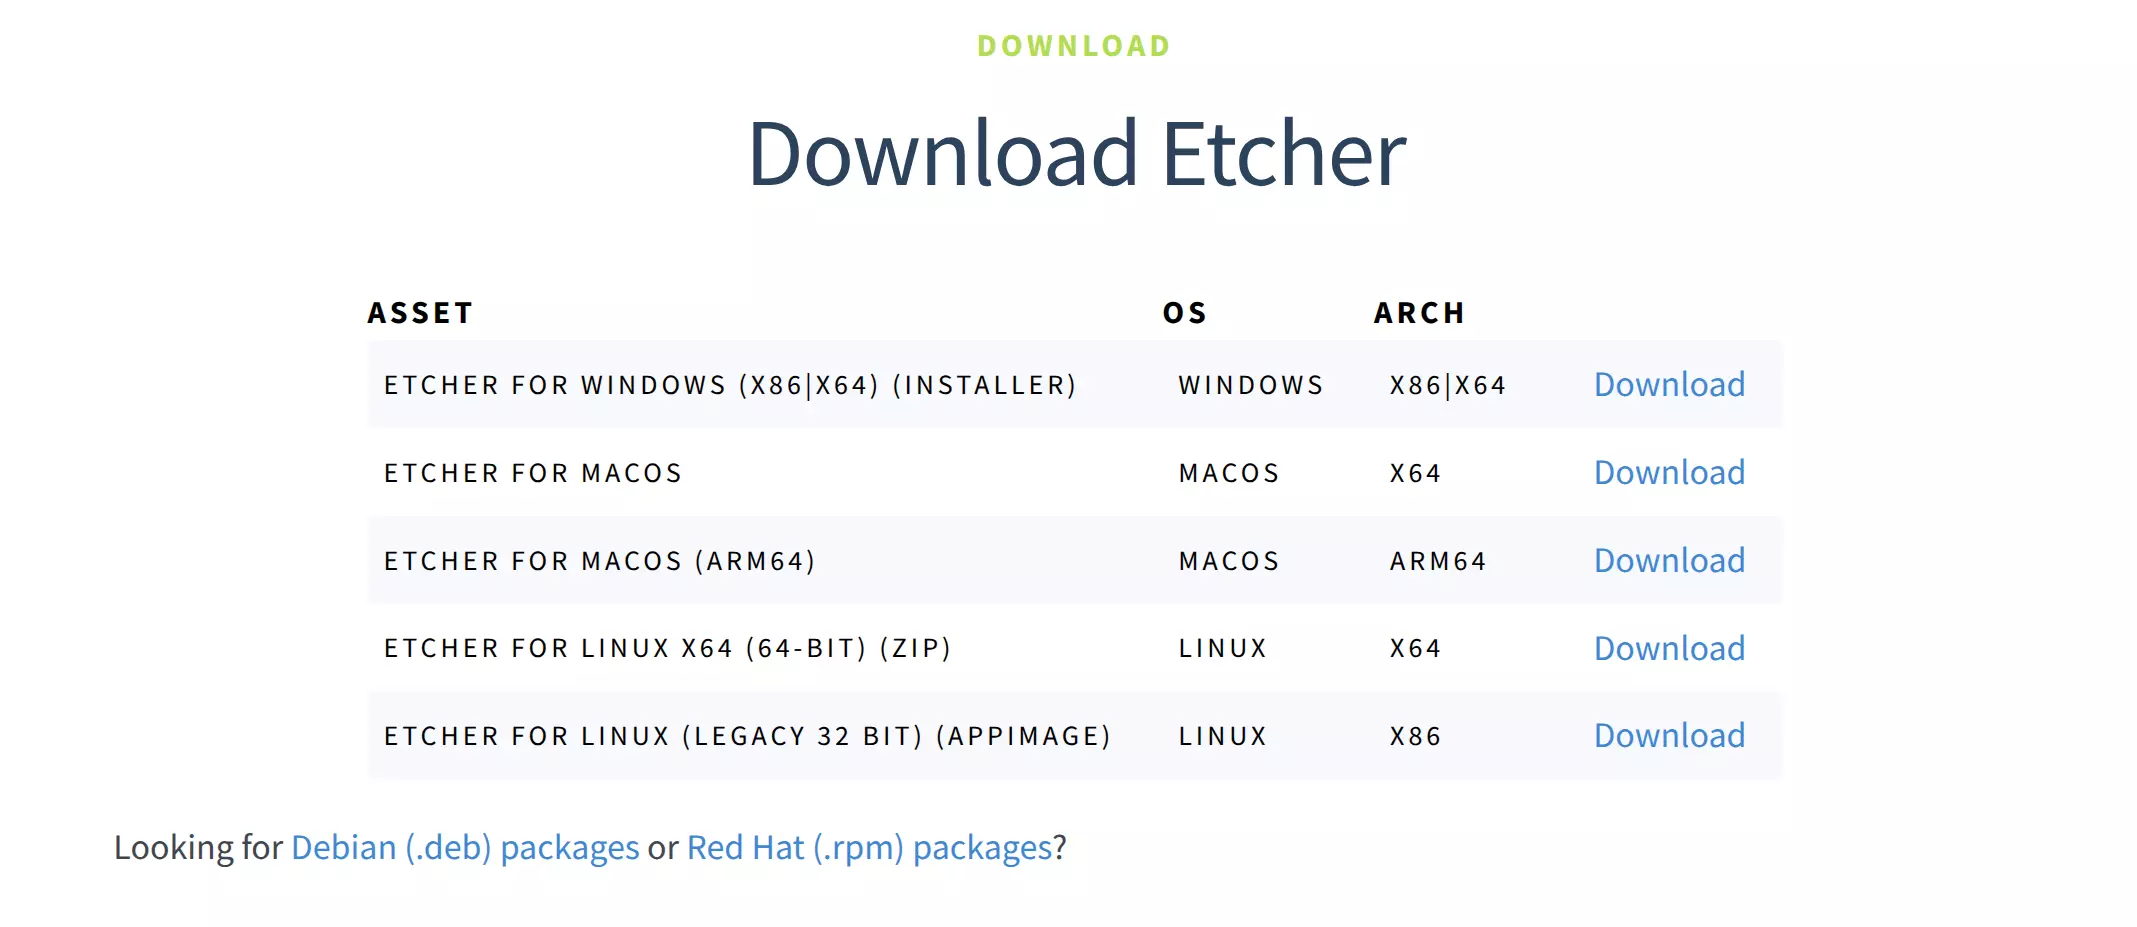
Download the appropriate software package for your system platform and architecture.
Using Etcher
After downloading, double-click to open the Etcher application.
-
Windows
The downloaded file is an
*.exeinstaller. Double-click to run the program. -
Linux
It's recommended to download the
*.ziparchive. After extraction, double-click the program to run it. -
macOS
Download the
*.dmgfile that matches your system architecture. After opening, drag the application to your Applications folder to install. Then double-click the application icon to run it.
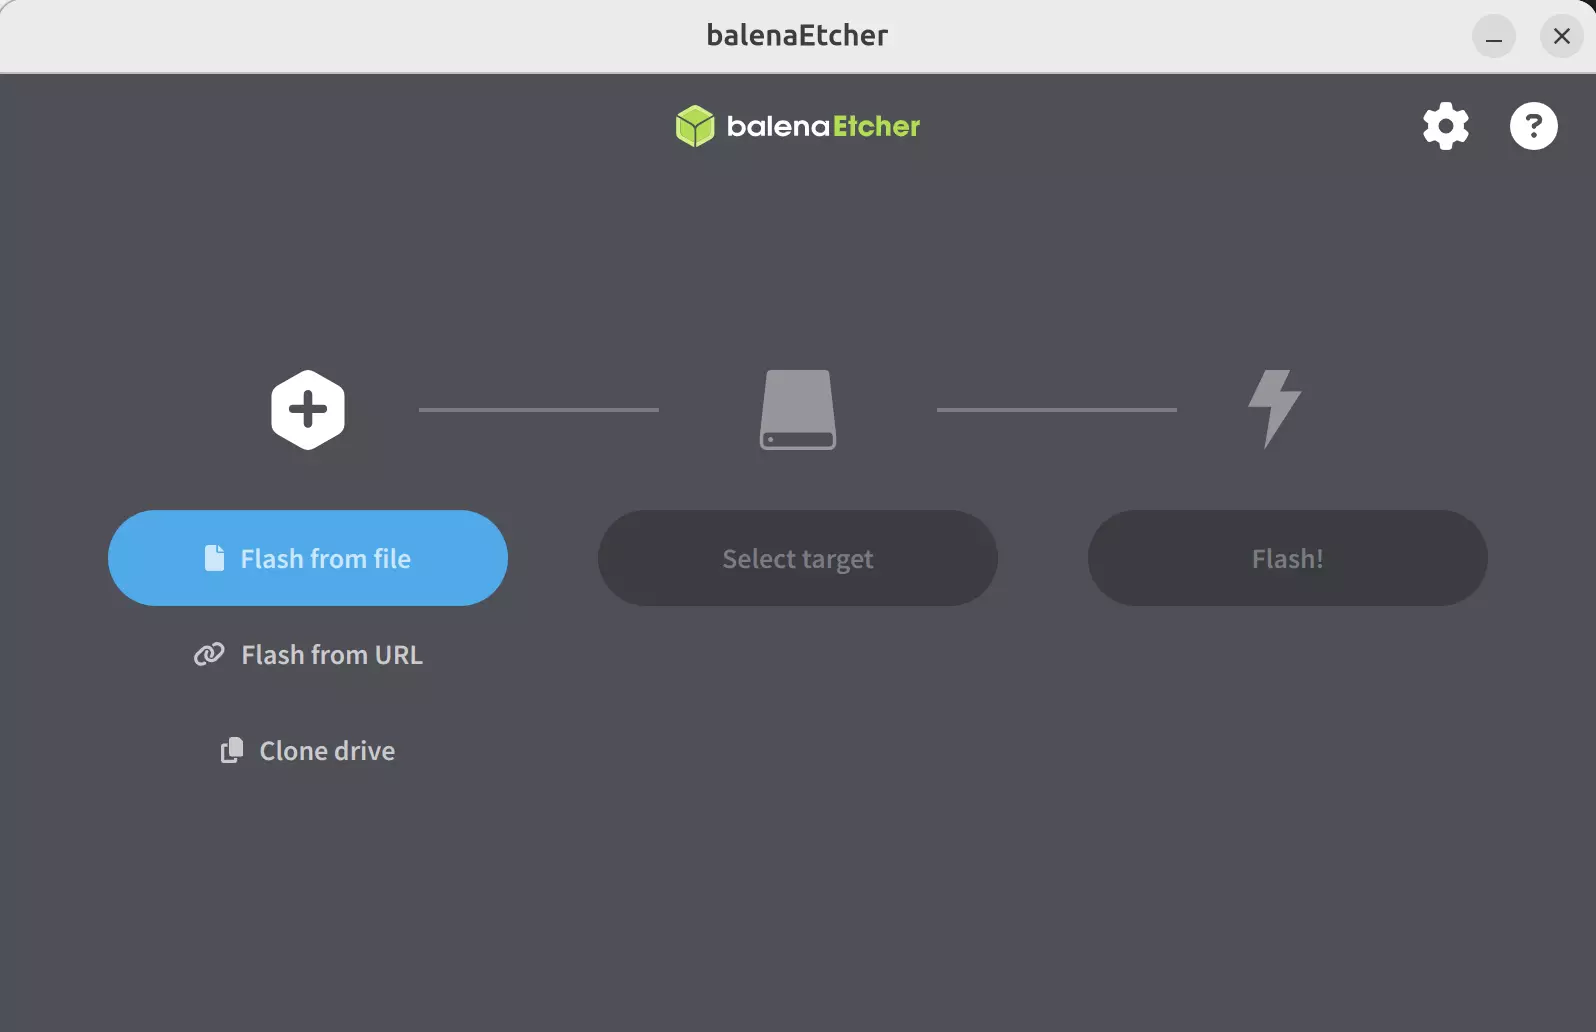
Flashing the System Image
-
Select the Image File
Click the
Flash from filebutton and select the system image file you downloaded and extracted earlier.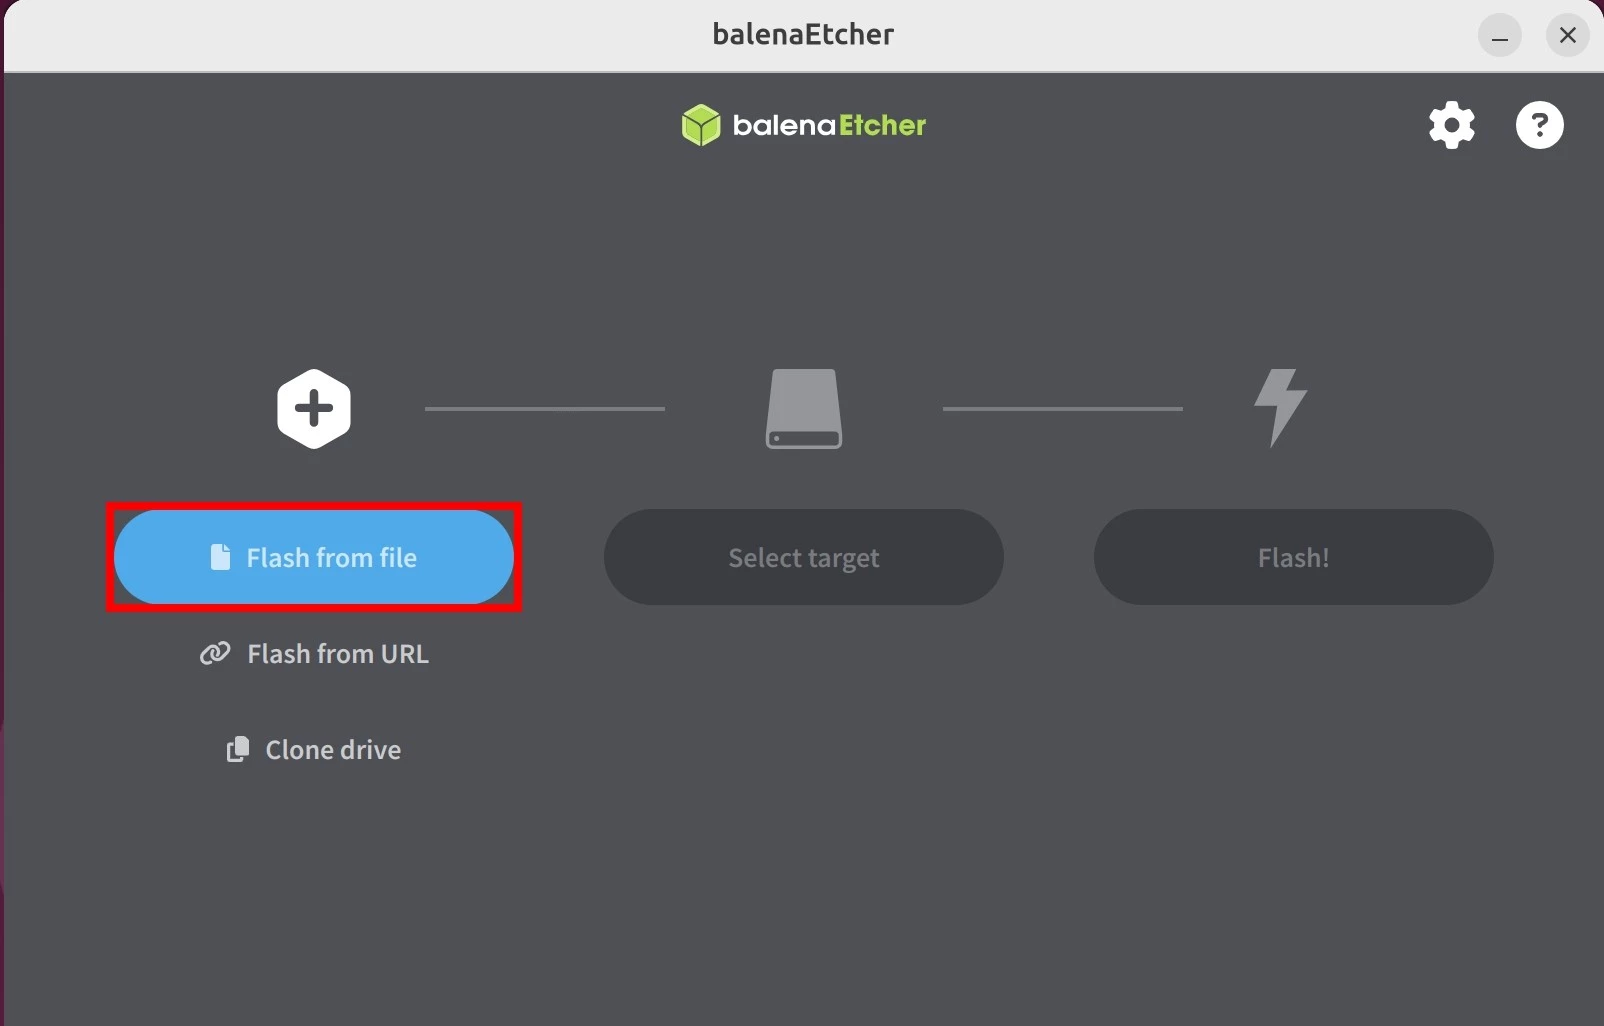
-
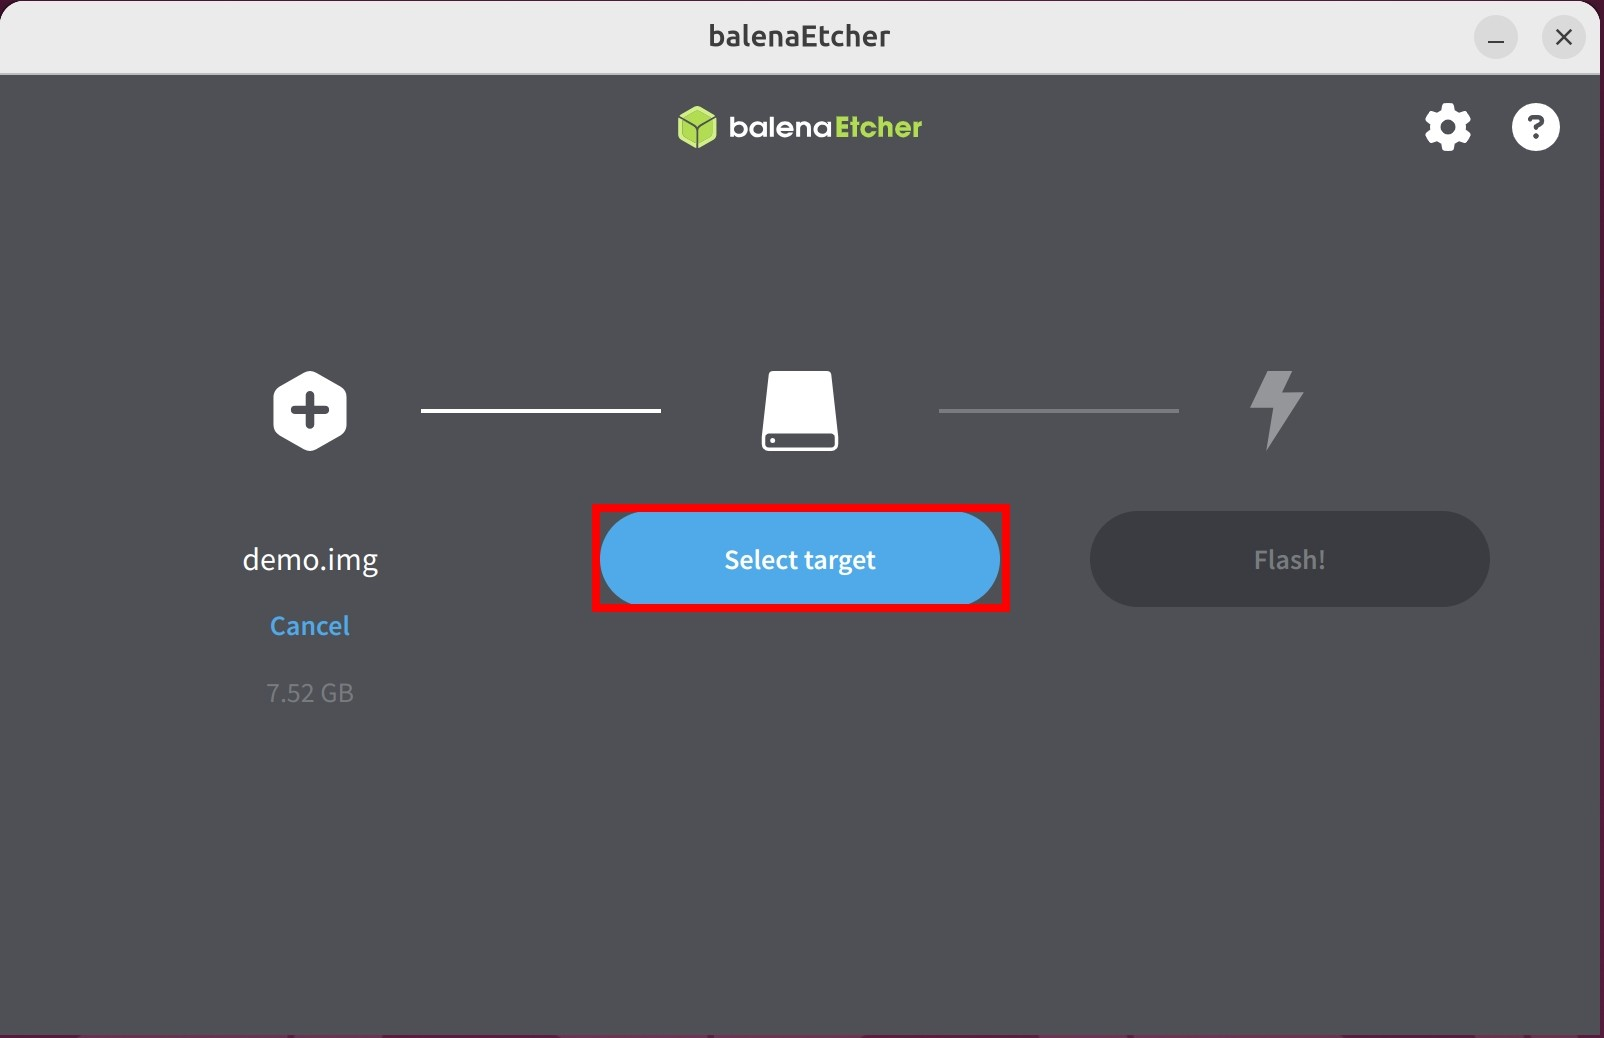
Select the Target Device
Click the
Select targetbutton and choose the storage device where you want to install the system image.dangerBe very careful to select the correct storage device! Etcher will format the selected device, which could result in data loss!
You can unplug and replug your storage device to see which device appears/disappears from the list to help identify the correct one.
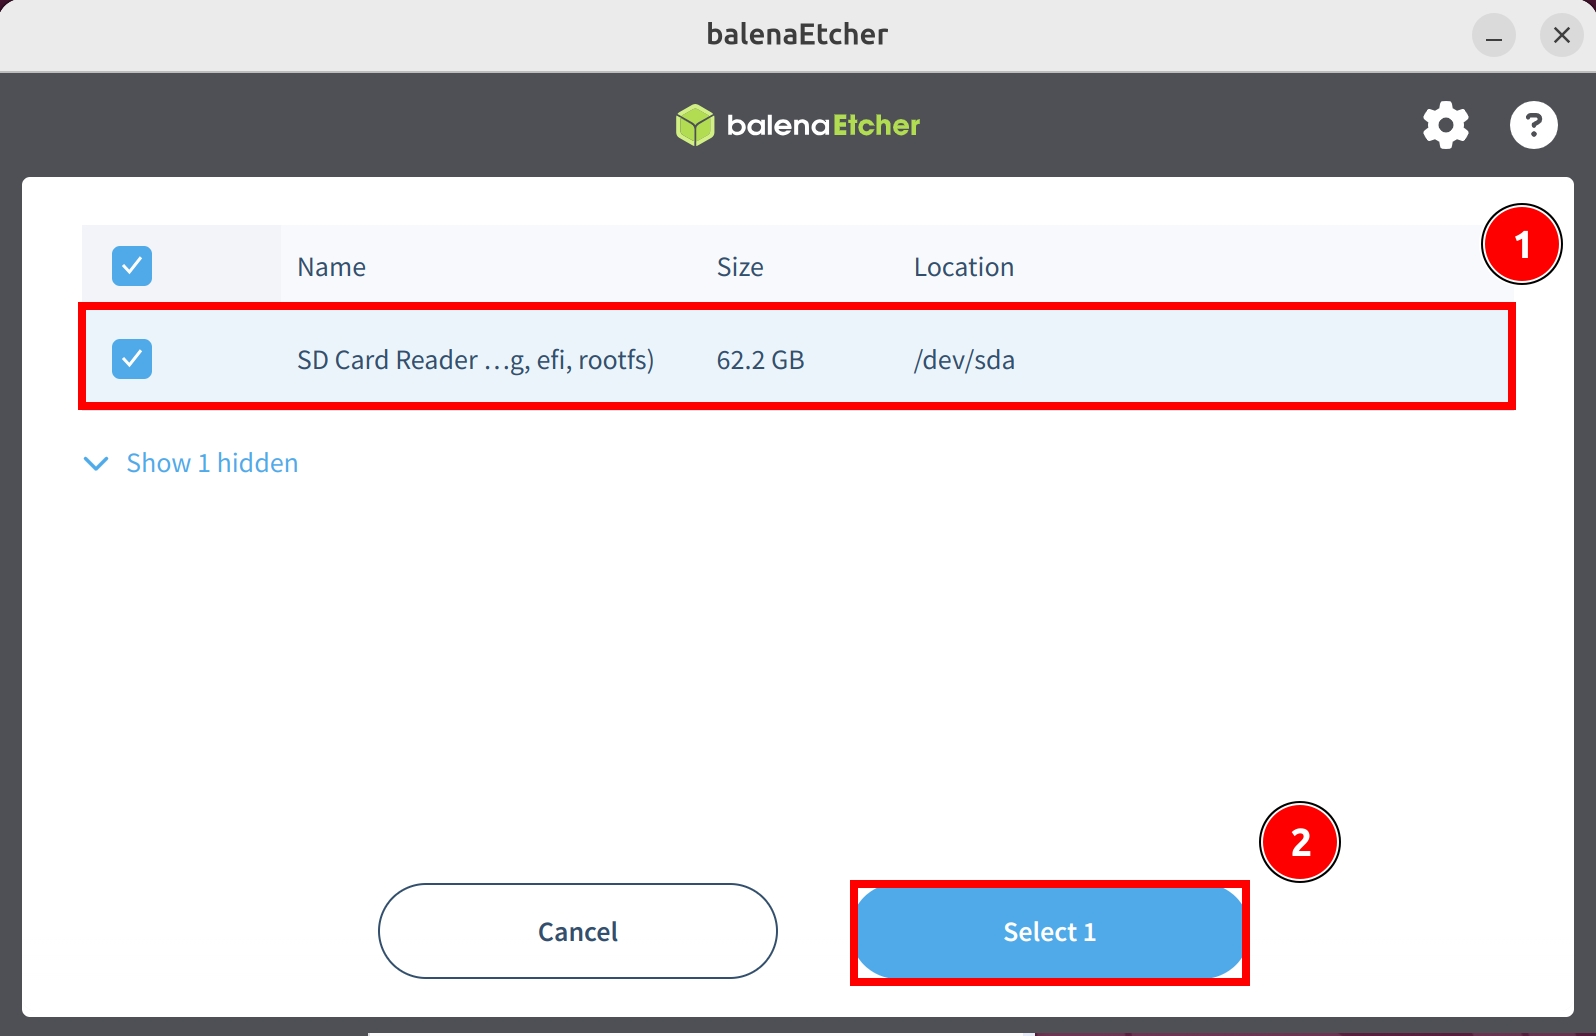
① : Select the storage device where you want to install the system image
② : Click Select 1 to confirm your device selection
-
Flash the System Image
Click the
Flash!button and wait for the software to automatically write and verify the system image.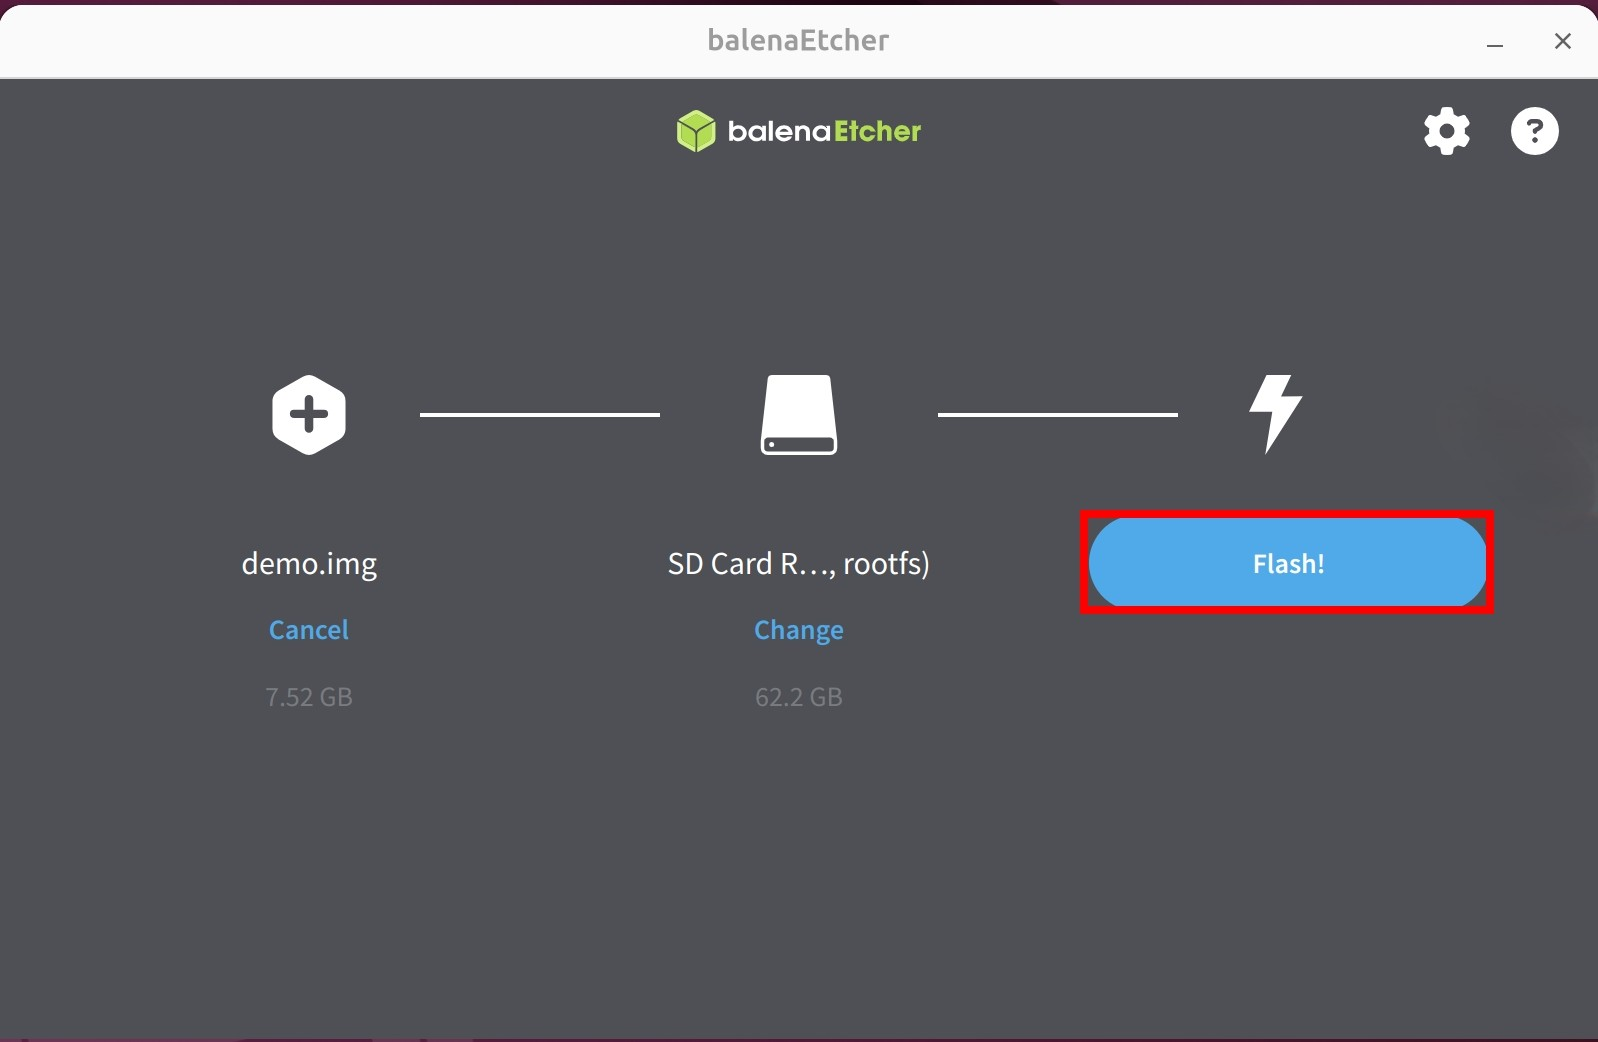
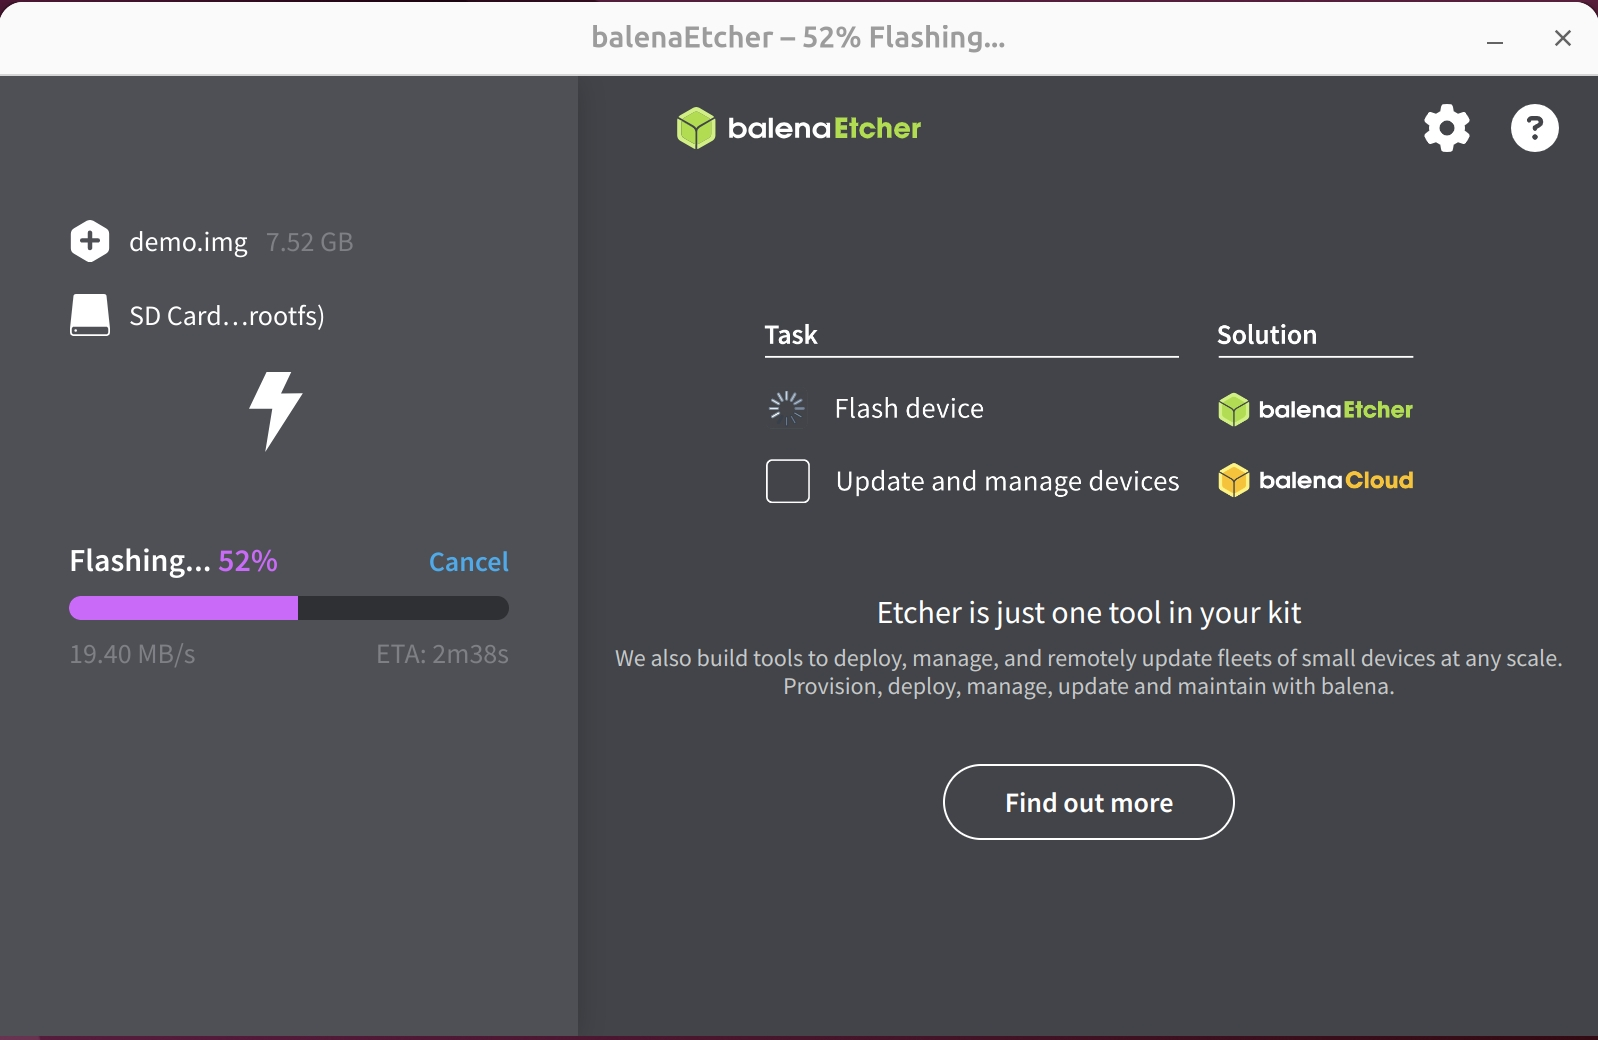
Waiting for system image to be written...
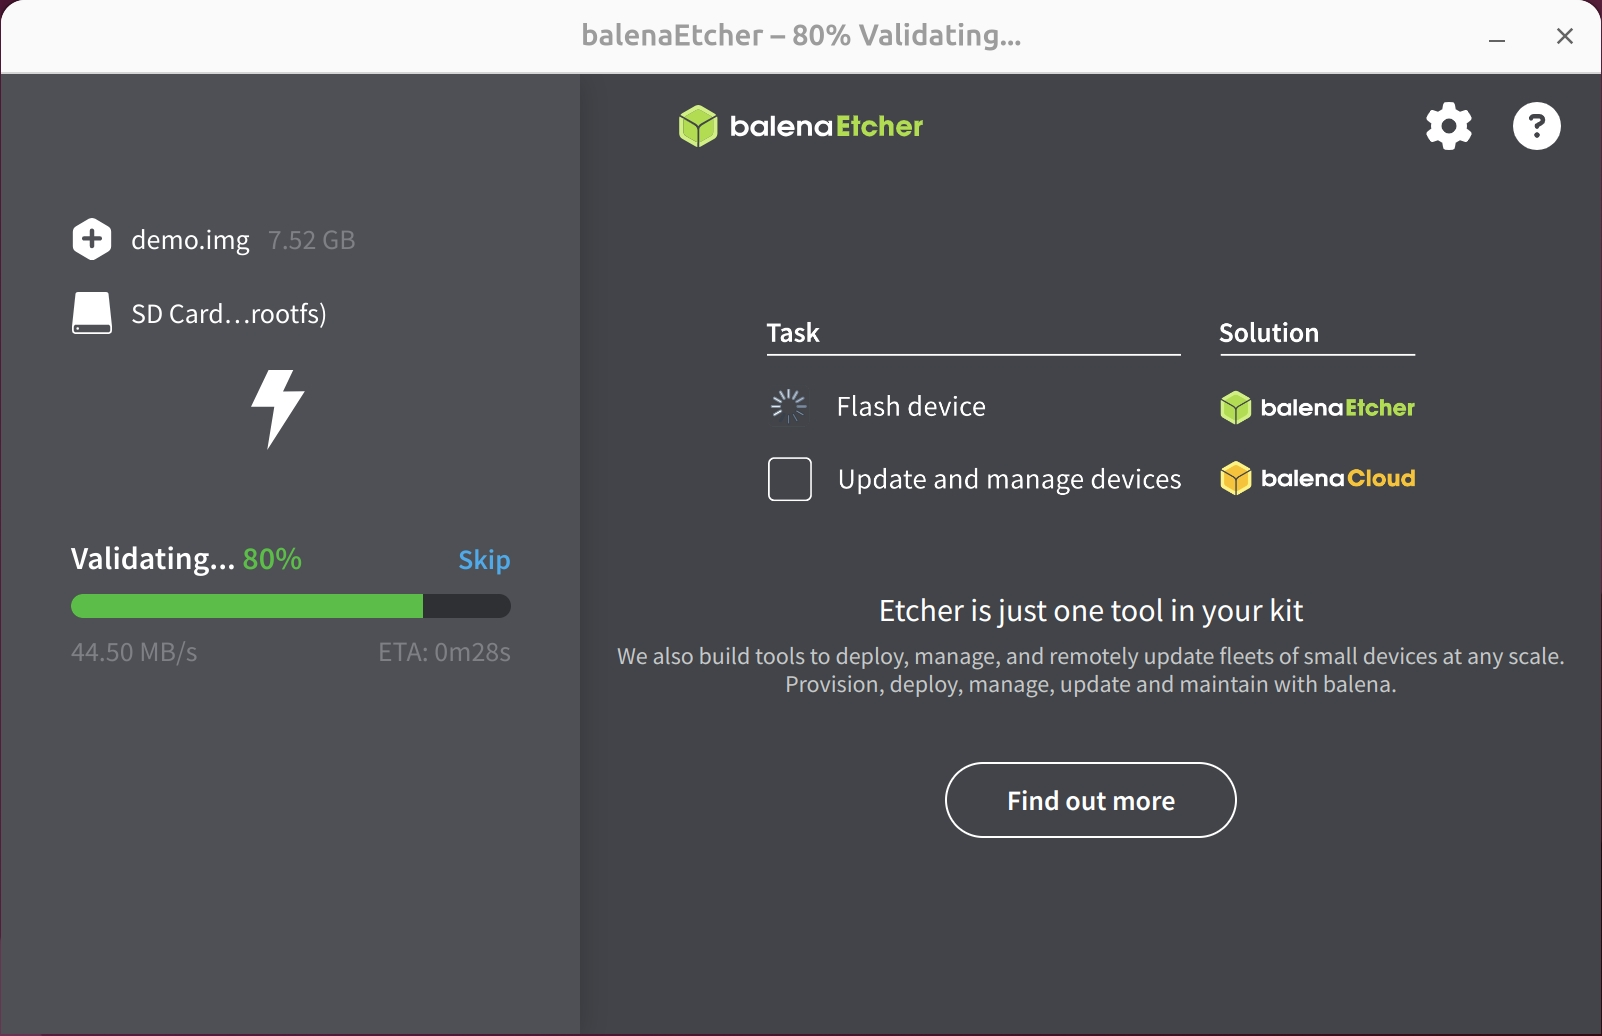
Verifying the system image...
After successfully writing the system image, close the Etcher software!
System Information
When using our provided system image for the first time, you'll need to log in with the default username and password we've set up.
- Debian Linux
Username: radxa
Password: radxa
Booting the System
After completing the system image installation:
- Remove the MicroSD card from the card reader
- Insert the card into the MicroSD card slot on the ROCK 4D motherboard
- Power on the system using a 5V Type-C power adapter
When the system boots, both the blue and green LED indicators will light up. After a few seconds, the green LED will stay solid and the blue LED will blink, indicating that the system has successfully booted.
