Without Using an M.2 NVMe SSD Enclosure
This tutorial is for users who don't have an M.2 NVMe SSD enclosure. It explains how to install the system on an M.2 NVMe SSD using a microSD card as the boot medium.
An M.2 NVMe SSD is a solid-state drive that supports the M.2 interface and NVMe protocol.
Hardware Preparation
To install the system without an M.2 NVMe SSD enclosure, you'll need to be able to boot your Radxa ROCK 4D from a microSD card.
Note: If the microSD card doesn't boot properly, please refer to the Installing System to microSD Card tutorial to install the system on a microSD card first.
We'll be working within the system on the microSD card and use the dd command to install the system to the M.2 NVMe SSD.
Note: Booting from an M.2 NVMe SSD requires using it with a PCIe to M.2 M Key HAT.
You'll need the following hardware:
- Motherboard: Radxa ROCK 4D
- microSD card with a working system
- M.2 NVMe SSD: Purchase separately
- PCIe to M.2 M Key HAT: Purchase separately
- Power Adapter: Type-C power adapter (PD protocol supported, 5V input, recommended 3A or higher)
The ROCK 4D mainboard only supports 5V power input. A power adapter with 3A or higher current is recommended to ensure stable operation of all peripherals.
Recommended power adapters:
- Radxa PD 30W Power Adapter (Recommended)
- Standard Type-C power adapter (5V input, PD protocol supported, recommended 3A or higher)
Reinstalling the System
Reinstalling the system will format the M.2 NVMe SSD. Please back up any important data before proceeding.
Download System Image
Download the ROCK 4D system image file to your ROCK 4D: You can use the wget command to download the file to the current directory. You can get the download link from the Resource Download Center.
You can also transfer the system image file to your ROCK 4D using other methods, such as FTP or SCP.
# Install wget if not already installed
sudo apt-get install wget
# Download the system image file
wget [URL]
- wget: Downloads files. Replace [URL] with the actual download link.
Hardware Connection
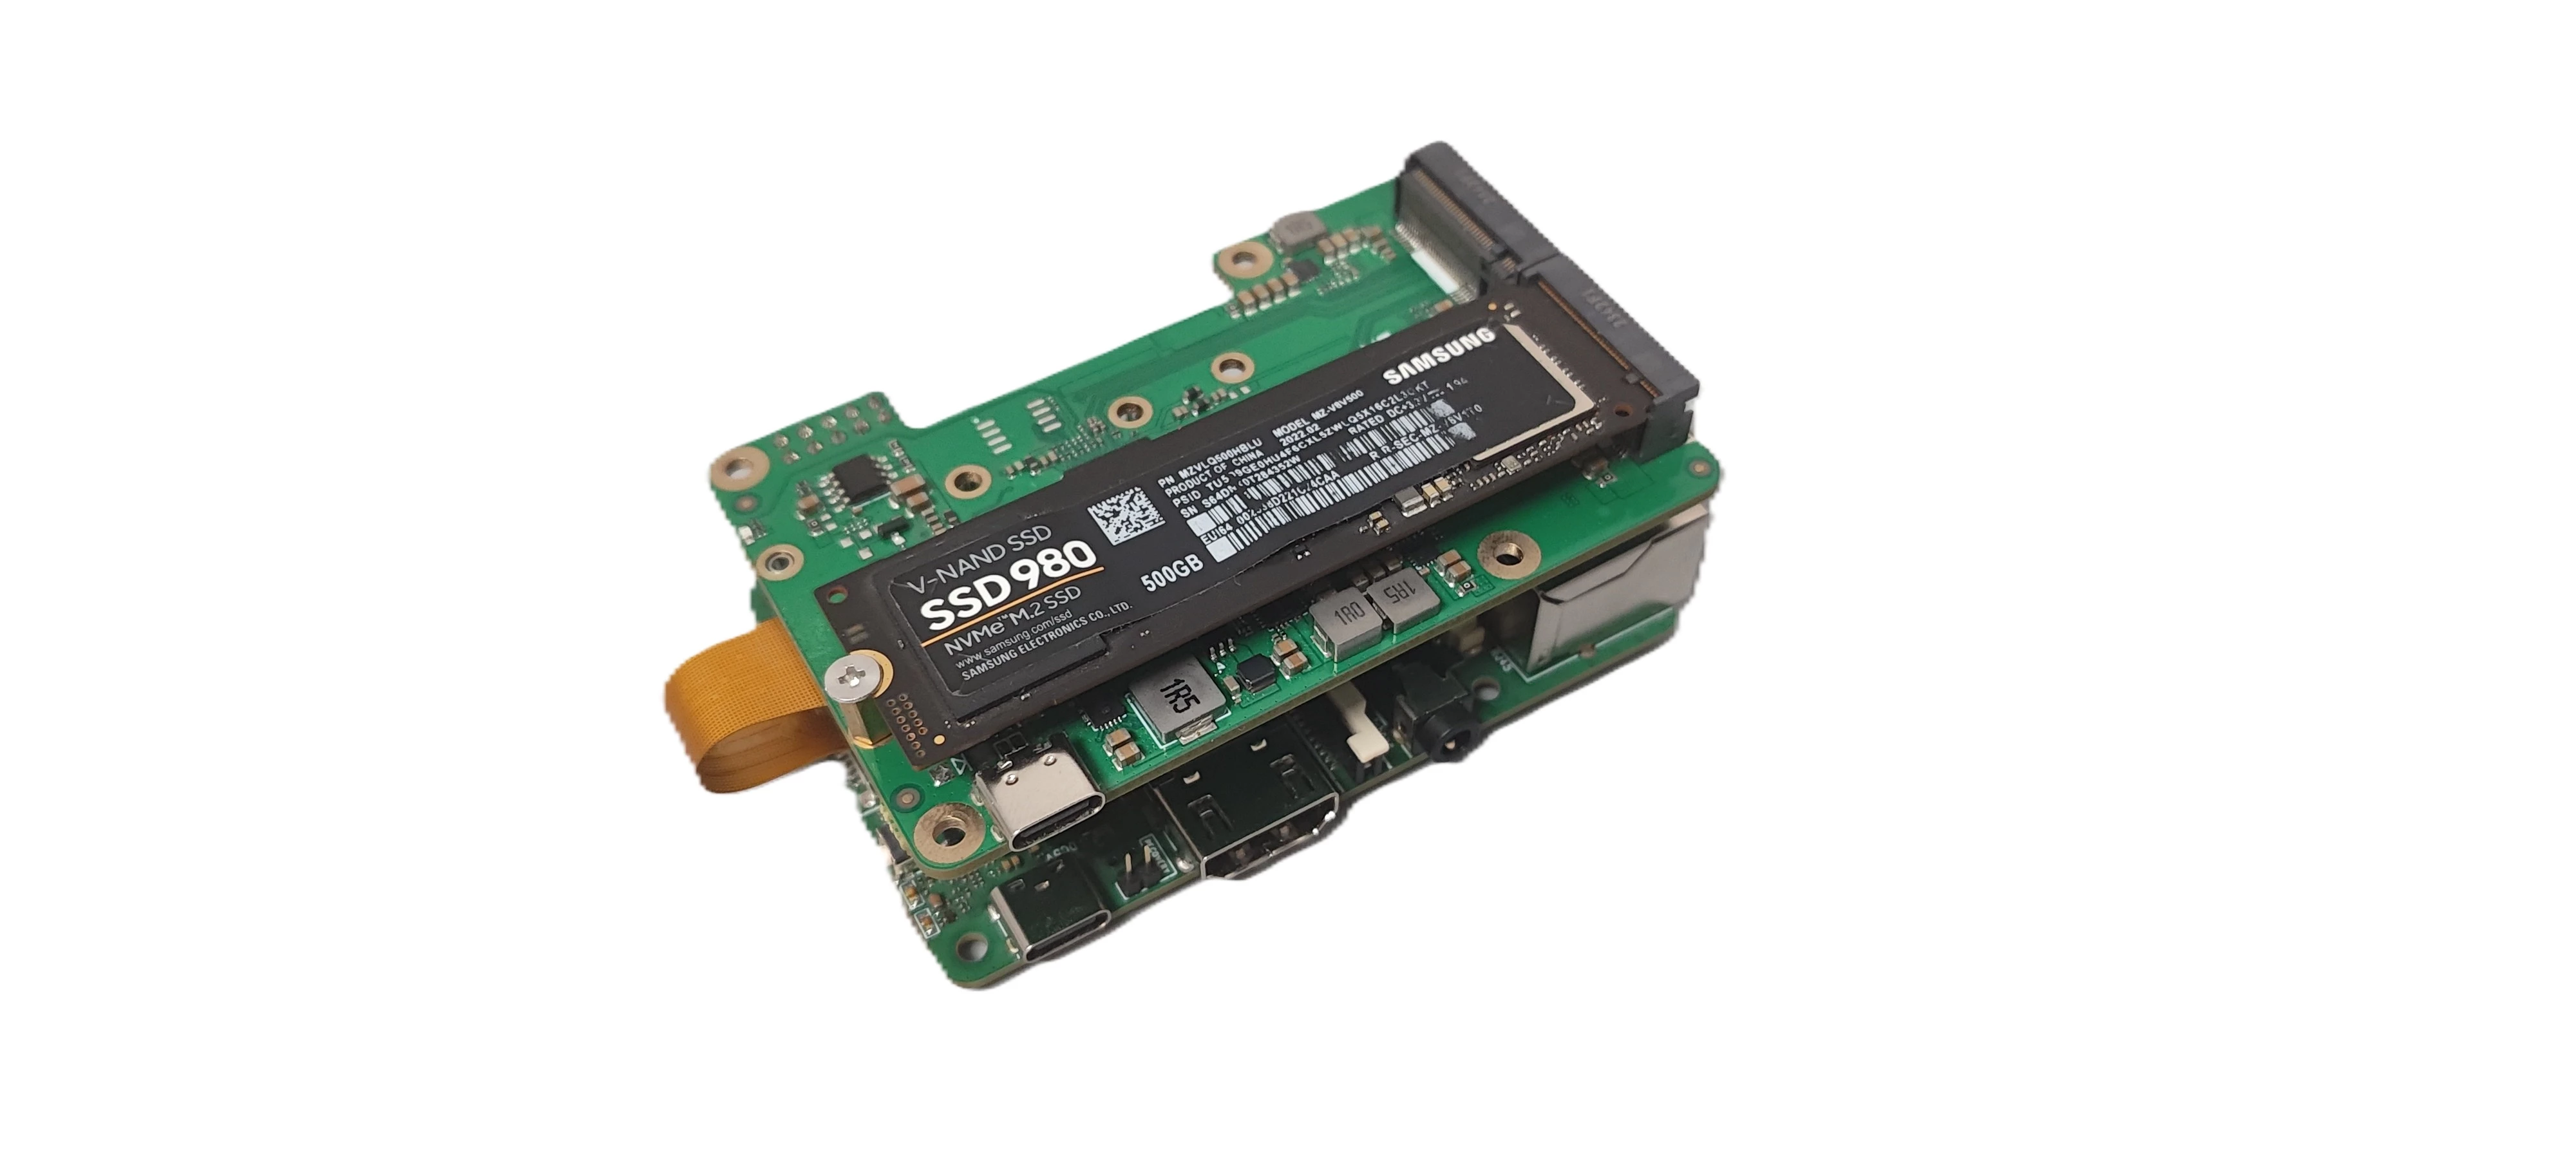
- Install the M.2 NVMe SSD into the PCIe to M.2 M Key HAT
- Install the PCIe to M.2 M Key HAT onto the ROCK 4D
- Connect the power supply to the ROCK 4D
Install System Image
Write System Image to M.2 NVMe SSD
Use the following command to extract and write the compressed system image directly to the M.2 NVMe SSD. Please modify the command according to the actual system image filename you downloaded.
sudo xzcat ~/radxa-rk3576_bookworm_kde_r6.output_512.img.xz | sudo dd of=/dev/nvme0n1 bs=1M status=progress
- xzcat: Extracts the xz-compressed system image file
- dd: Copies and writes to the M.2 NVMe SSD device (⚠️Caution: Please verify the device name when using the dd command as specifying the wrong device may result in data loss)
- of=/dev/nvme0n1: Specifies the target device as nvme0n1 (modify according to your actual device)
- bs=1M: Sets the block size to 1M to improve write speed
- status=progress: Shows the write progress to keep you informed
Verify Write Result
After writing is complete, you can verify that the partition table was created correctly on the M.2 NVMe SSD:
sudo fdisk -l /dev/nvme0n1
If successful, you should see partition information similar to the following:
Disk /dev/nvme0n1: 465.76 GiB, 500107862016 bytes, 976773168 sectors
Disk model: Samsung SSD 980 500GB
Units: sectors of 1 \* 512 = 512 bytes
Sector size (logical/physical): 512 bytes / 512 bytes
I/O size (minimum/optimal): 16384 bytes / 131072 bytes
Disklabel type: gpt
Disk identifier: 9ABAF4B4-329B-41A8-908A-088211D43542

Device Start End Sectors Size Type
/dev/nvme0n1p1 32768 65535 32768 16M Linux filesystem
/dev/nvme0n1p2 65536 679935 614400 300M EFI System
/dev/nvme0n1p3 679936 15620800 14940865 7.1G EFI System
System Information
When using our provided system image for the first time, you will need to log in with the following default credentials:
- Debian Linux
Username: radxa
Password: radxa
Booting the System
After completing the system image installation:
- Shut down the system:
sudo shutdown -h now - Disconnect the power supply from the ROCK 4D
- Remove the microSD card
- Reconnect the power supply to the ROCK 4D
- Wait for the system to boot from the M.2 NVMe SSD
After the system starts, both the blue and green LED lights will turn on simultaneously. After a few seconds, the green light will stay on while the blue indicator will blink, which generally indicates that the system has successfully booted.
Verifying the System
After the system boots, you can use the lsblk command to view the system partition information:
sudo lsblk
If you see /dev/nvme0n1p3 mounted as the root directory /, it means the system has successfully booted from the M.2 NVMe SSD.
mtdblock0    31:0    0    16M  0 disk
zram0       253:0    0   1.9G  0 disk [SWAP]
nvme0n1     259:0    0 465.8G  0 disk
├─nvme0n1p1 259:1    0    16M  0 part /config
├─nvme0n1p2 259:2    0   300M  0 part /boot/efi
└─nvme0n1p3 259:3    0 465.4G  0 part /
If you encounter any issues during the boot process, try the following solutions:
-
If the system fails to boot:
- Try reinstalling the M.2 NVMe SSD and booting the system
- Try downloading and flashing the latest SPI boot firmware
- Try reinstalling the system on the M.2 NVMe SSD
-
If the system boots but you cannot log in:
- Default username: radxa, password: radxa
- If the password is incorrect, redownload the system image and reinstall the system on the M.2 NVMe SSD :::