Using an M.2 NVMe SSD Enclosure
This tutorial is for users who have an M.2 NVMe SSD enclosure. It explains how to install the system on an M.2 NVMe SSD using the enclosure.
An M.2 NVMe SSD is a solid-state drive that supports the M.2 interface and NVMe protocol.
Hardware Preparation
Installing the system on an M.2 NVMe SSD using an enclosure doesn't require a microSD card. Simply insert the M.2 NVMe SSD into the enclosure and use the Etcher software to install the system onto the SSD.
Note: Booting from an M.2 NVMe SSD requires using it with a PCIe to M.2 M Key HAT.
You'll need the following hardware:
- Motherboard: Radxa ROCK 4D
- M.2 NVMe SSD: Purchase separately
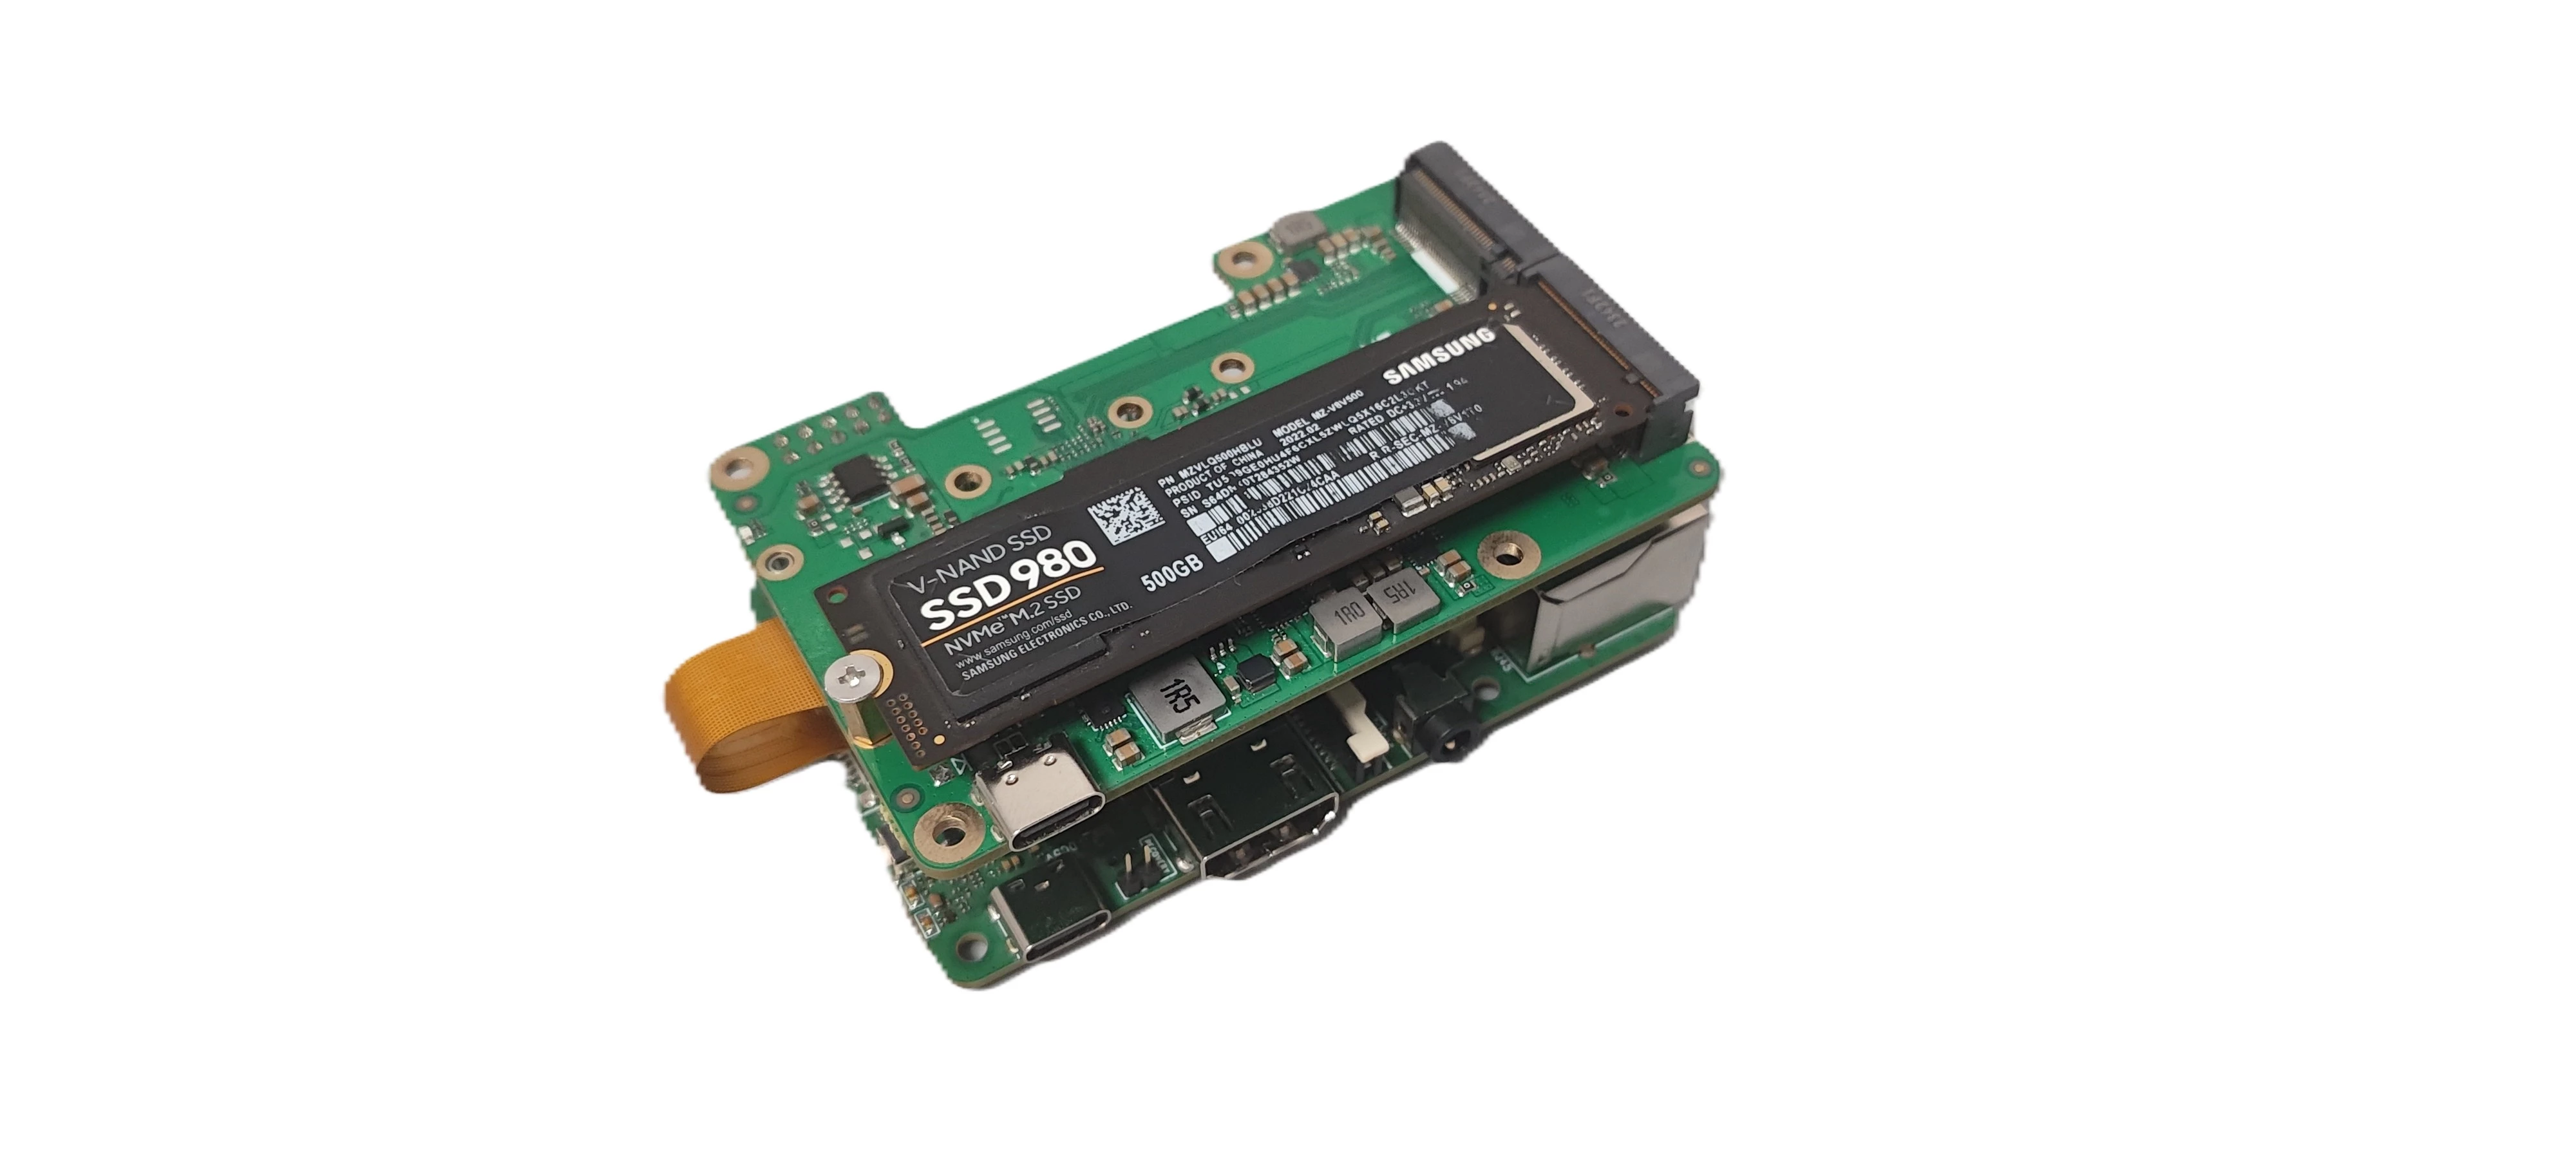
- M.2 NVMe SSD Enclosure: Purchase separately
- PCIe to M.2 M Key HAT: Purchase separately
- Power Adapter: Type-C power adapter (PD protocol supported, 5V input, recommended 3A or higher)
The ROCK 4D mainboard only supports 5V power input. A power adapter with 3A or higher current is recommended to ensure stable operation of all peripherals.
Recommended power adapters:
- Radxa PD 30W Power Adapter (Recommended)
- Standard Type-C power adapter (5V input, PD protocol supported, recommended 3A or higher)
Reinstalling the System
Reinstalling the system will format the M.2 NVMe SSD. Please back up any important data before proceeding.
Download System Image
On your PC, visit the Resource Download Center page, find the system image file corresponding to the M.2 NVMe SSD, and download and extract it.
After downloading, you will get a *.img file, which is the system image file to be written to the M.2 NVMe SSD.
The downloaded system image is a compressed file that needs to be extracted before it can be installed on the M.2 NVMe SSD using the image writing software. If you try to write the compressed file directly to the M.2 NVMe SSD without extracting it first, the system installation may fail or the system may fail to boot.
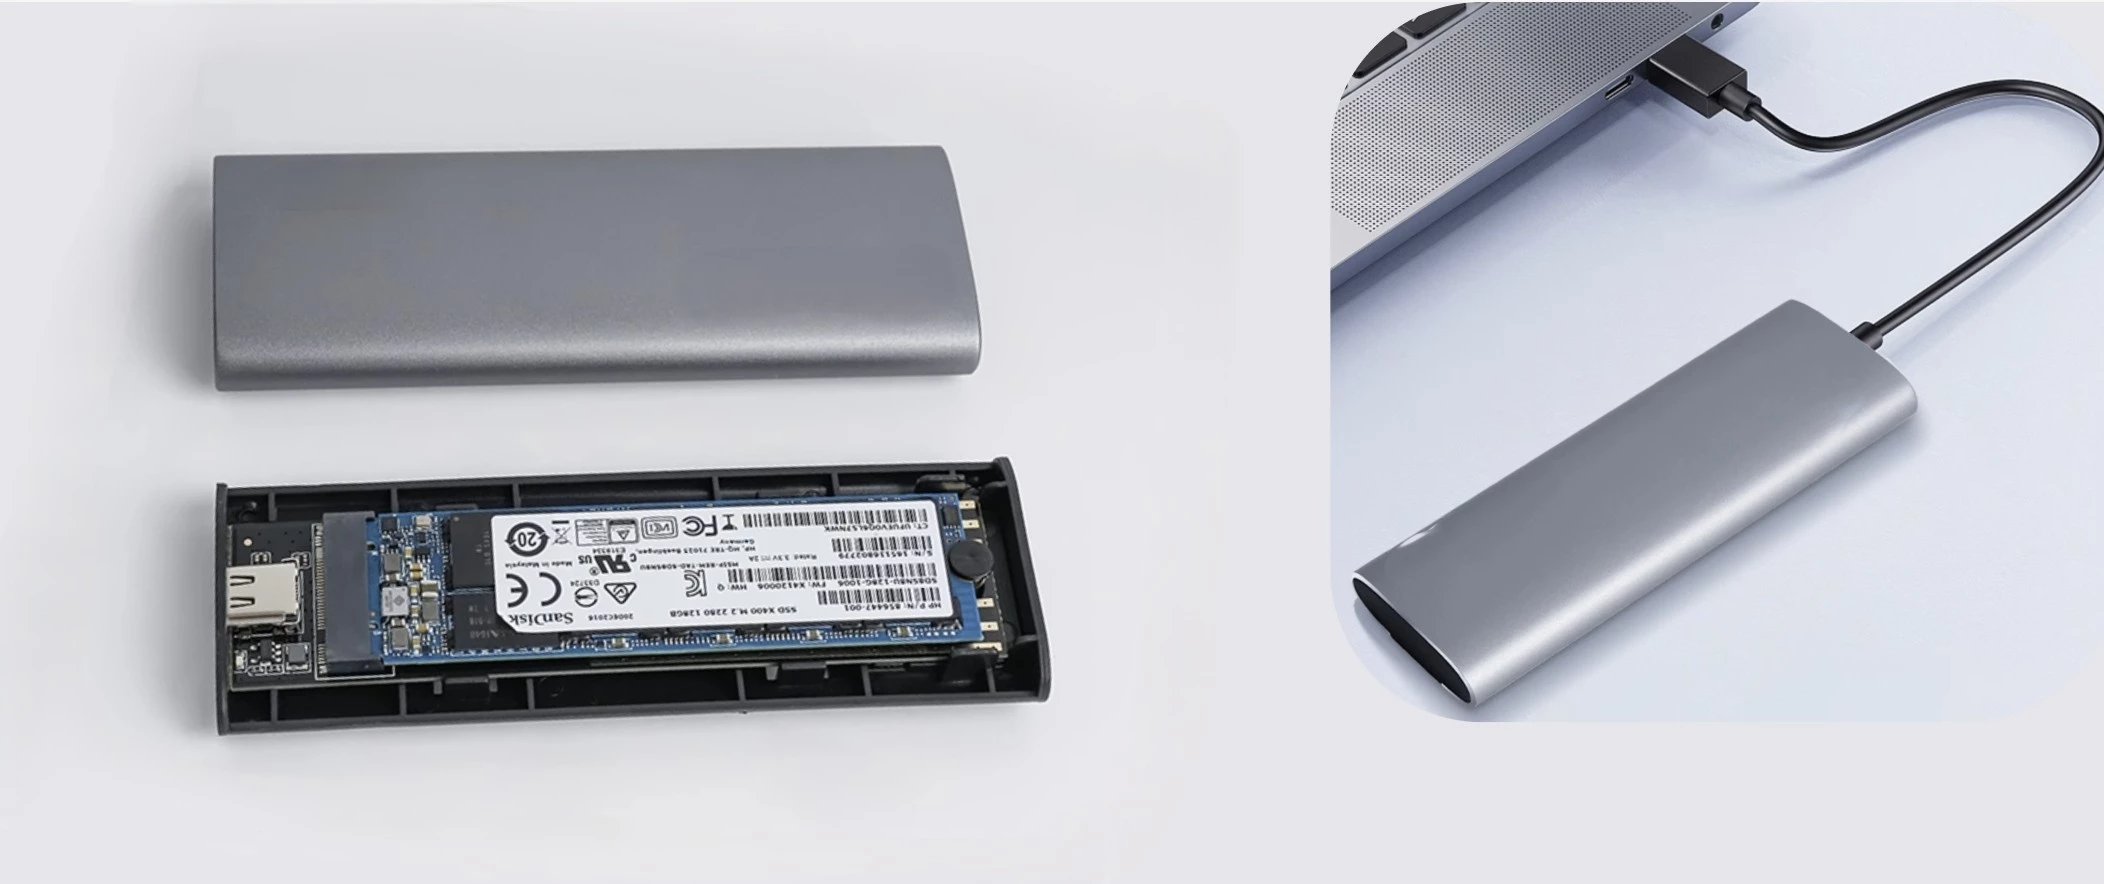
Hardware Connection
Insert the M.2 NVMe SSD into the SSD enclosure, then connect the enclosure to your PC's USB port.
Install System Image
Use the open-source image writing tool Etcher to write the system image file to the M.2 NVMe SSD.
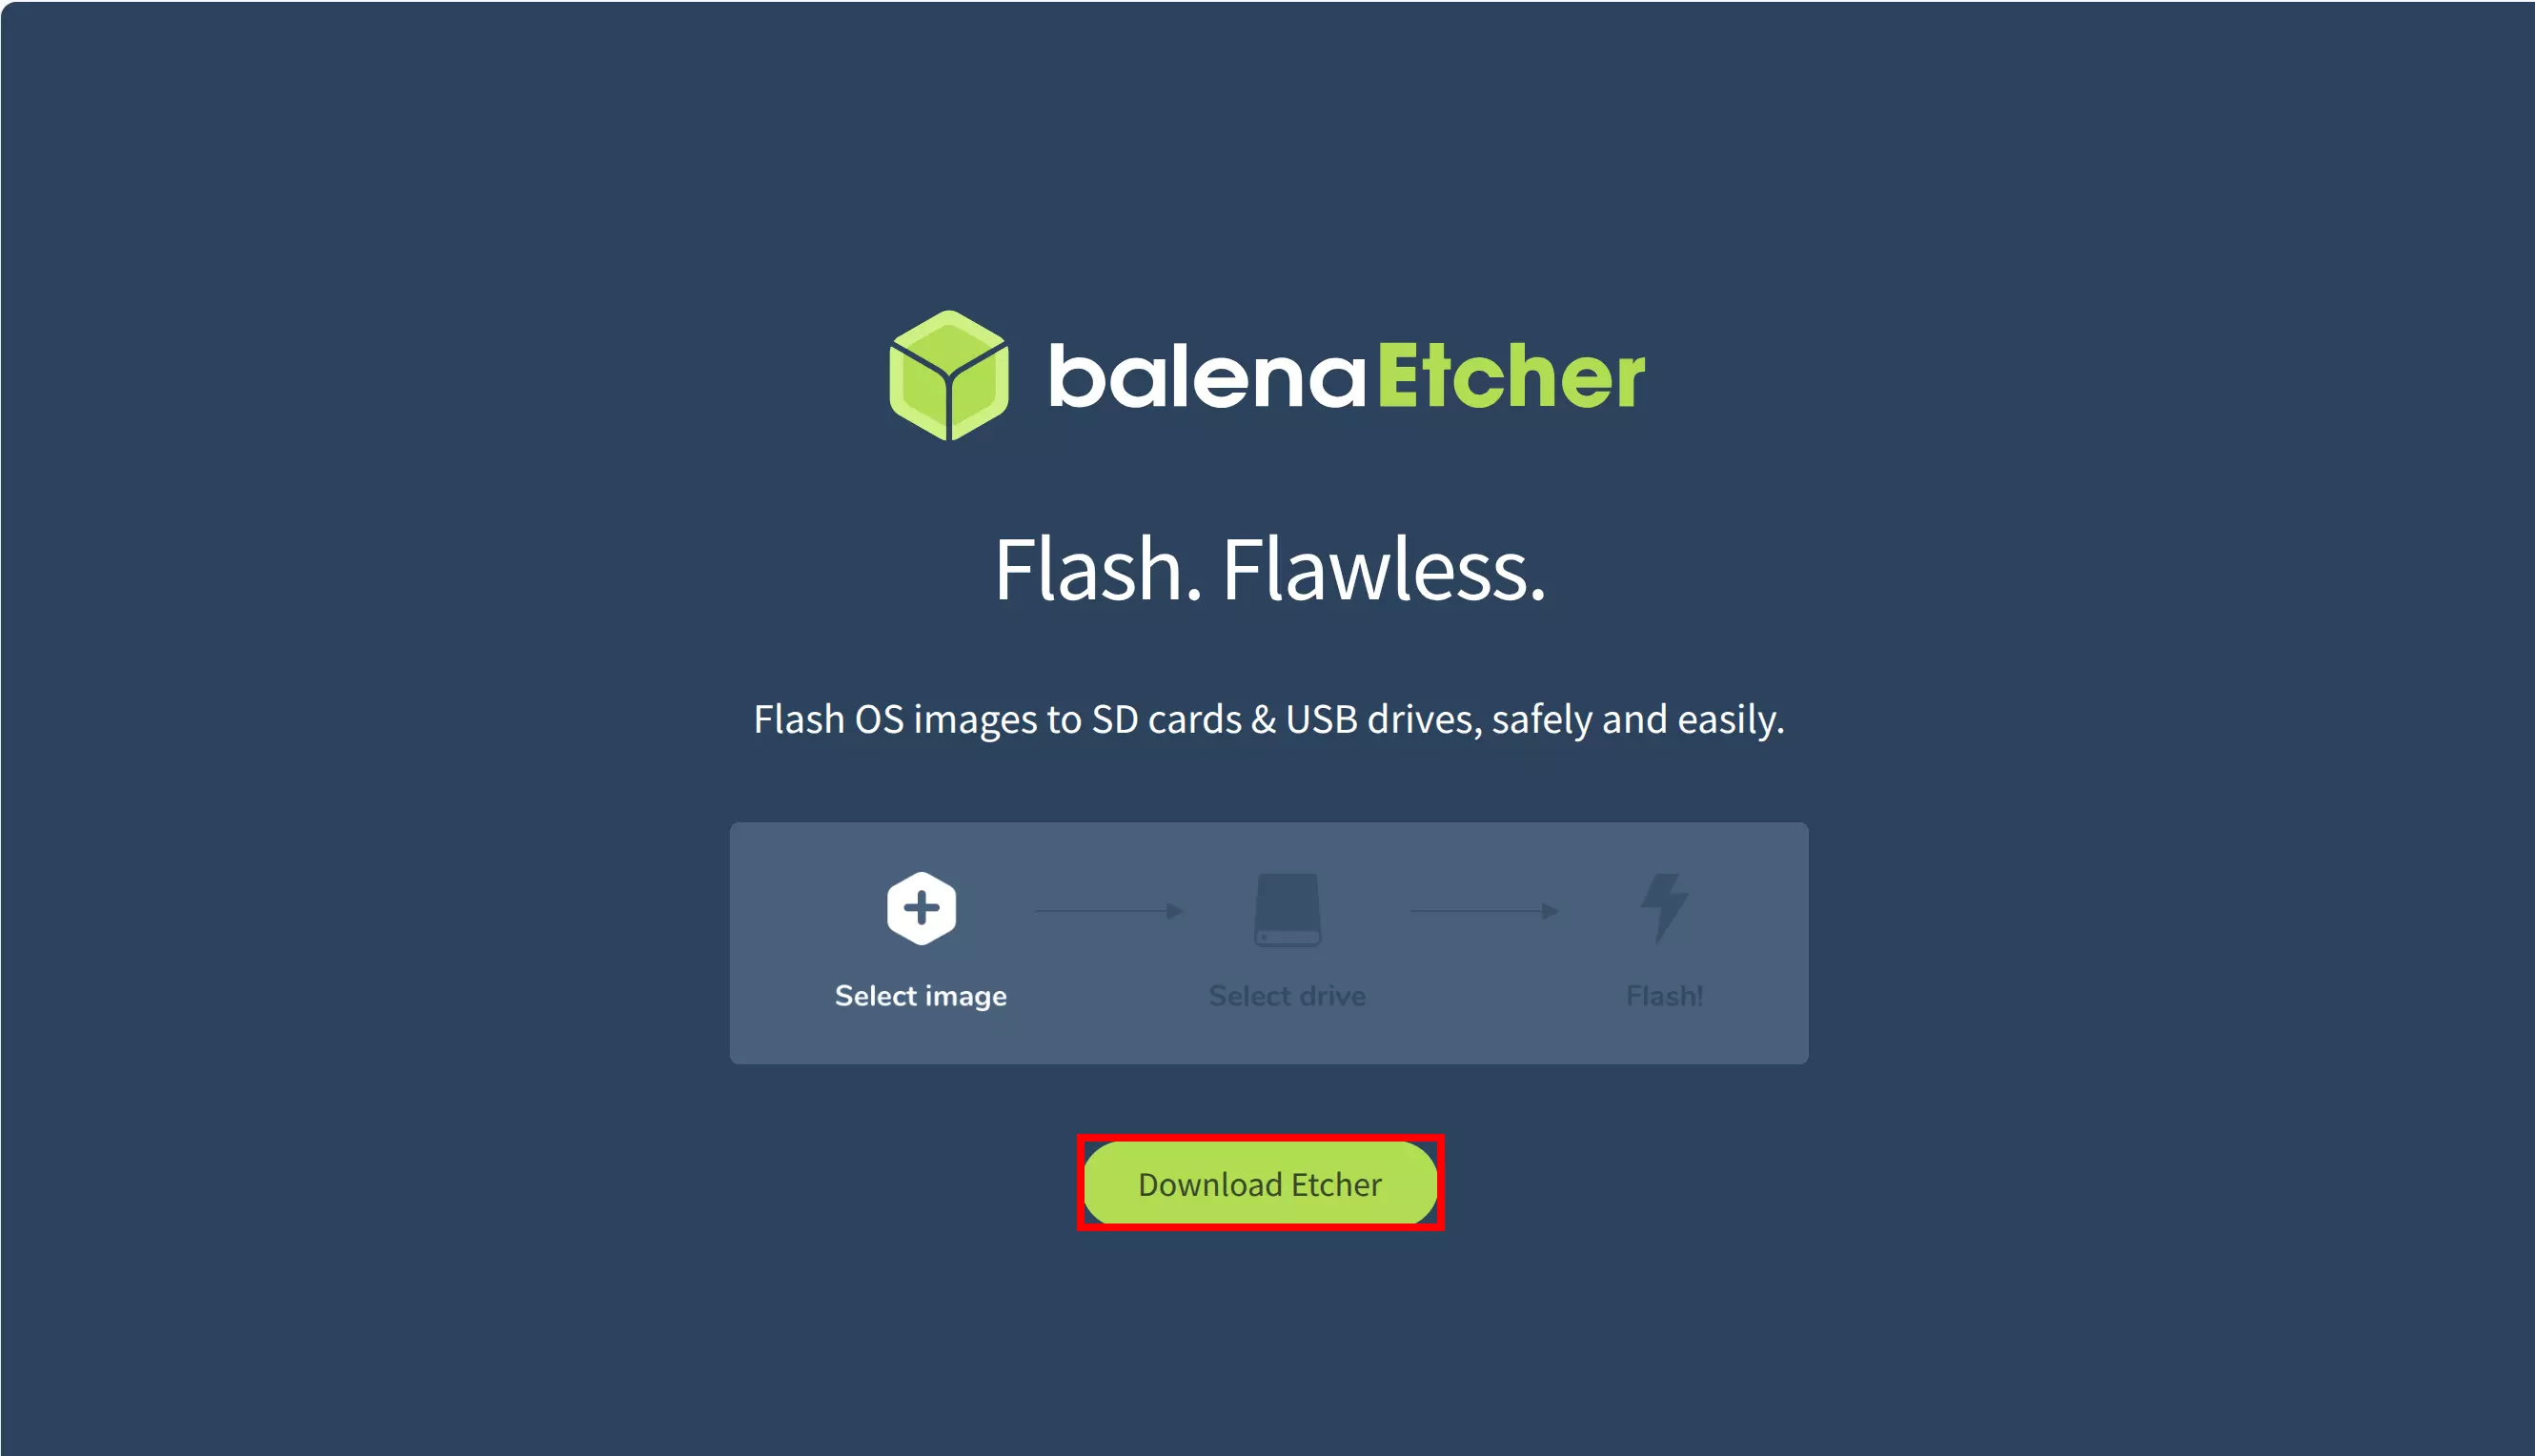
Download Etcher
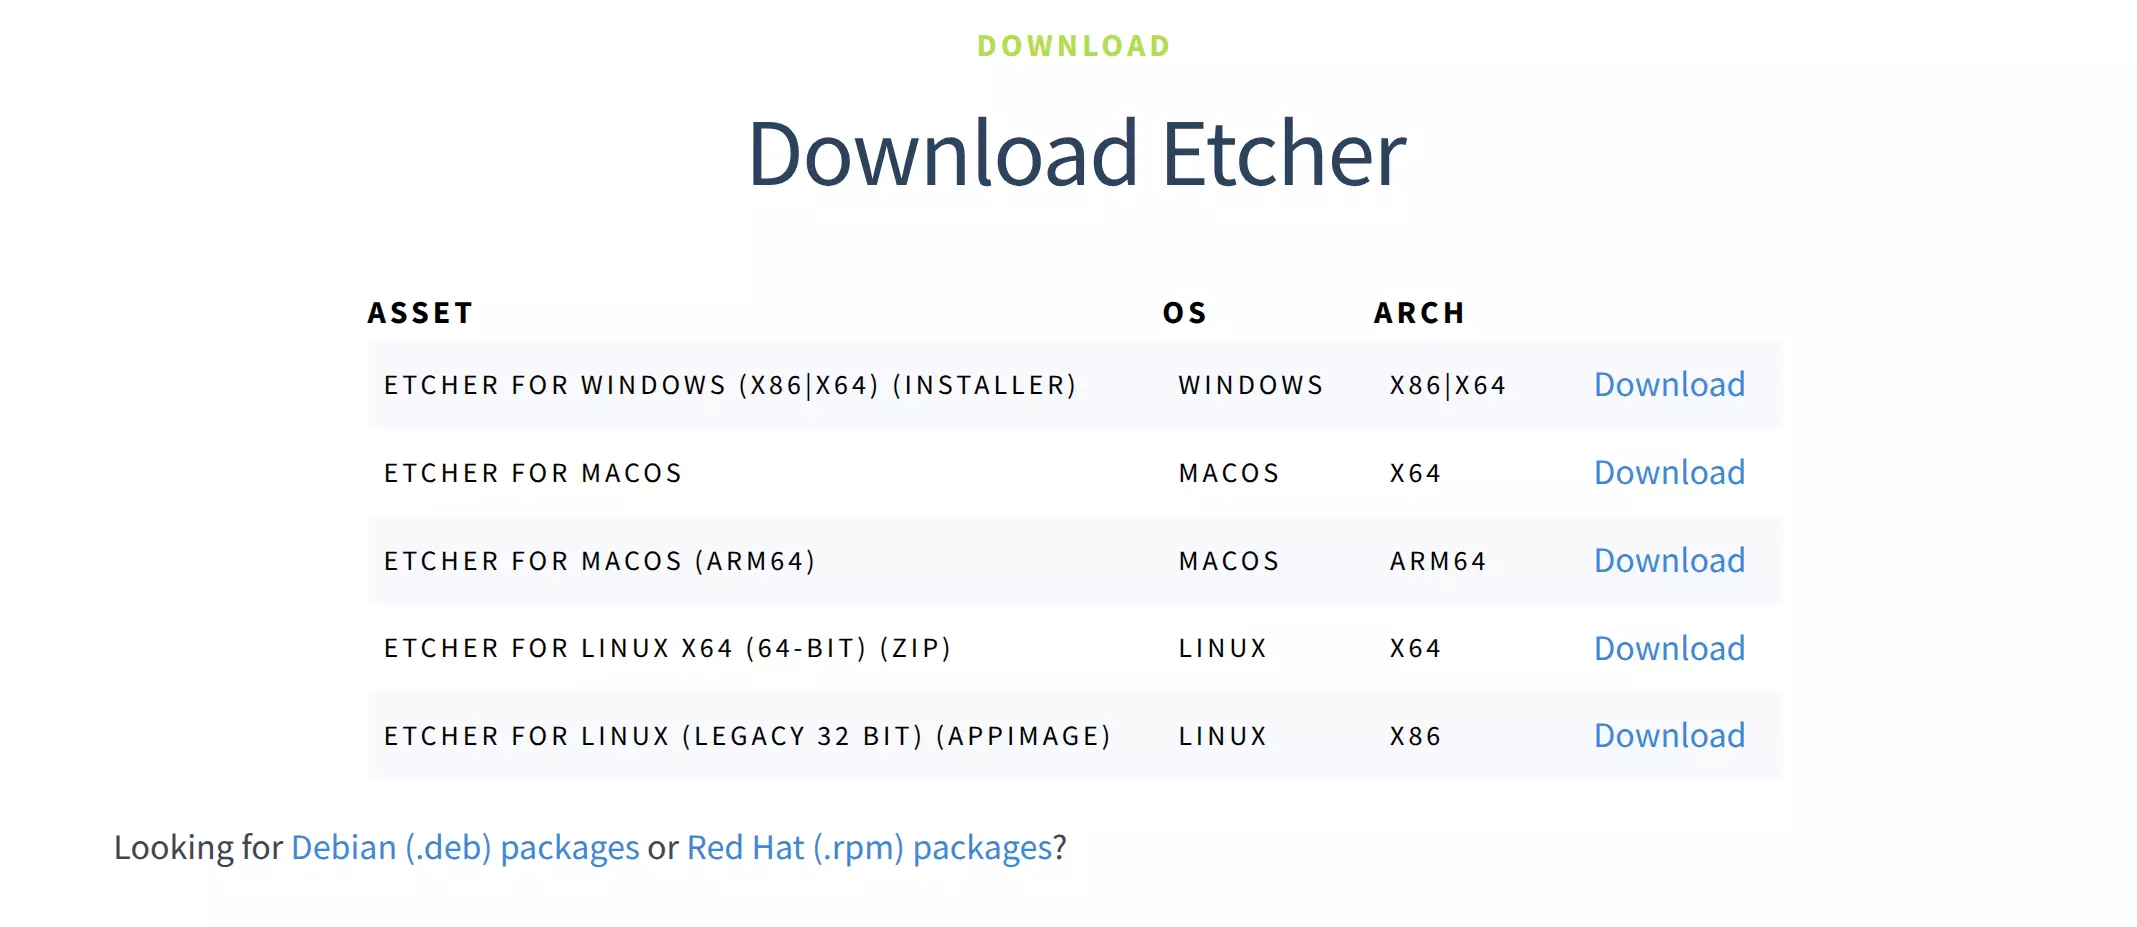
Visit the official Balena Etcher website to download the software for your system platform: balenaEtcher.
Download the software package corresponding to your system platform and architecture.
Using Etcher
After downloading, double-click to open the Etcher application.
- Windows
The downloaded file is an *.exe installer. Double-click the program to run it.
- Linux
It is recommended to download the *.zip archive. After extracting, double-click the program to run it.
- MacOS
Download the *.dmg file corresponding to your system architecture. After opening it, drag the application to the Applications folder to install it. Then double-click the application icon to run it.
Install System Image
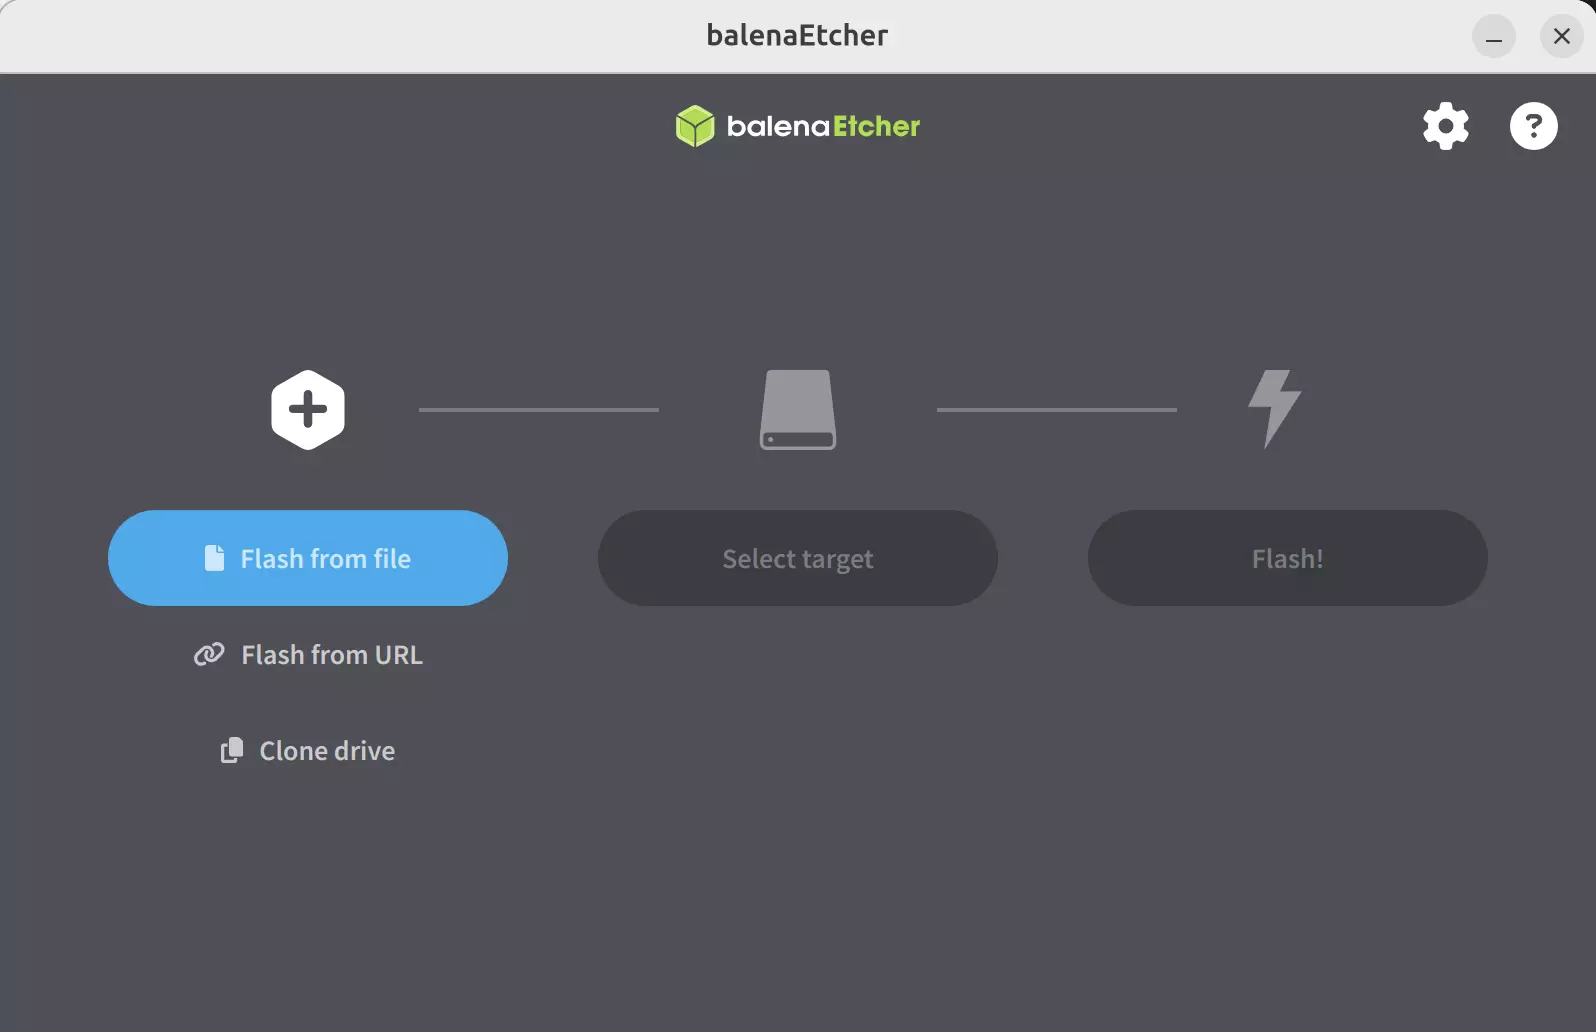
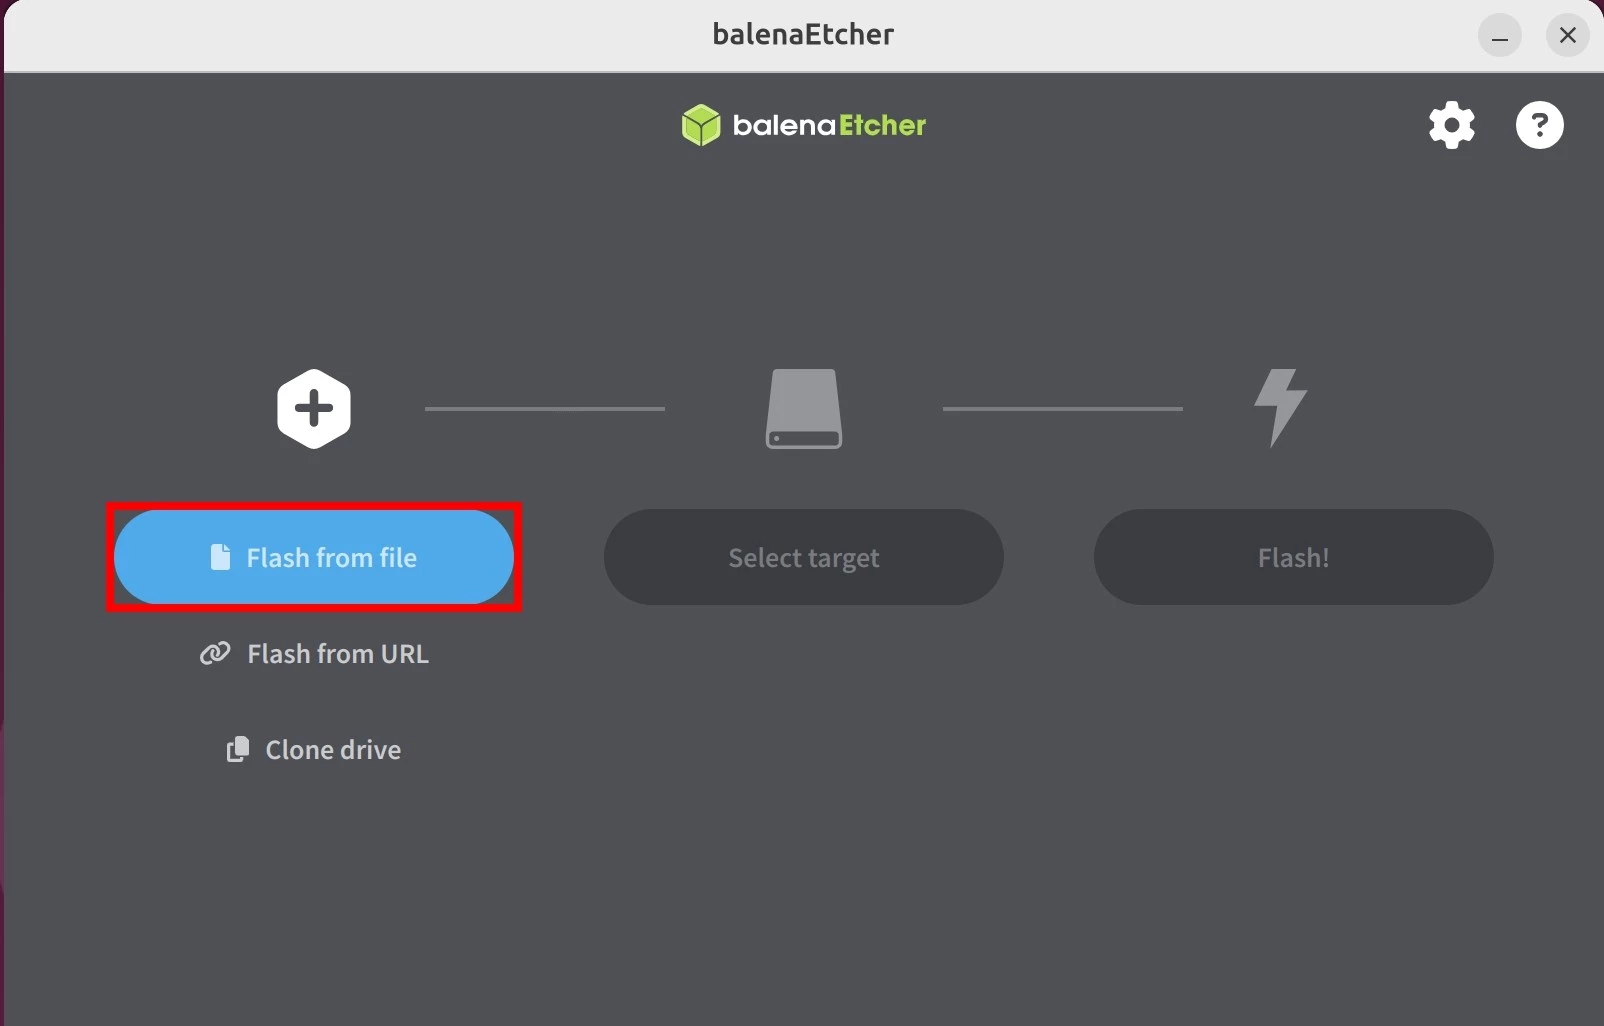
- Select Image File
Click the Flash from file option and select the system image file you have downloaded and extracted in advance.
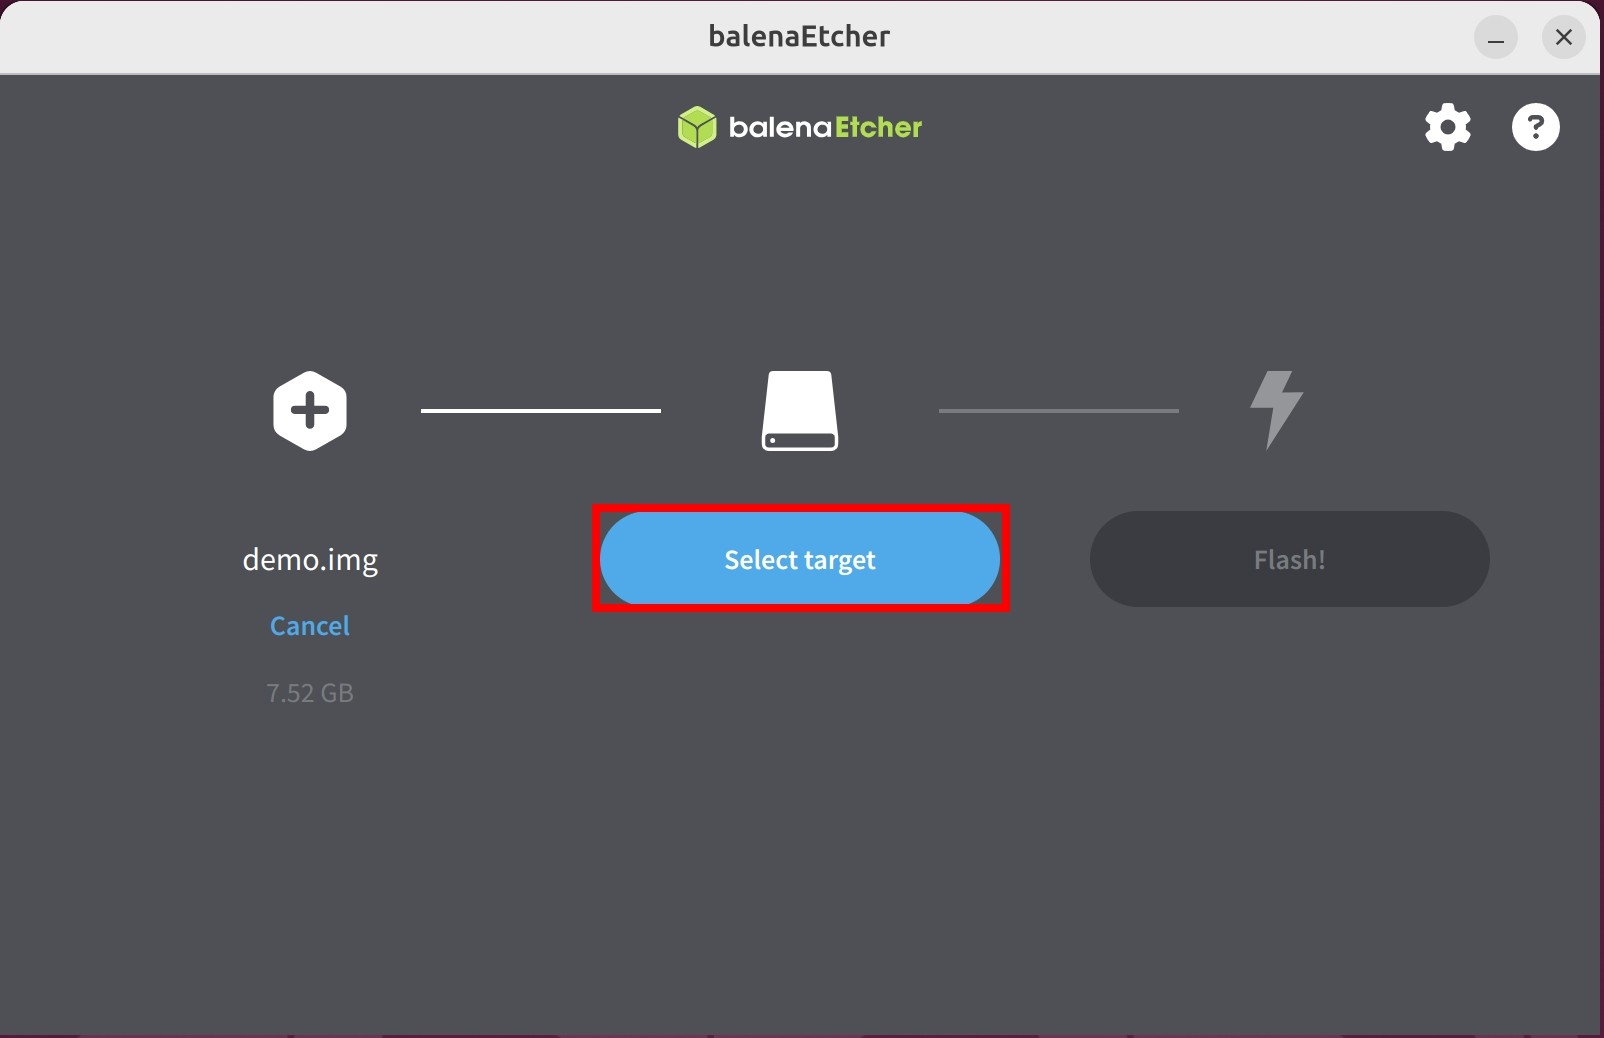
- Select Storage Device
Click the Select target option and choose the storage device where you want to install the system image.
Be careful not to select the wrong storage device, as Etcher will format the selected device, which may result in data loss!
You can plug and unplug the storage device to observe the changes in the available storage devices, which can help you identify the correct device.
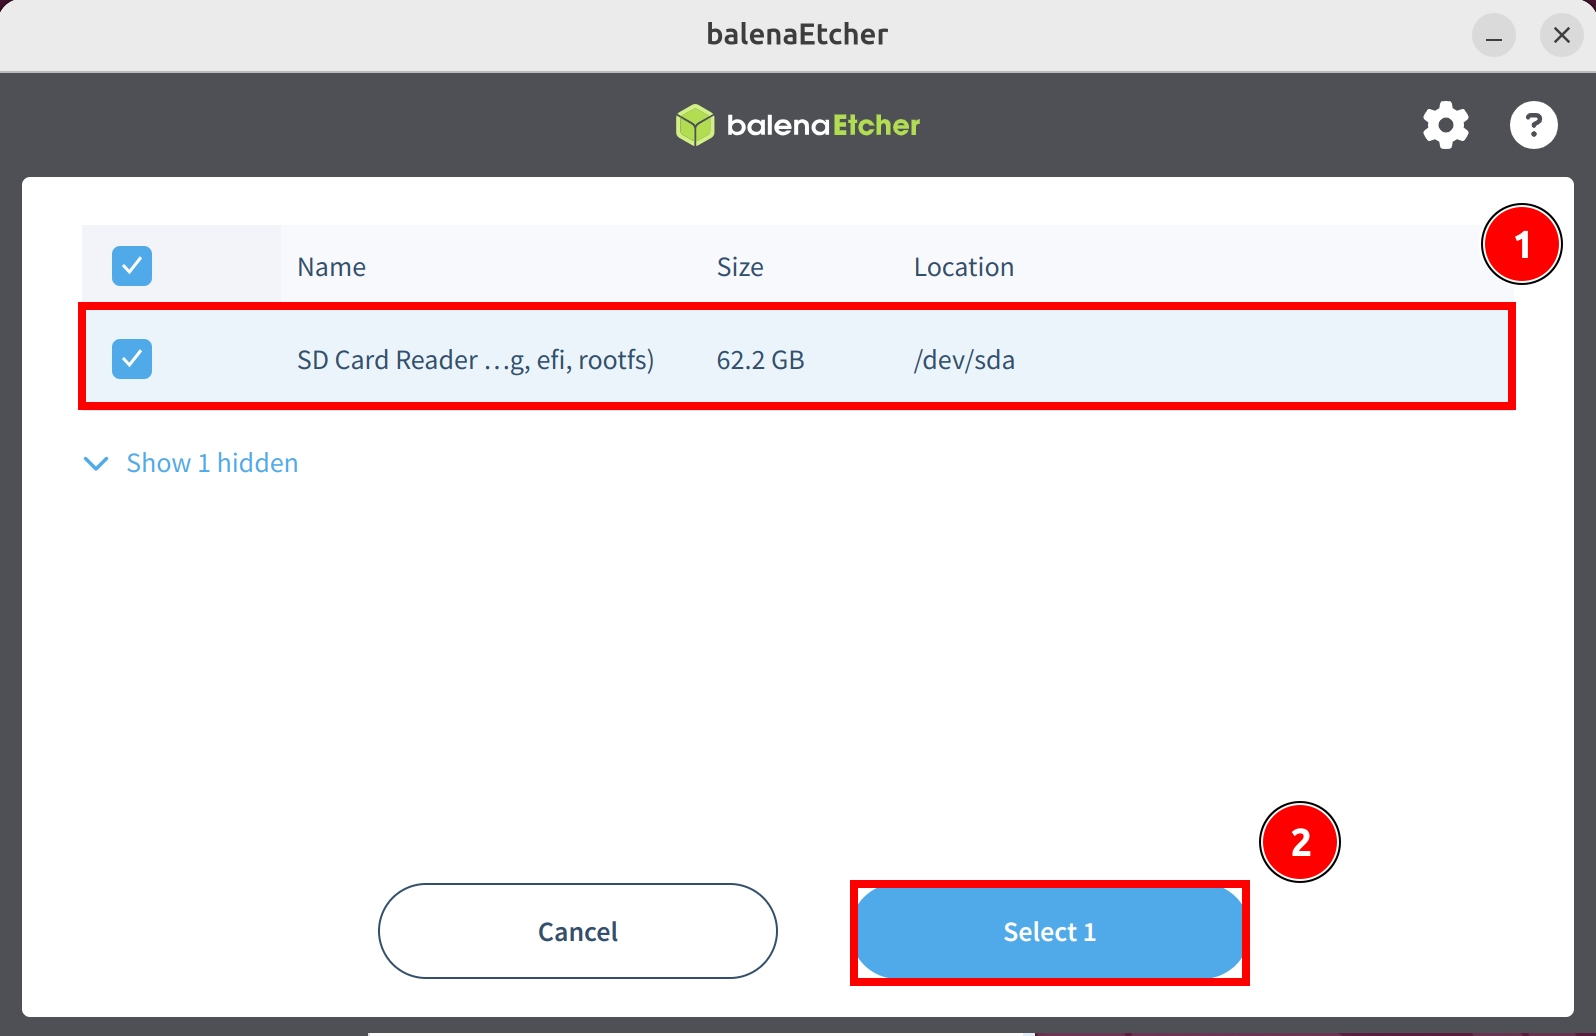
①: Select the storage device where you want to install the system image
②: Click the Select 1 option to confirm device selection
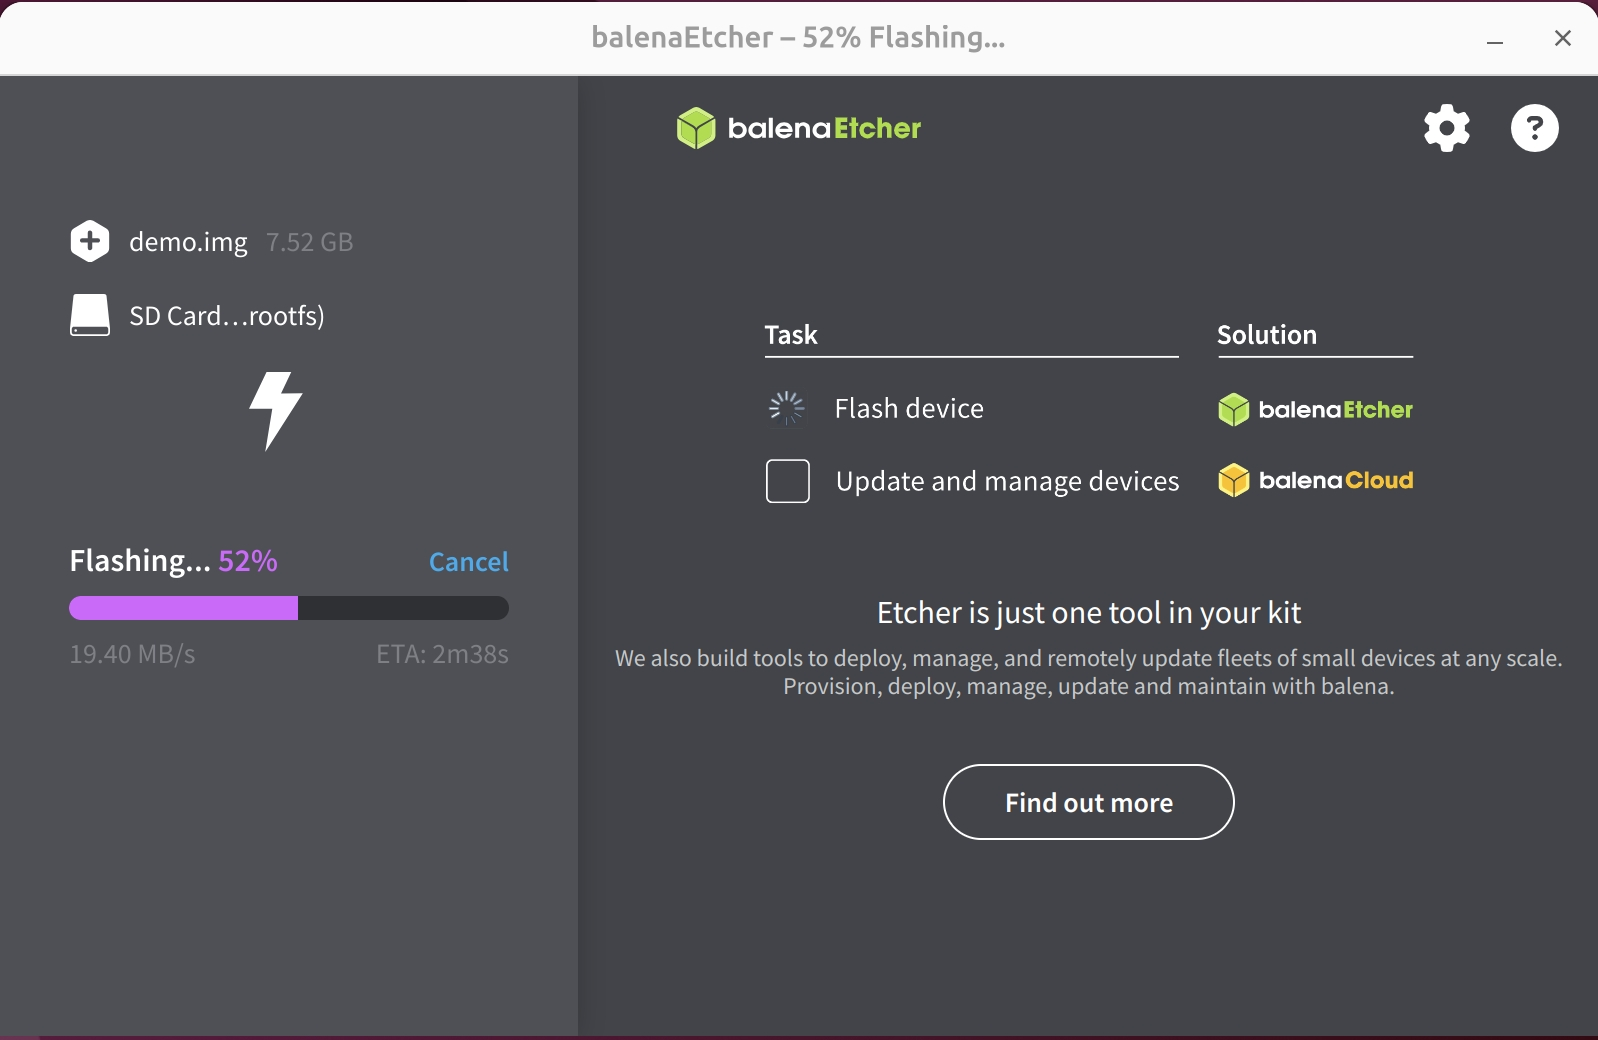
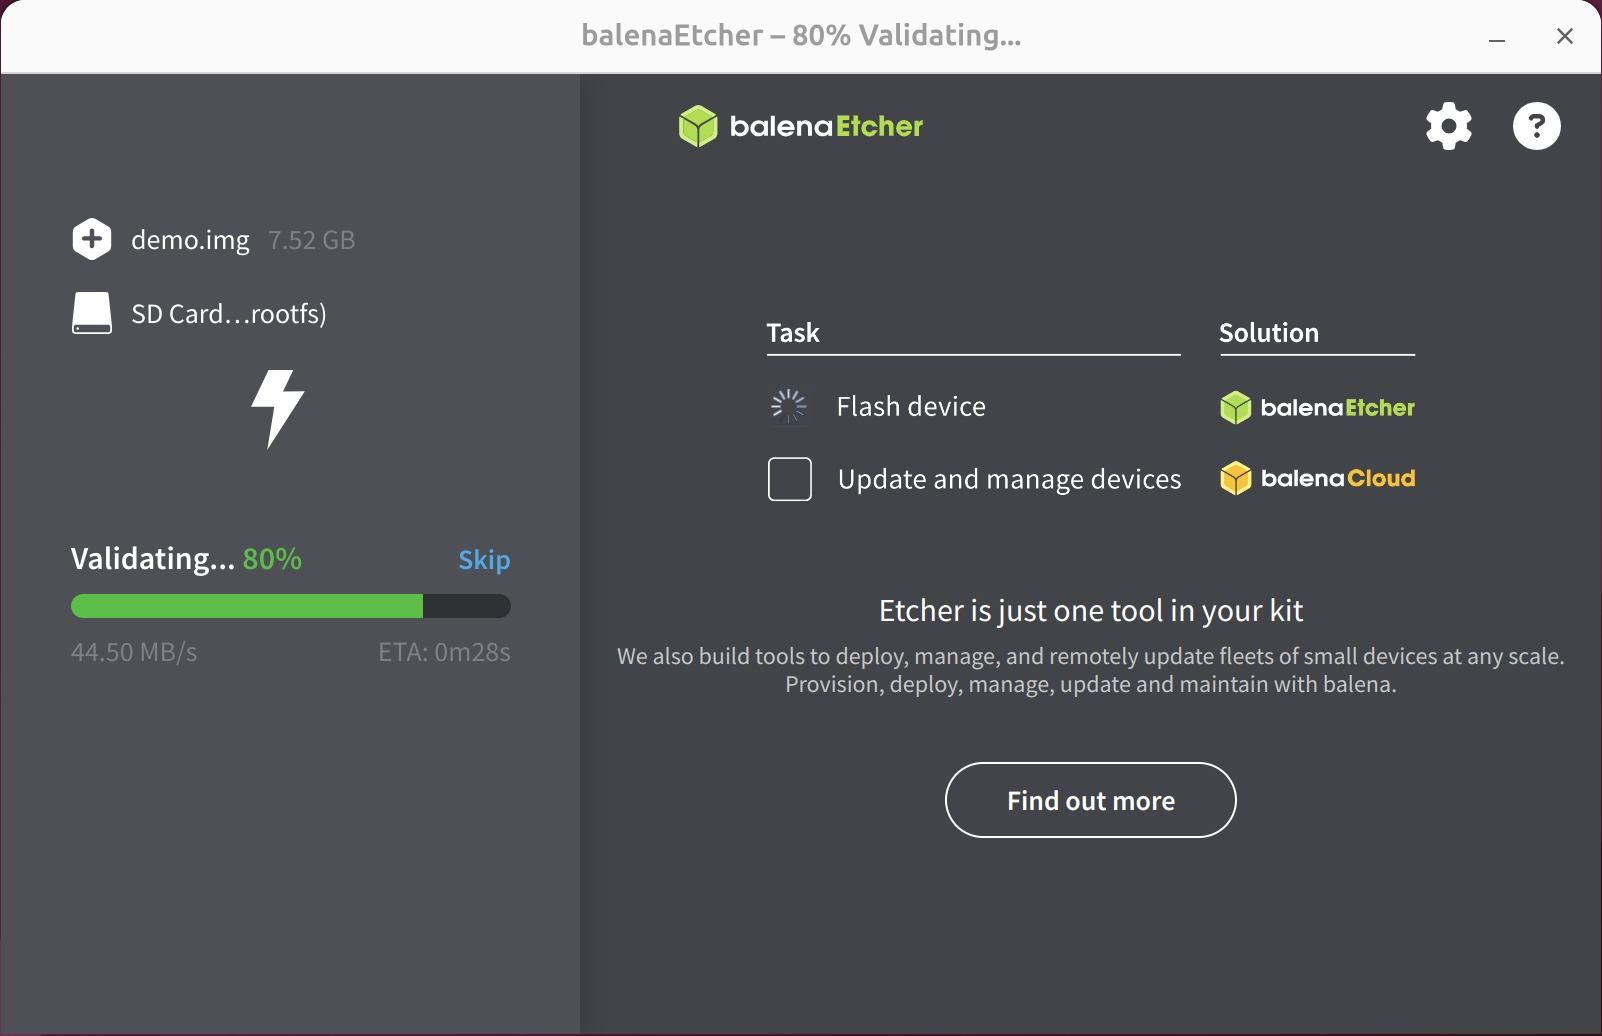
- Install System Image
Click the Flash option and wait for the software to automatically install and verify the system image.
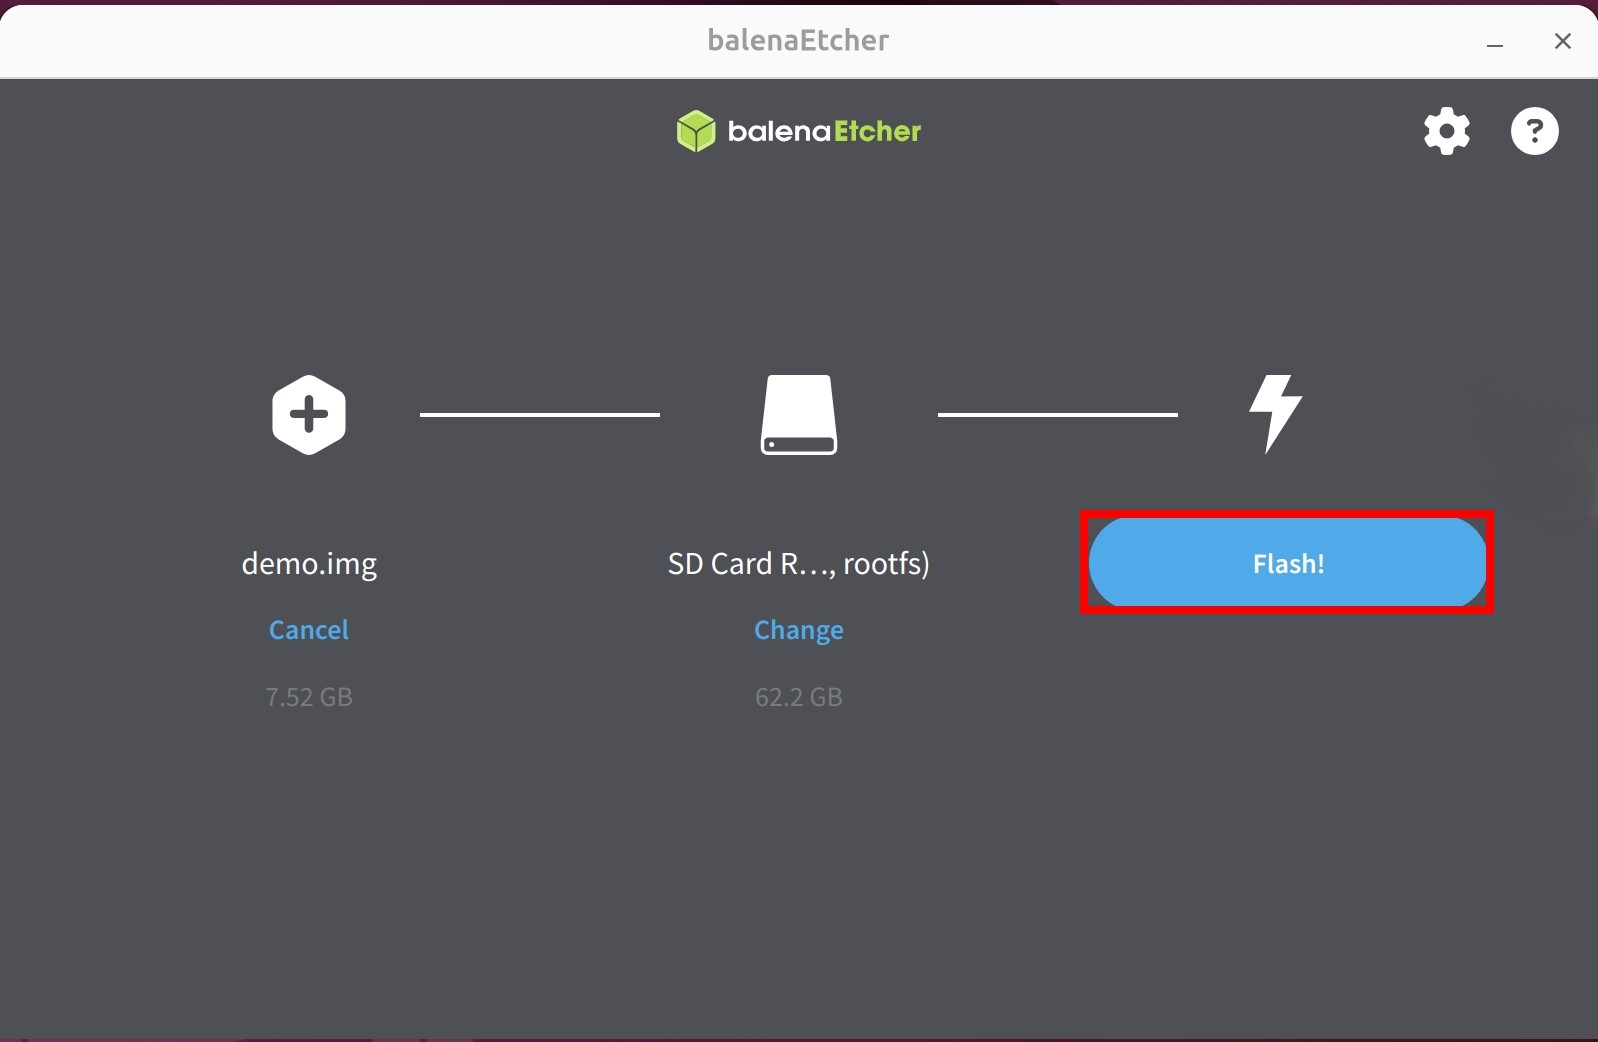
Waiting for system installation to complete
Waiting for system verification to complete
After successfully installing the system image, close the Etcher software!
System Information
When using our provided system image for the first time, you will need to log in with the following default credentials:
- Debian Linux
Username: radxa
Password: radxa
Booting the System
After completing the system image installation:
- Remove the M.2 NVMe SSD from the M.2 SSD enclosure
- Remove the microSD card from the ROCK 4D
- Install the M.2 NVMe SSD into the PCIe to M.2 M Key HAT
- Install the PCIe to M.2 M Key HAT onto the ROCK 4D
- Connect the power supply to the ROCK 4D
- Wait for the system to boot from the M.2 NVMe SSD
After the system starts, both the blue and green LED lights will turn on simultaneously. After a few seconds, the green light will stay on while the blue indicator light will blink, which generally indicates that the system has successfully booted.
Verifying the System
After the system boots, you can use the lsblk command to view the system partition information:
sudo lsblk
If you see /dev/nvme0n1p3 mounted as the root directory /, it means the system has successfully booted from the M.2 NVMe SSD.
mtdblock0    31:0    0    16M  0 disk
zram0       253:0    0   1.9G  0 disk [SWAP]
nvme0n1     259:0    0 465.8G  0 disk
├─nvme0n1p1 259:1    0    16M  0 part /config
├─nvme0n1p2 259:2    0   300M  0 part /boot/efi
└─nvme0n1p3 259:3    0 465.4G  0 part /
If you encounter any issues during the boot process, try the following solutions:
-
If the system fails to boot:
- Try reinstalling the M.2 NVMe SSD and booting the system
- Try downloading and flashing the latest SPI boot firmware
- Try reinstalling the system on the M.2 NVMe SSD
-
If the system boots but you cannot log in:
- Default username: radxa, password: radxa
- If the password is incorrect, redownload the system image and reinstall the system on the M.2 NVMe SSD :::