Install the system to NVME
Overall Steps
-
Prepare a MicroSD card as a boot disk
-
Use the system tool rsetup to flash SPI
-
Flash the system image to the NVMe SSD
-
Remove the MicroSD card and boot from NVMe
Booting the System Normally
Refer to the Create MicroSD Boot Disk section to install the system on a MicroSD card.
The MicroSD card here serves a similar purpose to a boot disk in x86 systems, which is to obtain spi.img and flash it to the SPI flash.
After booting from the MicroSD card, run the following commands to update the system:
sudo apt-get update
sudo apt-get full-upgrade
Using System Tool rsetup to Flash SPI
Open rsetup.
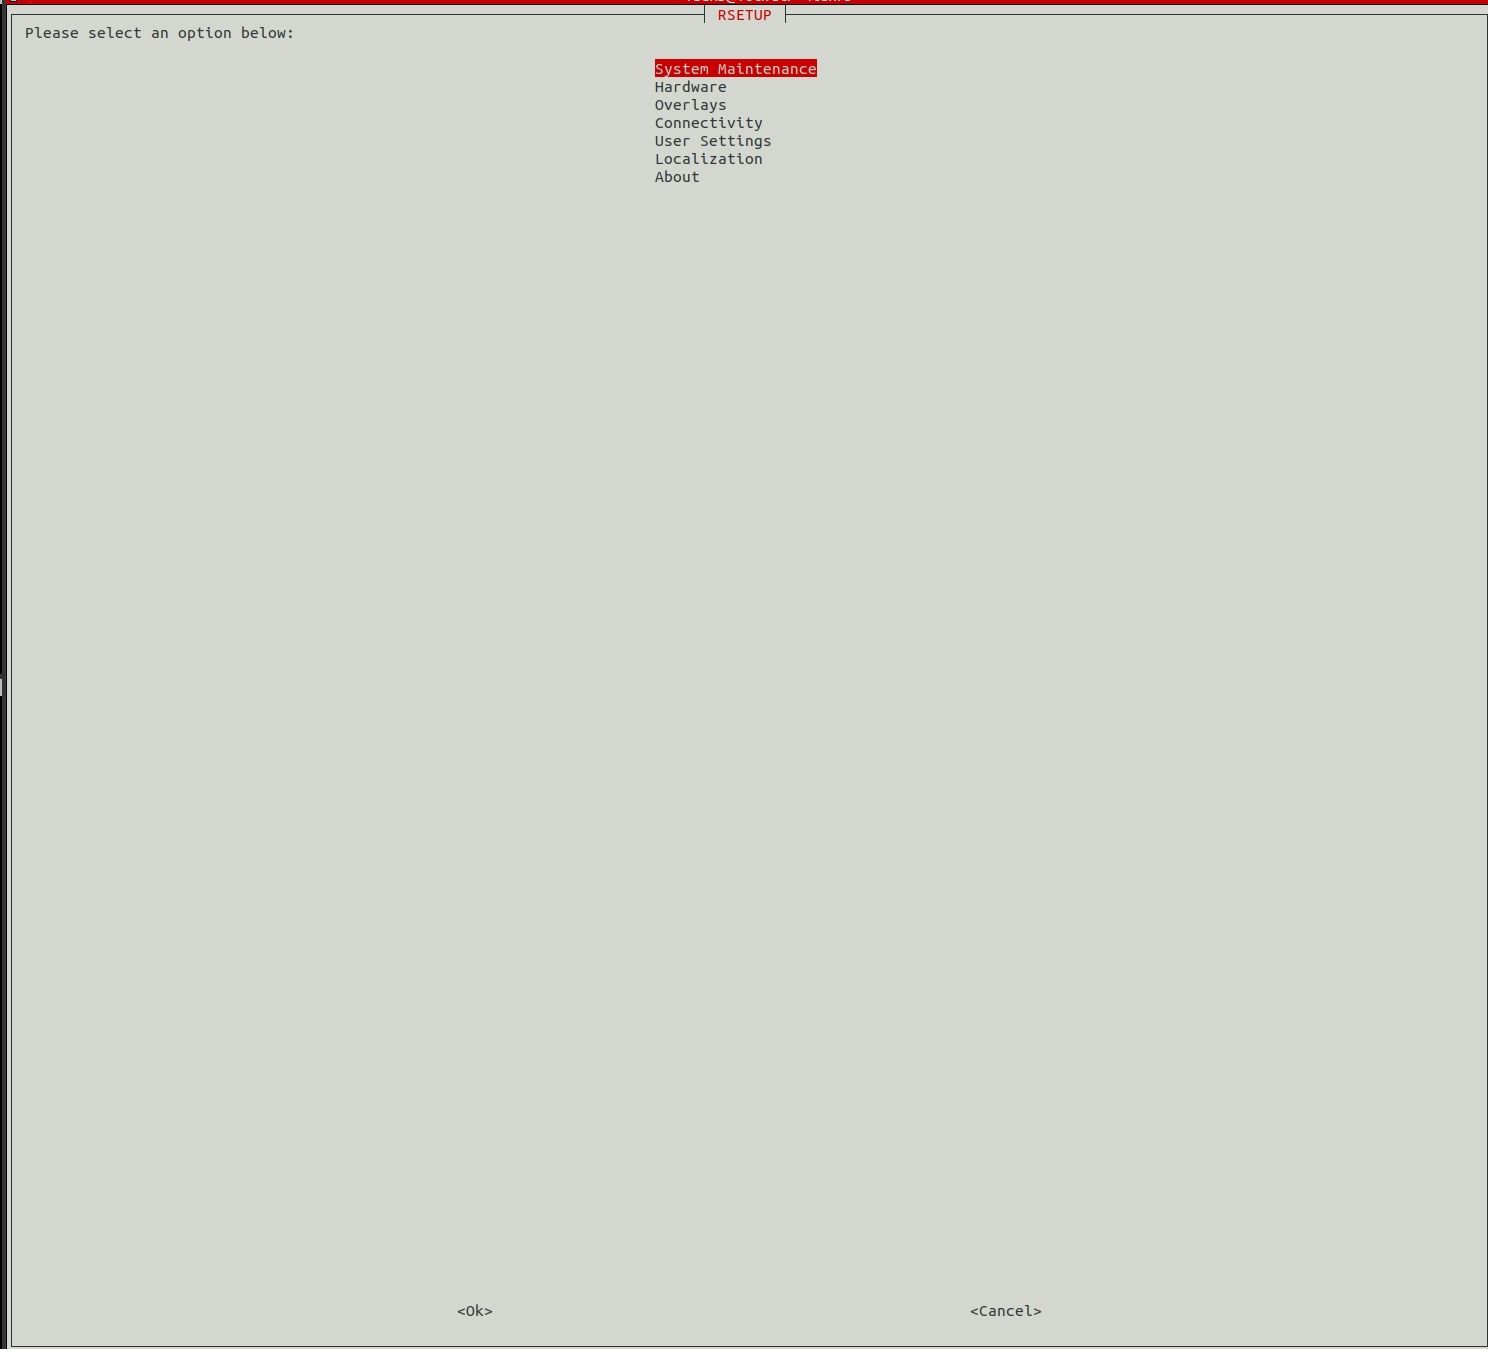
Select the System Maintenance option:
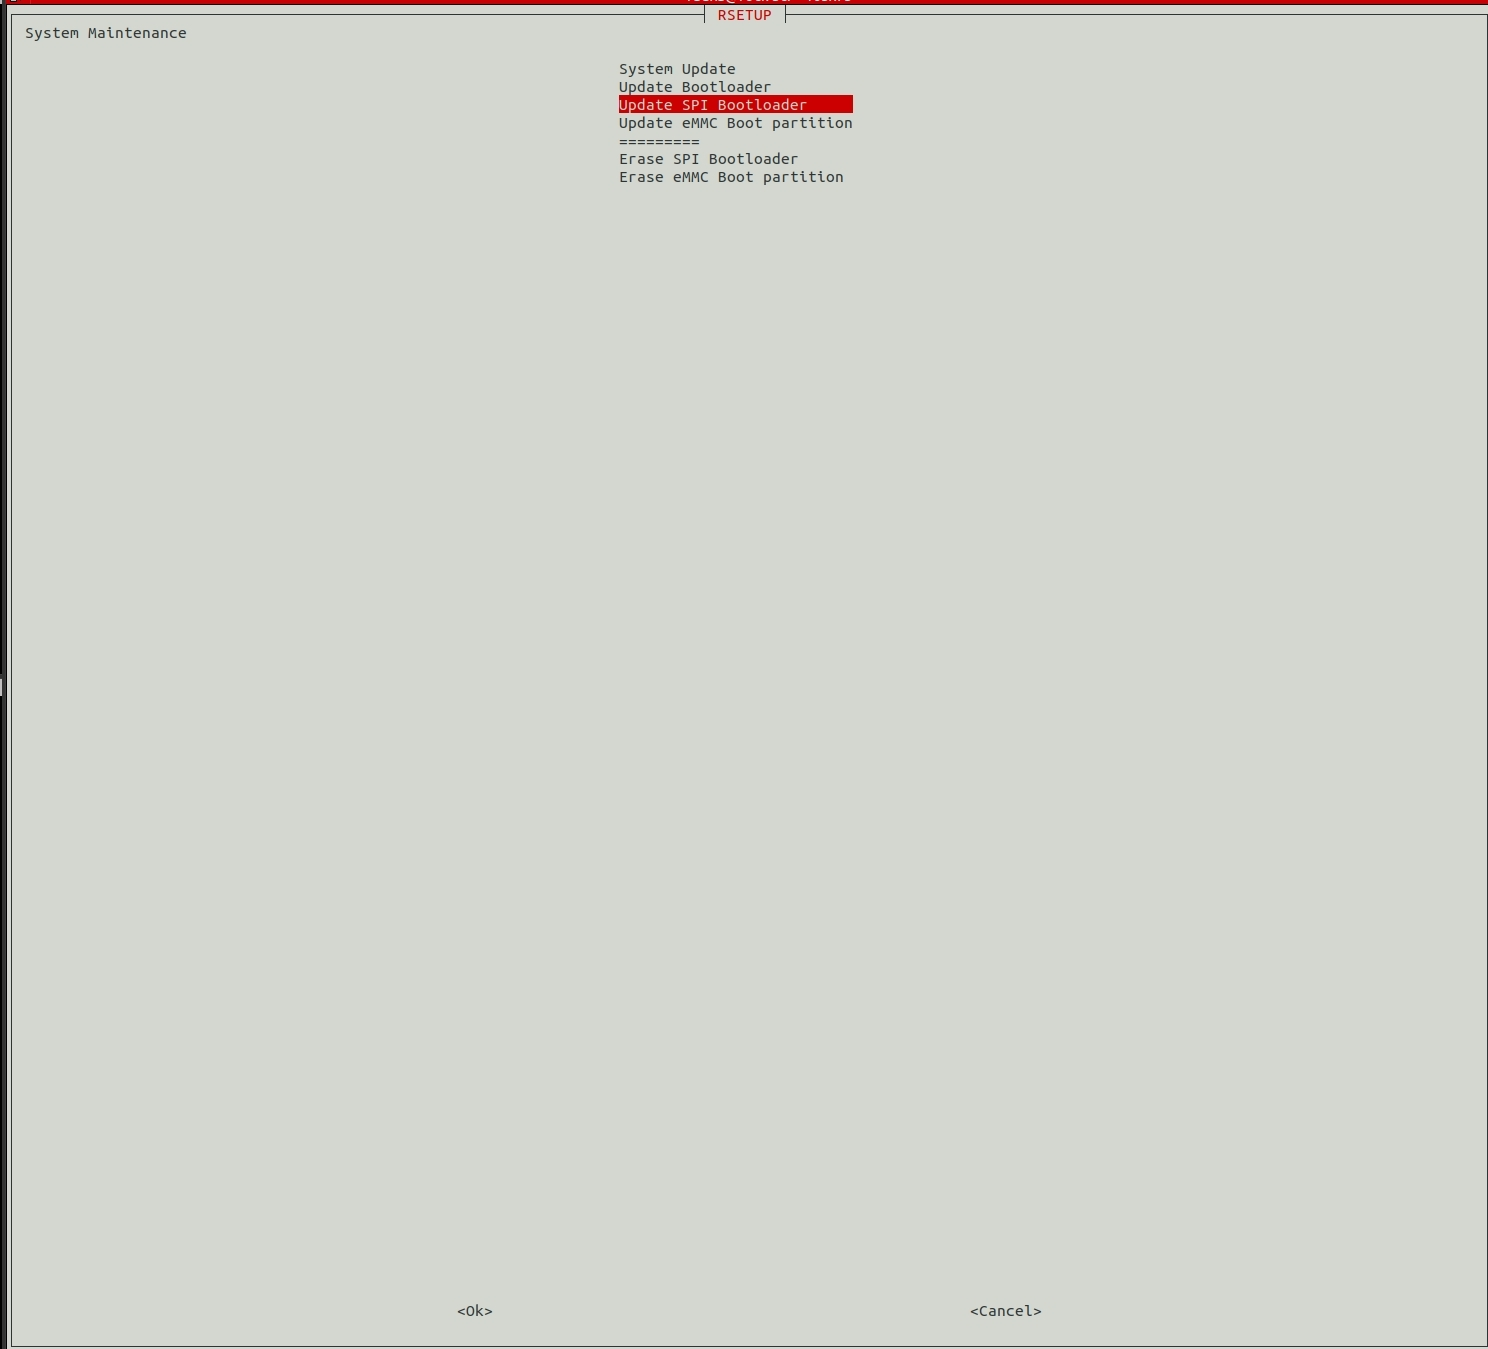
Select the Update SPI Bootloader option:
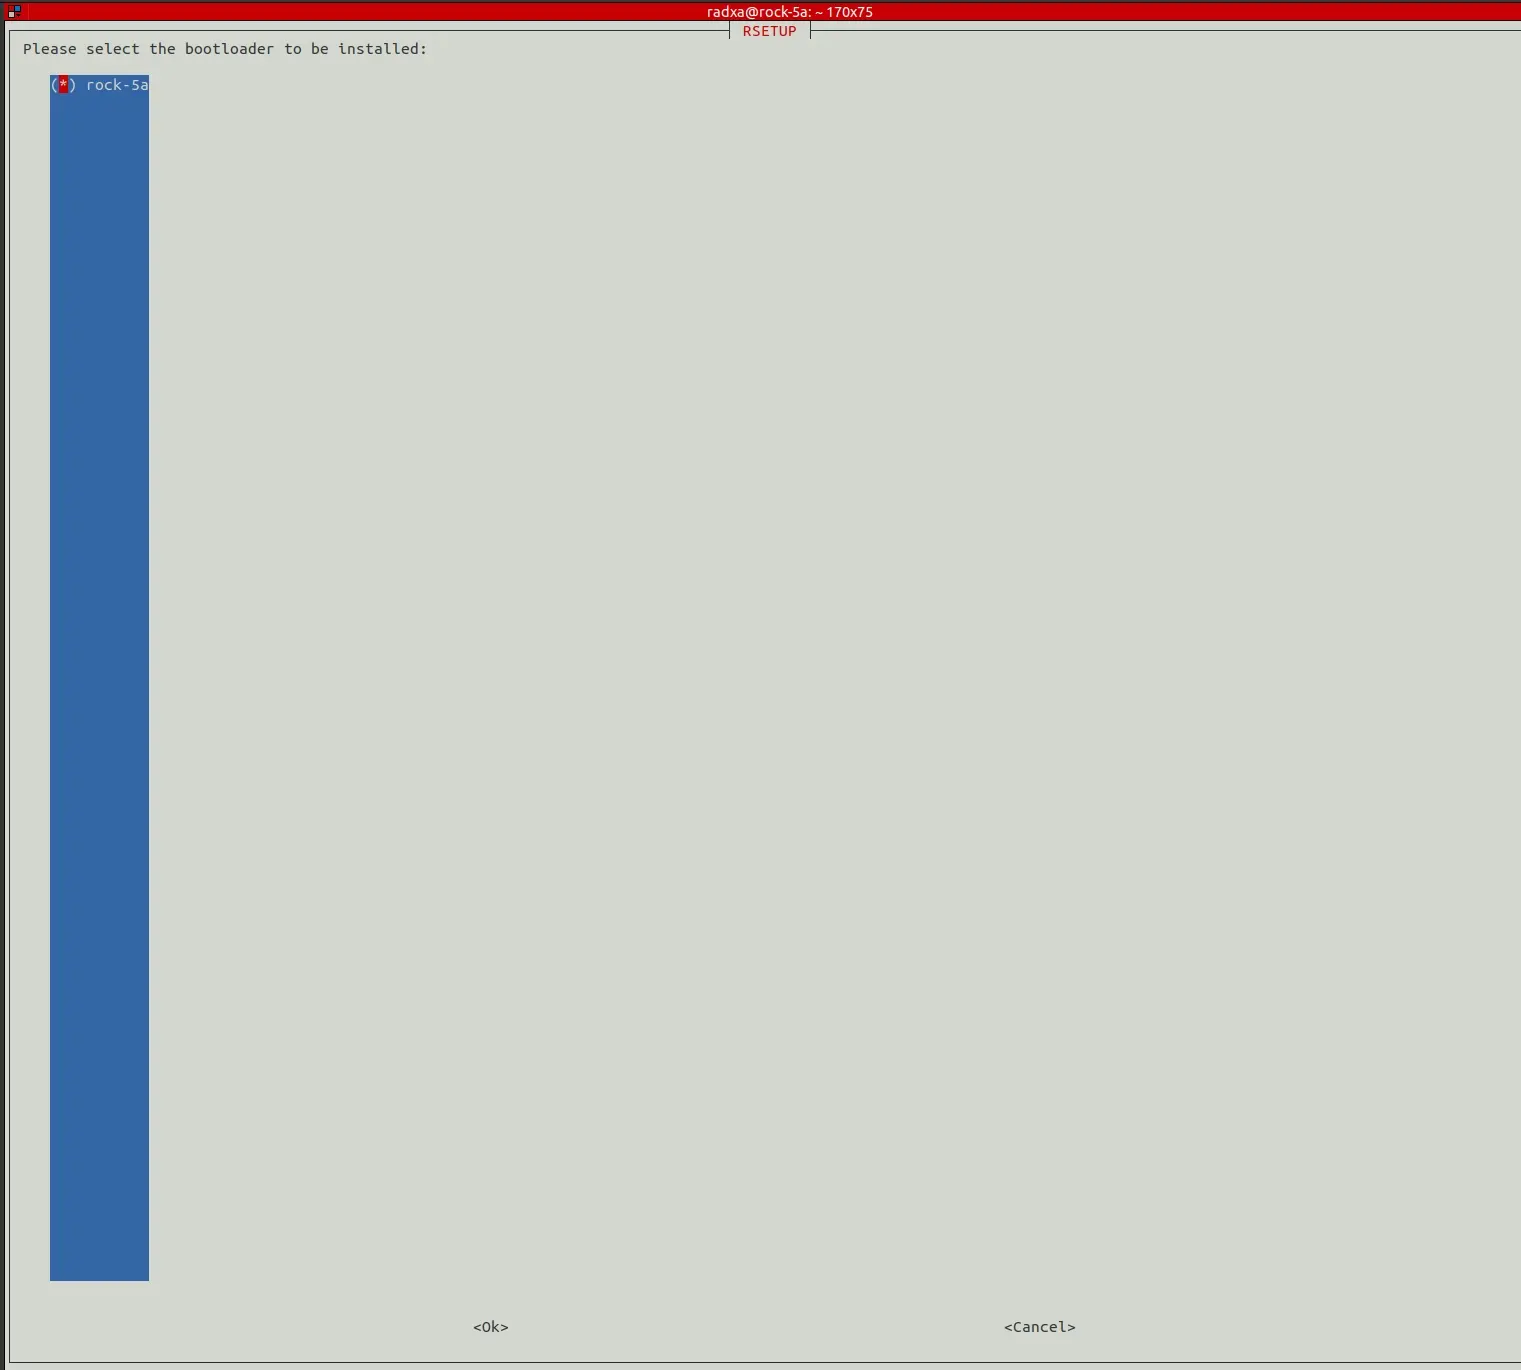
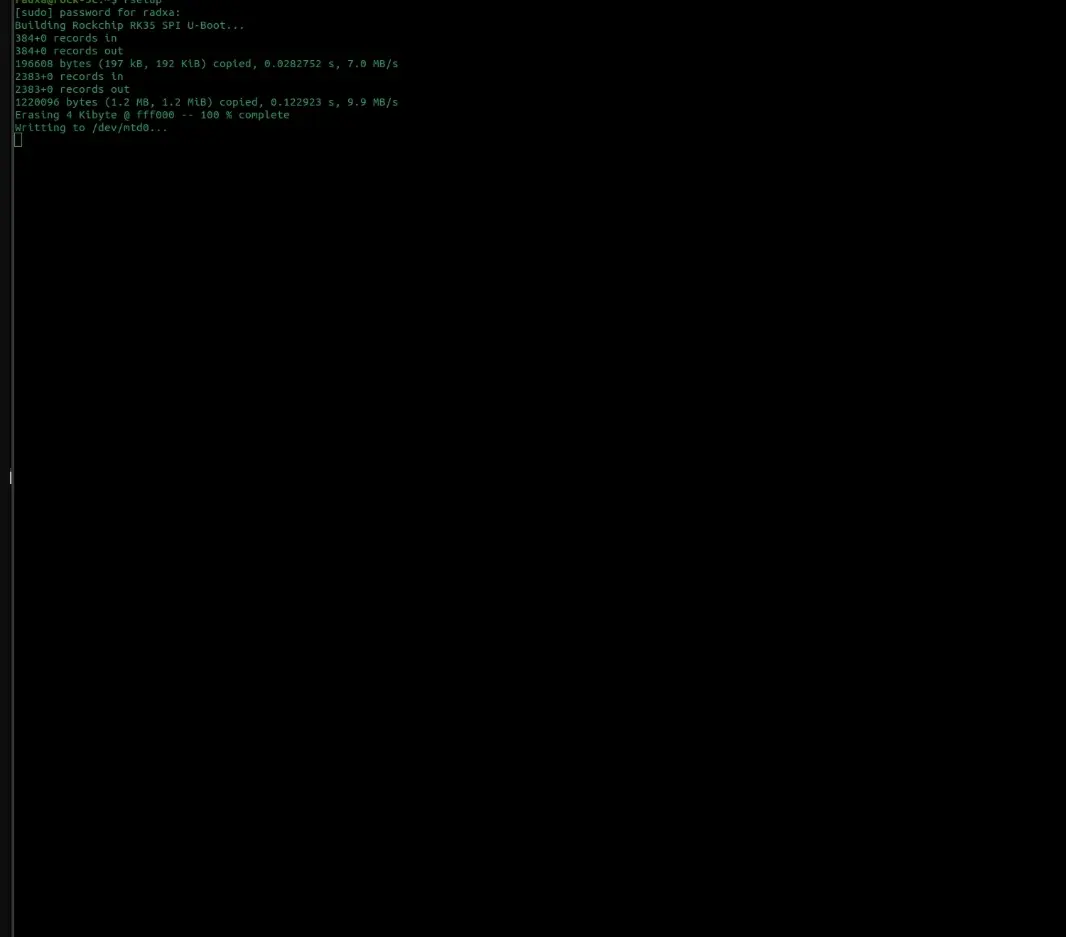
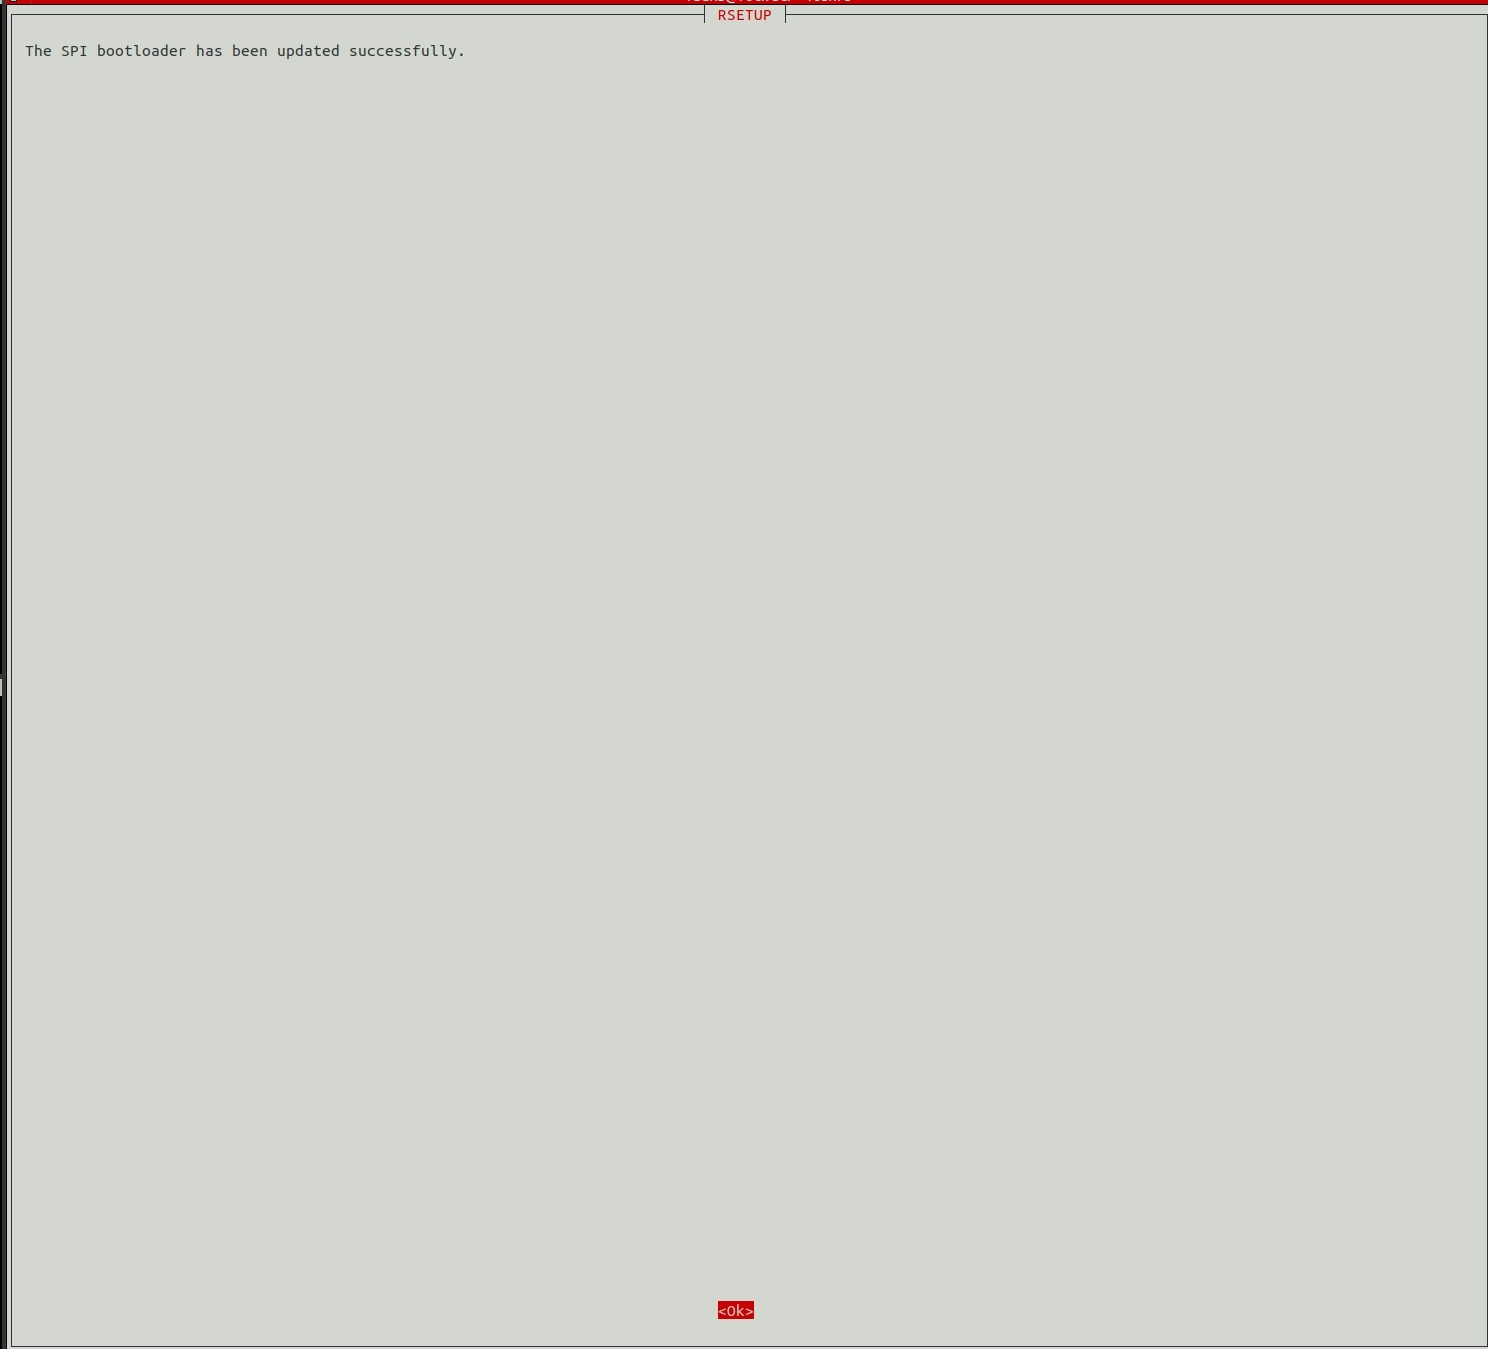
Select the bootloader option from the menu, then follow the prompts to update the SPI Flash:
Wait for the update to complete.
Flashing the System Image to NVMe SSD
Insert the NVMe SSD into the board and verify that the system recognizes it,
  radxa@rock-5a:~$ lsblk
  NAME         MAJ:MIN RM   SIZE RO TYPE MOUNTPOINT
  mmcblk0      179:0    0  14.5G  0 disk
  ├─mmcblk0p1  179:1    0    16M  0 part /config
  └─mmcblk0p2  179:2    0  14.4G  0 part /
  mmcblk0boot0 179:32   0     4M  1 disk
  mmcblk0boot1 179:64   0     4M  1 disk
  zram0        254:0    0   3.8G  0 disk [SWAP]
  nvme0n1      259:0    0 238.5G  0 disk
As shown above, the system has recognized the NVMe SSD as nvme0n1 (in Linux, NVMe devices are typically recognized as nvmeXnY)
Download the system image to the board from the Resource Download. Here we'll demonstrate using the wget command to download the system image on the board. You can copy the URL from the Resource Download page.
- Access the Resource Download directly on the board and download the system image through the browser.
- Download the system image on your PC, then transfer it to the board using a USB drive or online transfer (such as FTP, SCP, etc.).
# Install wget
sudo apt-get install wget
# Download system image
wget [URL]
- wget : Download files, replace [URL] with the actual download link.
Then use the dd command on the board to write the system image to the NVMe SSD.
  sudo xzcat /path/to/img | sudo dd of=/path/to/nvme bs=1M status=progress
  Example:
  sudo xzcat /home/radxa/rock-5a_xx.img.xz | sudo dd of=/dev/nvme0n1 bs=1M status=progress
- xzcat : Decompress the xz-format system image file
- dd : Copy and write to the NVMe SSD device (⚠️Warning: Verify the device name when using the
ddcommand, as incorrect device names may cause data loss) - of=/dev/nvme0n1 : Specify the target device as nvme0n1 (can be modified according to actual situation)
- bs=1M : Set the block size to 1M to improve write speed
- status=progress : Show write progress to monitor the status
Remove SD Card and Boot from NVMe
After removing the SD card, power on the device using the 12V/2A PD power adapter. The system will then boot from the NVMe drive, and the desktop will be displayed via HDMI.
The entire process of powering up the system and booting it up lasts about 53 seconds before it enters the system desktop.