Peripheral usage
This section explains how to use the onboard peripherals on ROCK 5C.
Serial terminal
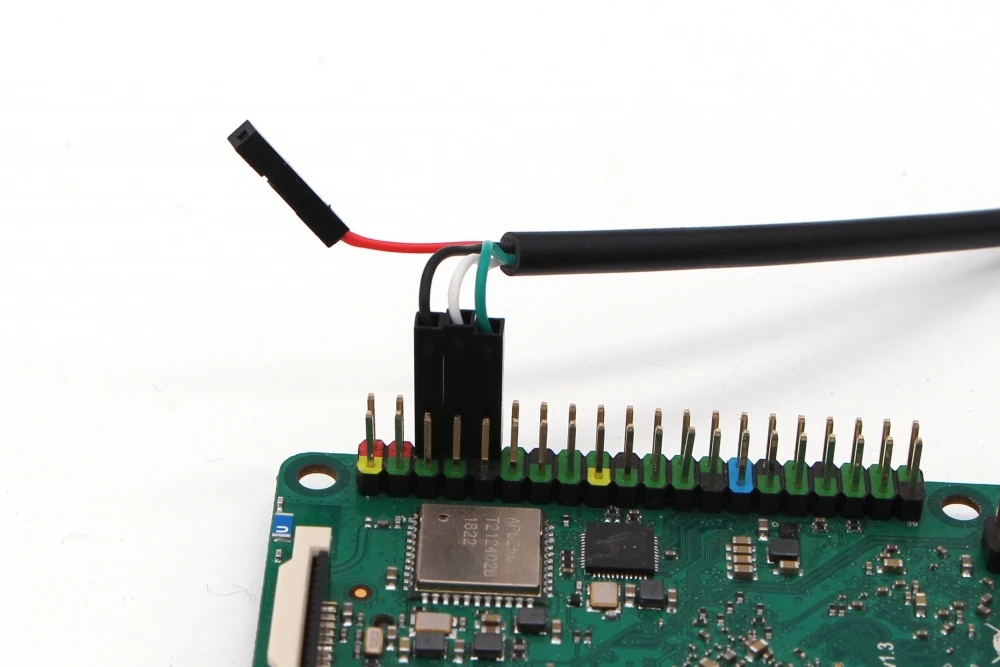
When using a USB-to-serial cable to log in via UART, make sure the pin connections are correct. Incorrect wiring can damage the board.
Do not connect the VCC wire (red) of the USB-to-serial cable to avoid damage from wrong wiring.
Connect the USB-to-serial cable to the ROCK 5C UART0 header, and connect the other end to the PC's USB port.
| ROCK 5C pin function | Connection |
|---|---|
| ROCK 5C: GND (Pin 6) | USB-to-serial GND pin (black wire) |
| ROCK 5C: TXD (Pin 8) | USB-to-serial RXD pin (white wire) |
| ROCK 5C: RXD (Pin 10) | USB-to-serial TXD pin (green wire) |
- Baud rate: 1500000
- Data bits: 8
- Stop bits: 1
- Parity: none
- Flow control: none
USB
The OTG port is set to device mode by default for hdc debugging in Kaihong OS.
If you need to switch the OTG port to host mode, run the following command in the serial terminal:
echo host > /sys/devices/platform/fd5d0000.syscon/fd5d0000.syscon:usb2-phy@0/otg_mode
Using the hdc tool
You can obtain the hdc tool from the daily build SDK in ohos-sdk, then add the hdc tool path to your environment variables to use it in Windows CMD. Some examples are below.
Upload files to the system:
hdc file send D:\temp\cyx.mp3 /data/local/tmp
Download files to the local PC:
hdc file recv /data/local/tmp D:\temp
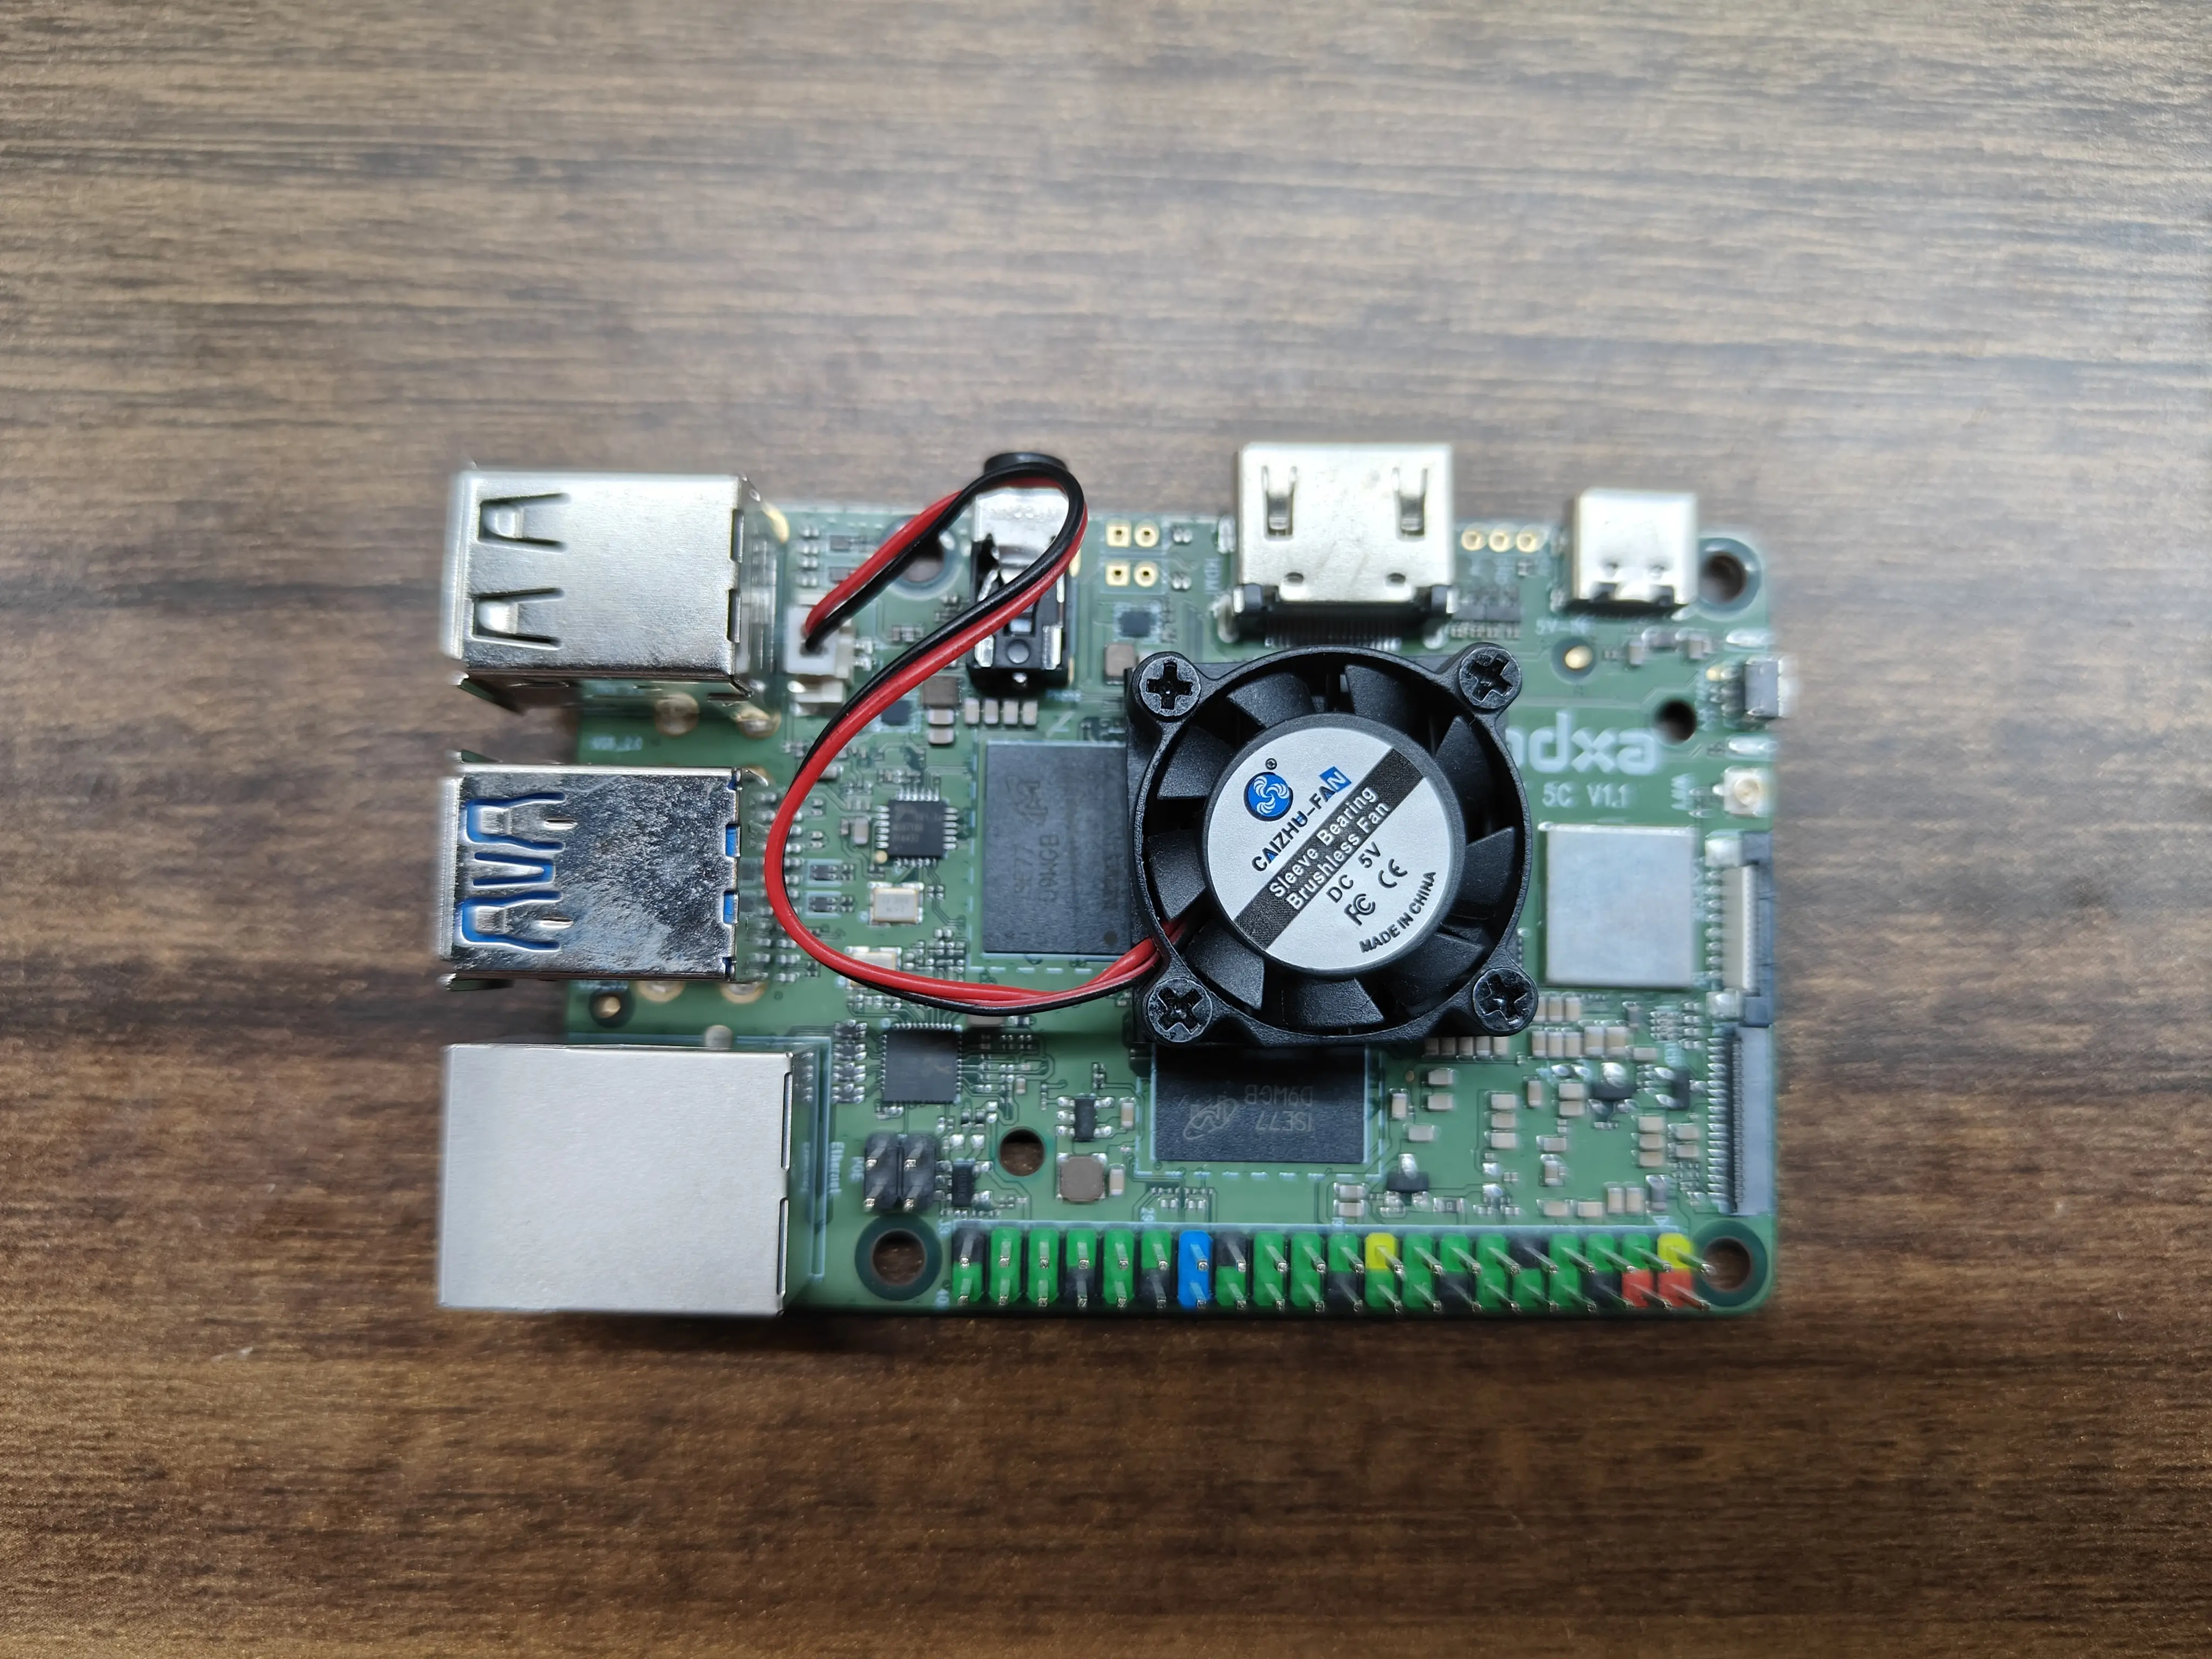
Fan
Install the fan as shown below:
HDMI
Due to current UI limitations, only 1080p displays are recommended. Connection method:

Display effect:
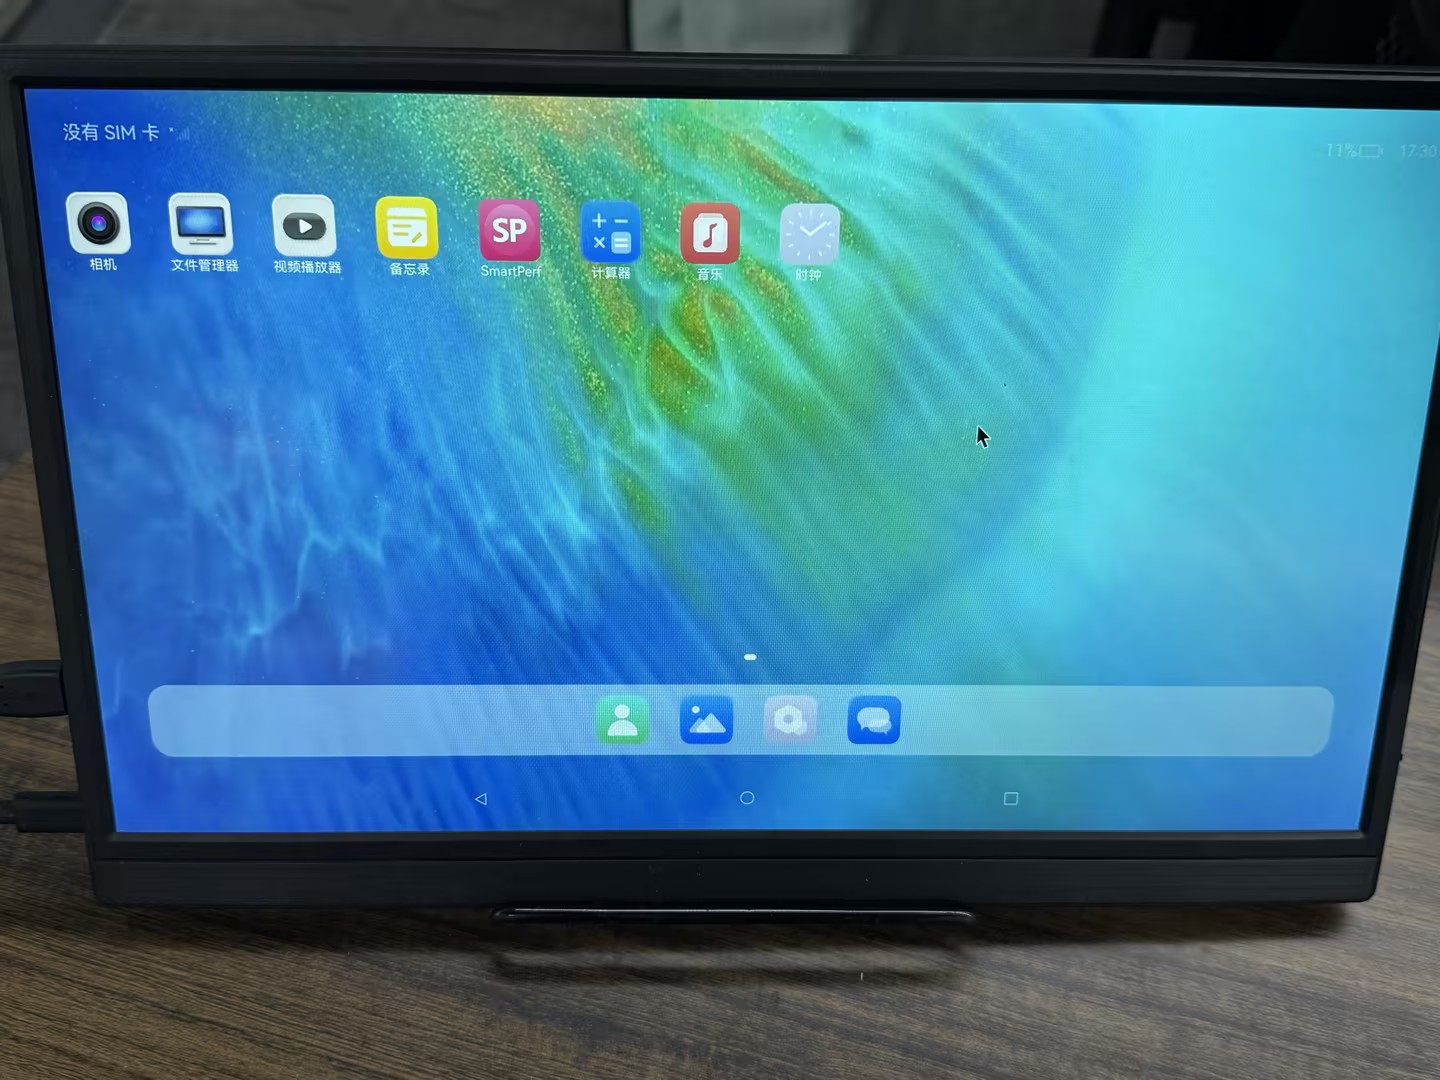
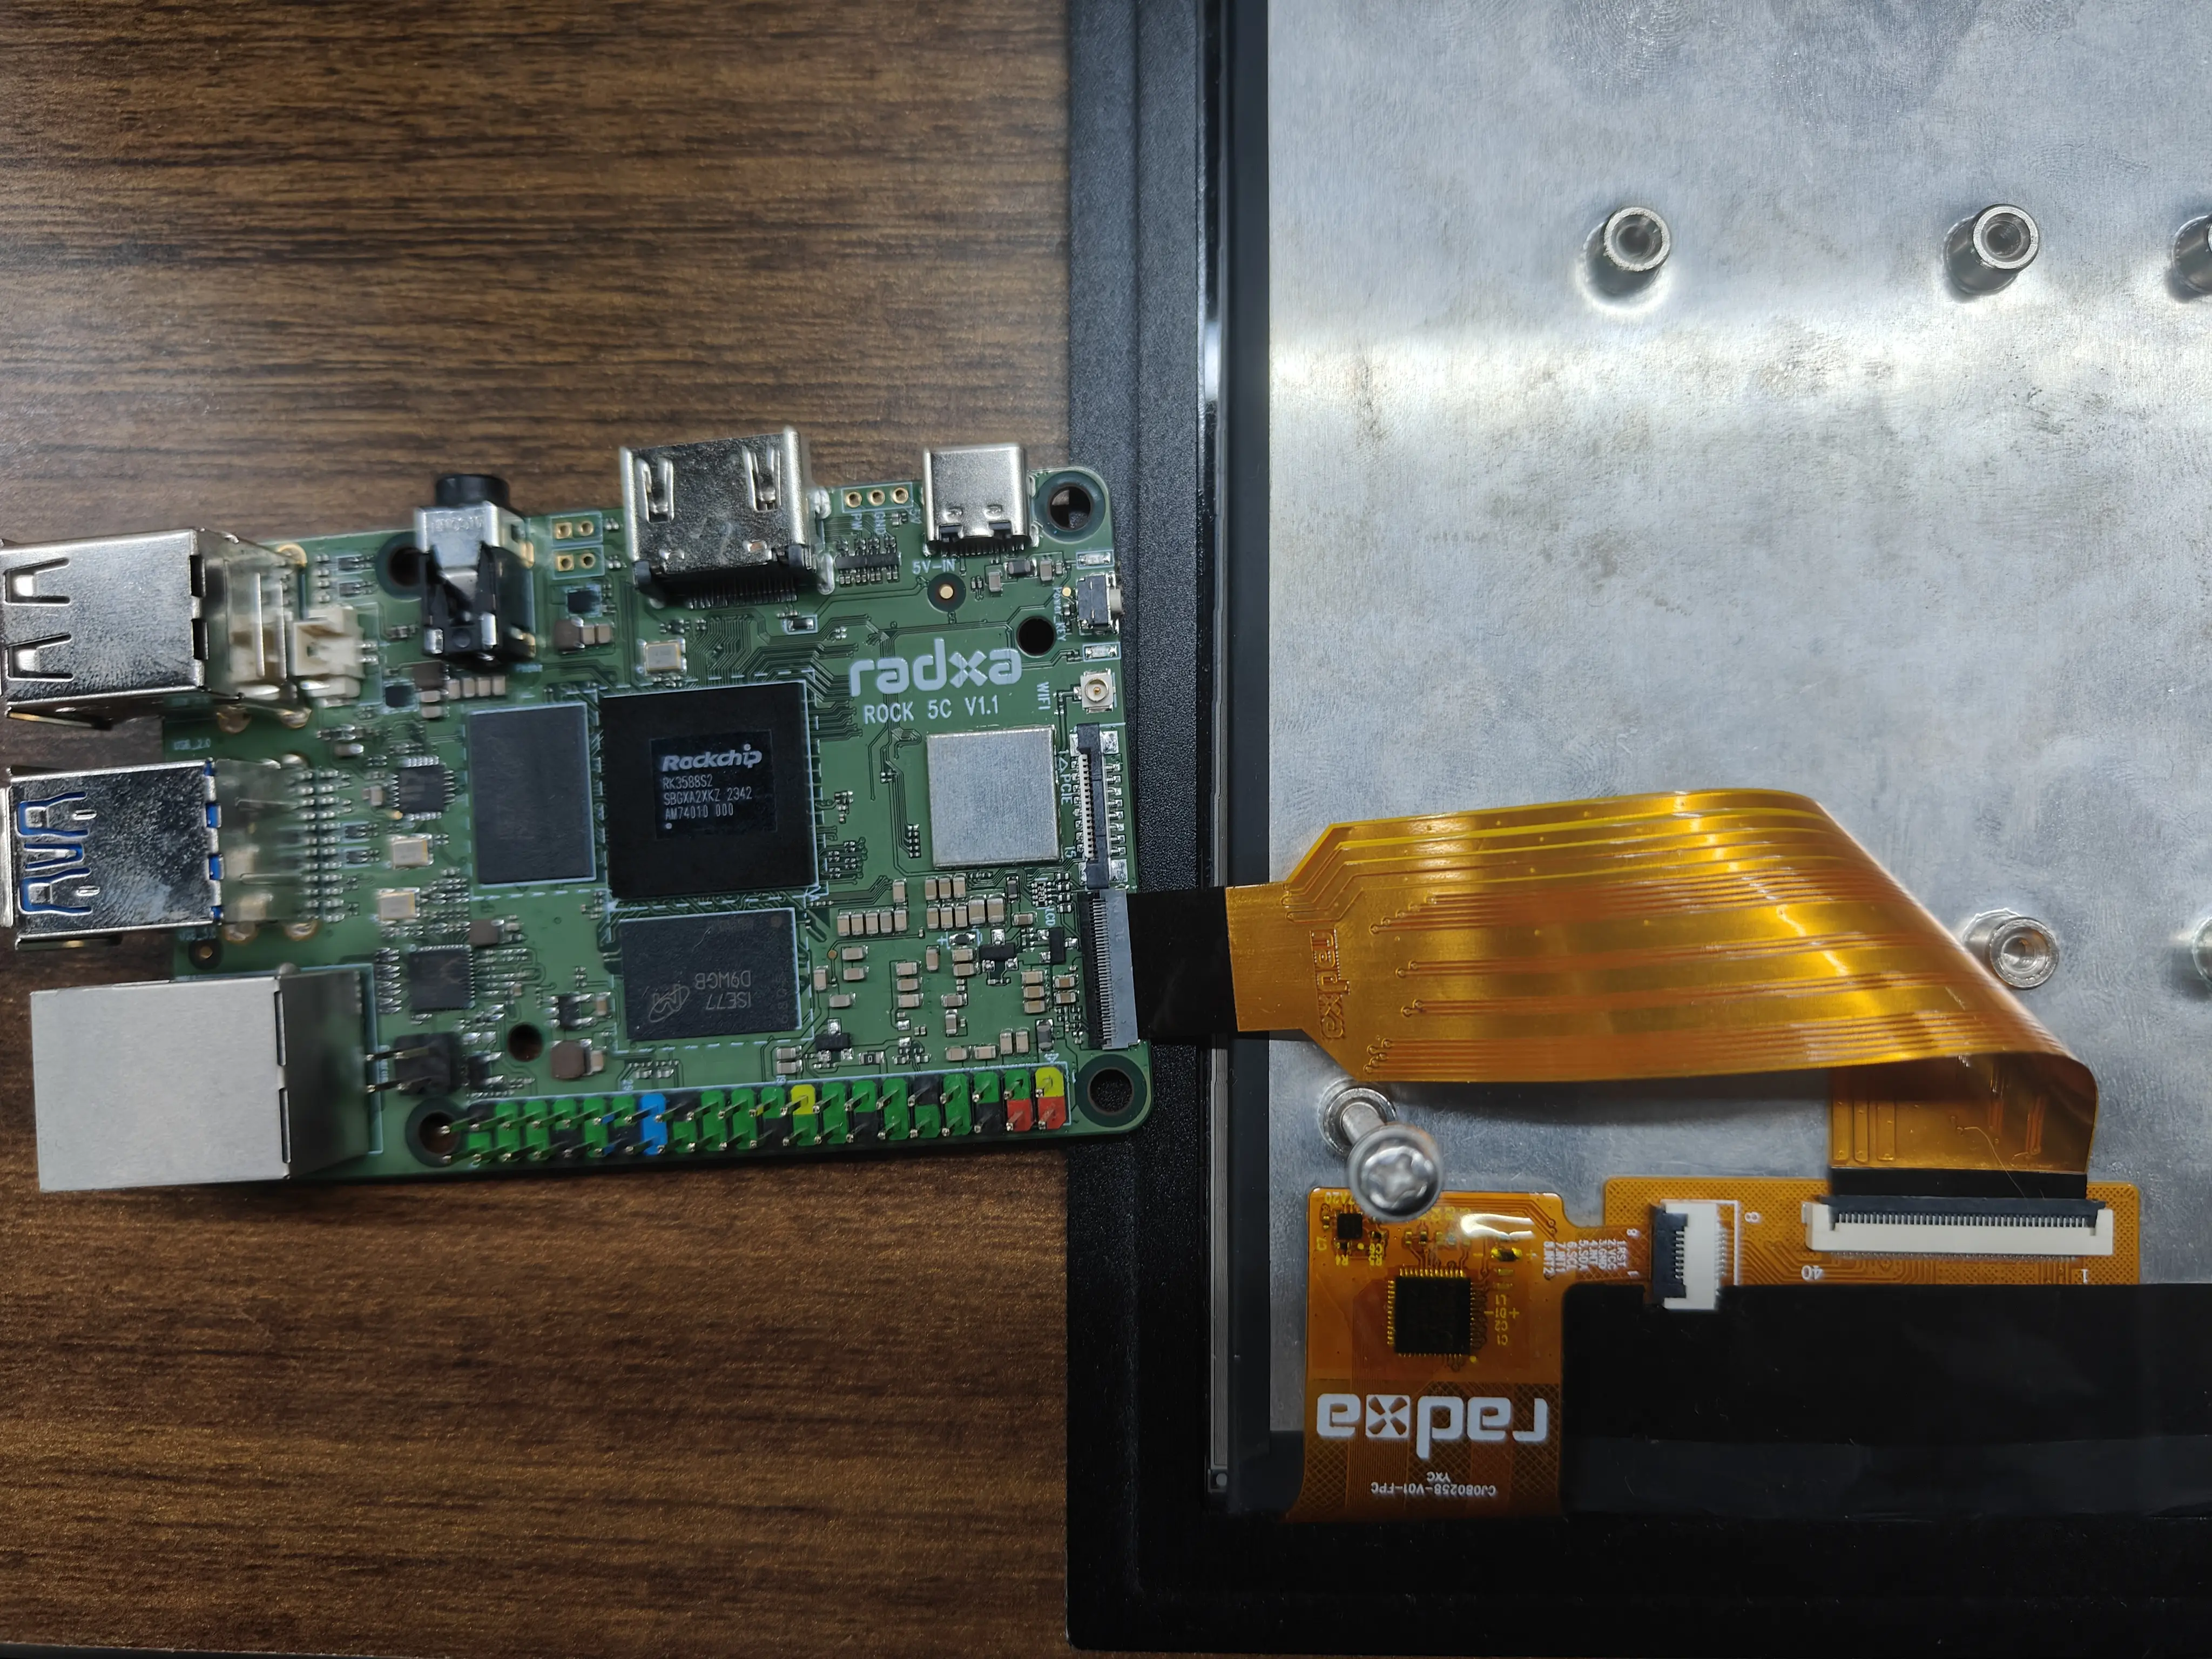
MIPI DSI
Kaihong OS currently supports only the Radxa 8-inch display. Connection method:
Display effect:
Headphone
Use the following commands for headset recording:
amixer set 'Differential Mux' 'lin2-rin2'
amixer set 'Main Mic' off
amixer set 'Headset Mic' on
arecord -D hw:0,0 -f cd -c 2 tmp.wav
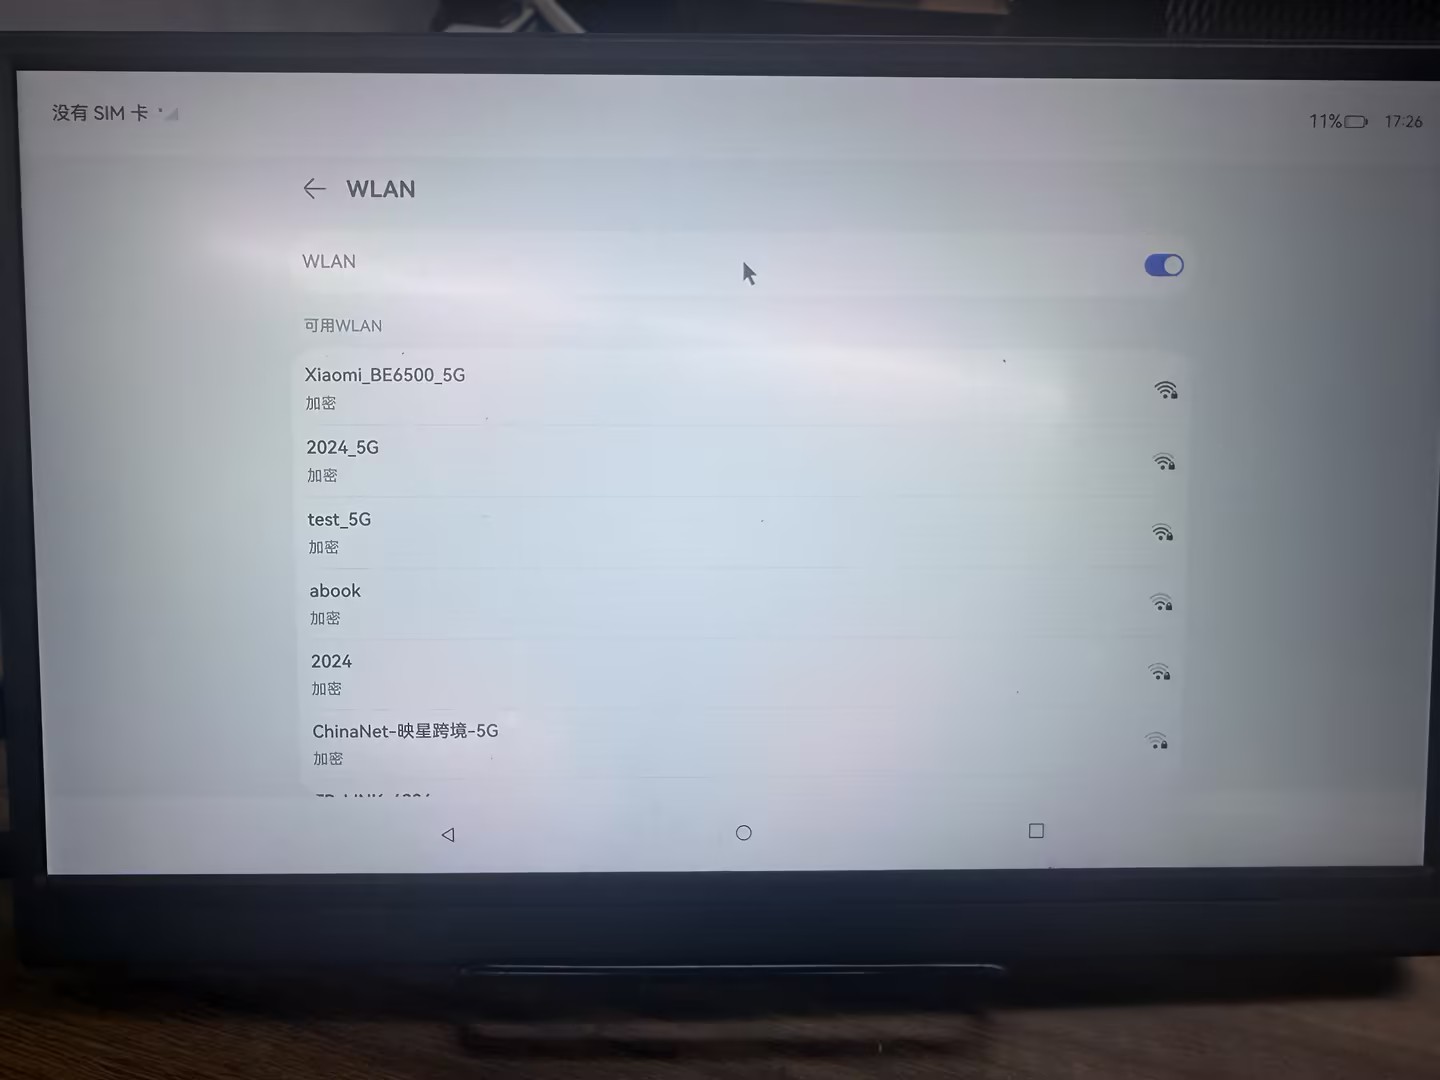
Wi-Fi
Connect to Wi-Fi from the system settings:
Ethernet
Wired connection method:
Run ifconfig in the serial terminal to check eth0 status:
# ifconfig
lo        Link encap:Local Loopback
         inet addr:127.0.0.1  Mask:255.0.0.0
         inet6 addr: ::1/128 Scope: Host
         UP LOOPBACK RUNNING  MTU:65536  Metric:1
         RX packets:2 errors:0 dropped:0 overruns:0 frame:0
         TX packets:2 errors:0 dropped:0 overruns:0 carrier:0
         collisions:0 txqueuelen:1000
         RX bytes:176 TX bytes:176

eth0     Link encap:Ethernet  HWaddr xxxxxxxx  Driver rk_gmac-dwmac
         inet addr:192.168.<subnet>.<host>  Bcast:192.168.<subnet>.255  Mask:255.255.255.0
         UP BROADCAST RUNNING MULTICAST  MTU:1500  Metric:1
         RX packets:2381 errors:0 dropped:0 overruns:0 frame:0
         TX packets:186 errors:0 dropped:0 overruns:0 carrier:0
         collisions:0 txqueuelen:1000
         RX bytes:198095 TX bytes:32657
         Interrupt:85
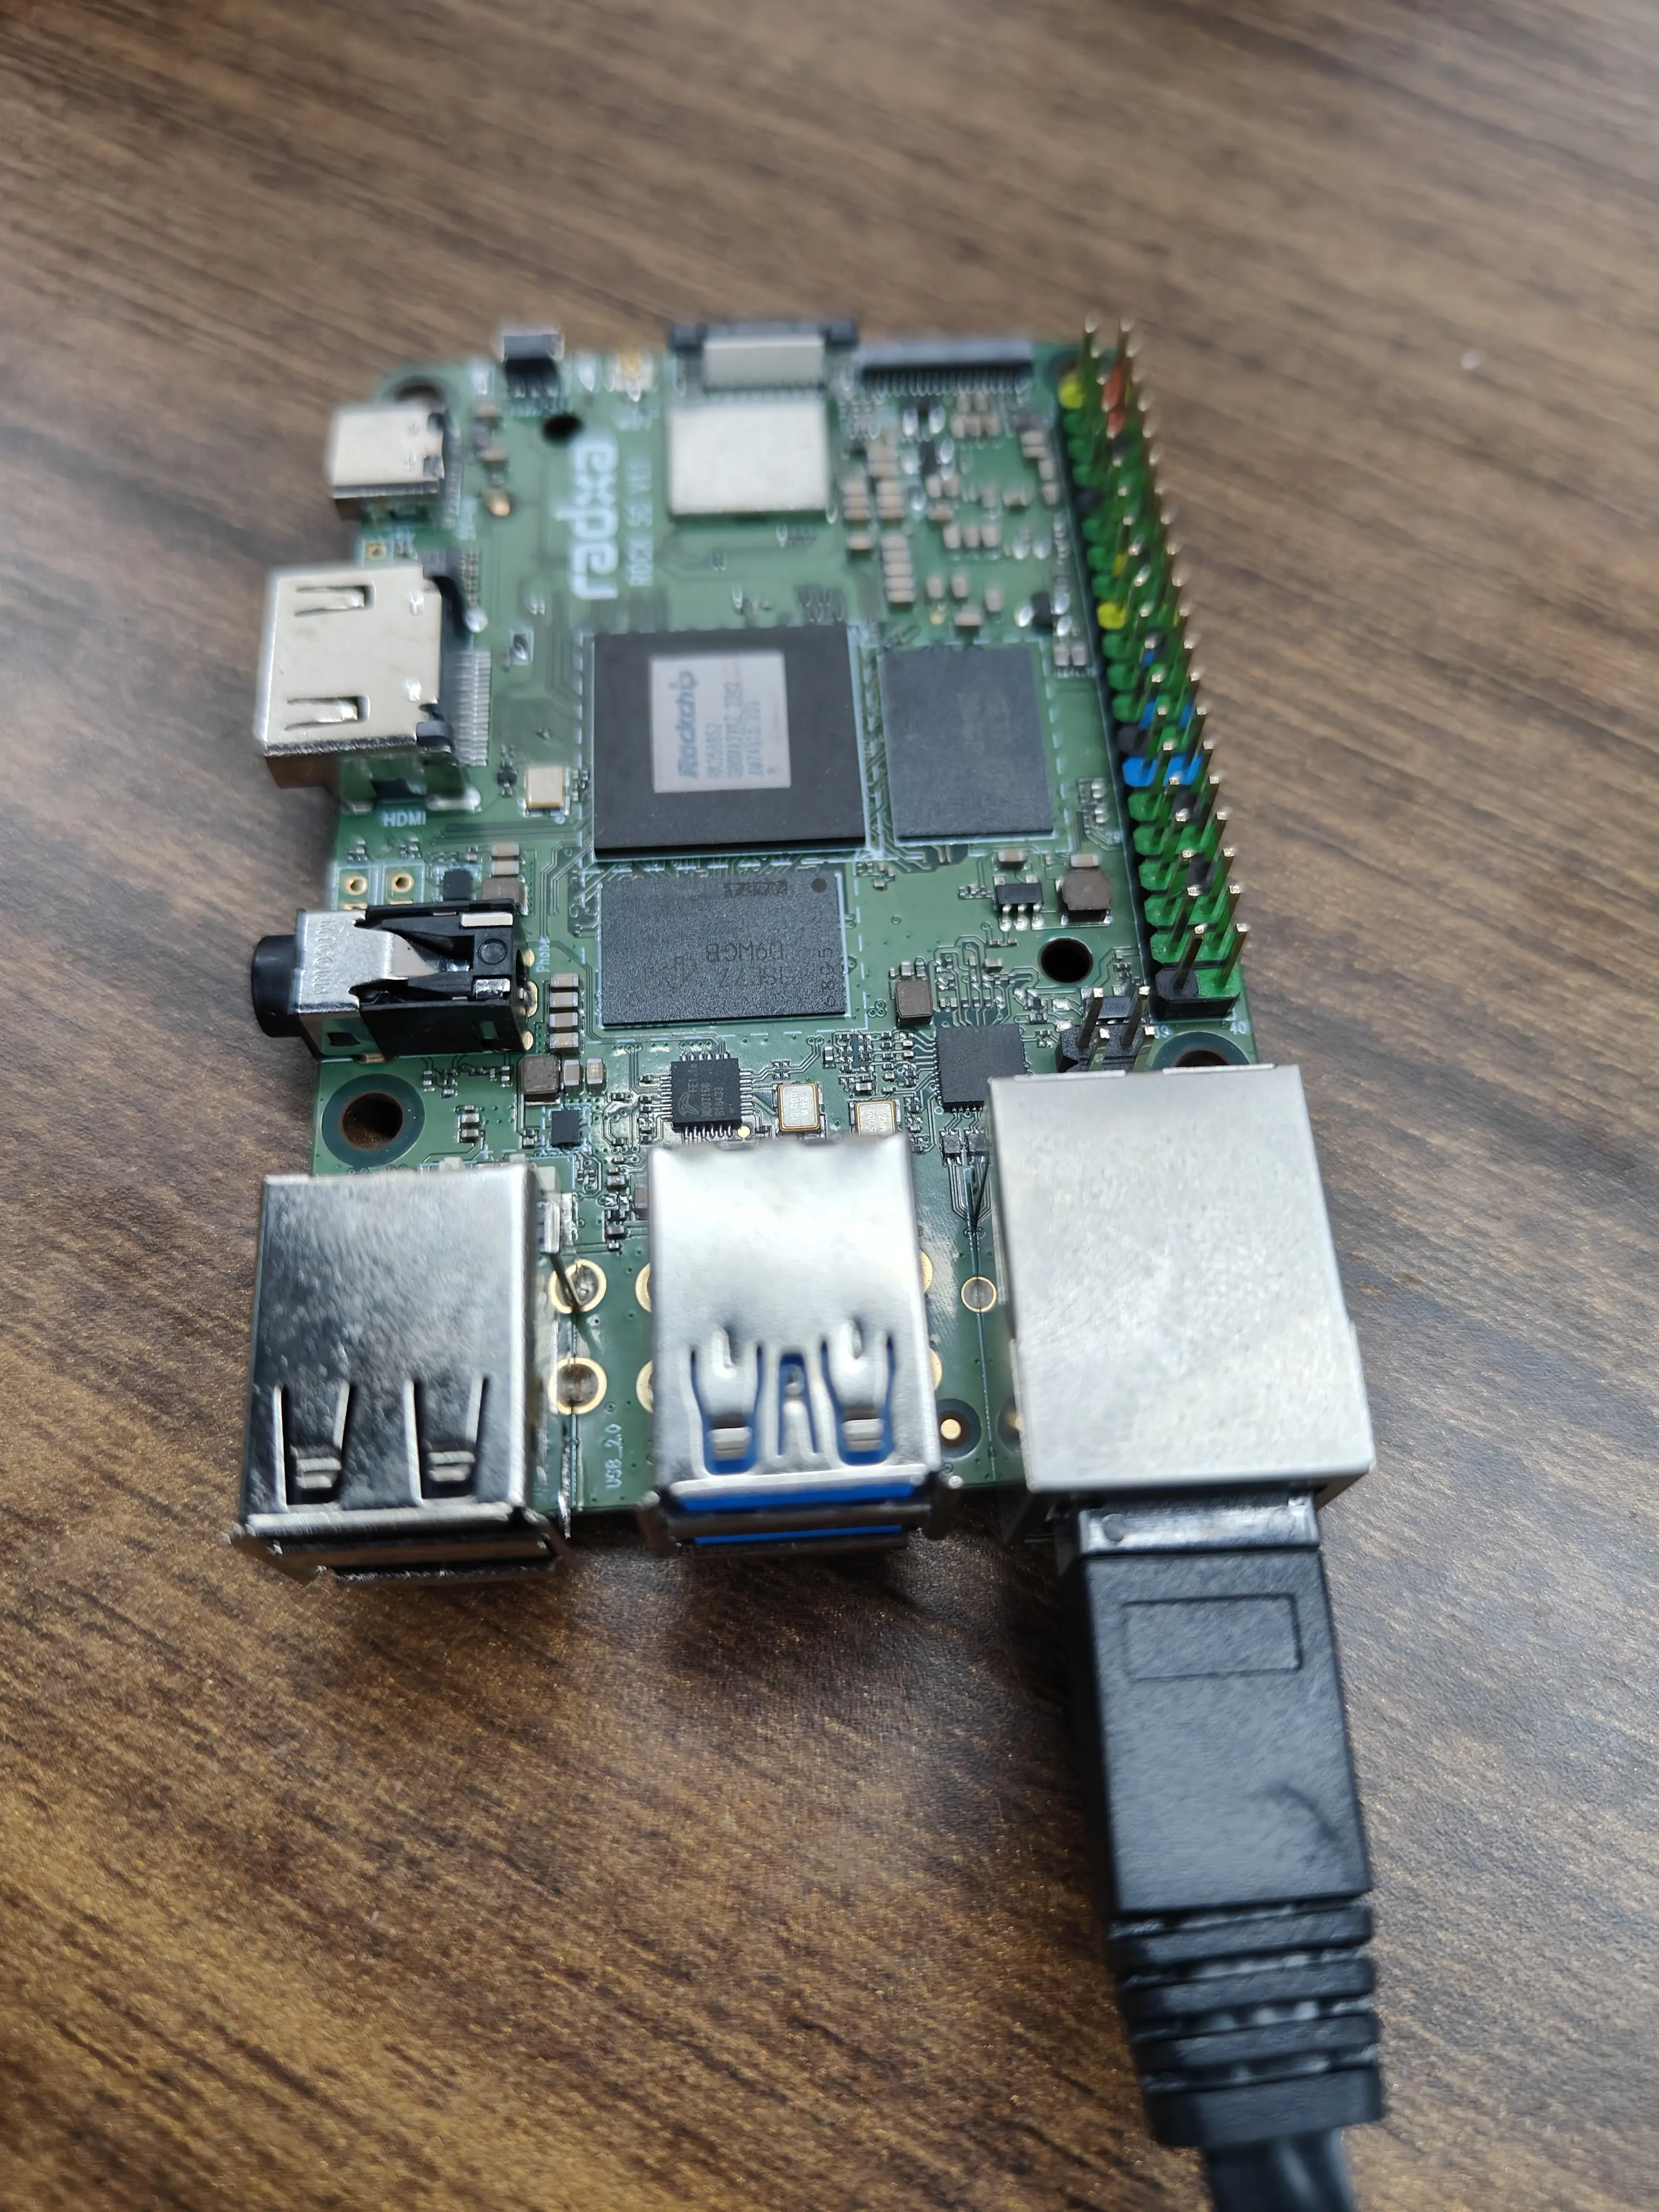
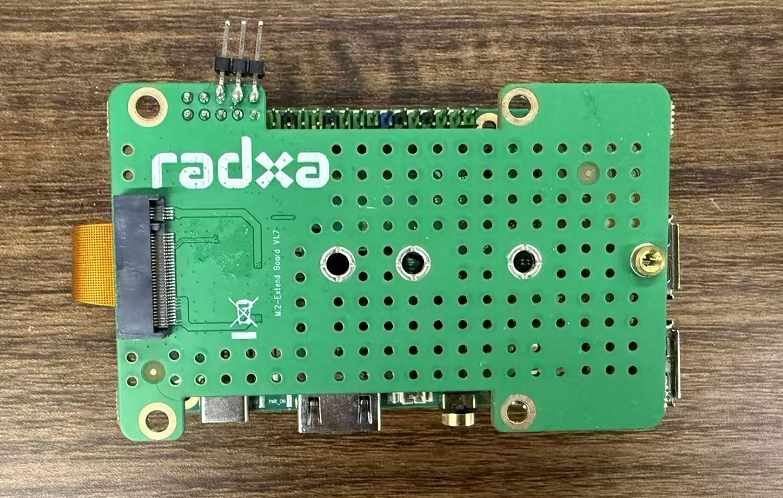
PCIe
You can use an SSD with a PCIe adapter. Install the adapter and SSD as shown below:
After connecting the adapter and SSD, check the SSD status in the system:
# ls /dev/block/nvme**
/dev/block/nvme0n1    /dev/block/nvme0n1p2  /dev/block/nvme0n1p4
/dev/block/nvme0n1p1  /dev/block/nvme0n1p3

# df -h
Filesystem                              Size  Used Avail Use% Mounted on
tmpfs                                   3.7G  380K  3.7G   1% /dev
tmpfs                                   3.7G     0  3.7G   0% /mnt
tmpfs                                   3.7G     0  3.7G   0% /mnt/data
tmpfs                                   3.7G     0  3.7G   0% /storage
/dev/block/mmcblk0p6                    1.9G  1.1G  829M  58% /
/dev/block/mmcblk0p7                    240M   74M  166M  31% /vendor
/dev/block/mmcblk0p8                    300M   57M  243M  20% /sys_prod
/dev/block/mmcblk0p9                    240M   23M  217M  10% /chip_prod
/dev/block/mmcblk0p12                    10G  217M   10G   3% /data
tmpfs                                   3.7G     0  3.7G   0% /module_update
/dev/block/vol-259-1                    196M   98M   98M  51% /mnt/data/external/CE13-3A68
/dev/block/vol-259-3                    118G   29G   89G  25% /mnt/data/external/30FC1457FC1419A4
/dev/block/vol-259-4                    764M  645M  119M  85% /mnt/data/external/E048FBAF48FB8318
/data/service/el2/100/hmdfs/account      10G  217M   10G   3% /mnt/hmdfs/100/account
/data/service/el2/100/hmdfs/non_account  10G  217M   10G   3% /mnt/hmdfs/100/non_account

# blkid /dev/block/vol-259-3
/dev/block/vol-259-3: UUID="30FC1457FC1419A4" TYPE="ntfs"
# blkid /dev/block/nvme0n1p3
/dev/block/nvme0n1p3: UUID="30FC1457FC1419A4" TYPE="ntfs"
Based on the UUID, /dev/block/vol-259-x is the SSD device and it has been mounted correctly.
MIPI CSI
The system currently supports only IMX415. Wire the MIPI CSI camera as shown below:
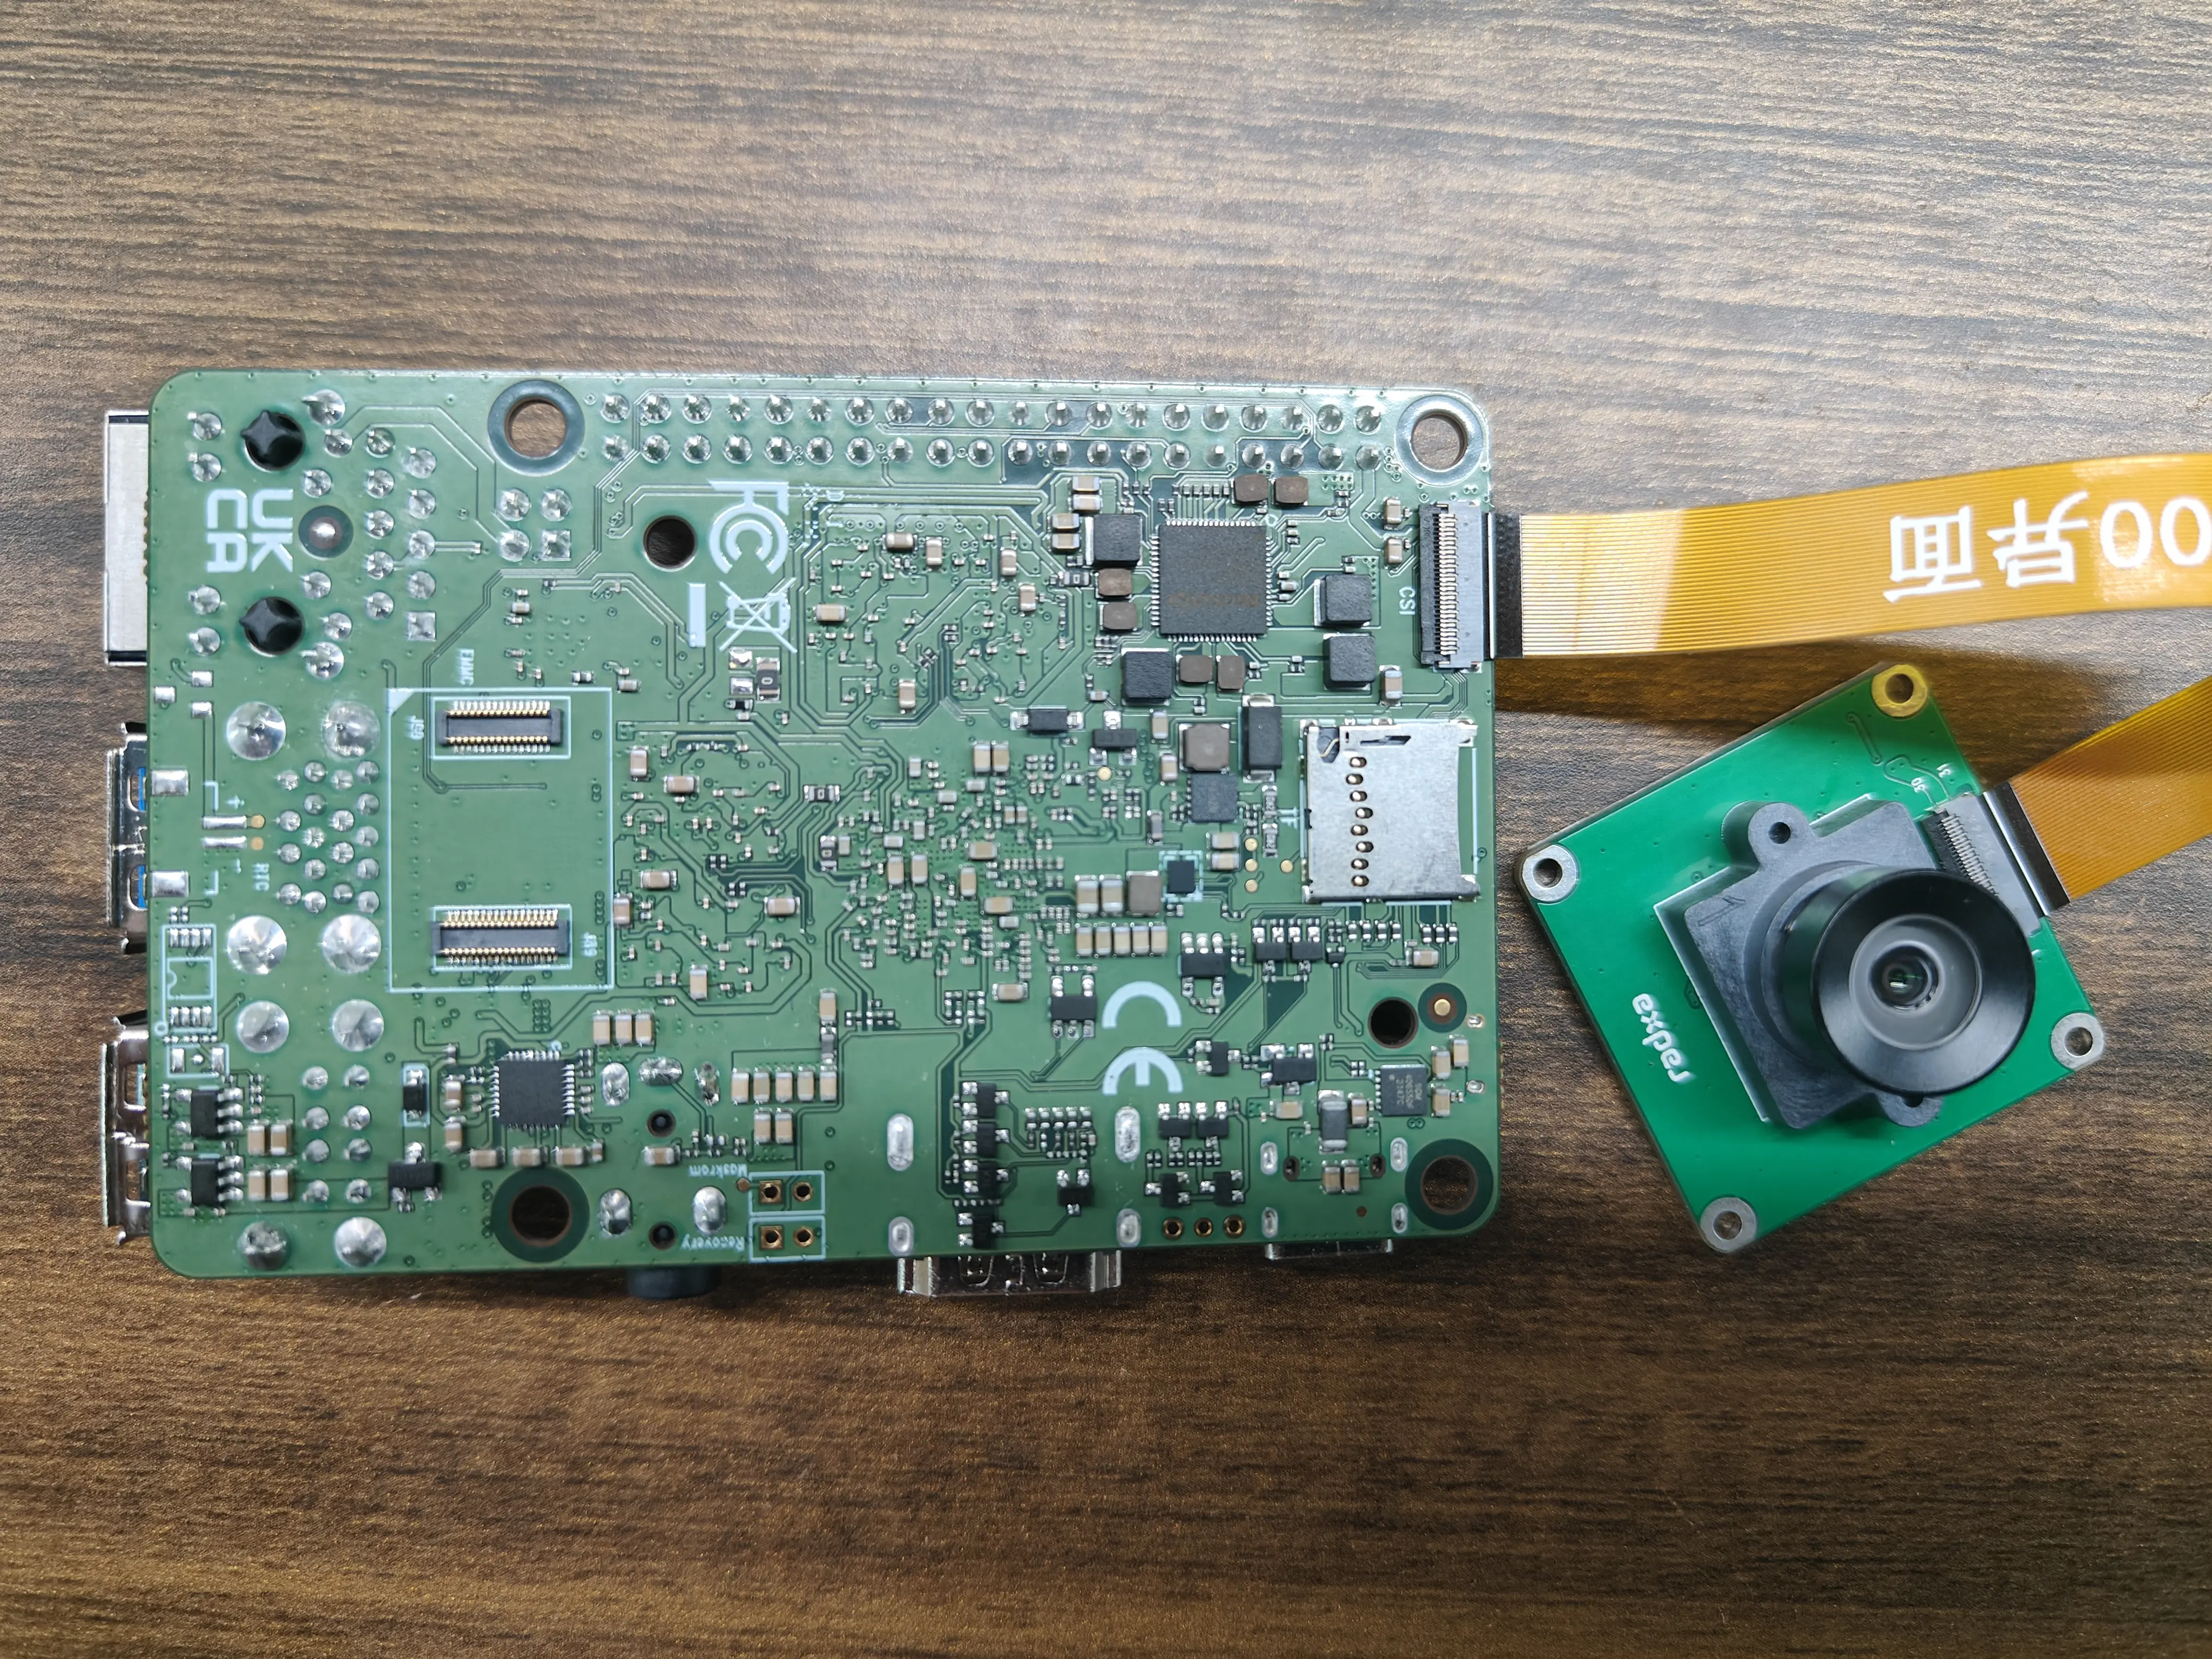
After connecting the camera, open the system camera app to preview the image.