Install System to eMMC Module
System Image
You need to prepare the core-image-minimal-rockchip-rk3588s-rock-5c.rootfs.wic image file built by the Yocto Project in advance.
For Yocto Project build steps, please refer to the Build System documentation.
Hardware Preparation
You need to prepare the following hardware devices in advance:
- eMMC module
- Radxa eMMC/UFS Module Reader
Install System
You can use Balena Etcher software to install the system image to the eMMC module.
Installing the system will format the eMMC module. Please backup important data in advance!
For Balena Etcher installation and usage, please refer to the Etcher Usage tutorial.
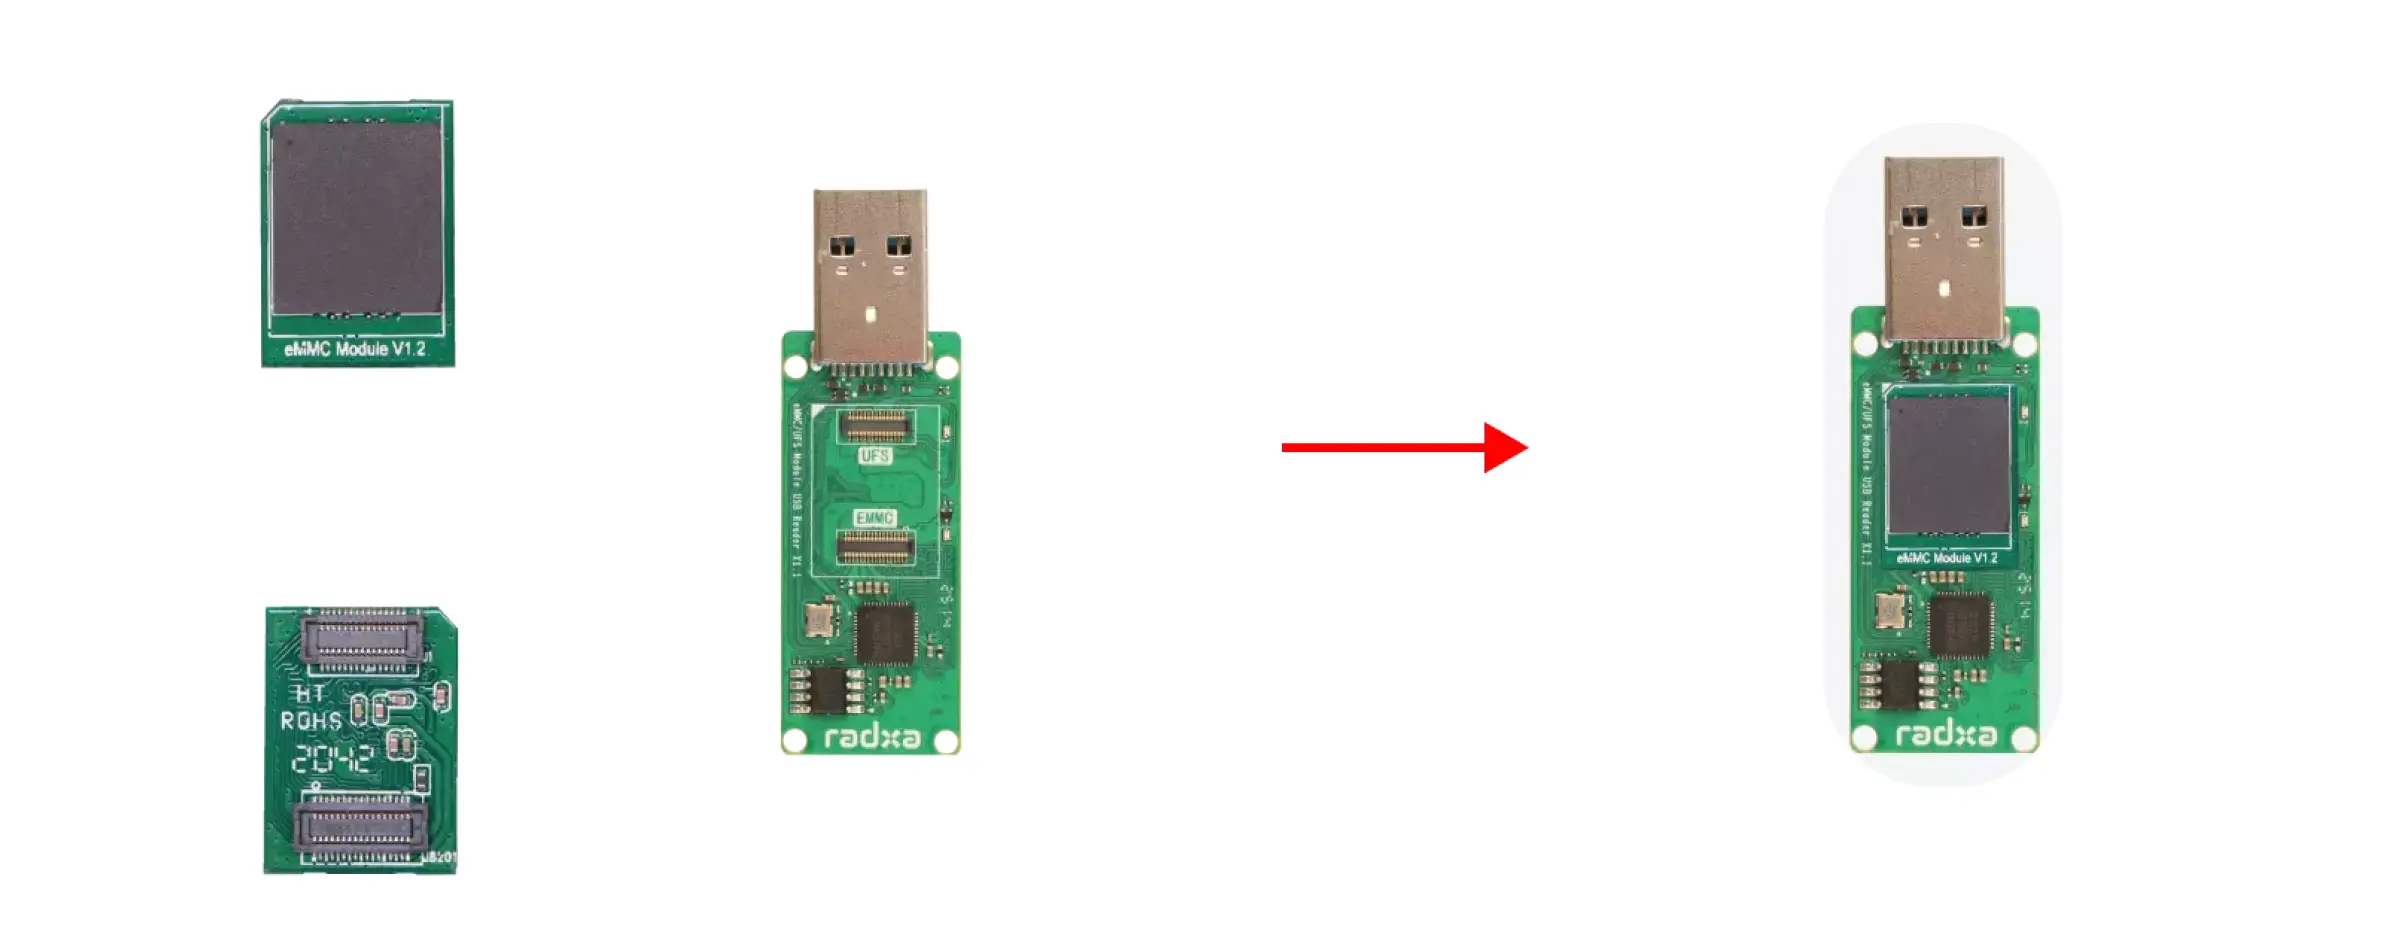
Hardware Connection
Insert the eMMC module into the Radxa eMMC/UFS Module Reader, then insert the Radxa eMMC/UFS Module Reader into the computer.
eMMC Module Installation Steps:
- Ensure the notch on the eMMC module aligns with the interface direction of the module reader
- Make sure the slot interface at the bottom of the eMMC module aligns with the module reader's interface
- Gently press one end of the eMMC module until you hear a "click" sound, indicating successful installation. Use the same method to press the other end to ensure the eMMC module is properly installed.
Flash System Image
Follow the steps below to flash the system image to the eMMC module.
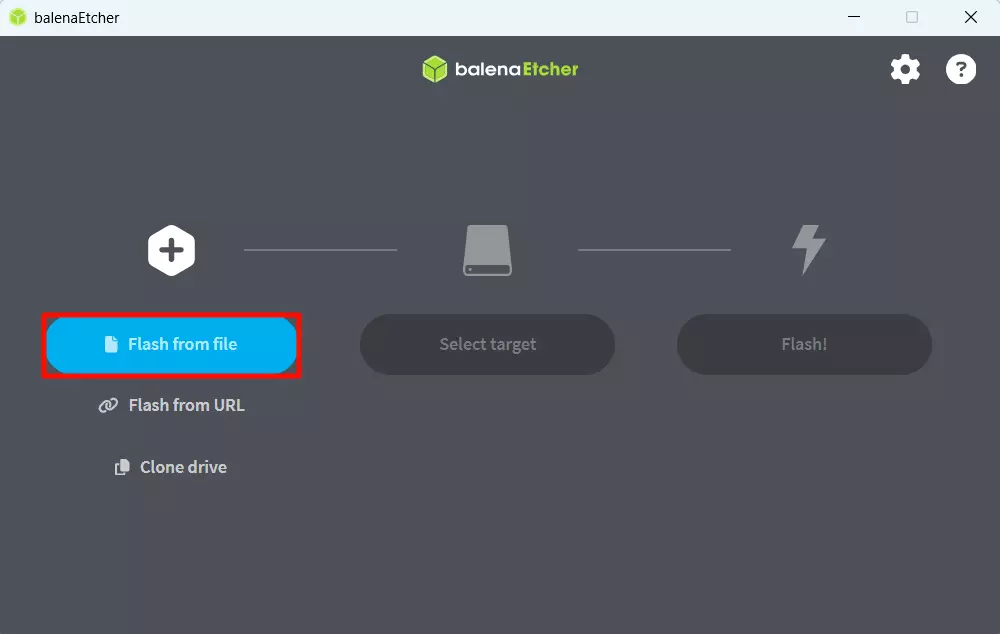
- Select System Image
Click the Flash from file option and select the system image file built by the Yocto Project.
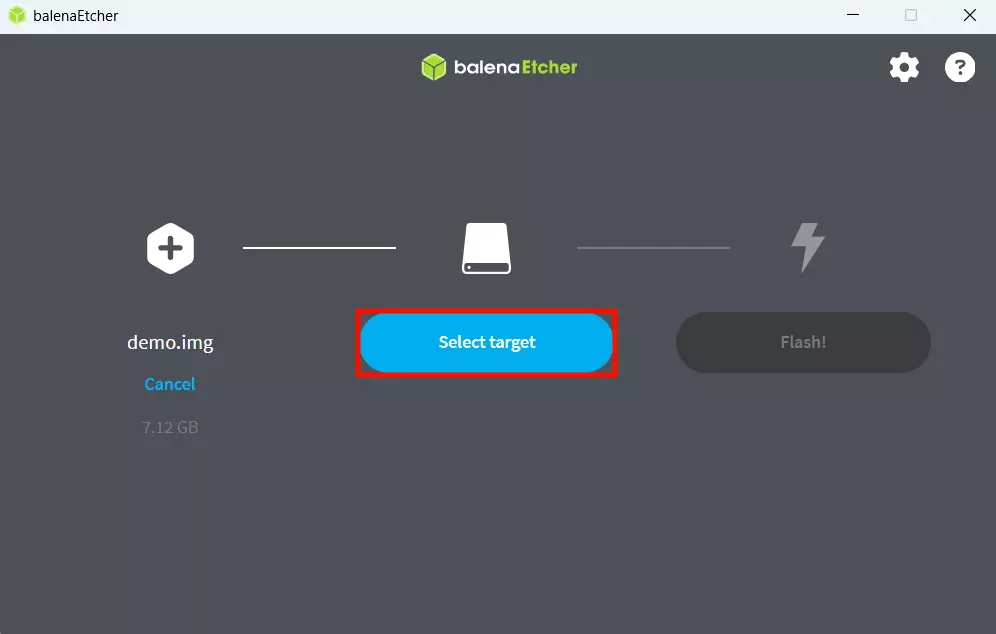
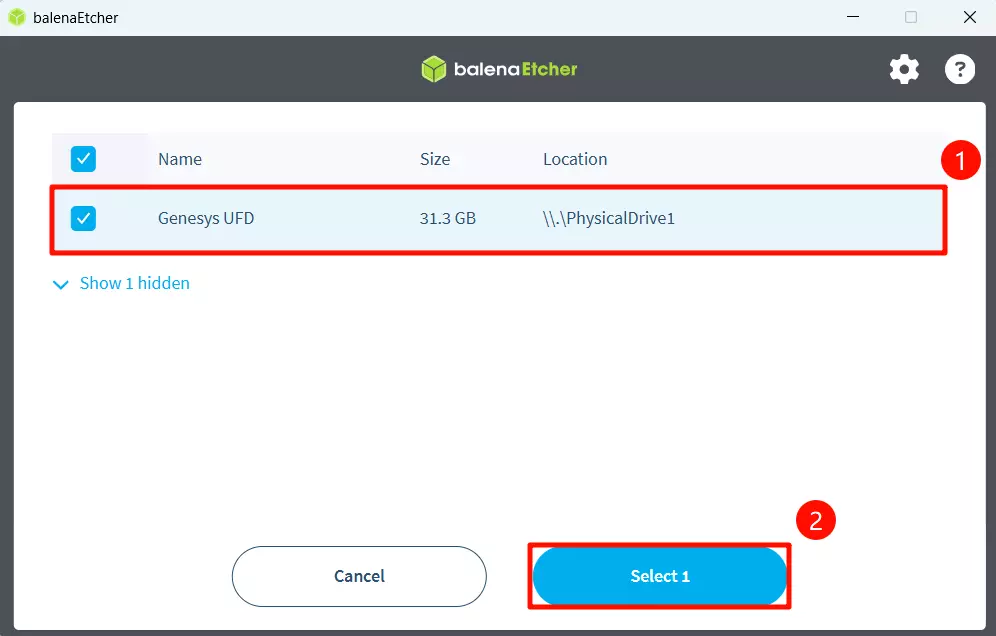
- Select Storage Device
Click the Select target option and select the eMMC module device.
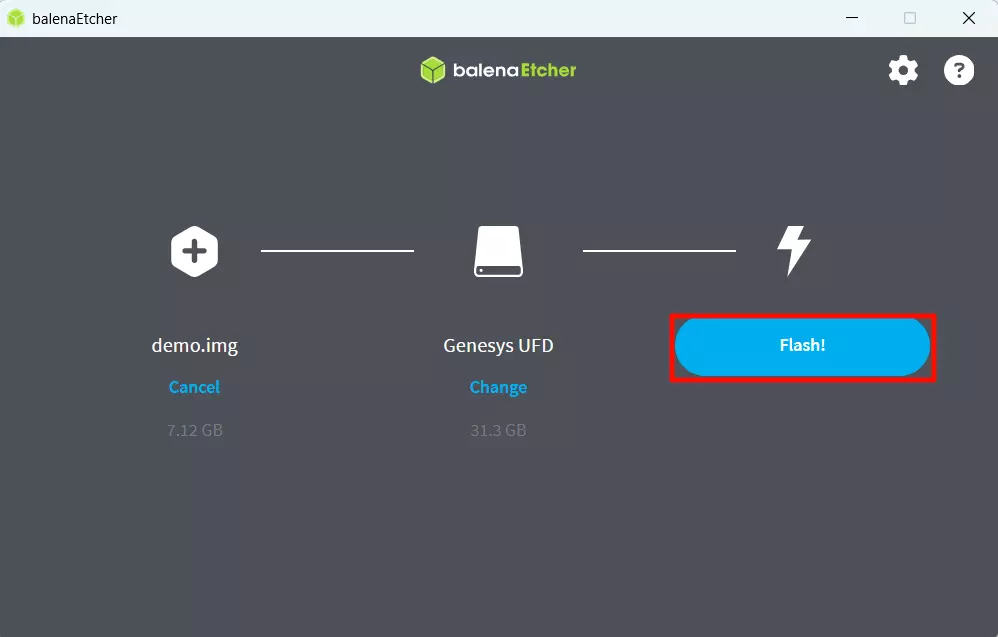
- Start Flashing
Click the Flash! option to start flashing the system image to the eMMC module.
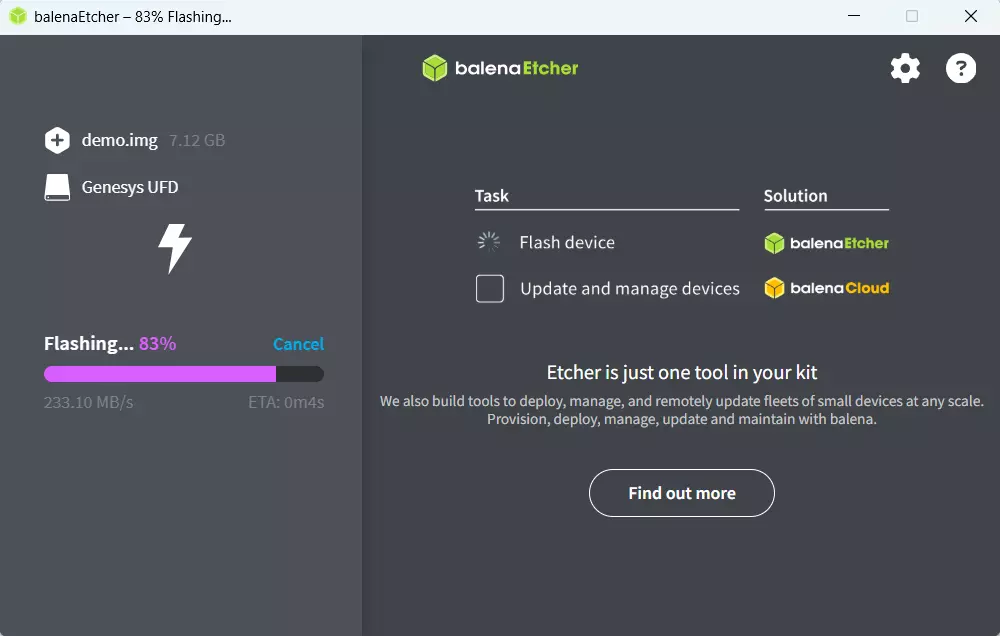
Wait for system installation to complete
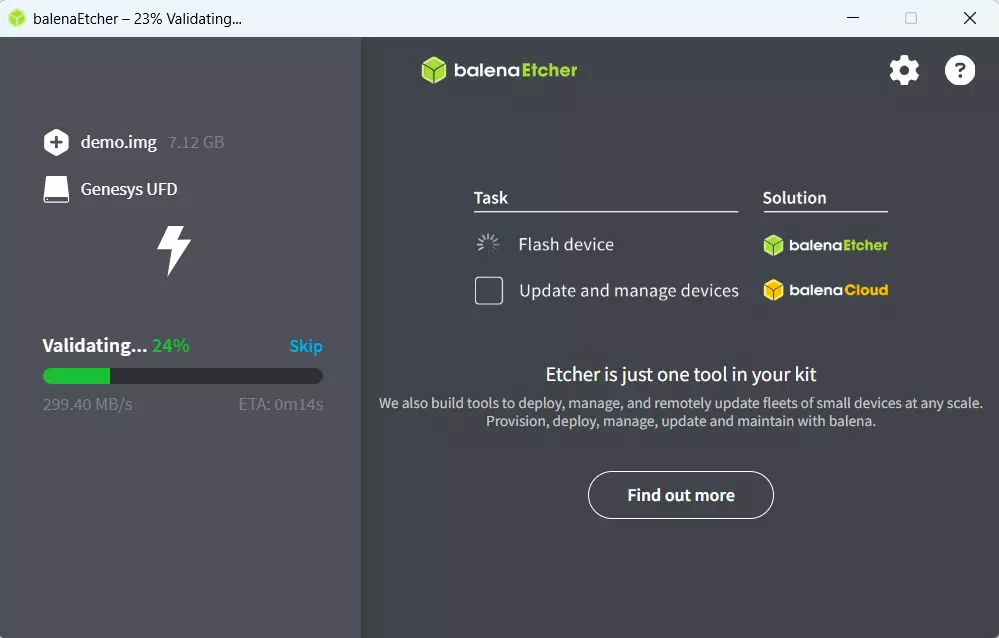
Wait for system verification to complete
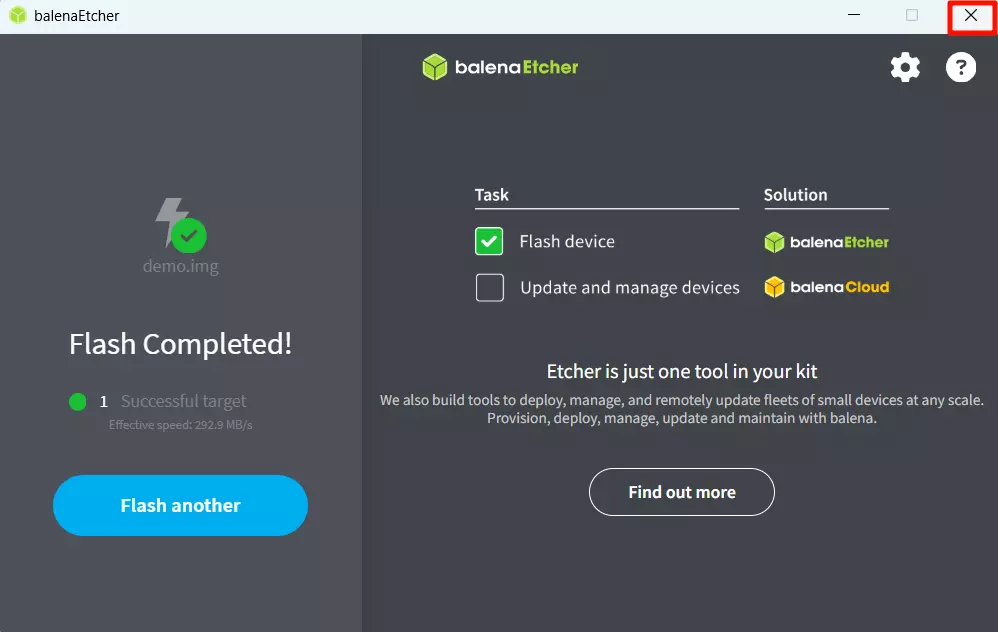
After successfully installing the system image, close the Etcher software!
Boot System
Install the eMMC module to the eMMC module interface of ROCK 5C, connect a display, and finally power the board using a power adapter.