Quick Start
This guide helps you get started quickly with Android on ROCK 5T.
Prerequisites
Prepare the following hardware:
- Board: Radxa ROCK 5T
- Boot media: microSD card
- Power supply: DC 12V/2A power adapter (DC-5525)
- Display: monitor and HDMI cable
- Input devices: keyboard and mouse (for GUI operation)
Radxa ROCK 5T supports 12V power input. A power adapter rated at 2A or higher is recommended to ensure stable operation of all peripherals.
- Radxa DC12 36W Power Adapter (recommended)
- Radxa DC12 60W Power Adapter
Install the OS
This section describes how to flash the OS image to a microSD card.
Flashing the OS will completely format the microSD card and permanently erase all data on it.
Before you begin, make sure:
- The microSD card contains no important data, or you have already backed it up
- You have selected the correct storage device to avoid formatting other disks
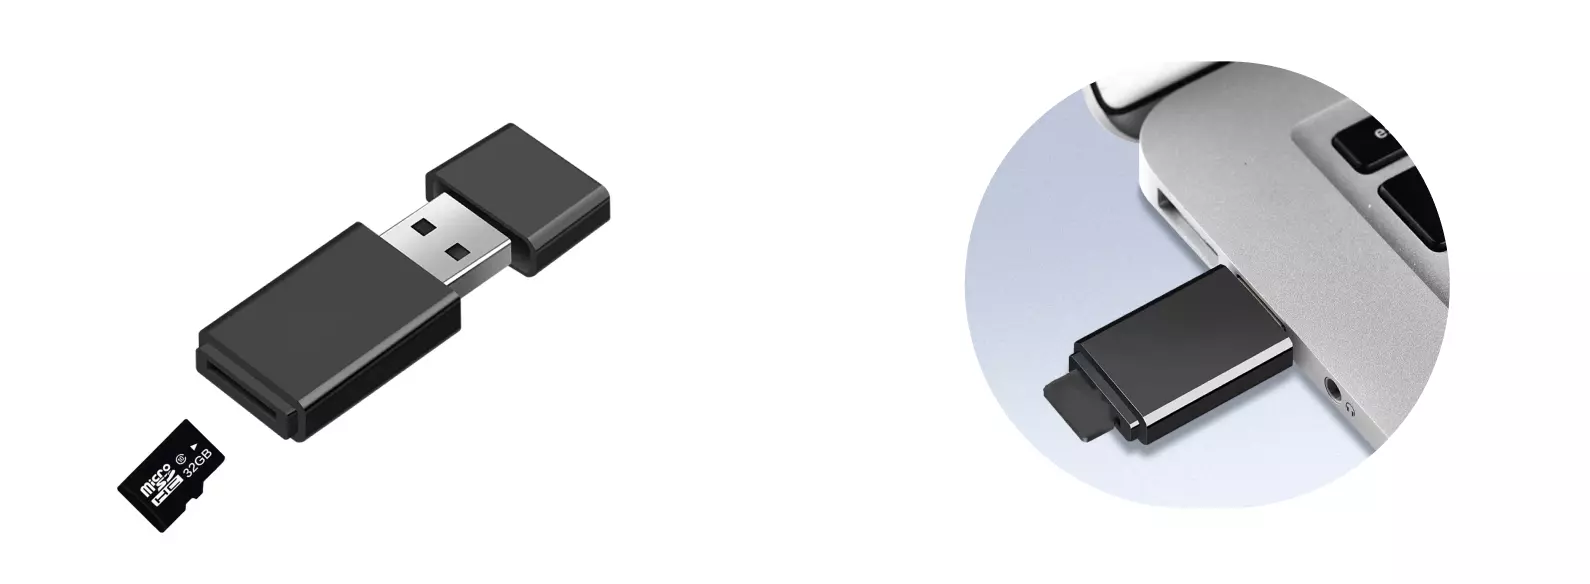
Hardware setup
Insert the microSD card into a card reader, then plug the card reader into your computer.
Download the OS image
Go to the Downloads page and download the Android OS image.
The downloaded image is a compressed .img.xz file. You must extract it to obtain a .img file before flashing.
Flash the OS image
You can use Balena Etcher to flash the OS image to the microSD card.
For how to install and use Balena Etcher, refer to Using Etcher.
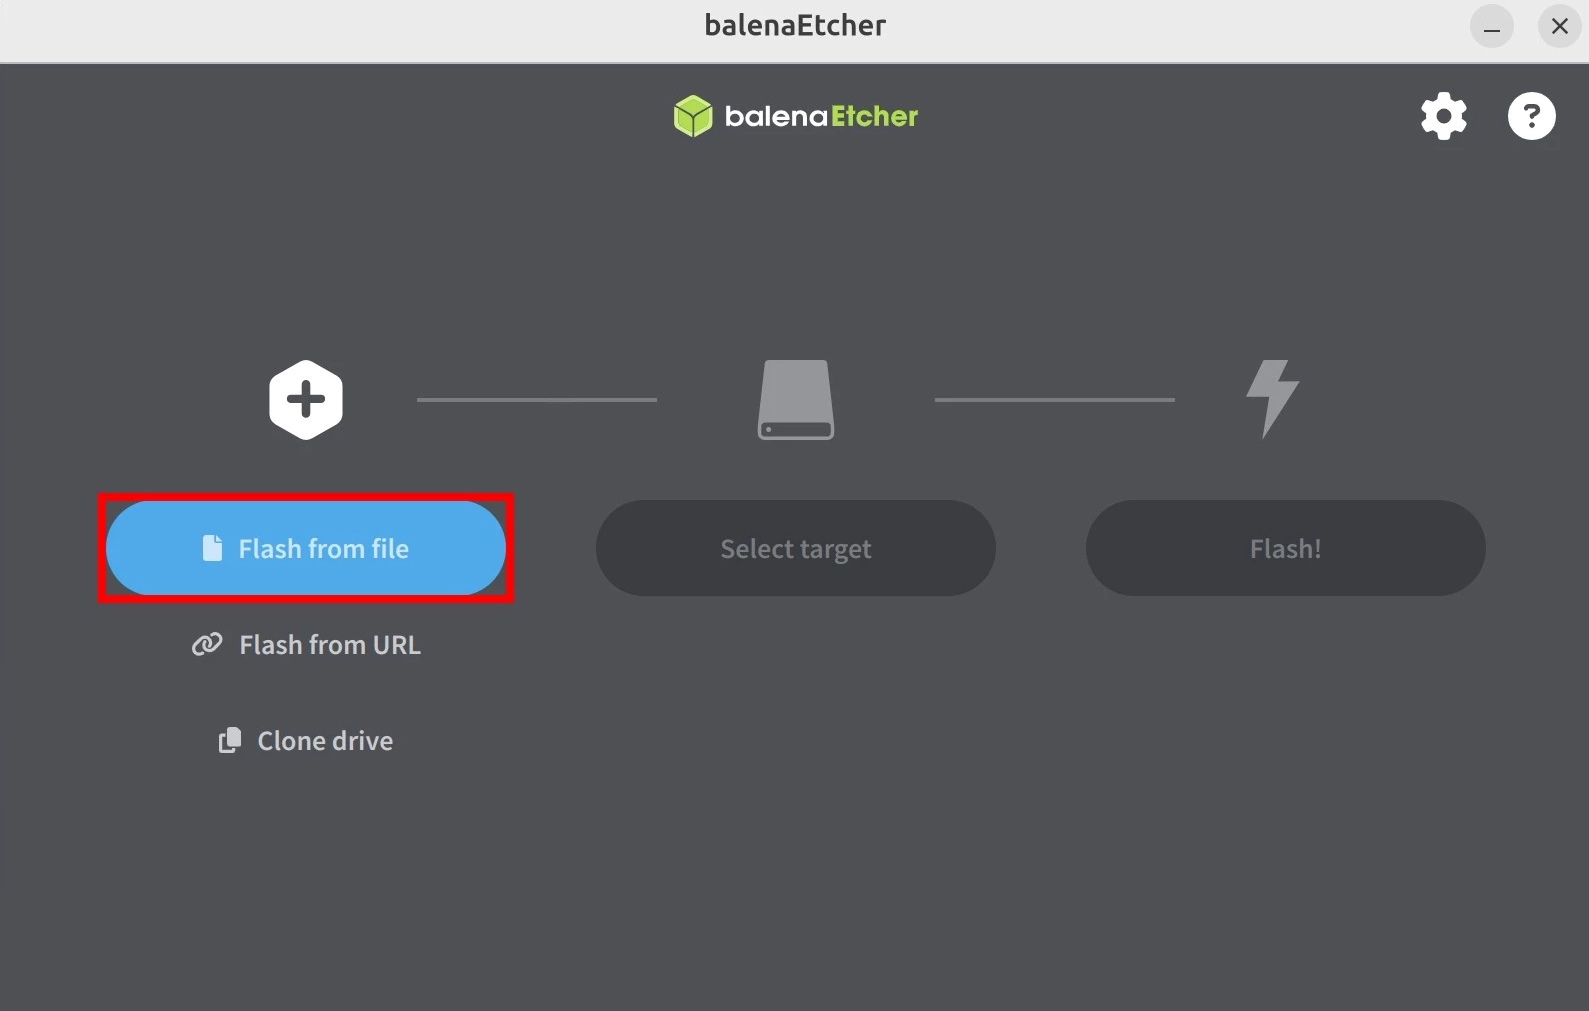
Select the image
Click Flash from file and select the OS image file you downloaded and extracted.
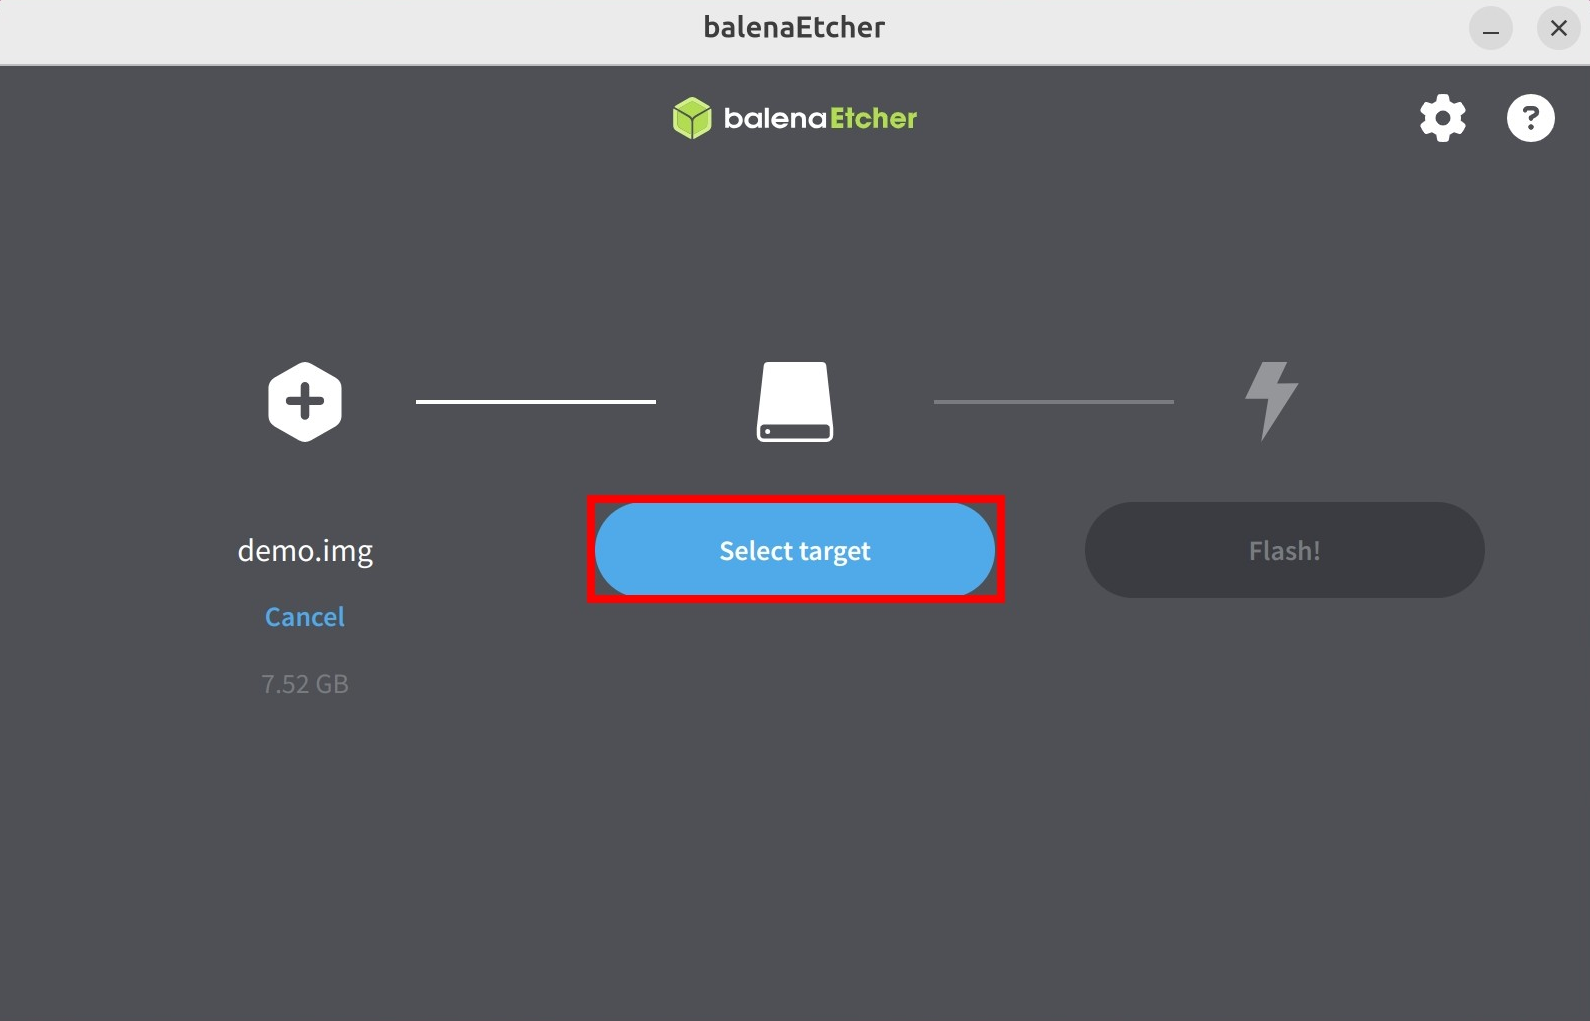
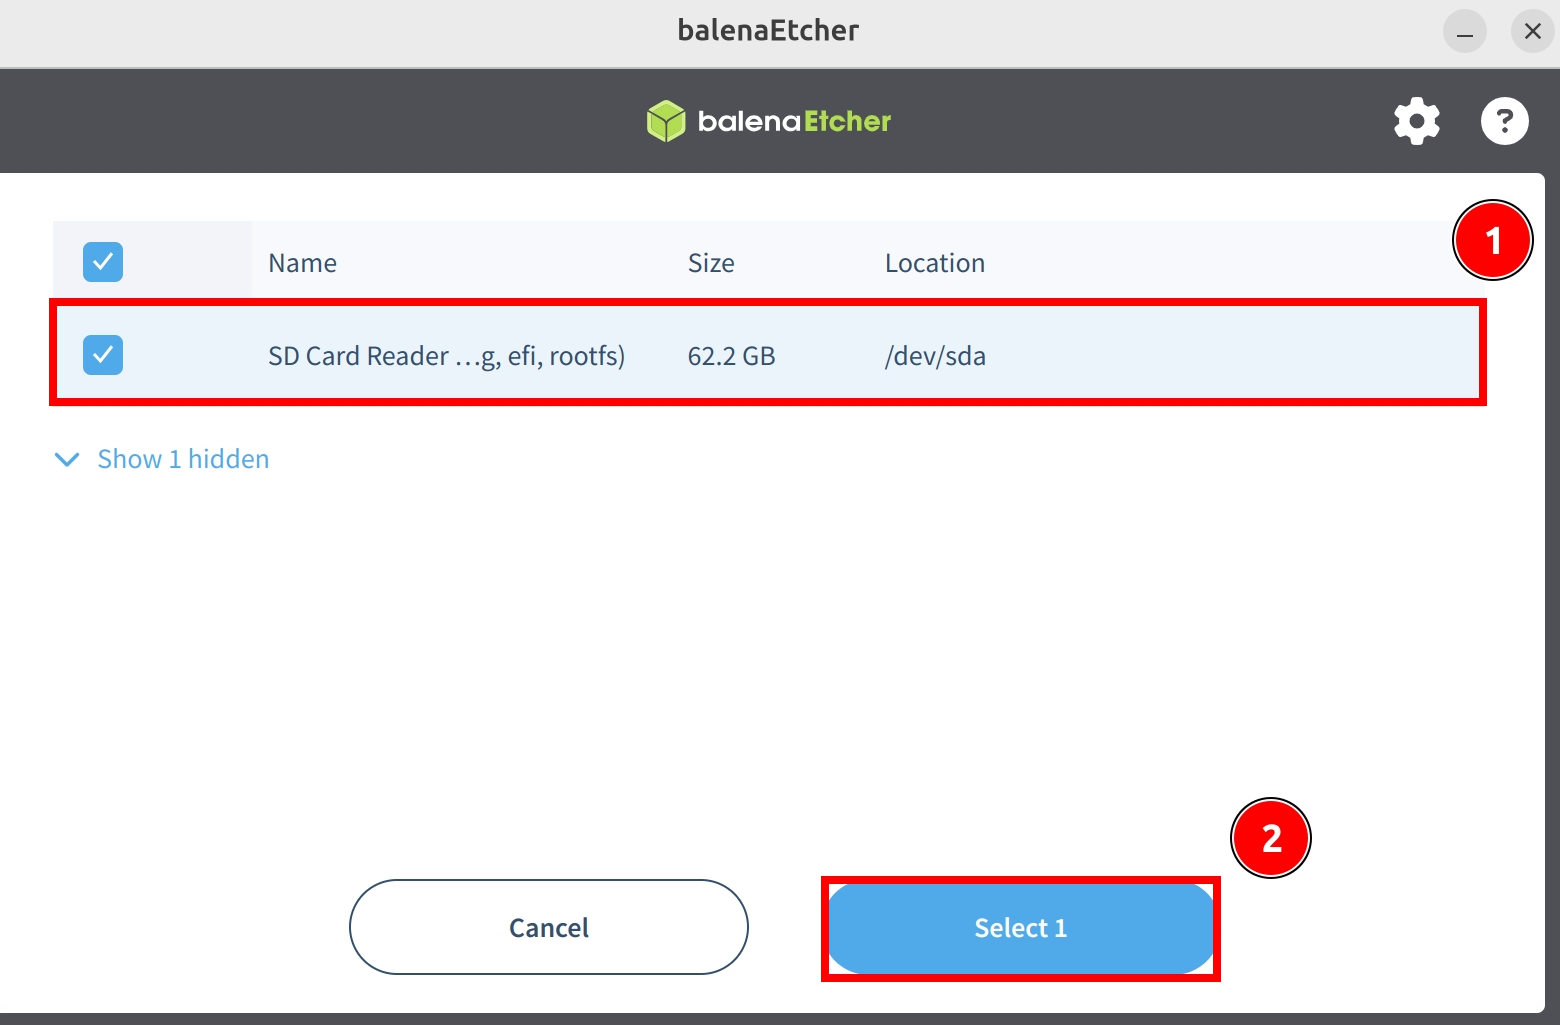
Select the target device
Click Select target and choose the microSD card.
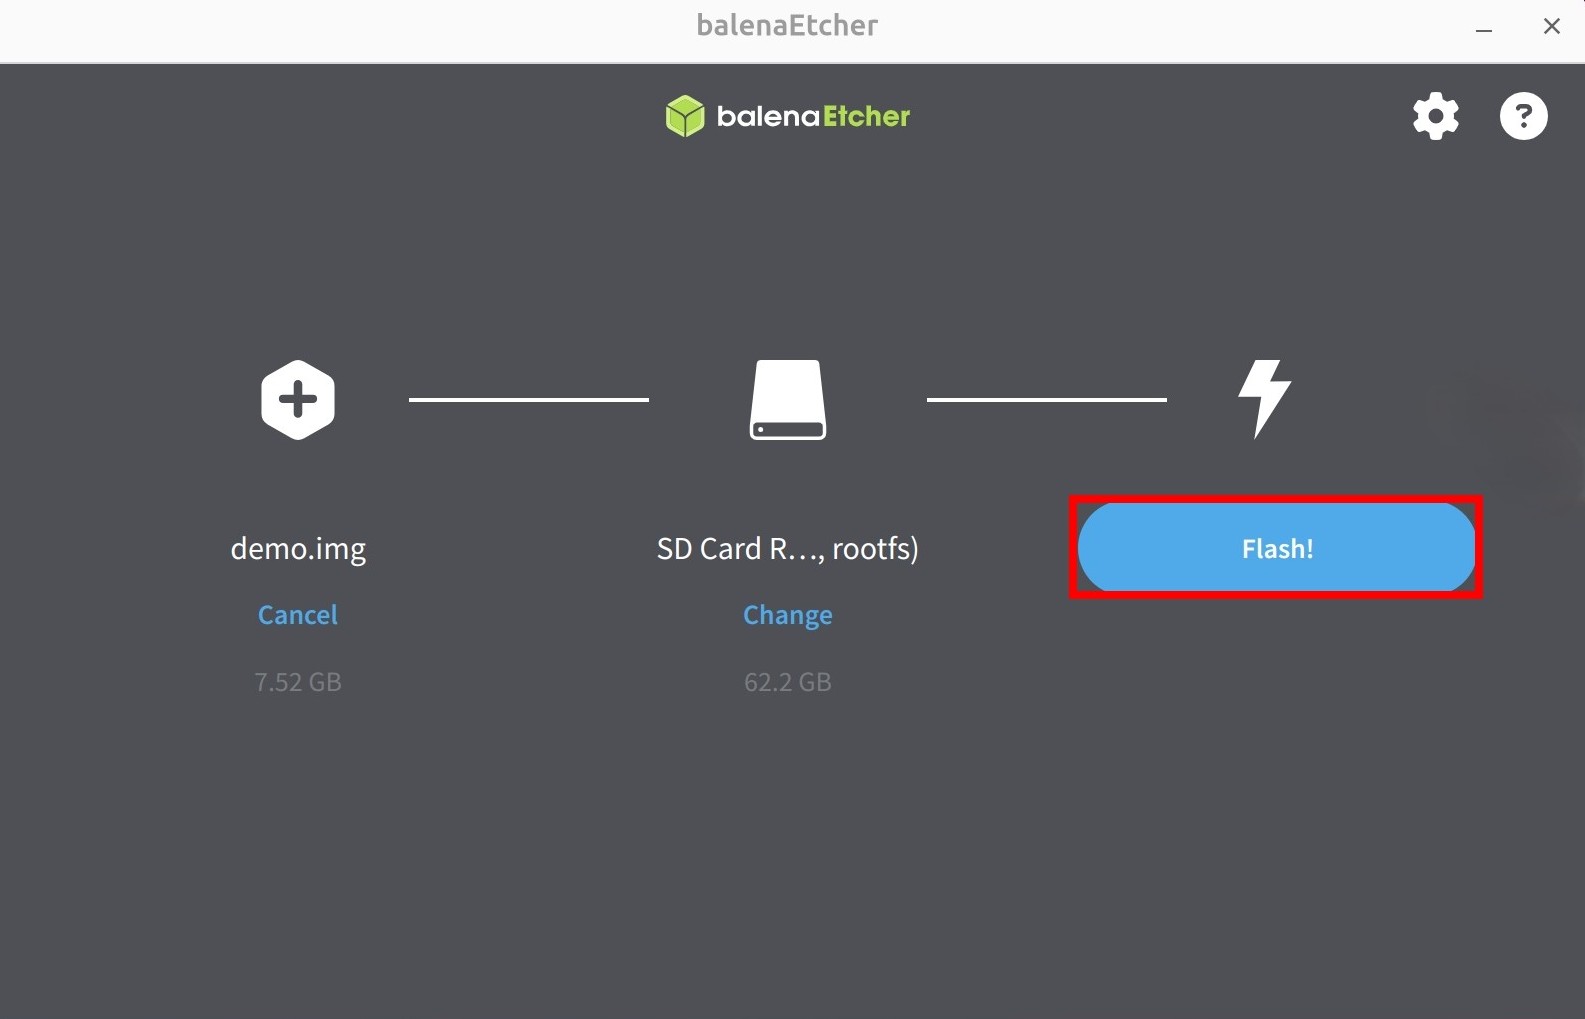
Start flashing
Click Flash! to start flashing the OS image to the microSD card.
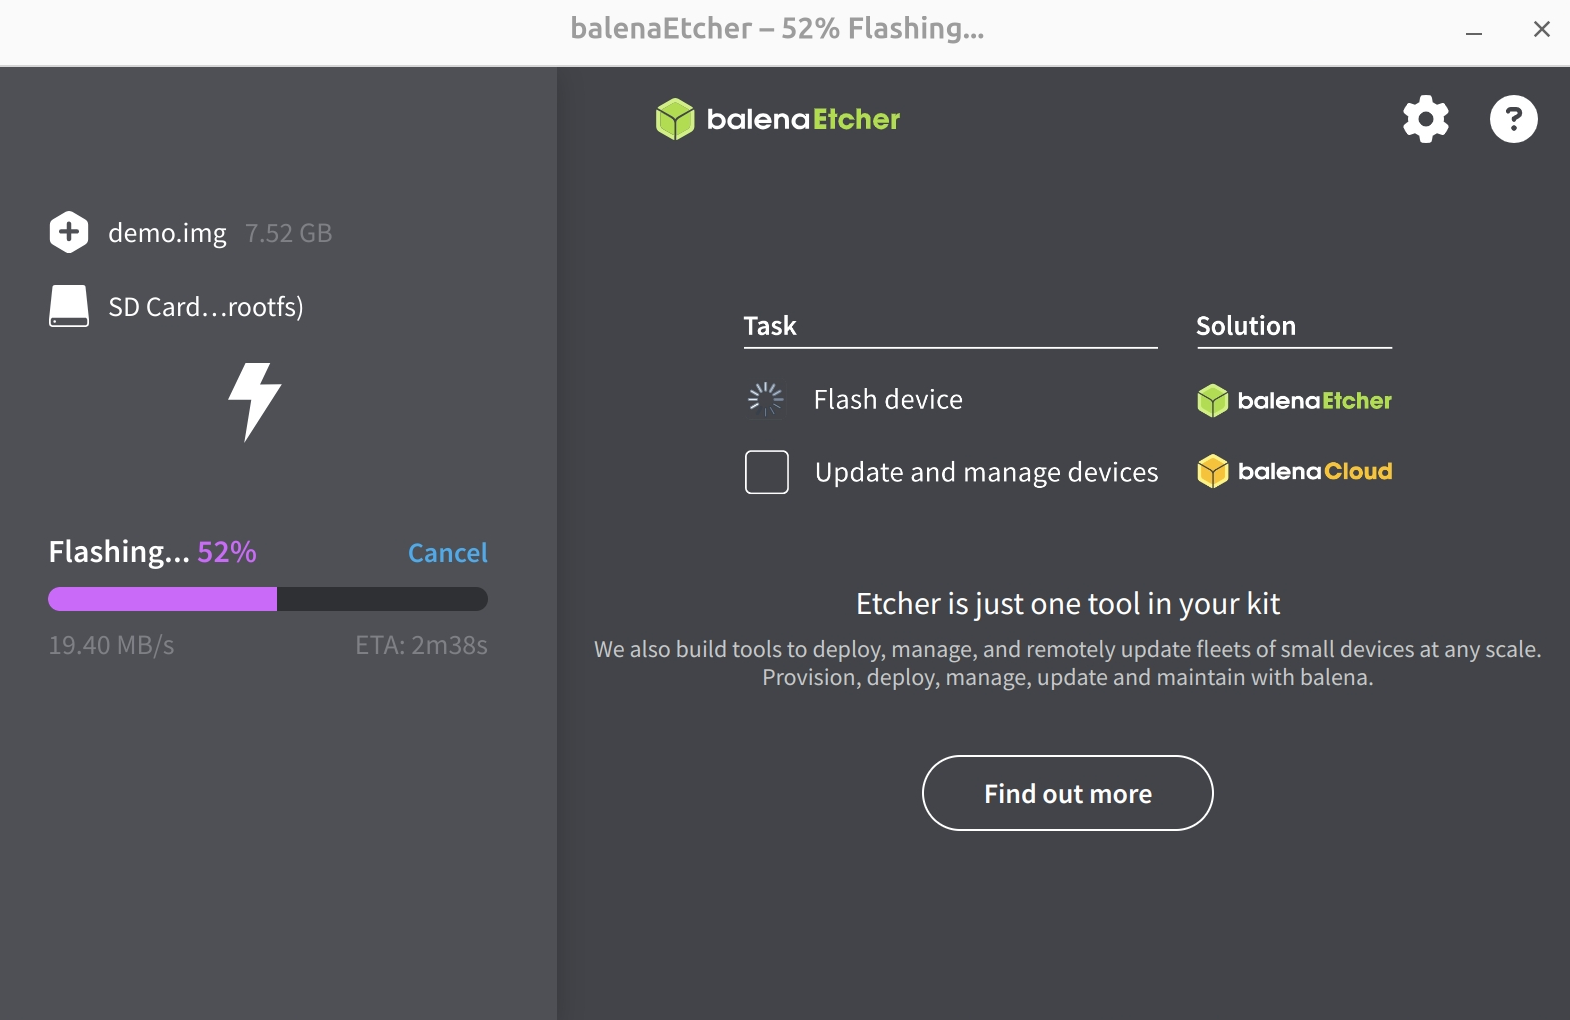
Wait for flashing to complete
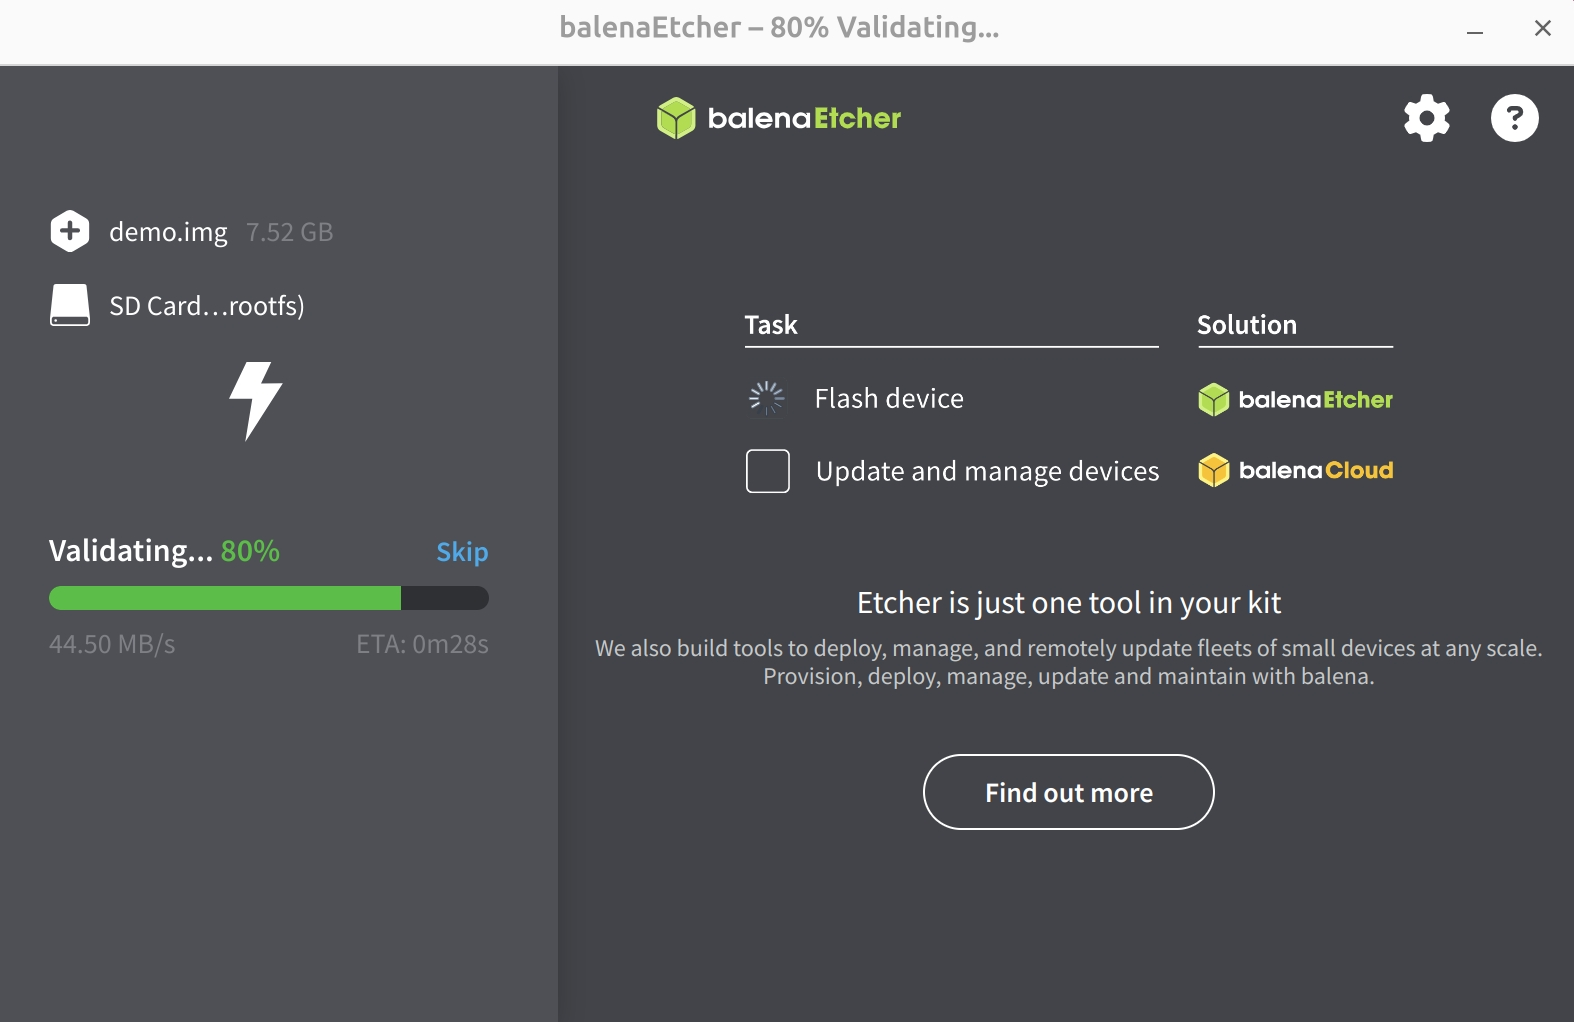
Wait for validation to complete
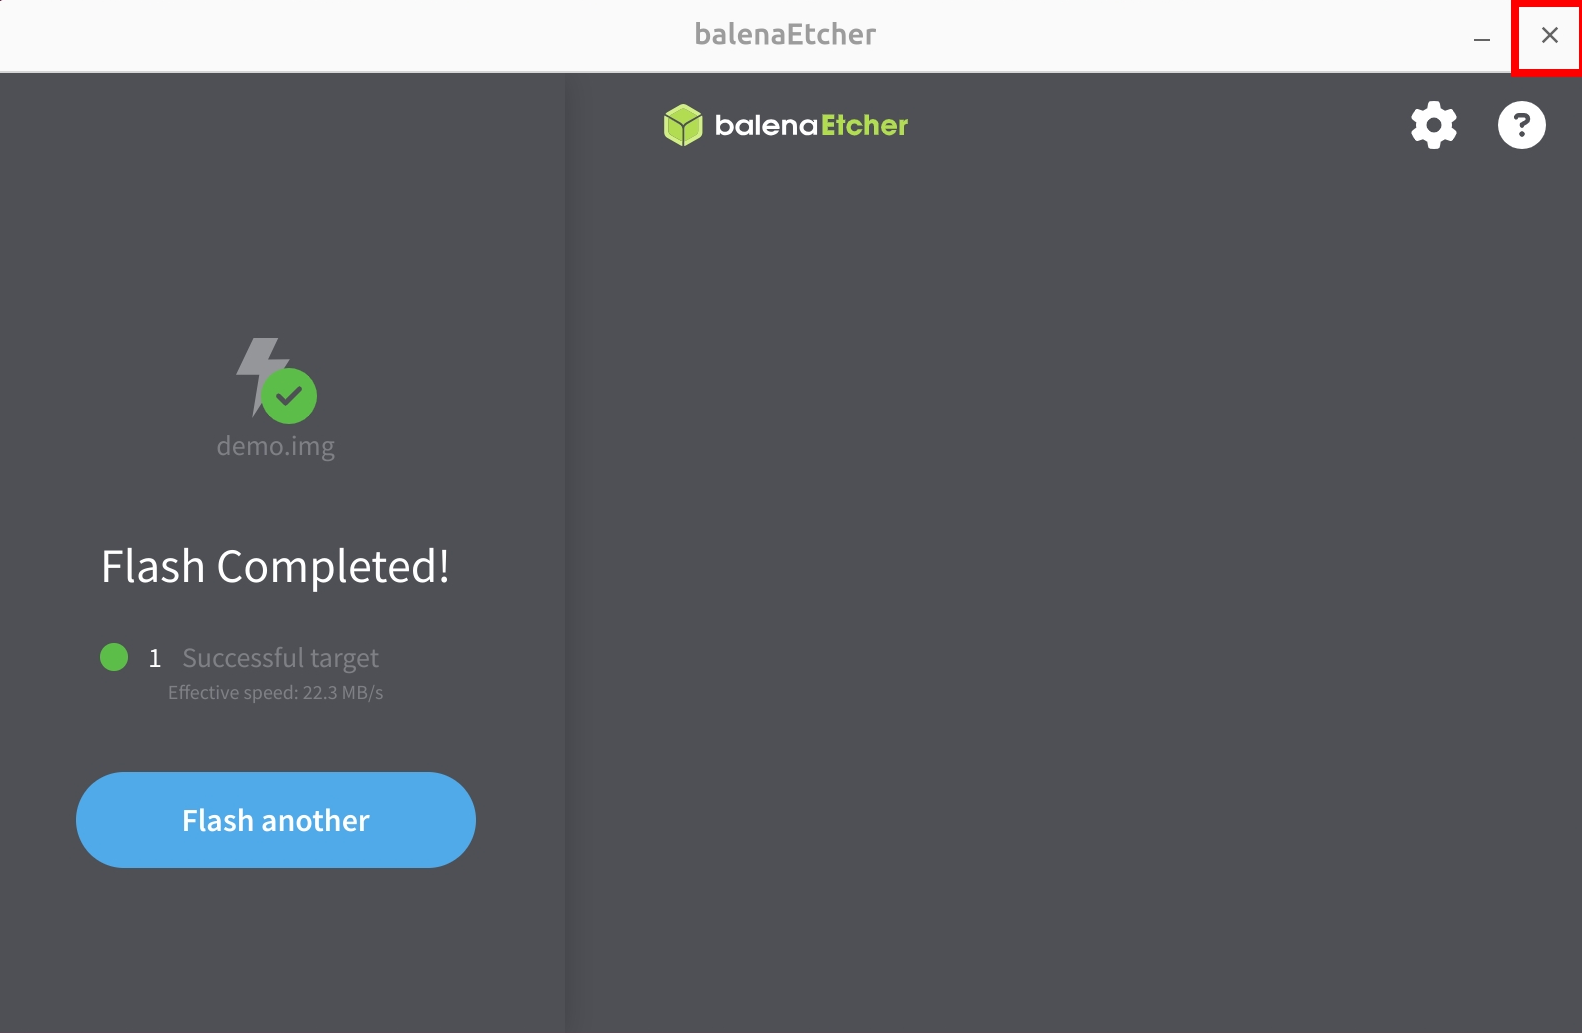
After flashing succeeds, close Etcher.
Boot
After flashing, insert the microSD card into the ROCK 5T microSD card slot, then power the board with a 12V DC power adapter to boot the system.