Getting Started
The purpose of this tutorial is to help everyone quickly get started with the Radxa CM4 Android system.
Product Overview
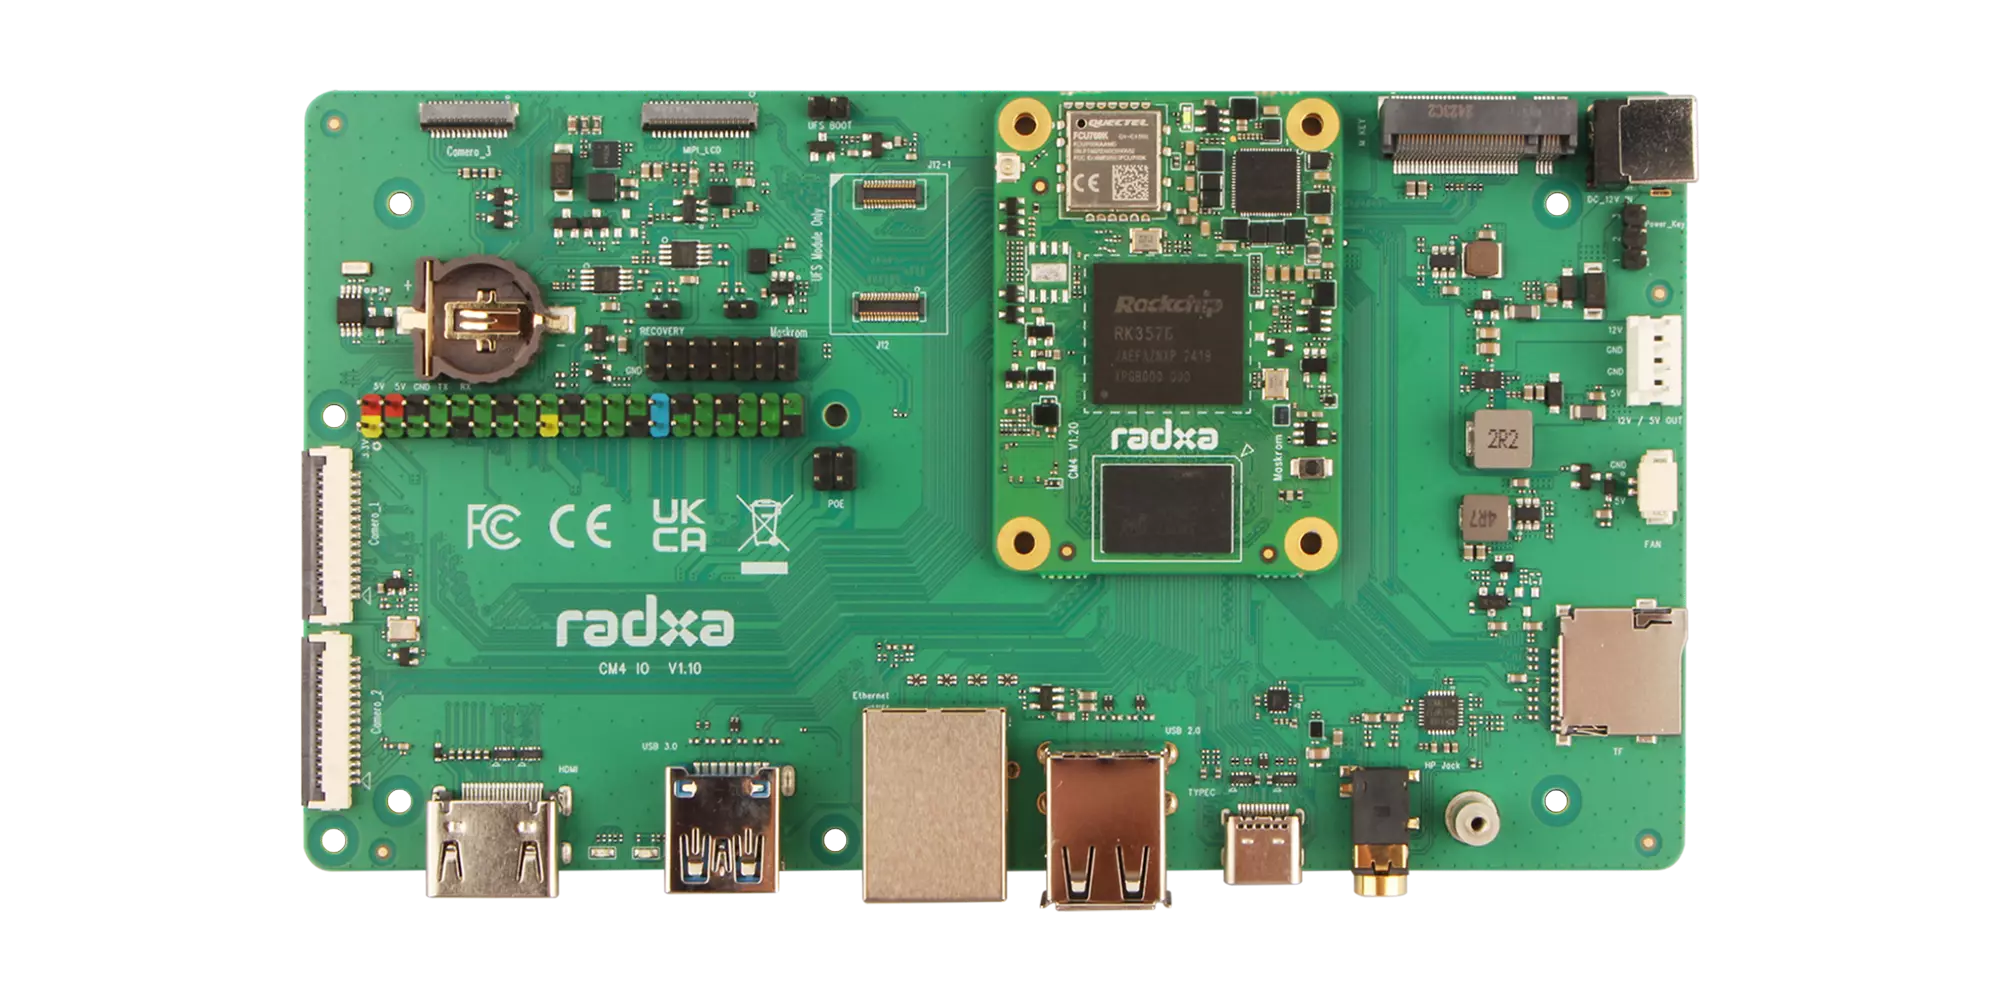
We use CM4 with CM4 IO board for the quick start demonstration.
CM4 with CM4 IO Board - Front
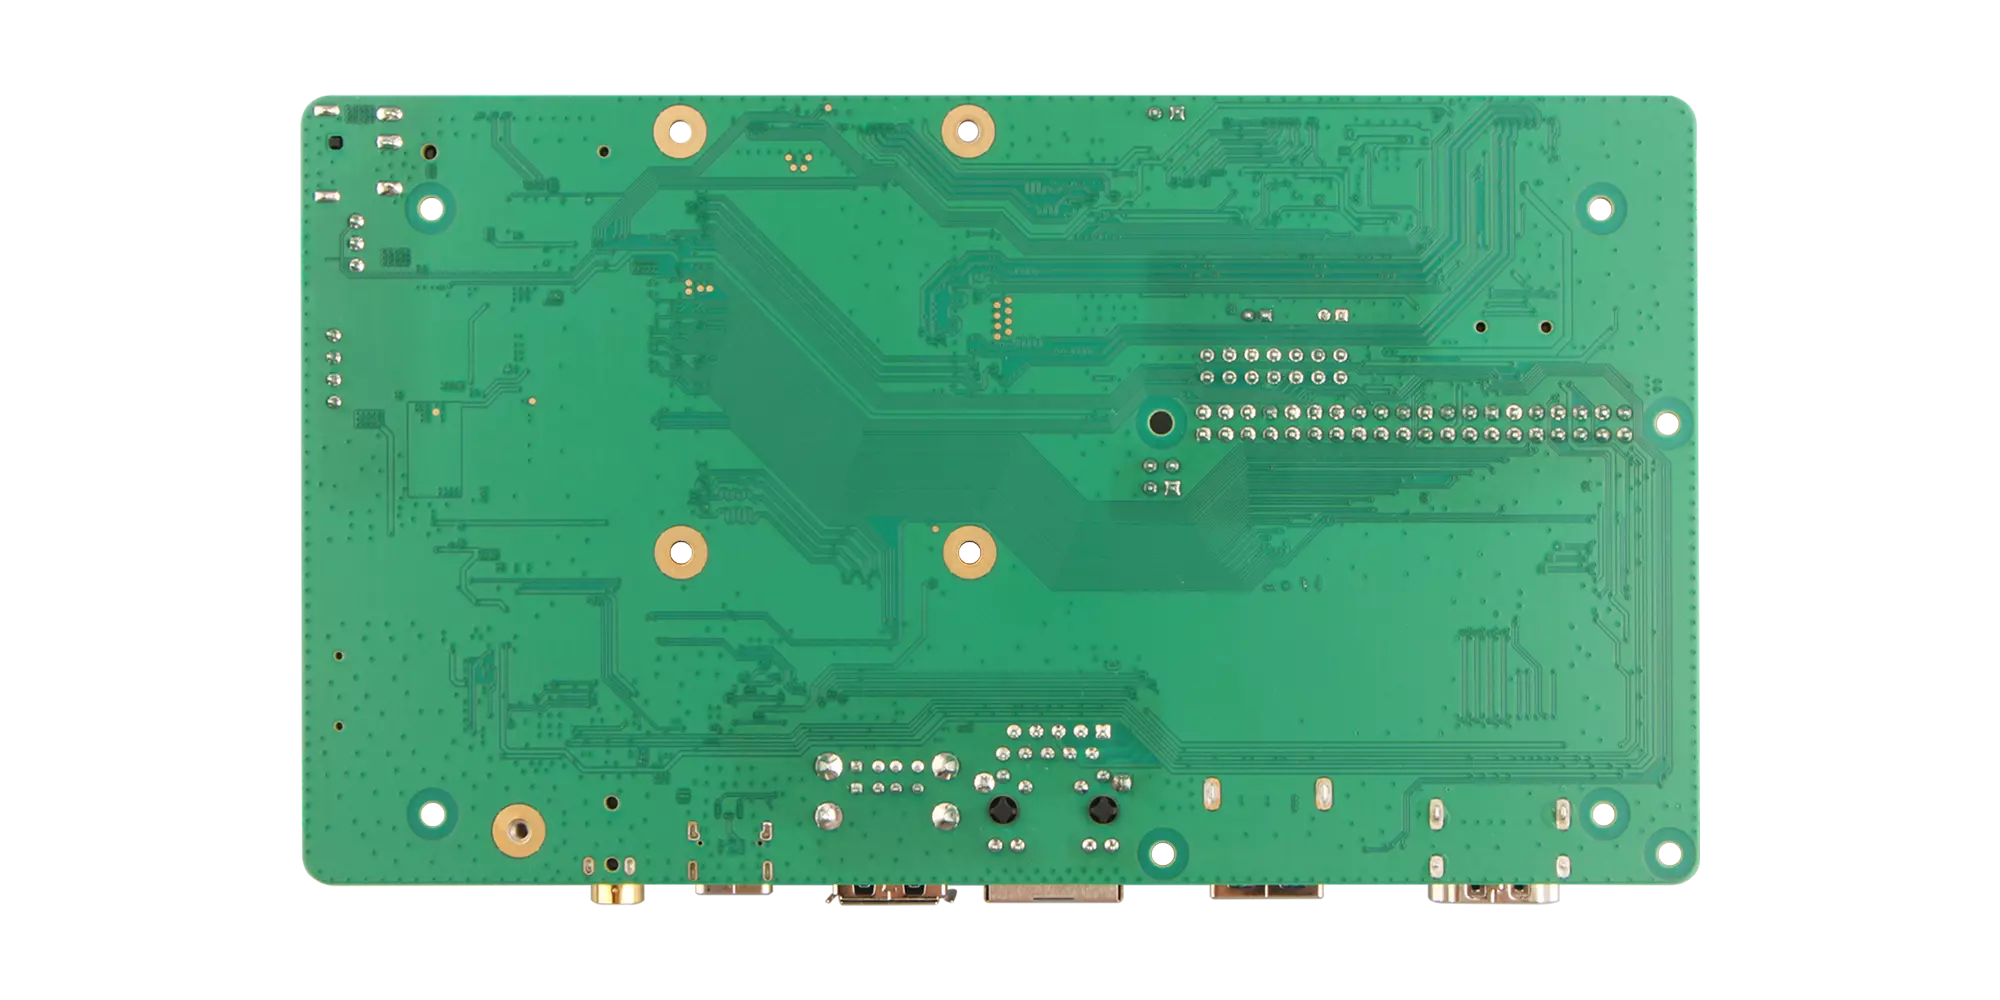
CM4 with CM4 IO Board - Back
Prerequisites
You need to prepare the following hardware devices in advance:
- Board: Radxa CM4 with CM4 IO board
- System boot medium: microSD card
- Power supply: Standard DC 12V/2A power adapter (DC-5525 interface)
- Display device: Monitor and HDMI cable
- Input devices: Keyboard and mouse (for GUI operation)
- Debugging tool: USB serial data cable (for serial login)
The Radxa CM4 IO board only supports 12V power input. It is recommended to use 2A or higher current to ensure stable operation of all peripherals.
- Radxa DC12 36W Power Adapter(recommended)
- Radxa DC12 60W Power Adapter
Install System
Mainly introduces installing the system to microSD card.
Installing the system will completely format the microSD card, and all data will be permanently deleted!
Please confirm before operation:
- The microSD card contains no important data or data backup has been completed
- Select the correct storage device to avoid formatting other disks
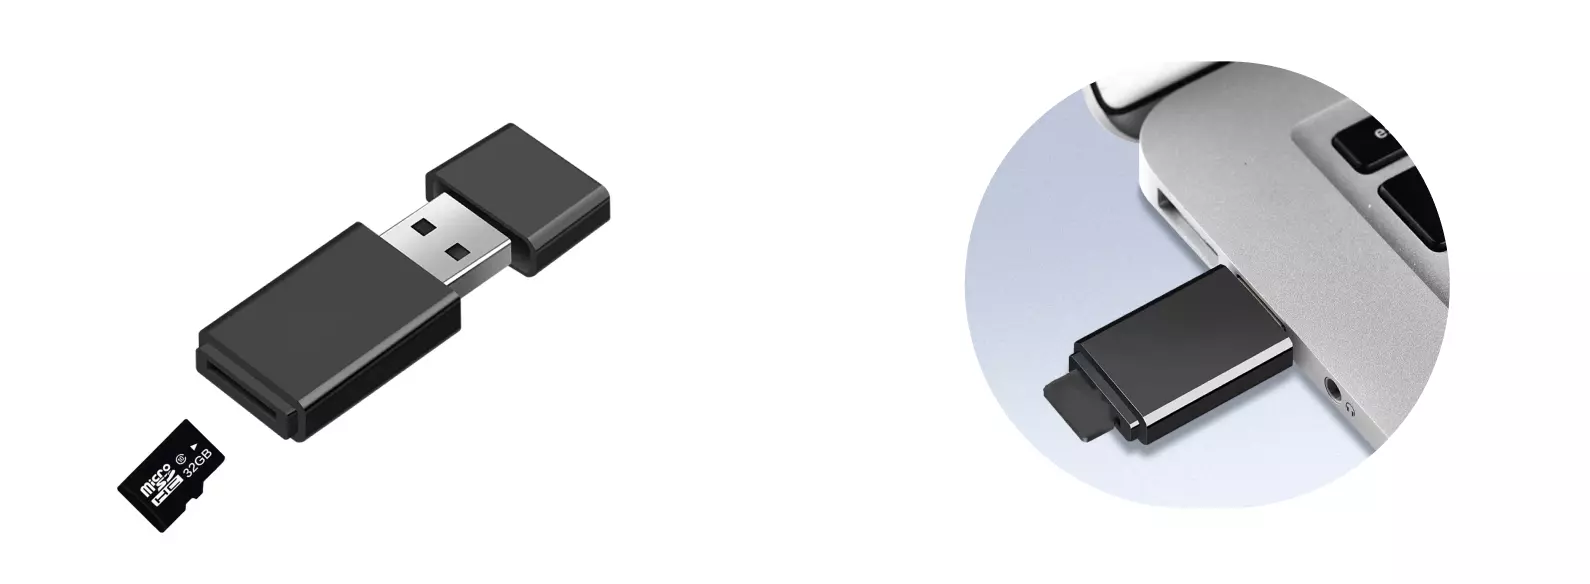
Hardware Connection
Insert the microSD card into the microSD card reader, then insert the microSD card reader into the computer.
Download System Image
Please visit the Resources Download page to download the Android system image.
The image file is a compressed package in .img.xz format. After downloading, it needs to be decompressed first to get the .img format image file before use.
Write System Image
Using Balena Etcher software, you can install the system image to the microSD card.
For the installation and use of Balena Etcher, you can refer to the Etcher Usage tutorial.
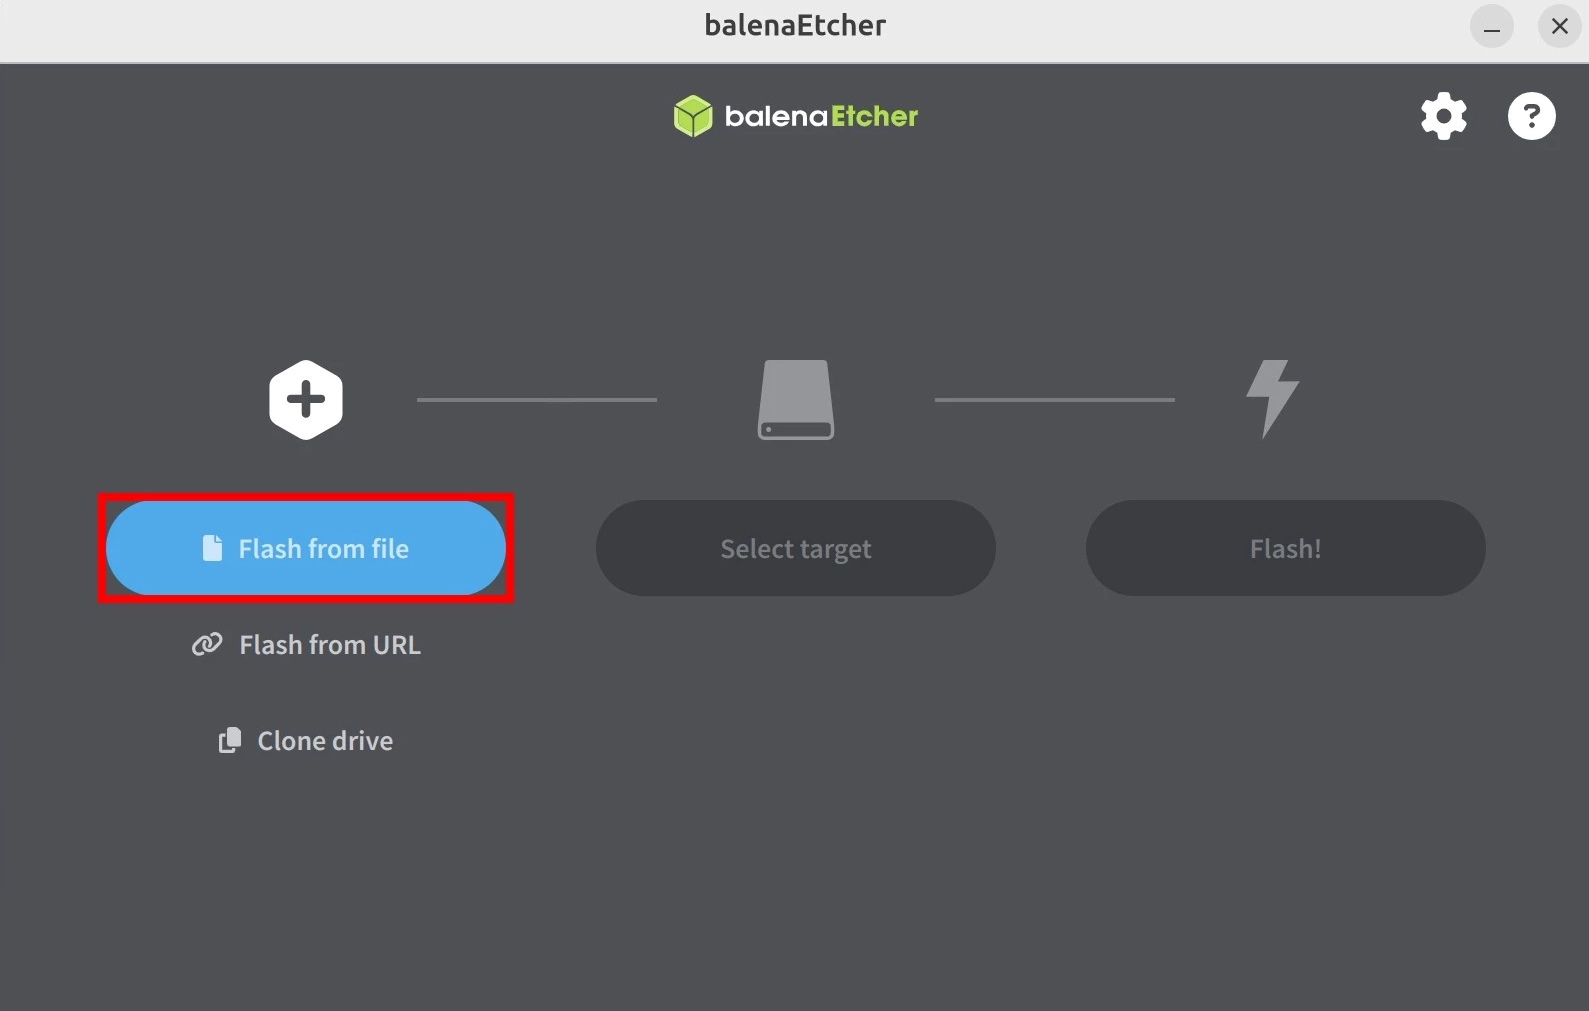
Select System Image
Click the Flash from file option and select the system image file you downloaded and decompressed in advance.
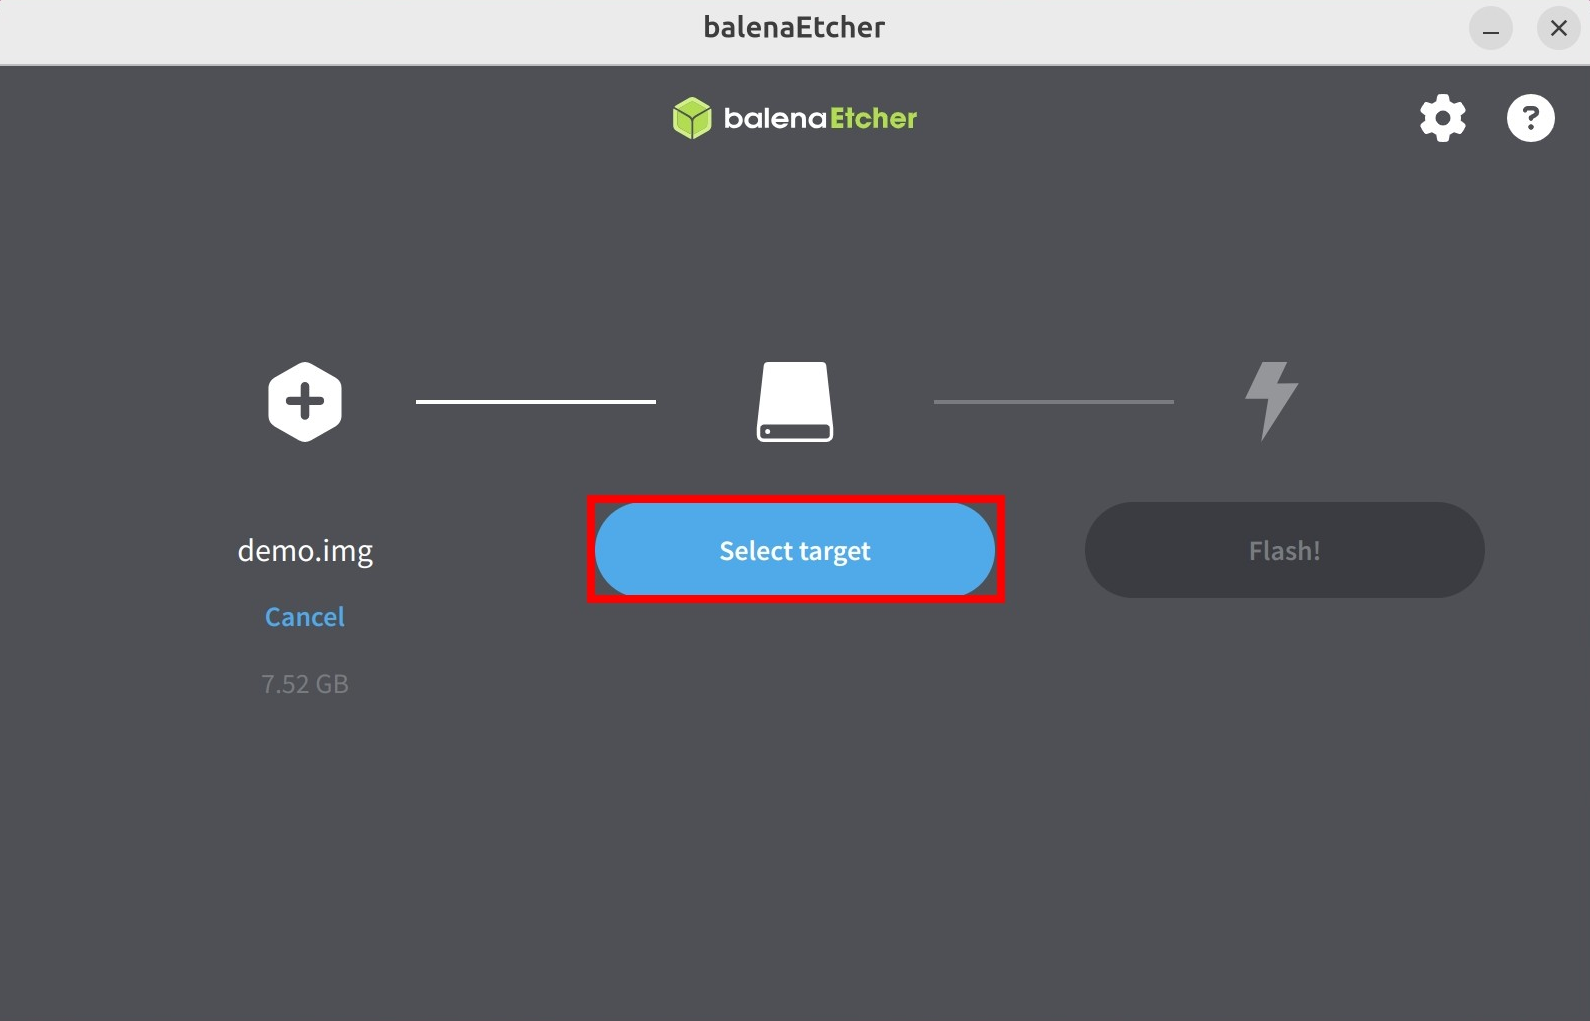
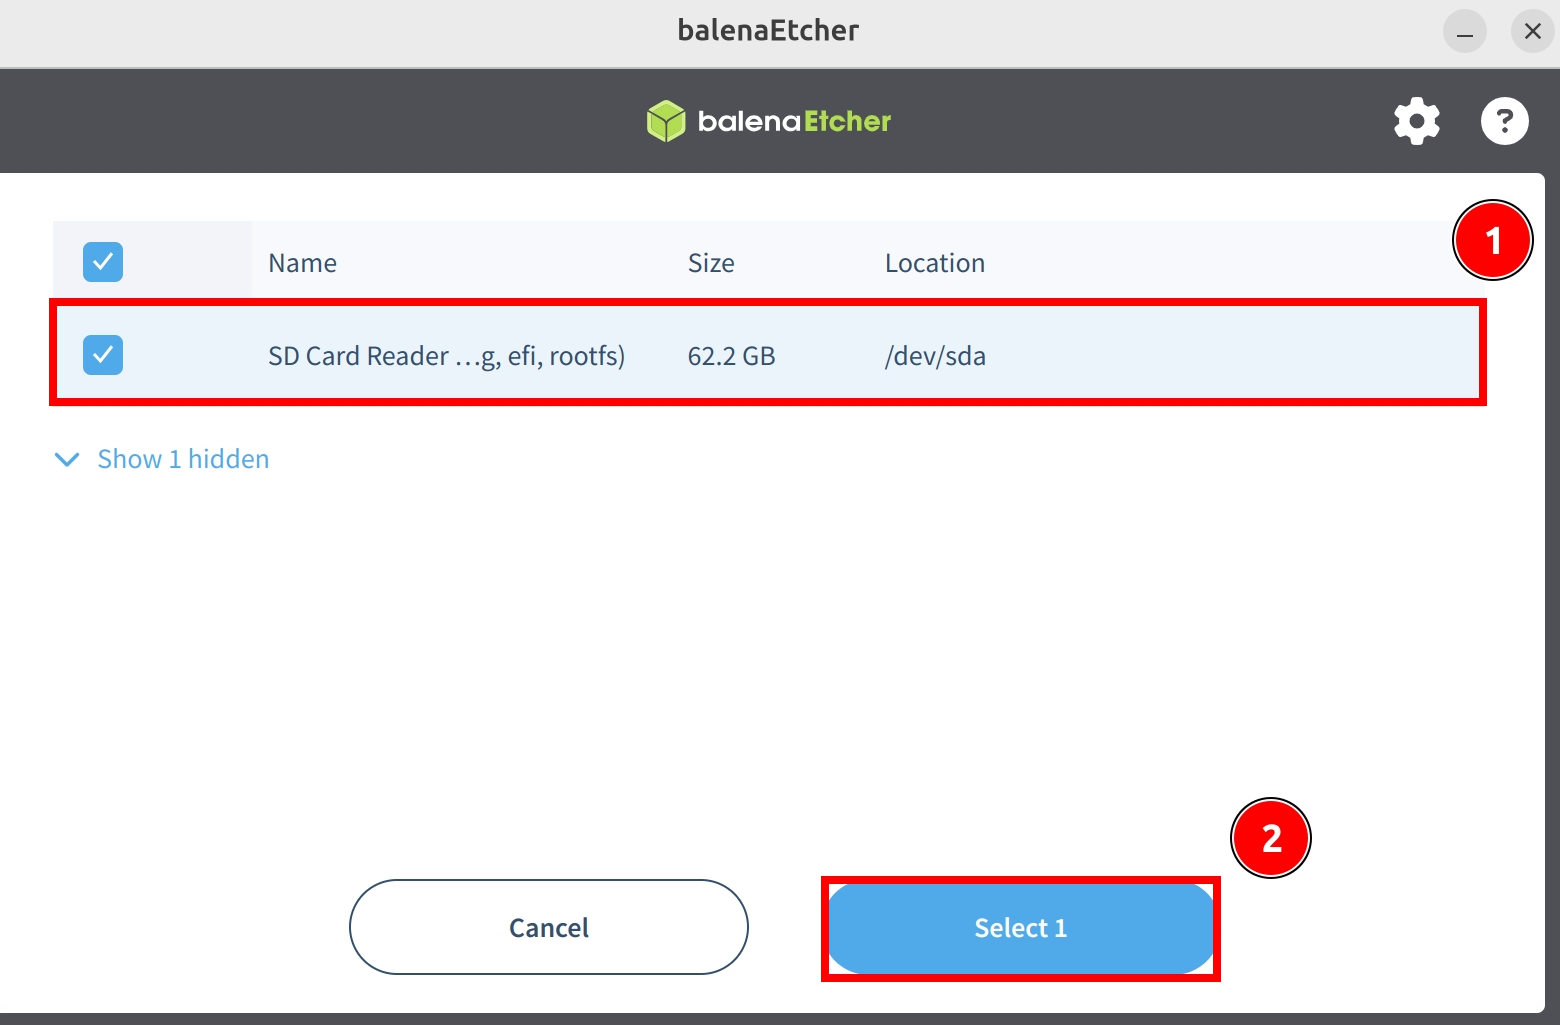
Select Storage Device
Click the Select target option and select the microSD card device.
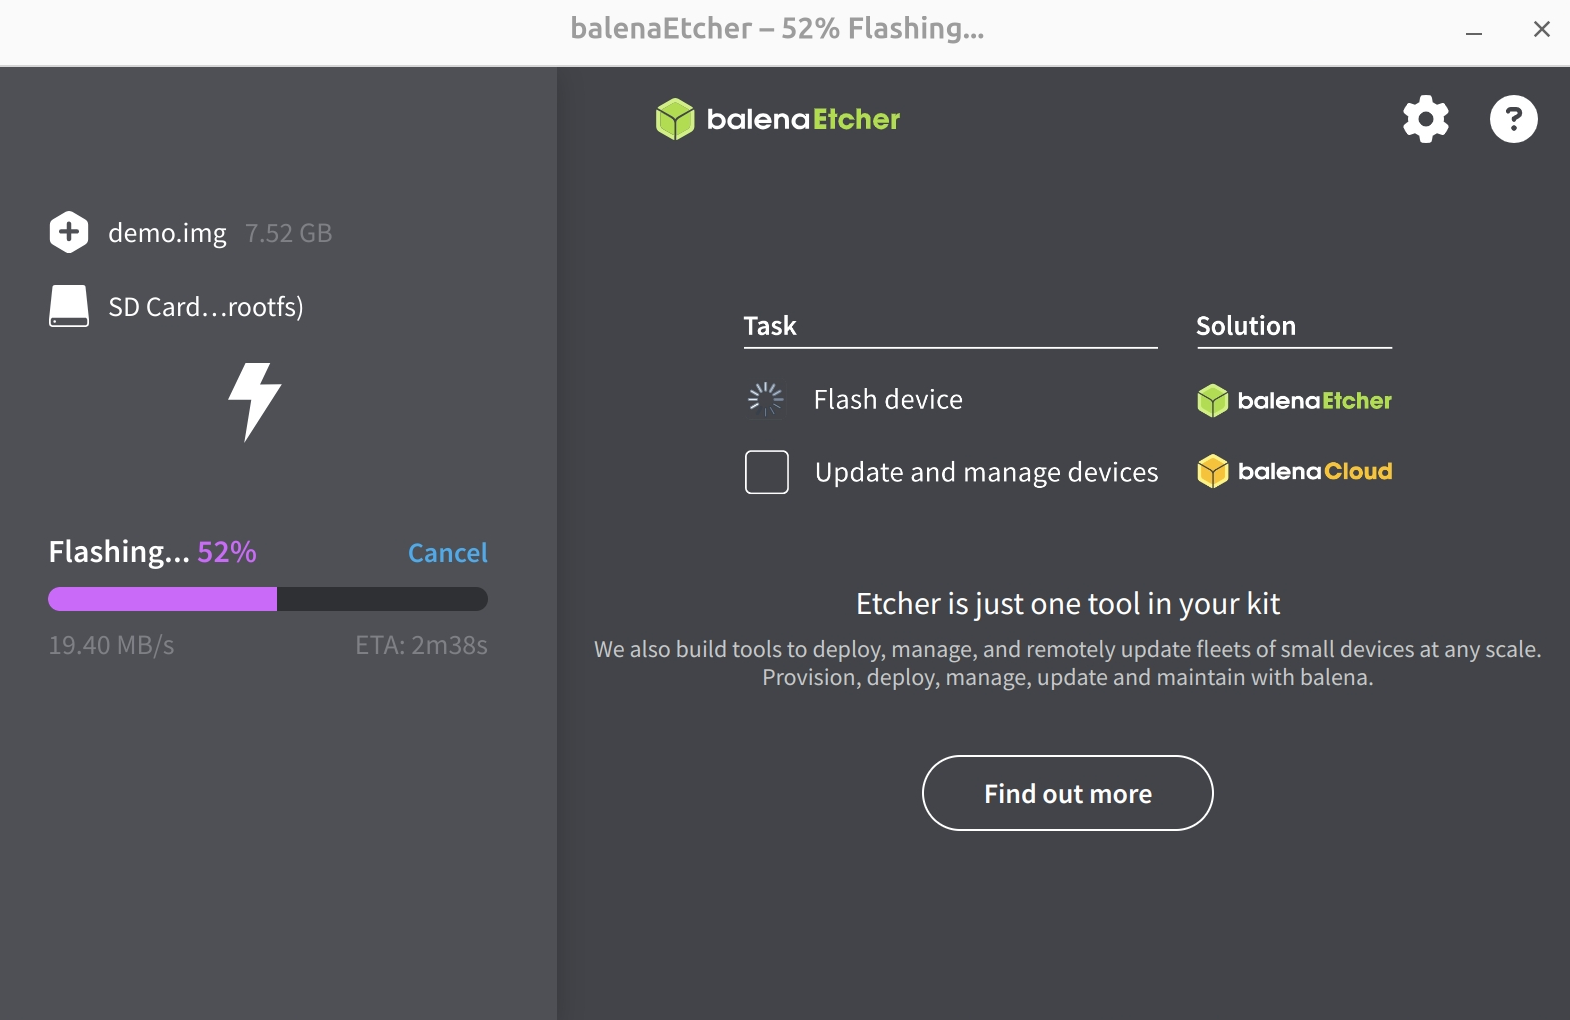
Start Flashing
Click the Flash! option to start flashing the system image to the microSD card.
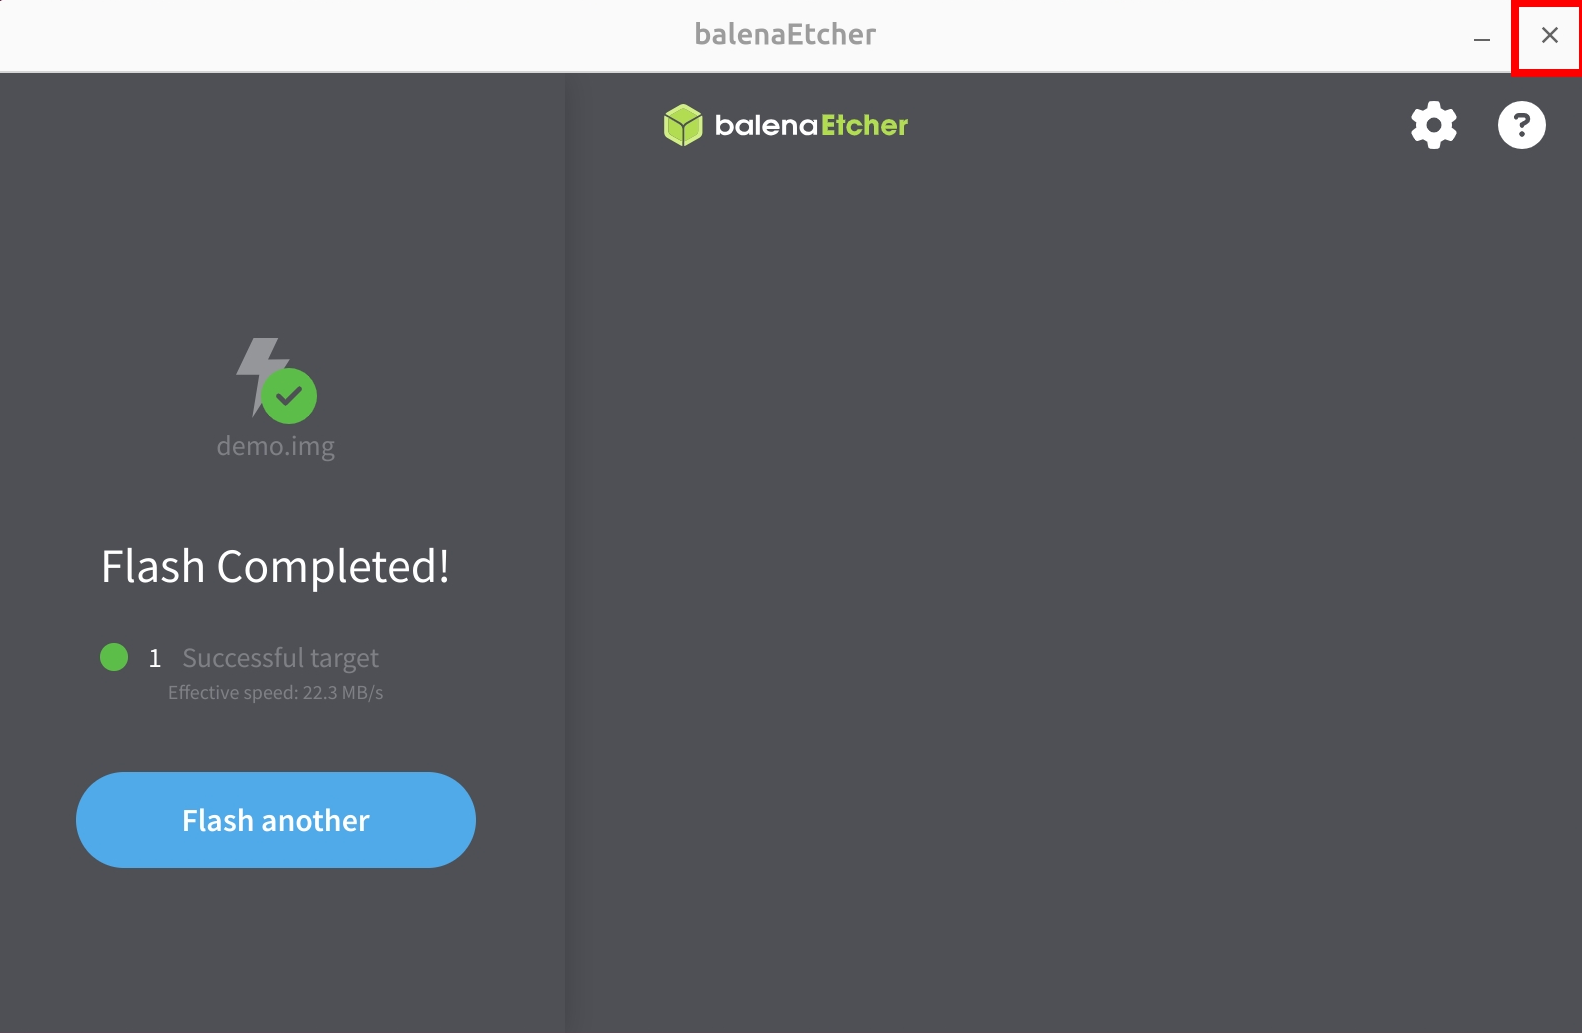
Wait for system installation to complete
Wait for system verification to complete
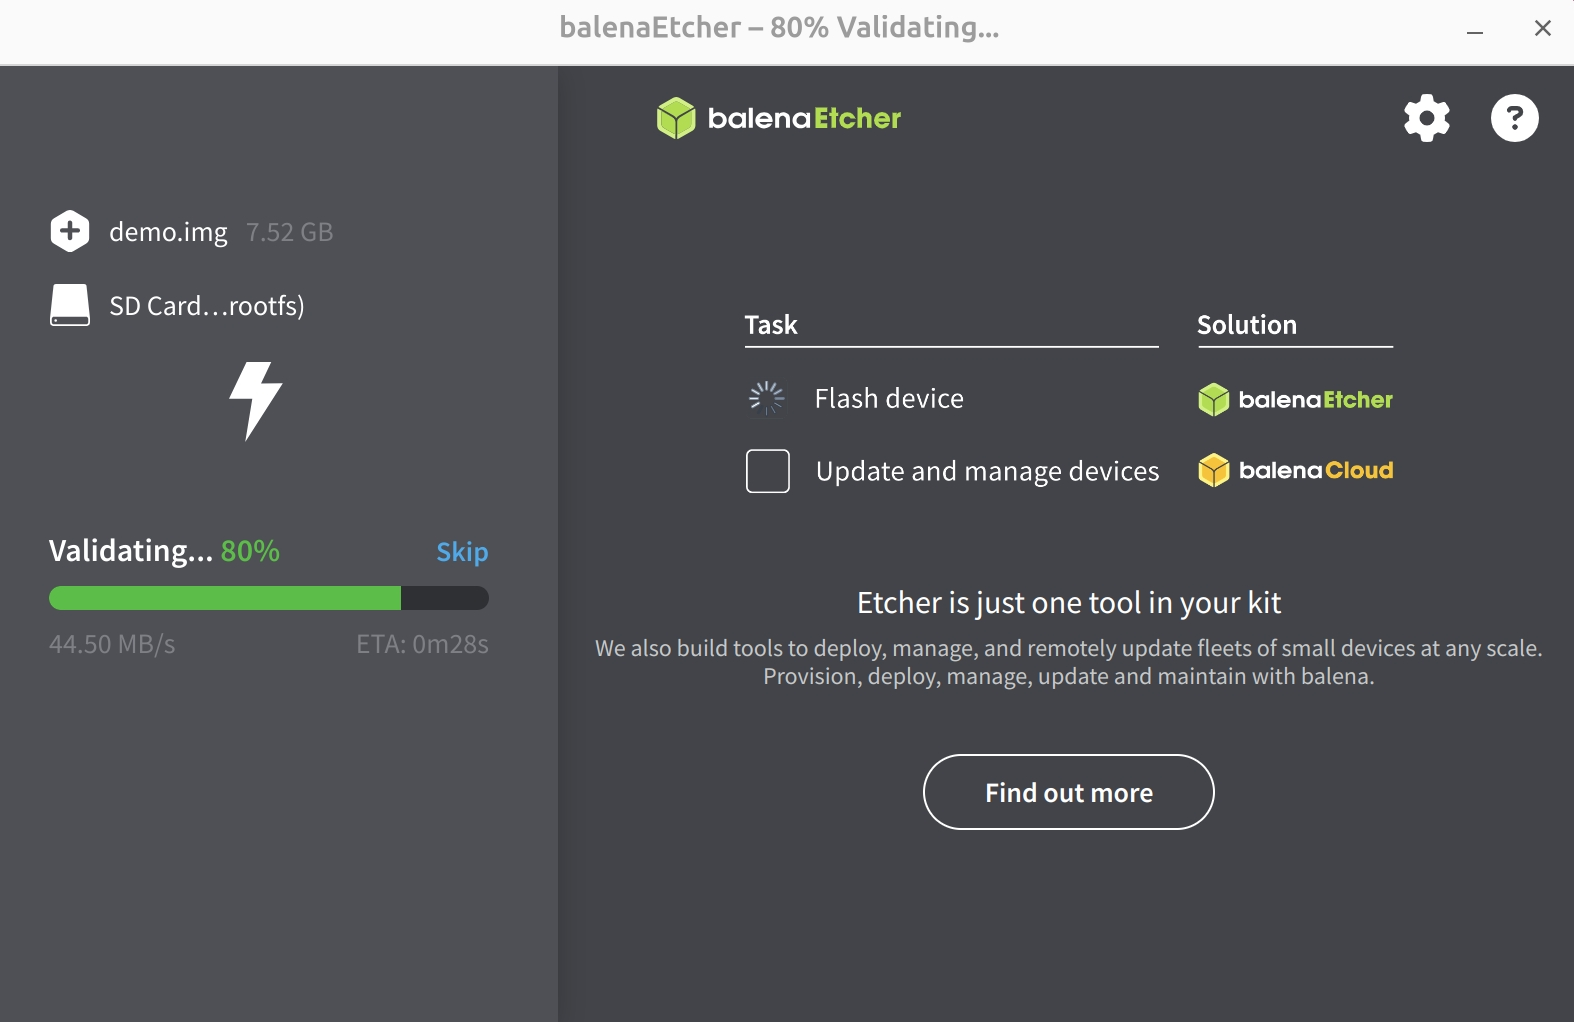
After successfully installing the system image, close the Etcher software!
Boot System
After completing the system write, install the microSD card into the microSD card slot of the CM4 IO board, then use the 12V DC power adapter to power the CM4, and the system will start.