仿真远程助理
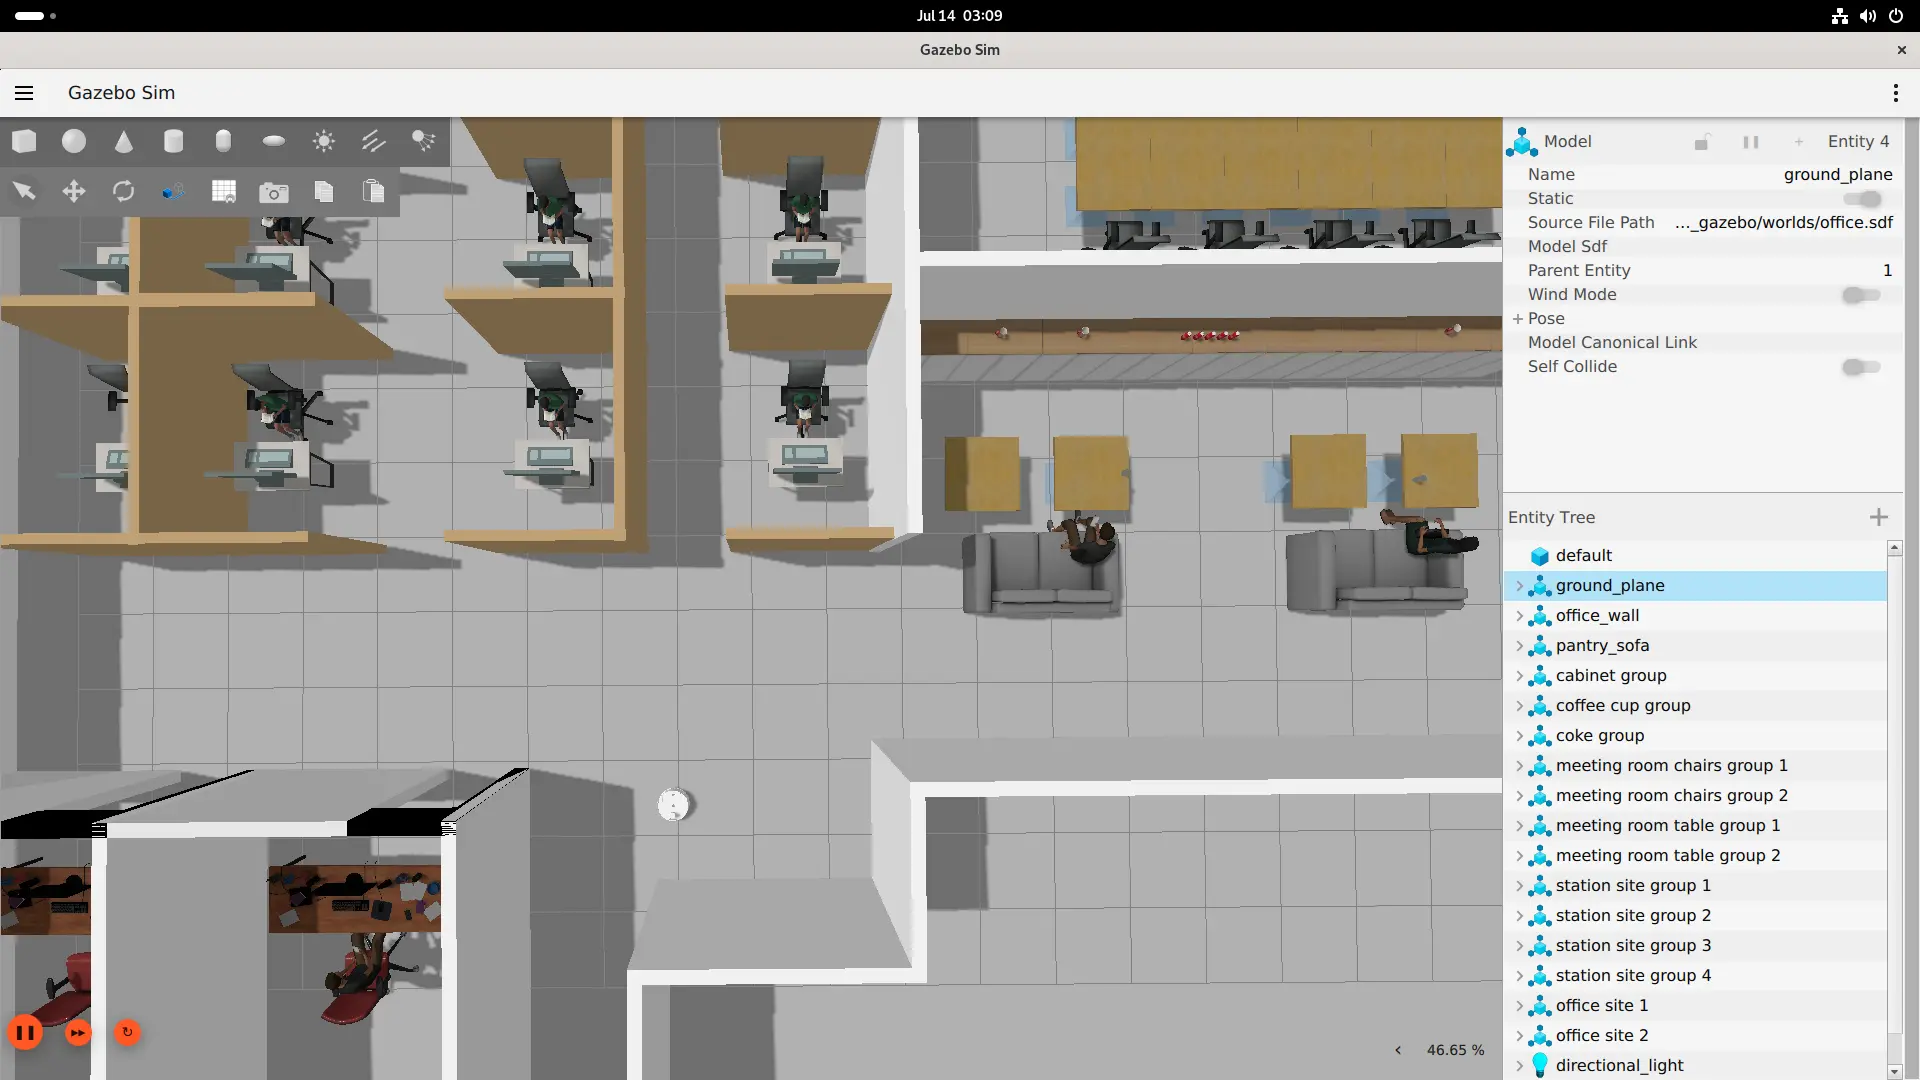
在 Gazebo office 场景中仿真 AMR 远程助理任务。机器人通过 Cartographer 建图与重定位、Nav2 导航至指定房间,使用 YOLOv8 检测目标物体,实现"前往办公室检查人员"的端到端流程。
前提条件
- 已完成 QIR SDK 安装
- 已连接显示器(GUI 模式)
源码构建
步骤 1:克隆仓库
radxa@airbox$
# 仿真环境(如已构建可跳过)
git clone https://github.com/qualcomm-qrb-ros/qrb_ros_simulation.git

# Remote assistant 示例
git clone -b jazzy-rel https://github.com/qualcomm-qrb-ros/qrb_ros_samples.git
步骤 2:构建
radxa@airbox$
# 构建仿真环境
cd qrb_ros_simulation
source /opt/ros/jazzy/setup.bash
colcon build

# 构建 remote assistant 示例
cd ../qrb_ros_samples/robotics/simulation_remote_assistant
source install/setup.bash
colcon build
模型准备
通过 QAI Hub 导出 YOLOv8 float TFLite 模型。
步骤 1:安装 QAI Hub Models
host$
python -m venv ~/venv_qaihub
source ~/venv_qaihub/bin/activate
pip install qai-hub-models
步骤 2:配置 QAI Hub
从 Qualcomm AI Hub 的账号设置页面获取 API token:
host$
source ~/venv_qaihub/bin/activate
qai-hub configure --api_token <your-api-token>
步骤 3:导出 TFLite 模型
host$
source ~/venv_qaihub/bin/activate
python -m qai_hub_models.models.yolov8_det.export \
  --precision=float \
  --target-runtime=tflite \
  --device "Dragonwing IQ-9075 EVK"
步骤 4:传输模型到设备
host$
scp yolov8_det.tflite <device-user>@<device-ip>:<your_model_path>/yolov8_det.tflite
Tensor 规格:
| 张量 | 类型 | 形状 |
|---|---|---|
| 输入 | float32 | [1, 640, 640, 3] |
| boxes | float32 | [1, 8400, 4] |
| scores | float32 | [1, 8400] |
| class_idx | uint8 | [1, 8400] |
运行
所有终端使用相同环境:
radxa@airbox$
source /opt/ros/jazzy/setup.bash
export ROS_DOMAIN_ID=78
export ROS_LOCALHOST_ONLY=1
source qrb_ros_simulation/install/setup.bash
source qrb_ros_samples/robotics/simulation_remote_assistant/install/setup.bash
终端 1:启动 Gazebo Office 场景
在桌面终端中运行:
radxa@airbox$
ros2 launch qrb_ros_sim_gazebo gazebo_robot_base_mini.launch.py \
  world_model:=office \
  initial_x:=1.0 \
  initial_y:=6.0 \
  enable_depth_camera:=false
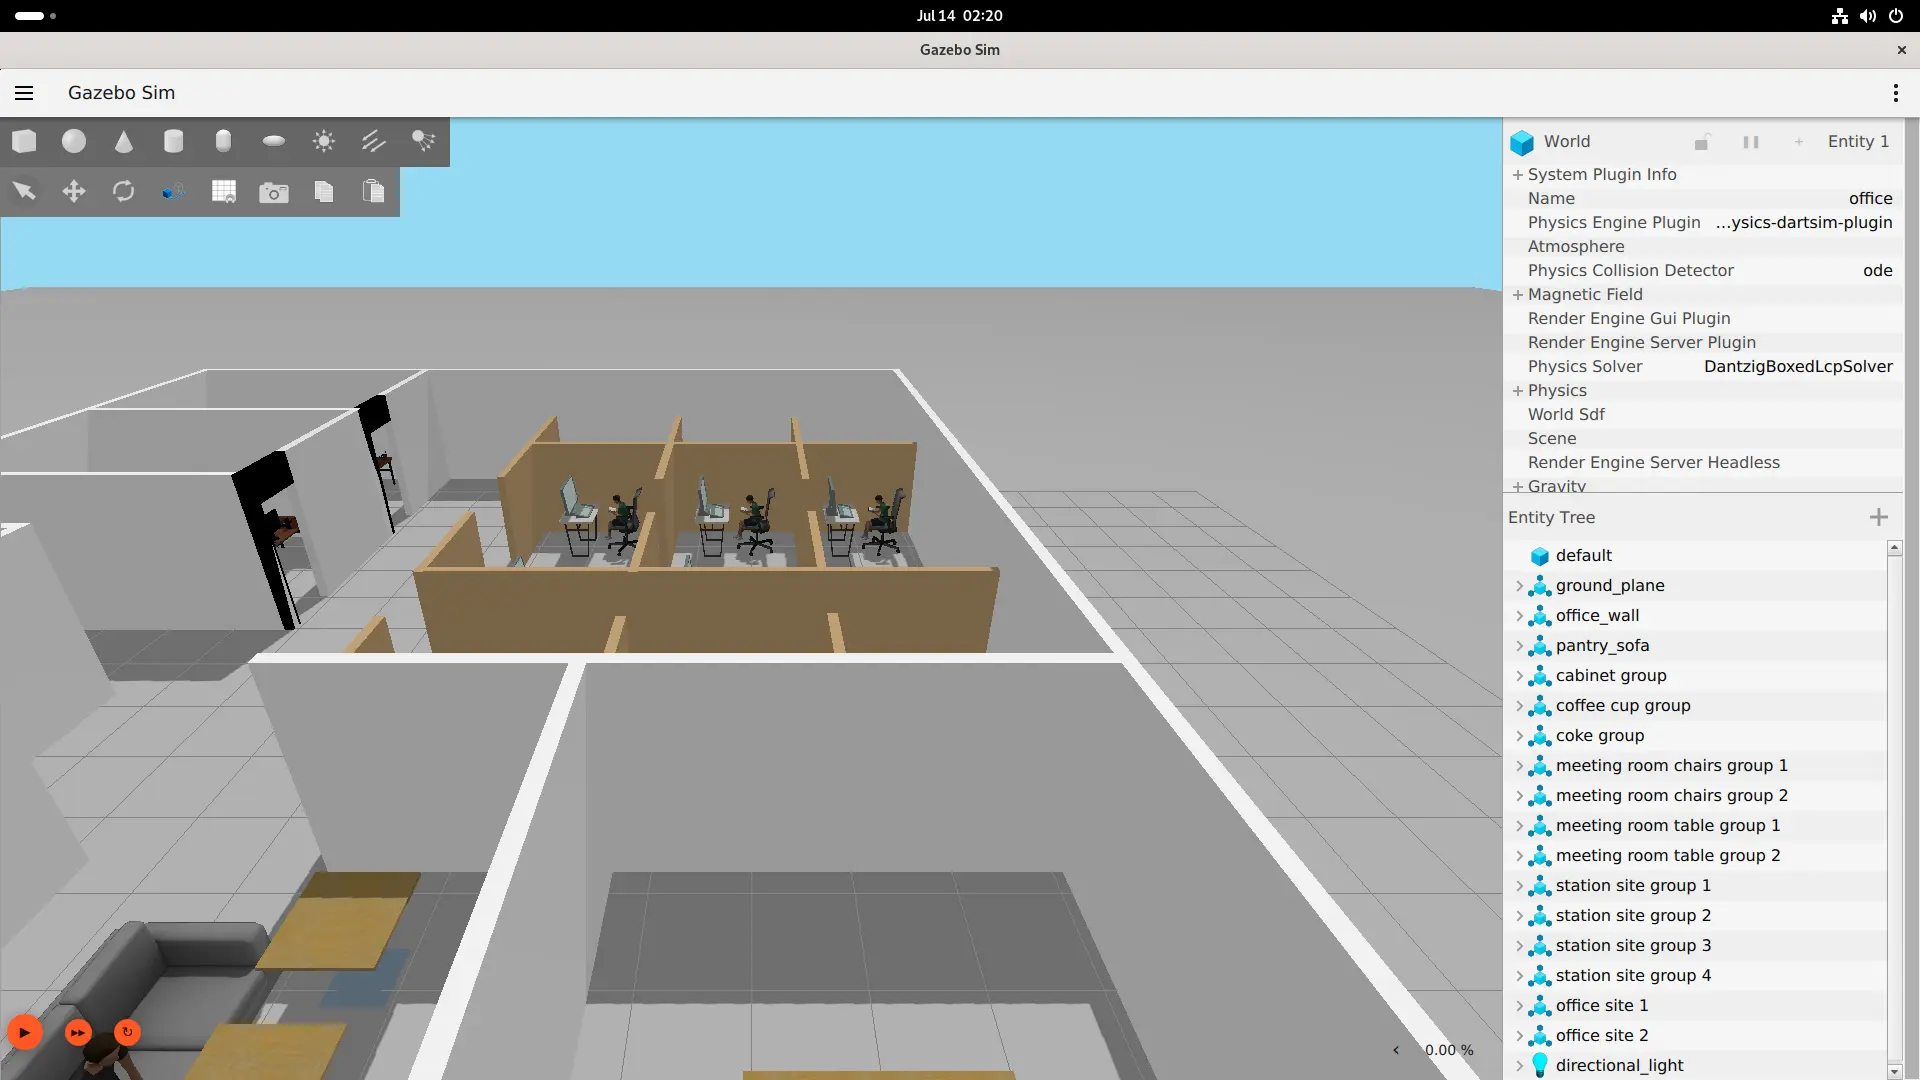
Gazebo 启动后处于暂停状态。点击左下角播放按钮 启动仿真时钟后继续。
终端 2:建图、重定位与导航
radxa@airbox$
ros2 launch simulation_remote_assistant map_nav_setup.launch.py
该 launch 文件串联执行:Cartographer 建图 → 轨迹完成 → pbstream 保存 → 重定位 → Nav2 bringup。完成后 /navigate_to_pose action 可用。
终端 3:YOLO 目标检测
radxa@airbox$
ros2 launch simulation_remote_assistant yolo_detectcion.launch.py \
  model:=<your_model_path>/yolov8_det.tflite \
  label_file:=<your_path>/coco80_labels.yaml \
  score_thres:=0.3
coco80_labels.yaml 为 COCO 80 类标签文件,仓库中不含此文件,需自行创建:
radxa@airbox$
cat > coco80_labels.yaml << 'EOF'
names:
  0: person
  1: bicycle
  2: car
  3: motorcycle
  4: airplane
  5: bus
  6: train
  7: truck
  8: boat
  9: traffic light
  10: fire hydrant
  11: stop sign
  12: parking meter
  13: bench
  14: bird
  15: cat
  16: dog
  17: horse
  18: sheep
  19: cow
  20: elephant
  21: bear
  22: zebra
  23: giraffe
  24: backpack
  25: umbrella
  26: handbag
  27: tie
  28: suitcase
  29: frisbee
  30: skis
  31: snowboard
  32: sports ball
  33: kite
  34: baseball bat
  35: baseball glove
  36: skateboard
  37: surfboard
  38: tennis racket
  39: bottle
  40: wine glass
  41: cup
  42: fork
  43: knife
  44: spoon
  45: bowl
  46: banana
  47: apple
  48: sandwich
  49: orange
  50: broccoli
  51: carrot
  52: hot dog
  53: pizza
  54: donut
  55: cake
  56: chair
  57: couch
  58: potted plant
  59: bed
  60: dining table
  61: toilet
  62: tv
  63: laptop
  64: mouse
  65: remote
  66: keyboard
  67: cell phone
  68: microwave
  69: oven
  70: toaster
  71: sink
  72: refrigerator
  73: book
  74: clock
  75: vase
  76: scissors
  77: teddy bear
  78: hair drier
  79: toothbrush
EOF
检测结果发布至 /yolo_detect_result 话题。
终端 4:执行任务
radxa@airbox$
ros2 launch simulation_remote_assistant task_manager_node.launch.py
输入任务指令:
go to office to check person
数据流
office Gazebo AMR
  → /scan + /odom + /tf
  → Cartographer 建图 → 保存 pbstream → 重定位
  → Nav2 /navigate_to_pose → office 目标 (3.087, 0.108)

/camera/color/image_raw
  → 640×640 预处理
  → qrb_ros_nn_inference (TFLite float)
  → YOLO 后处理 → /yolo_detect_result
  → task_manager 结果输出
预期输出
终端 4 输出:
Navigating to office: (3.087, 0.108)
Navigation target reached, starting detection
Found person at office.
Task finished.
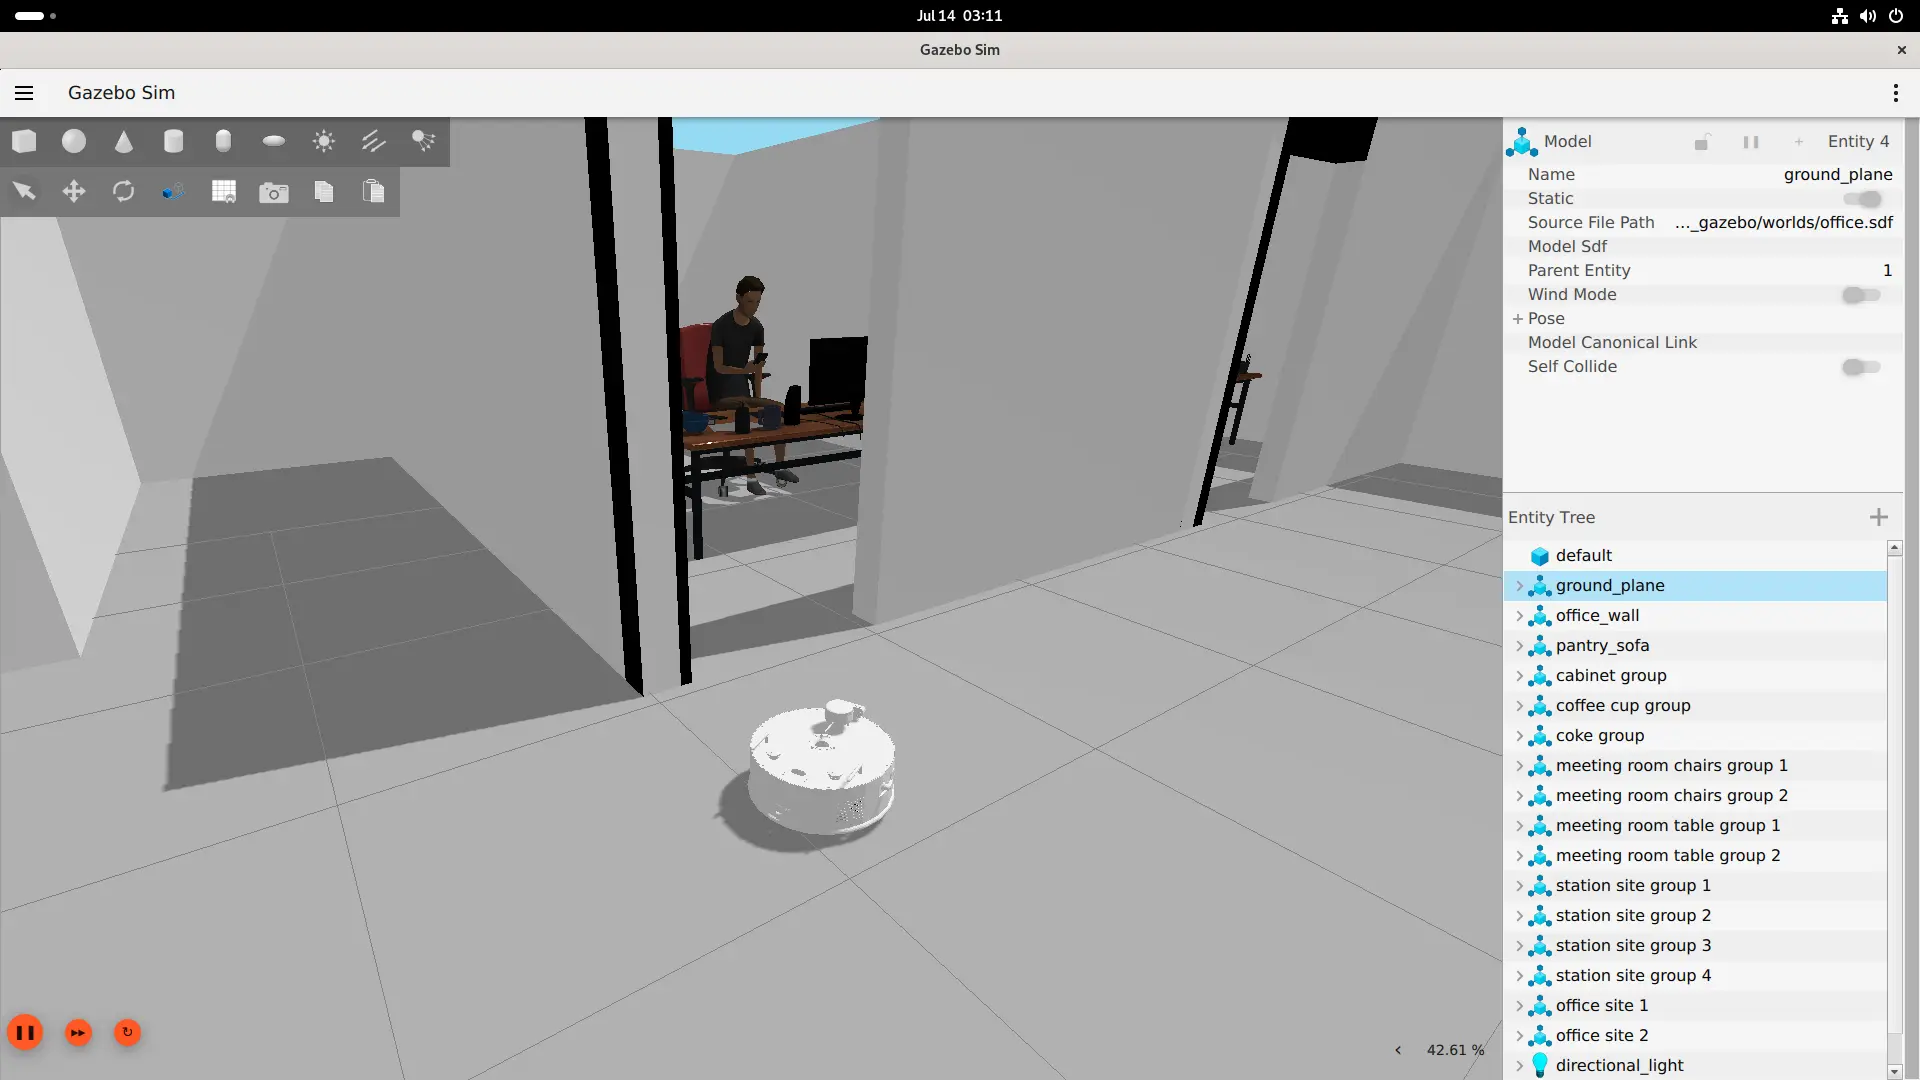
YOLO 检测到 person,置信度约 0.52,高于默认阈值。
限制
- 任务管理器使用 YAML 关键词匹配,不依赖 LLM 或通用自然语言理解。
- 仅支持预配置的关键词(
office、person)。 - 默认检测阈值
0.5可能遗漏部分场景中的人员;降低至0.3可提高检出率但可能增加误检。 - 仿真为视觉和运动学仿真,不包含真实传感器精度、导航安全性或遮挡处理。