OpenCV
简介
OpenCV(开源计算机视觉库)是一个编程函数库,主要用于实时计算机视觉。
应用领域
-
图像处理和分析:OpenCV 可以用来进行各种图像处理和分析操作,如图像增强、滤波、边缘检测、形态学操作、颜色空间转换等。
-
目标检测和跟踪:OpenCV 可以用来进行目标检测和跟踪,比如人脸识别、车辆识别、行人检测等。
-
机器视觉和工业自动化:OpenCV 可以用来进行机器视觉和工业自动化方面的应用,如自动检测和分类、工业质量控制等。
-
视频分析和处理:OpenCV 可以用来进行视频分析和处理,如运动检测、物体跟踪、视频压缩、视频编解码等。
-
医学图像处理:OpenCV 还可以用于医学图像处理和分析,如医学图像的分割、配准、重建等。
-
智能交通系统:OpenCV 可以用于智能交通系统,包括车牌识别、交通流量统计、路面损坏检测等。
安装
APT 安装
- C++ 库
- Python 库
sudo apt install libopencv-dev
pip3 install opencv-python
编译安装
- 到下载 OpenCV 官网下载所需要的版本(这里以 4.10 为例)
wget https://github.com/opencv/opencv/archive/refs/tags/4.10.0.zip
- 解压
unzip 4.10.0.zip
- 安装所需要的包
sudo apt-get install build-essential cmake git unzip pkg-config libjpeg-dev libpng-dev libavcodec-dev libavformat-dev libswscale-dev libgtk2.0-dev libcanberra-gtk* libgtk-3-dev libgstreamer1.0-dev gstreamer1.0-gtk3 \
libgstreamer-plugins-base1.0-dev gstreamer1.0-gl libxvidcore-dev libx264-dev python3-dev python3-numpy python3-pip libtbb2 libtbb-dev libdc1394-22-dev libv4l-dev v4l-utils \
libopenblas-dev libatlas-base-dev libblas-dev liblapack-dev gfortran libhdf5-dev libprotobuf-dev libgoogle-glog-dev libgflags-dev protobuf-compiler -y
- 编译
mkdir build
cd build
cmake ..
make -j$(nproc)
sudo make install
sudo ldconfig
示例代码
以下以 Python 为例展示一些简单的示例。
特征检测
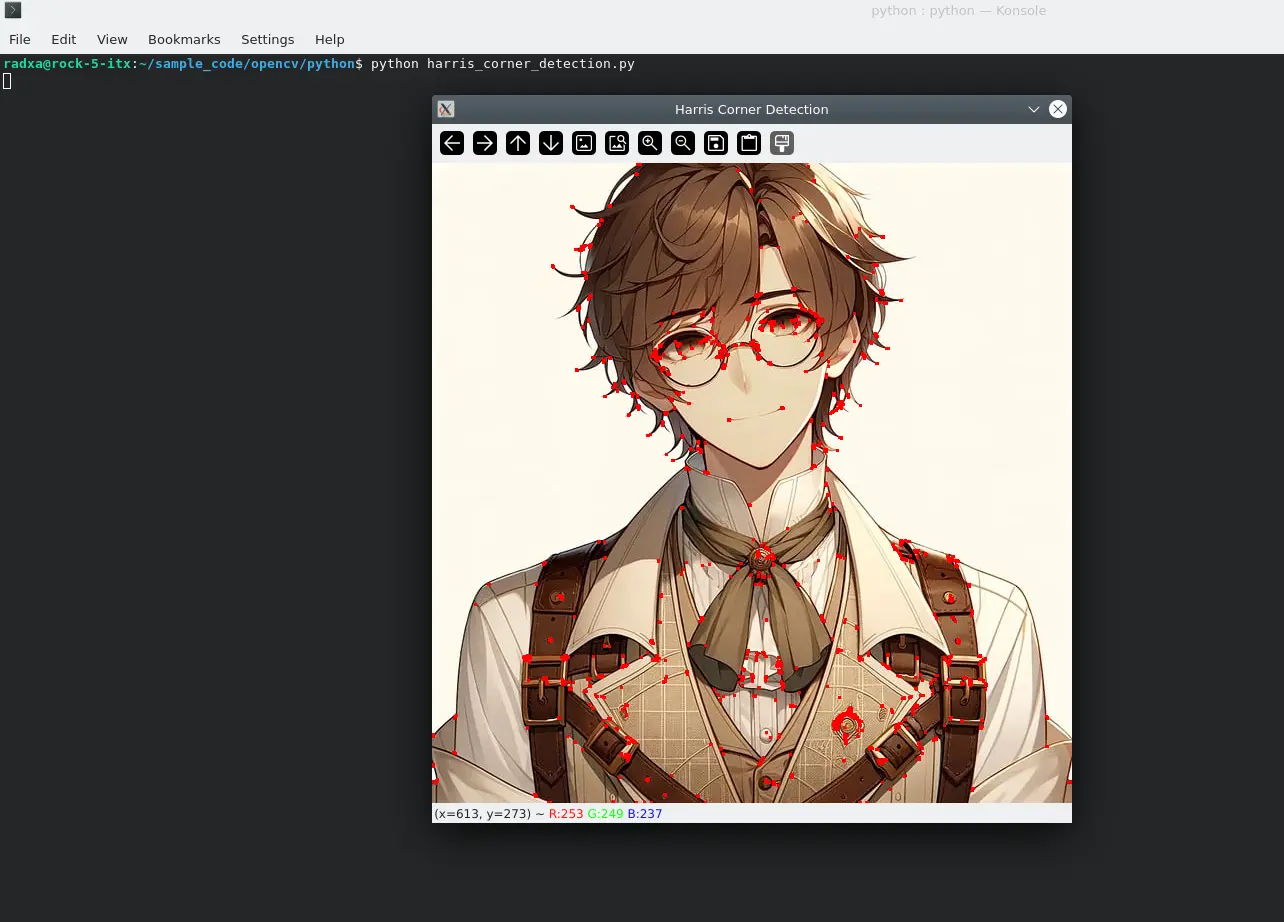
- Harris 角点检测
harris_corner_detection.py
#!/usr/bin/env python3
# -*- encoding: utf-8 -*-

import cv2
import numpy as np

# Read image
img = cv2.imread('./pic1.png')
gray = cv2.cvtColor(img, cv2.COLOR_BGR2GRAY)

# Harris corner detection
gray = np.float32(gray)
dst = cv2.cornerHarris(gray, 2, 3, 0.08)
dst = cv2.dilate(dst, None)
img[dst > 0.01 * dst.max()] = [0, 0, 255]

# Display image
cv2.imshow('Harris Corner Detection', img)
cv2.waitKey(0)
cv2.destroyAllWindows()
效果图:
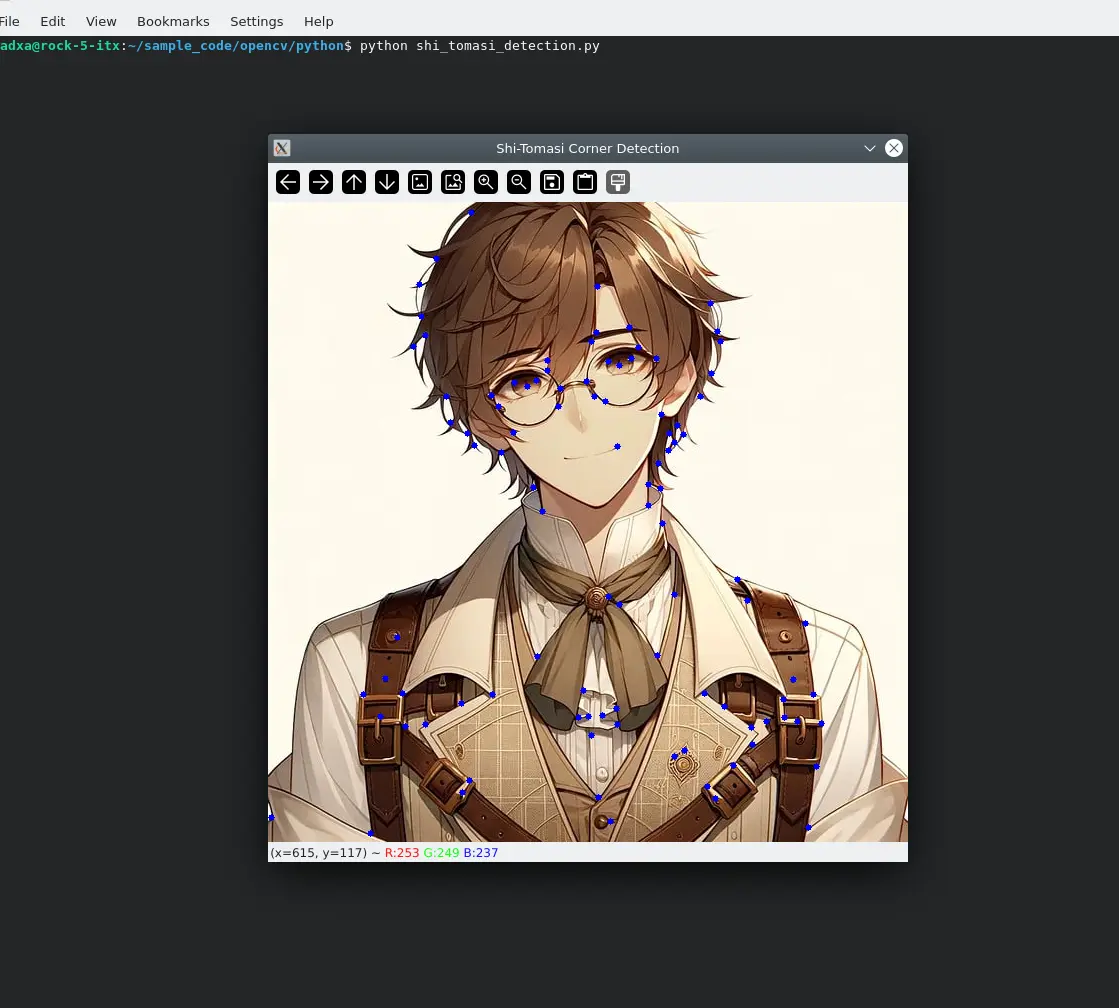
- Shi-Tomasi 角点检测
shi_tomasi_detection.py
import cv2
import numpy as np

# Read the image
img = cv2.imread('./pic1.png')

# Convert to greyscale
gray = cv2.cvtColor(img, cv2.COLOR_BGR2GRAY)

# Using Shi-Tomasi corner detection
corners = cv2.goodFeaturesToTrack(gray, maxCorners=100, qualityLevel=0.01, minDistance=10, blockSize=3)

# If a corner point is detected, it is converted to integer format and plotted
if corners is not None:
    corners = np.int0(corners)
    for corner in corners:
        x, y = corner.ravel()
        cv2.circle(img, (x, y), 3, 255, -1)

# Display image
cv2.imshow('Shi-Tomasi Corner Detection', img)
cv2.waitKey(0)
cv2.destroyAllWindows()
效果图:
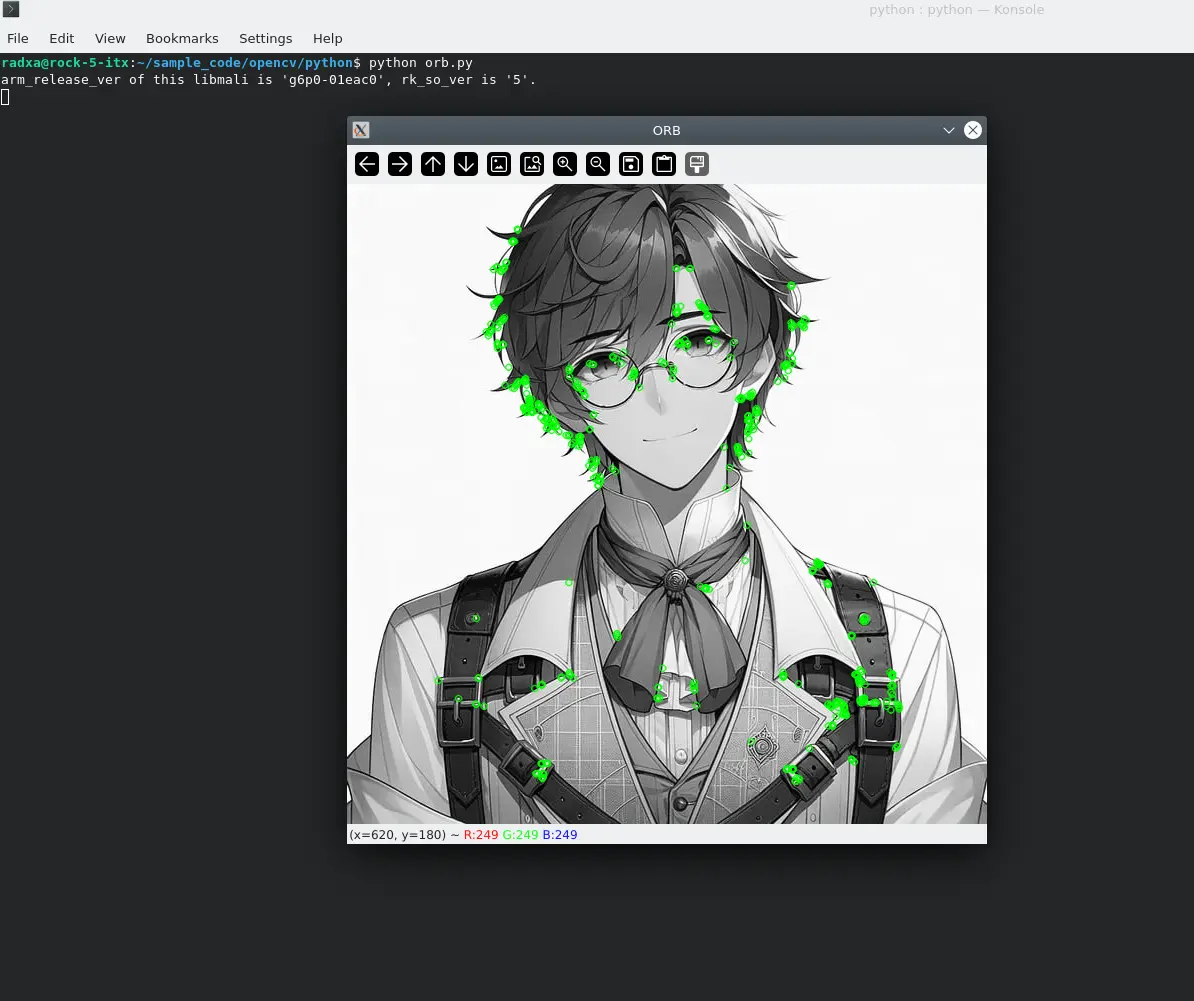
- ORB 特征检测
pip install opencv-contrib-python
orb.py
import cv2
import numpy as np

# Read the image
img = cv2.imread('pic1.png')
gray = cv2.cvtColor(img, cv2.COLOR_BGR2GRAY)

# Create ORB objects
orb = cv2.ORB_create()

# Detect keypoints and compute descriptors
kp, des = orb.detectAndCompute(gray, None)

# Mapping key points
img = cv2.drawKeypoints(gray, kp, img, color=(0,255,0), flags=0)

# Display image
cv2.imshow('ORB', img)
cv2.waitKey(0)
cv2.destroyAllWindows()
效果图:
人脸识别
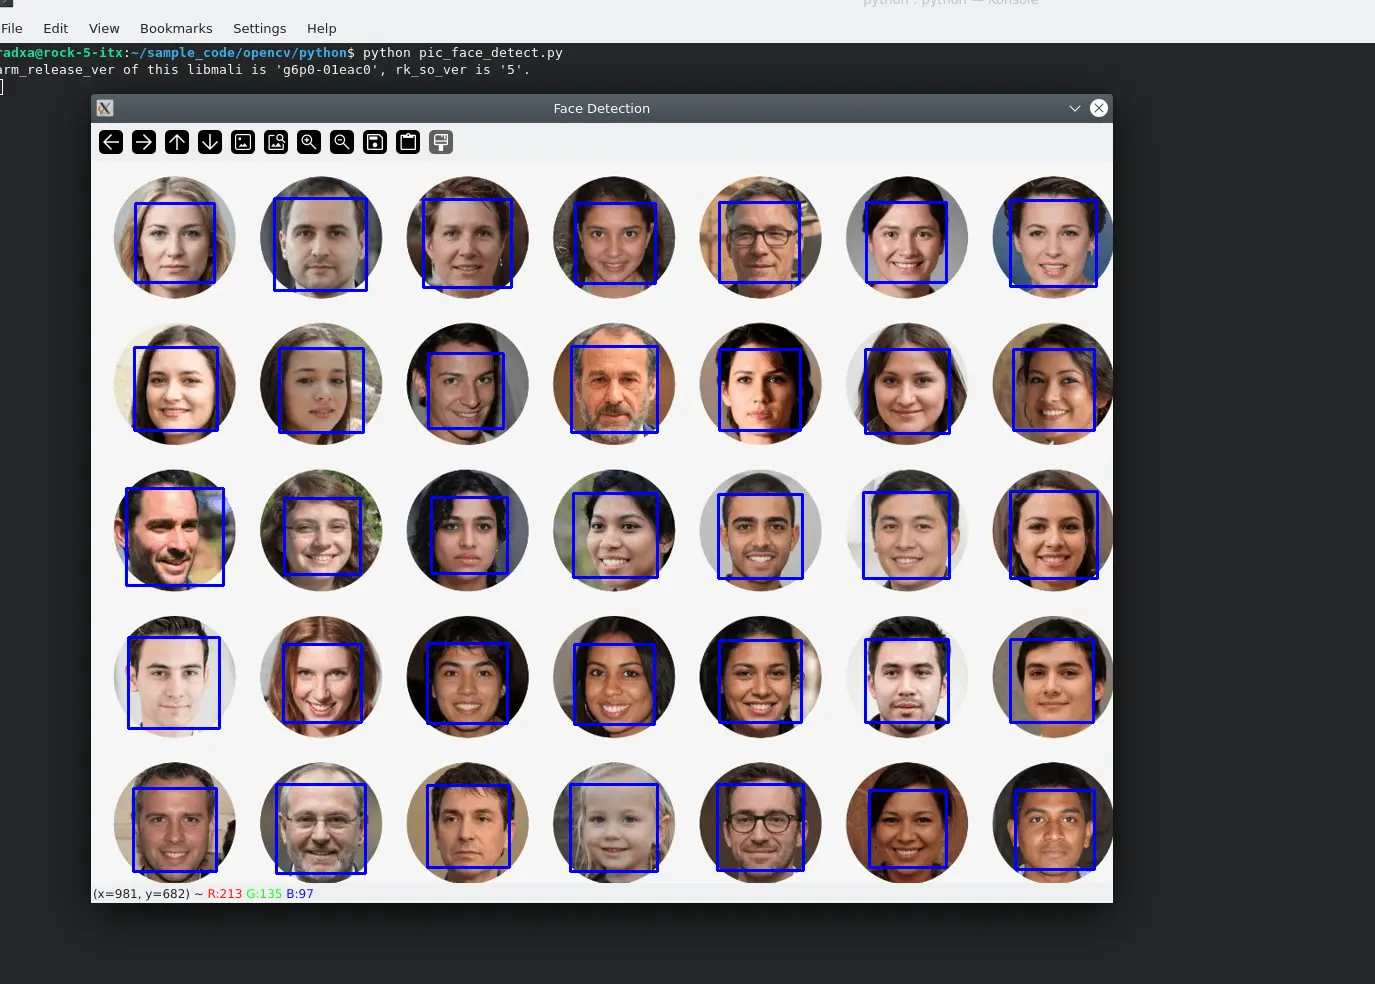
- 基于图片
pic_face_detect.py
import cv2

# Load pre-trained Haar feature classifier for face detection
face_cascade = cv2.CascadeClassifier(cv2.data.haarcascades + 'haarcascade_frontalface_default.xml')

# Read the image of the face to be detected
image_path = 'face-synthesis-online01.png'
image = cv2.imread(image_path)

# Convert to greyscale
gray = cv2.cvtColor(image, cv2.COLOR_BGR2GRAY)

# Detect faces in images using cascade classifiers
faces = face_cascade.detectMultiScale(gray, 1.3, 5)

# Draw a rectangle around each detected face
for (x, y, w, h) in faces:
	cv2.rectangle(image, (x, y), (x+w, y+h), (255, 0, 0), 2)

# Display image
cv2.imshow('Face Detection', image)

while True:
	if cv2.waitKey(100)==27:
		cv2.destroyAllWindows()
效果图:
- 基于摄像头
camera_face_detect.py
import cv2

# Load pre-trained Haar feature classifier for face detection
face_cascade = cv2.CascadeClassifier(cv2.data.haarcascades + 'haarcascade_frontalface_default.xml')

# Read the images captured by the camera(default /dev/video11 on rk3588)
cap = cv2.VideoCapture(11)

# Loop through each frame
while True:
    # Read a frame from the camera
    ret, frame = cap.read()

    # If the read is successful, the image is converted to greyscale
    if ret:
        gray = cv2.cvtColor(frame, cv2.COLOR_BGR2GRAY)

        # Detect faces in images using cascade classifiers
        faces = face_cascade.detectMultiScale(gray, 1.3, 5)

        # Draw a rectangle around each detected face
        for (x, y, w, h) in faces:
            cv2.rectangle(frame, (x, y), (x+w, y+h), (255, 0, 0), 2)
            print("detect a face")

        # Display image
        cv2.imshow('Face Detection', frame)

        # Press 'q' to exit the loop
        if cv2.waitKey(1) & 0xFF == ord('q'):
            break

# Release the camera and close all windows
cap.release()
cv2.destroyAllWindows()
该 demo 会打开摄像头,将识别到的人脸框出。
视频剪辑
video_cut.py
import cv2

def video():
    videoCapture = cv2.VideoCapture('./test.mp4')

    # saved as test_video_new.mp4, frame of saved video: 40,  Size of saved video: 1920 * 1080
    videoWriter = cv2.VideoWriter('./test_video_new.mp4', cv2.VideoWriter_fourcc('X','V','I','D'), 40, (1920, 1080))

    while True:
        success, frame = videoCapture.read()
        if success:
            videoWriter.write(cv2.resize(frame, size))
        else:
            print('break')
            break

    # Release the object, otherwise it may not be opened externally
    videoWriter.release()


if __name__ == '__main__':
    video()
    print("program runs successfully !")
该程序会将原有视频帧率帧率调整为 40,大小调整为 1920 * 1080。