系统安装
本文档将介绍如何把 OS 镜像安装到 AirBox 中。
准备工作
- 1x microSD 卡(容量 >=16GB, 读写速率最低 class10)
- 1x microSD 读卡器
- 20V 电源适配器(在整机下安装系统镜像,整机供电20V)
- usb type-a转type-c数据线一条(日志输出)
镜像下载
请到 资源下载下载对应的镜像文件
系统安装
1.烧写镜像
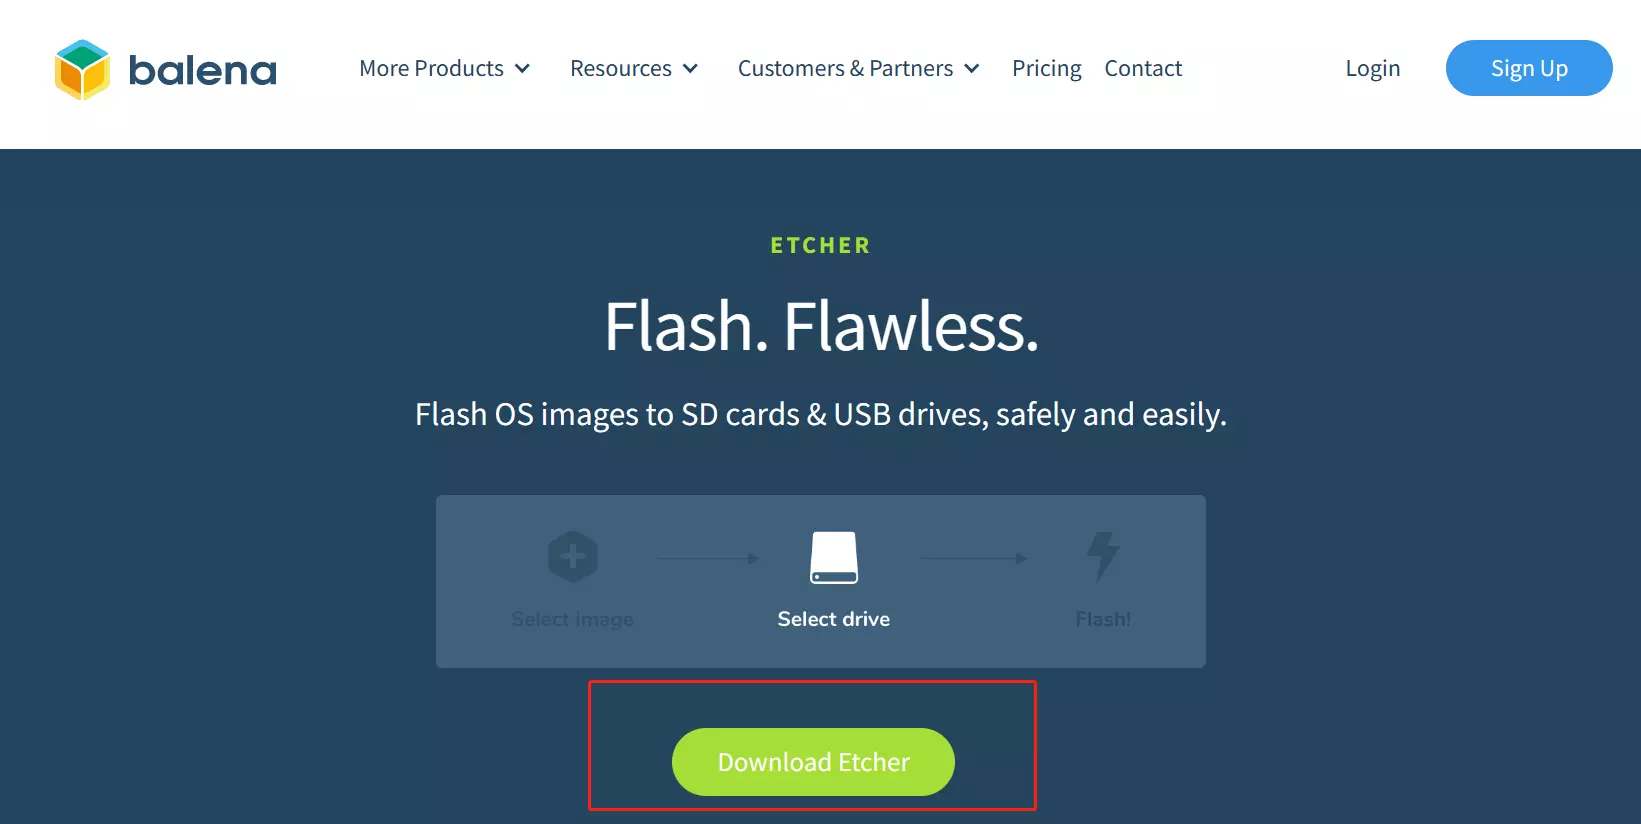
Balena Etcher 是一个跨平台且,用户界面友好的镜像文件烧写工具,我们推荐你使用它。
- 下载 Etcher 并安装。
- 打开 Etcher,单击
Flash from file以选择需要写入的镜像。

- 点击
Select target以选择设备,请注意小心选择。

- 点击
Flash!开始写入,然后等待写入进度条完成。

- 当写入镜像成功时,Etcher 将会显示
Flash Complete!。

如果刷写操作系统镜像错误, 请手动再试一次。
2.SD卡刷机
请将 Fogwise® AirBox 断电,插入 SD 卡,并连接串口终端(使用usb type-a转type-c数据线,type-c接 Fogwise® AirBox 的debug口,type a连接电脑,波特率设置成115200,debug口位置在Fogwise® AirBox硬件开发下的硬件接口说明寻找),然后给整机上电。您将看到 SG2300X 自动进入刷机流程:
Hit any key to stop autoboot:  0
switch to partitions #0, OK
mmc1 is current device
Scanning mmc 1:1...
Found U-Boot script /boot.scr
fs reading /boot.scr
891 bytes read in 5 ms (173.8 KiB/s)
## Executing script at 300040000
Setting bus to 1
LED 'status' not found (err=-19)
LED 'error' not found (err=-19)
update SPI flash
fs reading //boot_spif.scr
746 bytes read in 5 ms (145.5 KiB/s)
## Executing script at 300040000
fs reading //spi_flash.bin
5385980 bytes read in 673 ms (7.6 MiB/s)
SF: Detected gd25lq128 with page size 256 Bytes, erase size 4 KiB, total 16 MiB
chip_type=bm1684x
device 0 offset 0x0, size 0x200000
0 bytes written, 2097152 bytes skipped in 2.844s, speed 754032 B/s
SPI flash update done
update eMMC
刷机通常耗时约 3 分钟,结束后,会看到拔掉 SD 卡并重启 SG2300X 的提示,请依照操作 即可:
eMMC update done
bm savelog 449 bytes written in 10 ms (43 KiB/s)
all done
LED 'status' not found (err=-19)
LED 'error' not found (err=-19)
LED 'status' not found (err=-19)
Please remove the installation medium, then reboot
LED 'status' not found (err=-19)
提示
如果出现烧录过程失败,一般是芯片发烫导致的,这时请等待芯片降温到一定程度再重新上电进入刷机流程
系统启动
- 按照上述步骤成功烧录镜像到emmc后,将 microSD 卡拔出,然后给 Fogwise® AirBox 上电。
注意事项
关机时建议使用 sudo poweroff 命令,尽量避免直接断电,以免文件系统损坏。