Quick start
Packing List
- CM3I Core Board
- CM3I IO Board
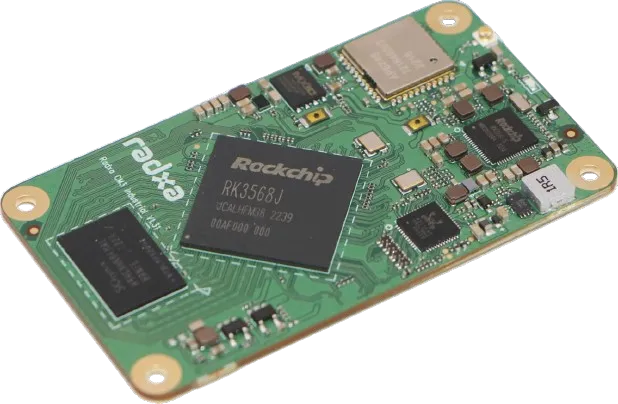
The standard package of the Radxa CM3I Core Board includes the following items:
- Radxa CM3I Core Board
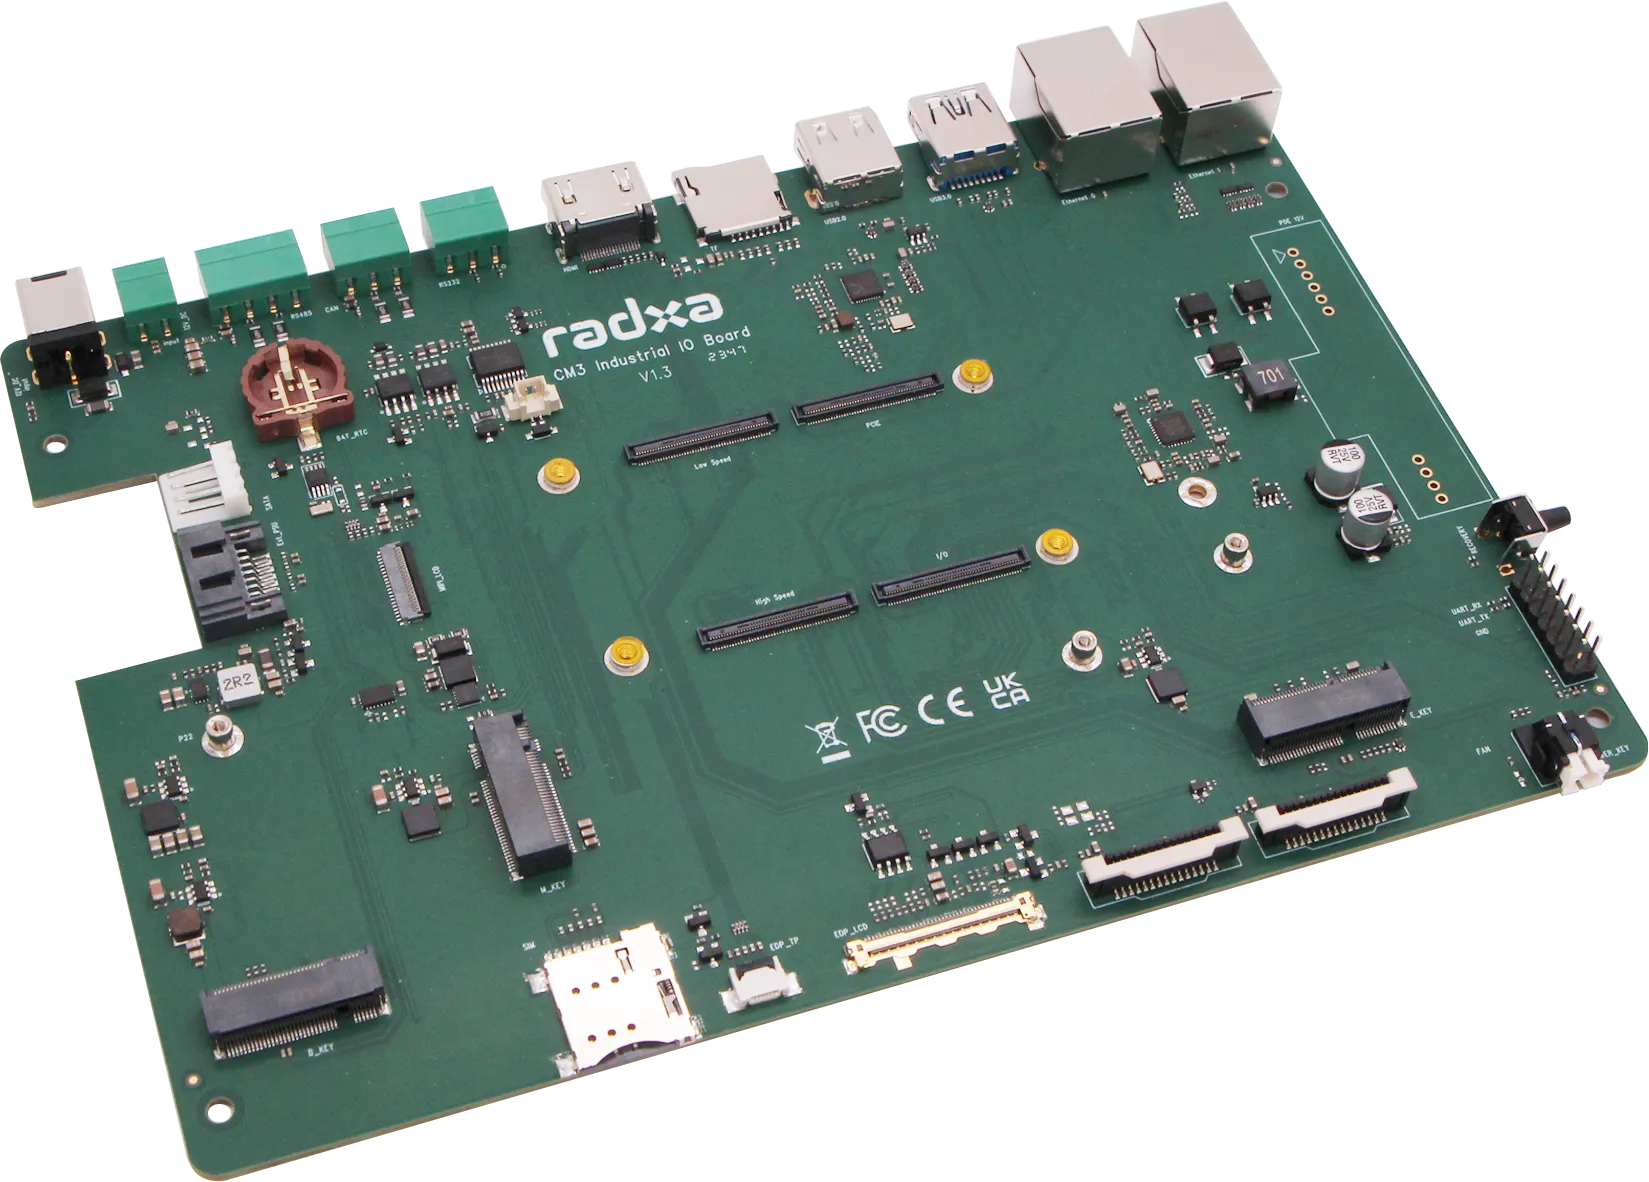
The standard package of the Radxa CM3I IO Board includes the following items:
- Radxa CM3I IO Board
To start the Radxa CM3I + Radxa CM3I IO Board, you also need the following items:
- A DC 12V/3A power adapter. The Radxa CM3I IO Board also supports PoE power supply. For more details on power supply, please refer to the Power Supply section.
- An HDMI cable and an HDMI-supported display, with a recommended resolution of 1080P or higher. A 4K display will provide the best experience.
- A USB mouse and keyboard set, common USB input devices are plug-and-play supported.
- An Ethernet cable, as a network connection is required for system updates.
It is recommended to use the official Power DC12 36W.
- Optional but can enhance the basic functionality of the Radxa CM3I IO Board:
A heatsink, refer to the Heatsink Selection guide to install the heatsink.
- An M.2 wireless module: The Radxa CM3I IO Board supports standard M.2 Wi-Fi cards. Please check the Wireless Module Compatibility List. Some older non-driver M.2 Wi-Fi cards may also be plug-and-play supported.
- An M.2 NVMe SSD. It is recommended to install the operating system on an M.2 NVMe SSD.
assembly
- Installing the Core Board
- Removing the Core Board
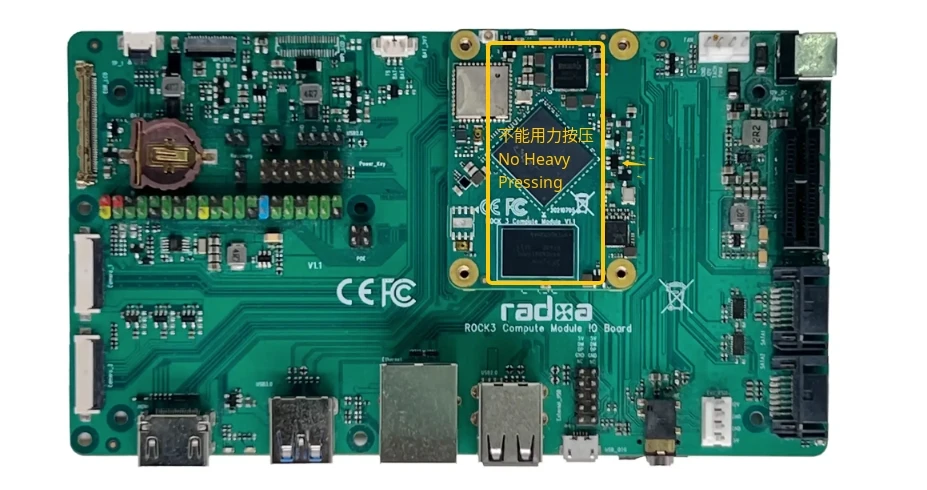
First, align the four mounting holes on the core board with the four mounting holes on the io board. Then, gently press down one side to about halfway, followed by pressing the other side to halfway as well. After confirming that all slots are aligned, press down each side to the bottom in sequence.
Note: When pressing, do not forcefully press down on the suspended area in the middle, as this may cause stress on the PCB, leading to component loosening or damage, such as DDR loosening or resistor breakage.
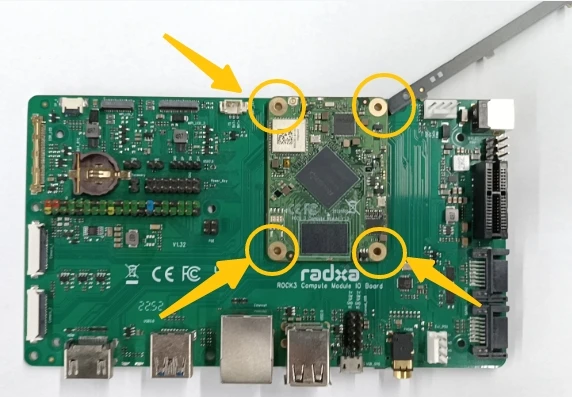
Use tools similar to the following to pry it open from the four corners sequentially. Do not use your hands or tools to forcefully bend it open from the middle or a single side.
Install the Operating System
Refer to the Install OS section to install the operating system.
Wiring and Powering On
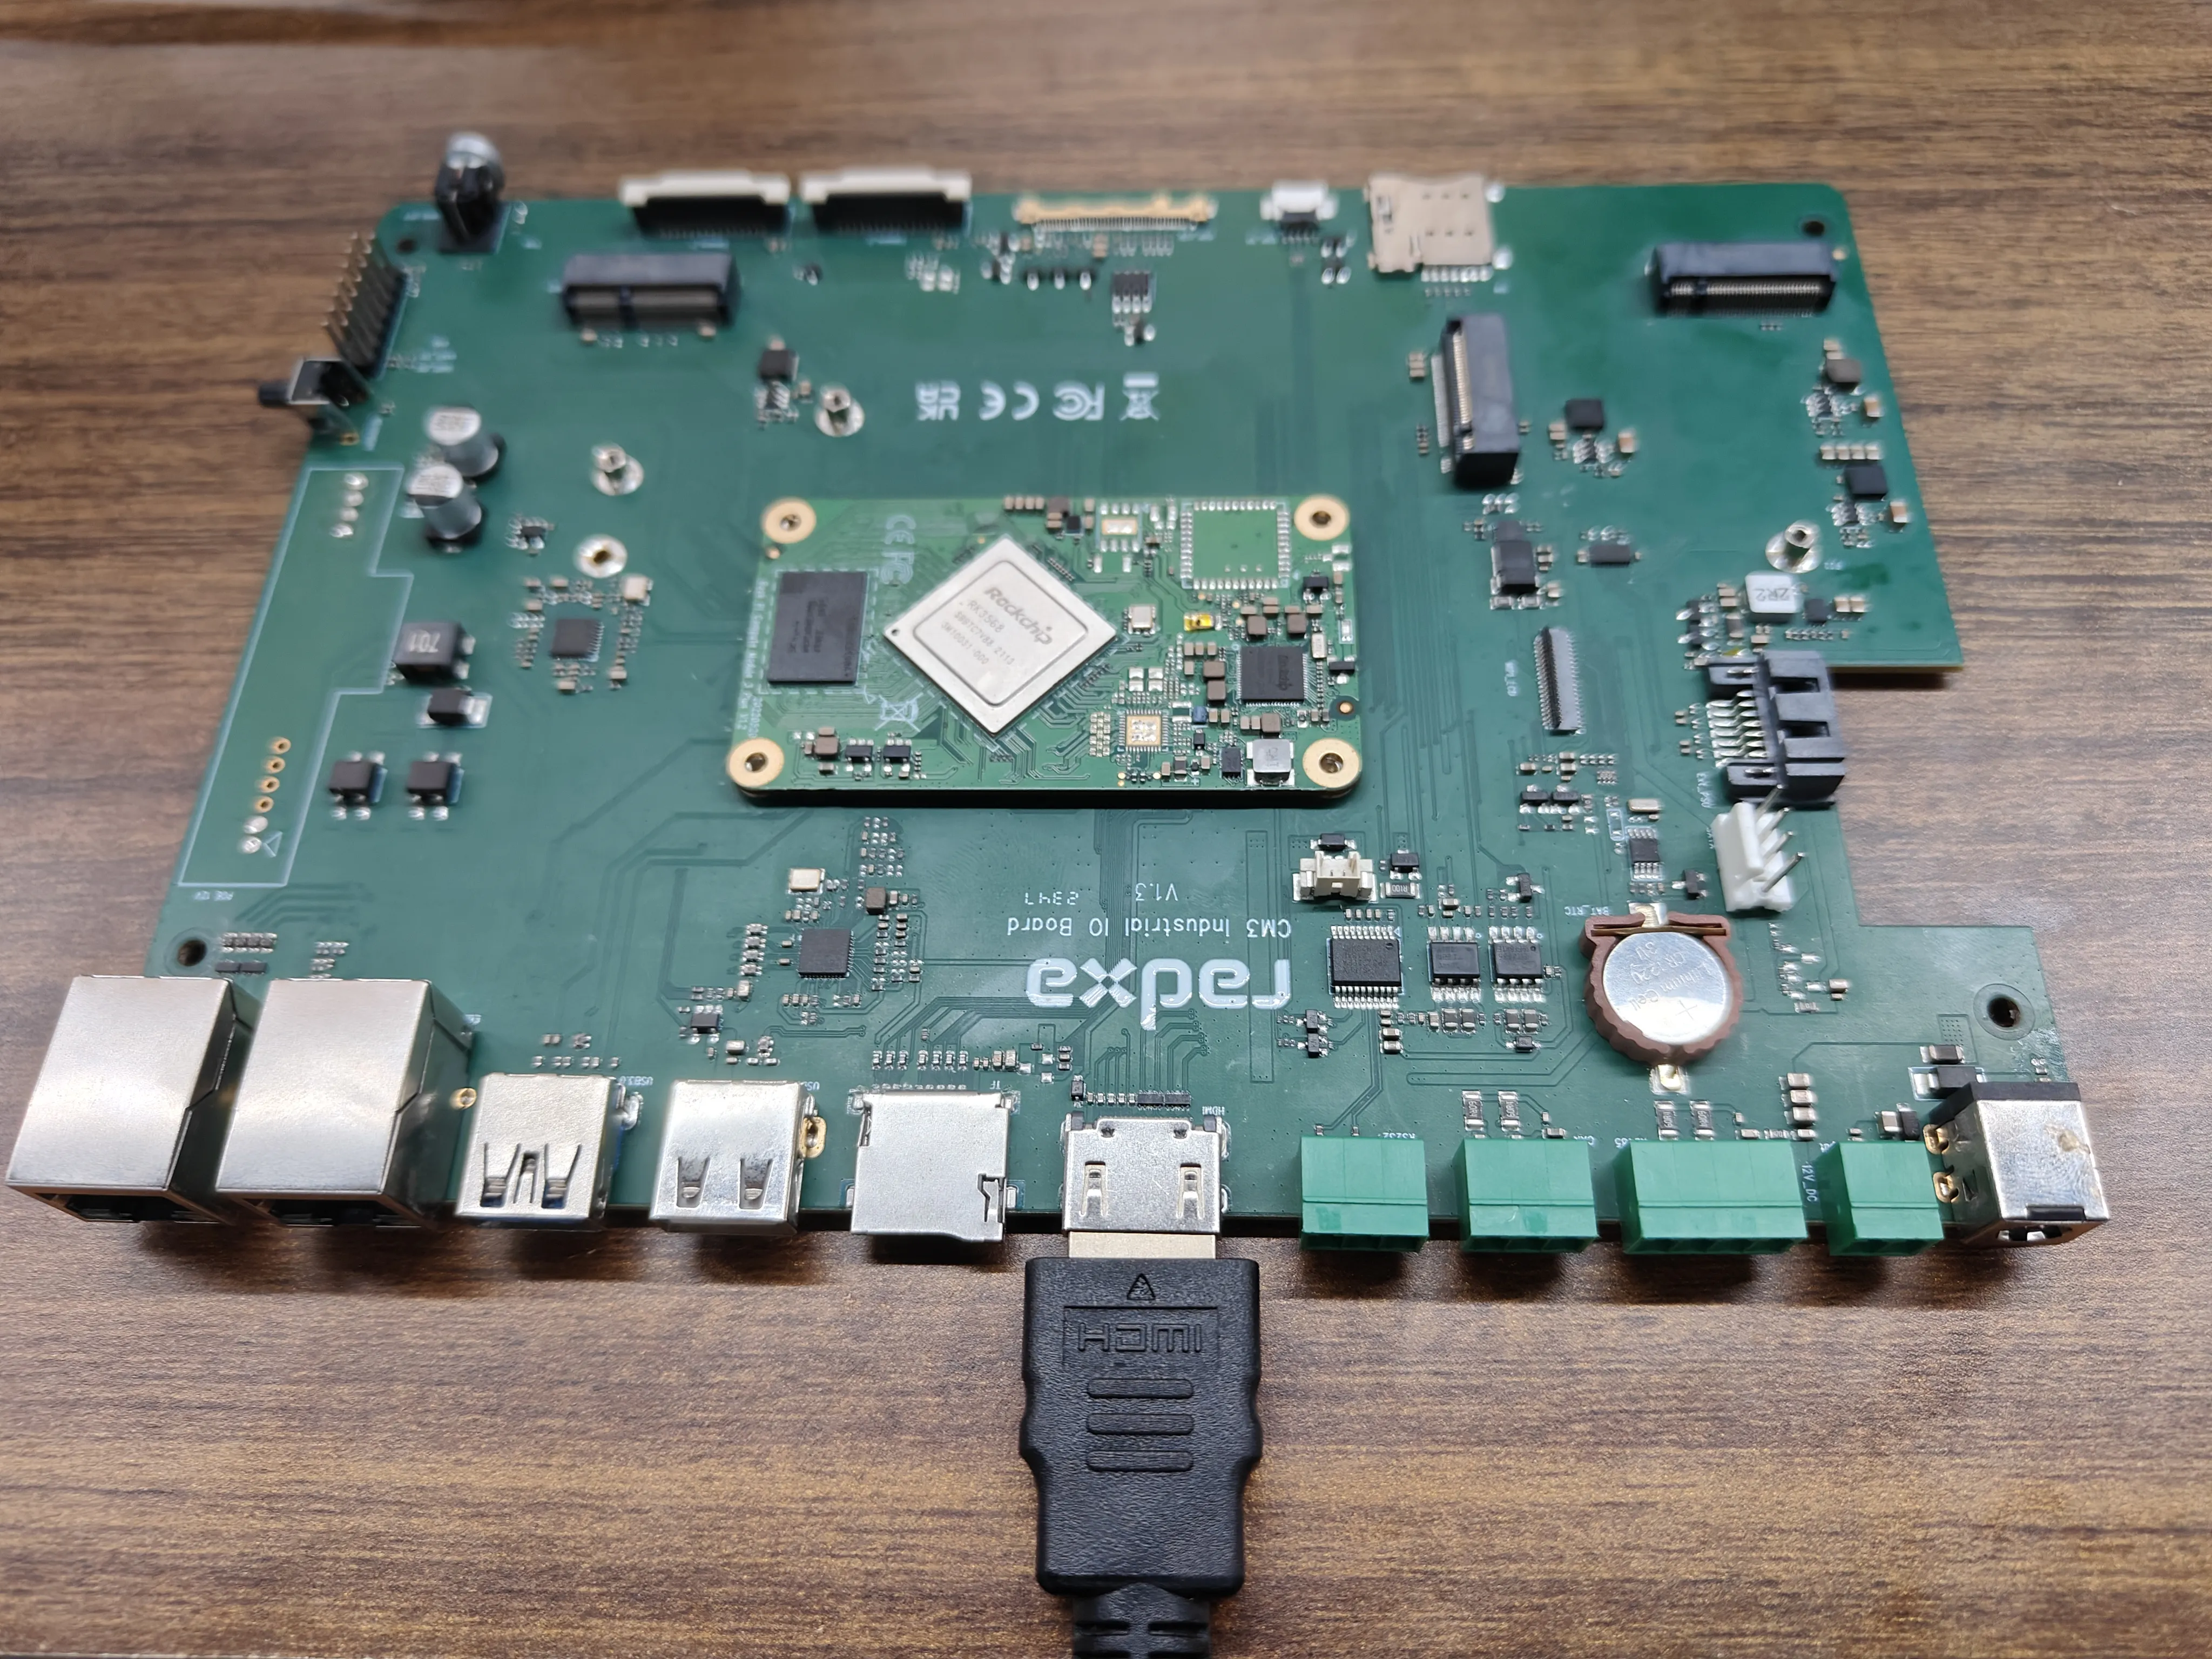
- Connect the HDMI output of the Radxa CM3I IO Board to an HDMI display using an HDMI cable.
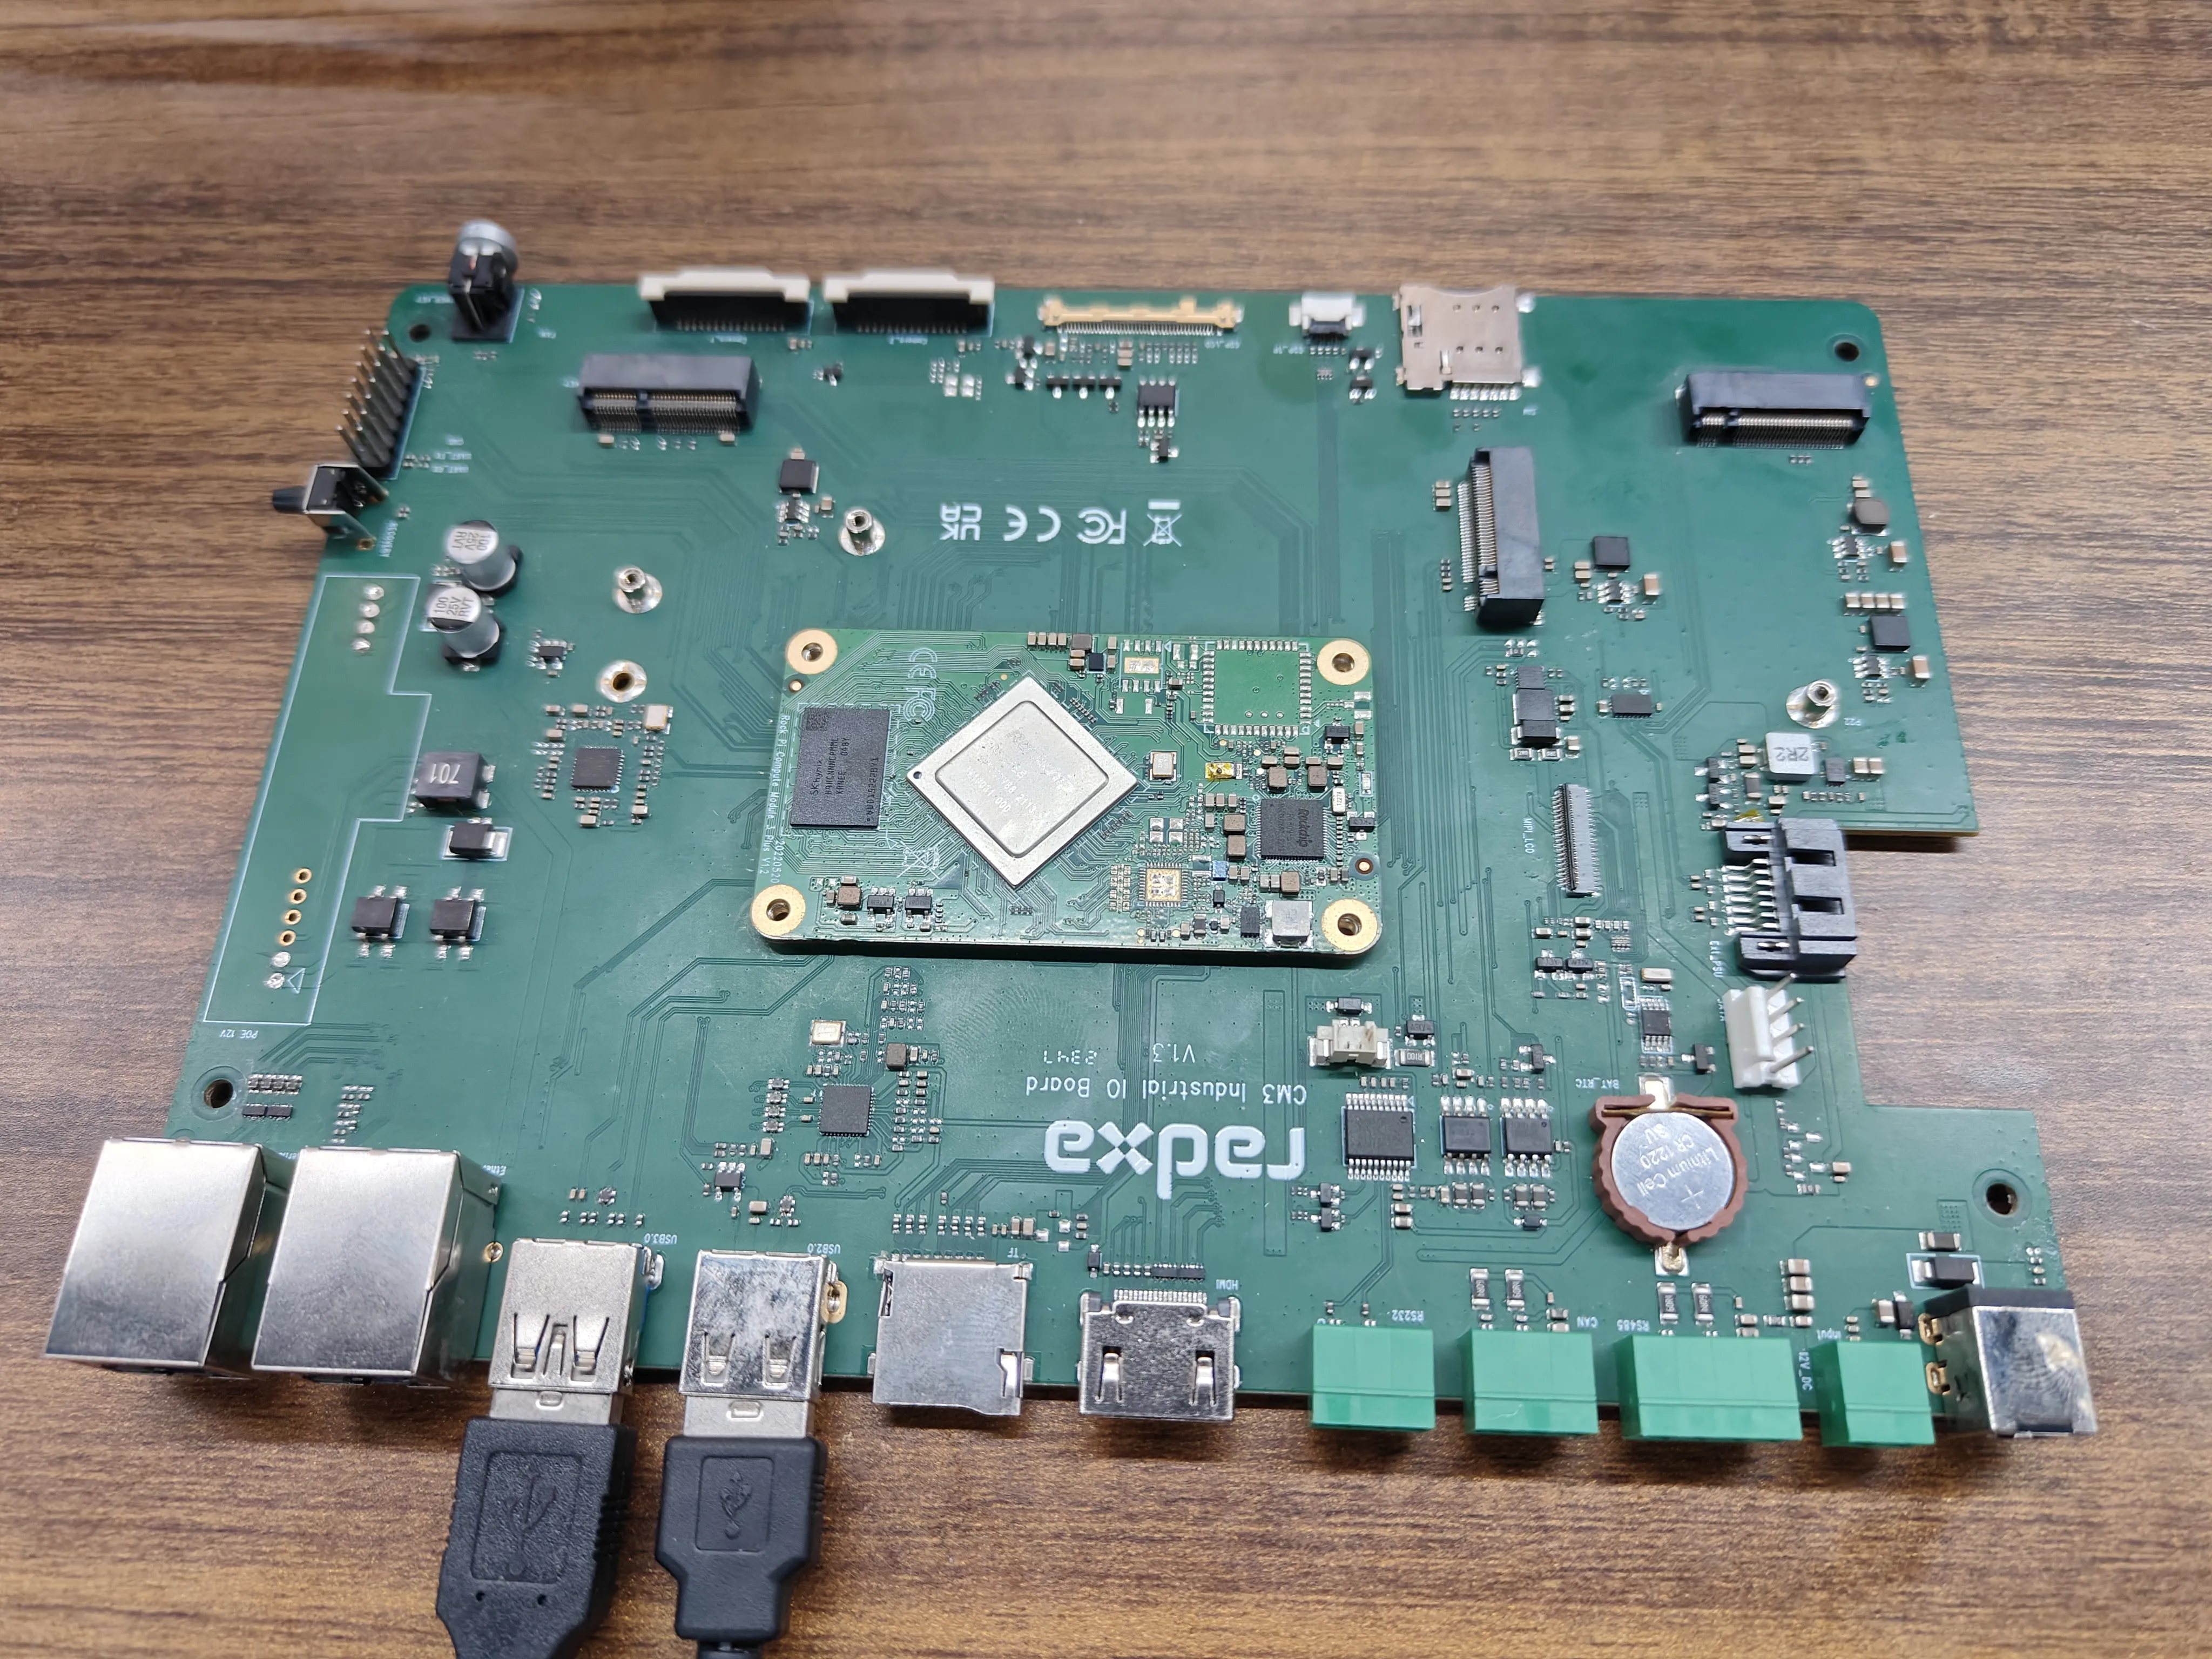
- Connect the USB mouse and keyboard to any USB 2.0 or 3.0 port on the Radxa CM3I IO Board.
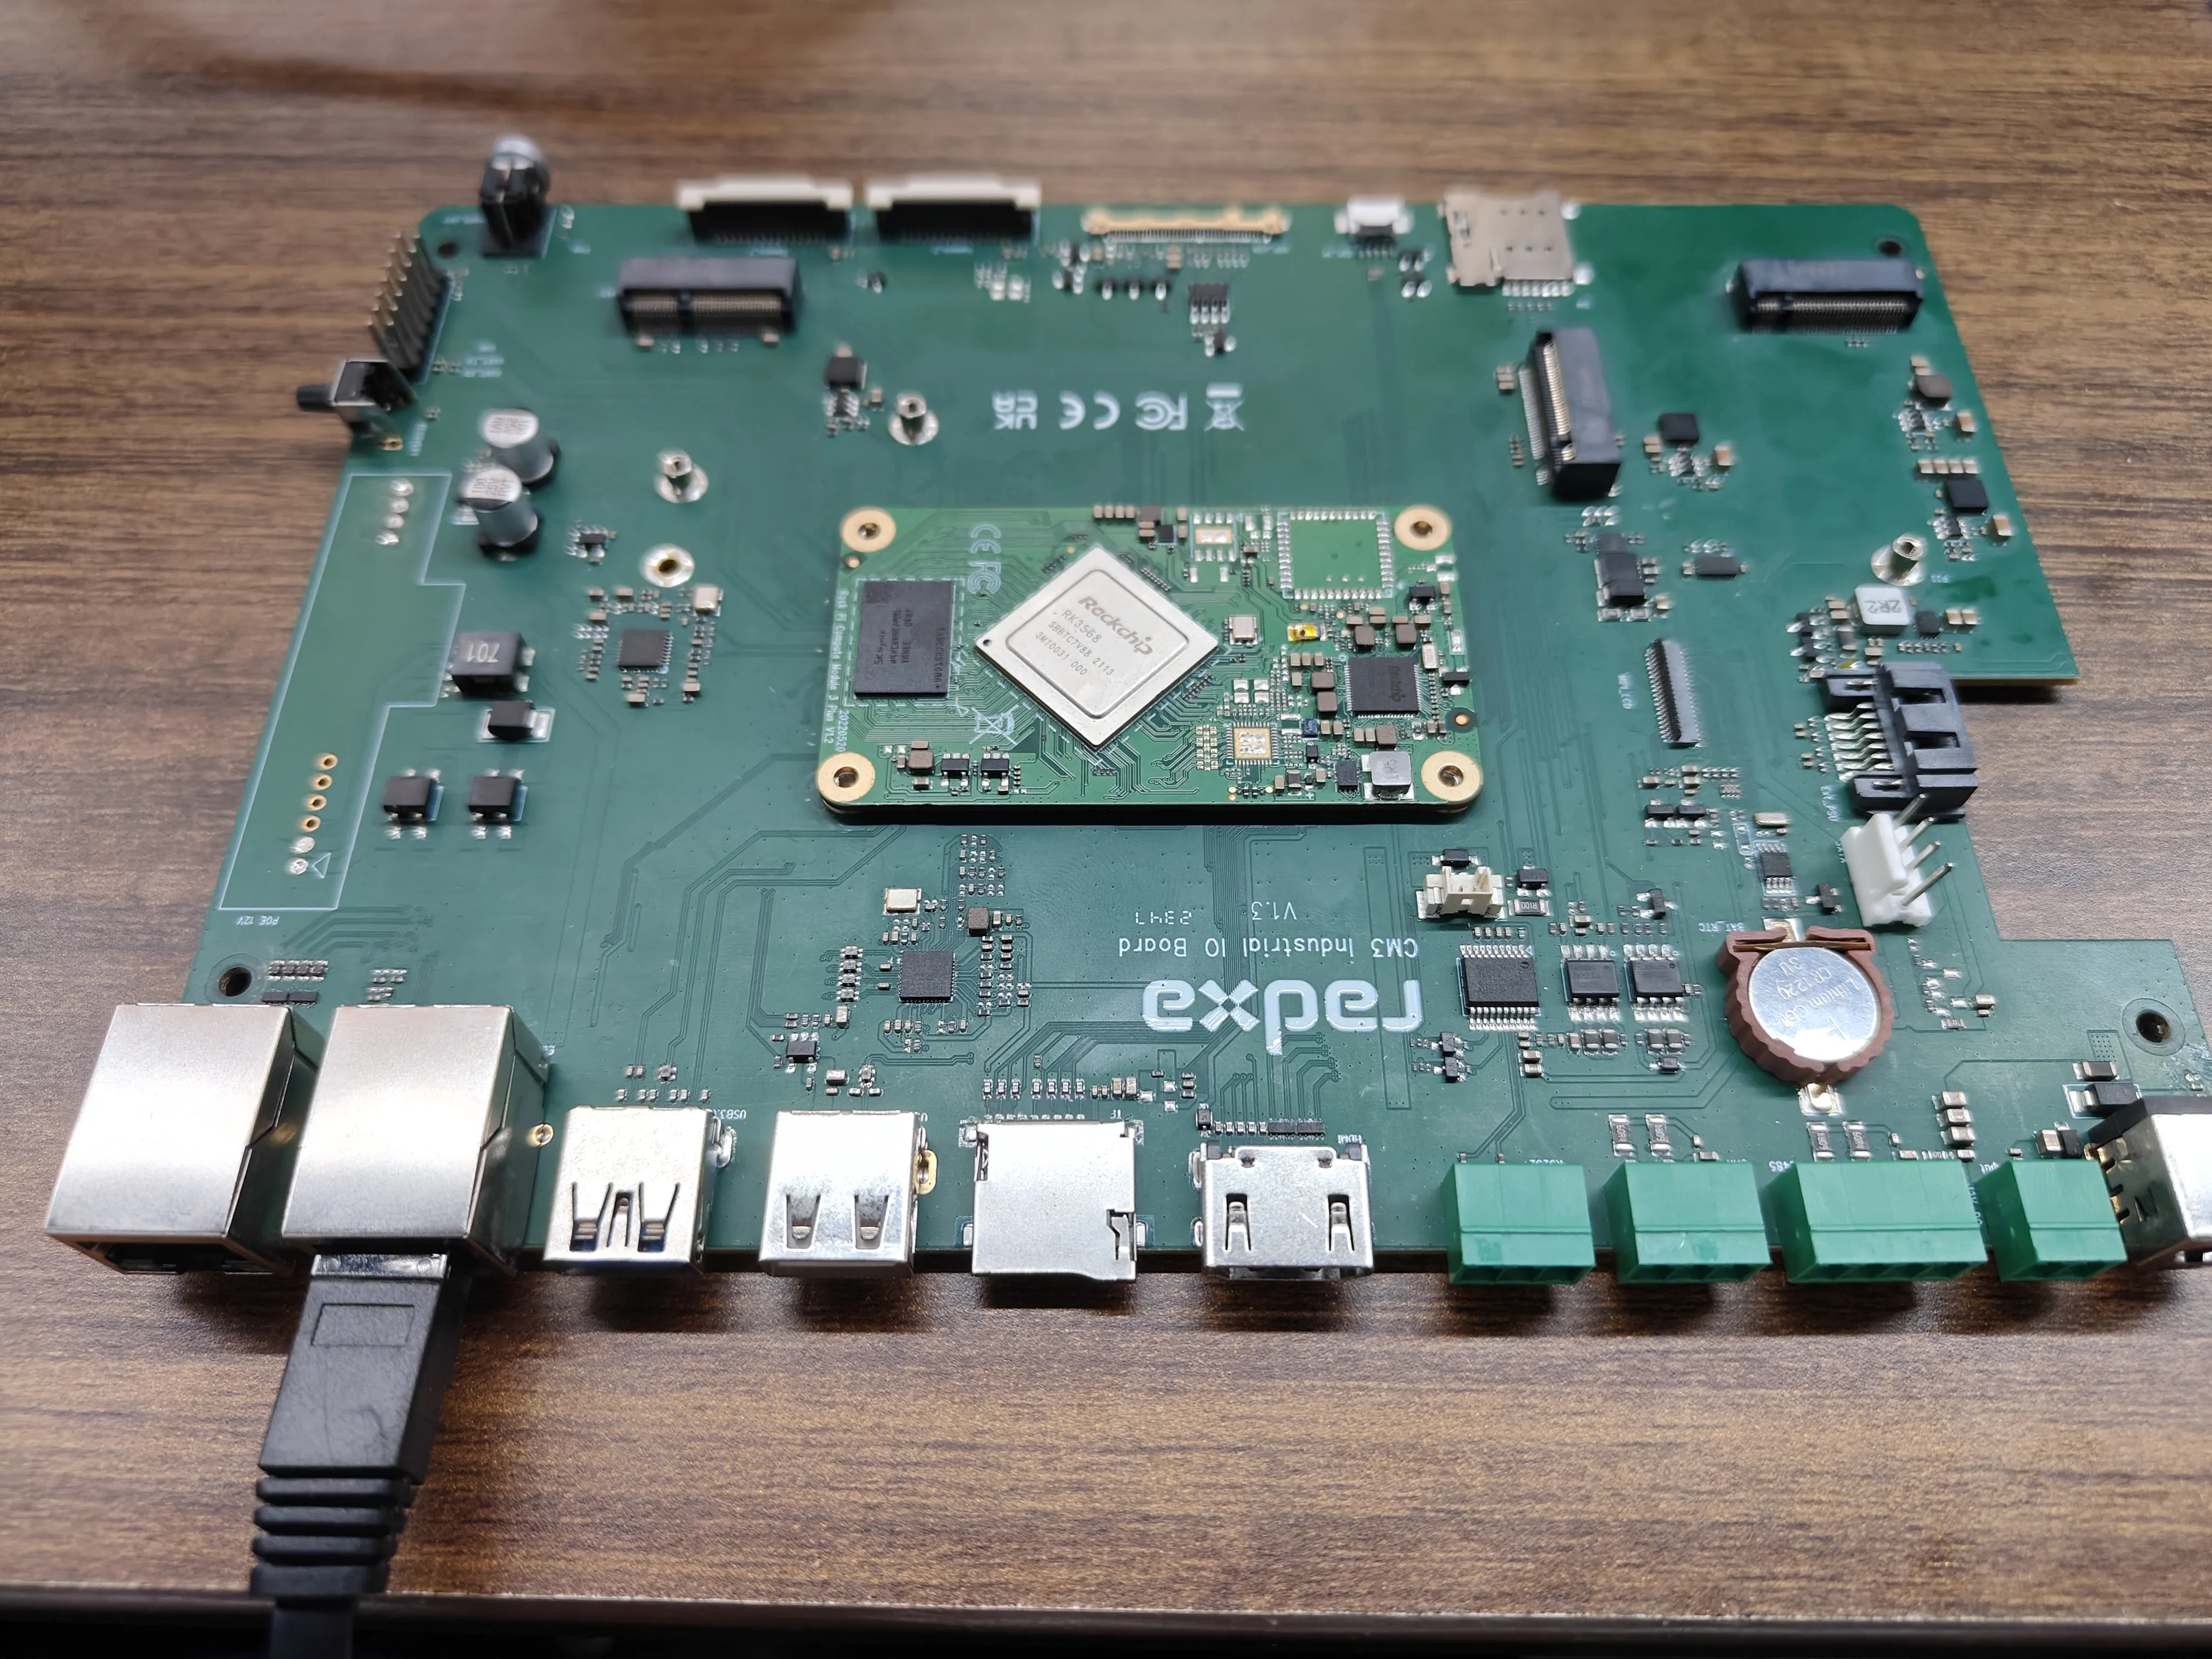
- Connect the Ethernet cable to the Ethernet port.
4.If you have an M.2 Wi-Fi module or SSD, use the provided M.2 screws to install and secure it.
- Insert the power adapter into the power interface of the Radxa CM3I IO Board. The device will power on, and the power indicator light will illuminate.
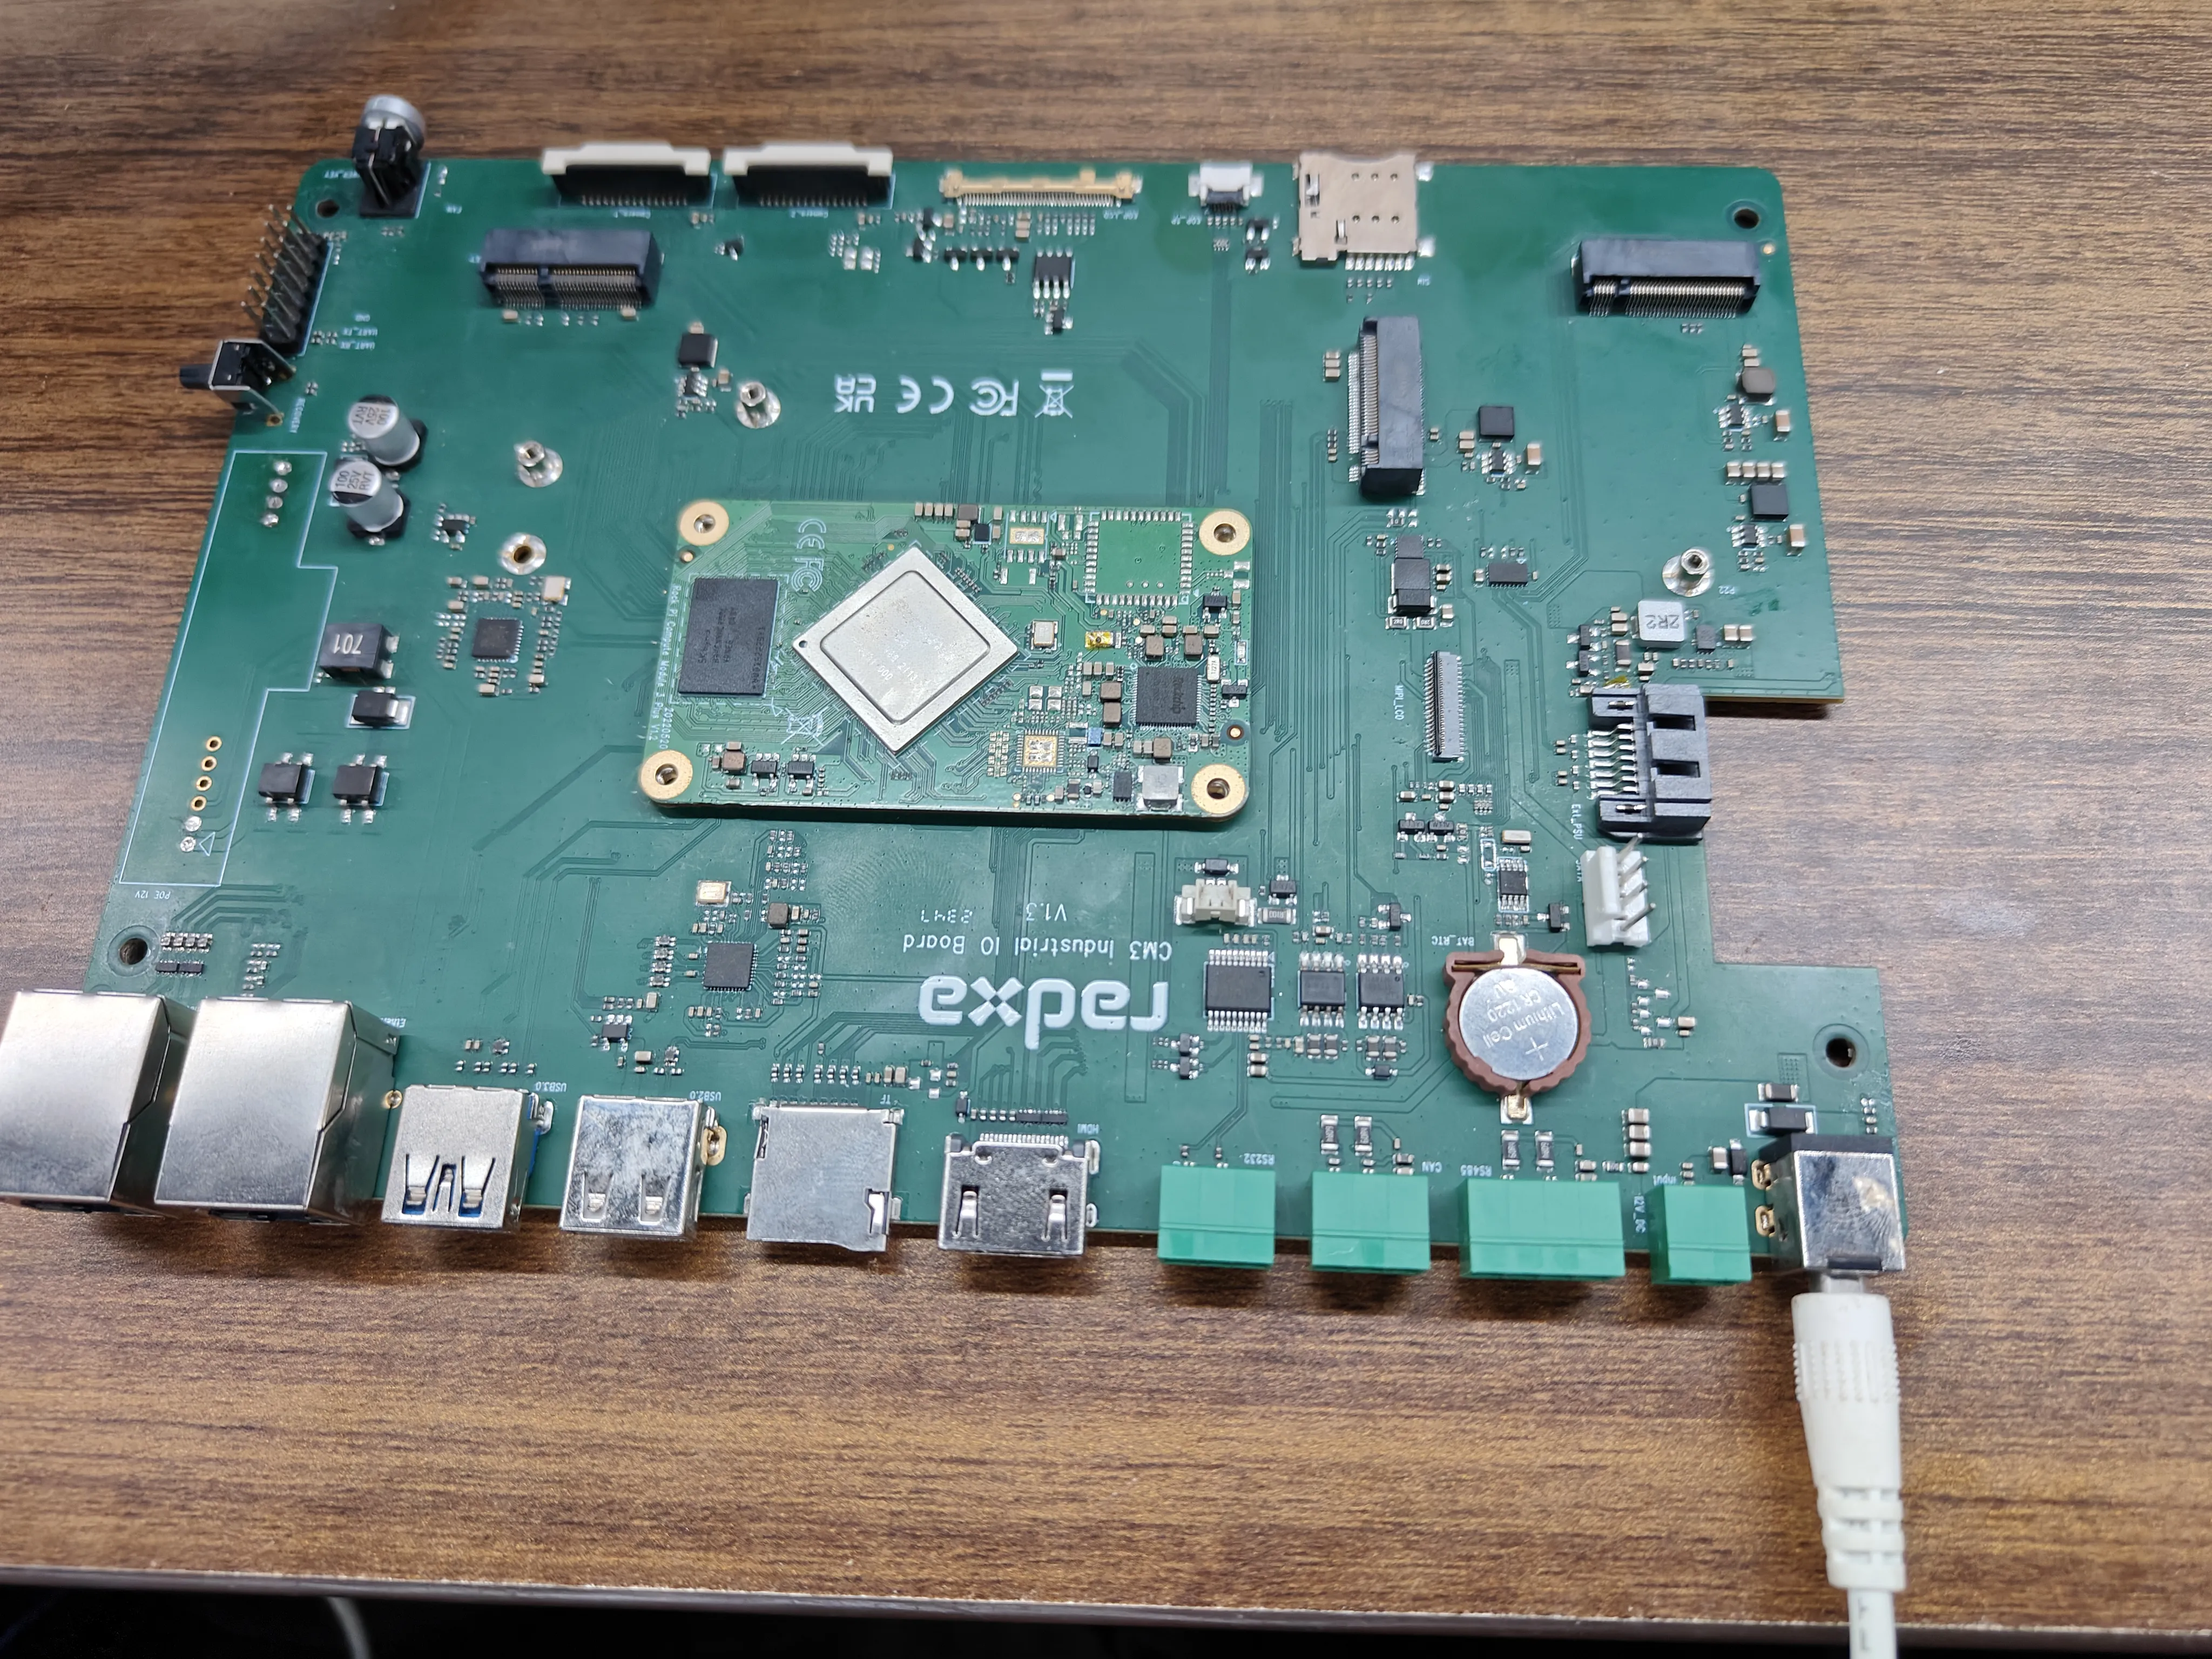
The system takes approximately 40 seconds from power-on to boot up and enter the desktop.