System Installation
assembly
- Installing the Core Board
- Removing the Core Board
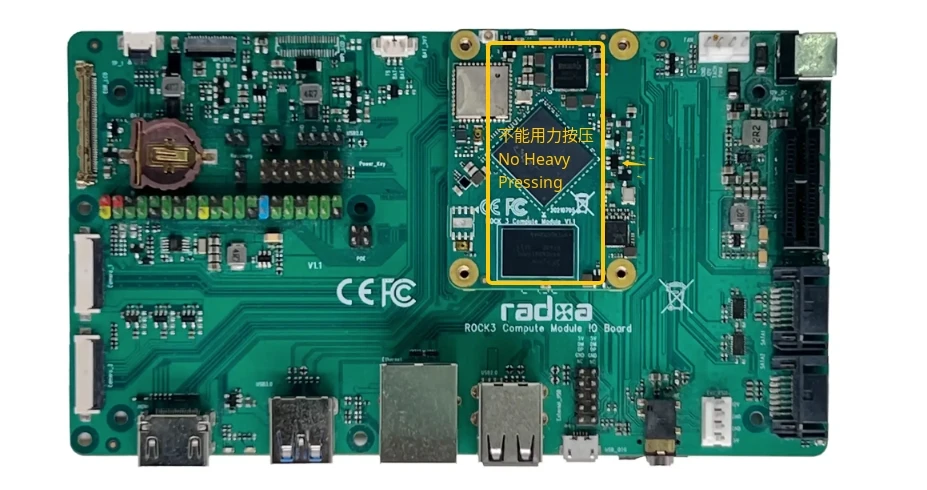
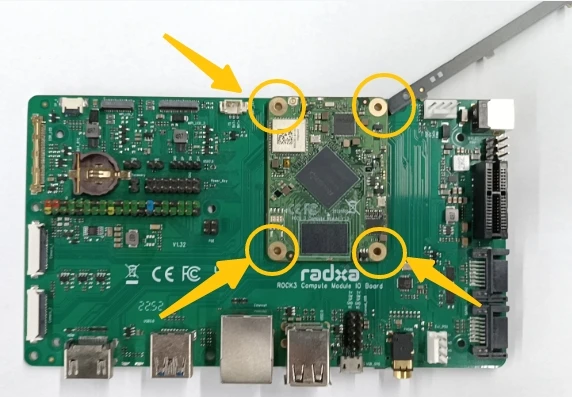
First, align the four mounting holes on the core board with the four mounting holes on the io board. Then, gently press down one side to about halfway, followed by pressing the other side to halfway as well. After confirming that all slots are aligned, press down each side to the bottom in sequence.
Note: When pressing, do not forcefully press down on the suspended area in the middle, as this may cause stress on the PCB, leading to component loosening or damage, such as DDR loosening or resistor breakage.

Use tools similar to the following to pry it open from the four corners sequentially. Do not use your hands or tools to forcefully bend it open from the middle or a single side.

Installation
- Radxa-os
- Android
This document introduces how to install Radxa OS image to Radxa CM5.
CM5 can boot from microSD card or eMMC, so install os on microSD card or eMMC based on your choose.
- Install OS on microSD card
- Install OS on eMMC
Preparation
Prepare the installation media
-
microSD card (recommended class10 rating or higher)
-
USB card reader
Prepare the image file
Please go to Download Summary to download image.
System installation
-
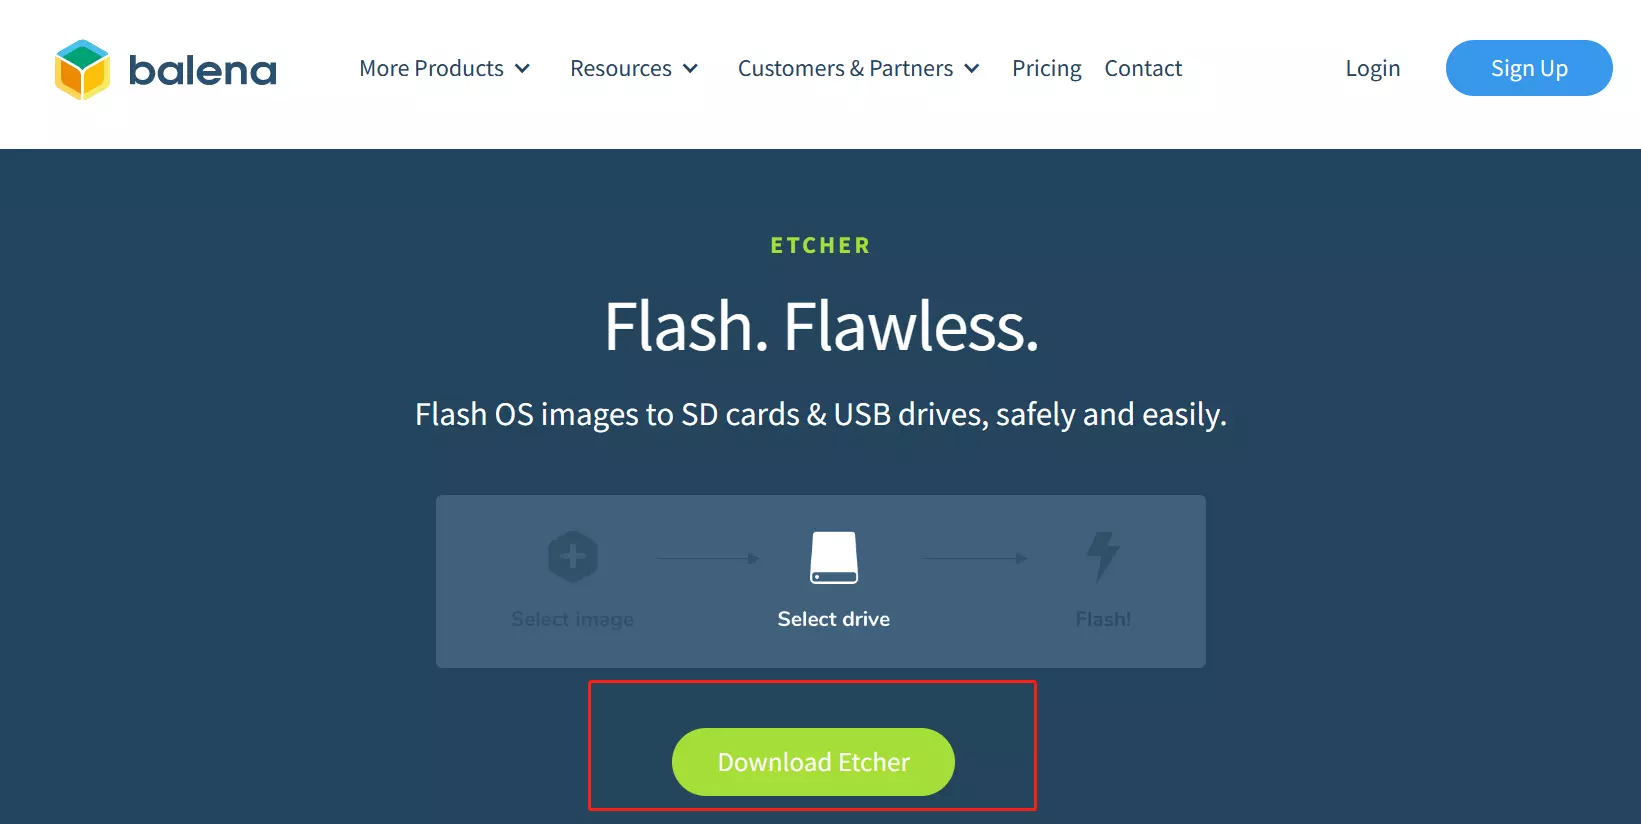
Download Etcher

-
Open Etcher and flash the prepared OS image to the microSD card. In the Etcher window, click
Flash from fileto select the OS image you just downloaded. -
In the Etcher window, click
Select target. -
In the Etcher window, click
Flash!and wait for a progress bar to be flushed. -
In the Etcher window,
Flash Complete!will be displayed when the flash is successful.
System startup
Starting CM5 IO
- Insert the microSD card with the operating system installed.
- Power up the CM5 IO via the DC 12V power adapter.
- The CM5 IO will boot up with the green power LED on, and the blue LED will start blinking when it enters the system.
Preparation
Prepare the installation media
- Type A to C Interface Cable
Prepare the image file
Please go to Download Summary to download image.
System installation
-
Connect the type-c cable to the host computer.
-
Press and hold the maskrom button and power on the device.
- Linux
- Windows
Linux/Mac systems use rkdeveloptool to write to
upgrade_tool (Can be installed to multiple devices simultaneously)
System startup
CM5 IO
- Power on the CM5 IO via the DC adapter.
- The CM5 IO will boot up with the green power LED on, and the blue LED will start blinking when it enters the system.
Frequently Asked Questions
Reference
This document introduces how to install Radxa OS image to Radxa CM5.
CM5 can boot from microSD card or eMMC, so install os on microSD card or eMMC based on your choose.
- Install OS on microSD card
- Install OS on eMMC
Preparation
Prepare the installation media
-
microSD card (recommended class10 rating or higher)
-
USB card reader
Prepare the image file
Please go to Download Summary to download image.
System installation
-
Download Etcher

-
Open Etcher and flash the prepared OS image to the microSD card. In the Etcher window, click
Flash from fileto select the OS image you just downloaded. -
In the Etcher window, click
Select target. -
In the Etcher window, click
Flash!and wait for a progress bar to be flushed. -
In the Etcher window,
Flash Complete!will be displayed when the flash is successful.
System startup
Starting CM5 IO
-
Insert the microSD card with the operating system installed.
-
Power up the CM5 IO via the DC 12V power adapter.
-
The CM5 IO will boot up with the green power LED on, and the blue LED will start blinking when it enters the system.
Preparation
Prepare the installation media
- Type A to C Interface Cable
Prepare the image file
Please go to Download Summary to download image.
System installation
-
Connect the type-c cable to the host computer.
-
Press and hold the maskrom button and power on the device.
- Linux
- Windows
Linux/Mac systems use rkdeveloptool to write to
upgrade_tool (Can be installed to multiple devices simultaneously)
System startup
CM5 IO
- Power on the CM5 IO via the DC adapter.
- The CM5 IO will boot up with the green power LED on, and the blue LED will start blinking when it enters the system.
Frequently Asked Questions
Reference
Login
There are two default users for official system.
-
username: radxa password: radxa
-
username: rock password: rock
More info please refer to RadxaOS