Installing ROOBI OS
ROOBI OS will come pre-installed on the machine you purchase, so you usually won't need to install it manually.
Using ROOBI Flasher
ROOBI Flasher is a flashing tool used to restore ROOBI OS. If your ROOBI system fails to boot due to uncontrollable factors, you can use this tutorial to restore your ROOBI system to its factory state.
ROOBI OS is the software running on the device for flashing the operating system, while ROOBI Flasher is the software used to flash ROOBI OS.
ROOBI OS cannot be directly run from a USB flash drive or SD card.
- Obtain the flashing image:
PuER N1 Coming Soon
- X Series
- ROCK 5 ITX
-
Insert your USB flash drive into your host machine.
-
Use balenaEtcher to write the image to the USB flash drive. Note: This operation will erase all data on your USB flash drive.
-
After successful writing, remove the USB flash drive and insert it into any USB port on the device. Any USB port will work, but it's recommended to use a USB 3.0 port.
-
Activate eMMC: First, find the eMMC Recovery button (refer to the product diagram). Before booting, press and hold the
eMMC Recovery button, and simultaneously press and immediately release thePower buttonuntil the monitor lights up, then release theeMMC Recovery button. -
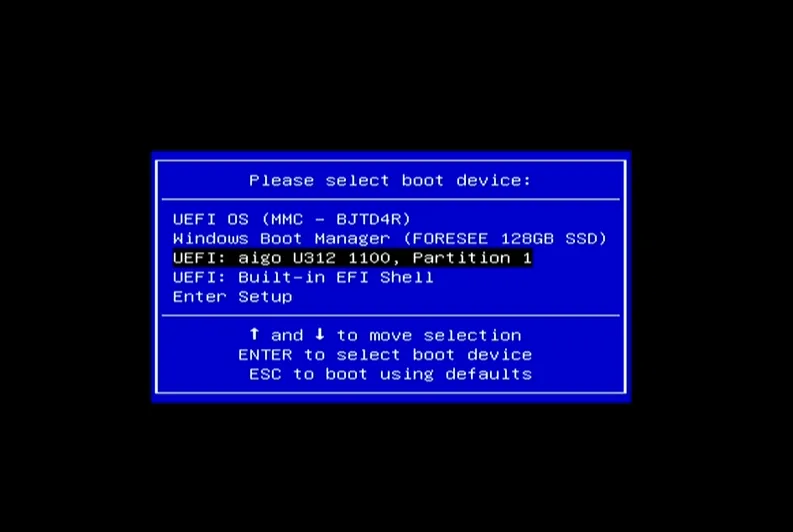
After the display appears, immediately press
F7to enter the boot selection interface.

- Select your USB flash drive device and press
Enterto select the corresponding entry to start the flasher.
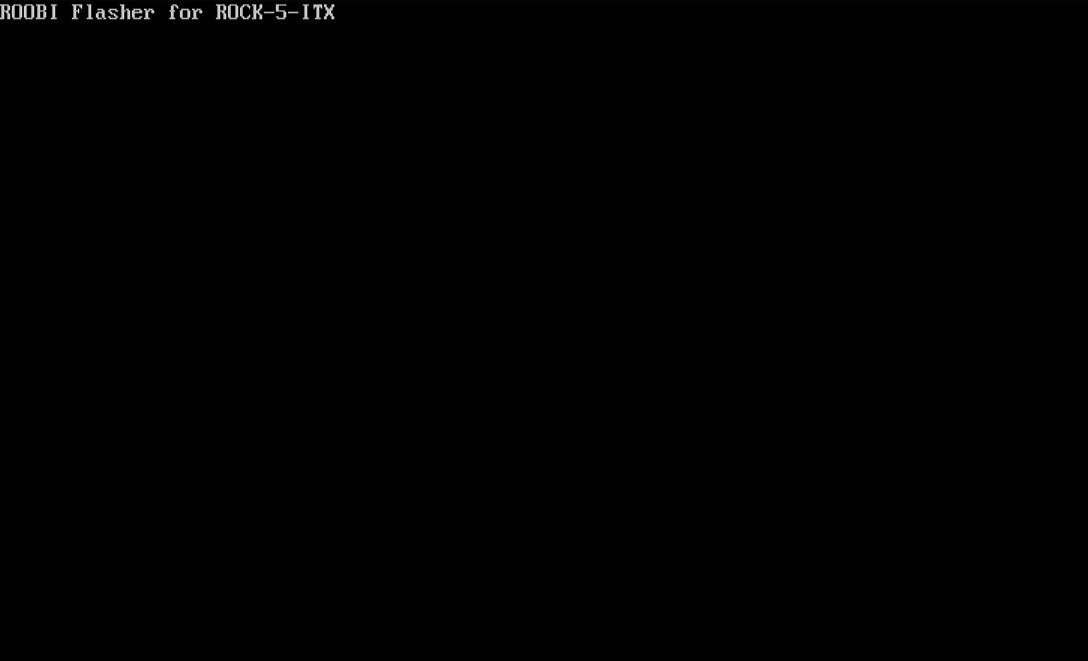
- Wait for 5 seconds, and ROOBI will be automatically flashed into the eMMC. ( Note: This operation will erase all content in the eMMC of your device. You can disconnect the power before the countdown ends to cancel the operation. )
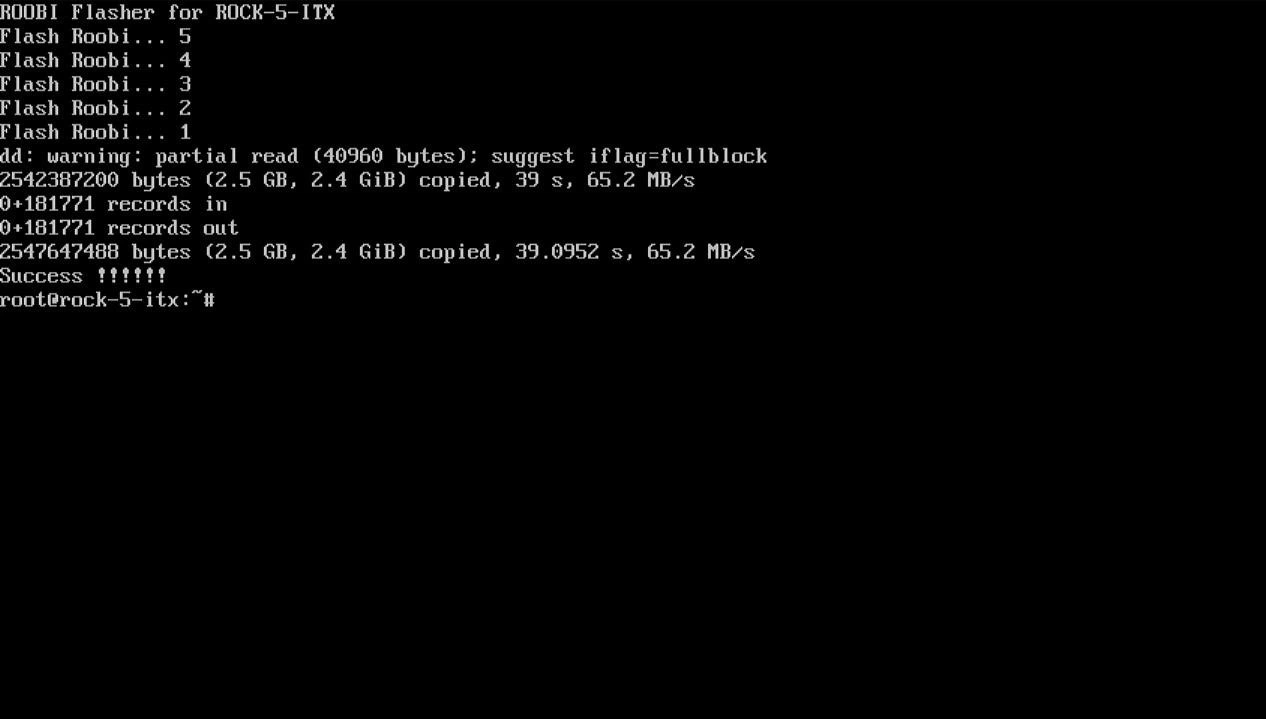
- When you see the following screen, the flashing is successful. Press
Enterto restart and enter the operating system, or press the power button to shut down.
Pressing Enter will not directly enter ROOBI OS.
- You can enter ROOBI OS through this step: Accessing the Roobi Interface
This step is the same as step 5 of this tutorial.
If you haven't performed this step, the system will boot normally.
-
Insert your SD card into your host machine using a card reader.
-
Use balenaEtcher to write the image to the SD card. Note: This operation will erase all data on your SD card.
-
After writing is complete, remove the SD card from the host machine and insert it into the MicroSD slot on your device, located at number 4.
-
Remove any other storage media from your device and power it on.s
-
After 5 seconds, ROOBI will be automatically flashed into the eMMC. ( Note: This operation will erase all content in the eMMC of your device. You can disconnect the power before the countdown ends to cancel the operation. )

- When you see the following screen, the flashing is successful. Power off and restart to enter ROOBI OS.
