System Installation
This document describes how to install an OS image into AirBox.
Preparation
- 1x microSD card (capacity >=16GB, read/write speed >= class10)
- 1x microSD card reader
- 20V power adapter (system image installed under the whole machine, 20V power supply for the whole machine)
- One usb type-a to type-c cable (log output)
Image Download
Please go to Resources Download Download the corresponding image file.
System Installation
1.Flash the image
Balena Etcher is a cross-platform and user-friendly image burning tool that we recommend you to use.
- Download Etcher and installed.
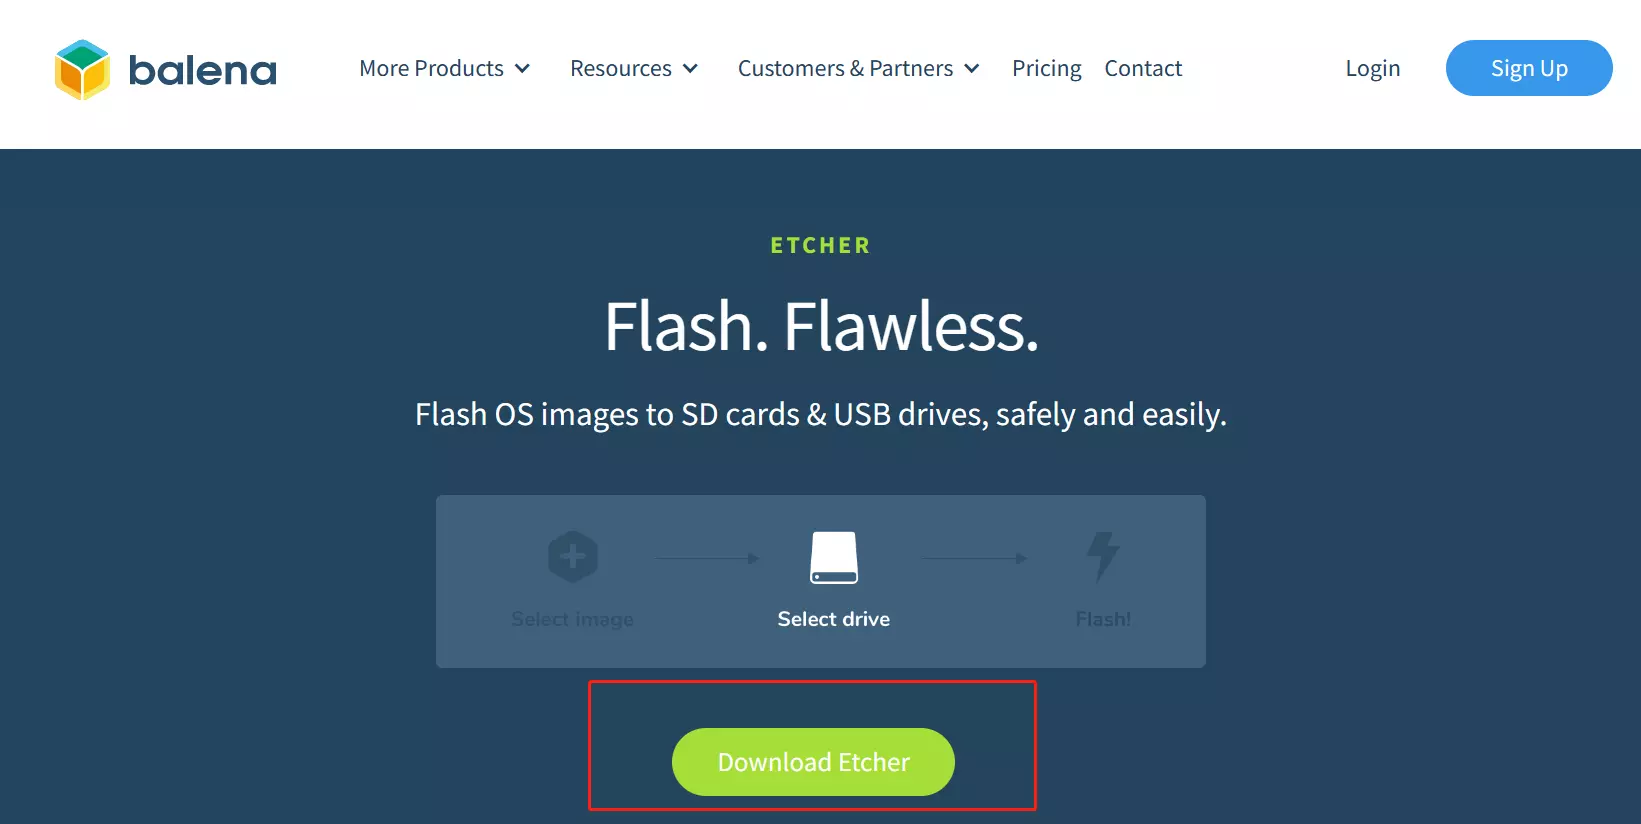
- Open Etcher and click
Flash from fileto select the image you want to write to.

- Click
Select targetto select the device, please be careful with the selection.

- Click
Flash!to start writing, then wait for the write progress bar to complete.

- When writing the image is successful, Etcher will display
Flash Complete!.

If you get an error flashing the OS image, try again manually.
2.SD Card Brush
Please power off the Fogwise® AirBox, insert the SD card, and connect the serial terminal (use usb type-a to type-c cable, type-c connects to the debug port of the Fogwise® AirBox, type a connects to the computer, the baud rate is set to 115200, and the location of the debug port is in the hardware-interface to find it, then power up the whole machine. You will see The SG2300X automatically enters the flashing process:
Hit any key to stop autoboot:  0
switch to partitions #0, OK
mmc1 is current device
Scanning mmc 1:1...
Found U-Boot script /boot.scr
fs reading /boot.scr
891 bytes read in 5 ms (173.8 KiB/s)
## Executing script at 300040000
Setting bus to 1
LED 'status' not found (err=-19)
LED 'error' not found (err=-19)
update SPI flash
fs reading //boot_spif.scr
746 bytes read in 5 ms (145.5 KiB/s)
## Executing script at 300040000
fs reading //spi_flash.bin
5385980 bytes read in 673 ms (7.6 MiB/s)
SF: Detected gd25lq128 with page size 256 Bytes, erase size 4 KiB, total 16 MiB
chip_type=bm1684x
device 0 offset 0x0, size 0x200000
0 bytes written, 2097152 bytes skipped in 2.844s, speed 754032 B/s
SPI flash update done
update eMMC
Flashing usually takes about 3 minutes, after finishing, you will see a prompt to unplug the SD card and reboot the SG2300X, please follow the steps below Please follow the instructions:
eMMC update done
bm savelog 449 bytes written in 10 ms (43 KiB/s)
all done
LED 'status' not found (err=-19)
LED 'error' not found (err=-19)
LED 'status' not found (err=-19)
Please remove the installation medium, then reboot
LED 'status' not found (err=-19)
If the burning process fails, usually caused by the chip is hot, then please wait for the chip to cool down to a certain degree and then re-power into the brush process!
System Startup
- After successfully burning the image to emmc as described above, remove the microSD card and power up the Fogwise® AirBox.
Precautions
It is recommended that you use the sudo poweroff command when shutting down your computer, and try to avoid direct power off to avoid file system corruption.