ZERO 3E PoE HAT
Precaution
- If a Ethernet cable is connected to the Ethernet port of Radxa ZERO 3E but Radxa ZERO 3E fails to start, please check the following:
- Ensure that the switch/router on the other end supports PoE functionality.
- Check if the screws are securely fastened, as the implementation of PoE functionality involves screws and copper pillars to connect Radxa ZERO 3E and Radxa ZERO 3E PoE HAT.
-
it requires PoE support from the switch / router at the other end of the ethernet cable.
-
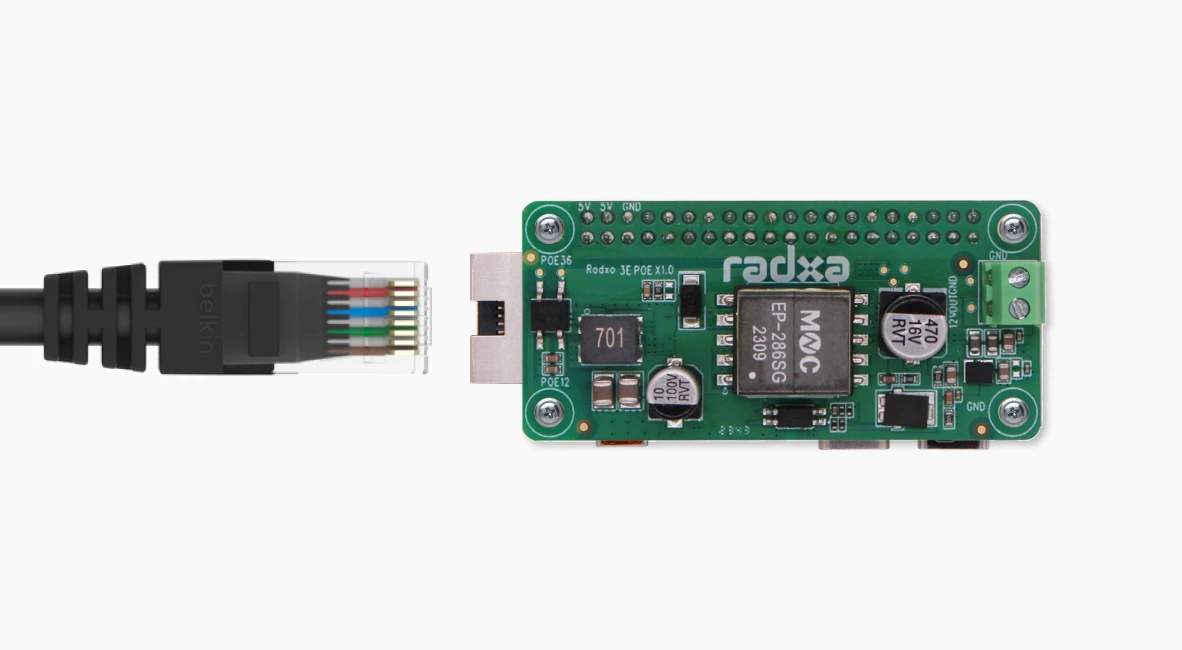
** In the Ethernet port wiring sequence, pins 1, 2, 3, and 6 are used for both power supply and data transmission, while pins 4, 5, 7, and 8 are exclusively for data transmission. **
-
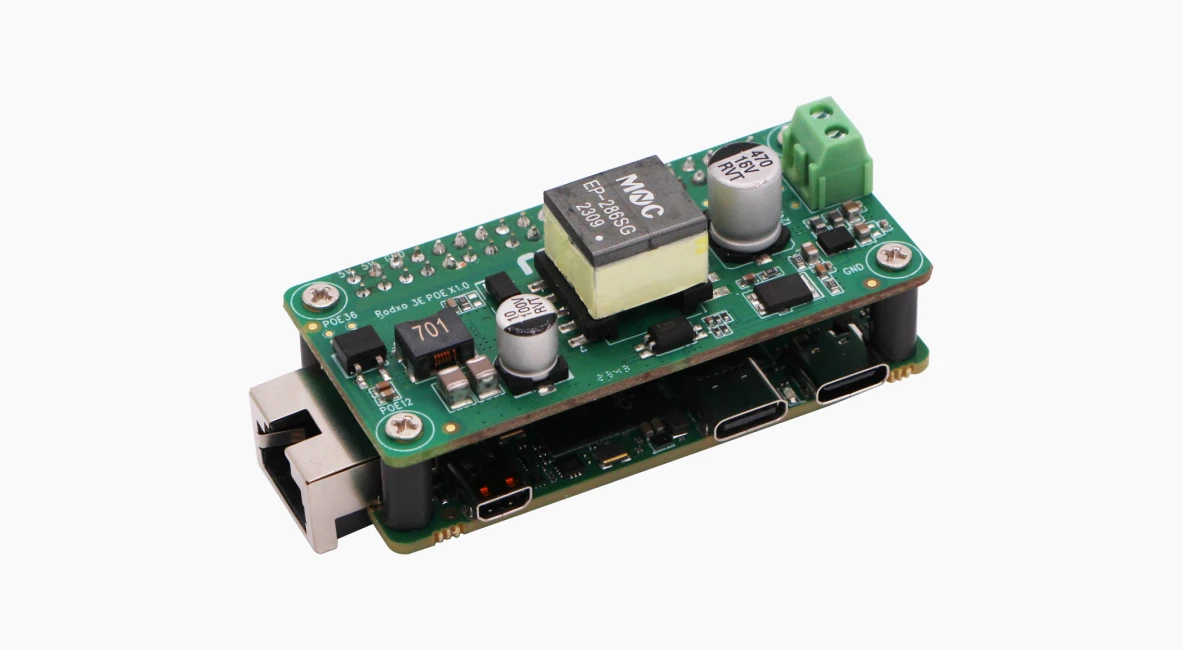
The implementation of PoE functionality on Radxa ZERO 3E involves screws and copper pillars, which need to be securely fastened. Without installing the copper pillars and screws, the PoE functionality cannot be utilized.
Assembly Process
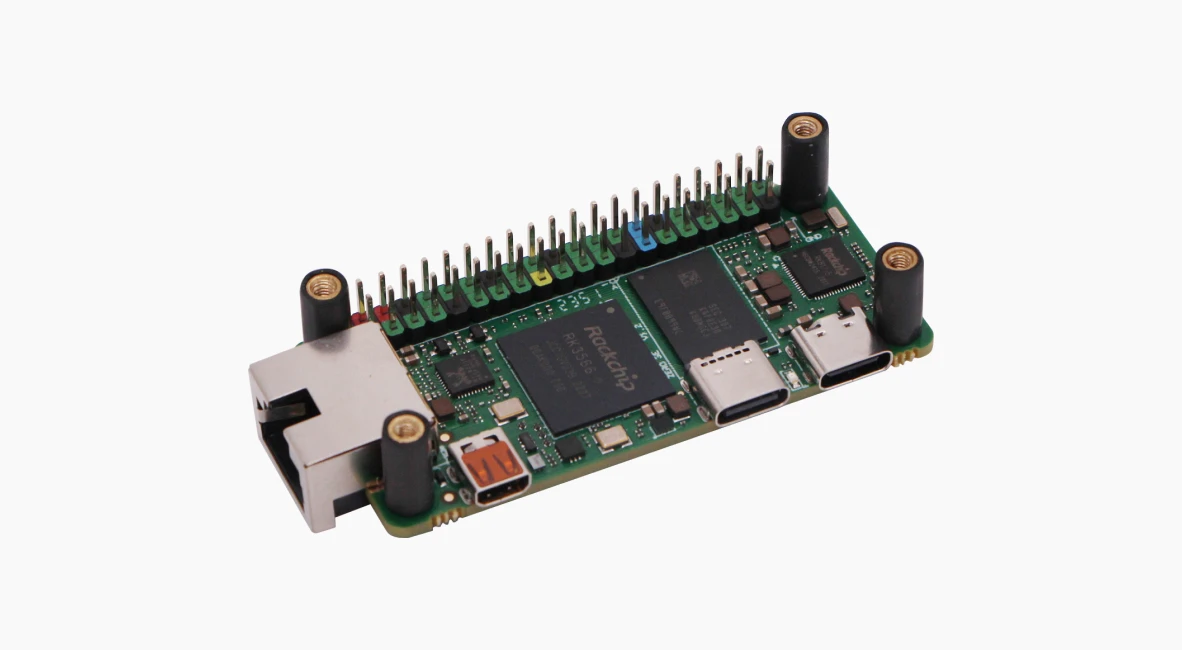
- First, fasten the copper pillars onto the Radxa ZERO 3E with screws, as shown in the diagram.
- Next, install the Radxa ZERO 3E PoE HAT, following the diagram.
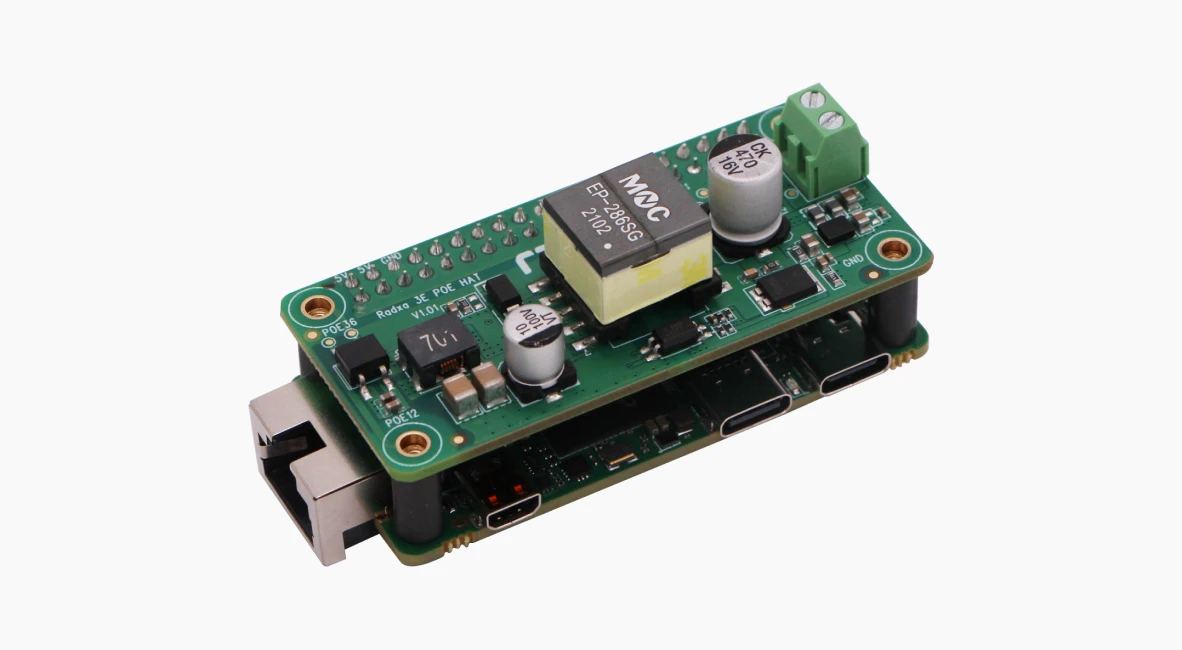
- Then, secure screws above the Radxa ZERO 3E PoE HAT, as indicated in the diagram. ** Screws and copper posts need to be tightened **
- Finally, plug the Ethernet cable into the port of Radxa ZERO 3E Gigabit Ethernet.