PXE Usage Guide
- PXE stands for Preboot Execute Environment, referring to the capability to boot the system via network.
tip
A PXE server is required within the local network to provide services. Radxa X4 can then install and boot various systems through the PXE server (setting up a PXE server is not covered in this document).
PXE Function Configuration
- Power on the system and press the DEL key to access the BIOS settings.
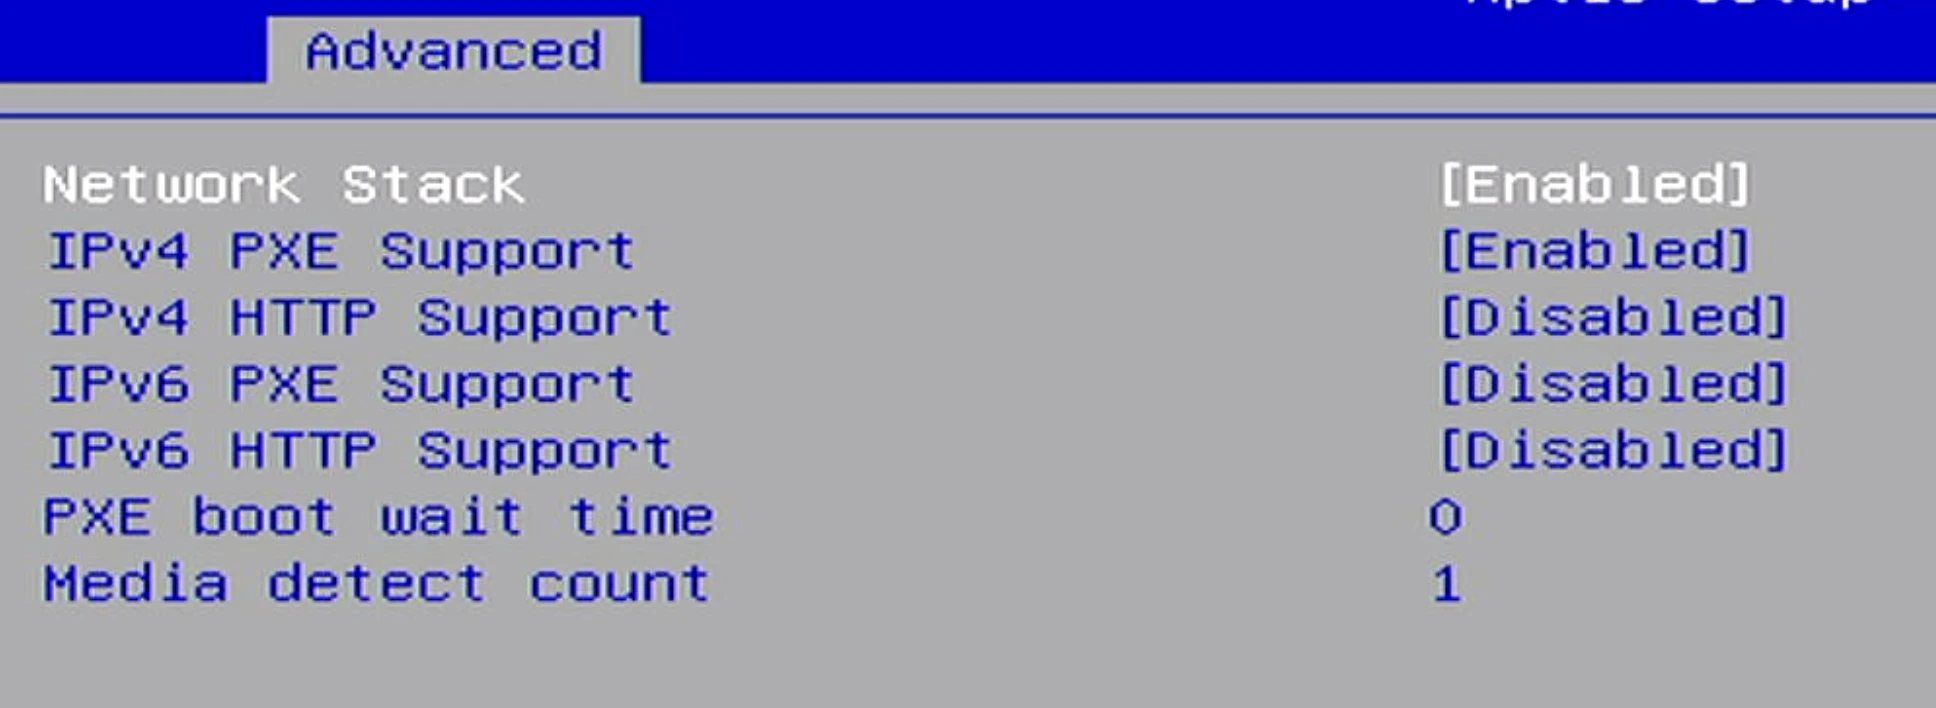
- Navigate to Advanced --> Network Stack Configuration.
- Enable the relevant PXE options (taking IPV4 network PXE server as an example) as shown in the figure below. After configuration, press F4 to save and exit.
PXE Function Usage
- Connect Radxa X4 to a network containing a PXE server using an Ethernet cable.
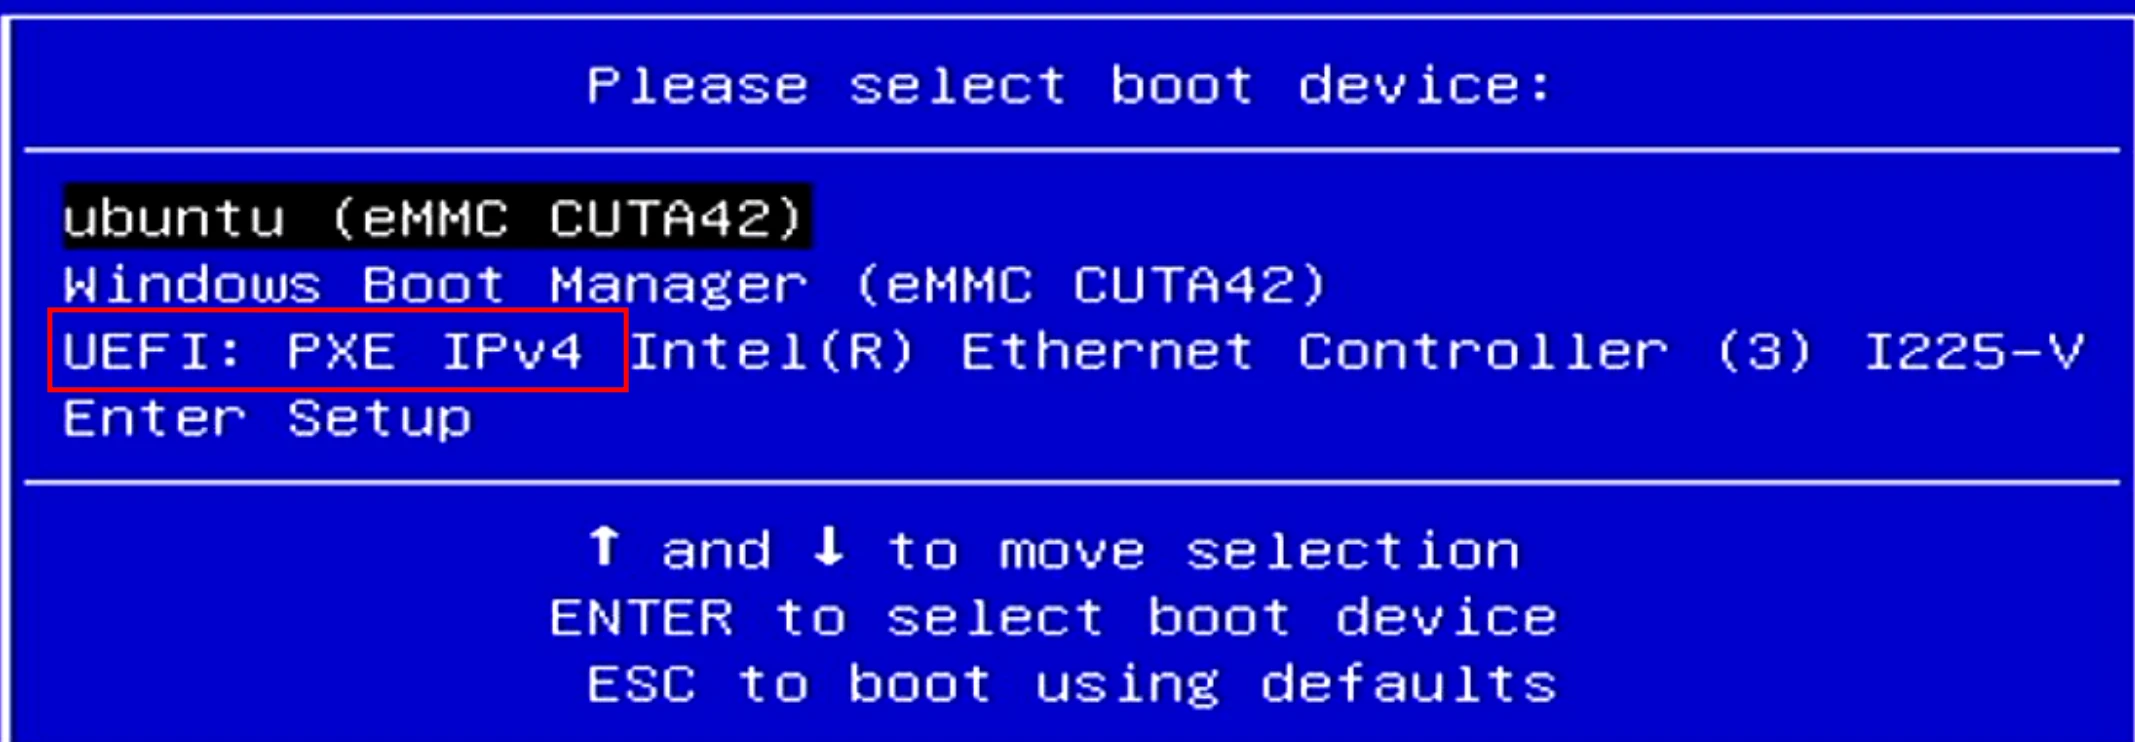
- Power on the system, and press and hold the F7 key to enter the Boot Menu. Choose PXE IP4 based on the network conditions.
- After pressing Enter, the system will automatically scan for the PXE server. Once connected to the PXE server, an operating system selection interface will appear (depending on server configuration), as shown in the figure.

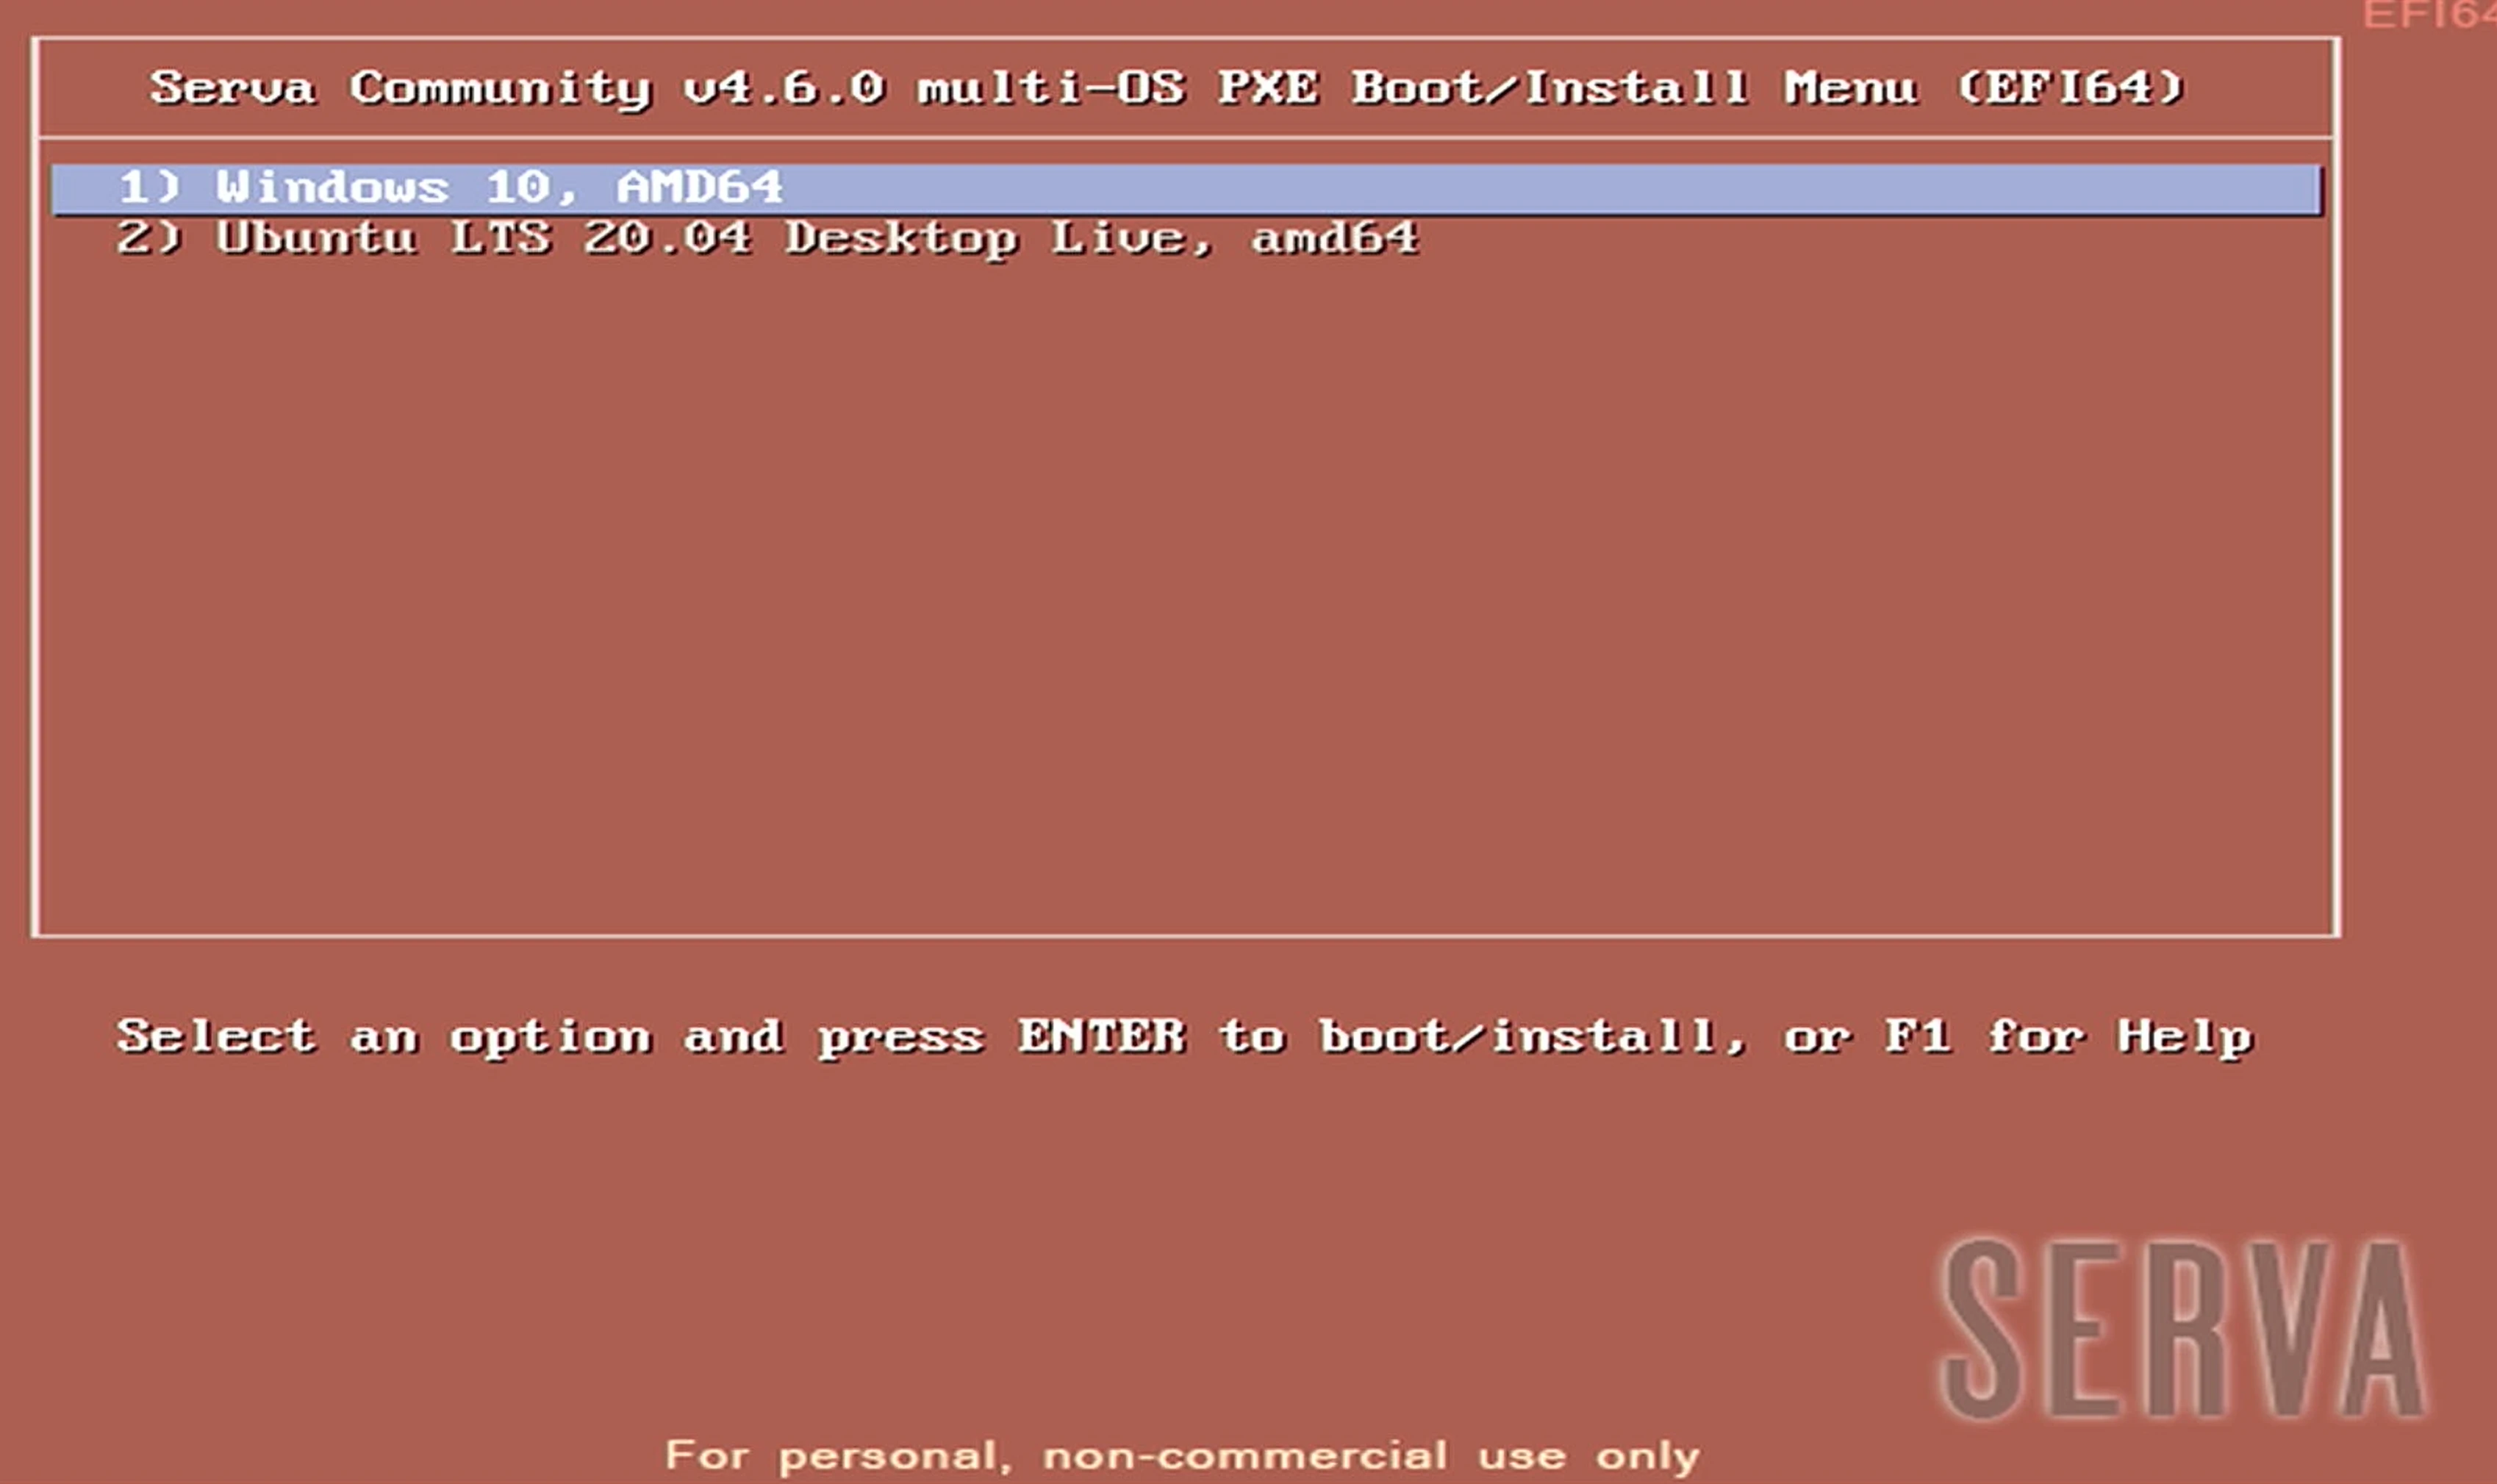
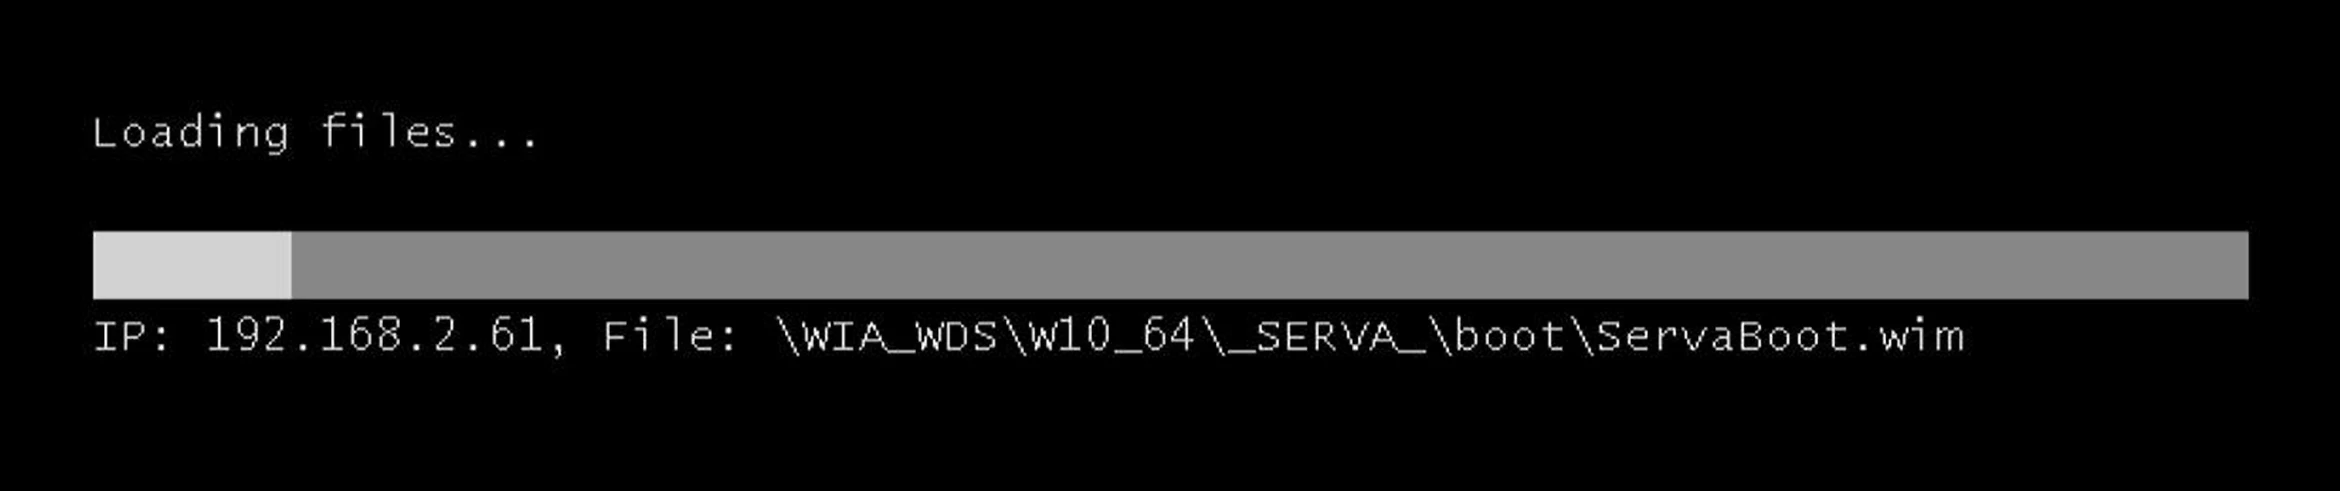
- According to your requirements, select and install the operating system (using the installation of the Windows 10 system as an example).
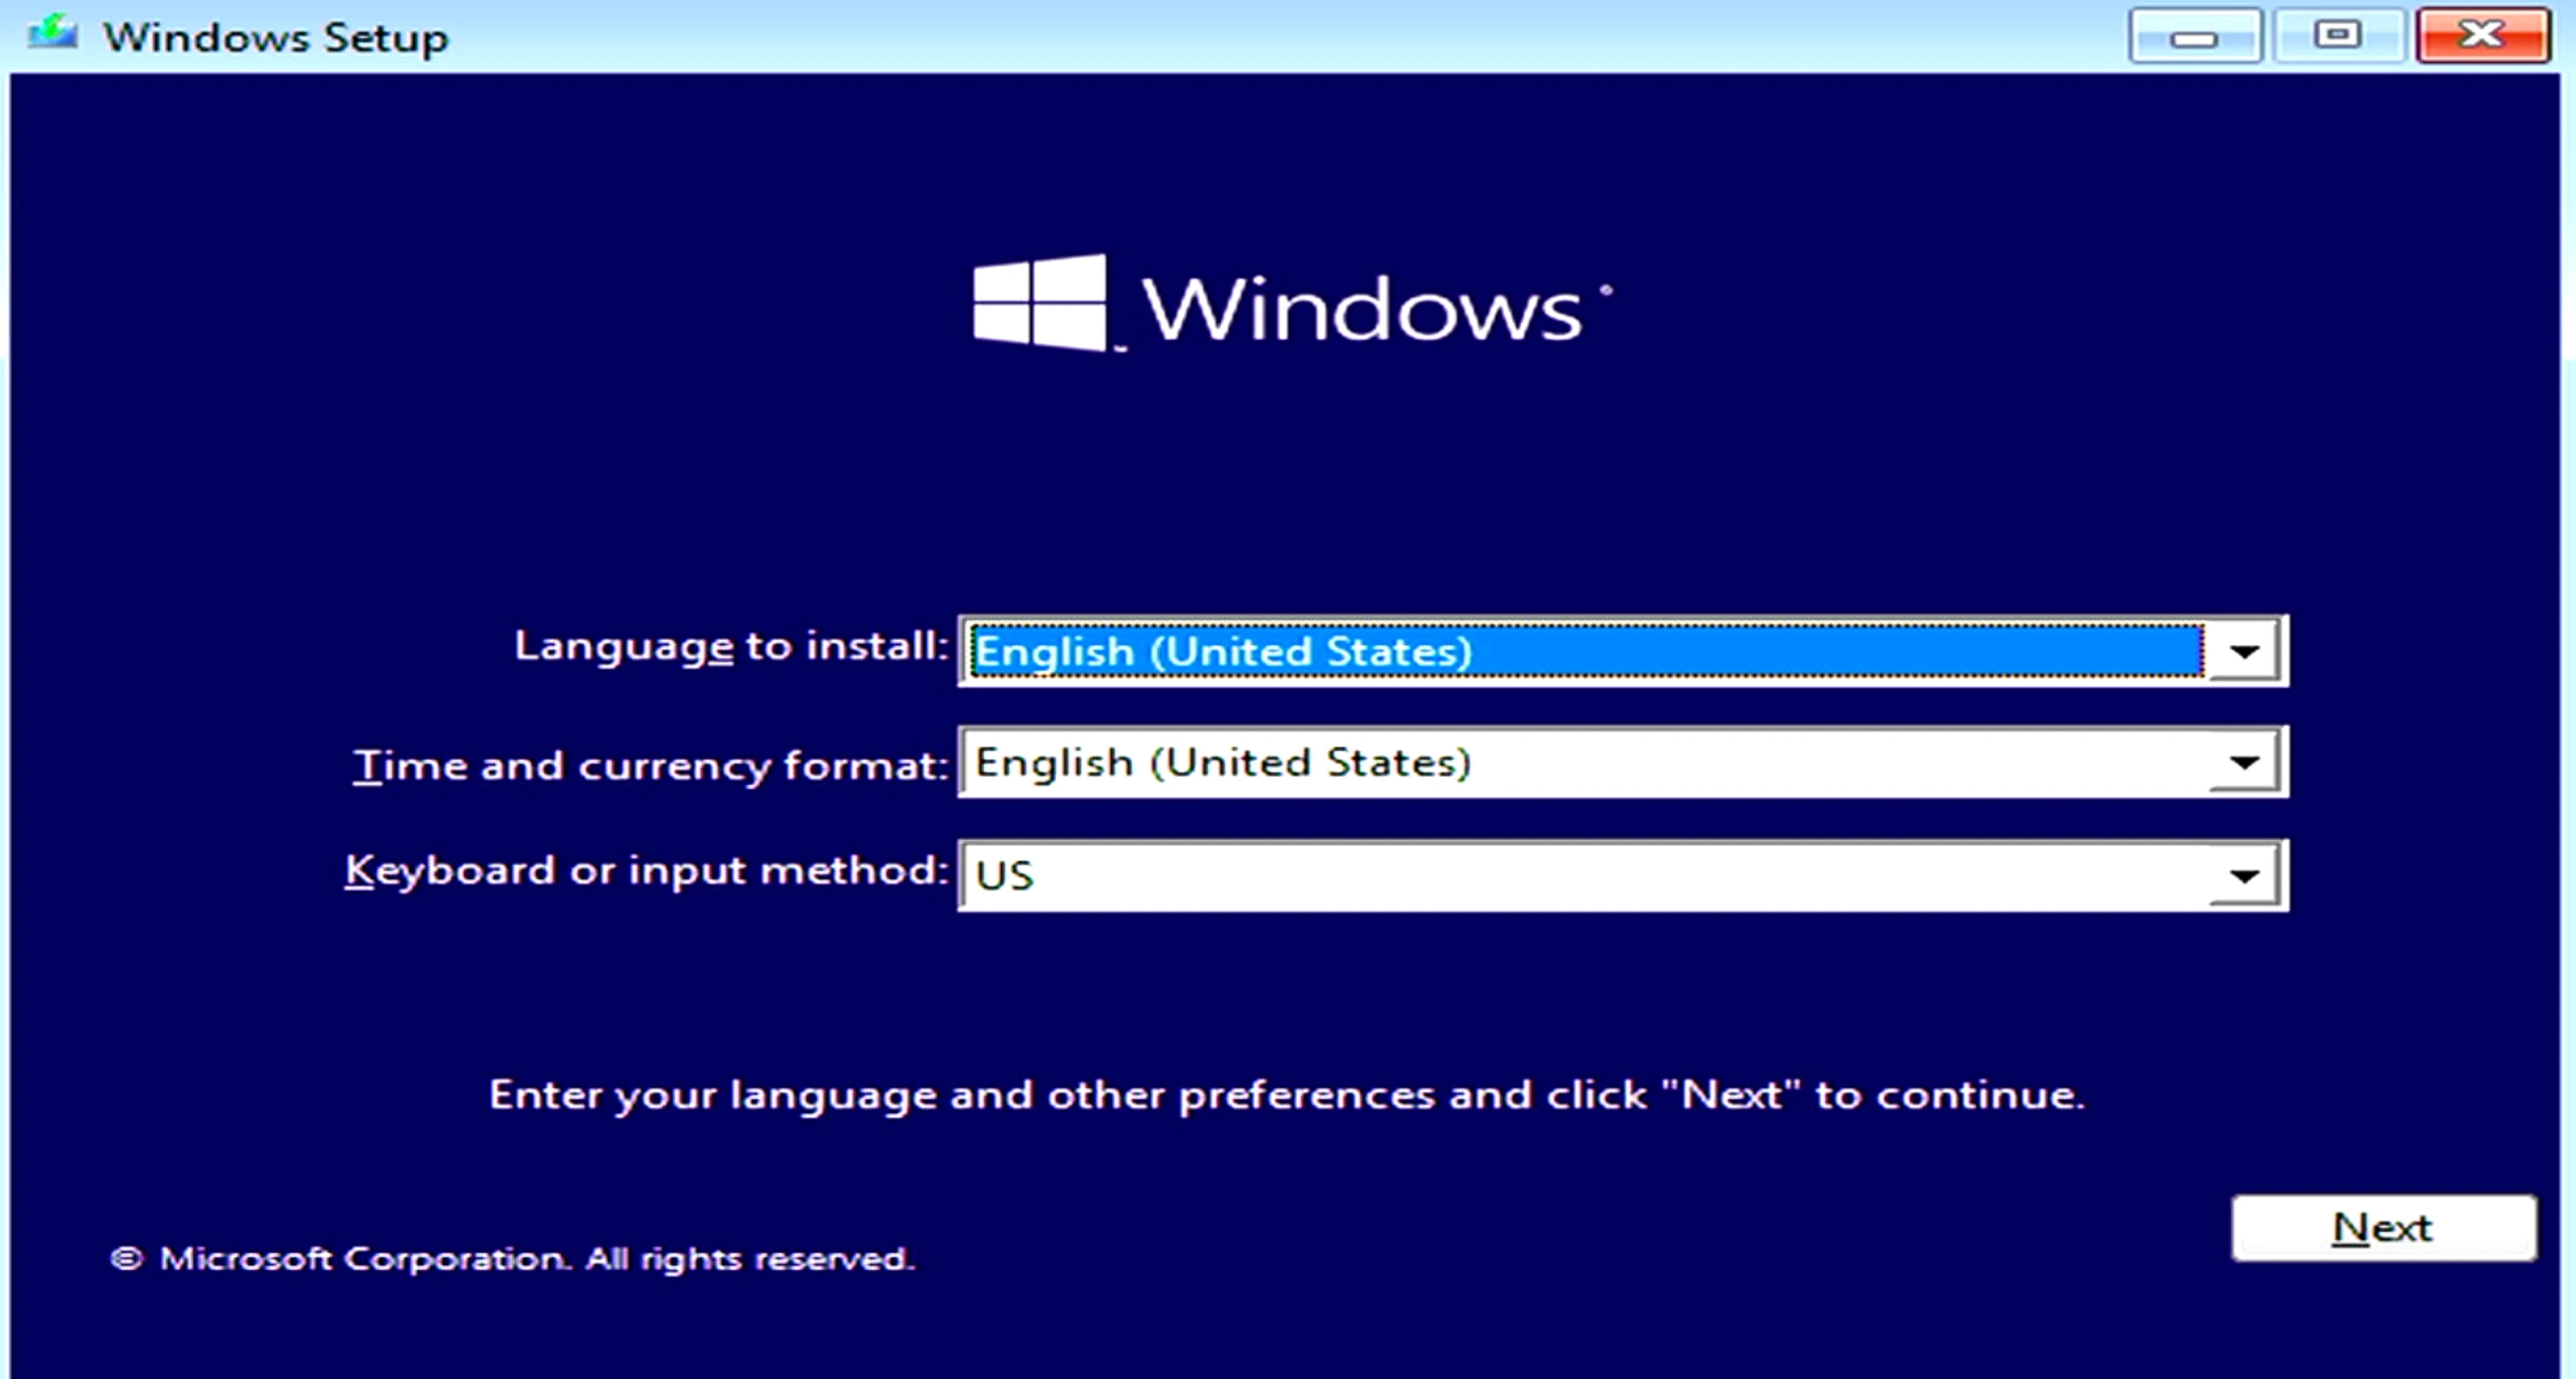
- Choose option 1 to load the necessary files for installing the Windows system. Once the loading is complete, enter the Windows installation interface. The subsequent steps will be consistent with the standard Windows system installation process.