How to setup Penta SATA HAT on ROCK 5A
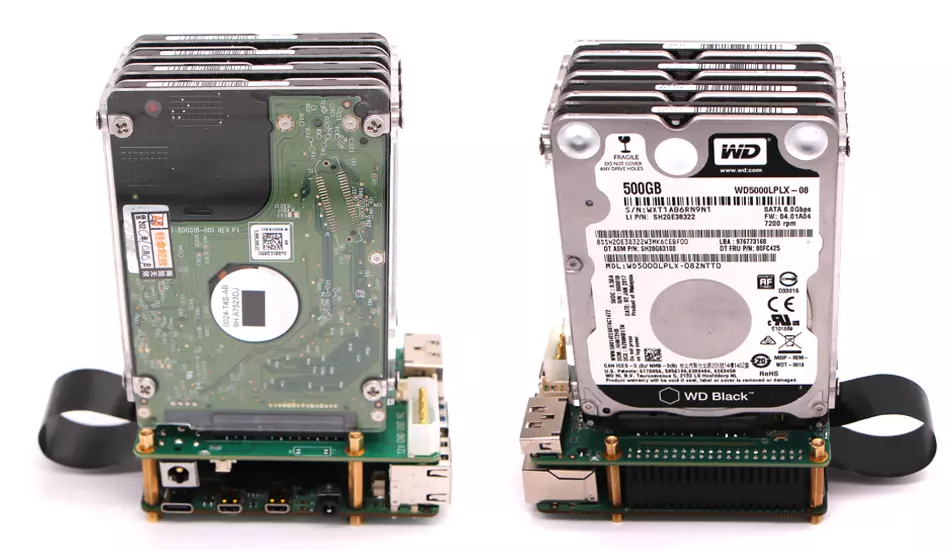
The picture shows the ROCK 5A with Radxa PENTA SATA HAT.
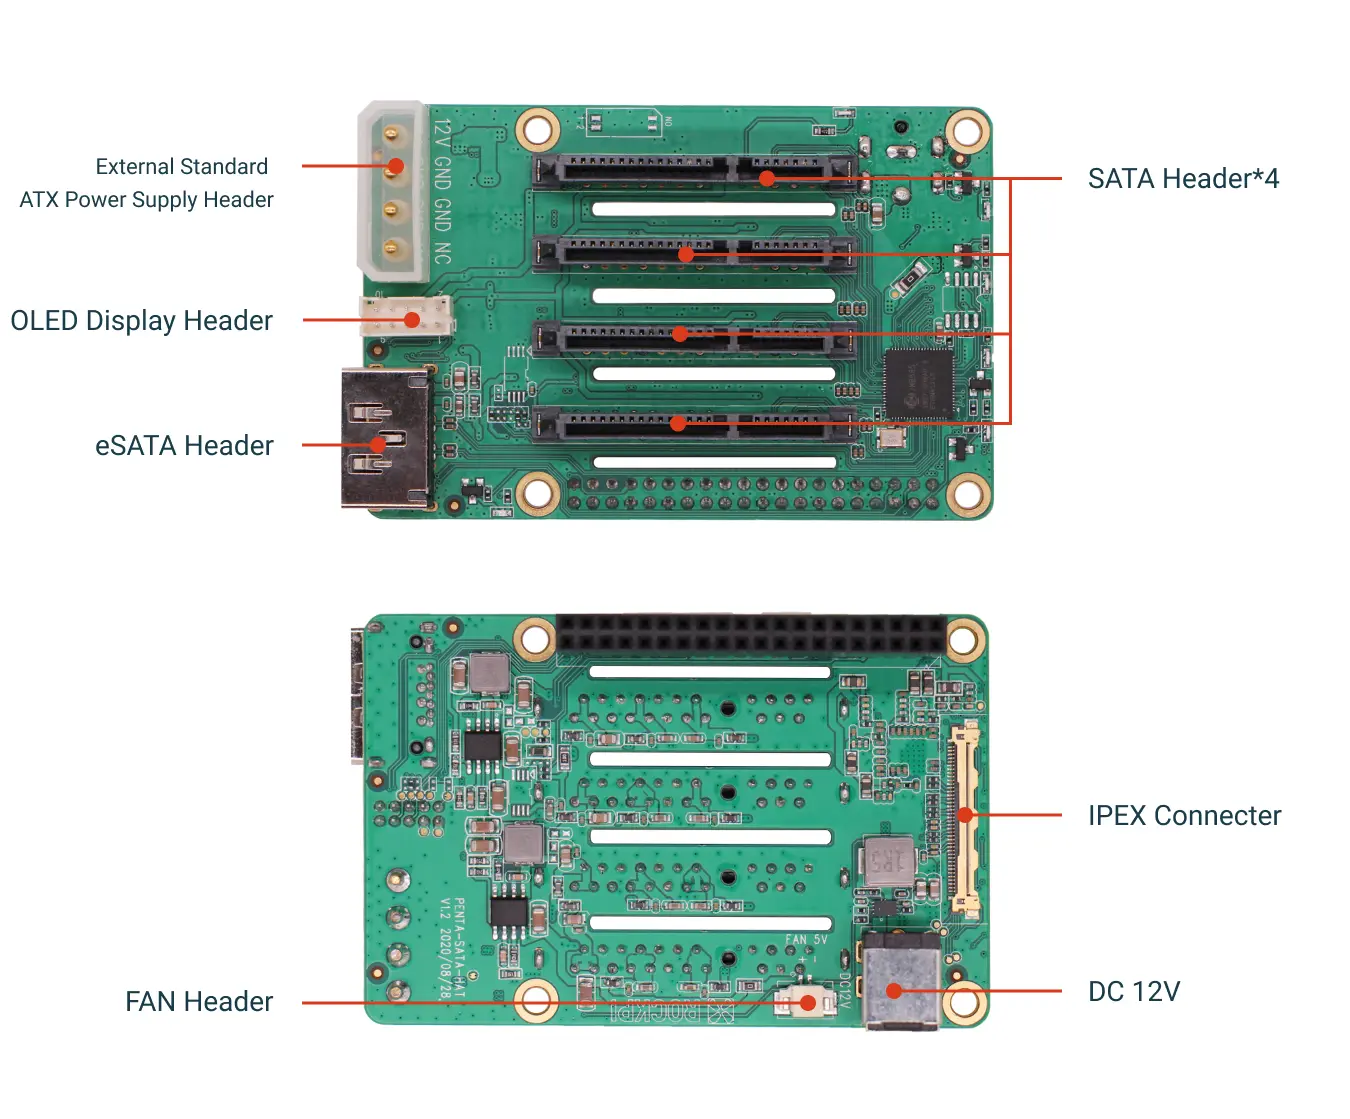
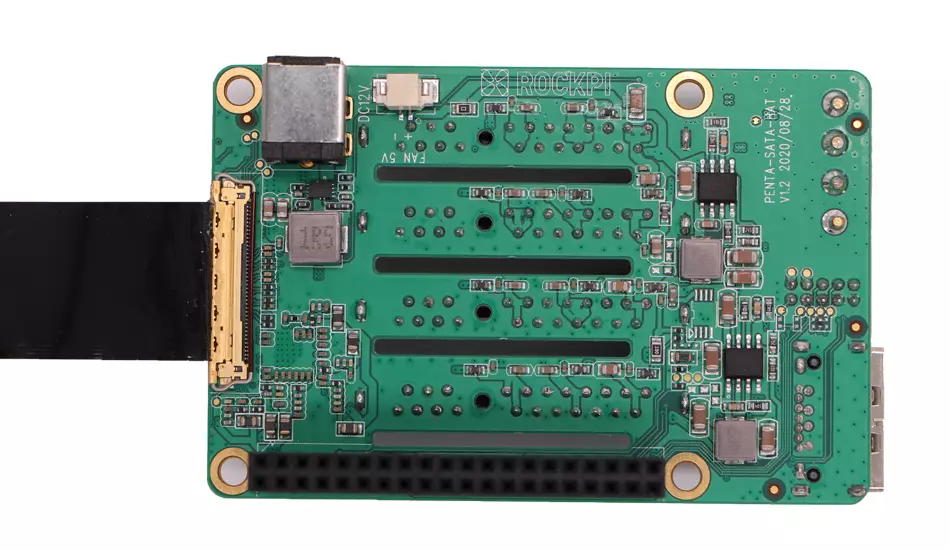
The picture below shows the RADXA Penta SATA HAT and the included parts. Please click the link for details. Penta SATA HAT
Please distinguish the front and back side of the IPEX cable first. As shown in the picture. The two ends of the IPEX cable we provide for ROCK5A are oriented in the same direction.
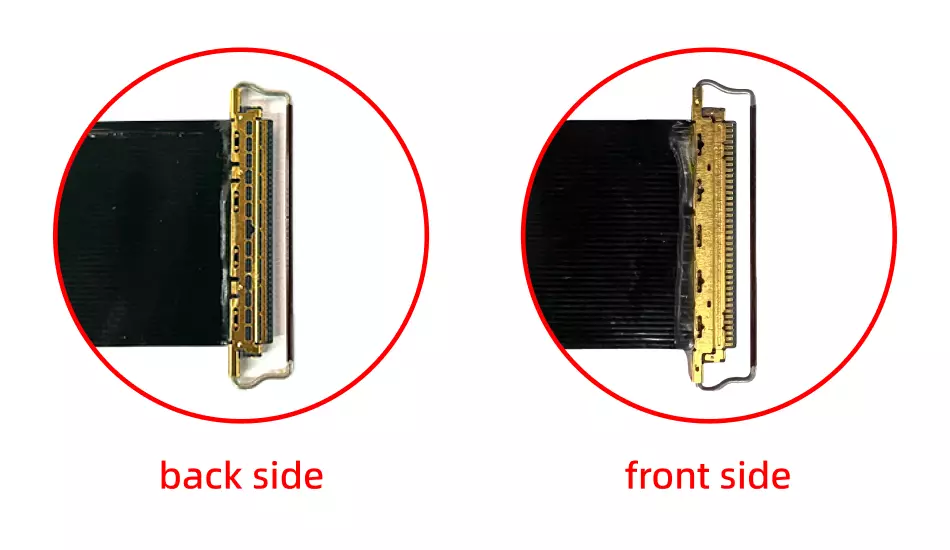
Please note that the ring buckle needs to jam into the connector.

Install Guide
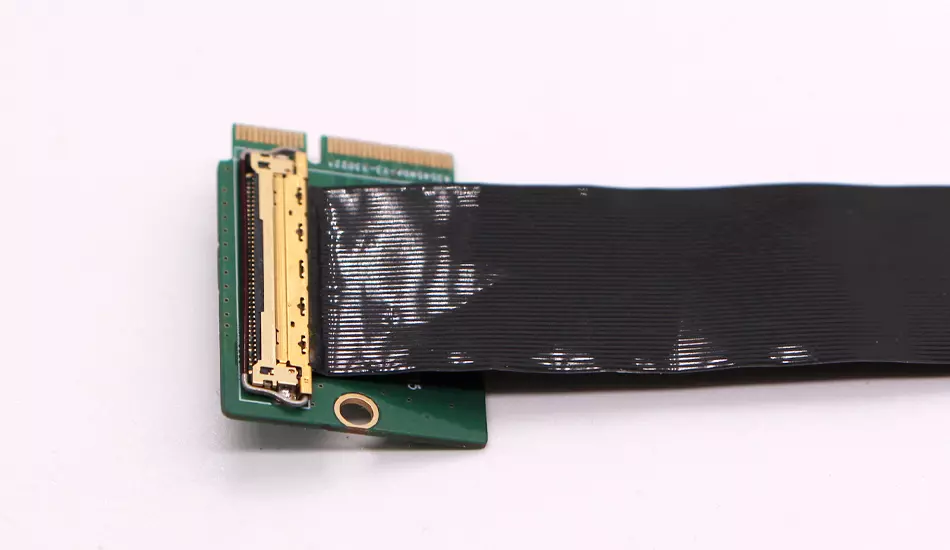
M.2 E key to M.2 M key Board with IPEX Cable. Note that the IPEX cable is installed here with the front side up and the ring buckle needs to be jammed to the interface to ensure that it is fixed.
Radxa Penta SATA HAT Board with IPEX Cable. Note that the IPEX cable is installed here with the front side up and the ring buckle needs to be jammed to the interface to ensure that it is fixed.
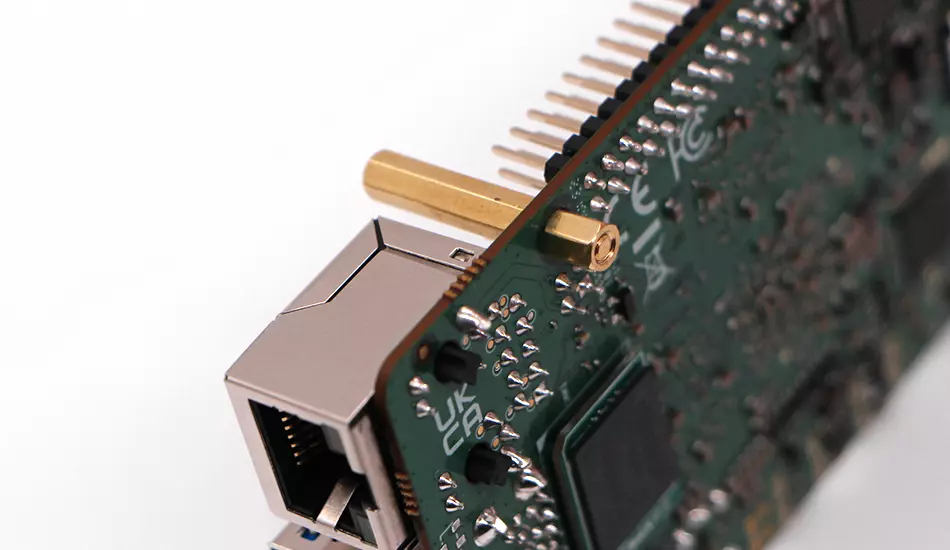
Please install the M2.5x18+6 copper post and M2.5x5 copper post included with the product on the ROCK5A as shown in the picture.
Please Connect one end of the IPEX cable to the M.2 E key to M Key board and the other end to the Radxa Penta SATA HAT and Install the M.2 E key to M key board to the M.2 E key connector of ROCK5A. As shown in the picture.

Finally, the Radxa Penta SATA HAT is assembled using M2.5x5+5 copper posts.


As a storage drive
- you can check whether the SATA devices is recognized by
lsblk.
radxa@rock-5a:~$ lsblk
NAME         MAJ:MIN RM   SIZE RO TYPE MOUNTPOINT
sda            8:0    0 465.8G  0 disk
└─sda1         8:1    0 465.8G  0 part
sdb            8:16   0 465.8G  0 disk
└─sdb1         8:17   0 465.8G  0 part
sdc            8:32   0 465.8G  0 disk
└─sdc1         8:33   0 465.8G  0 part
sdd            8:48   0 465.8G  0 disk
└─sdd1         8:49   0 465.8G  0 part
mmcblk0      179:0    0  14.5G  0 disk
├─mmcblk0p1  179:1    0    16M  0 part /config
└─mmcblk0p2  179:2    0  14.4G  0 part /
mmcblk0boot0 179:32   0     4M  1 disk
mmcblk0boot1 179:64   0     4M  1 disk
zram0        254:0    0   3.8G  0 disk [SWAP]
radxa@rock-5a:~$
- As you can see, the system has recognized the SATA devices(sda/sdb/sdc/sdd).
Software support
We provide an installation script to help you install the software we provide, which makes the Penta Top Board to display information and control the Fan.
curl -sL https://rock.sh/get-rockpi-penta | sudo -E bash -
Just copy the command above and paste it into the terminal and press enter.
Software configuration
Just edit /etc/rockpi-penta.conf, take it effect by below command.
sudo systemctl restart rockpi-penta.service
Default configuration
Below is the default /etc/rockpi-penta.conf, which you can modify according to the comments.
[fan]
# When the temperature is above lv0 (35'C), the fan at 25% power,
# and lv1 at 50% power, lv2 at 75% power, and lv3 at 100% power.
# When the temperature is below lv0, the fan is turned off.
# You can change these values if necessary.
lv0 = 35
lv1 = 40
lv2 = 45
lv3 = 50

[key]
# You can customize the function of the key, currently available functions are
# slider: oled display next page
# switch: fan turn on/off switch
# reboot, poweroff
# If you have any good suggestions for key functions,
# please add an issue on https://rock.sh/rockpi-sata
click = slider
twice = switch
press = none

[time]
# twice: maximum time between double clicking (seconds)
# press: long press time (seconds)
twice = 0.7
press = 1.8

[slider]
# Whether the oled auto display next page and the time interval (seconds)
auto = true
time = 10

[oled]
# Whether rotate the text of oled 180 degrees, whether use Fahrenheit
rotate = false
f-temp = false